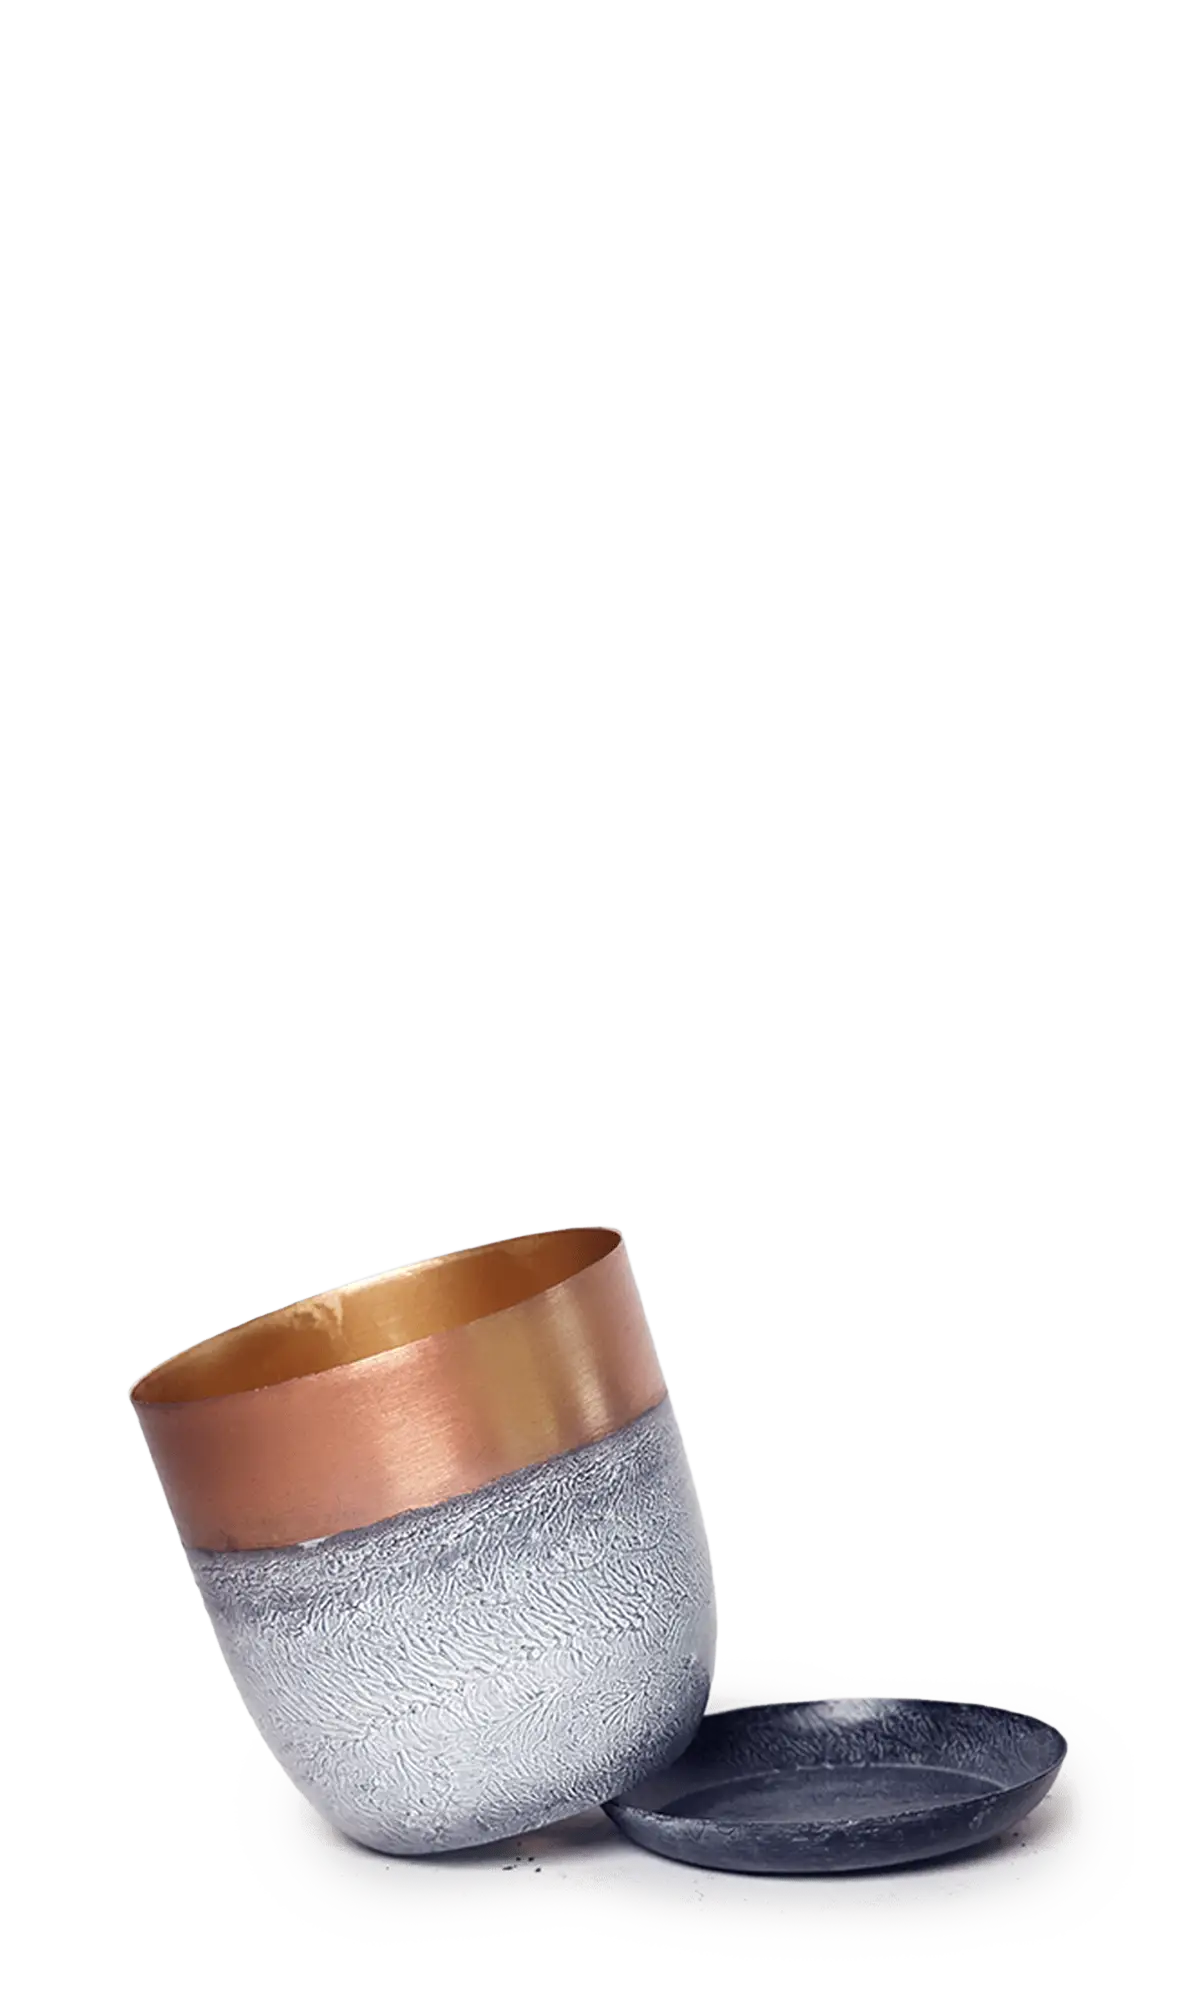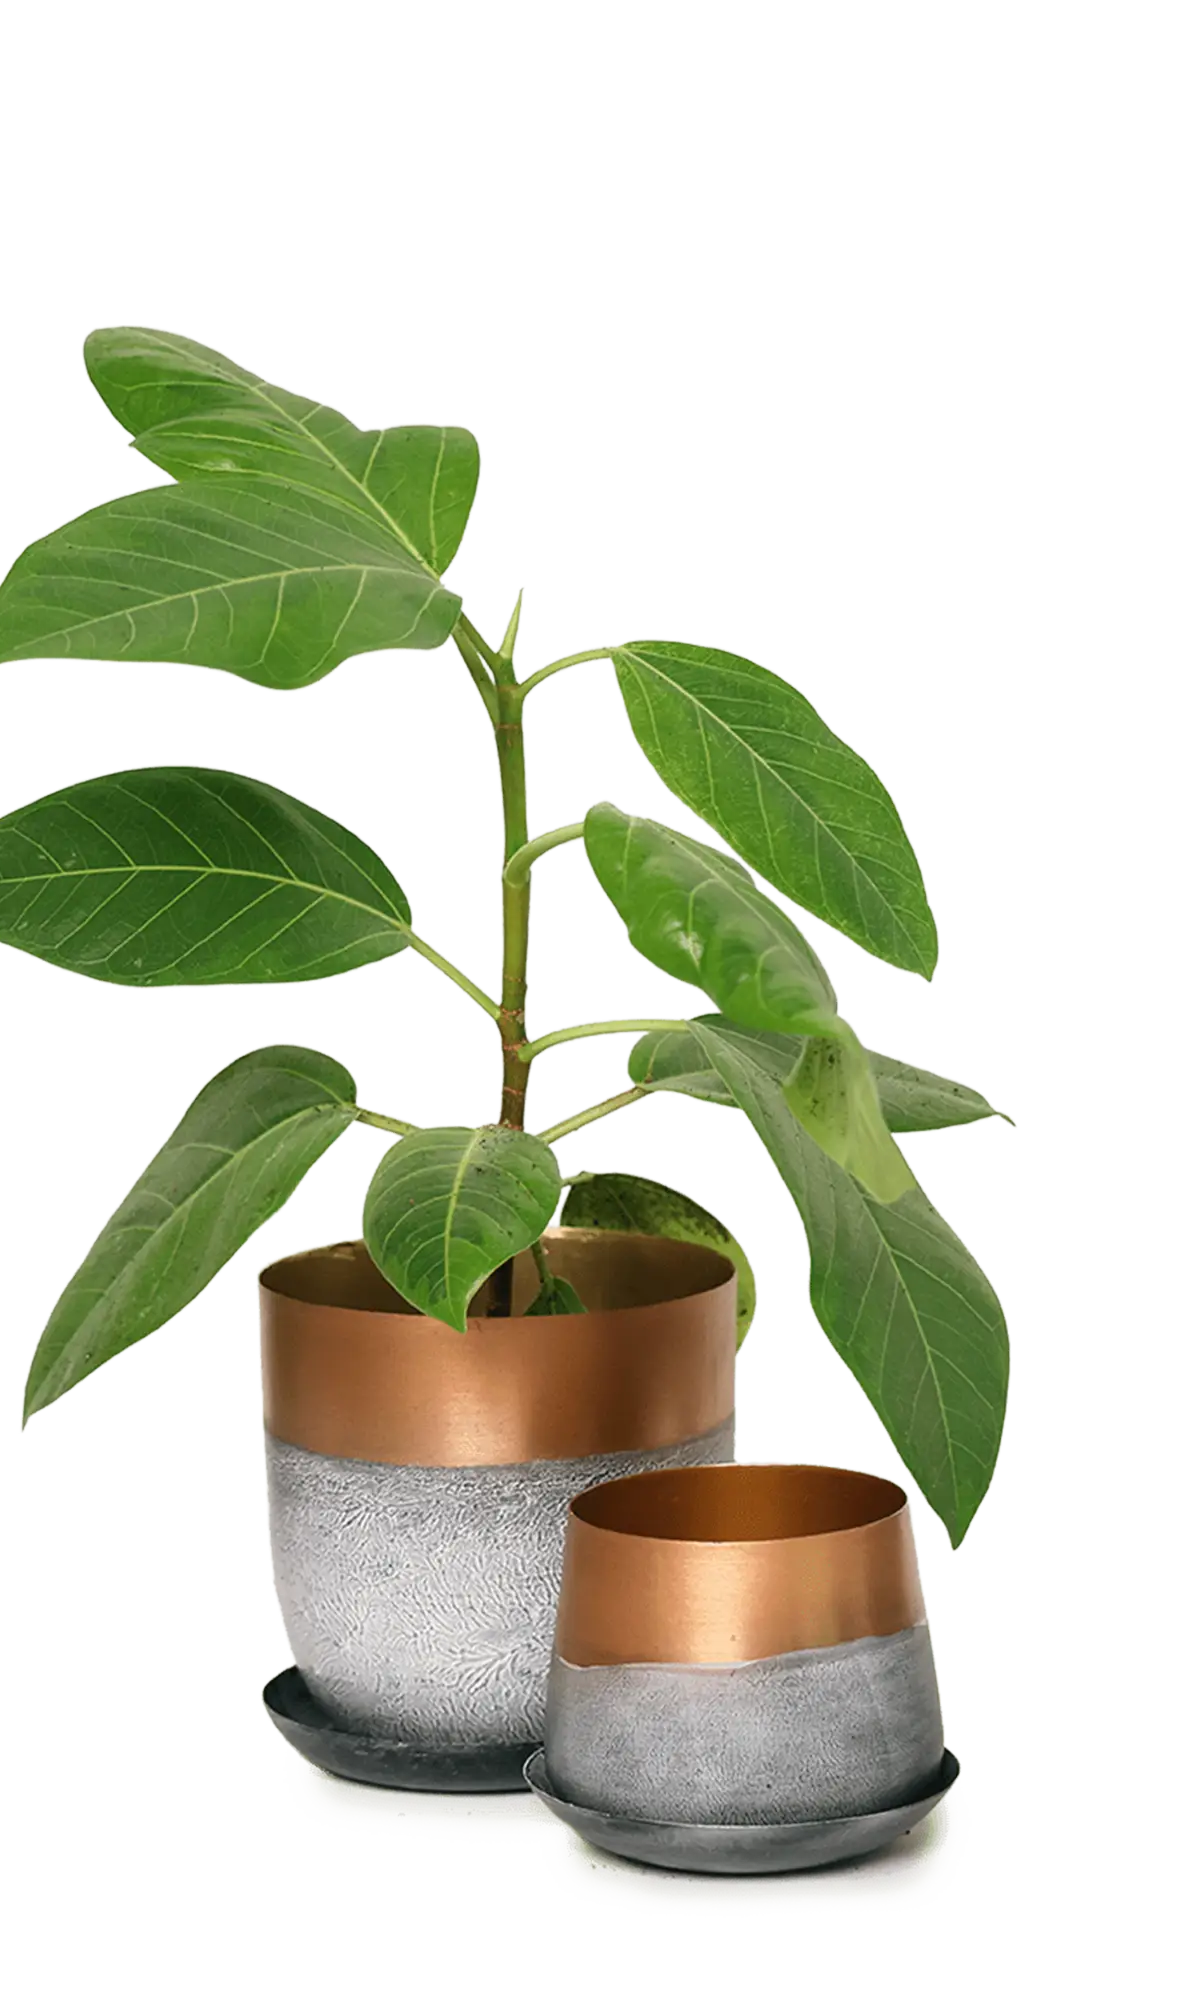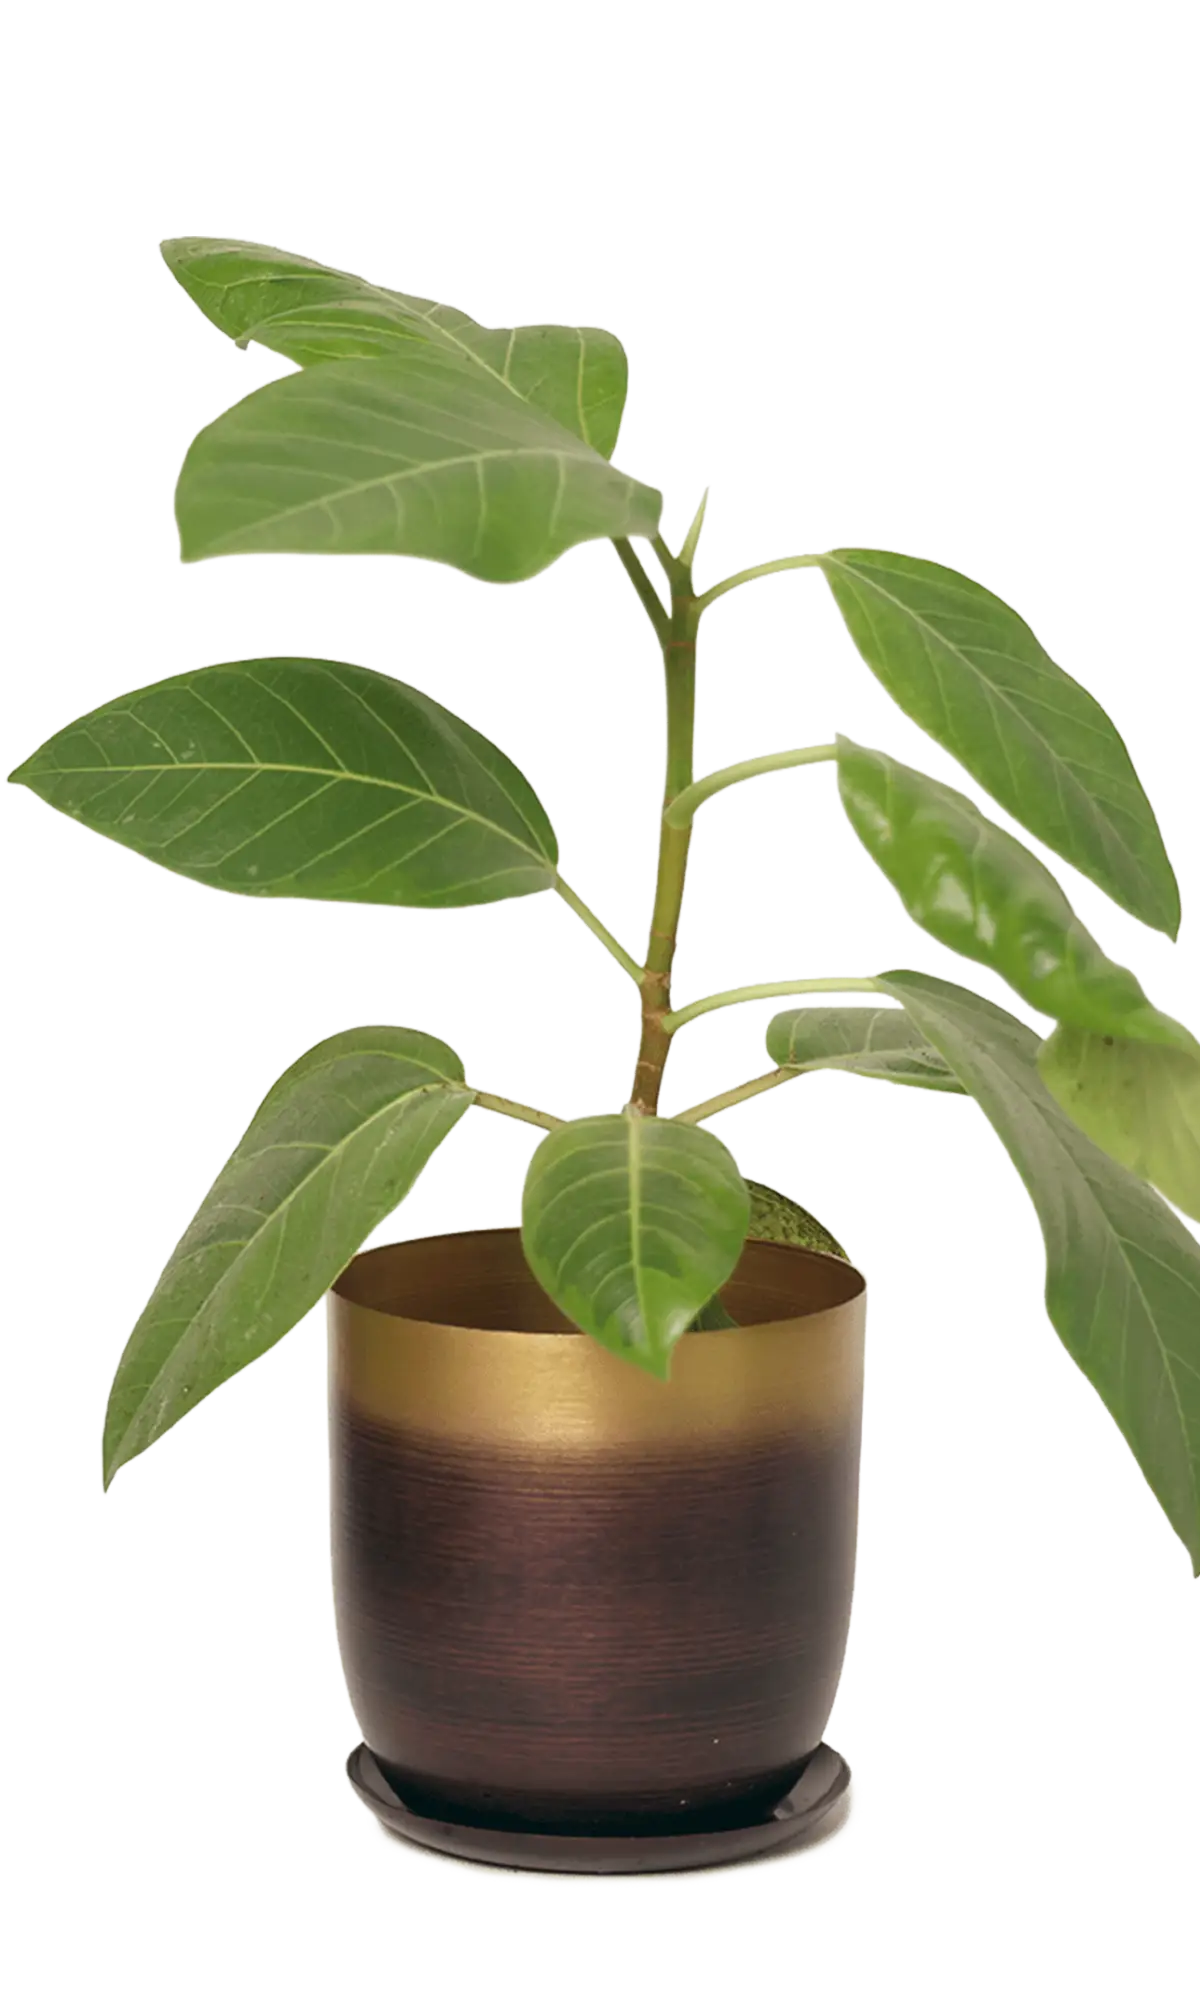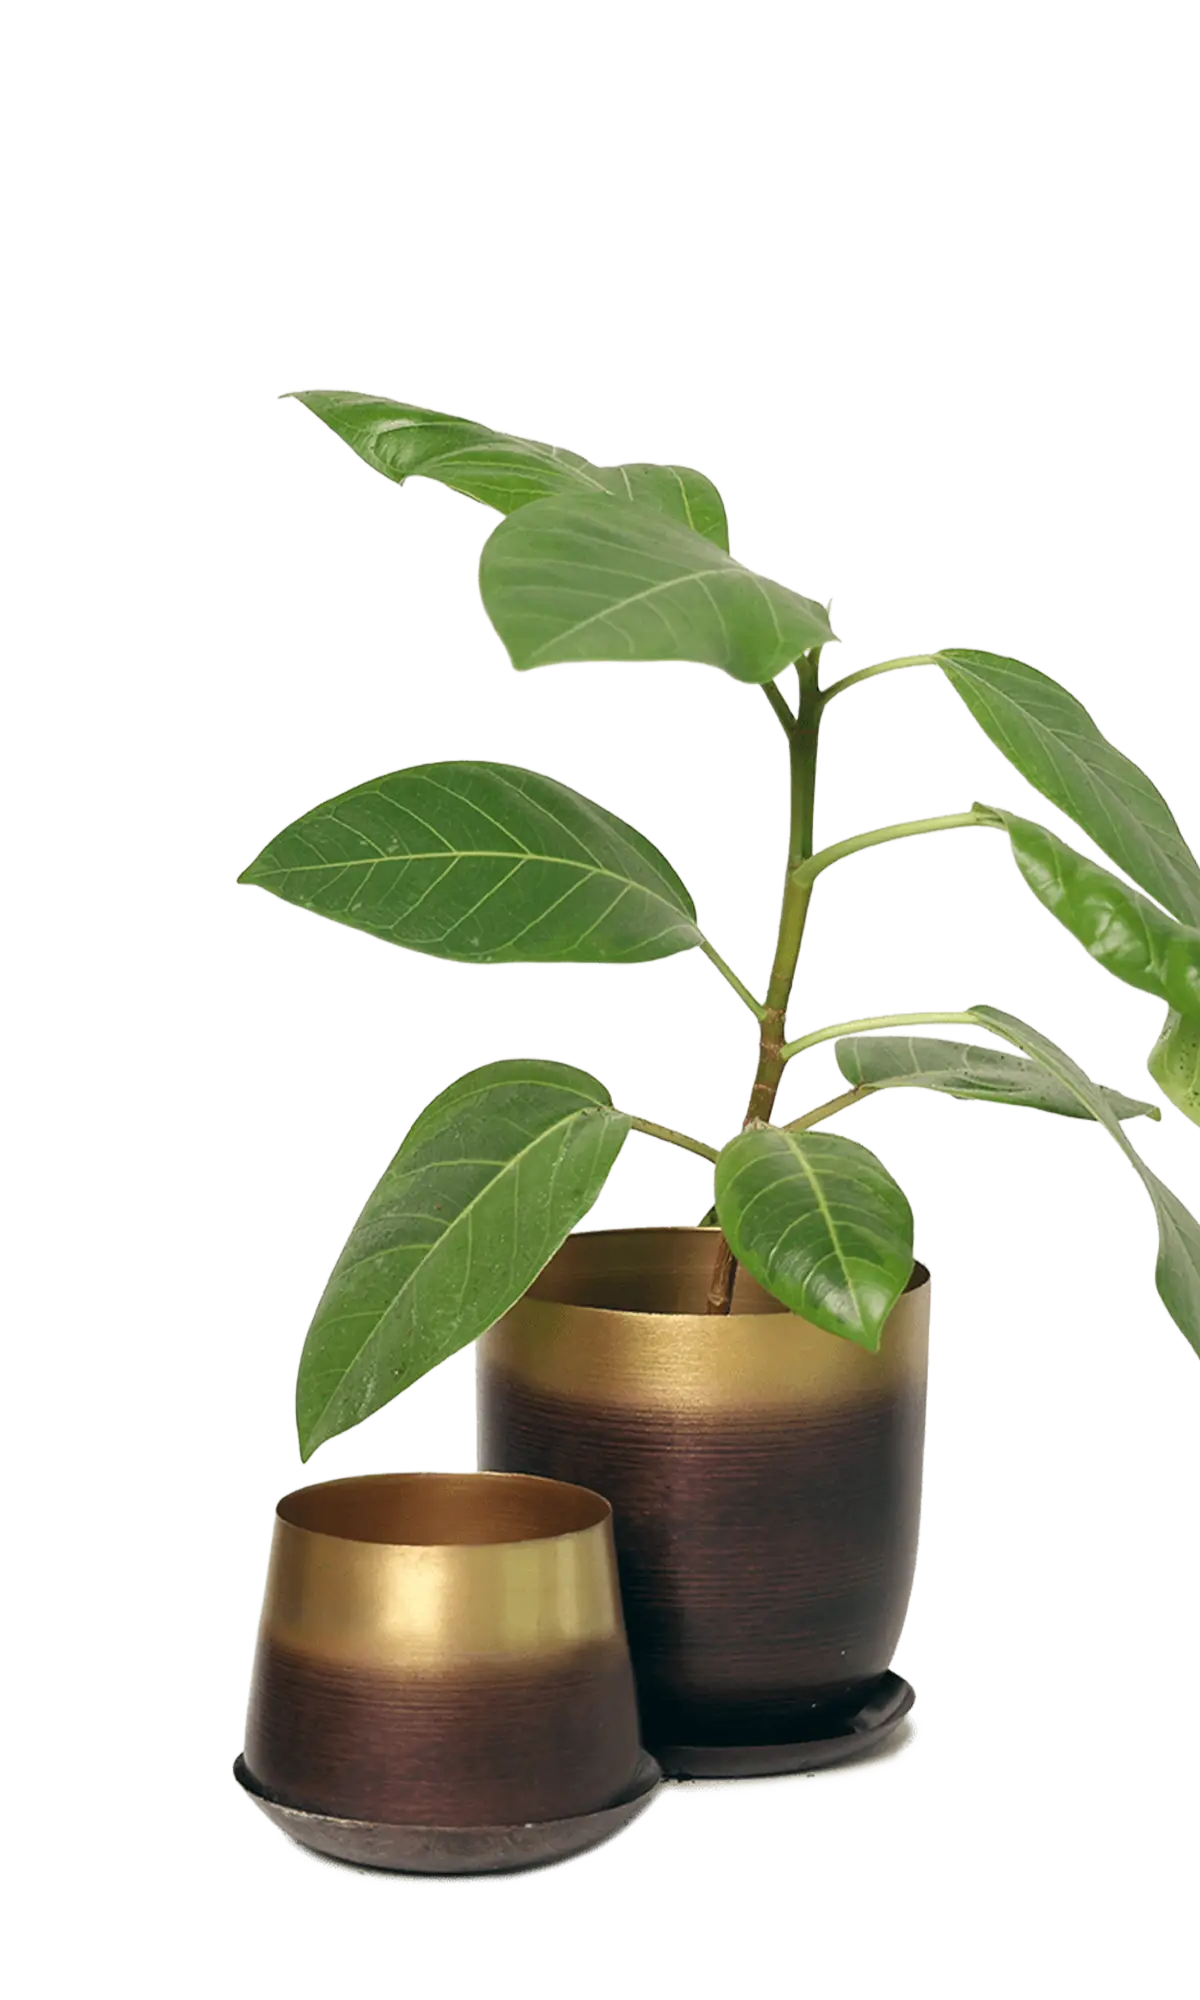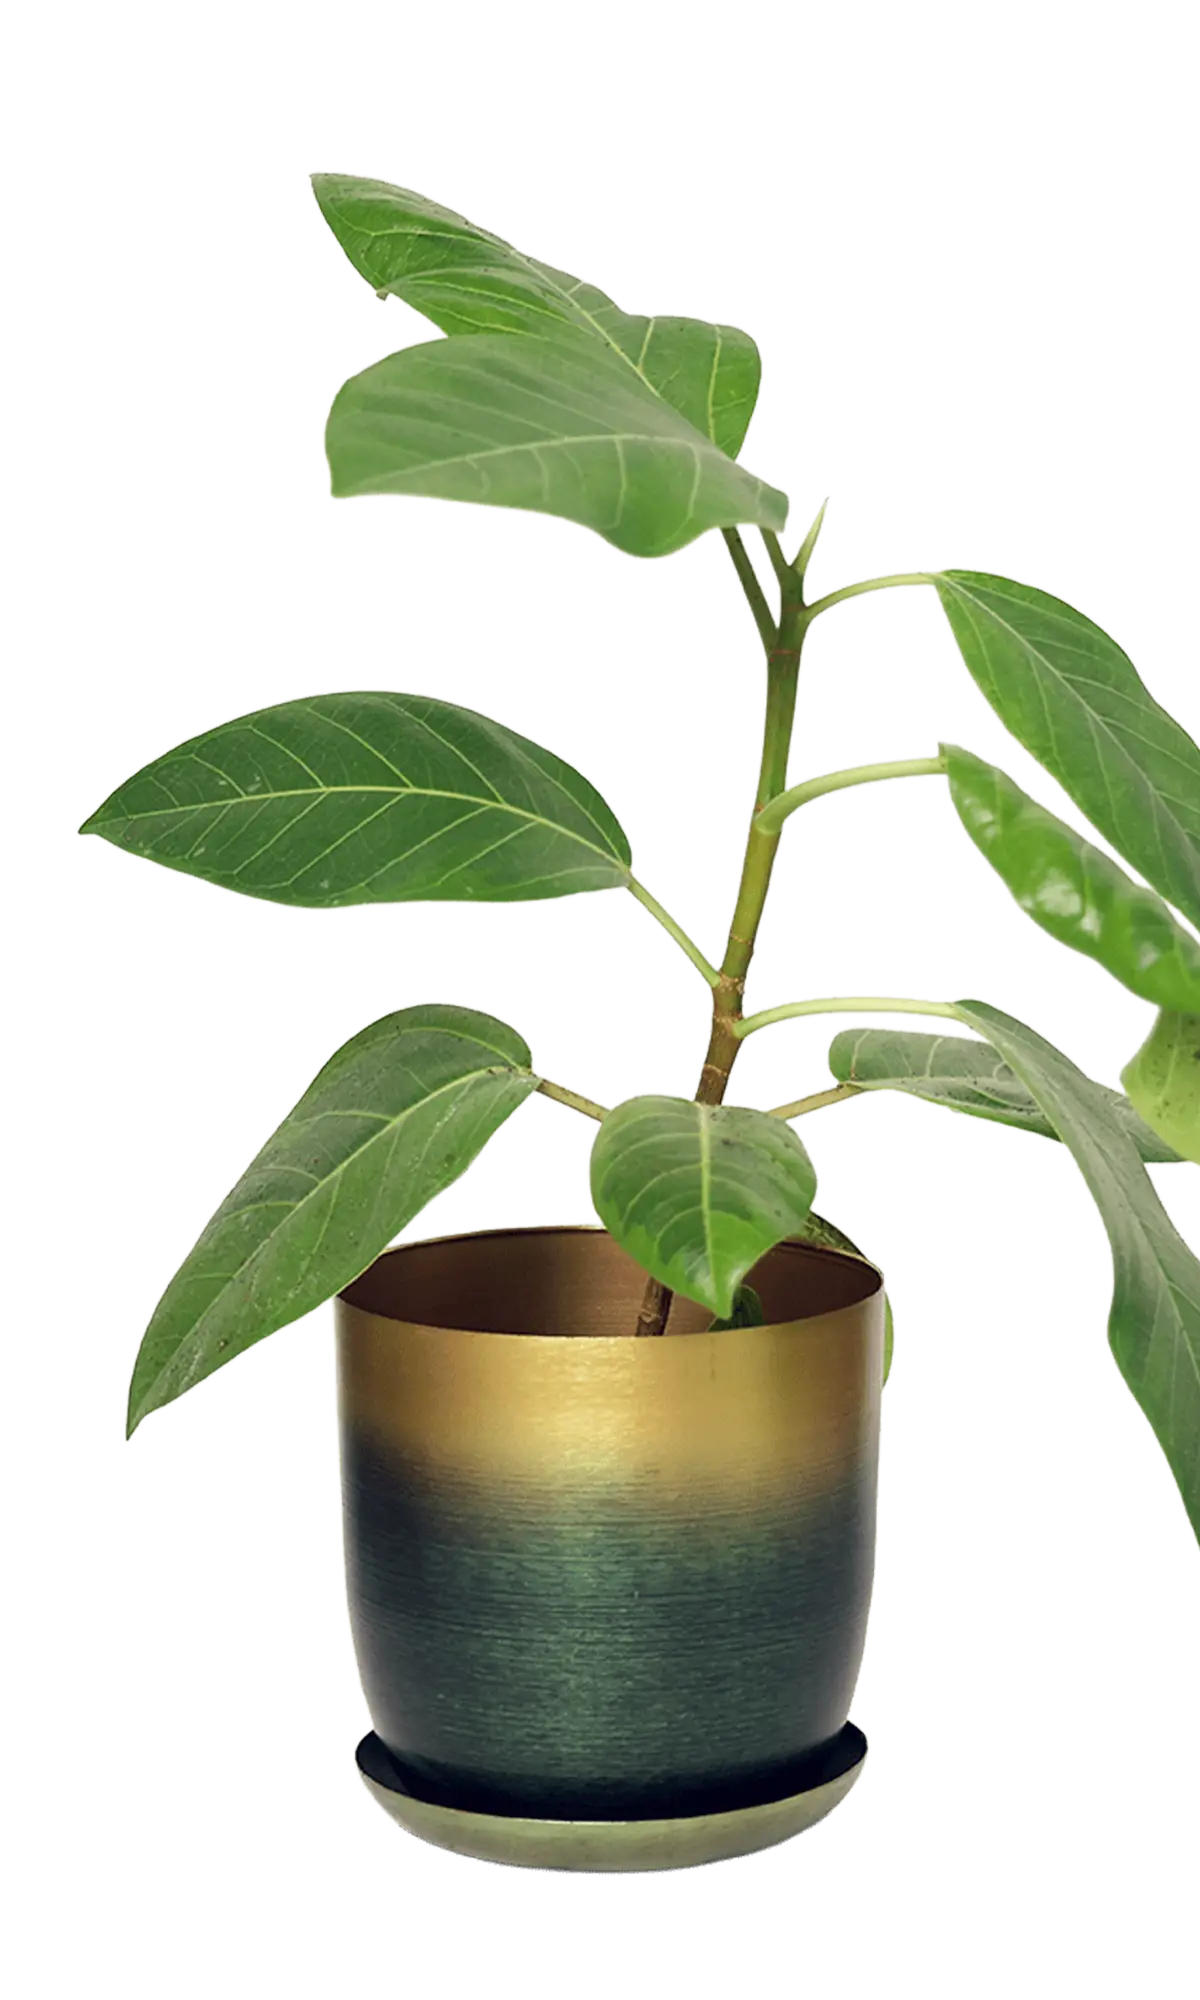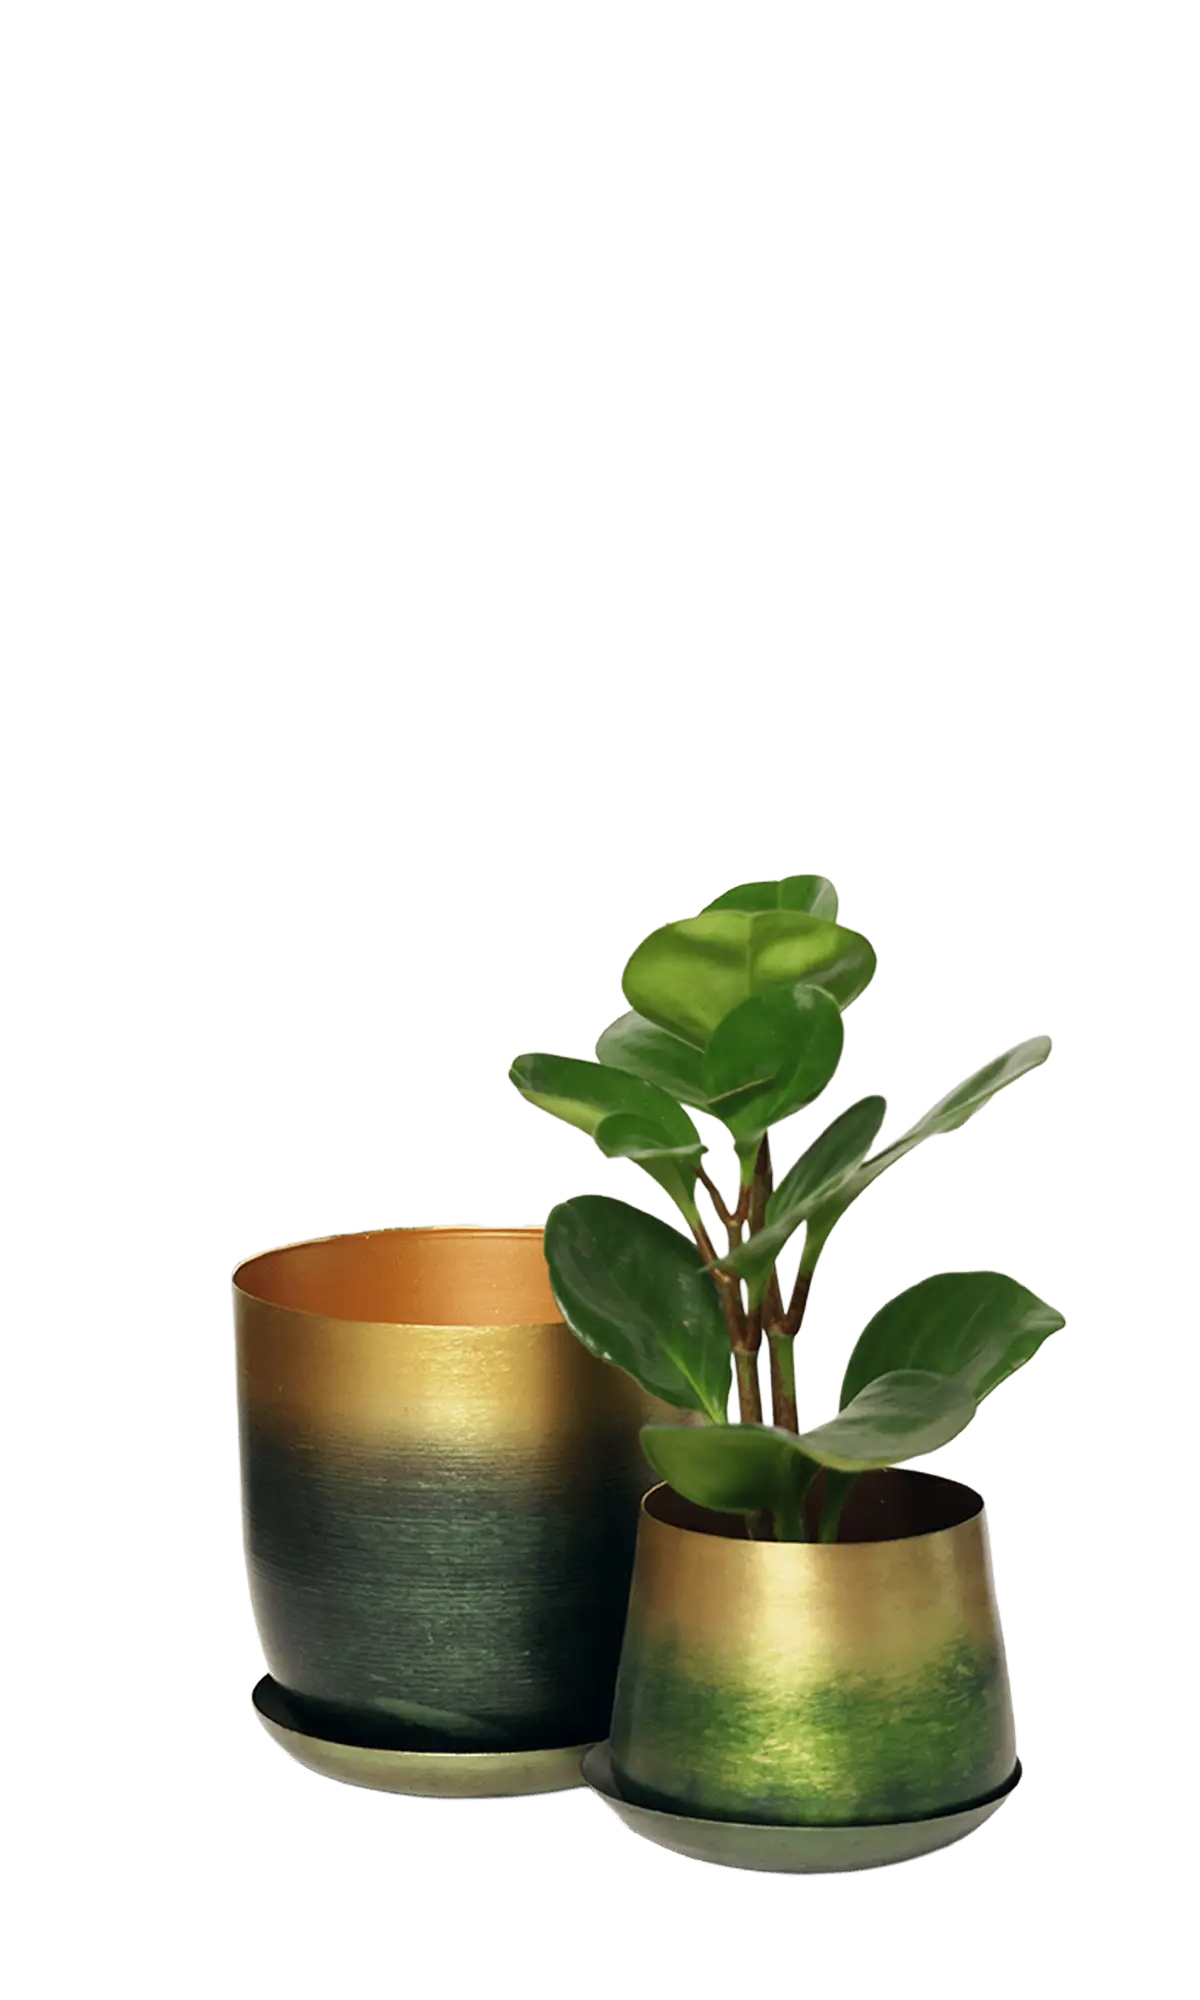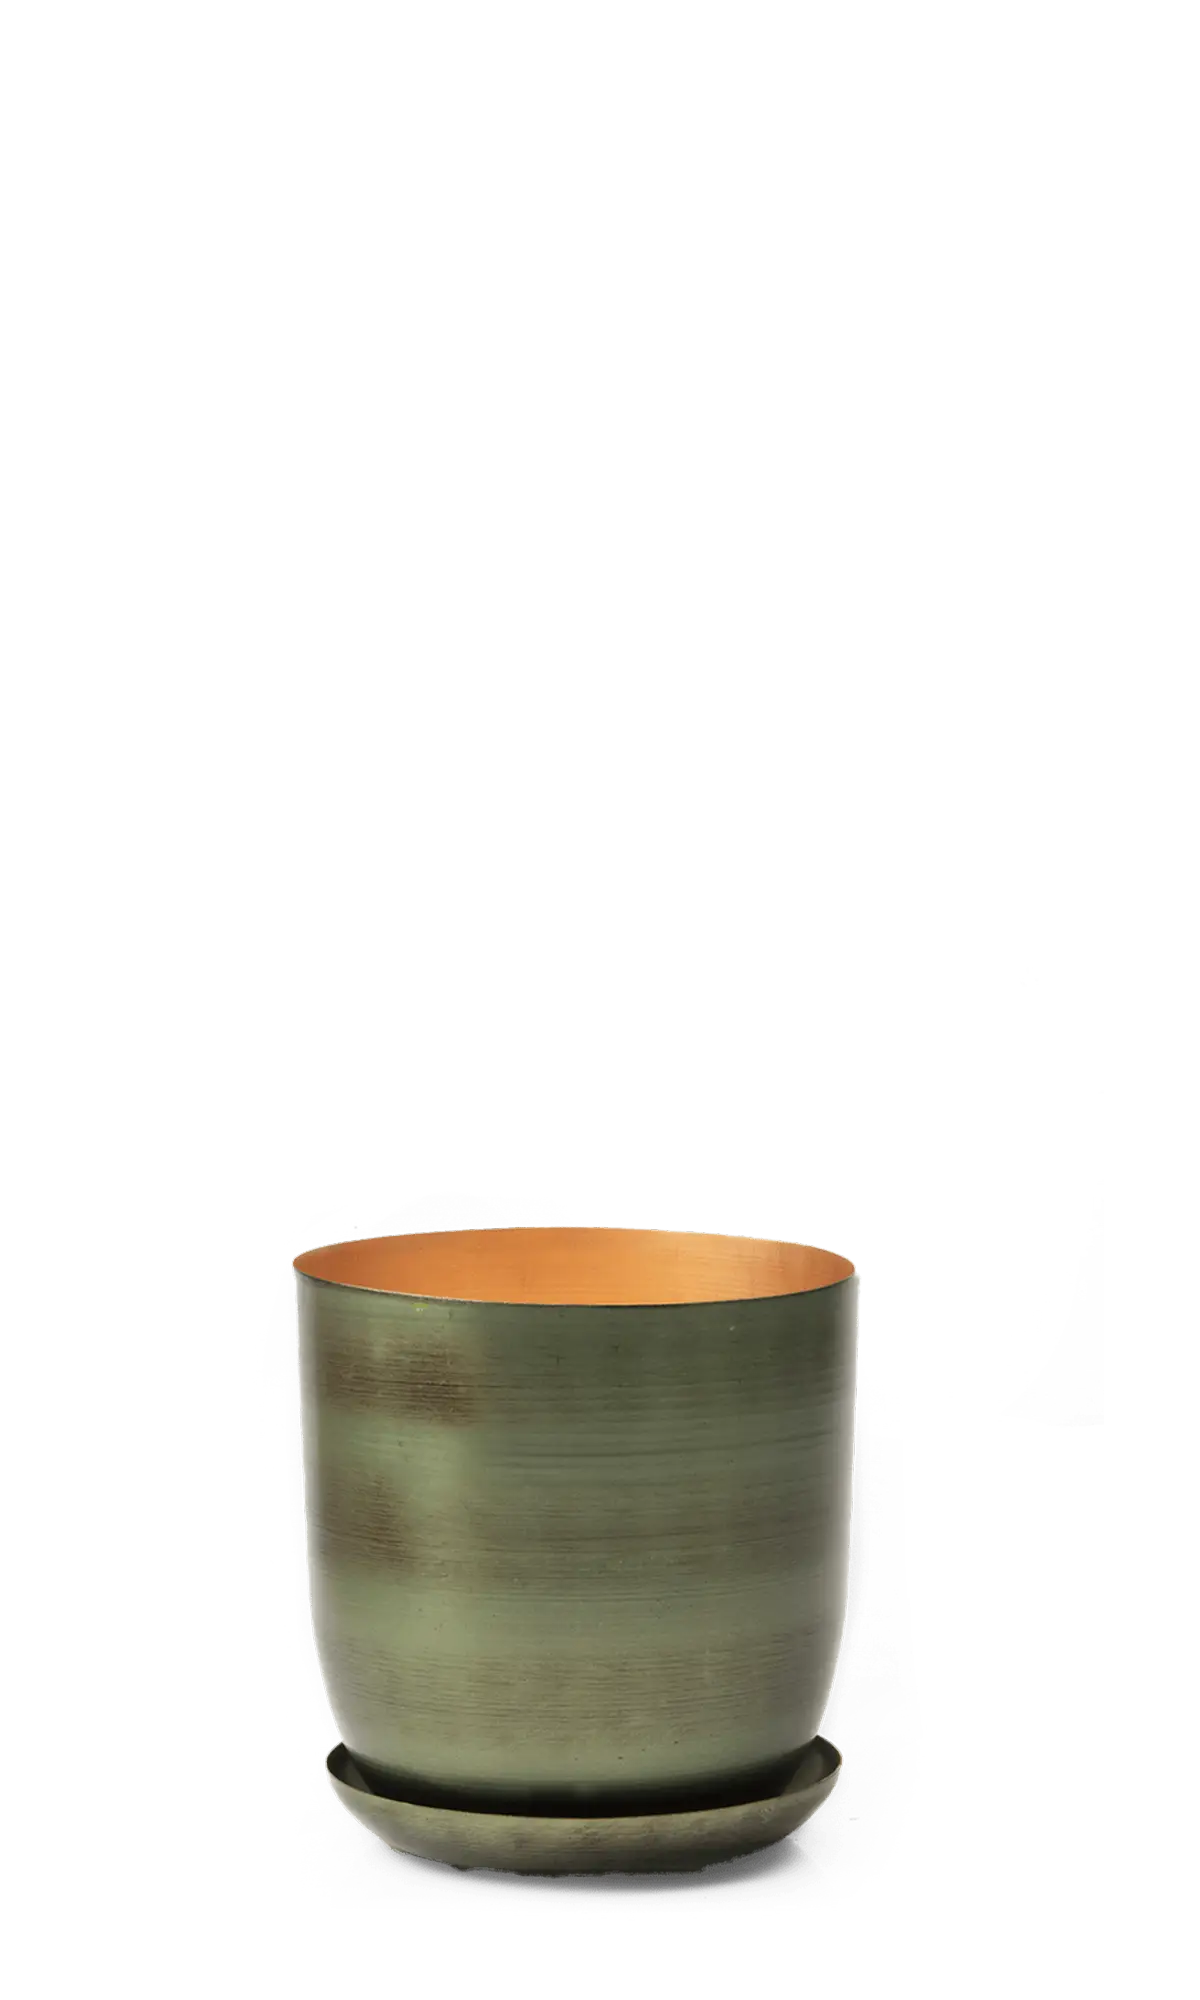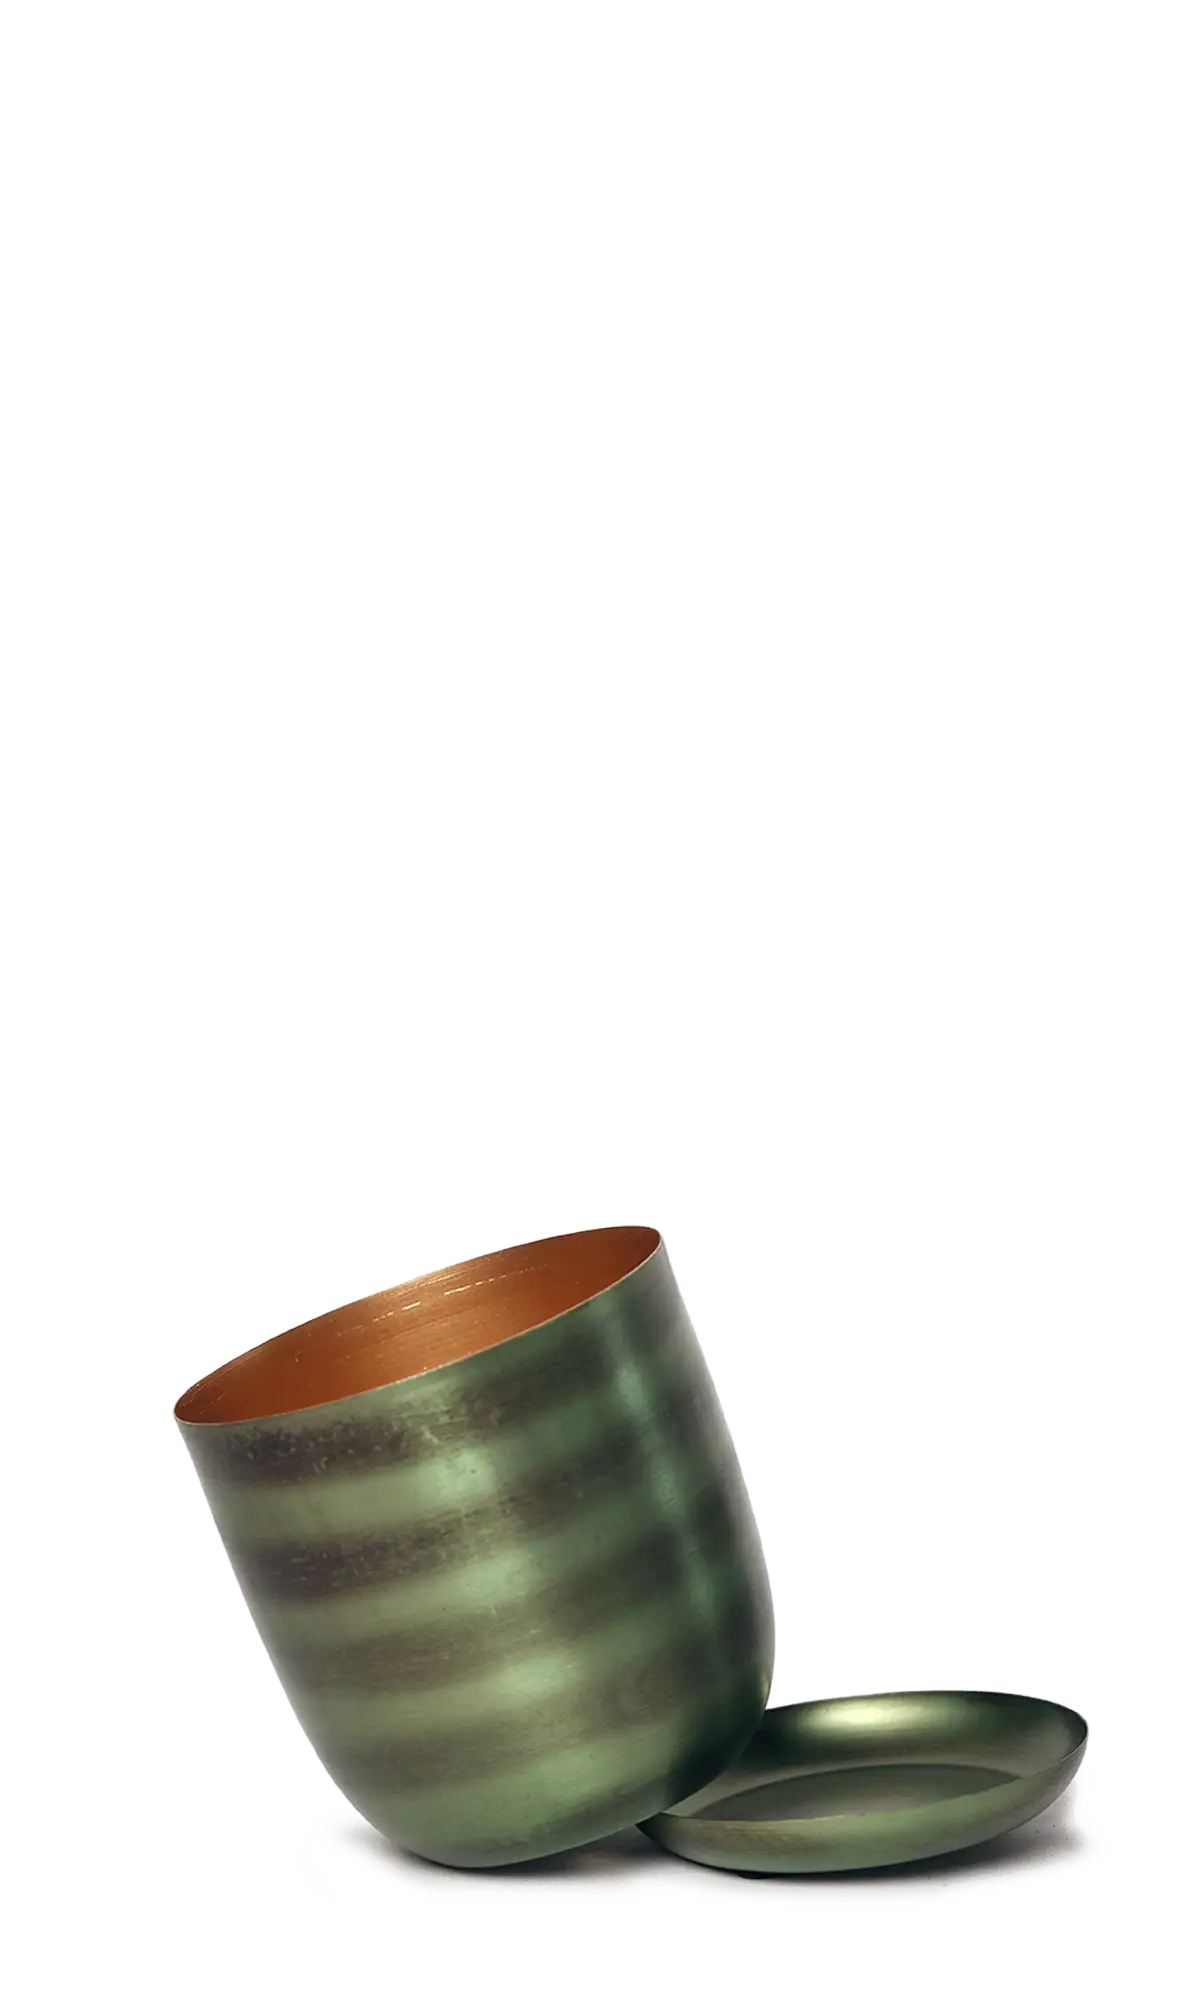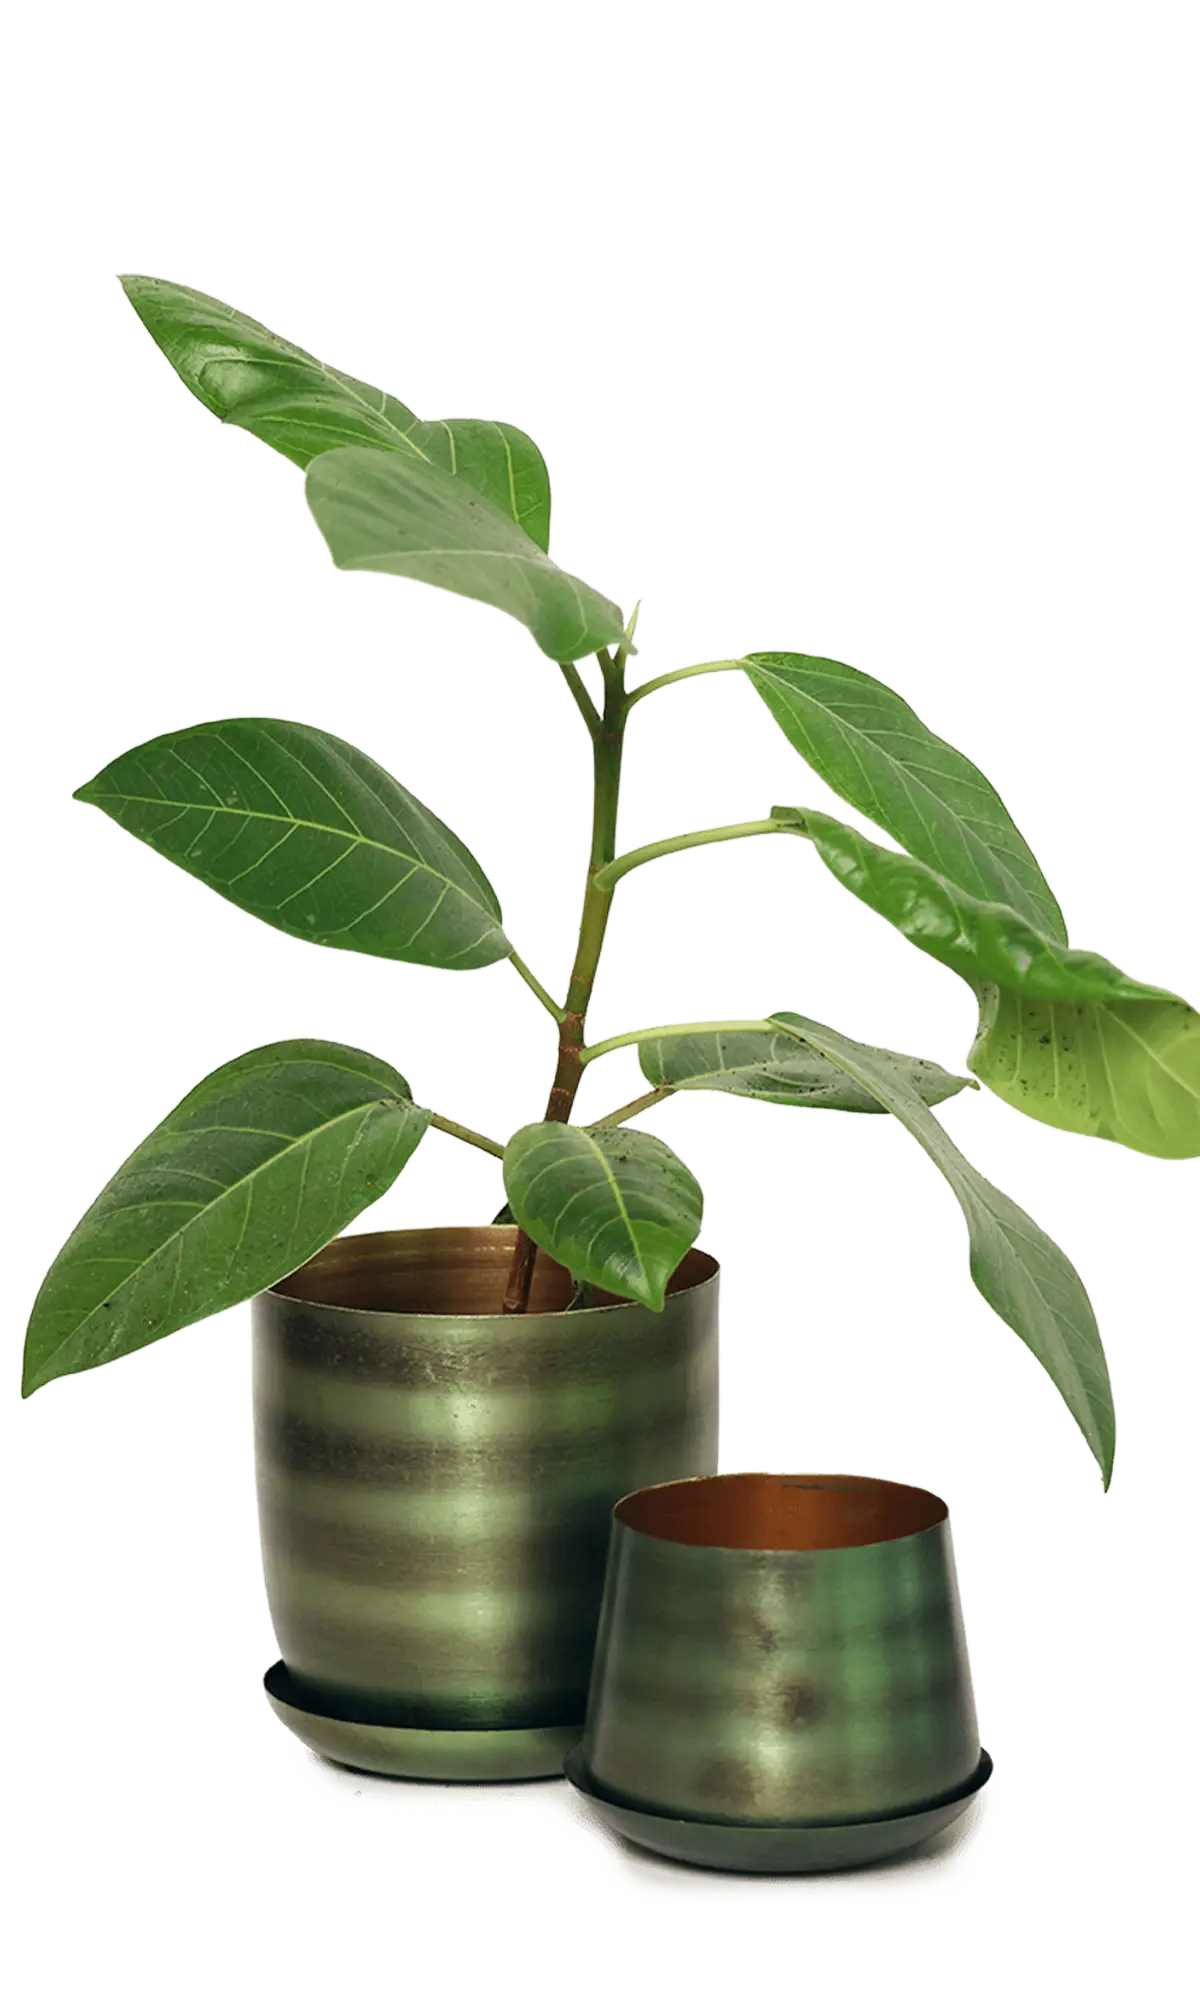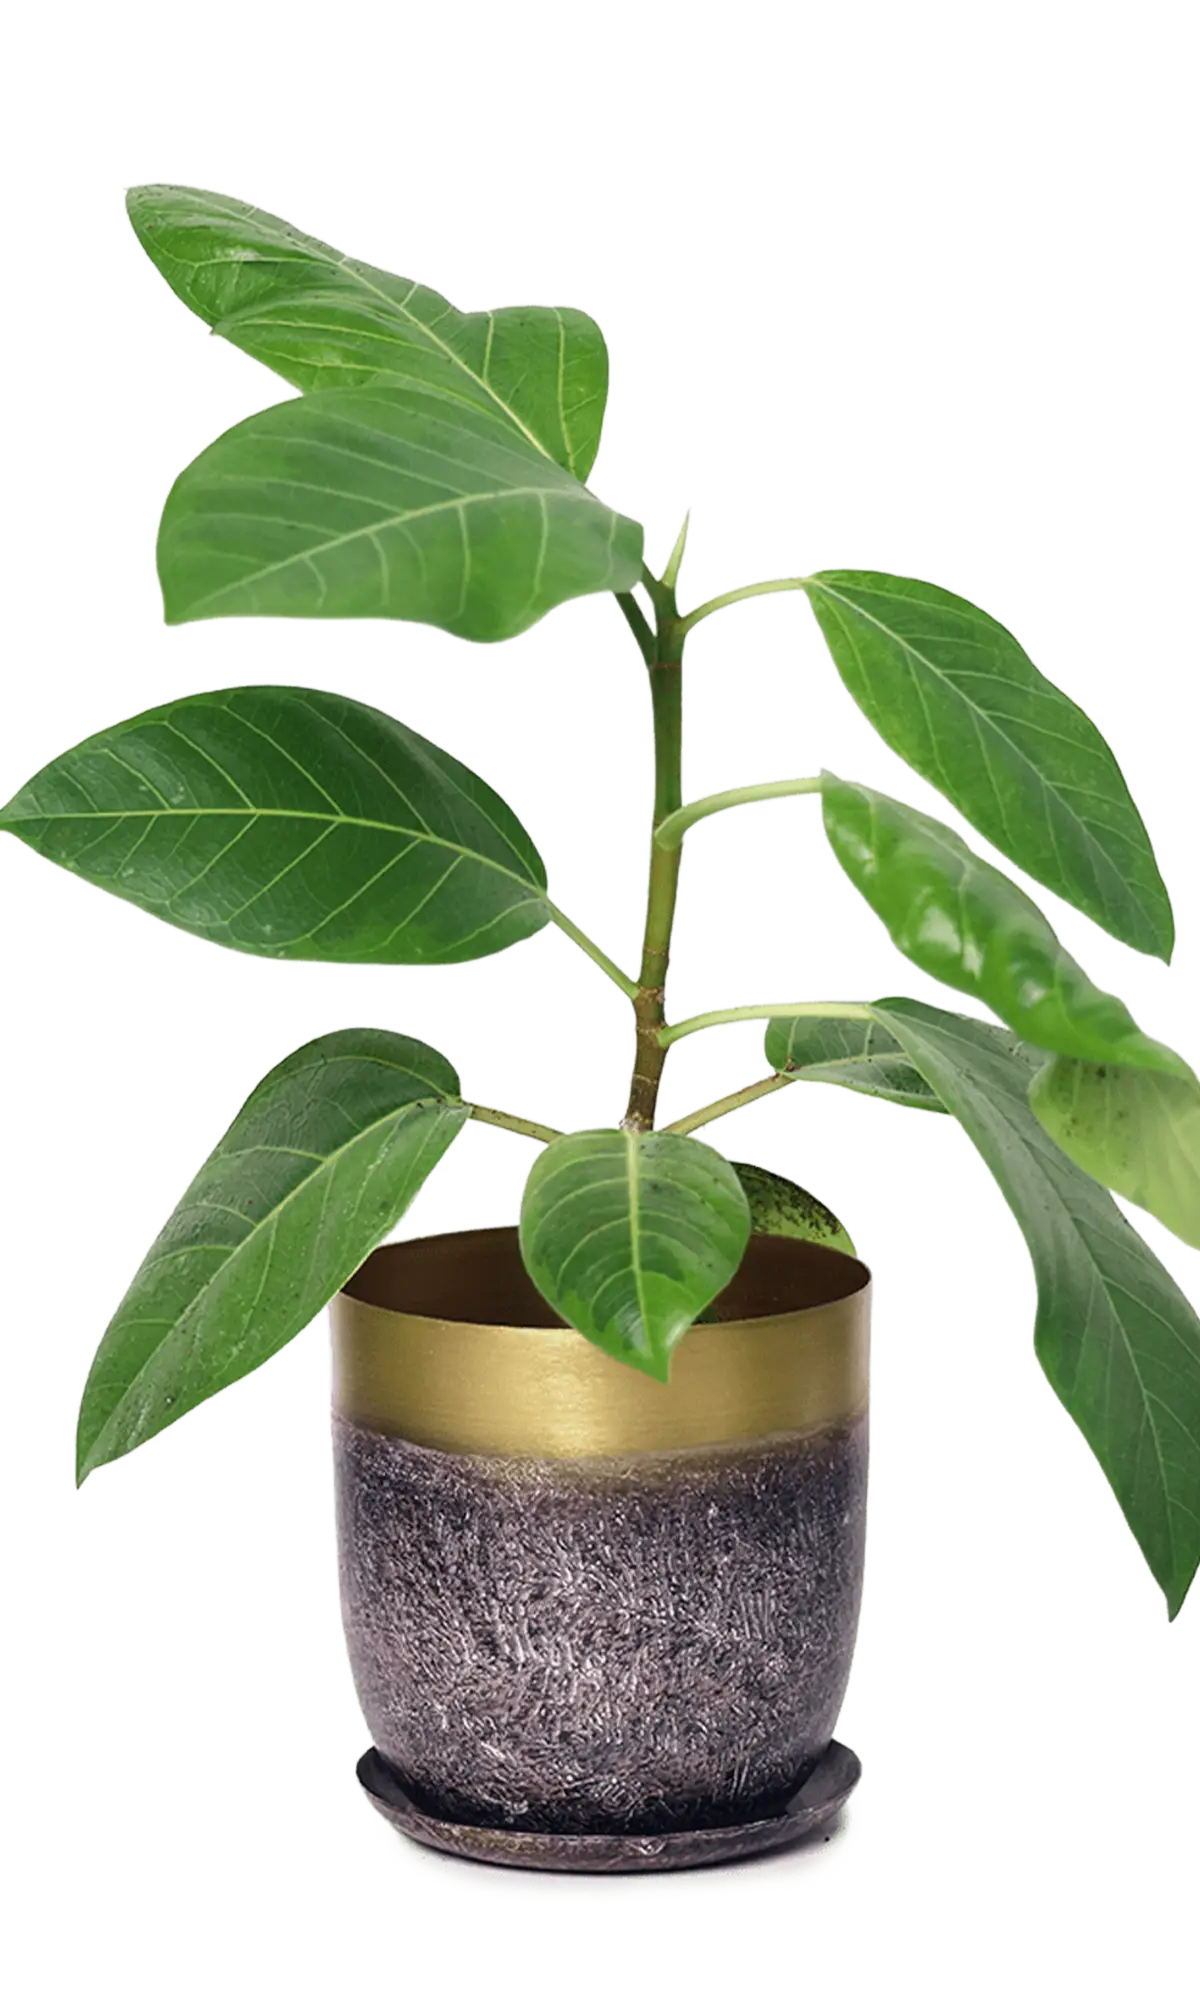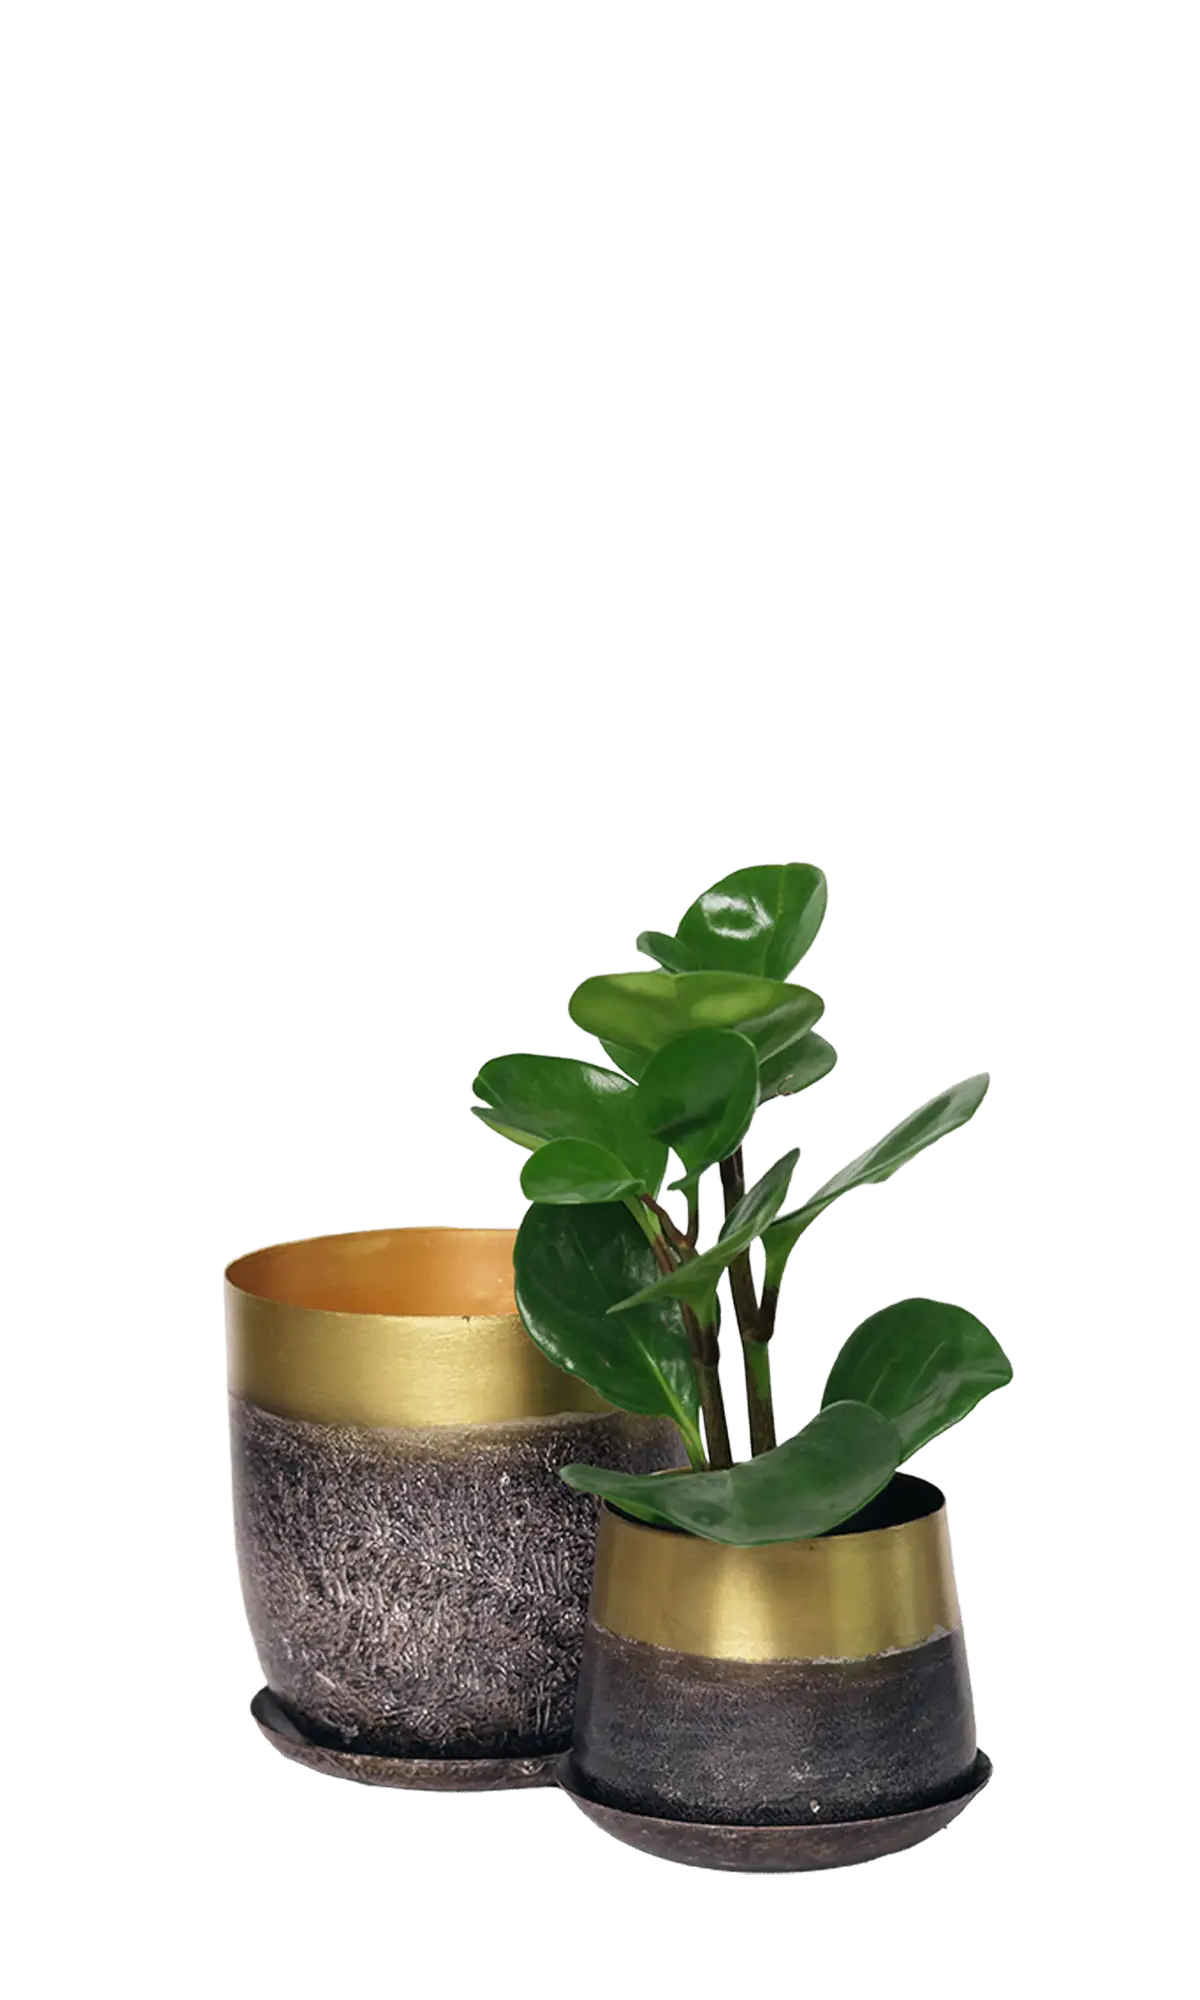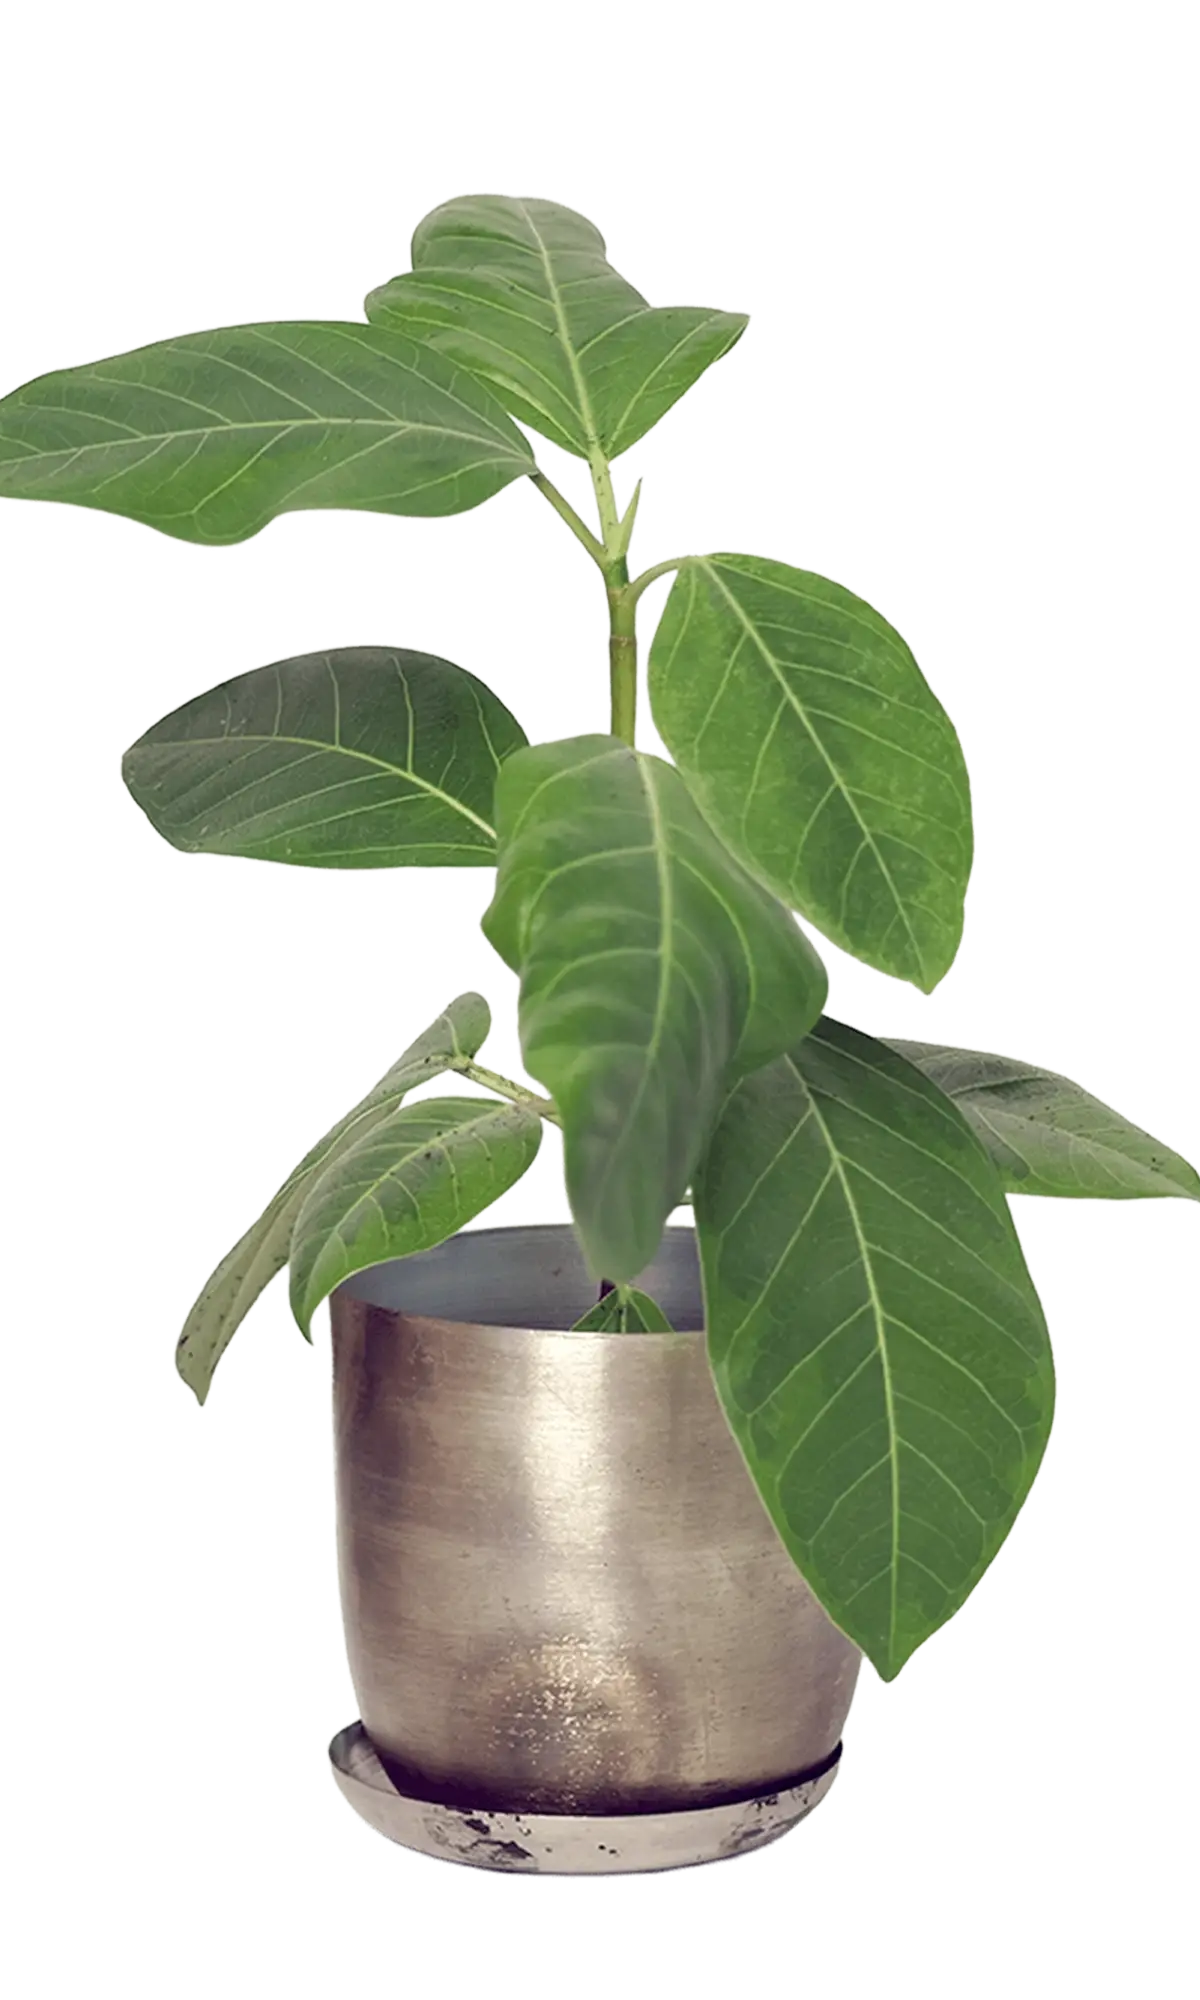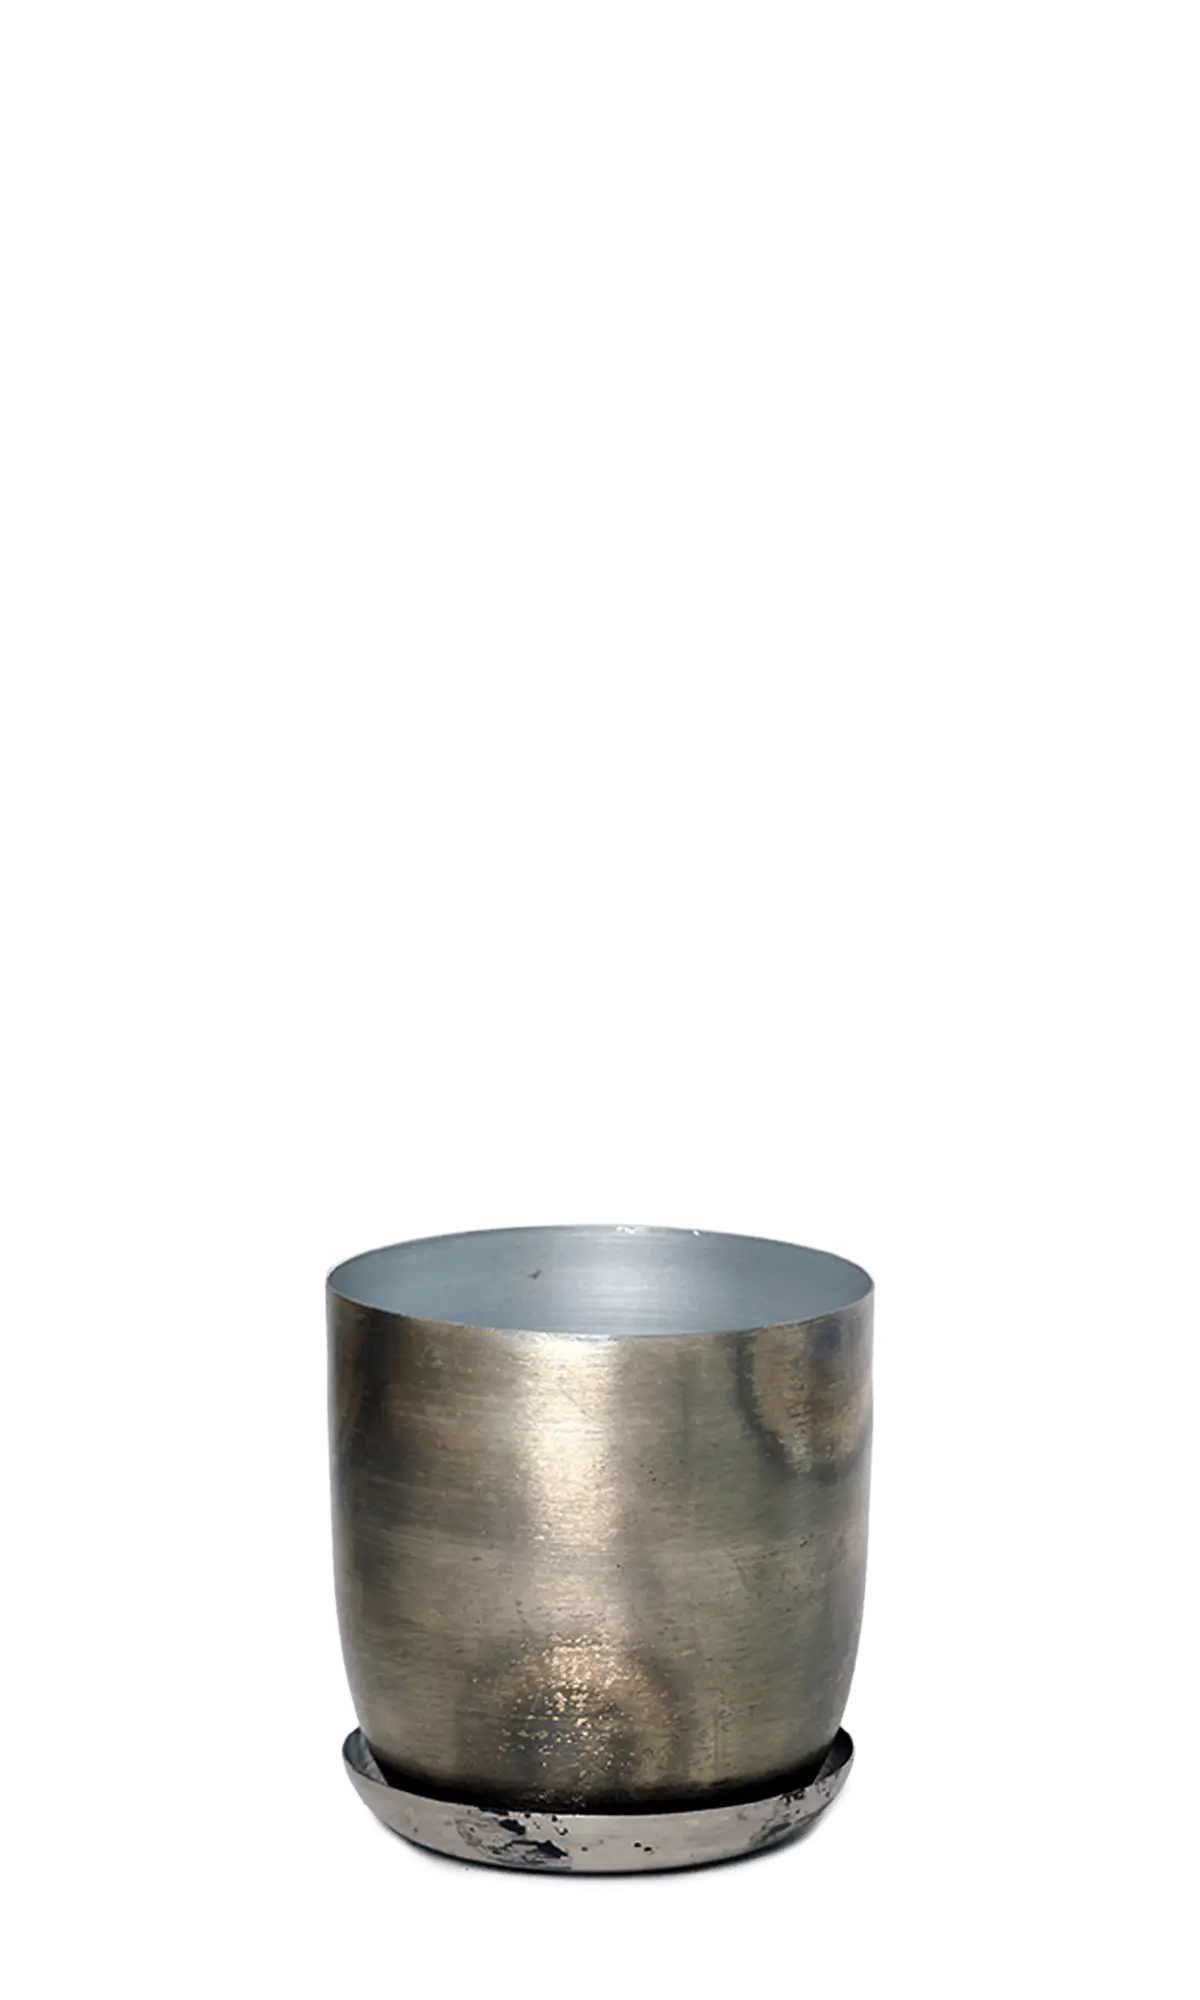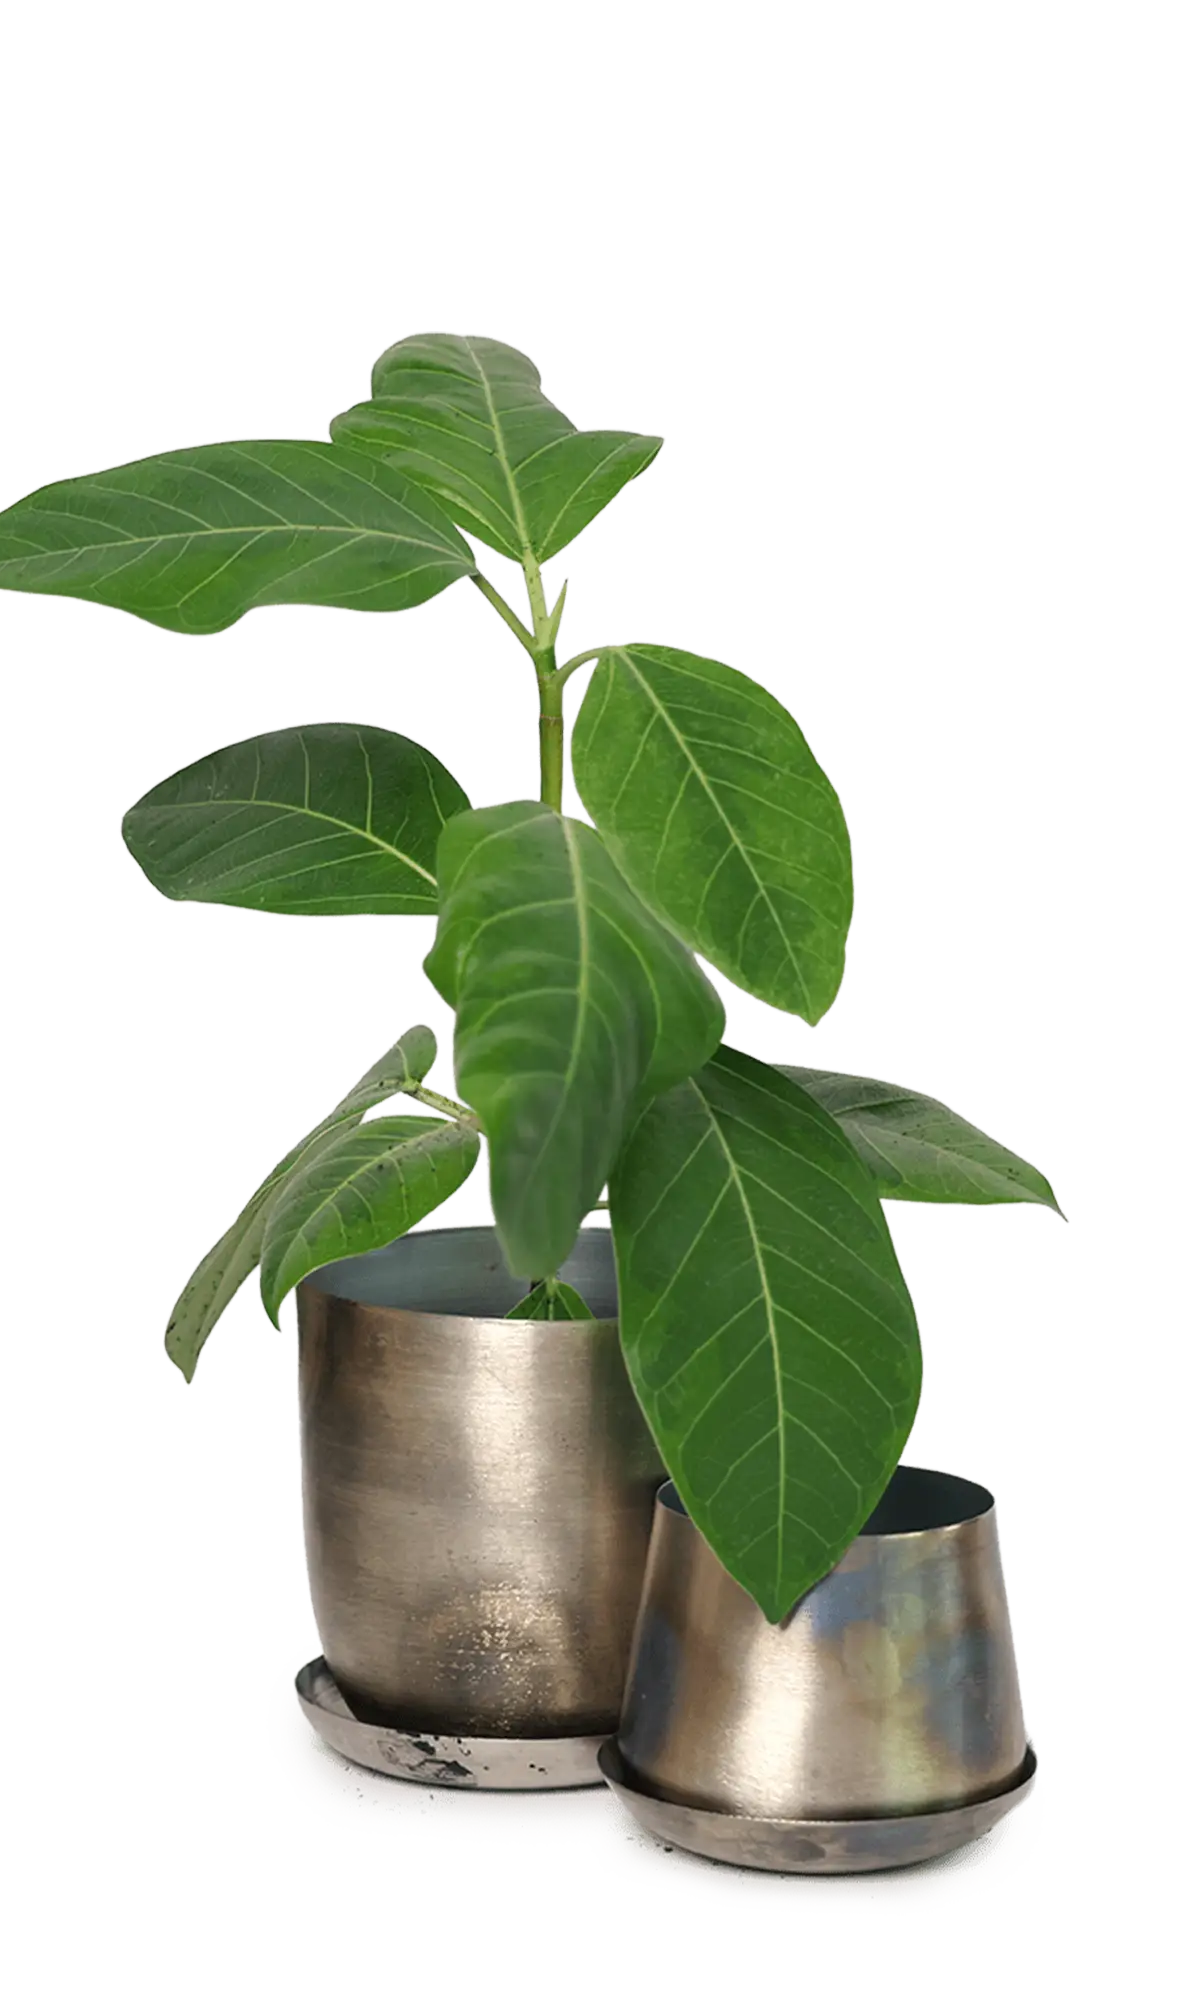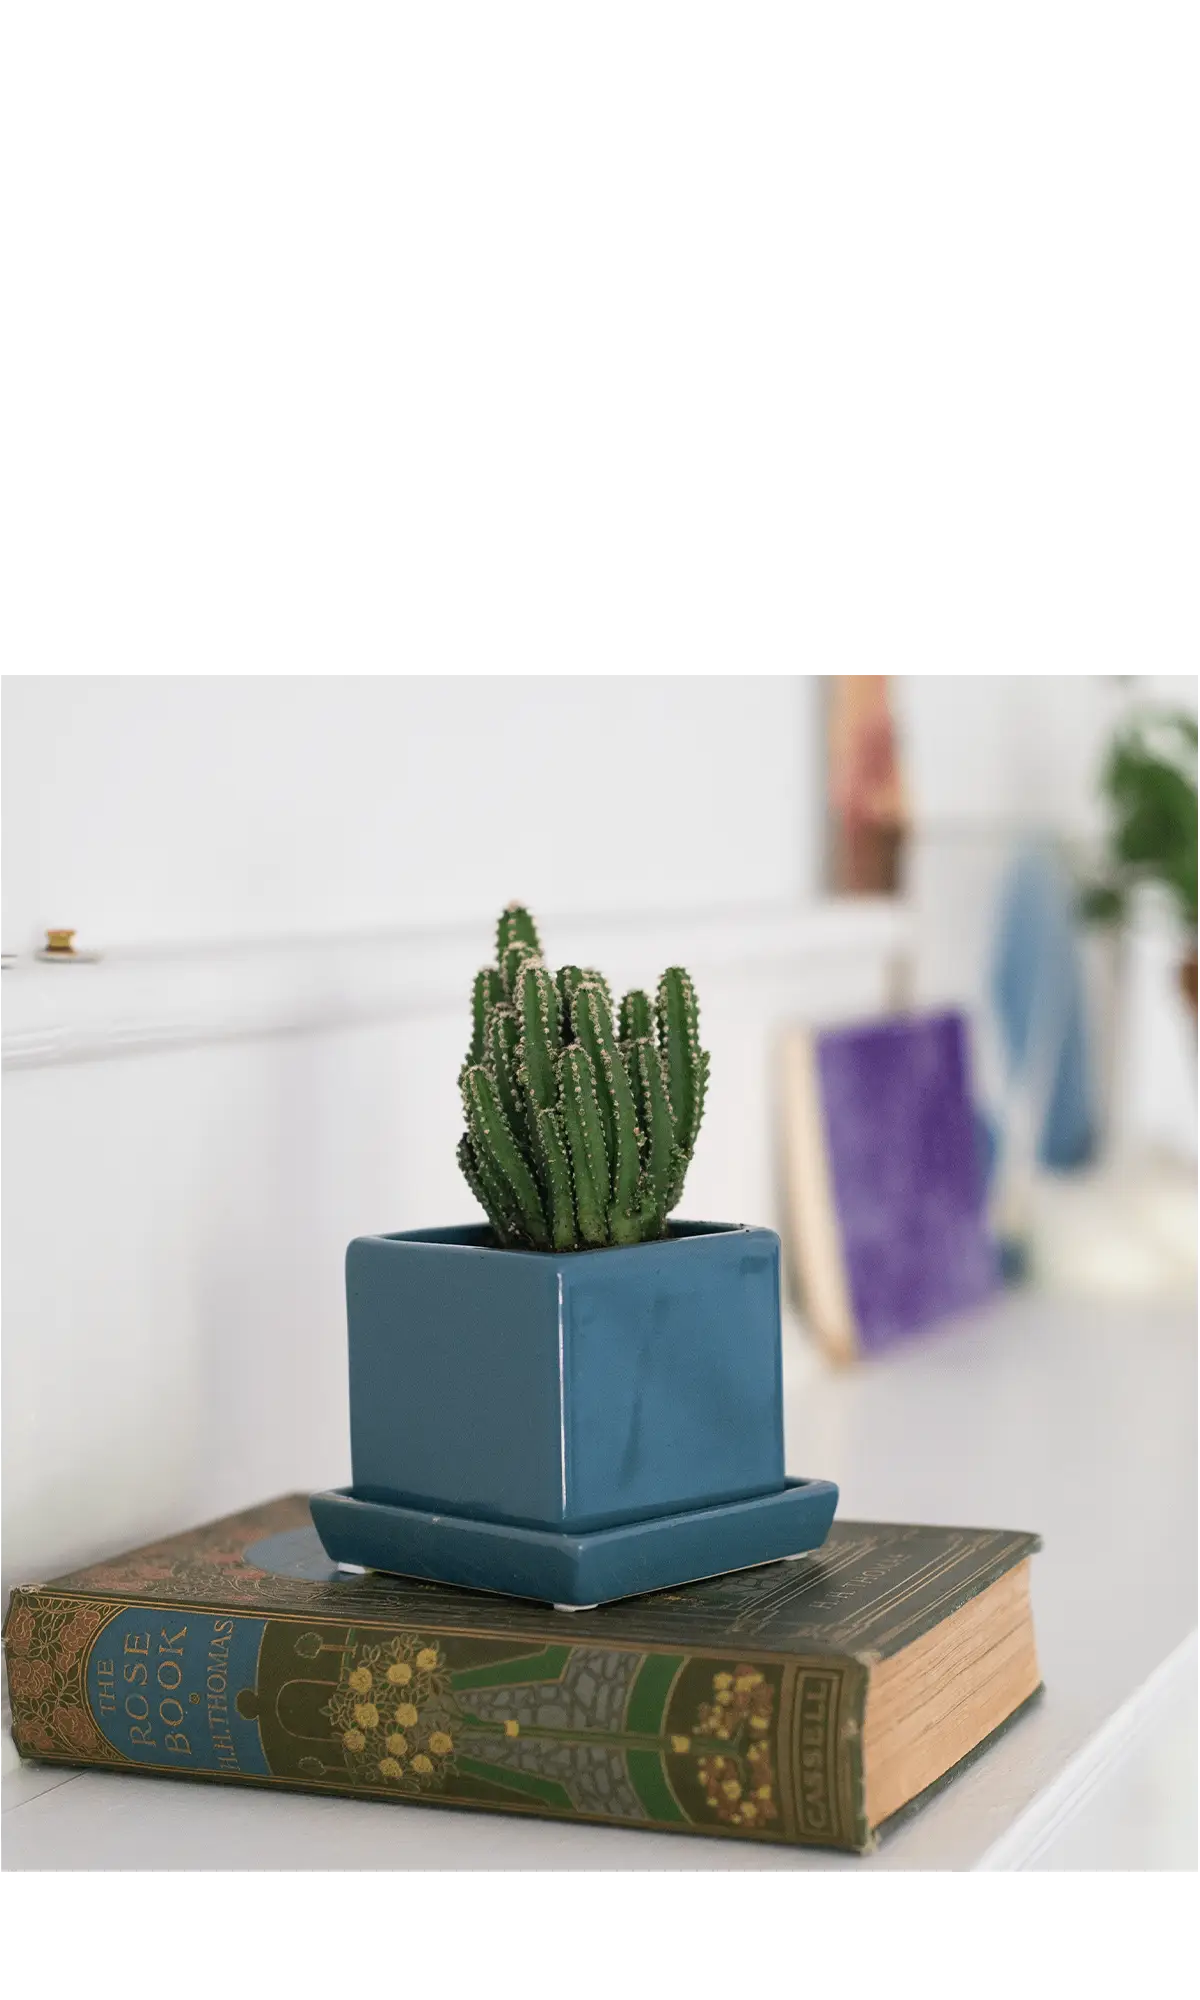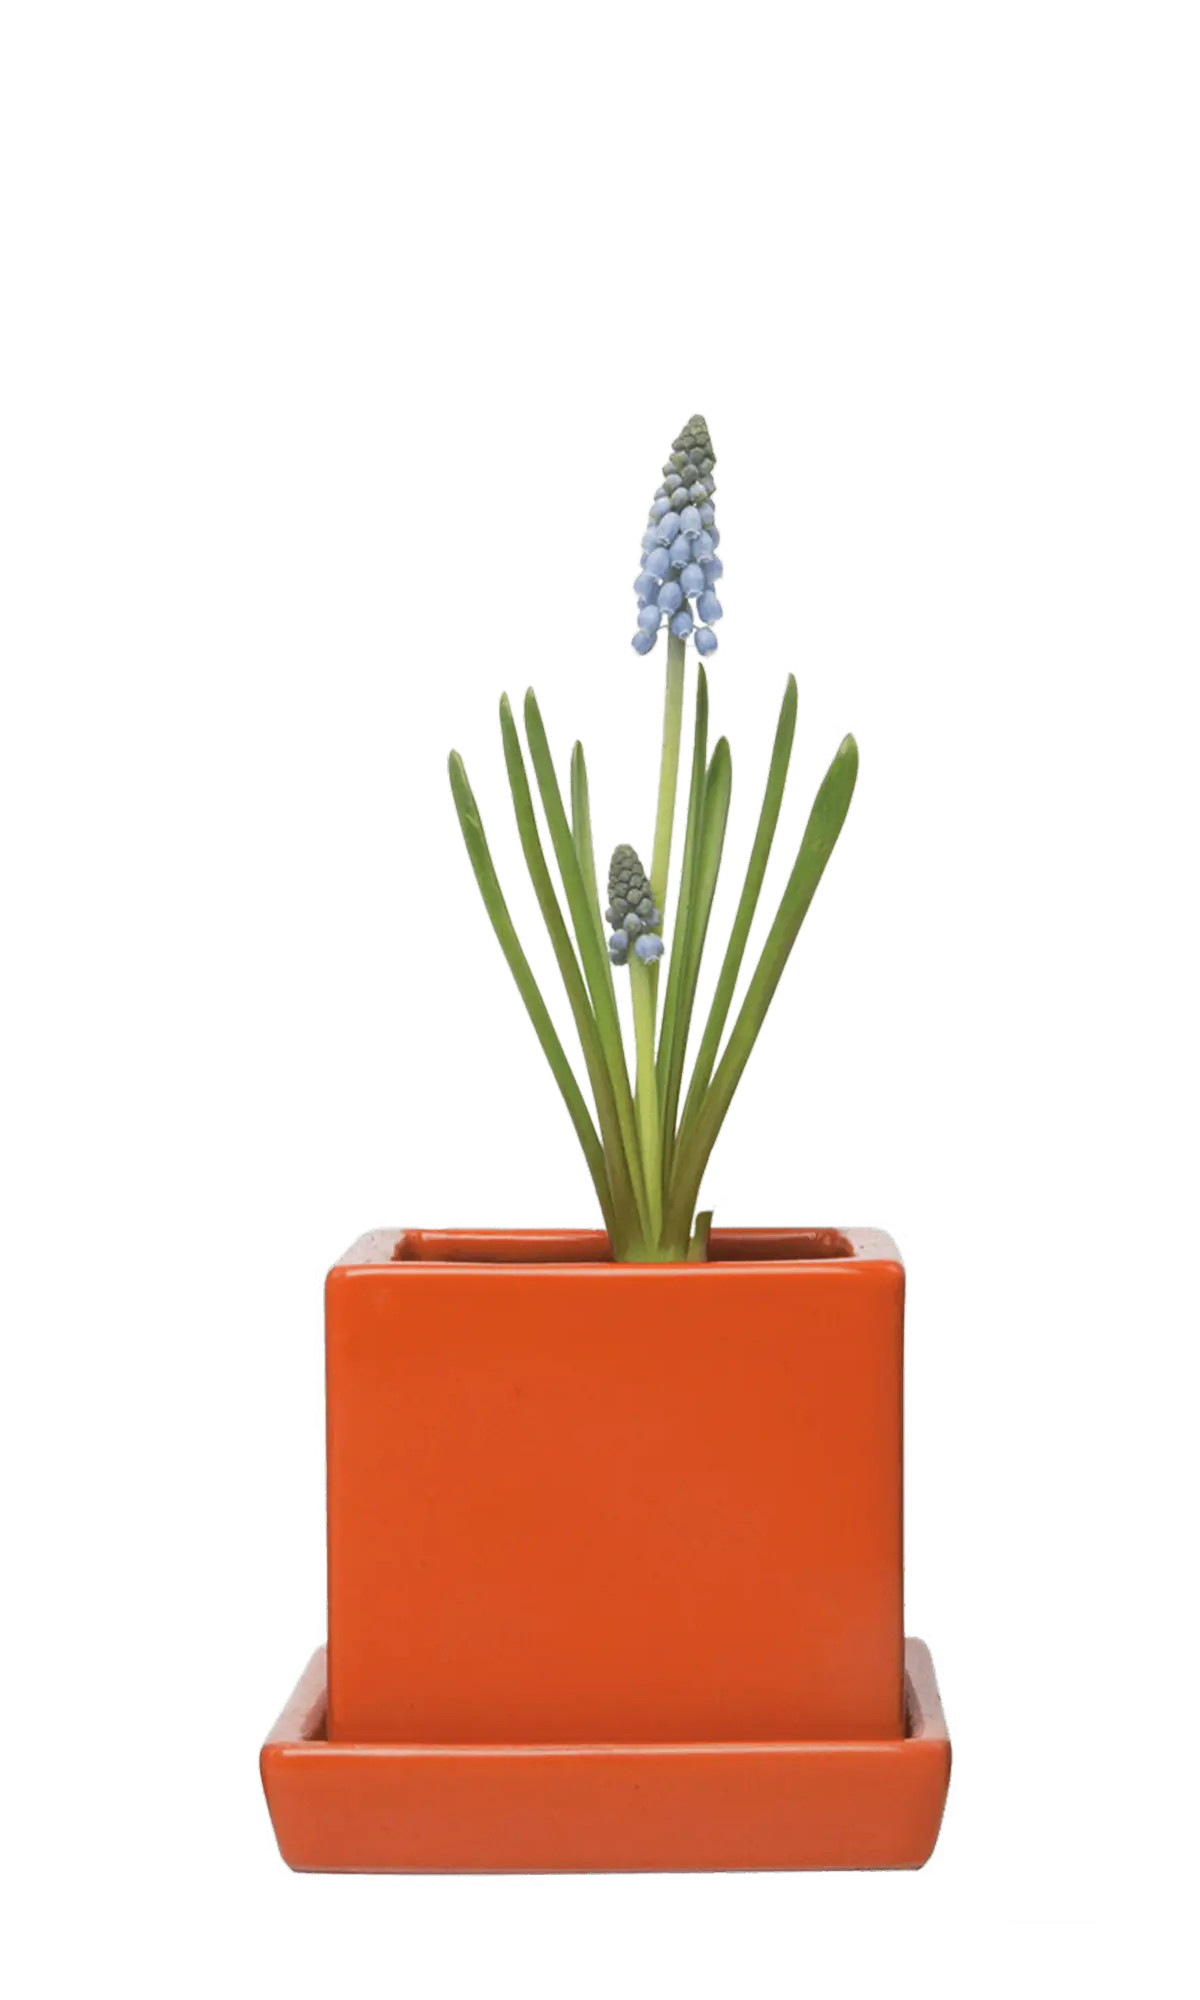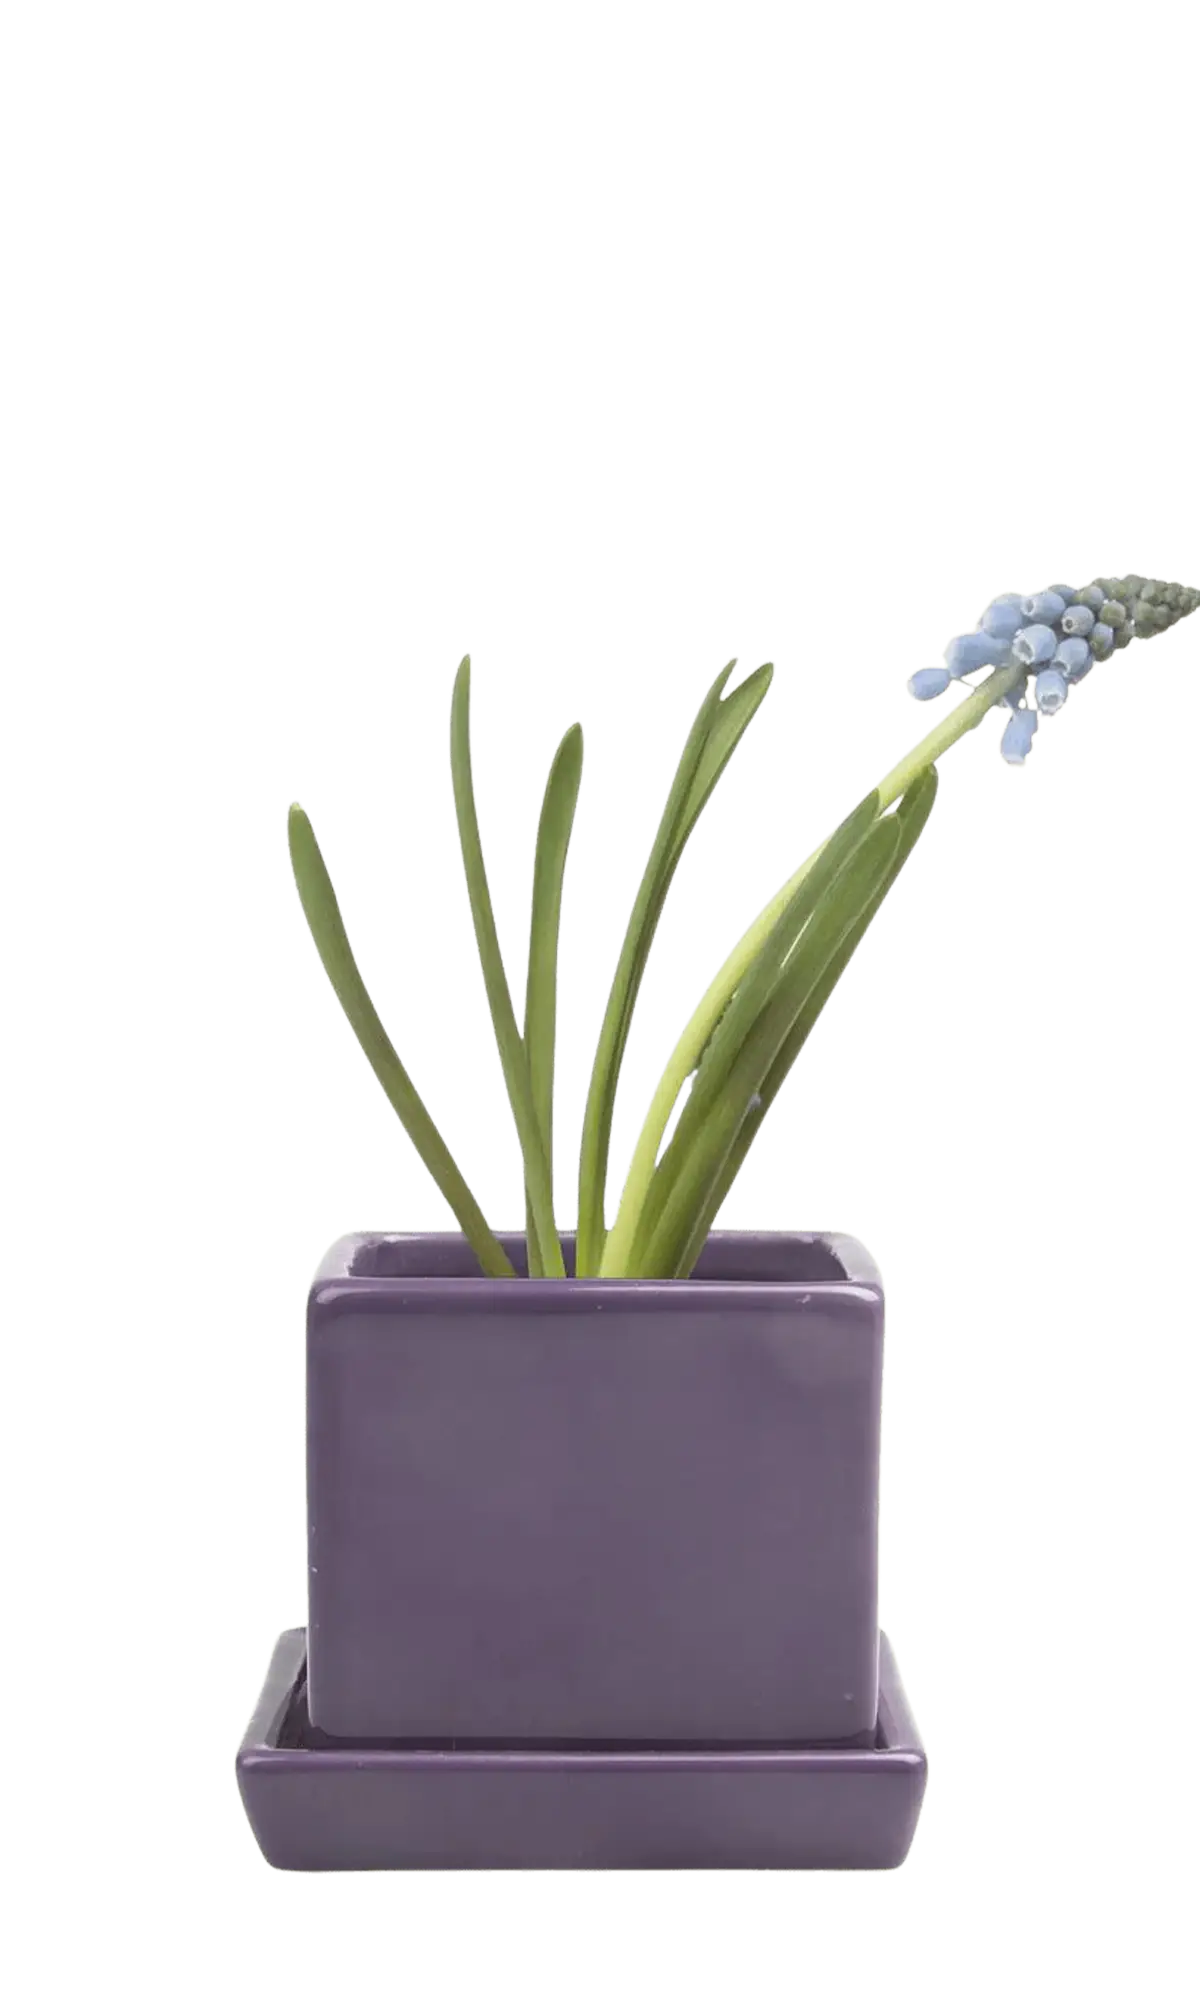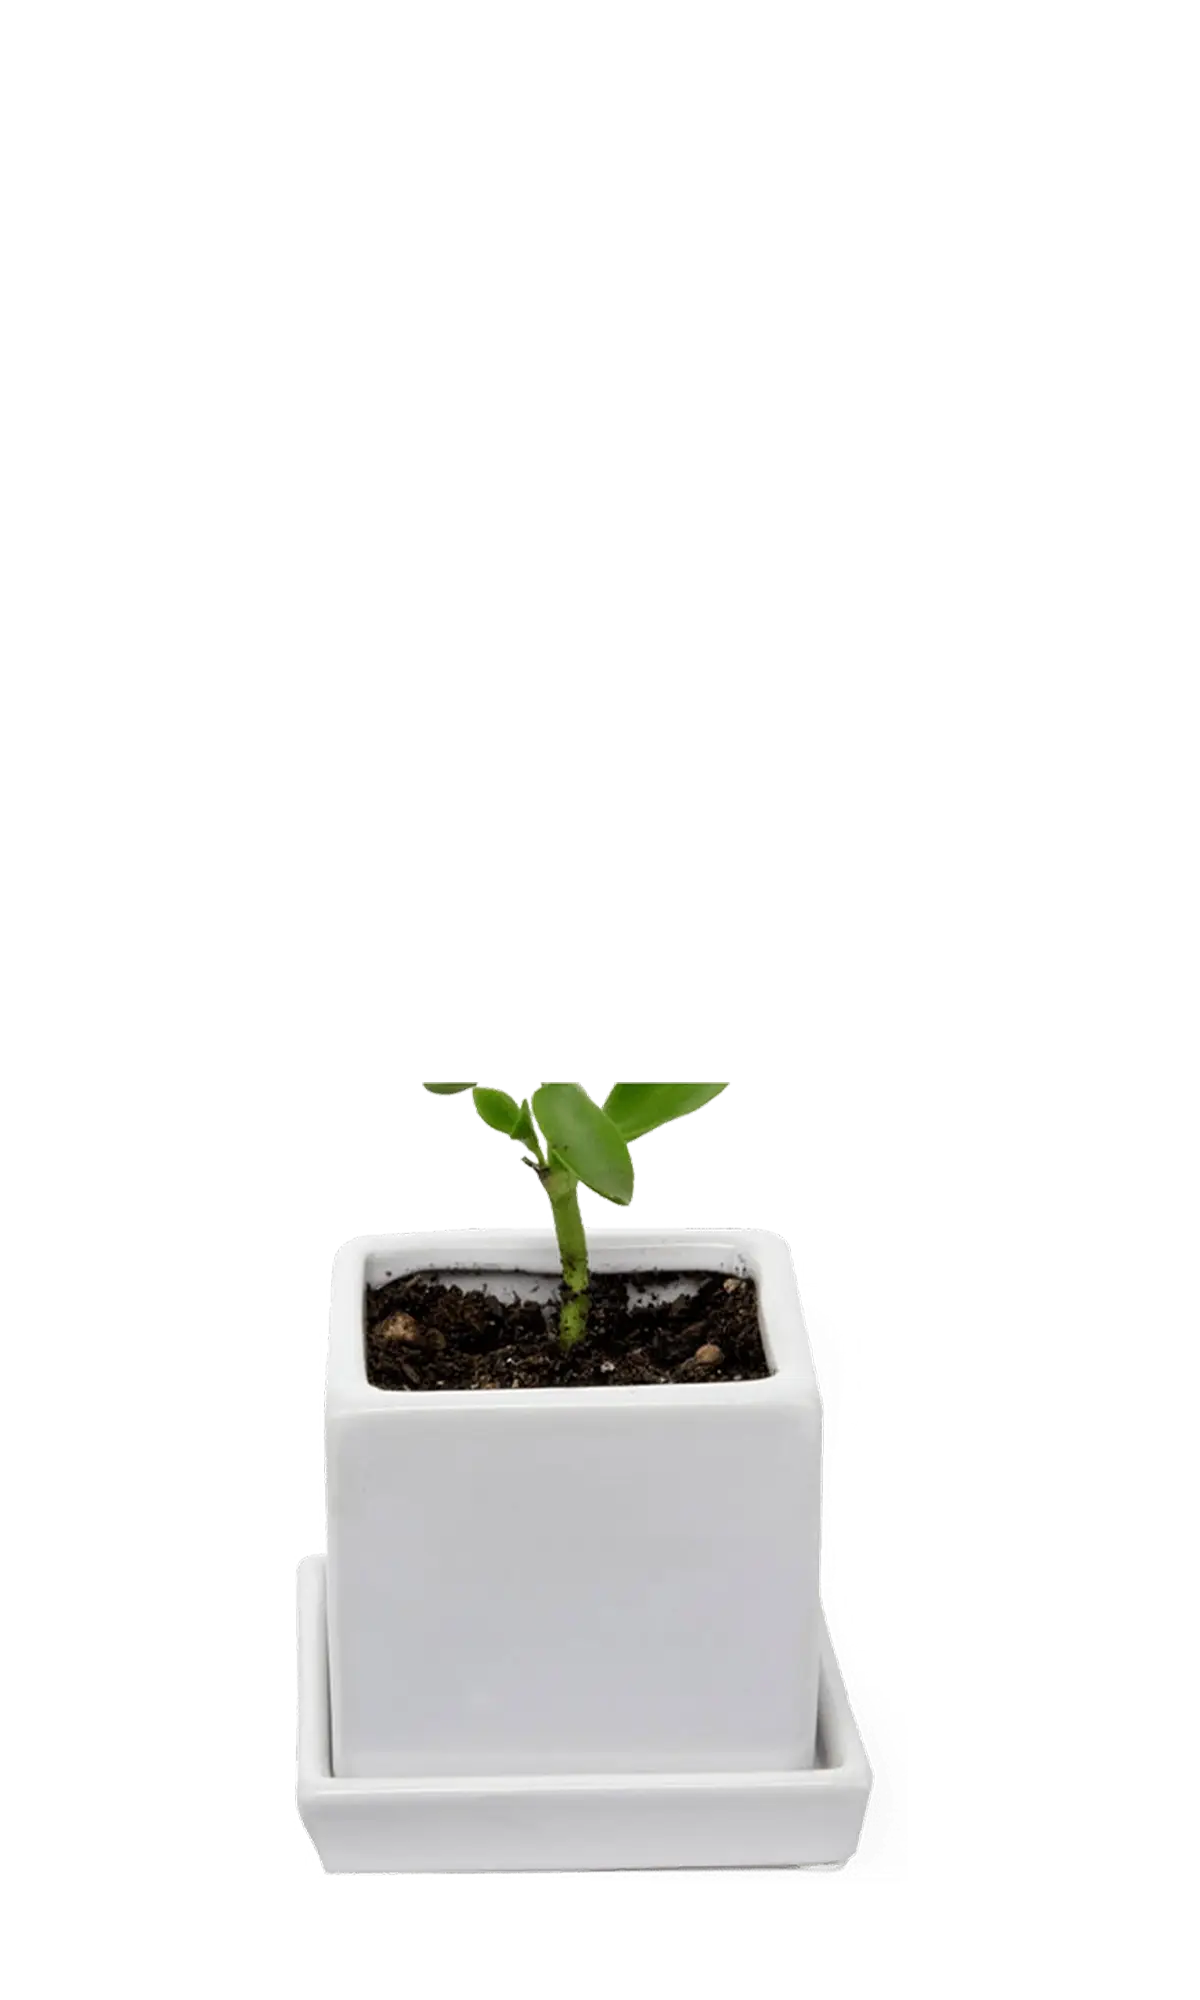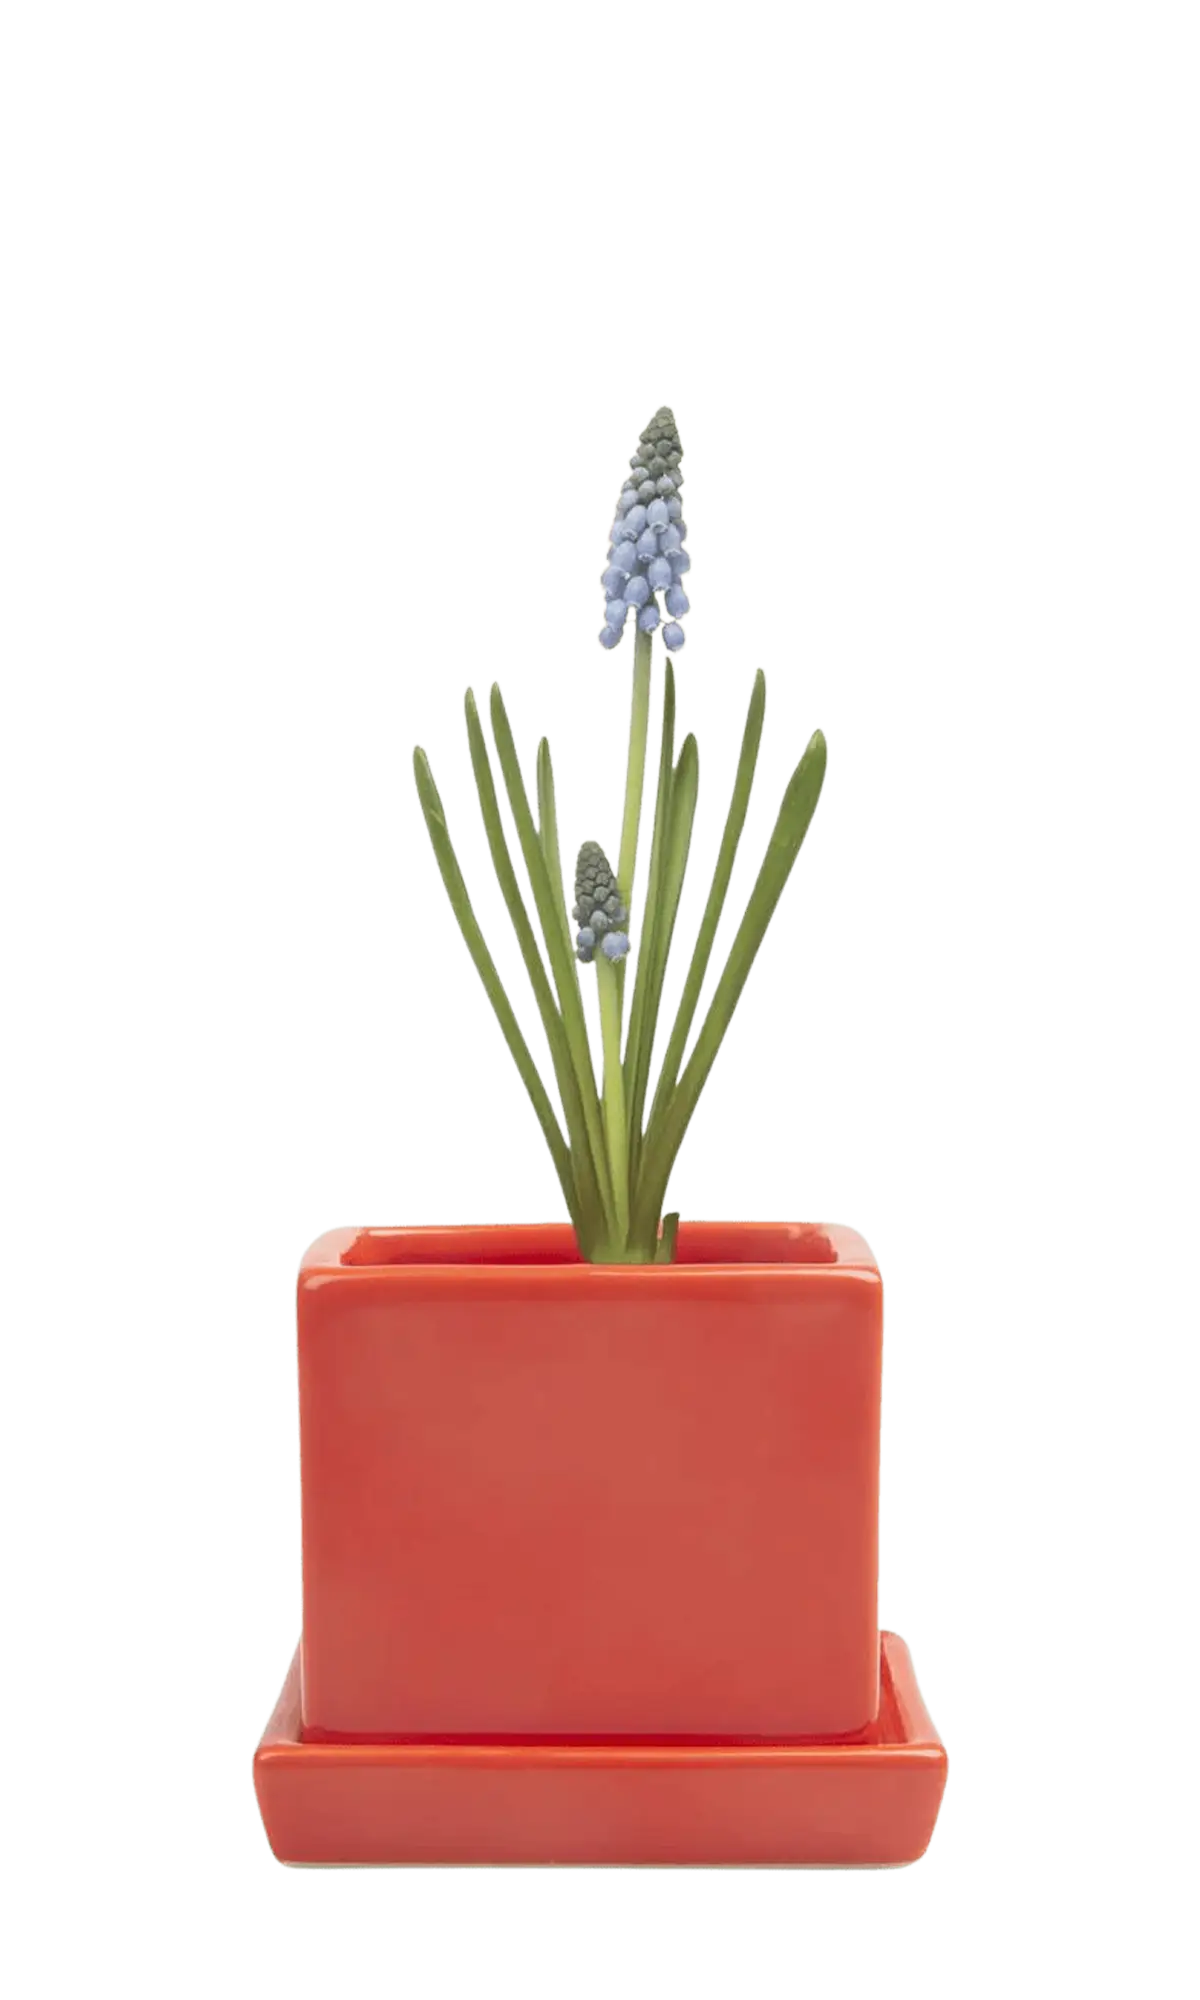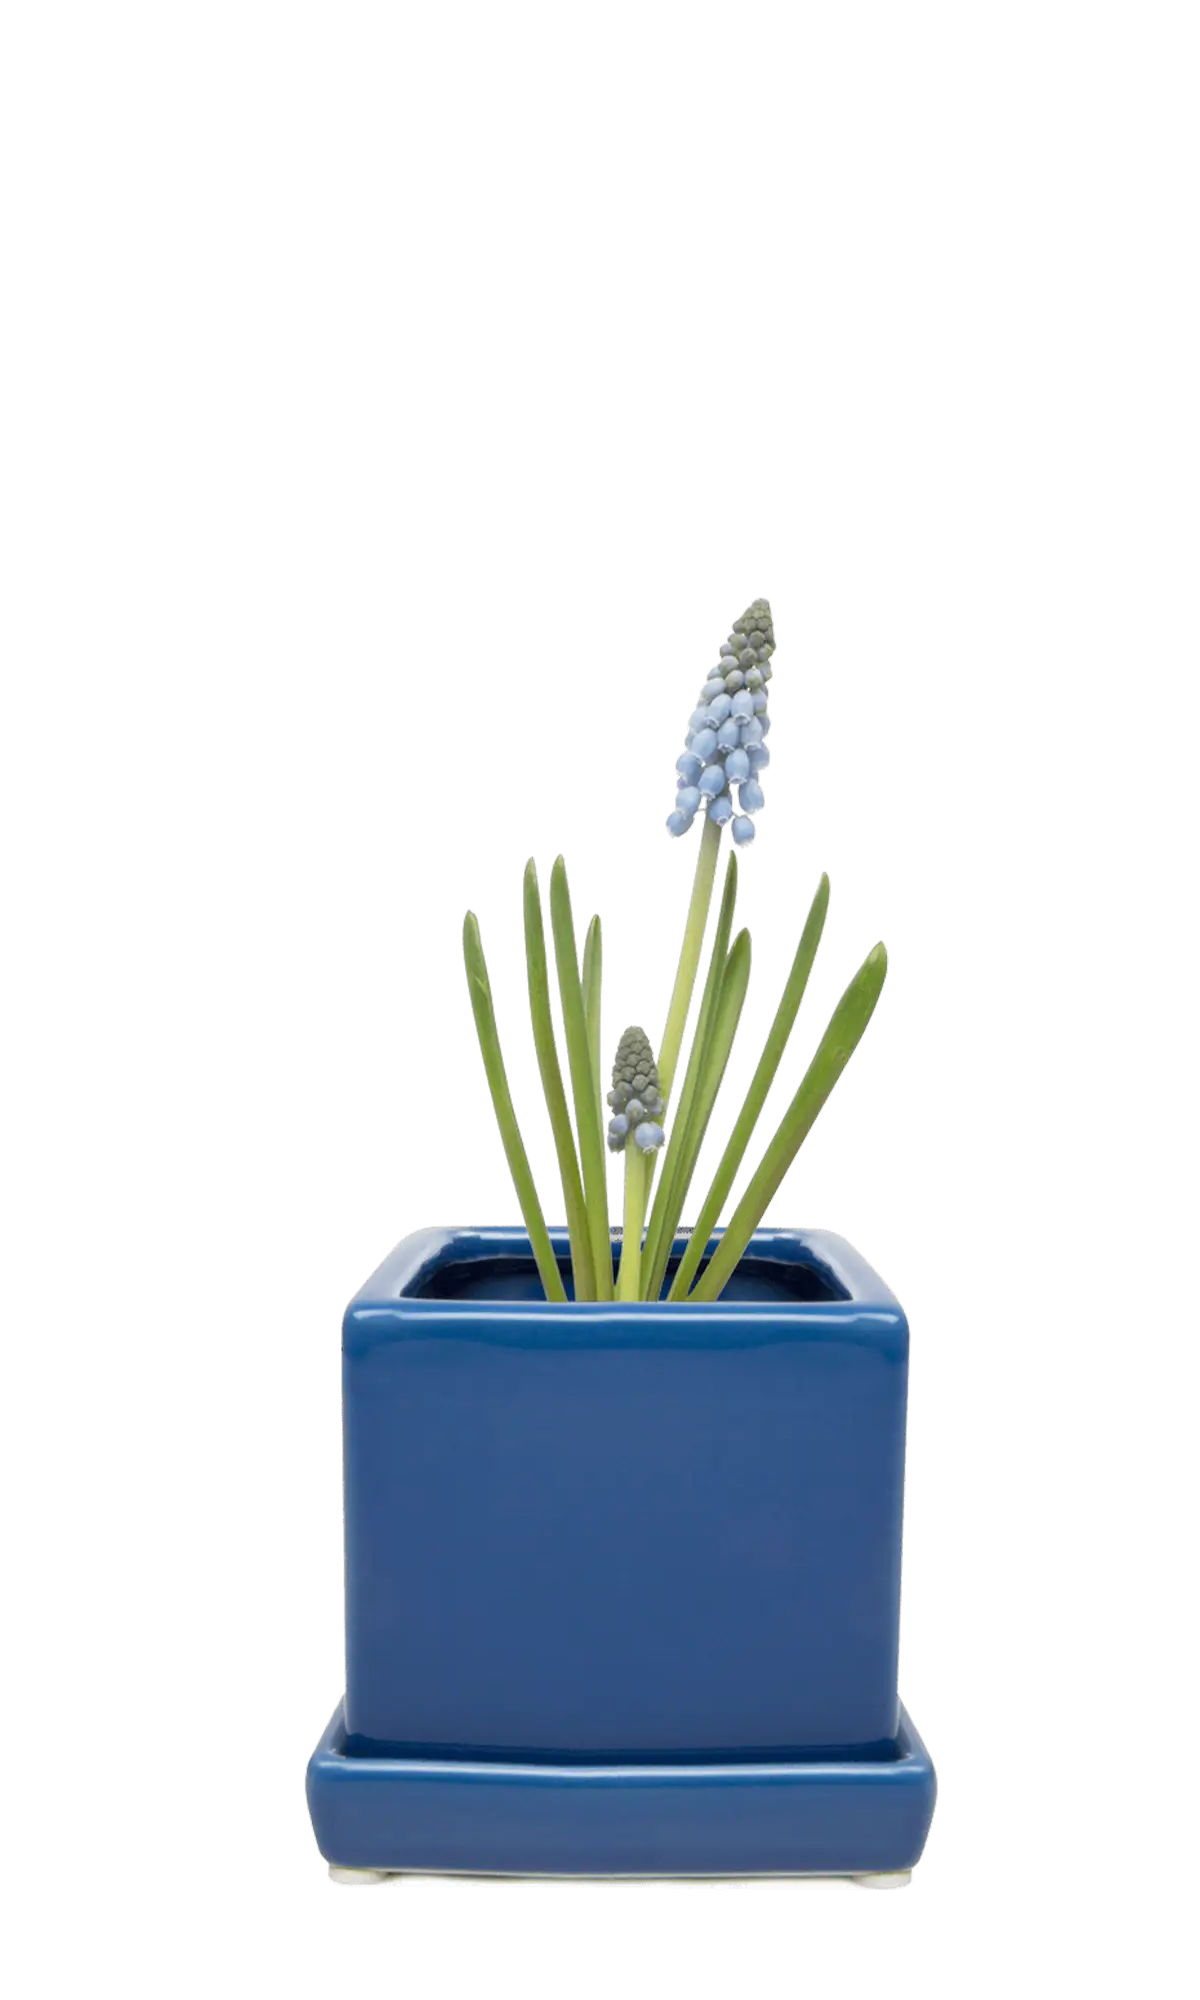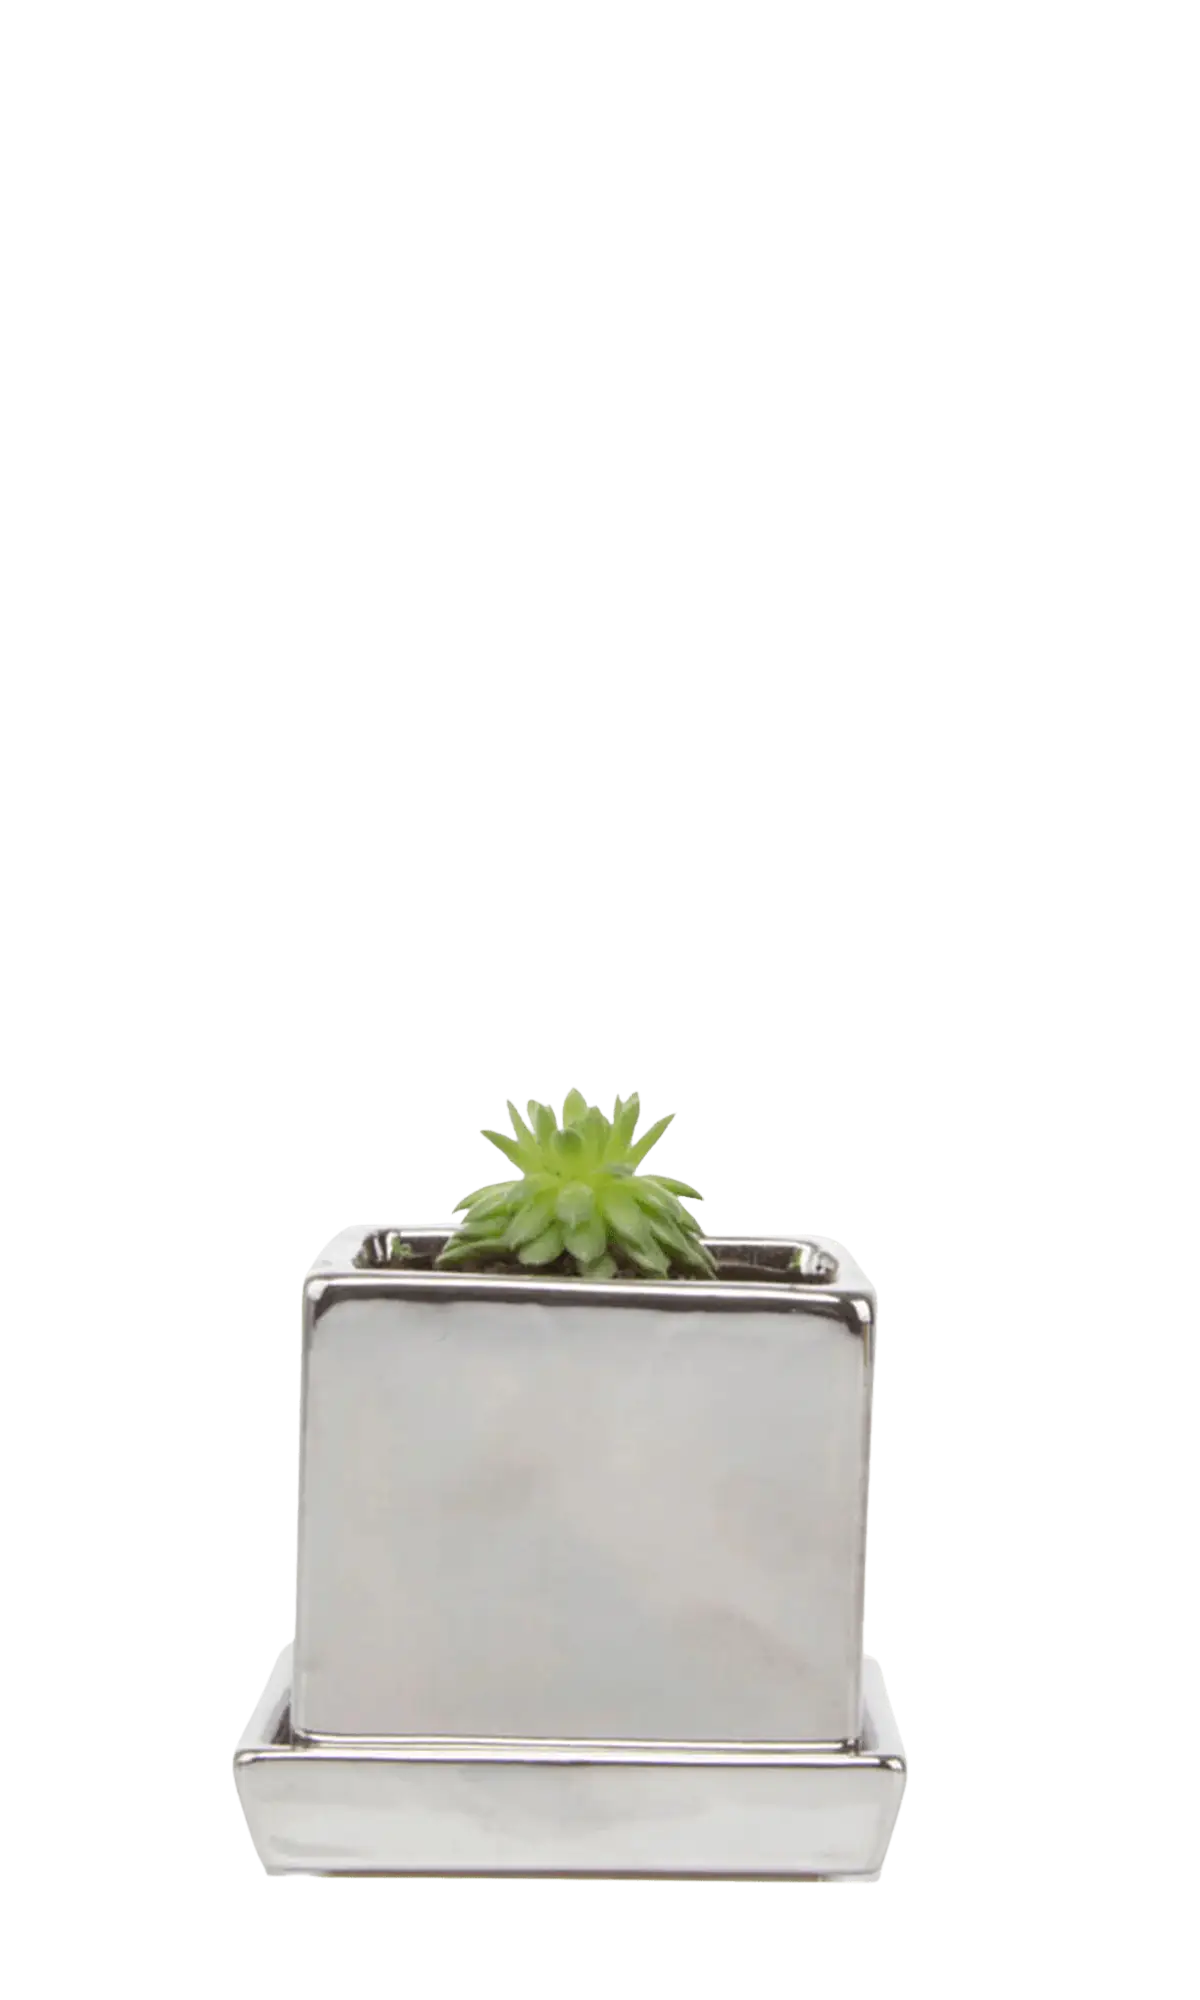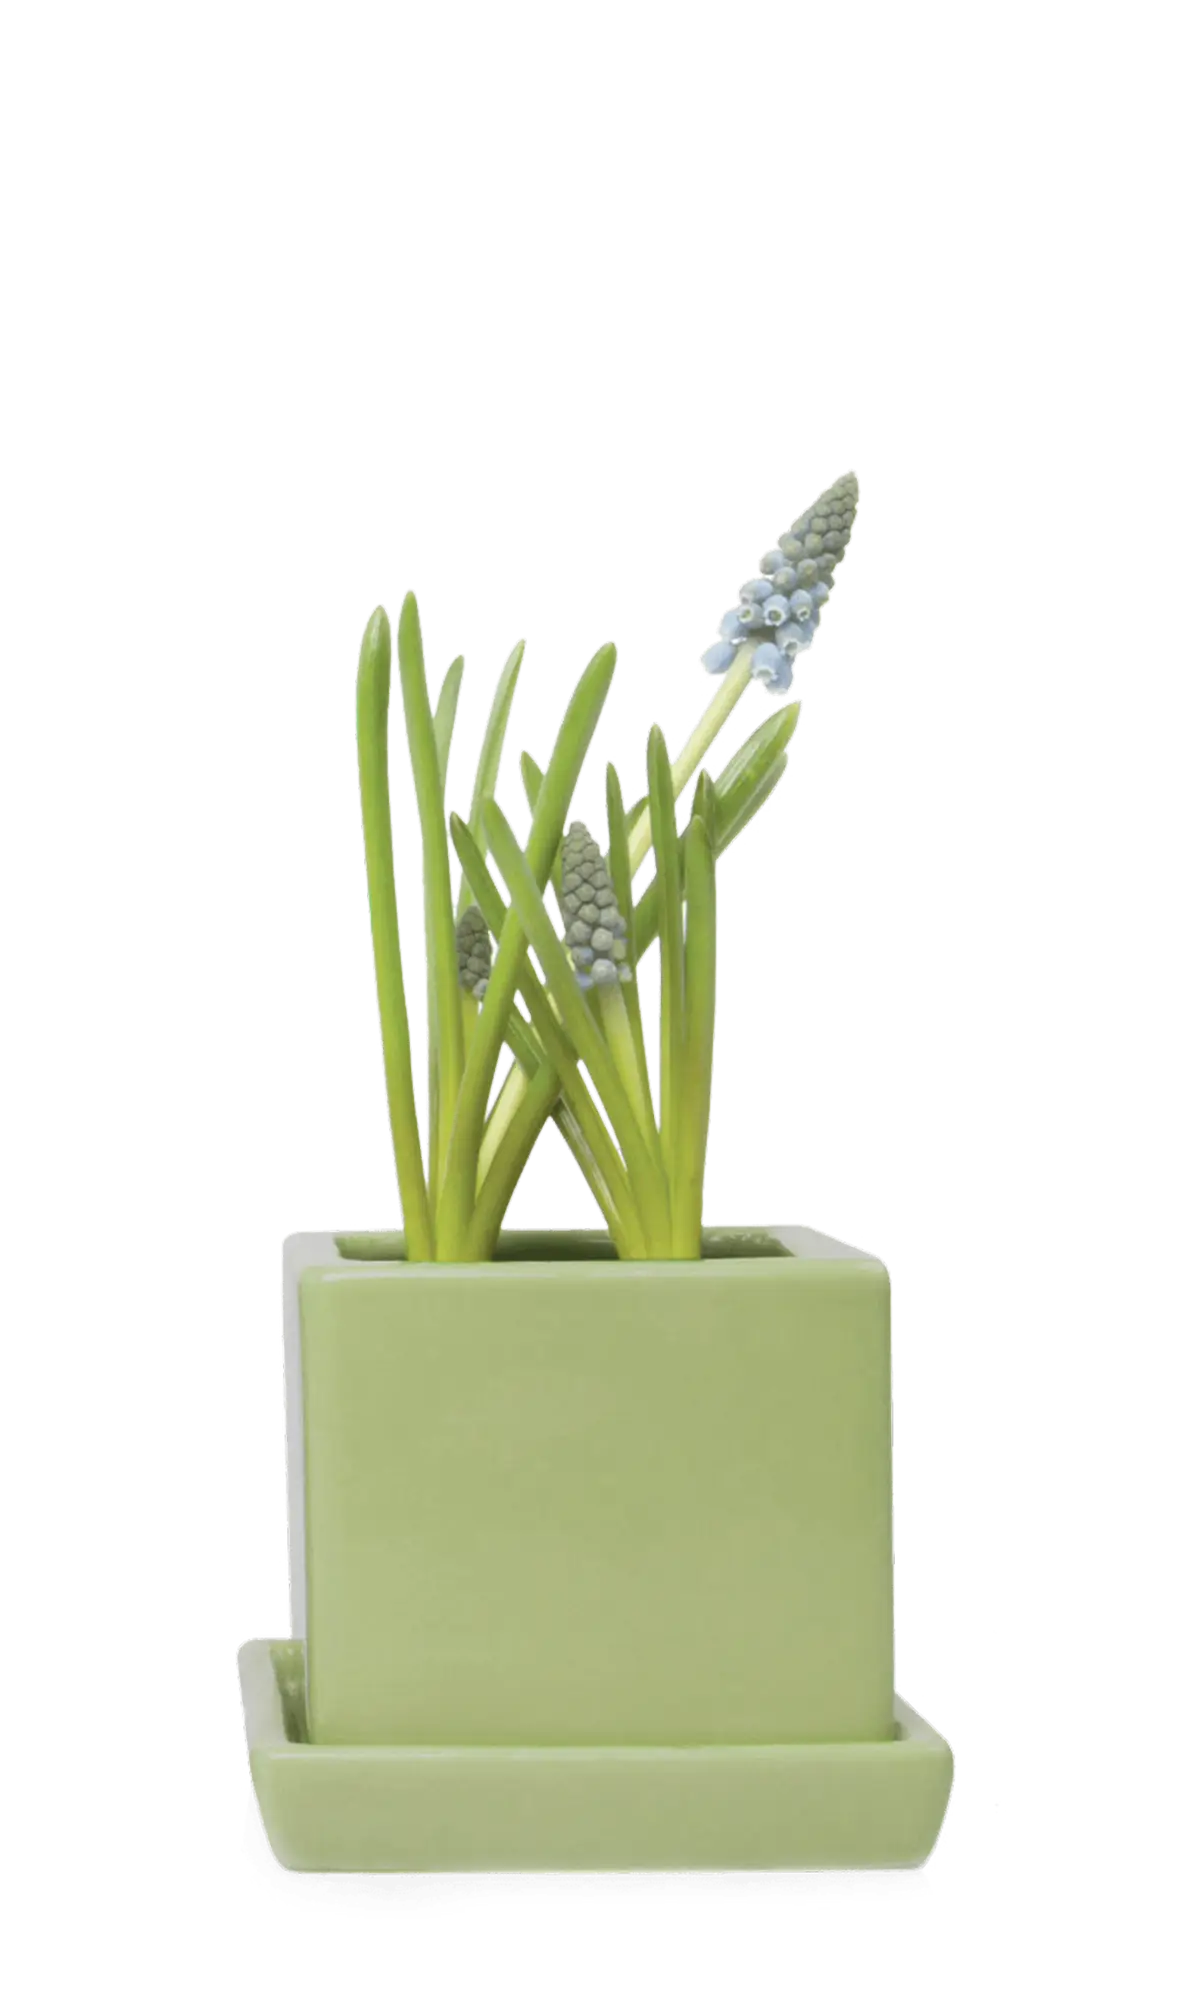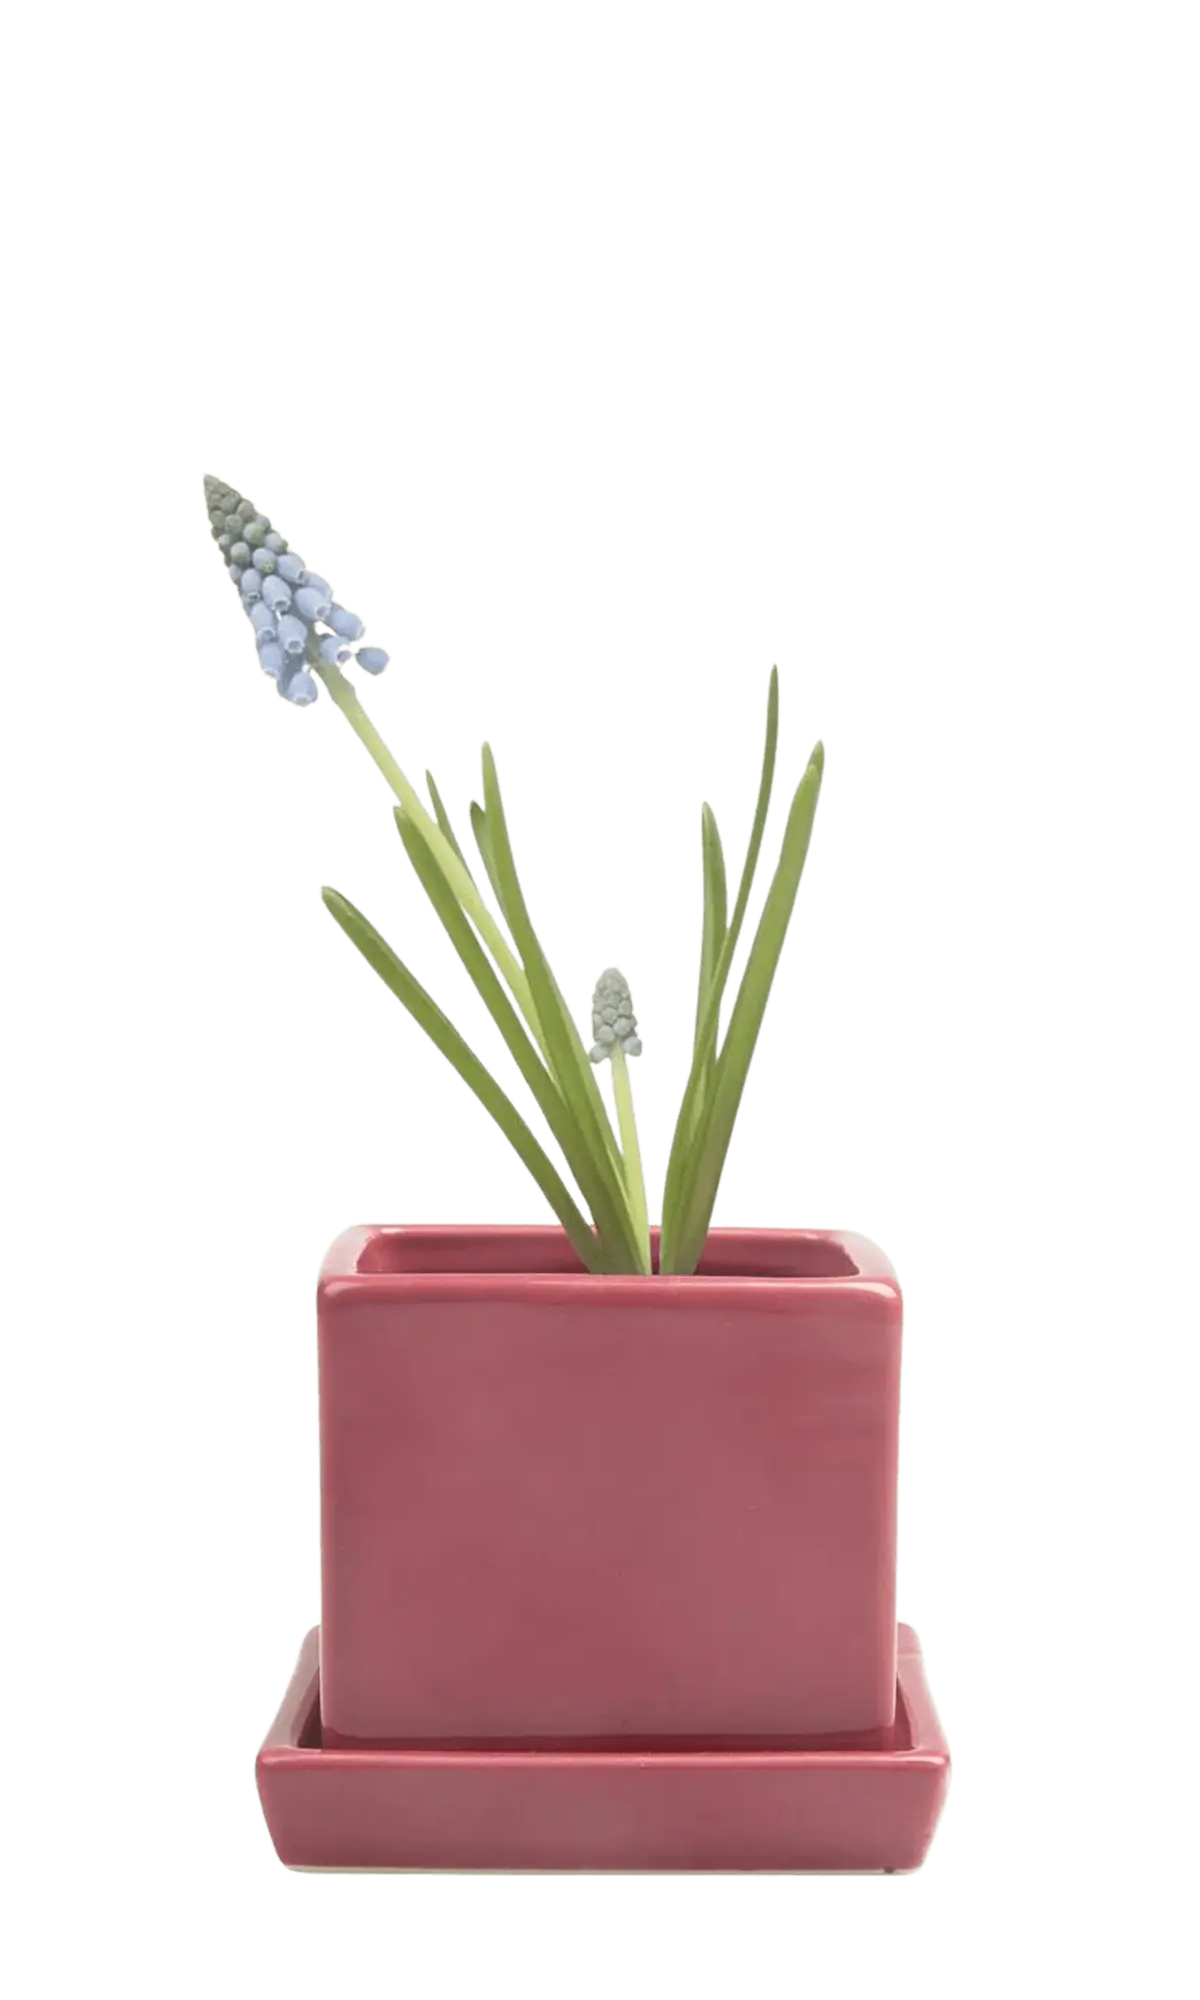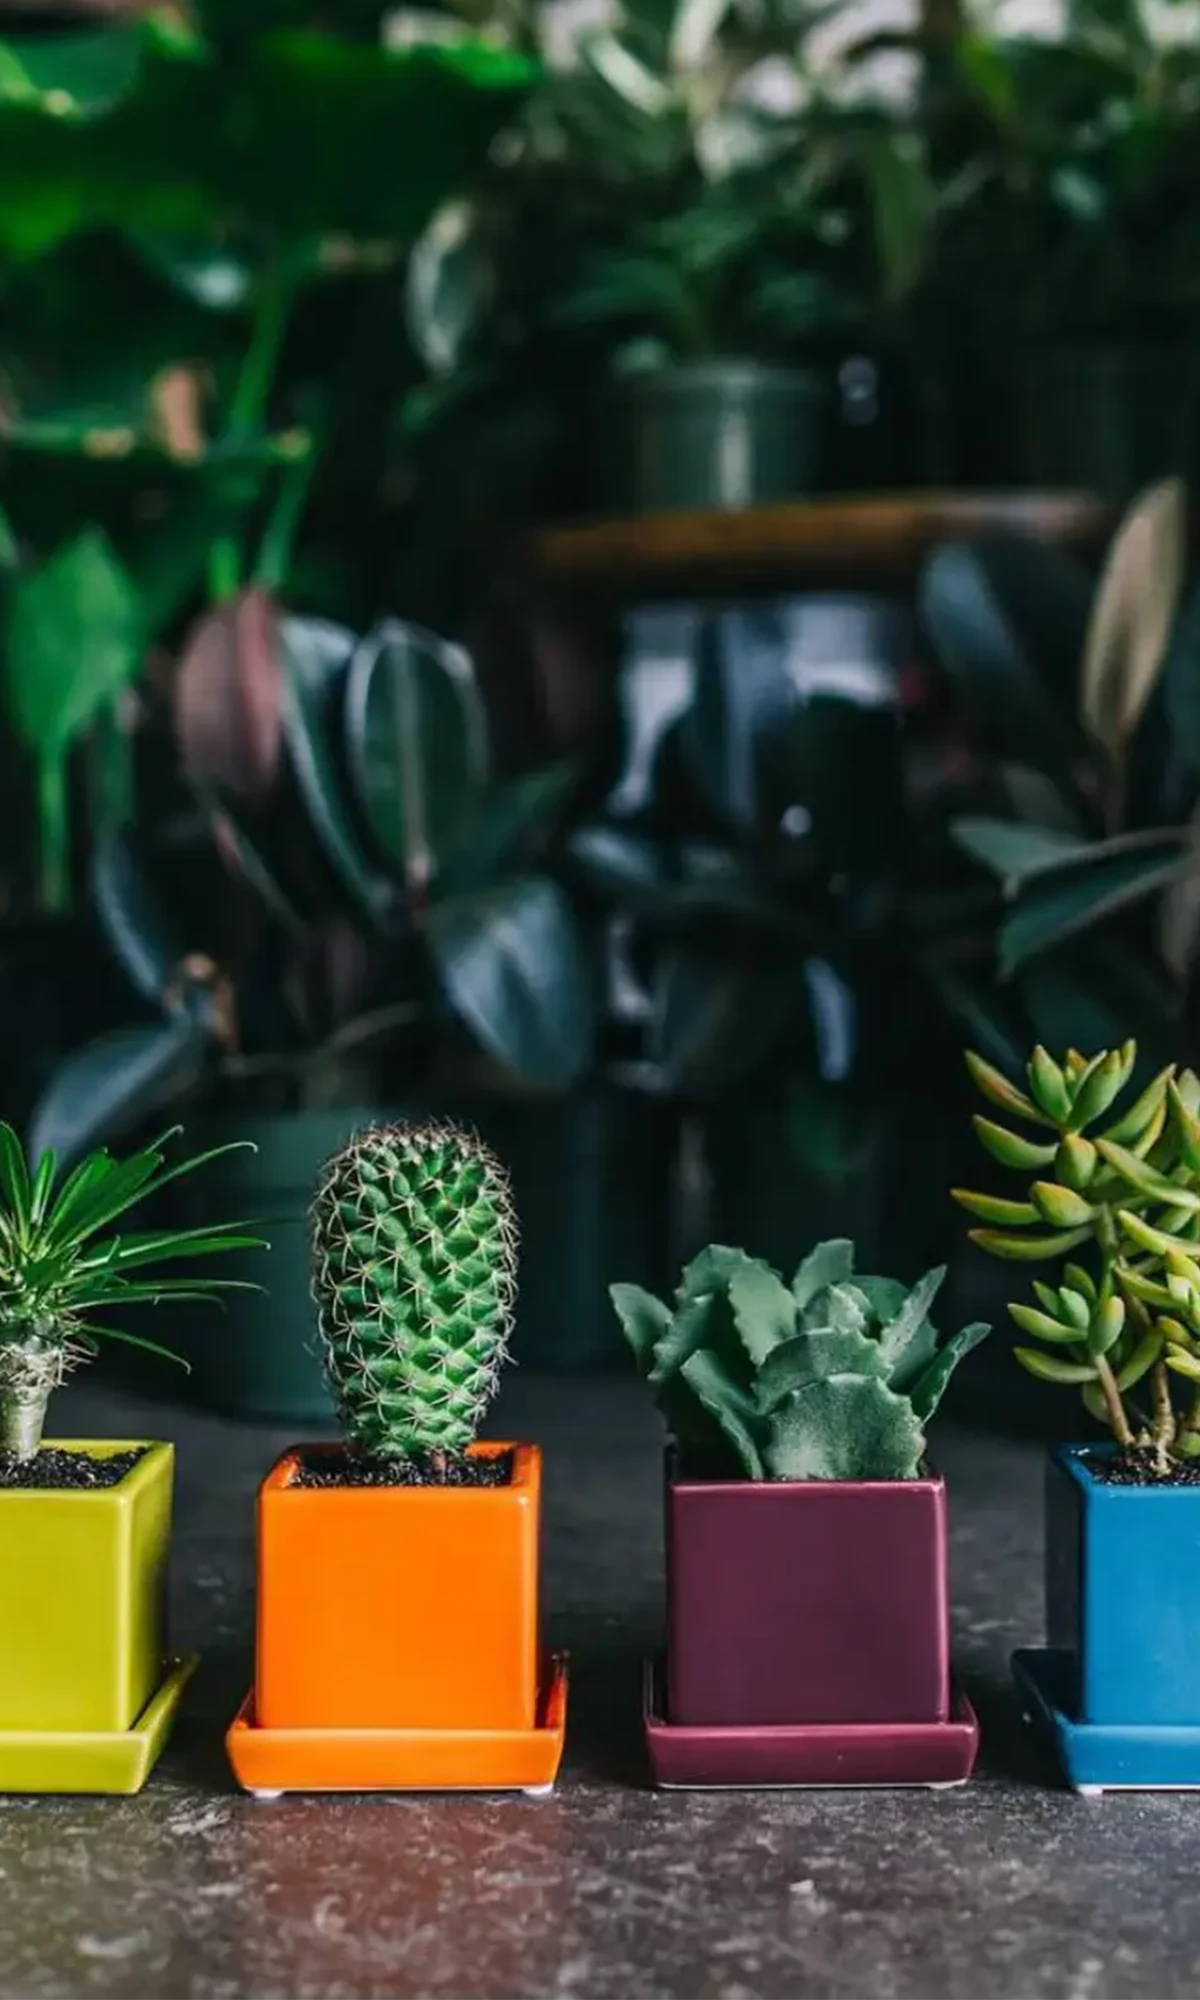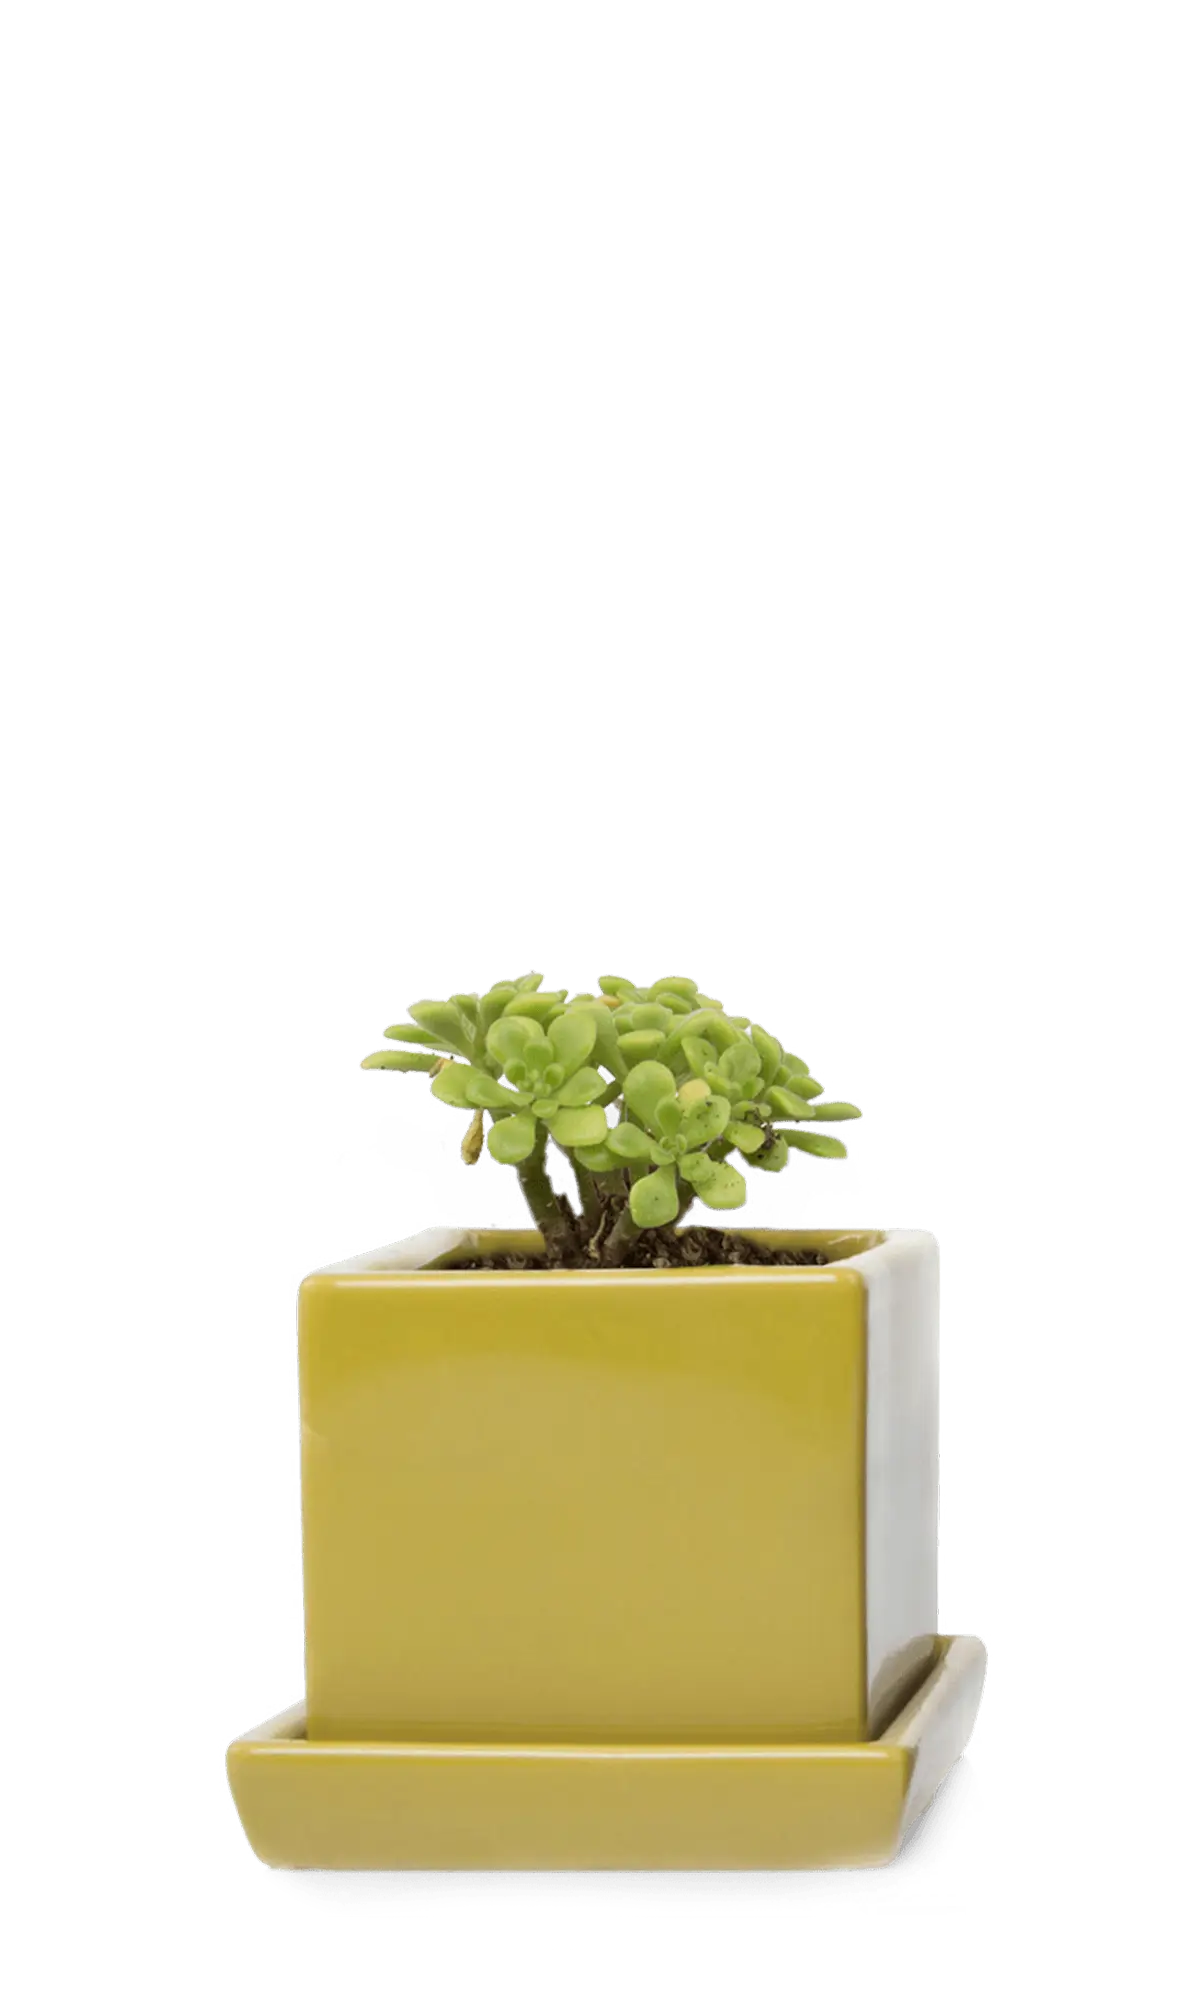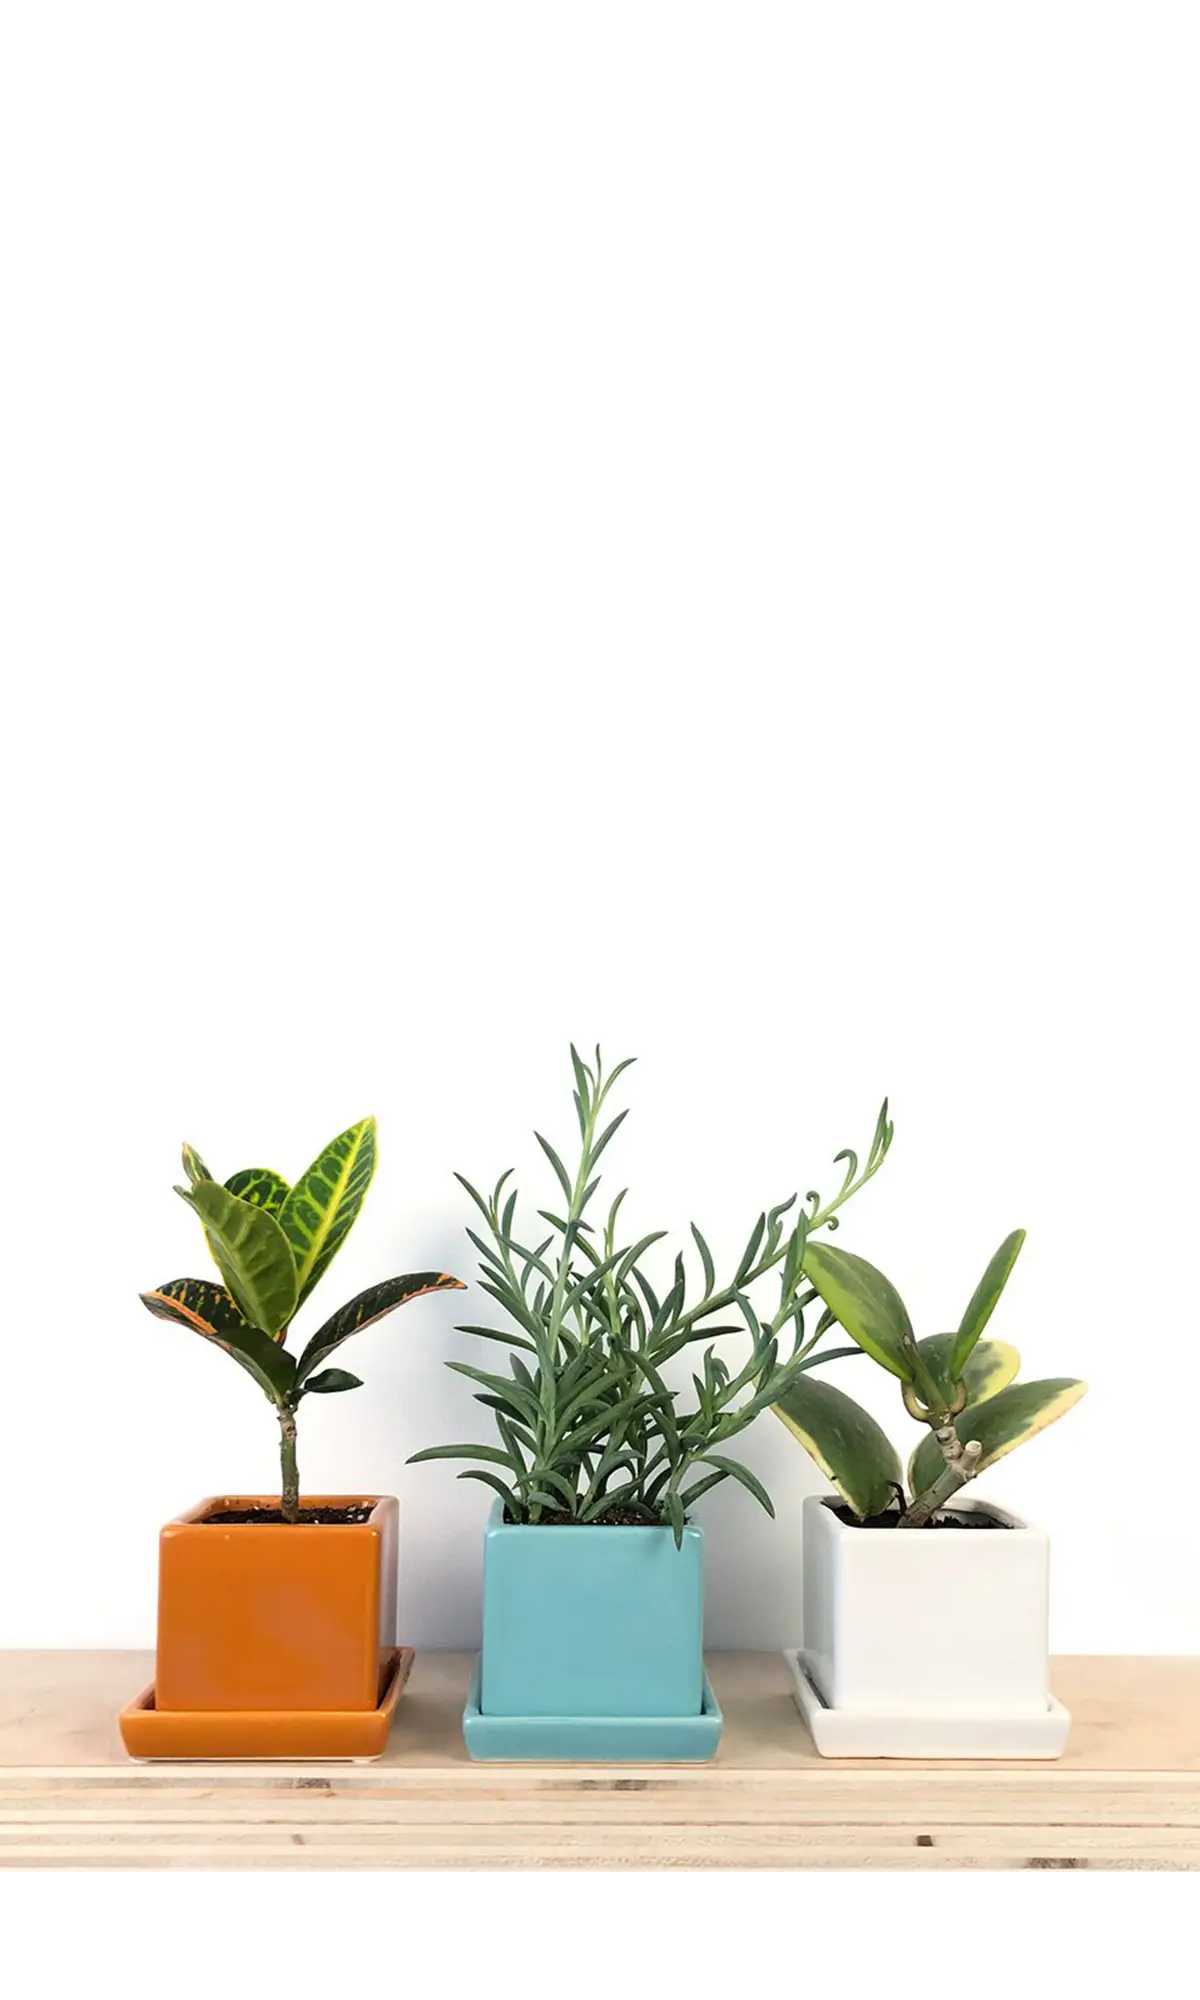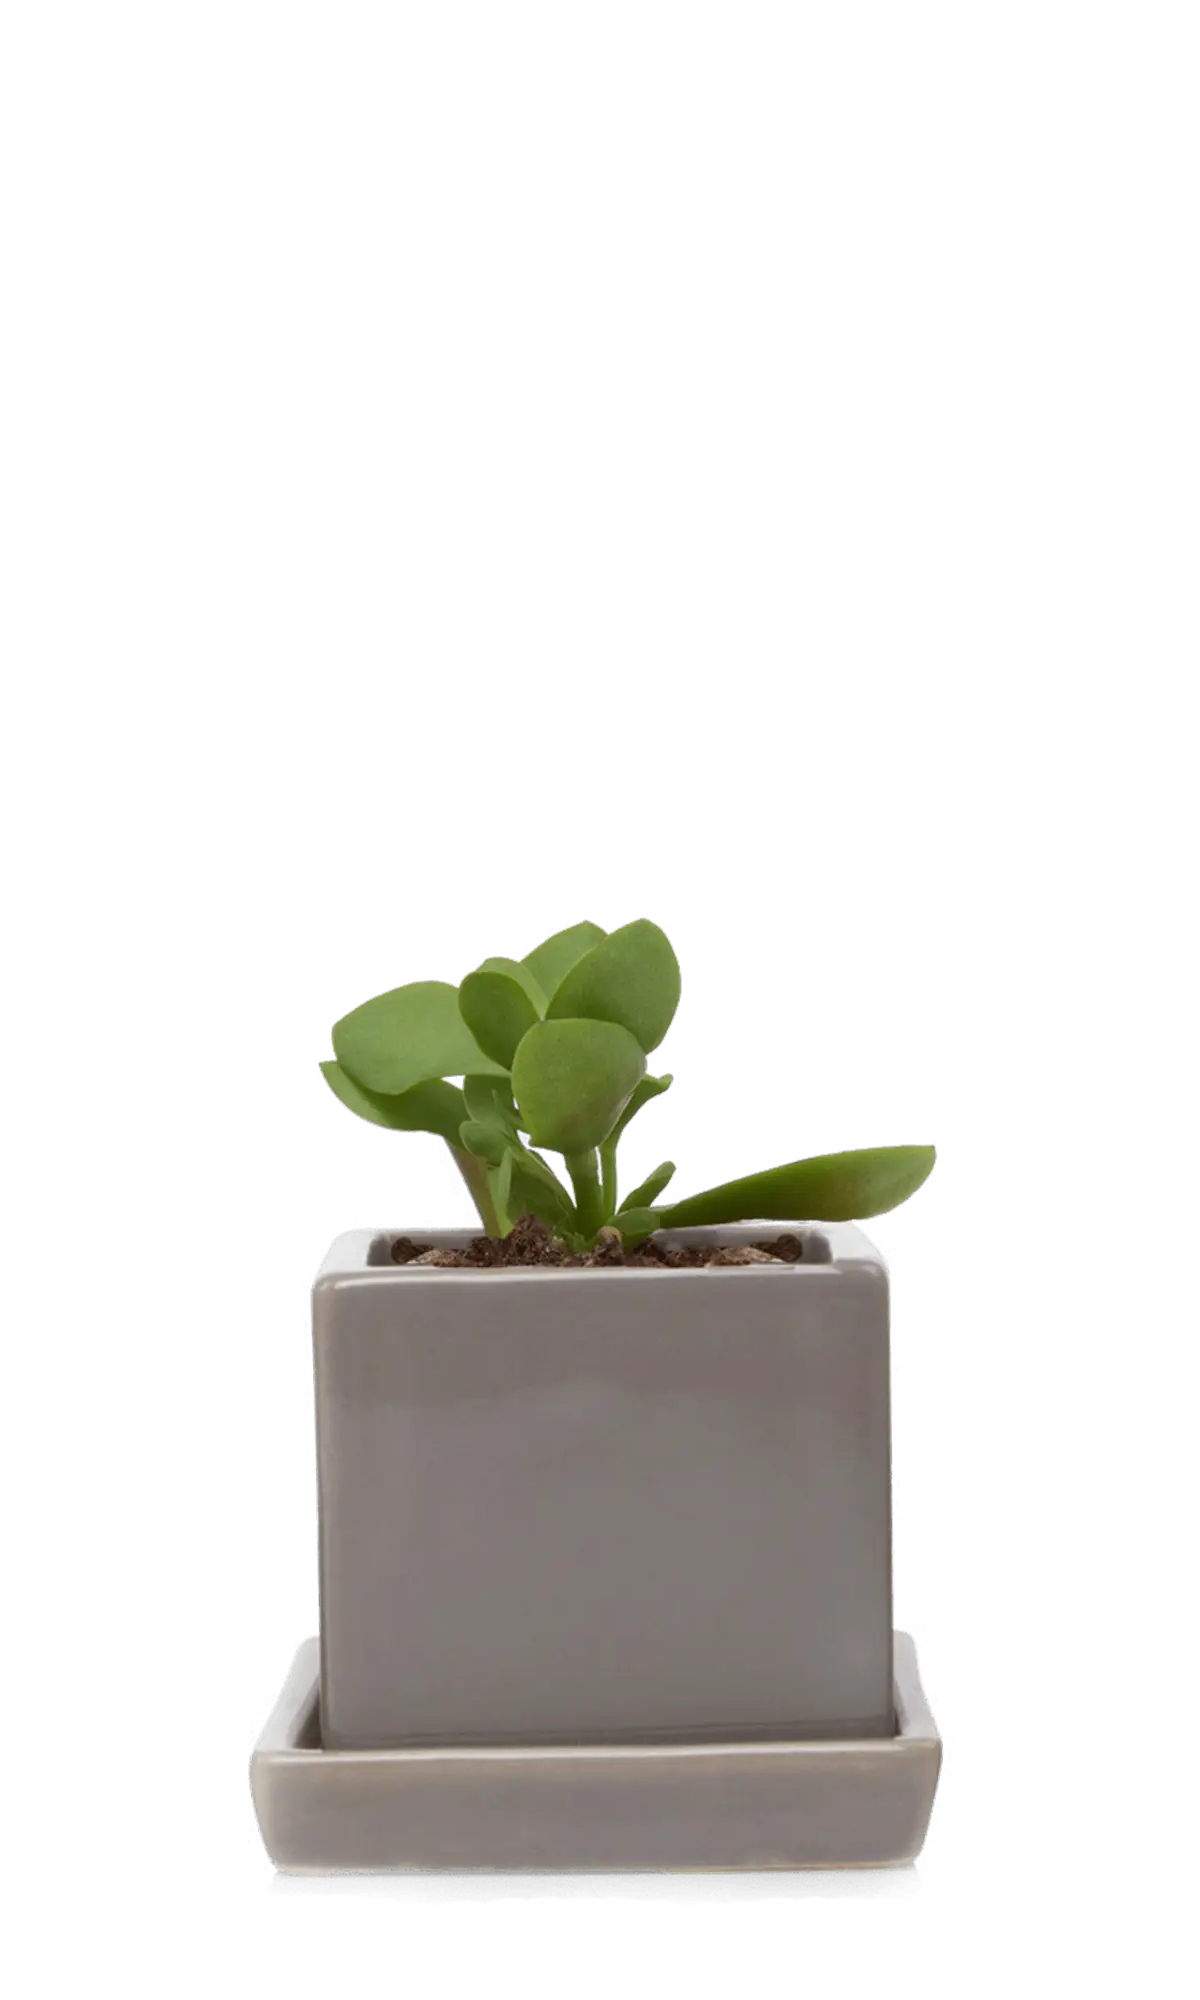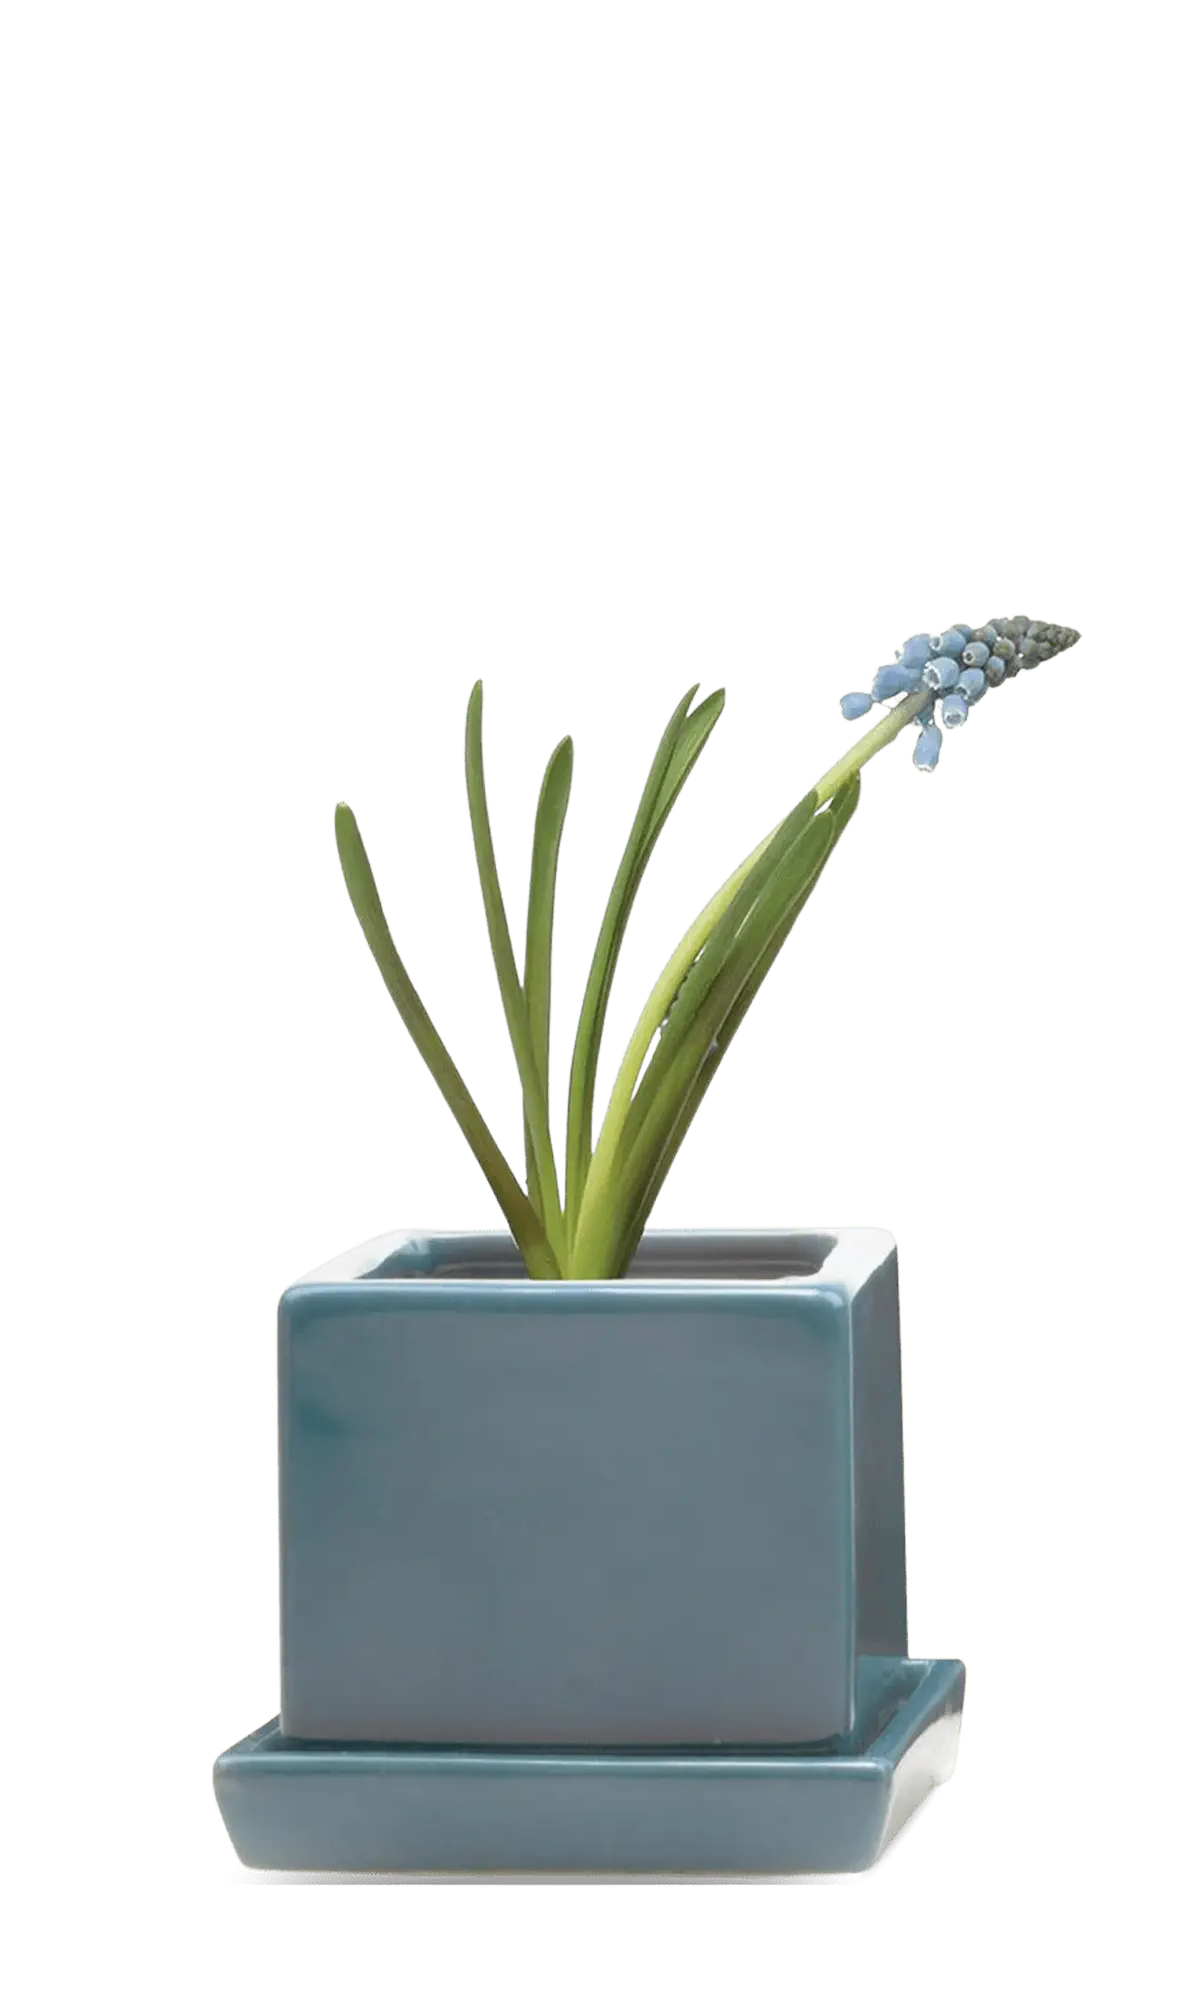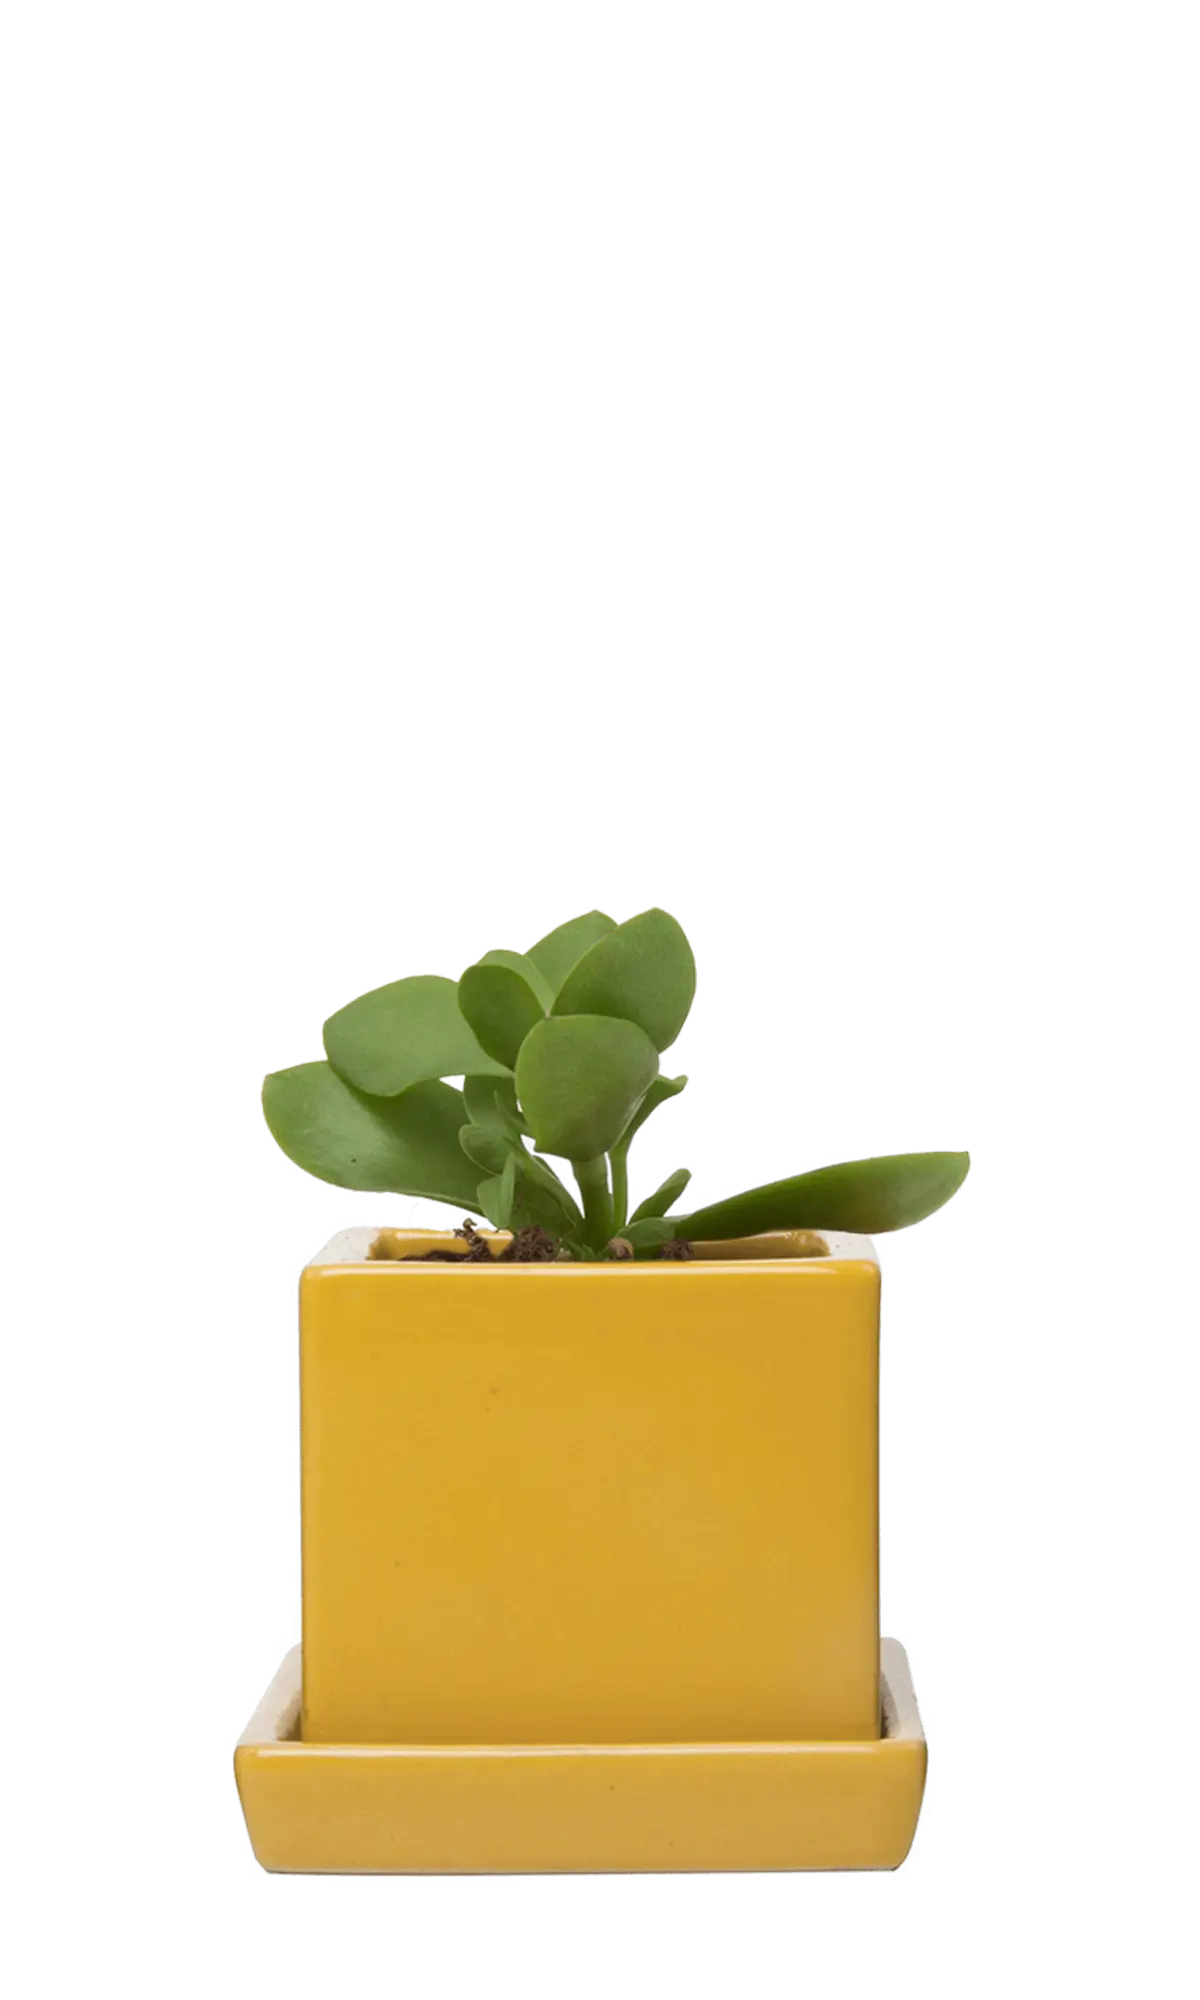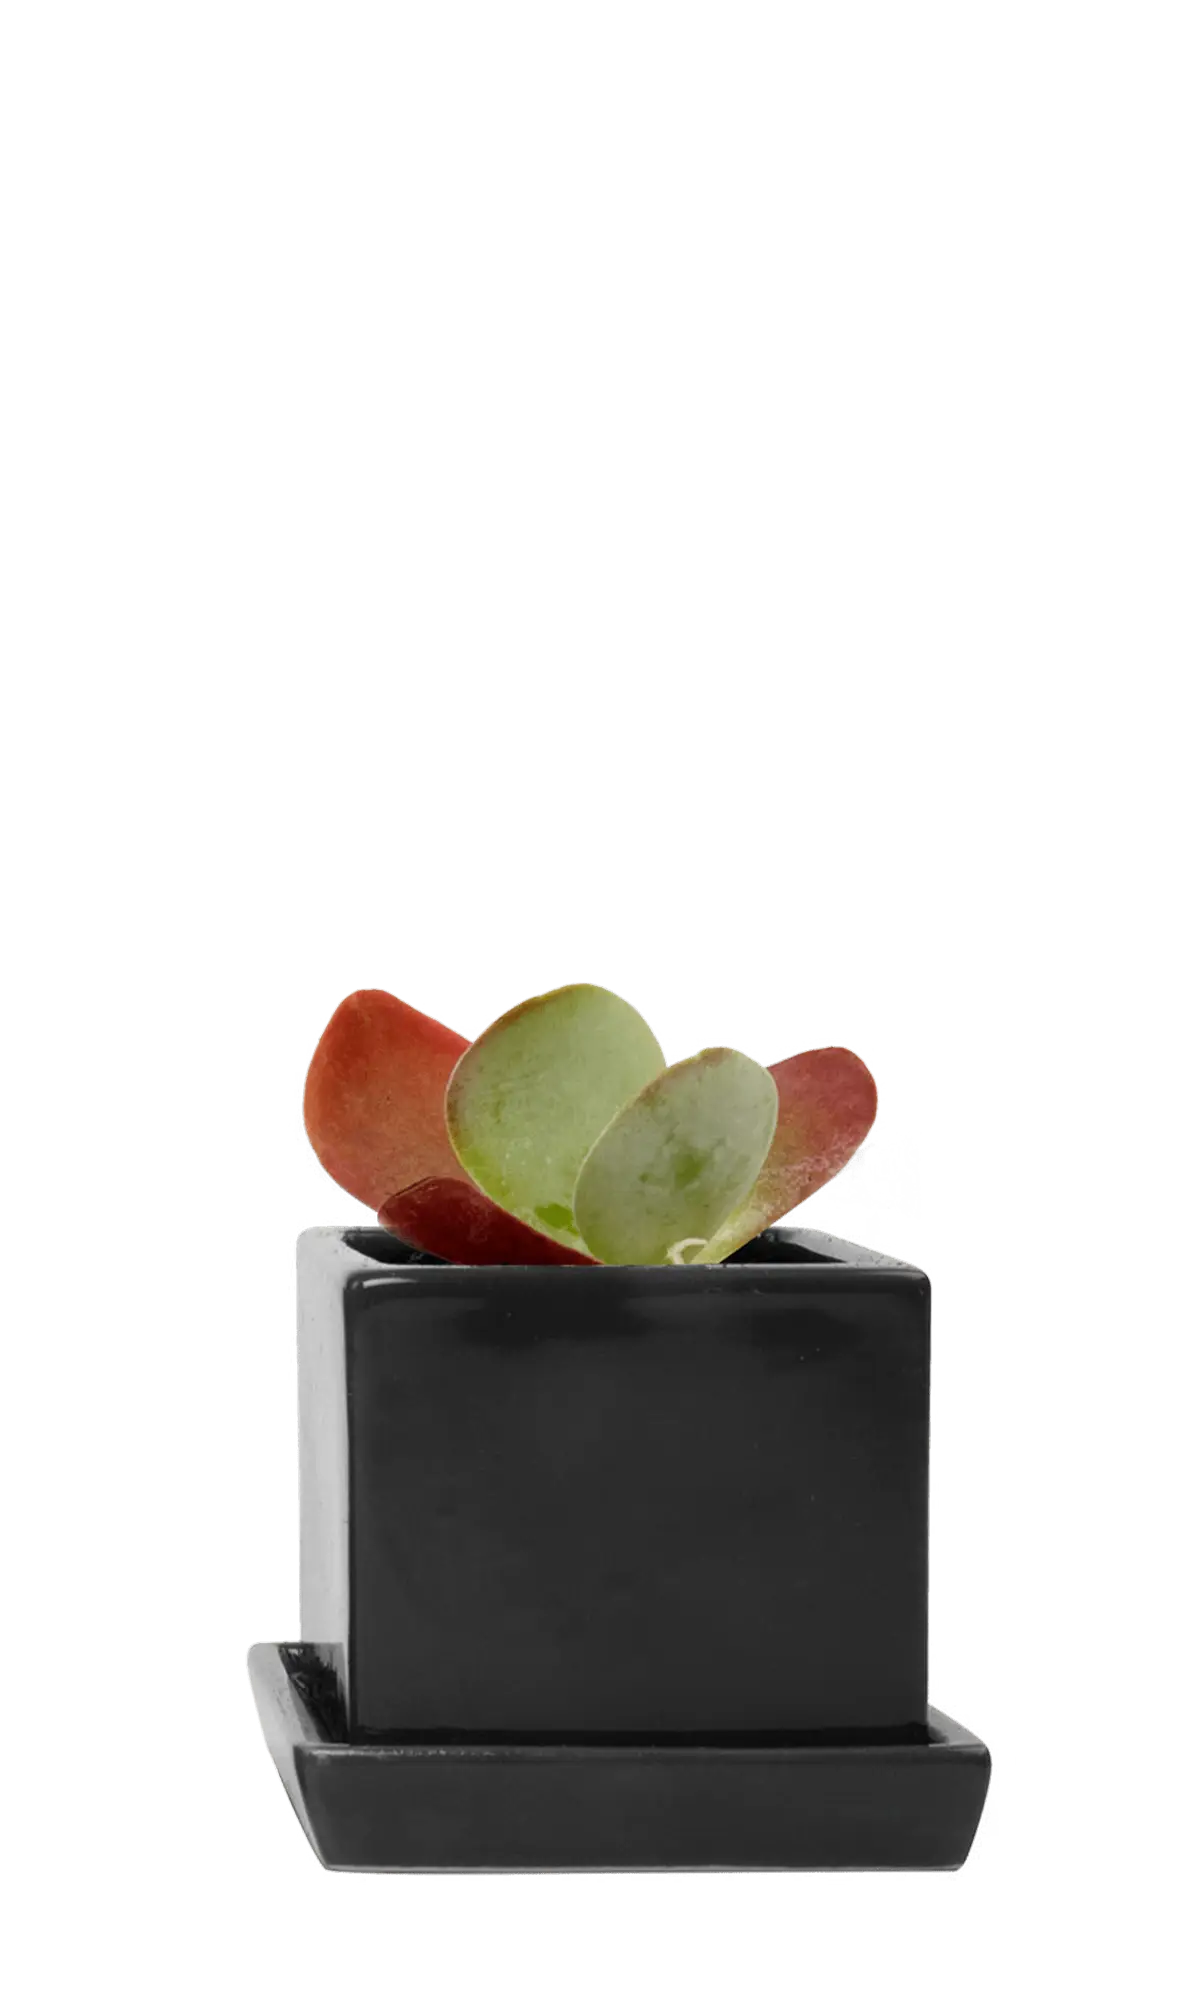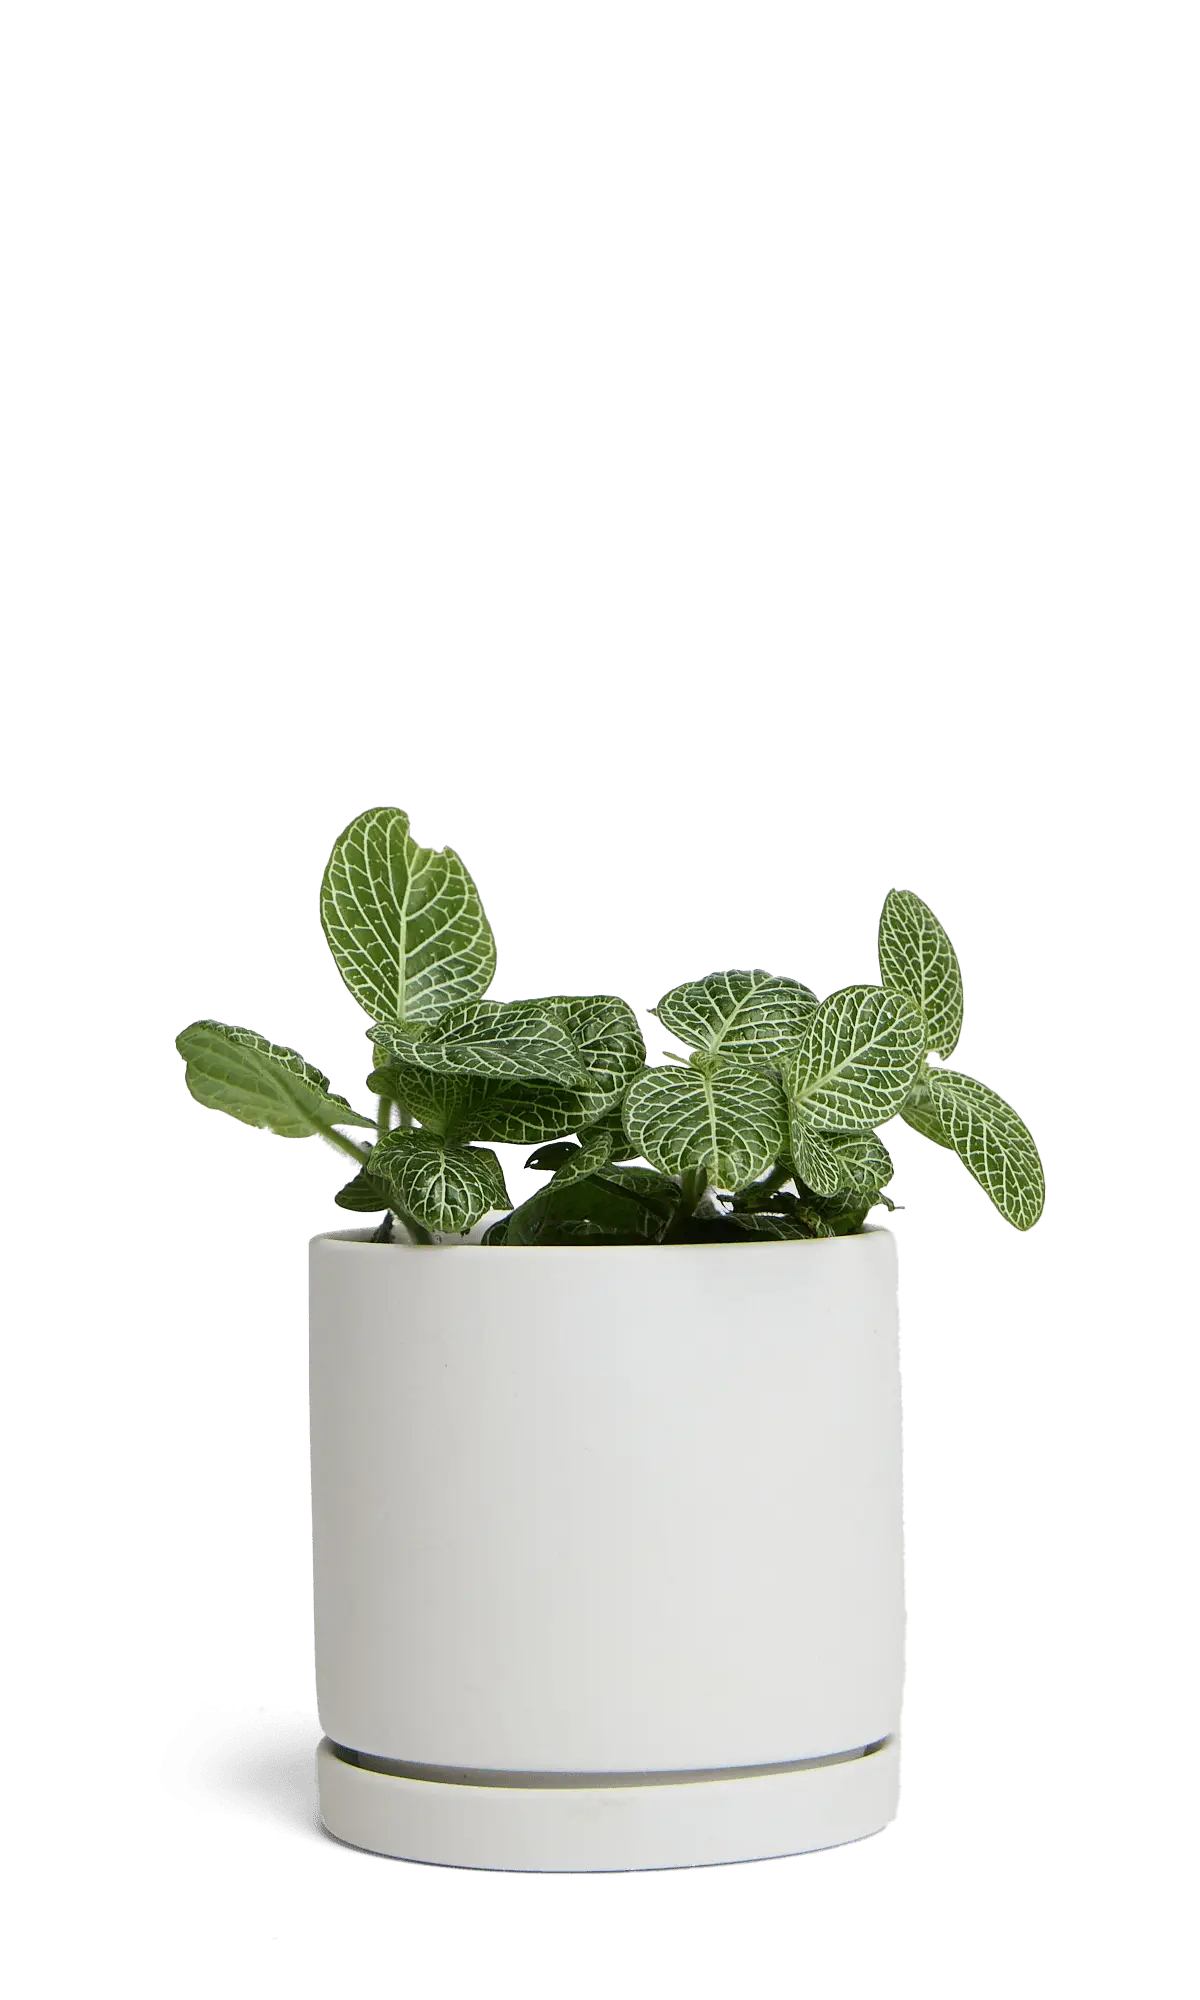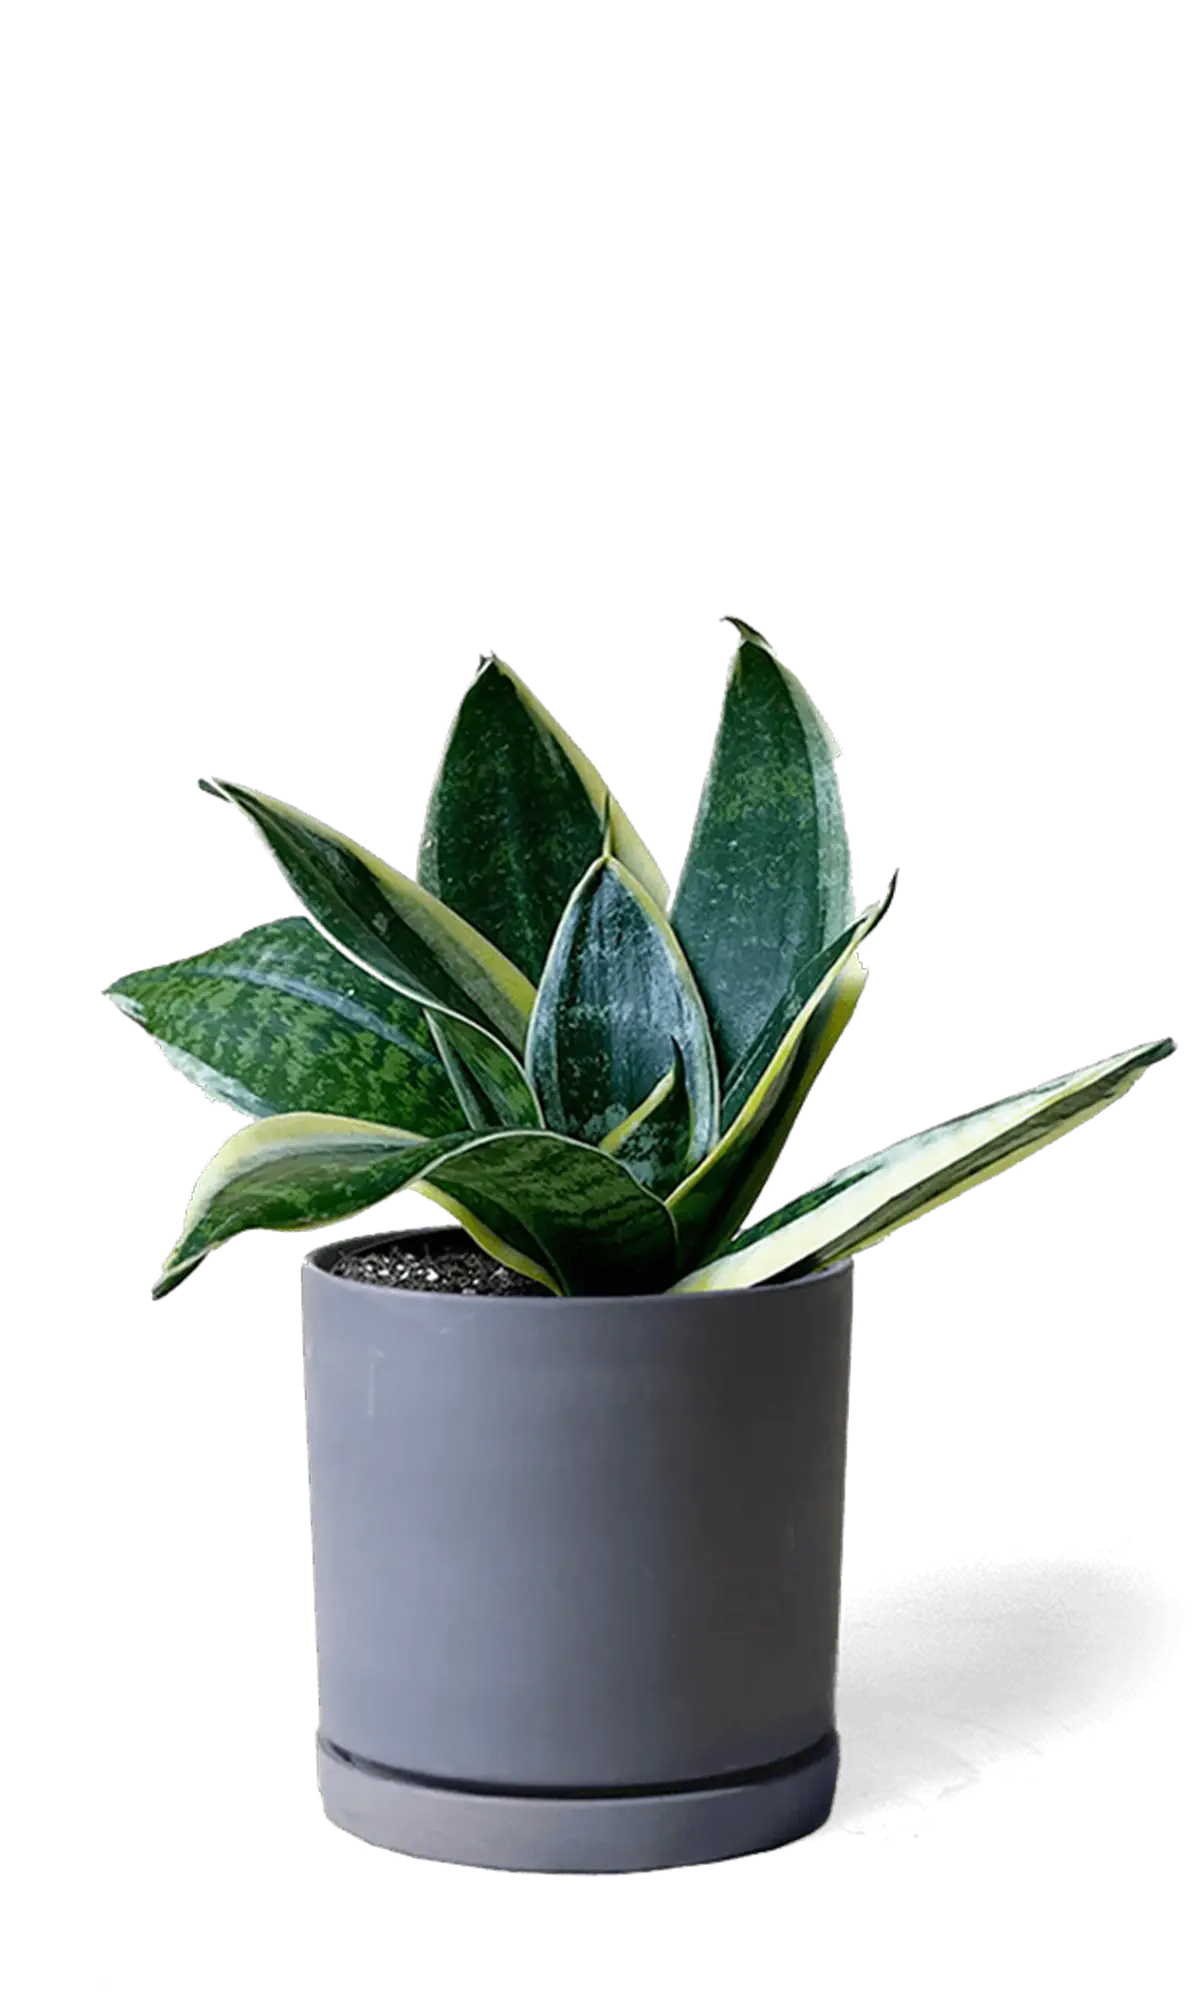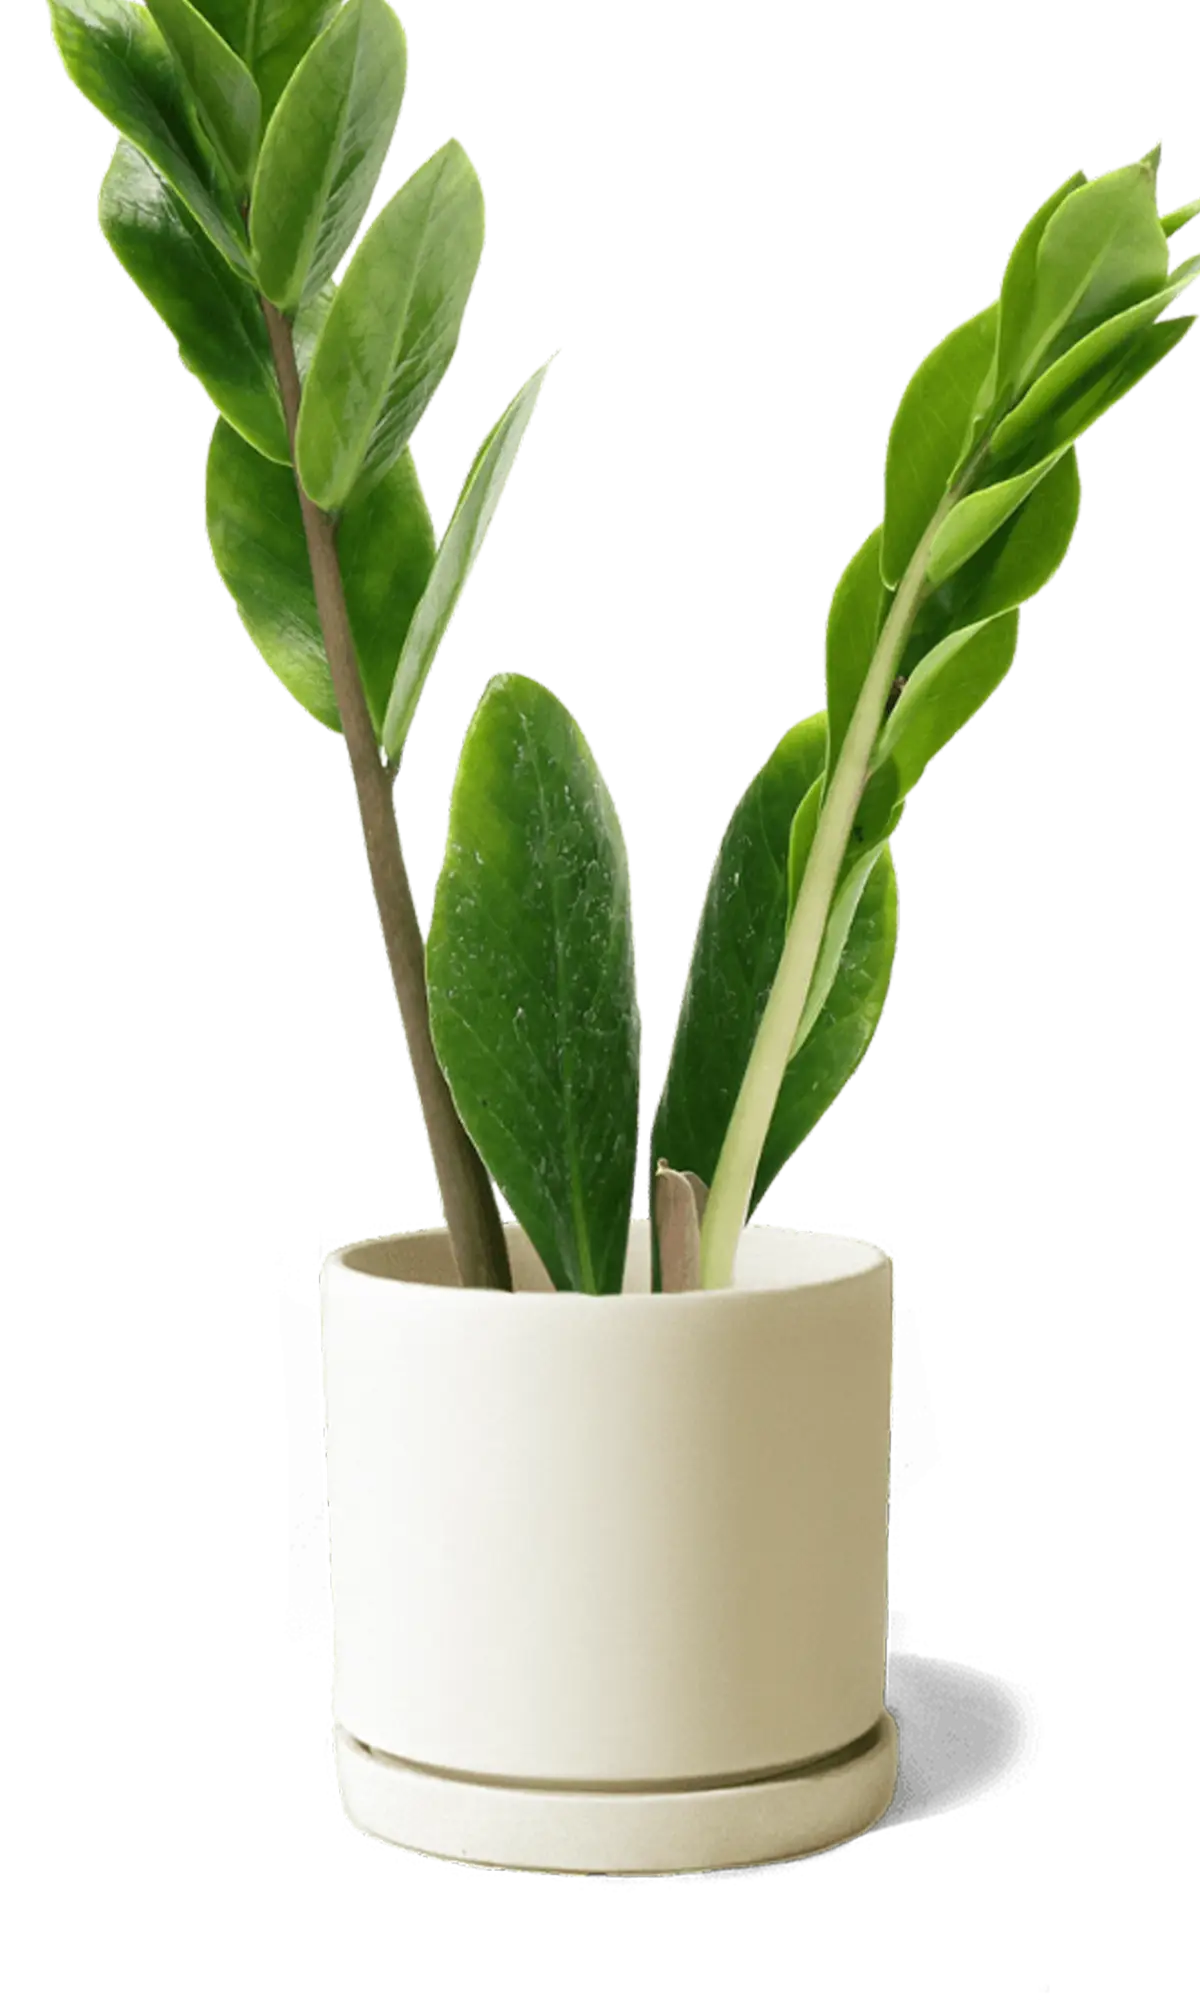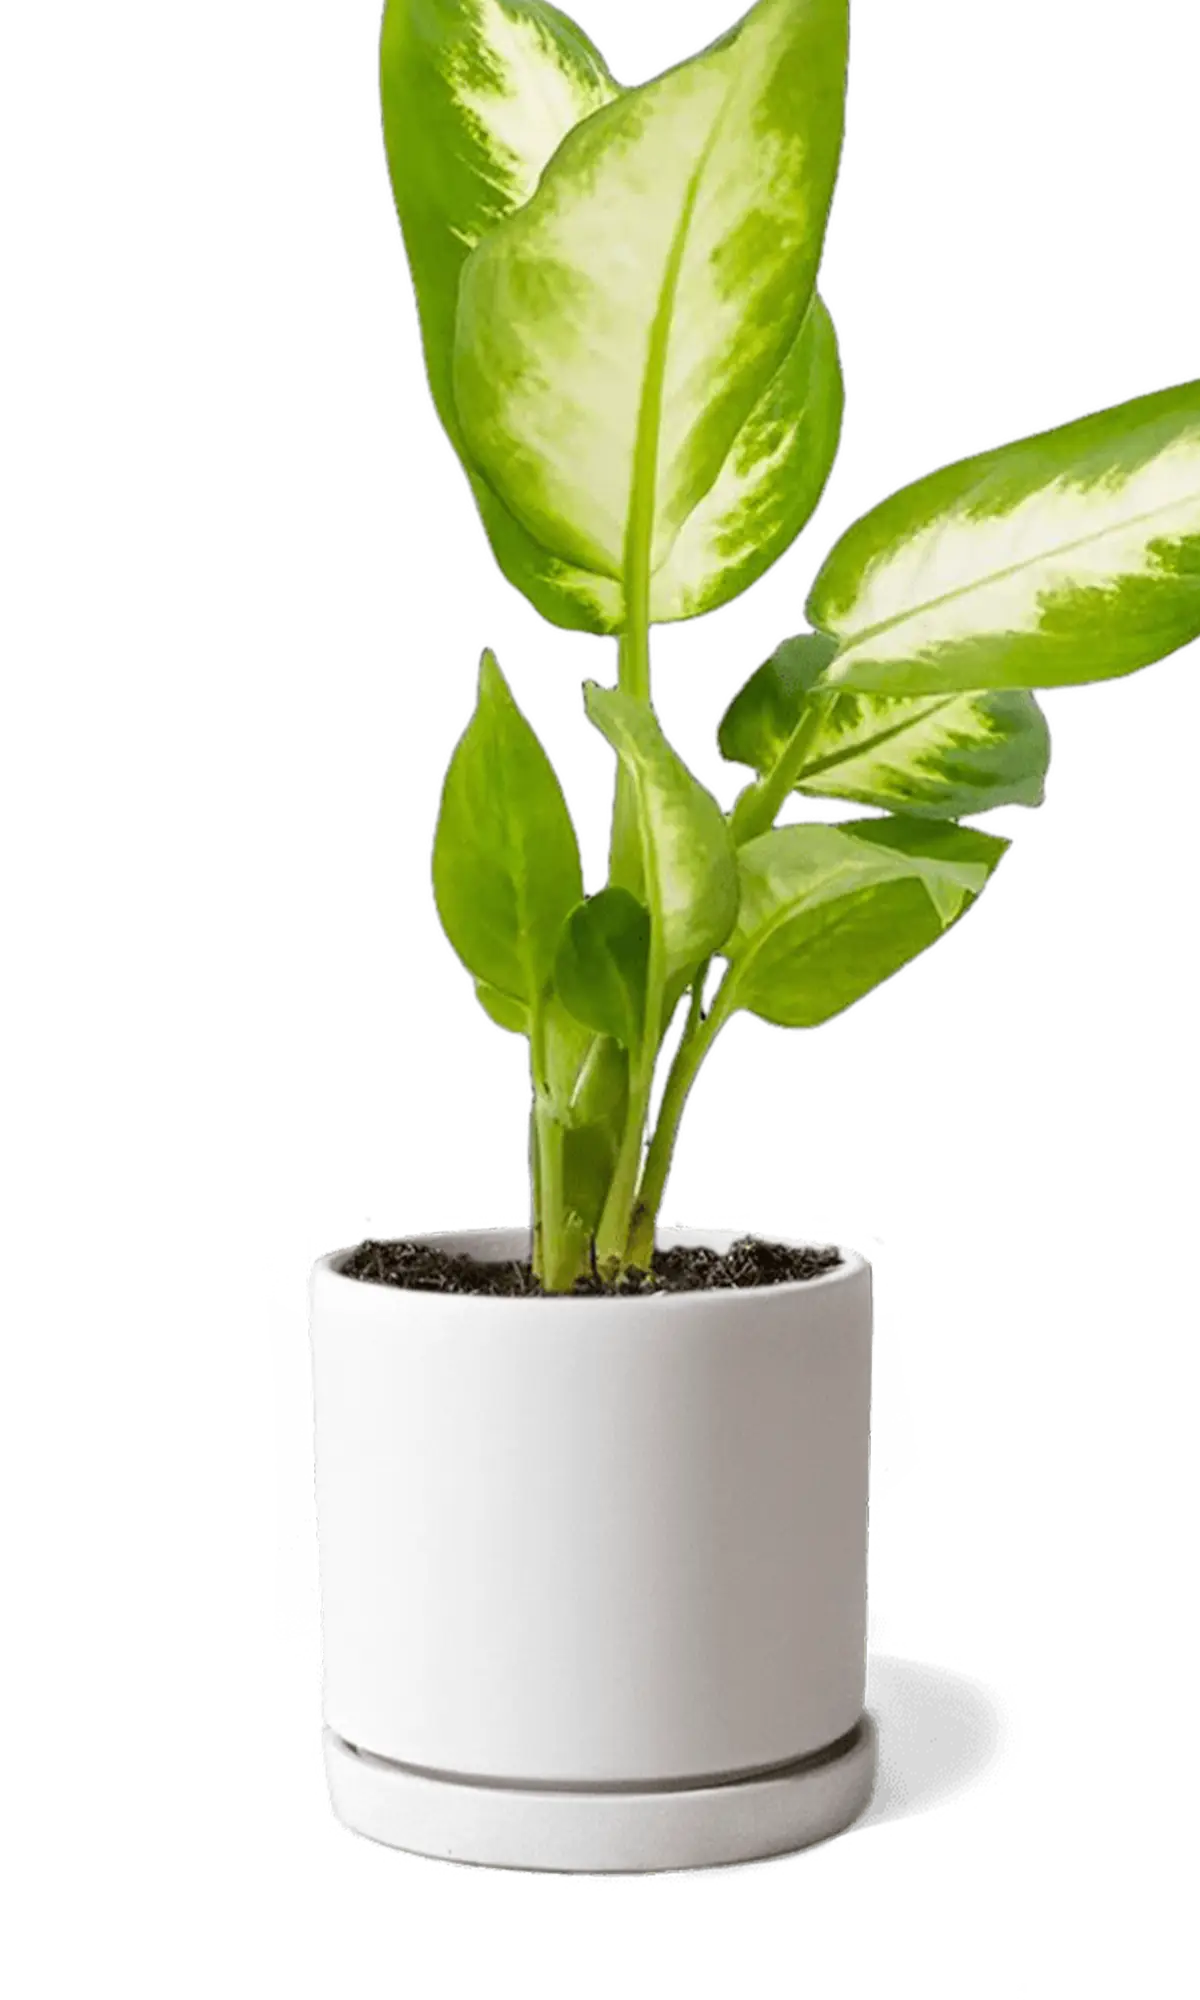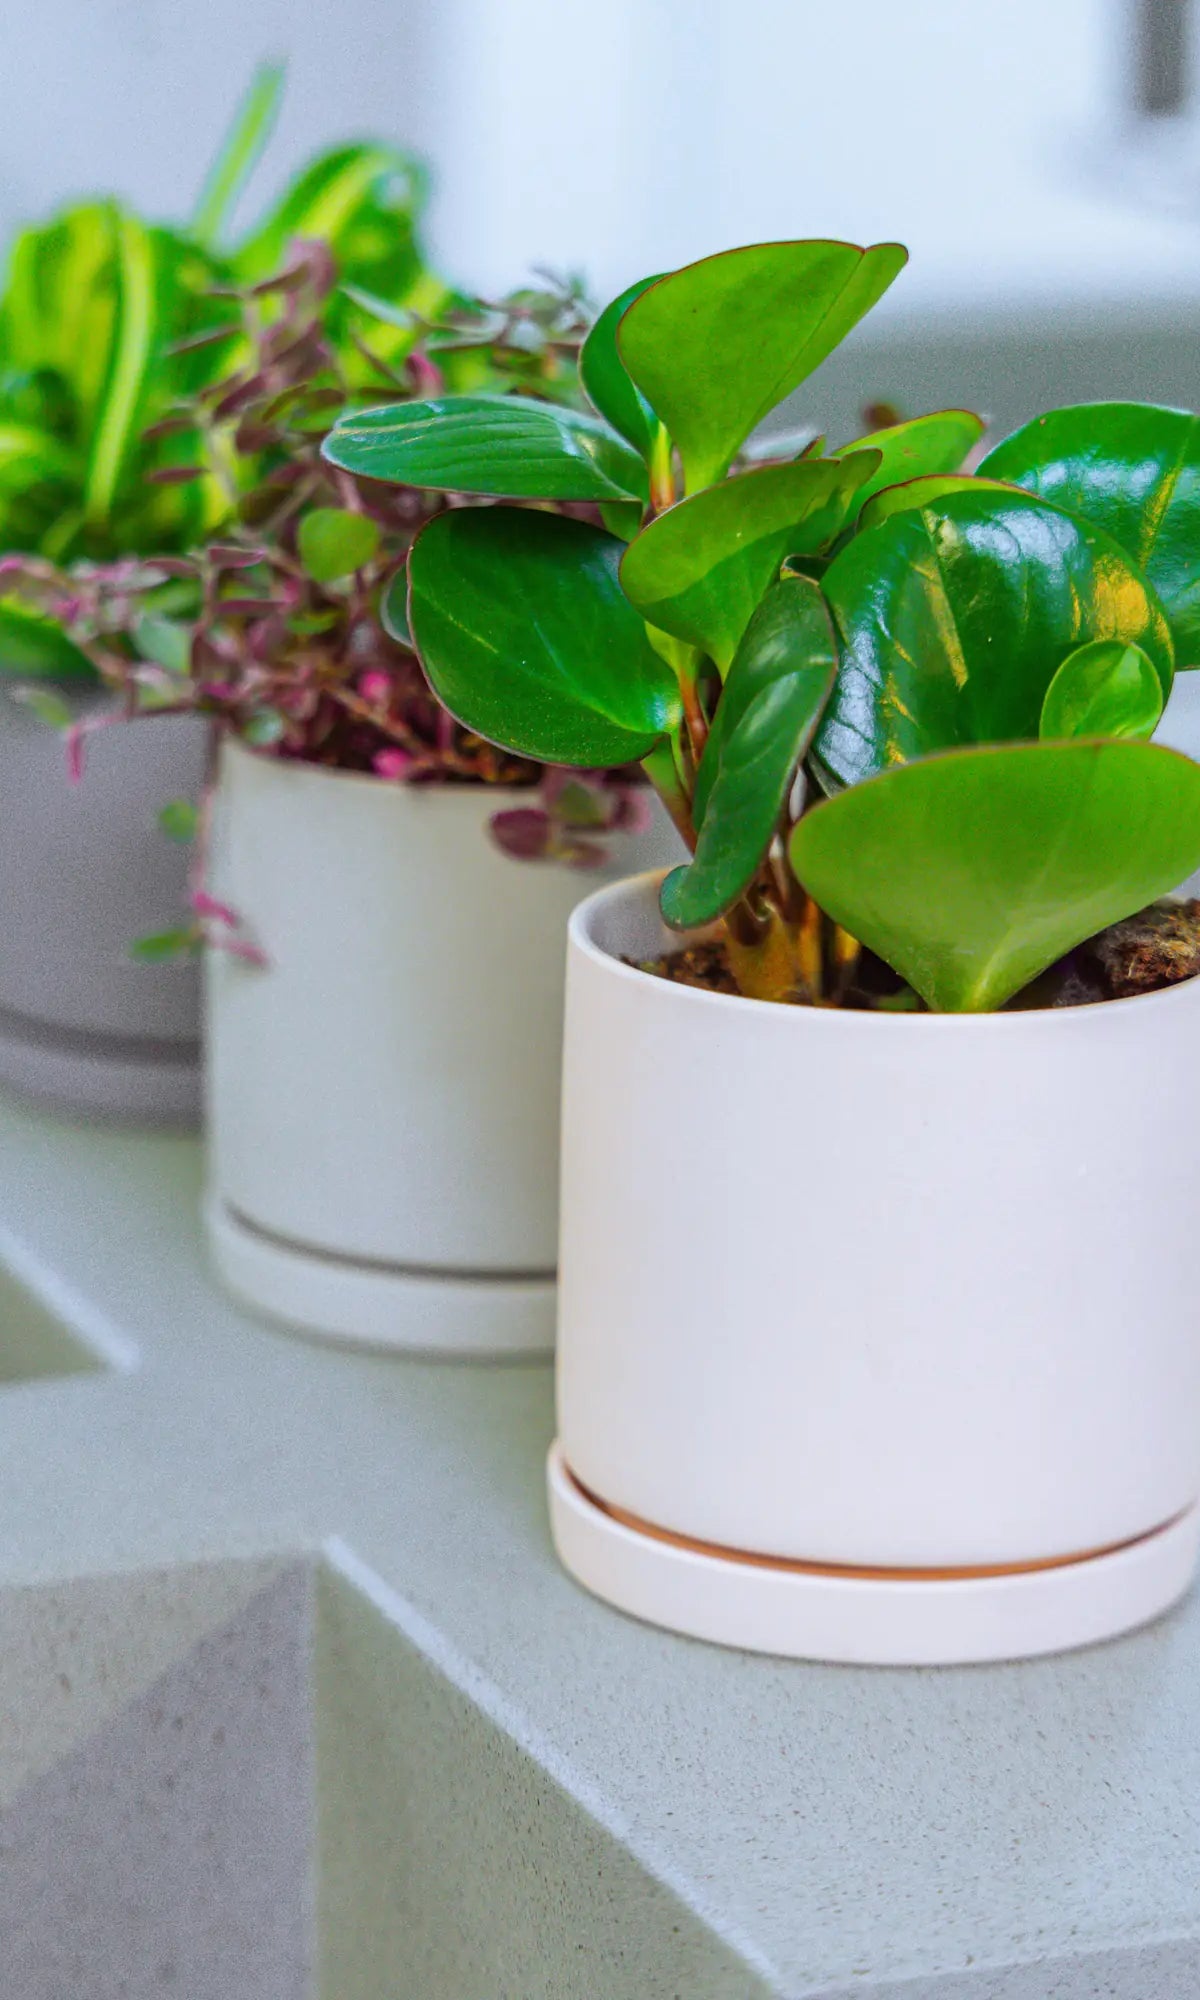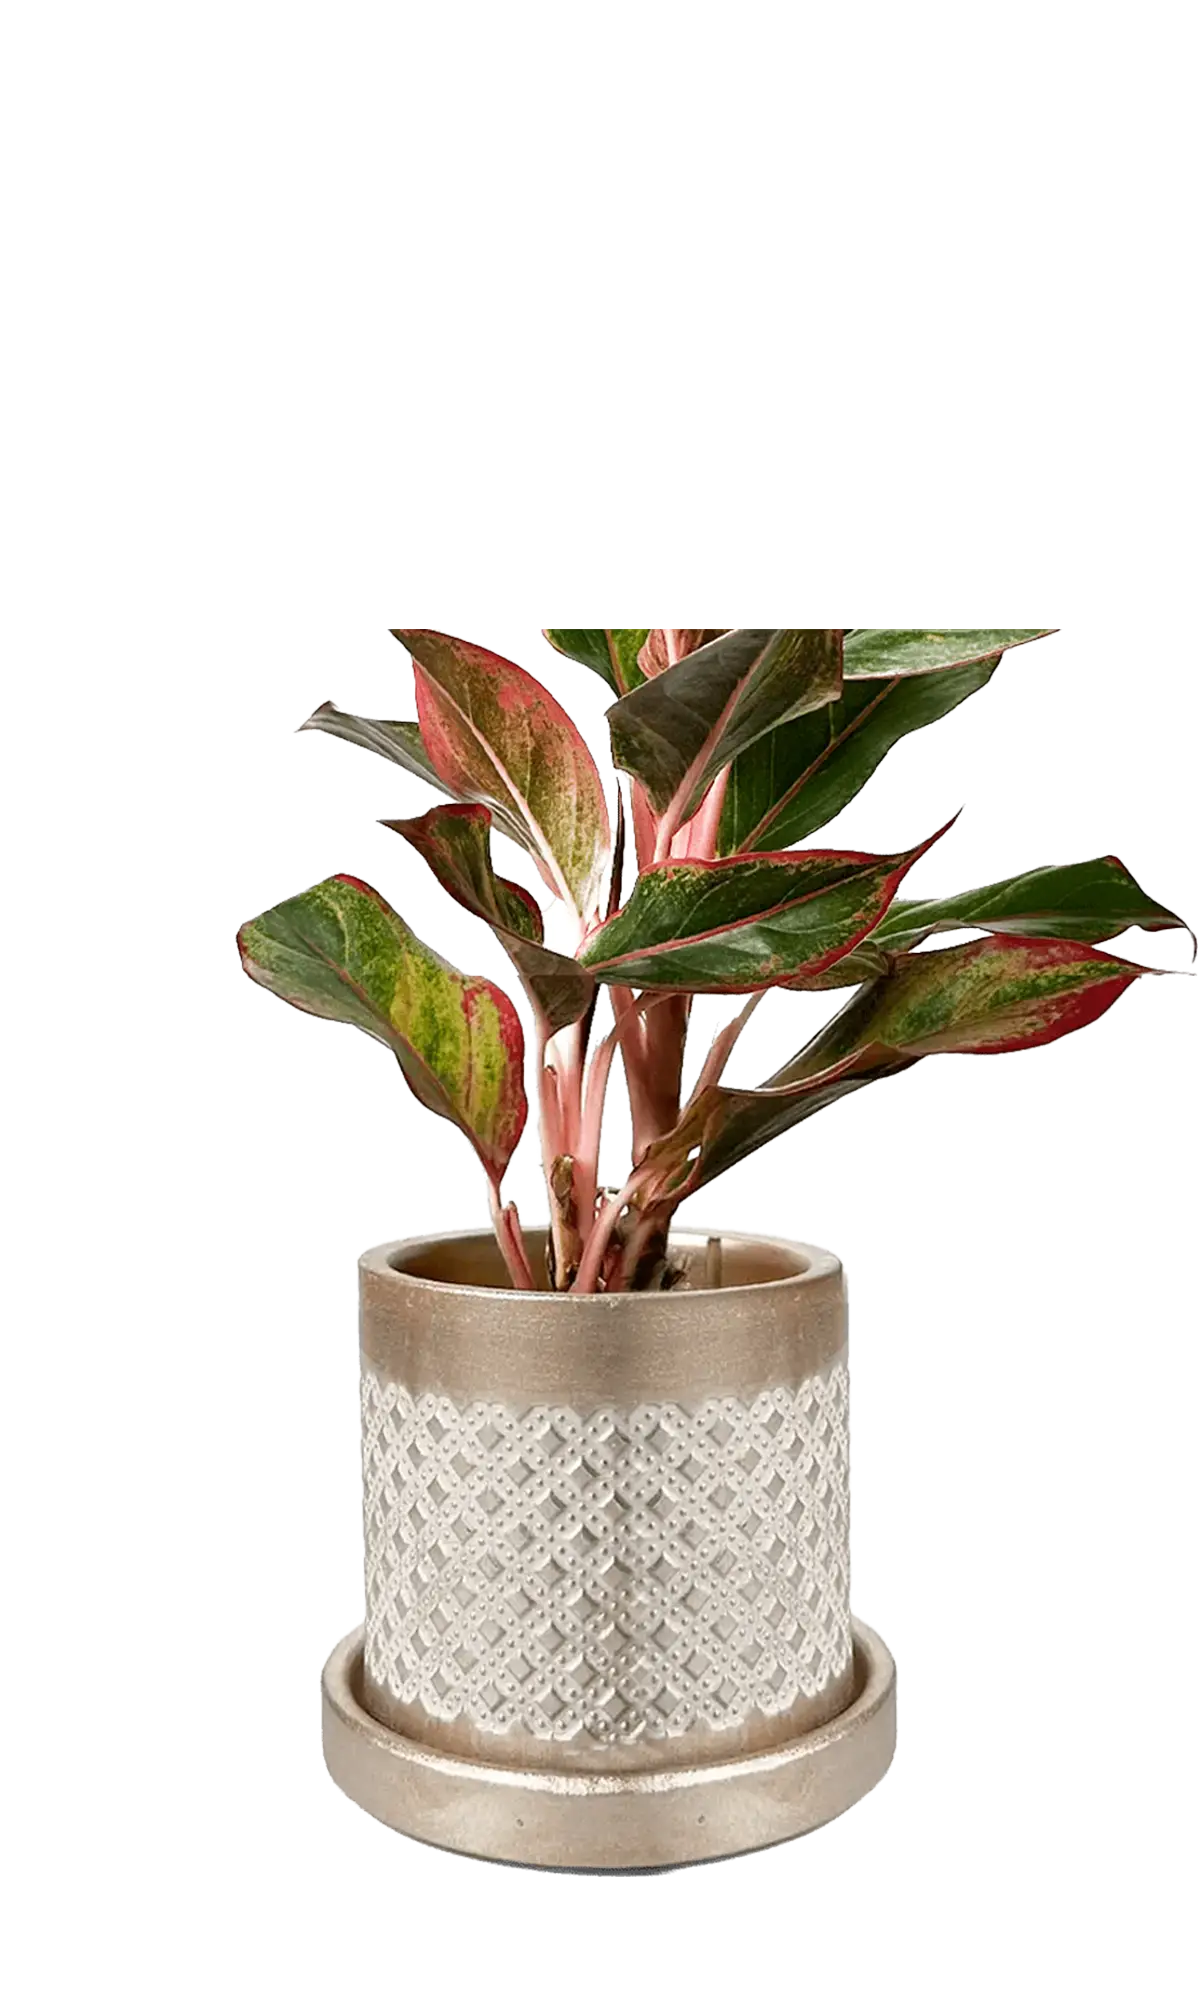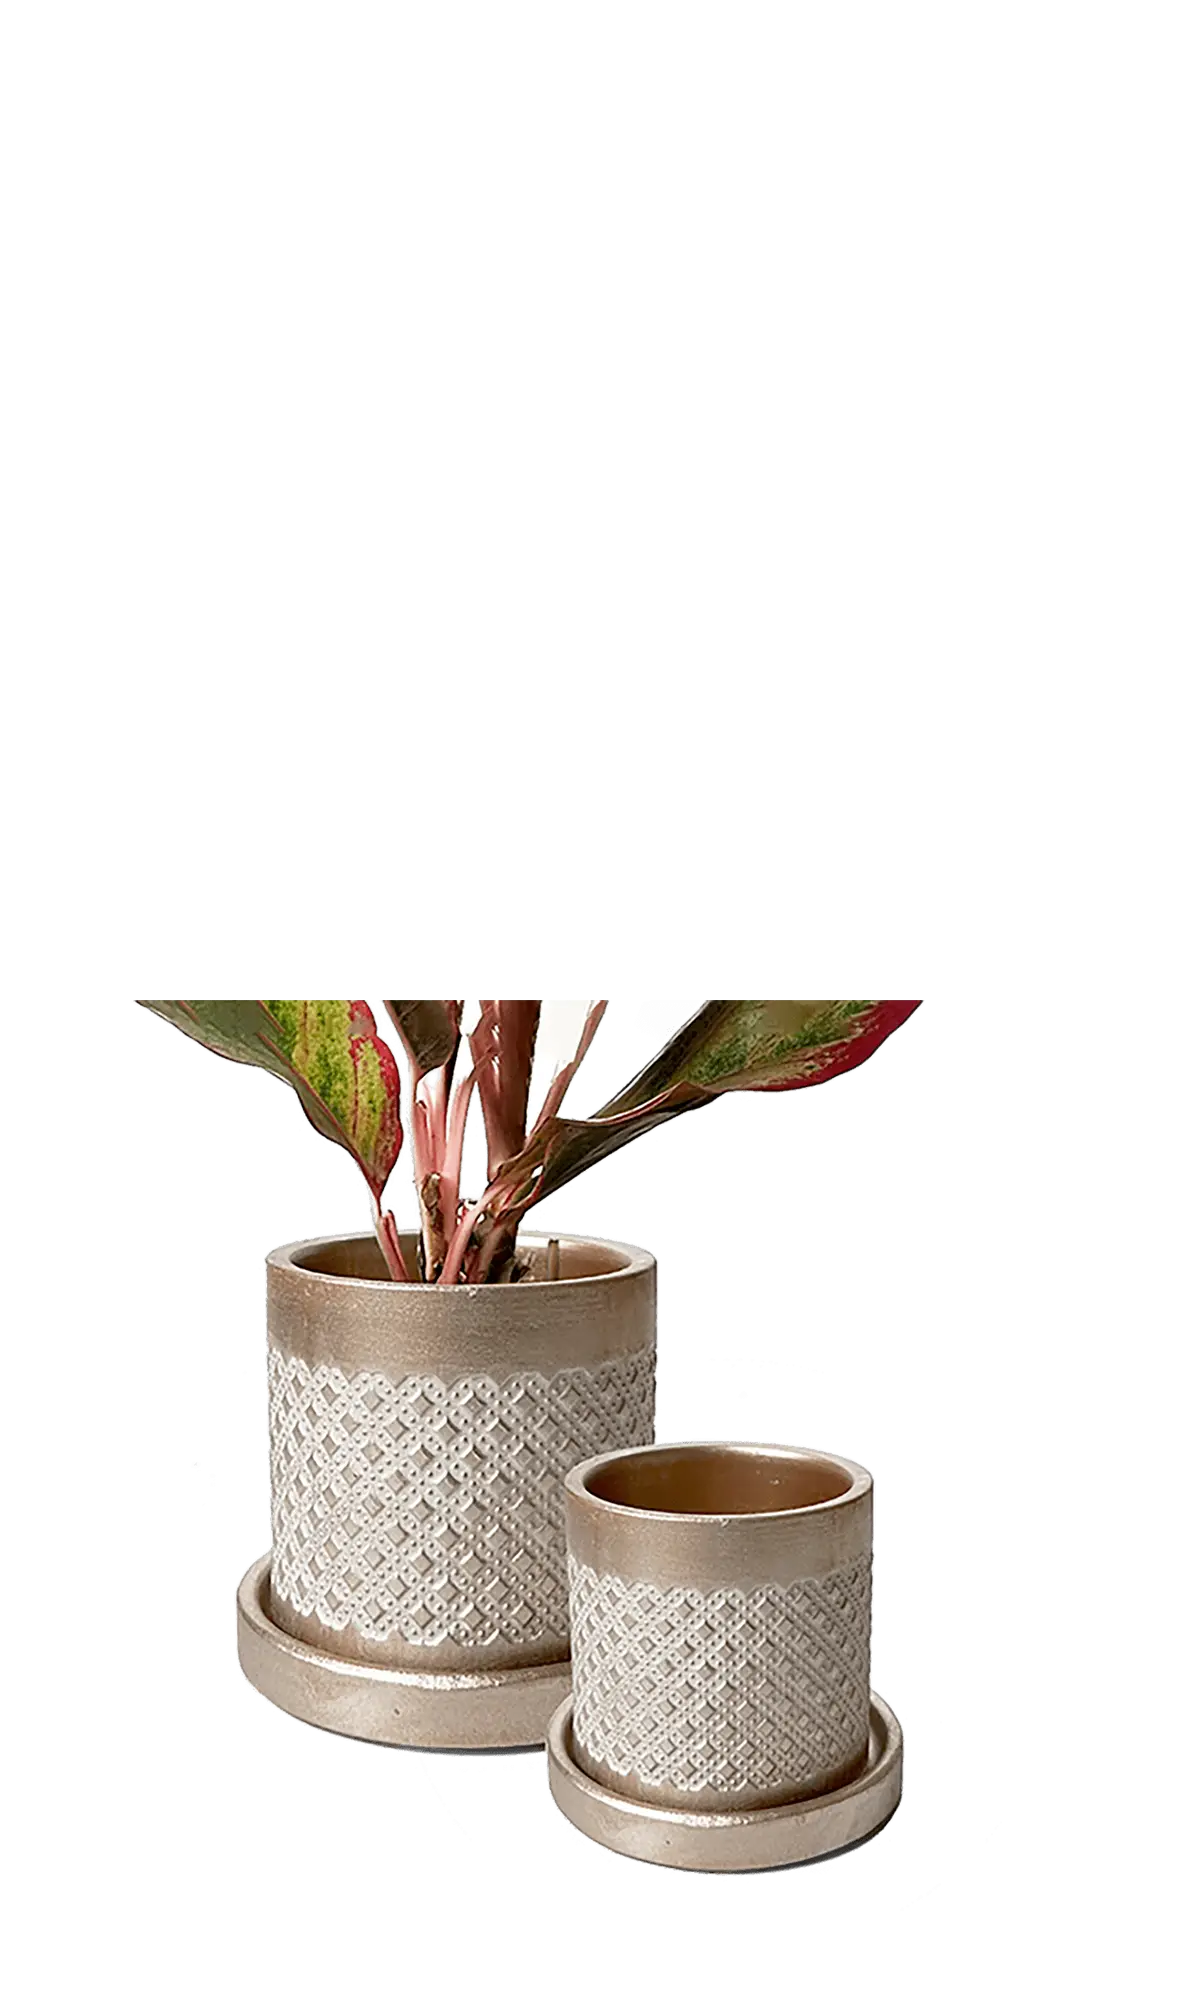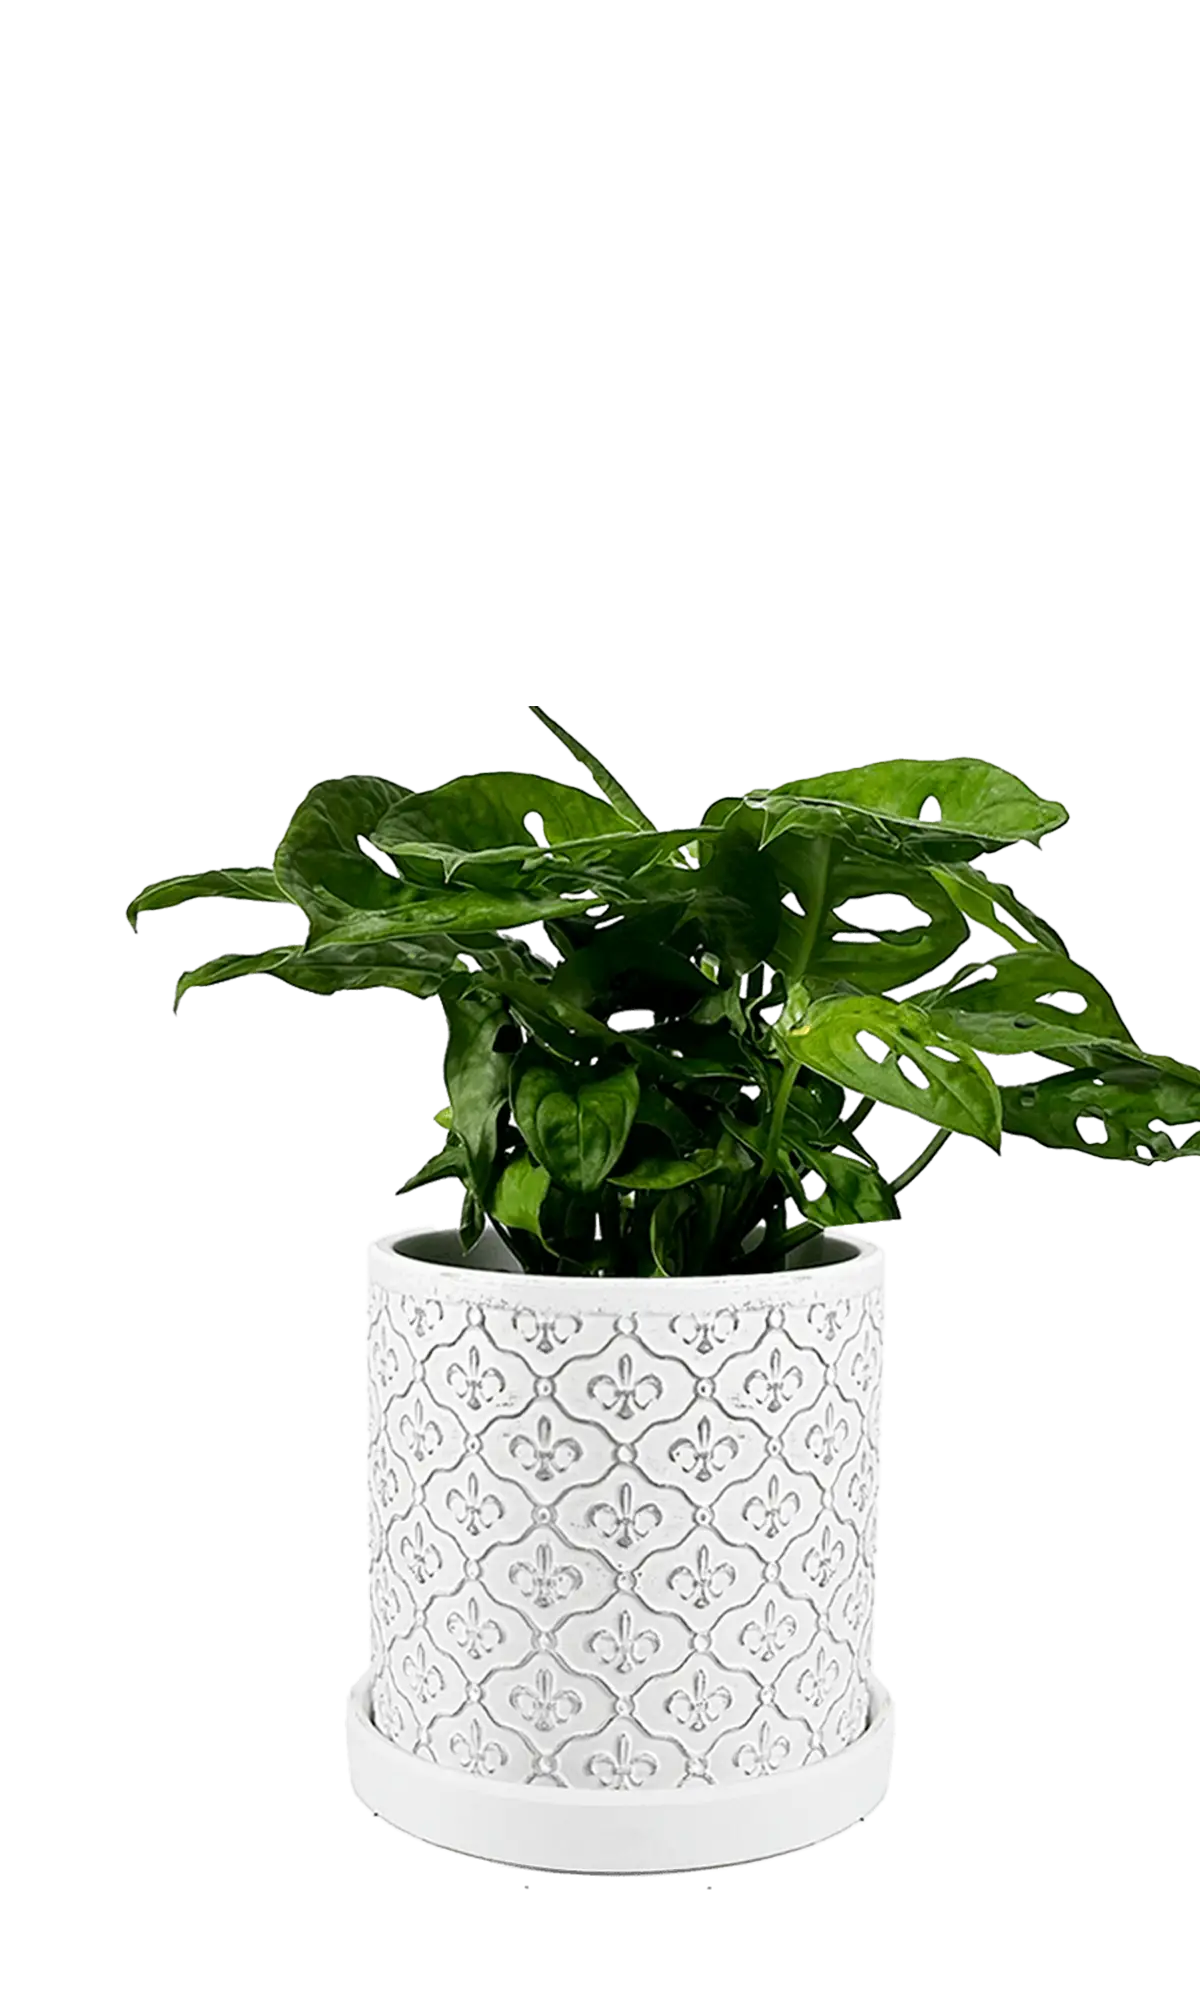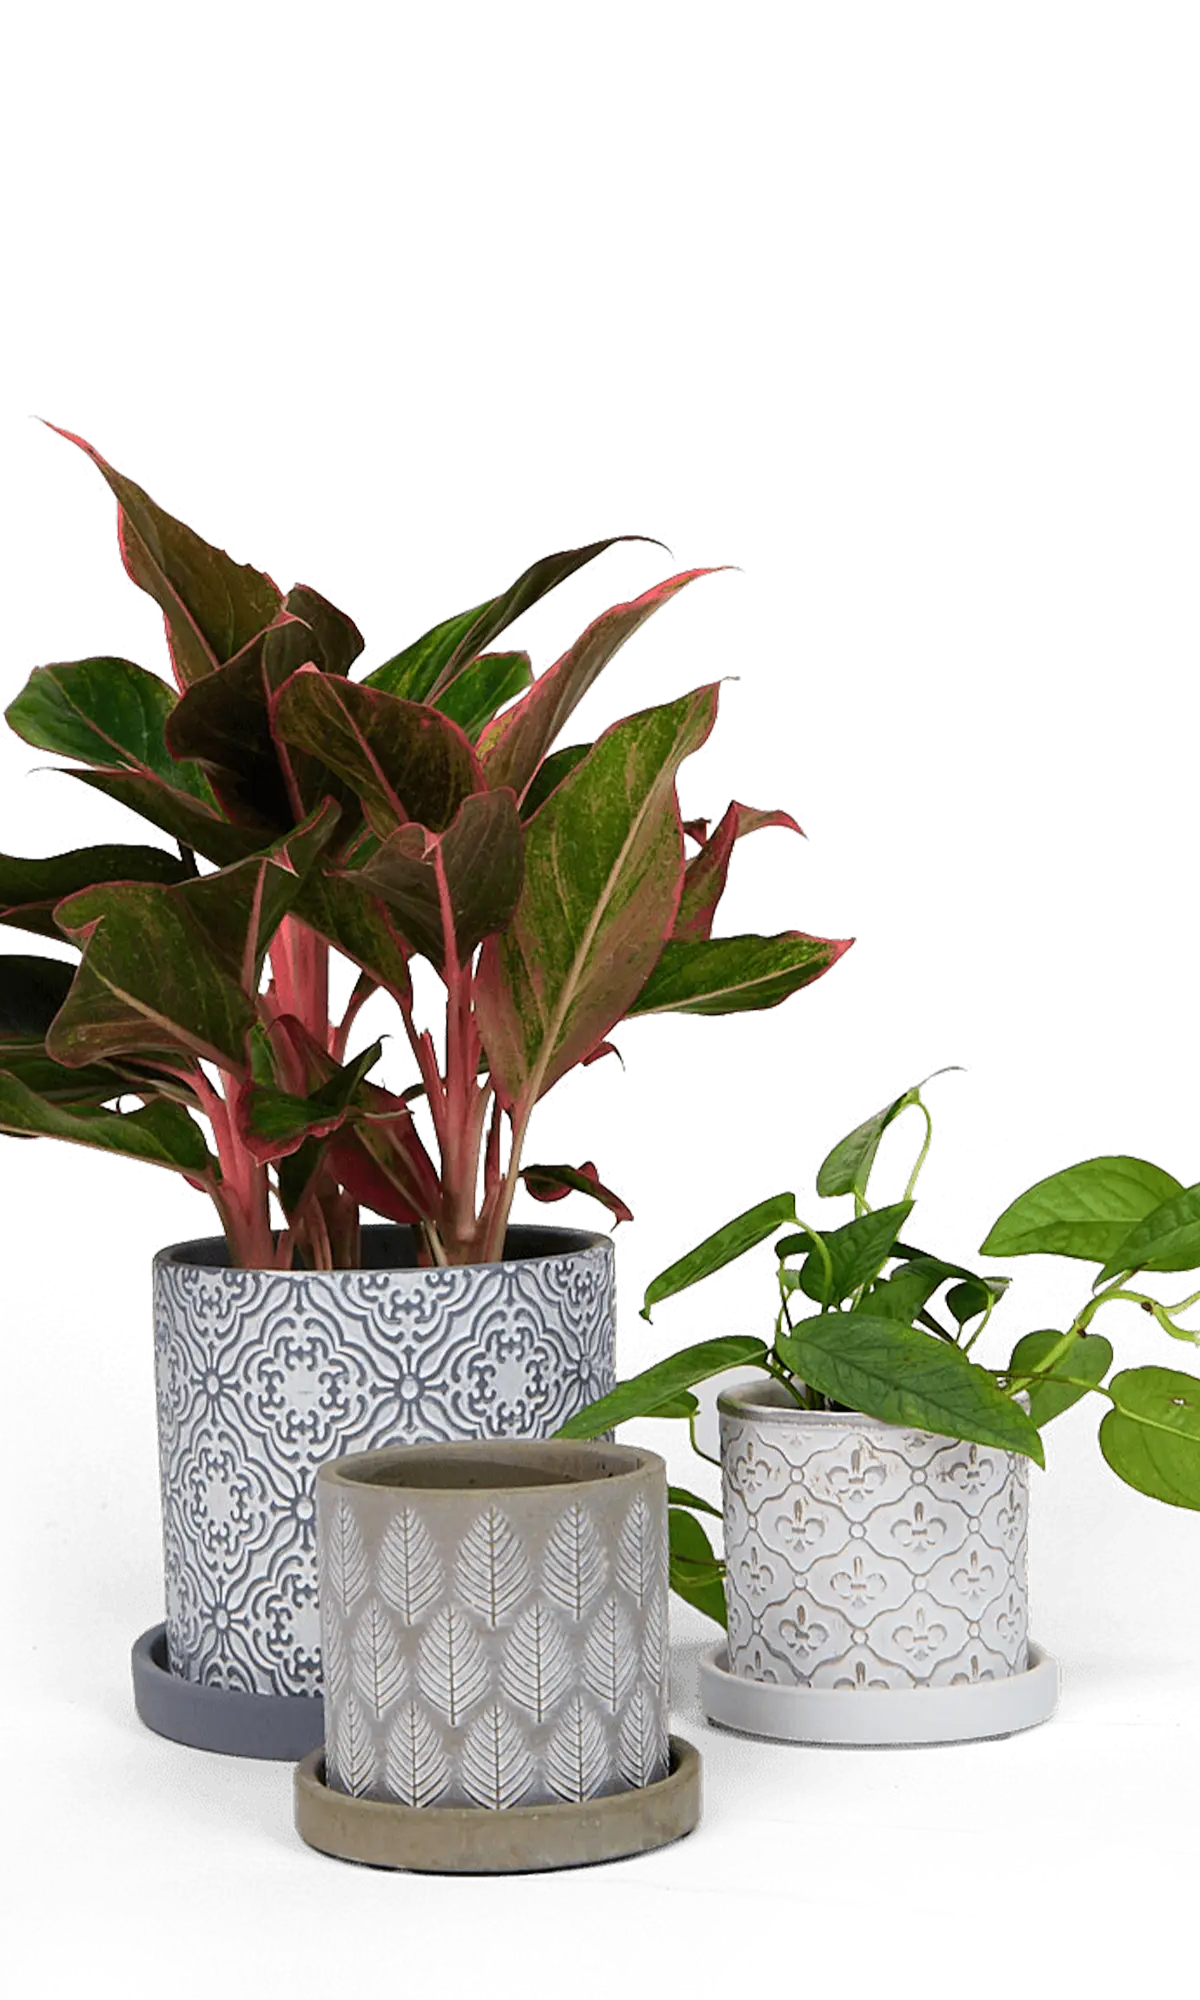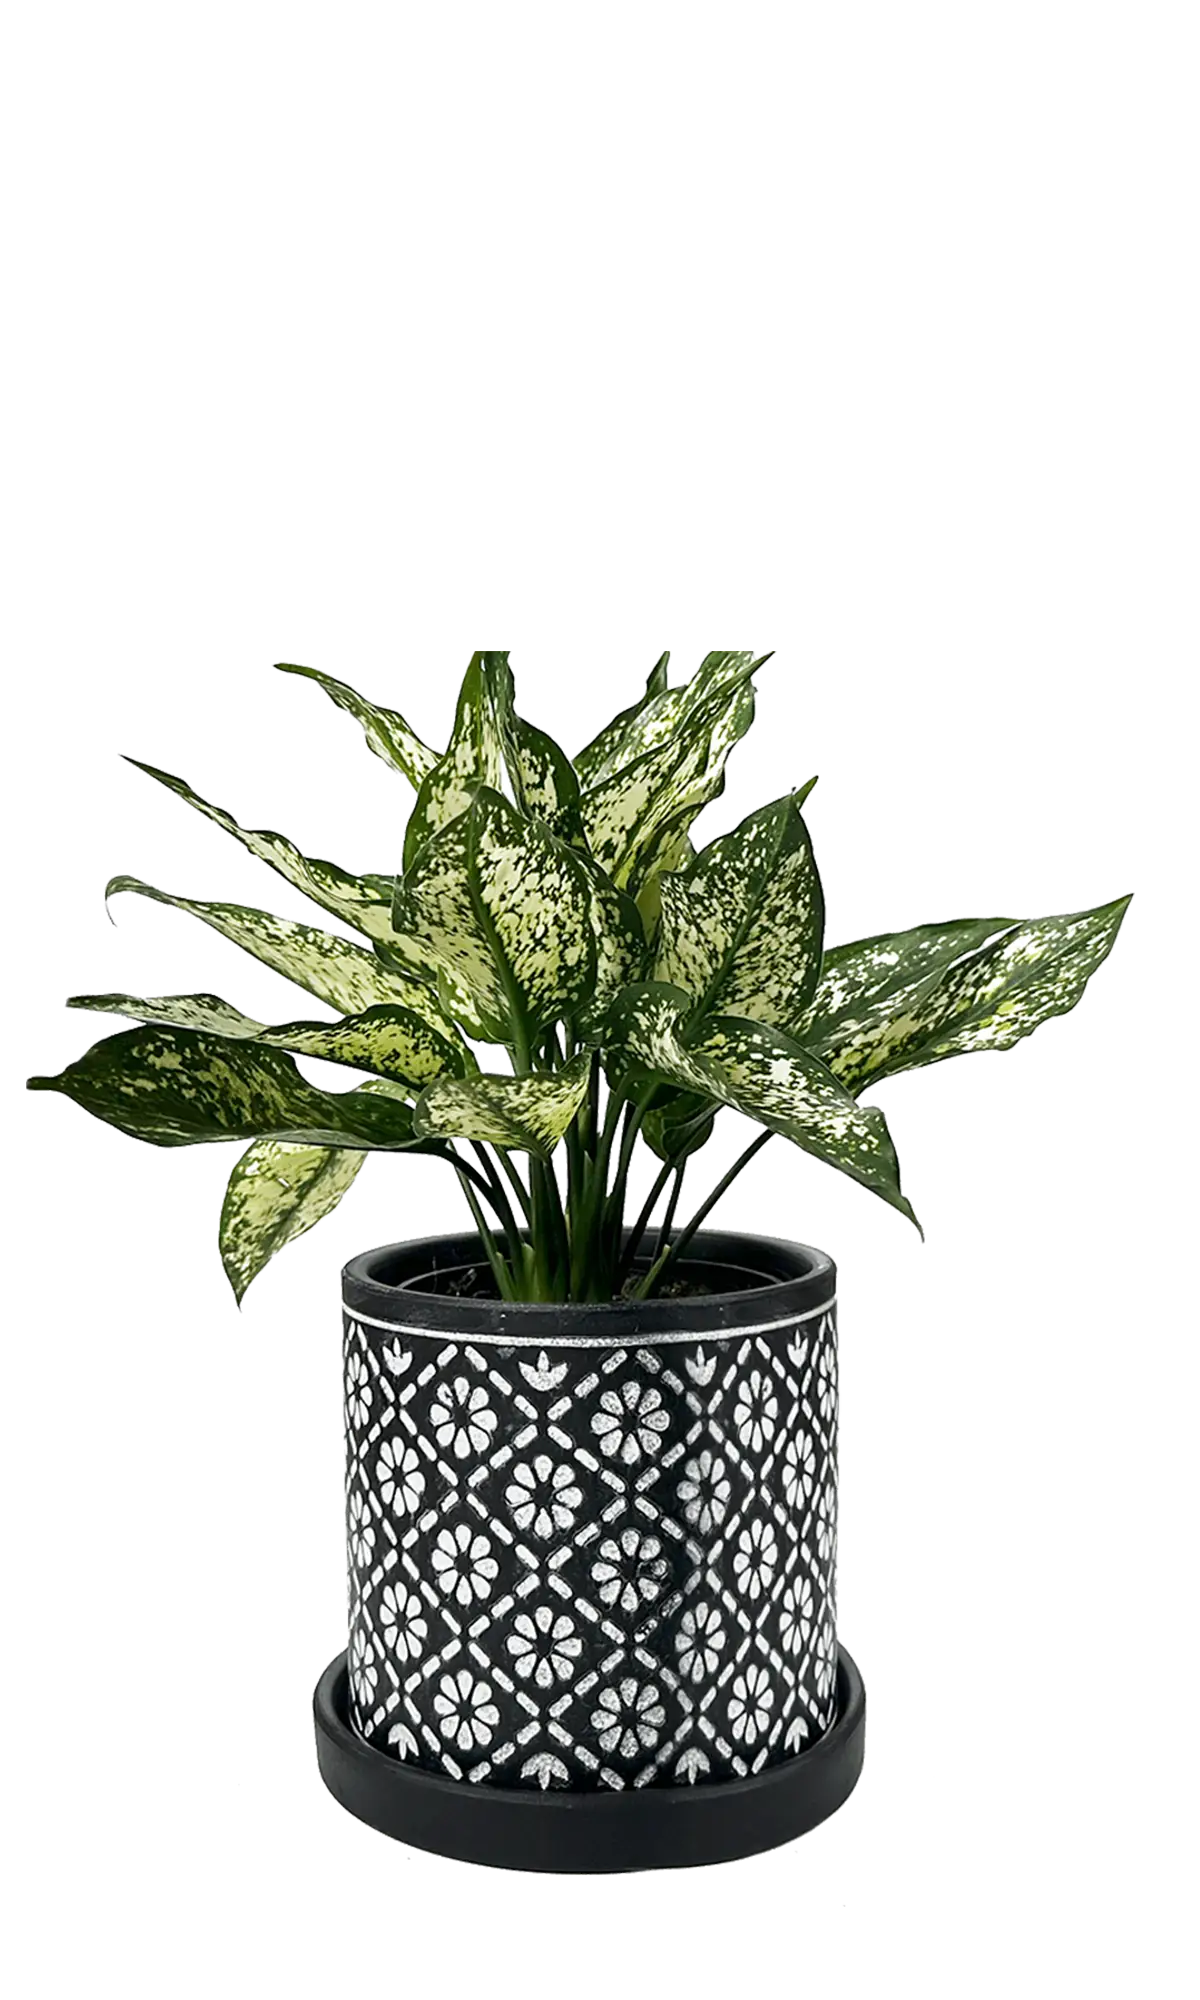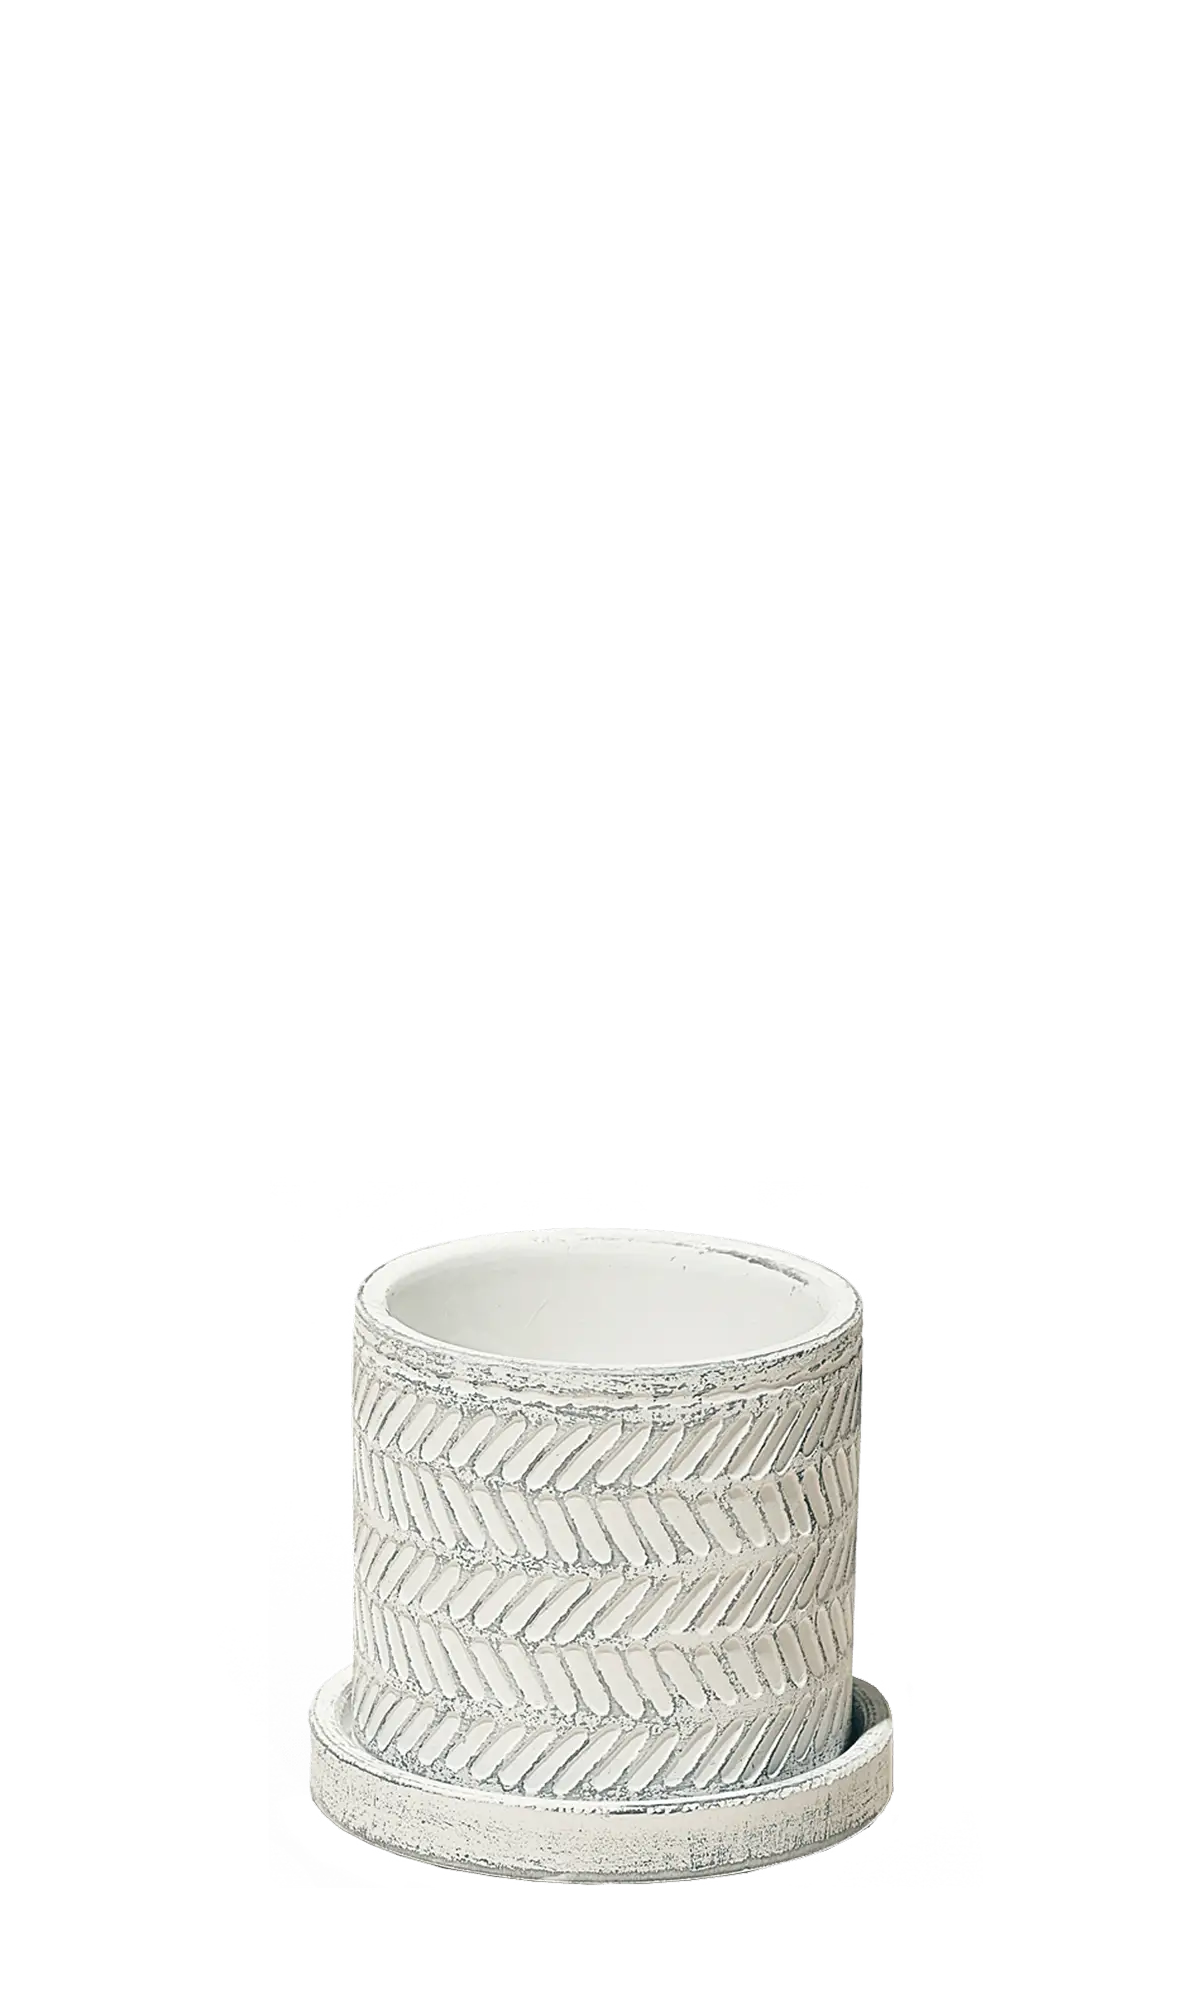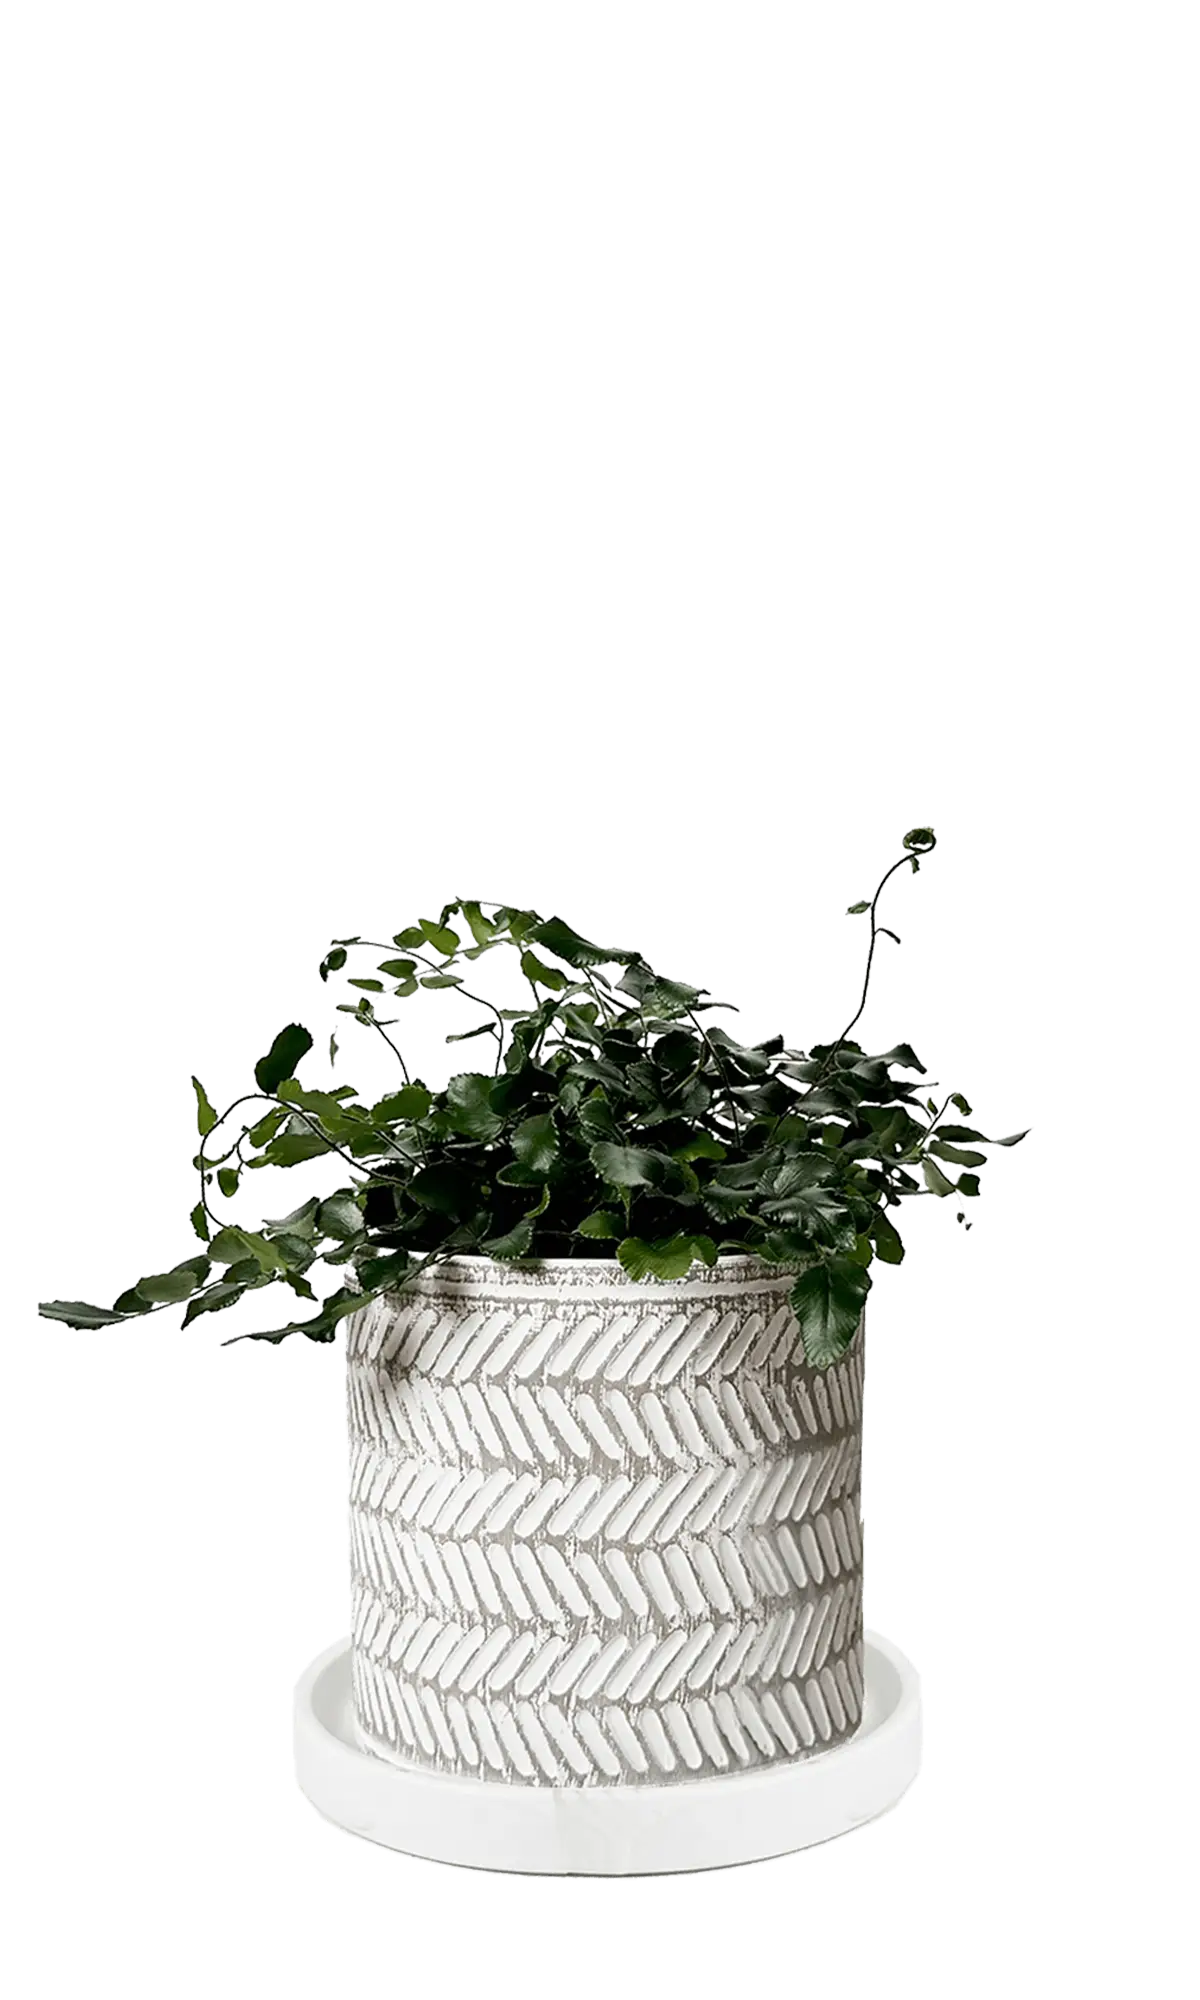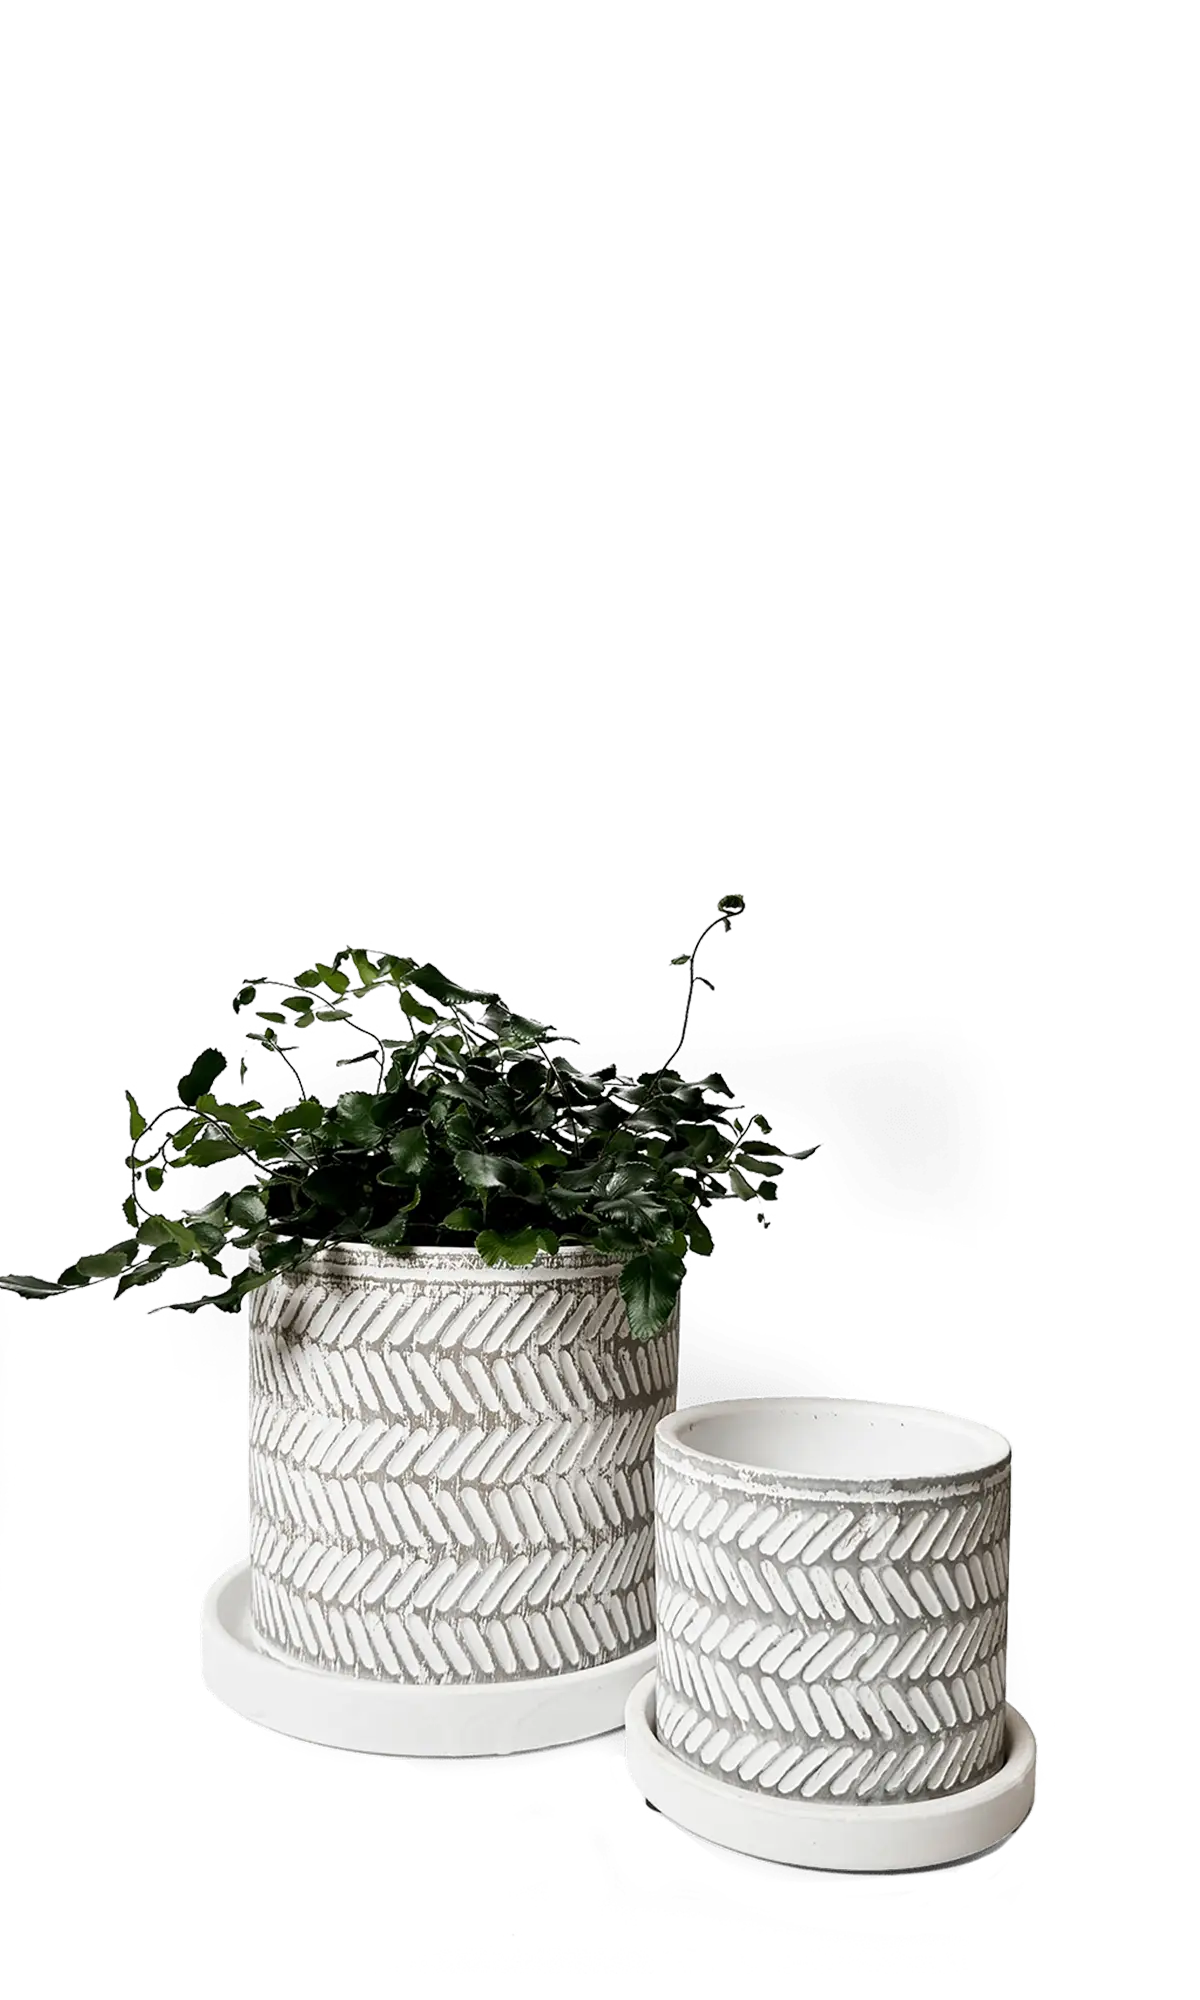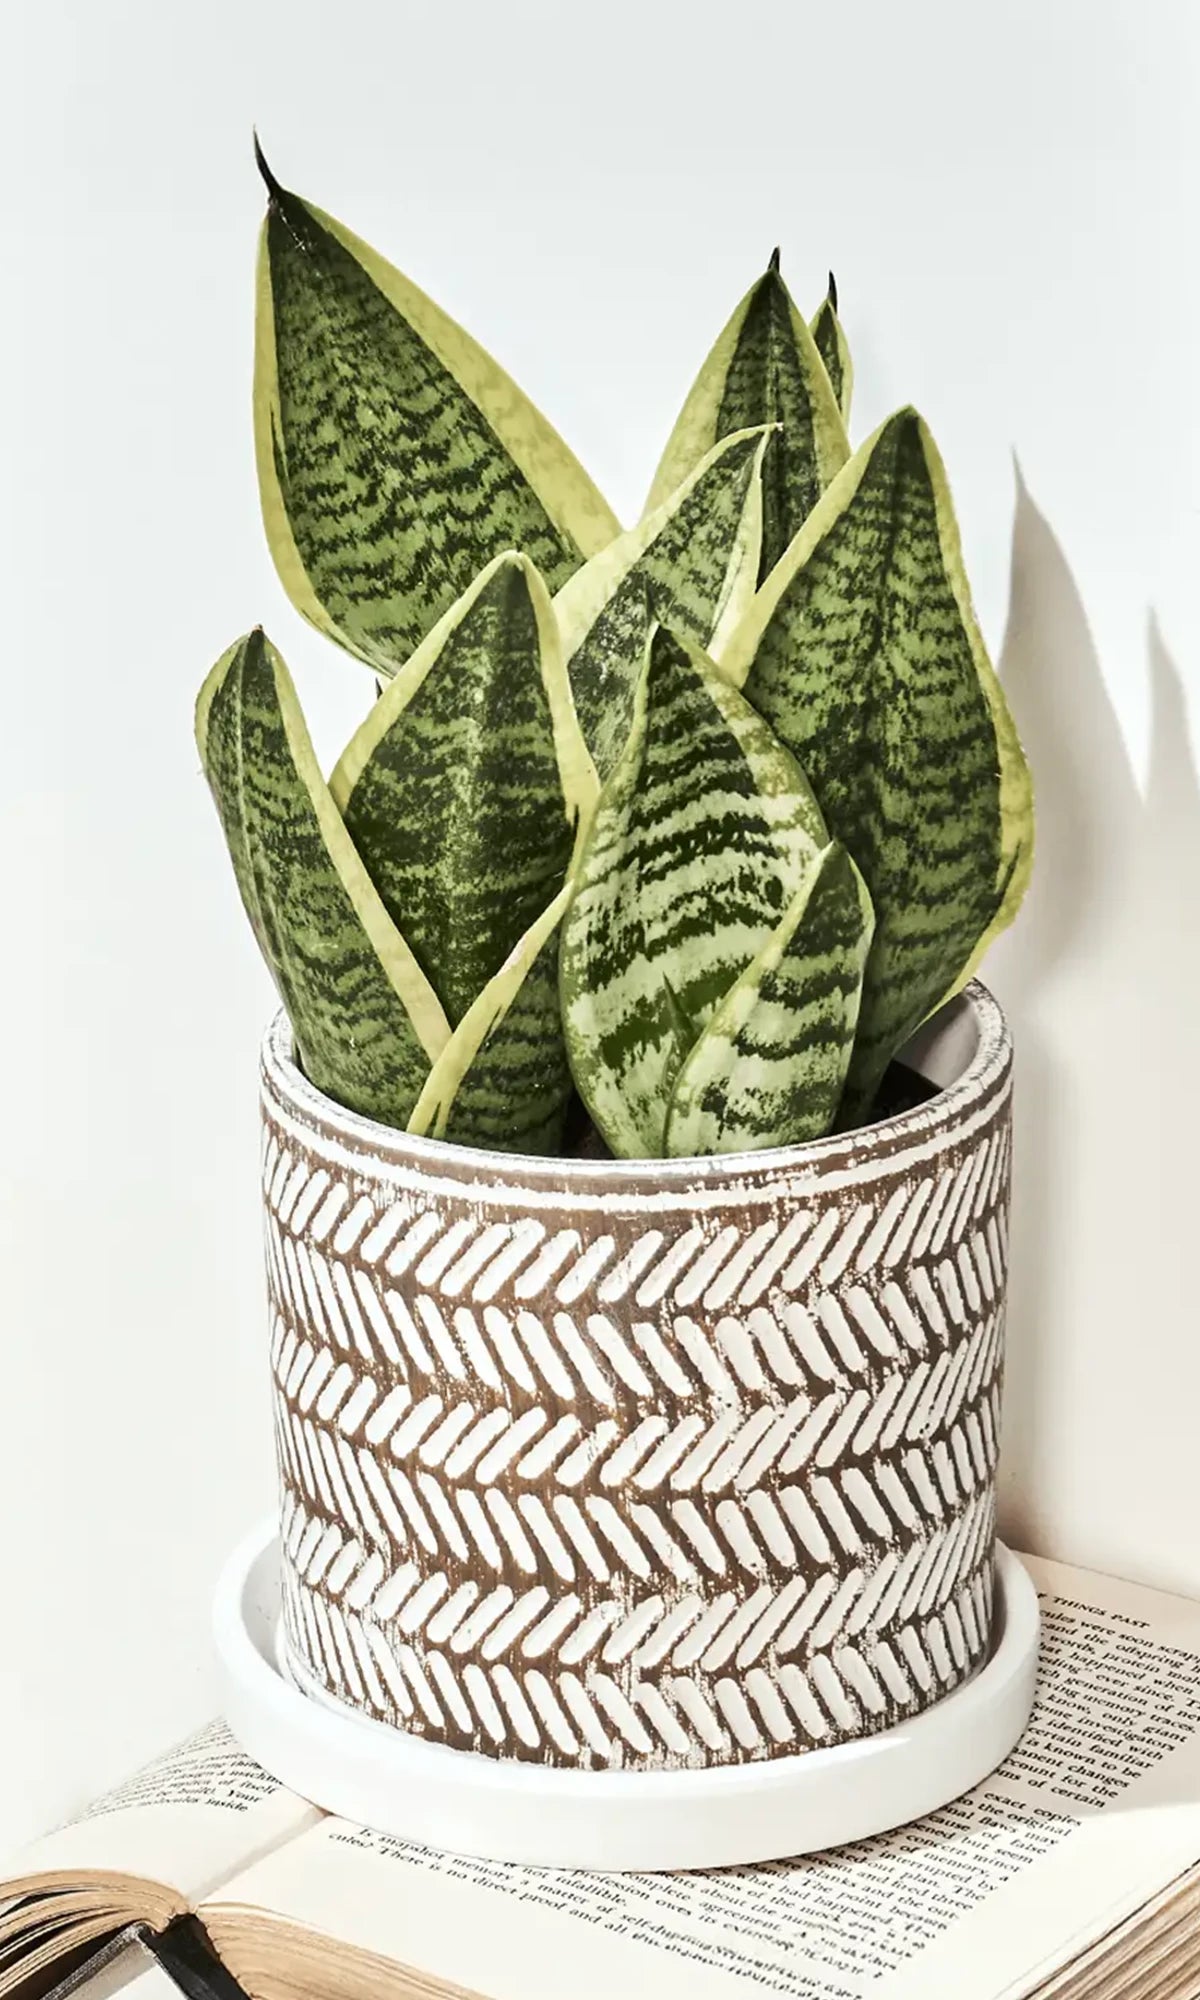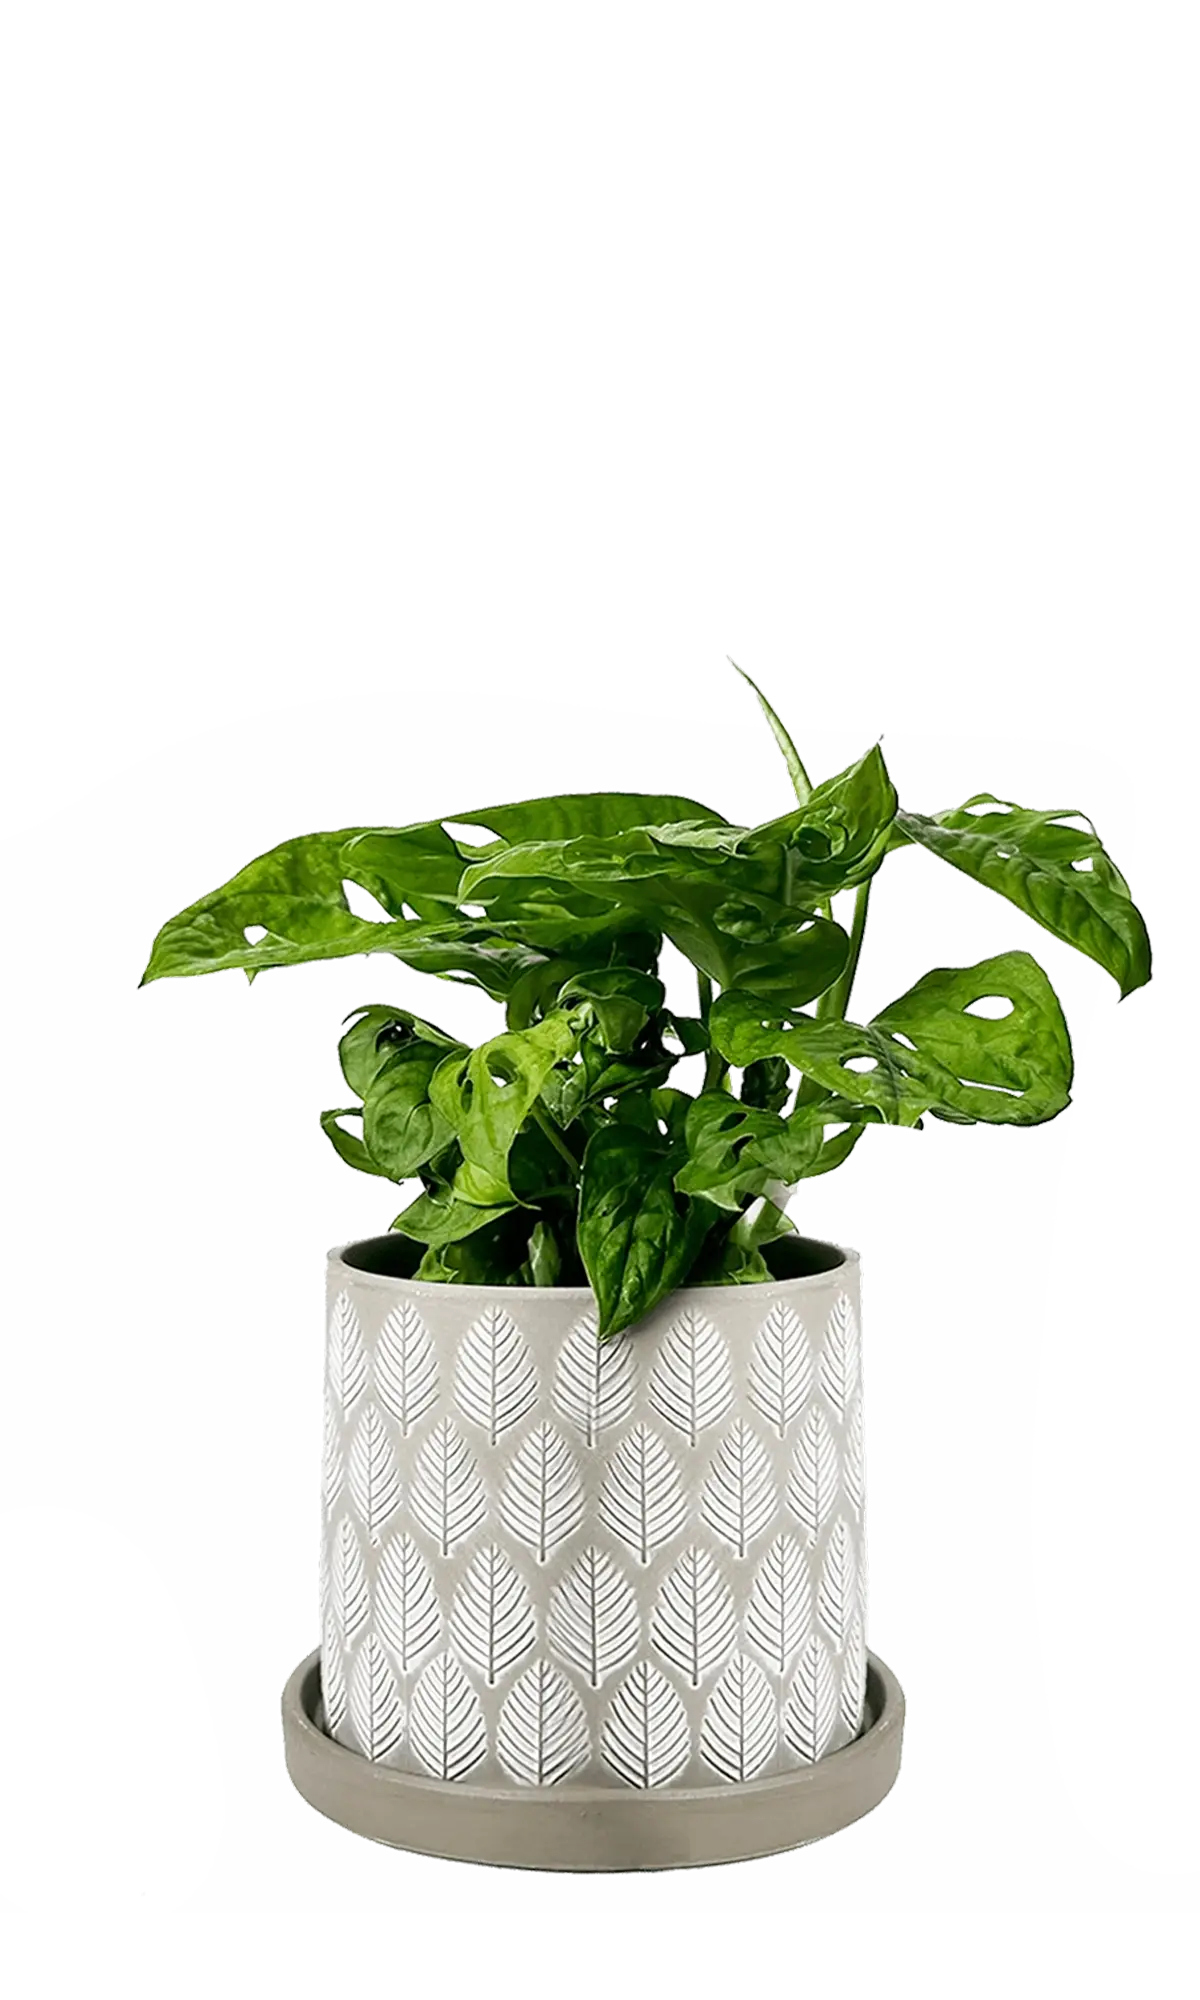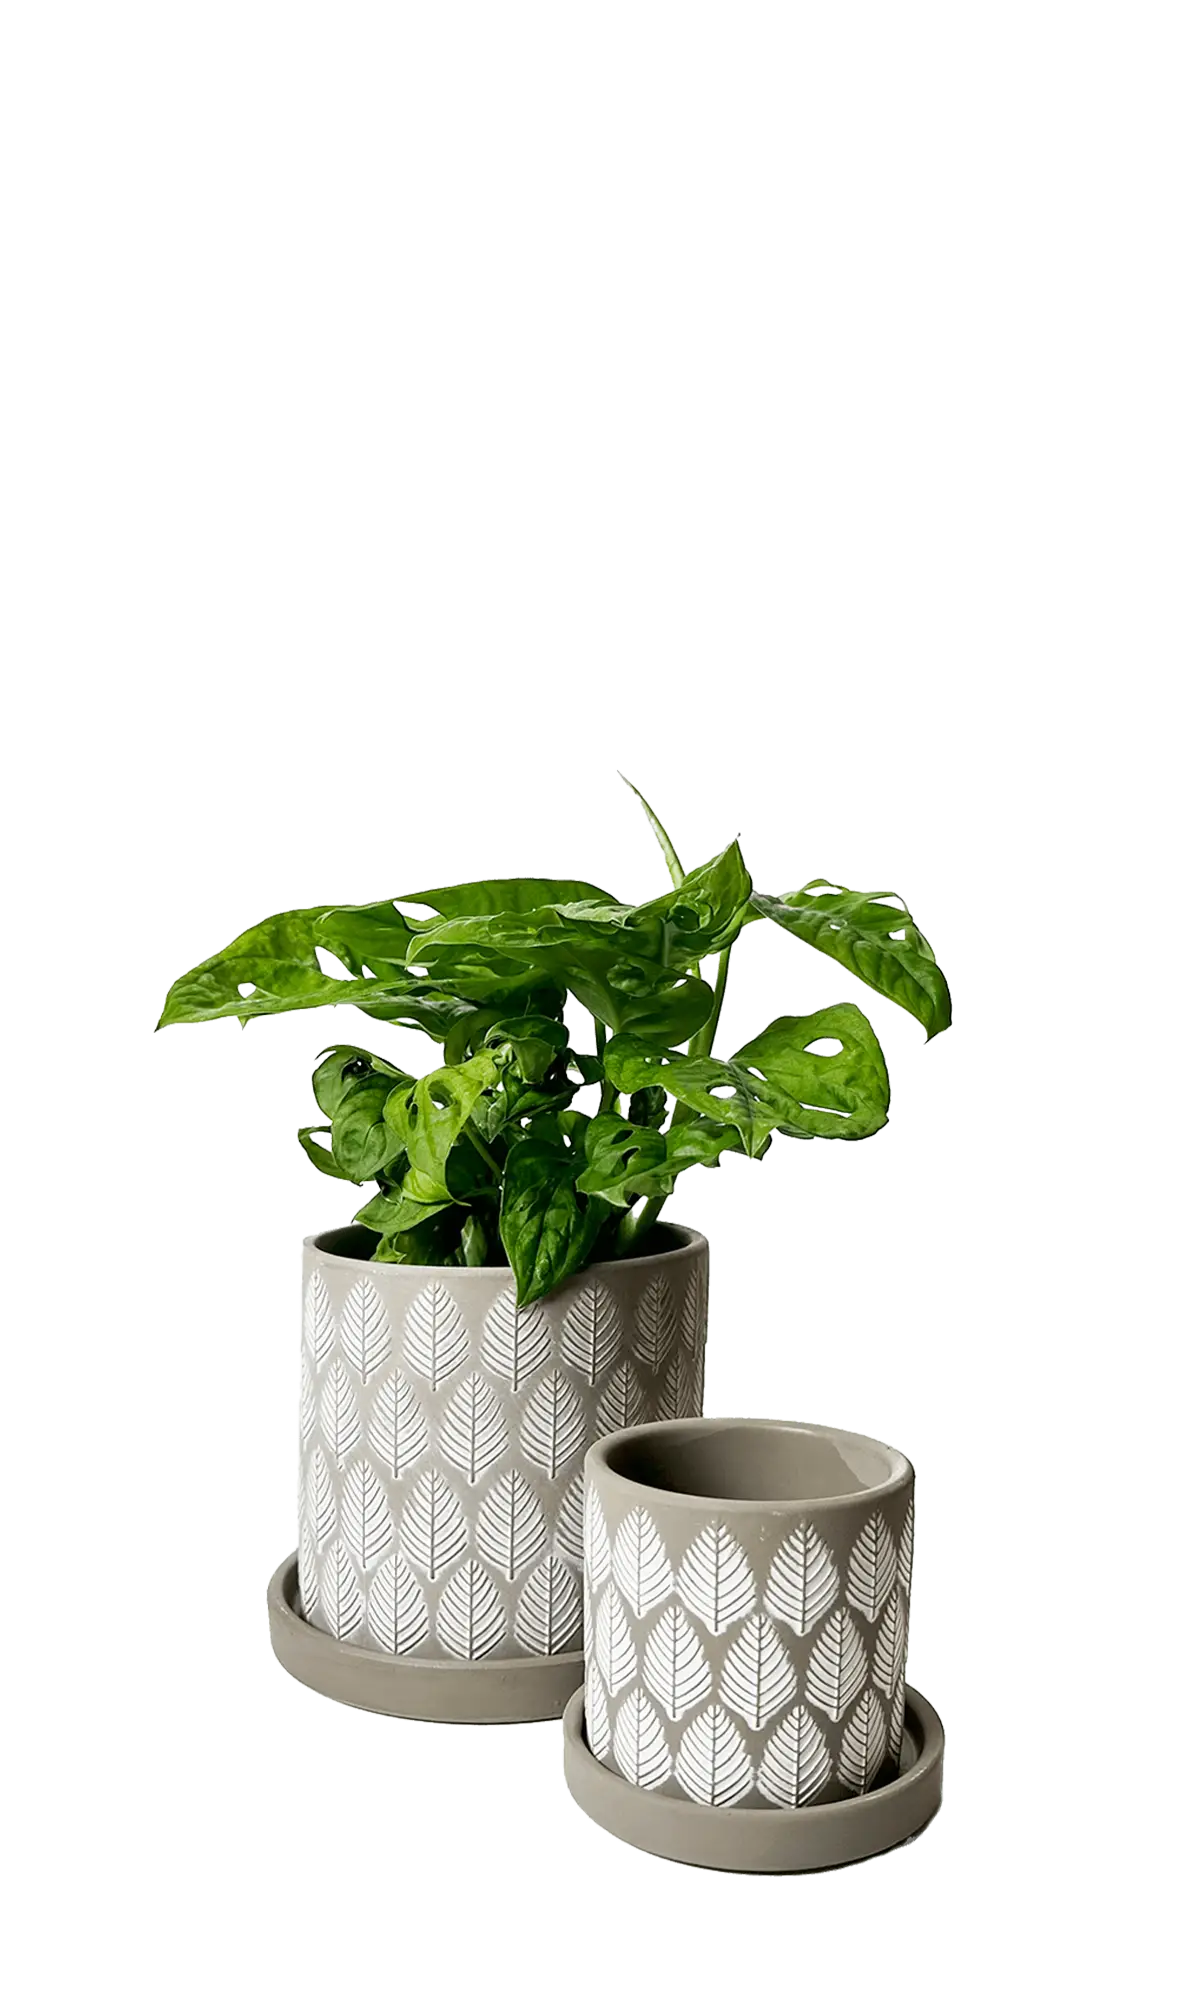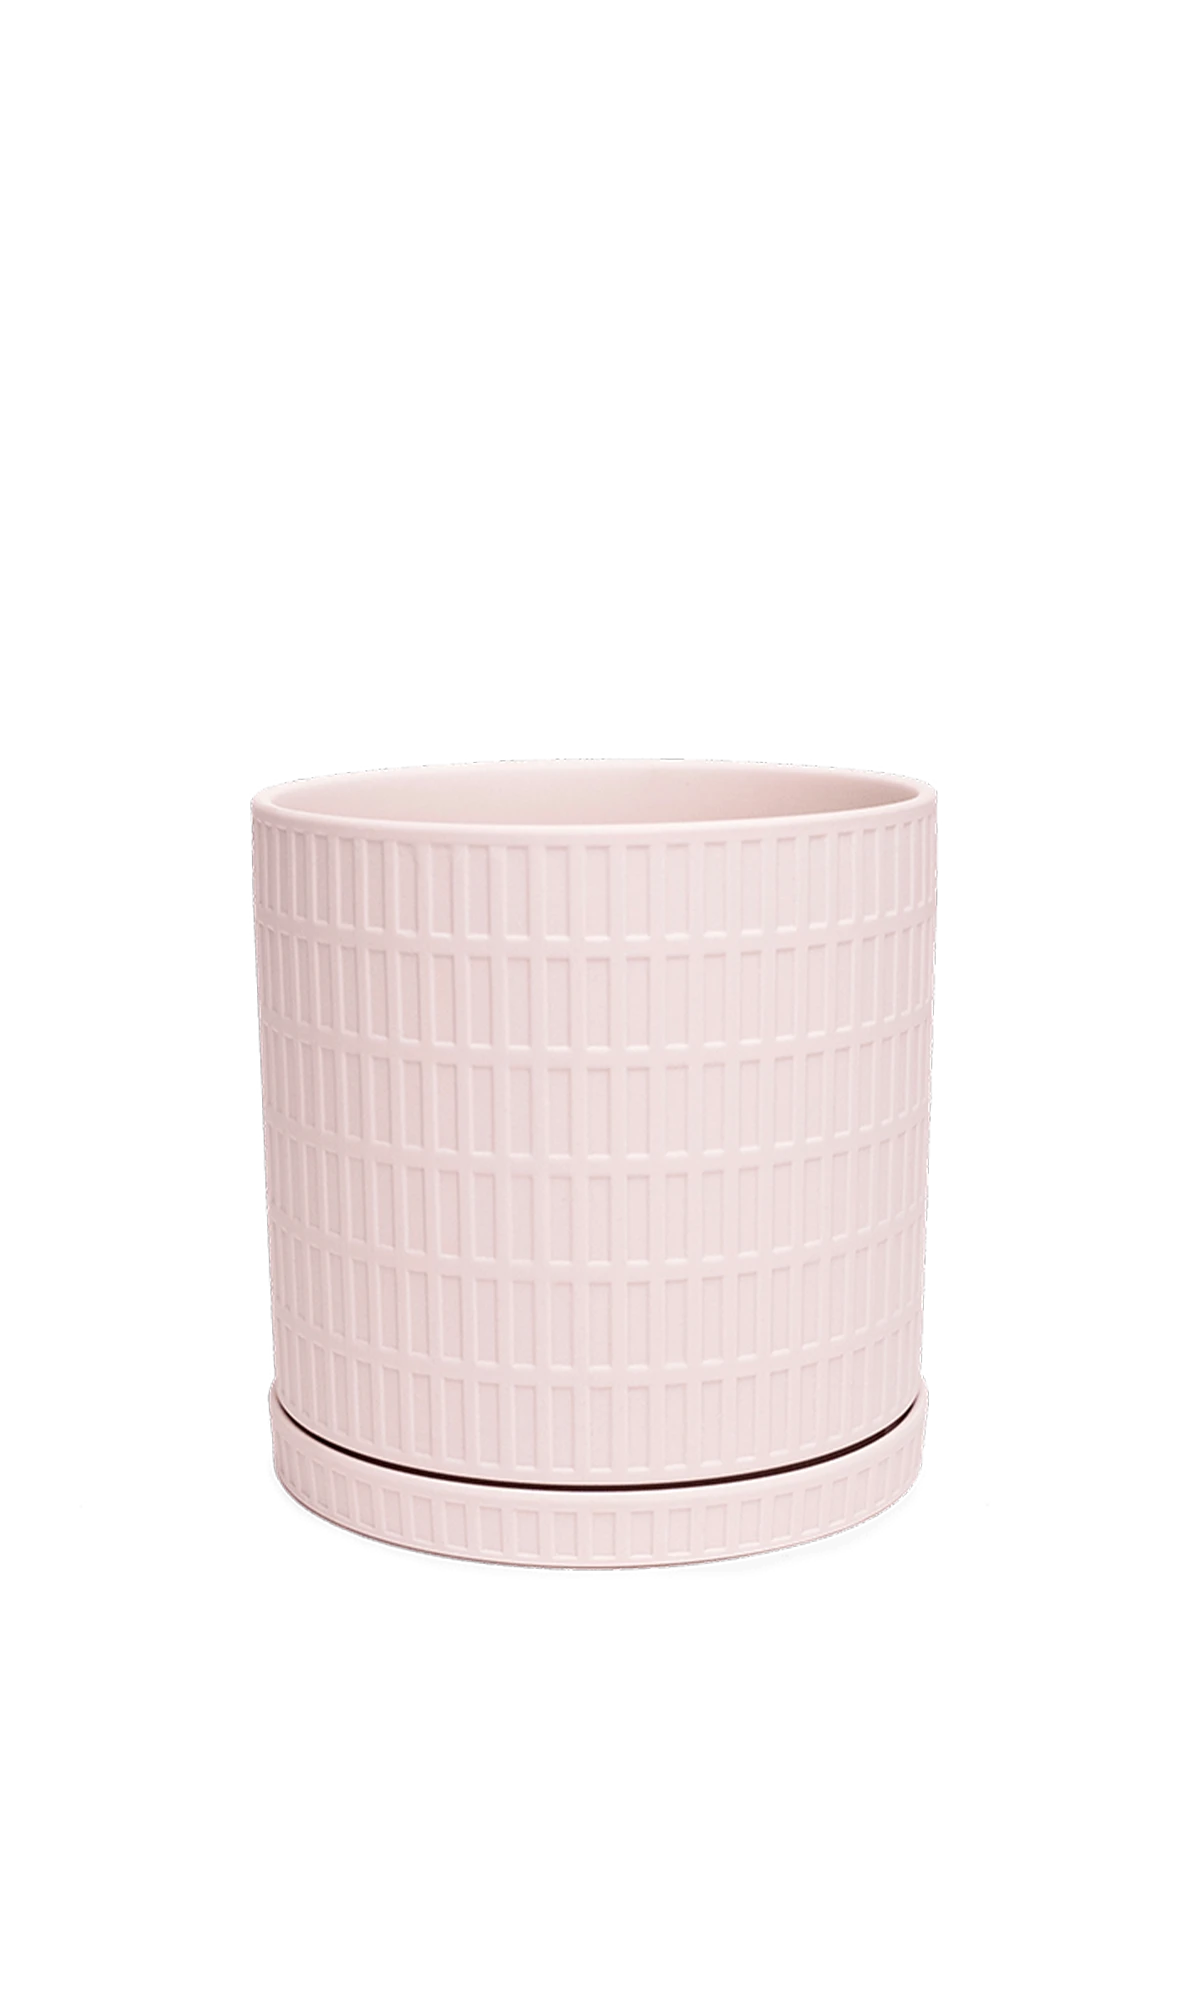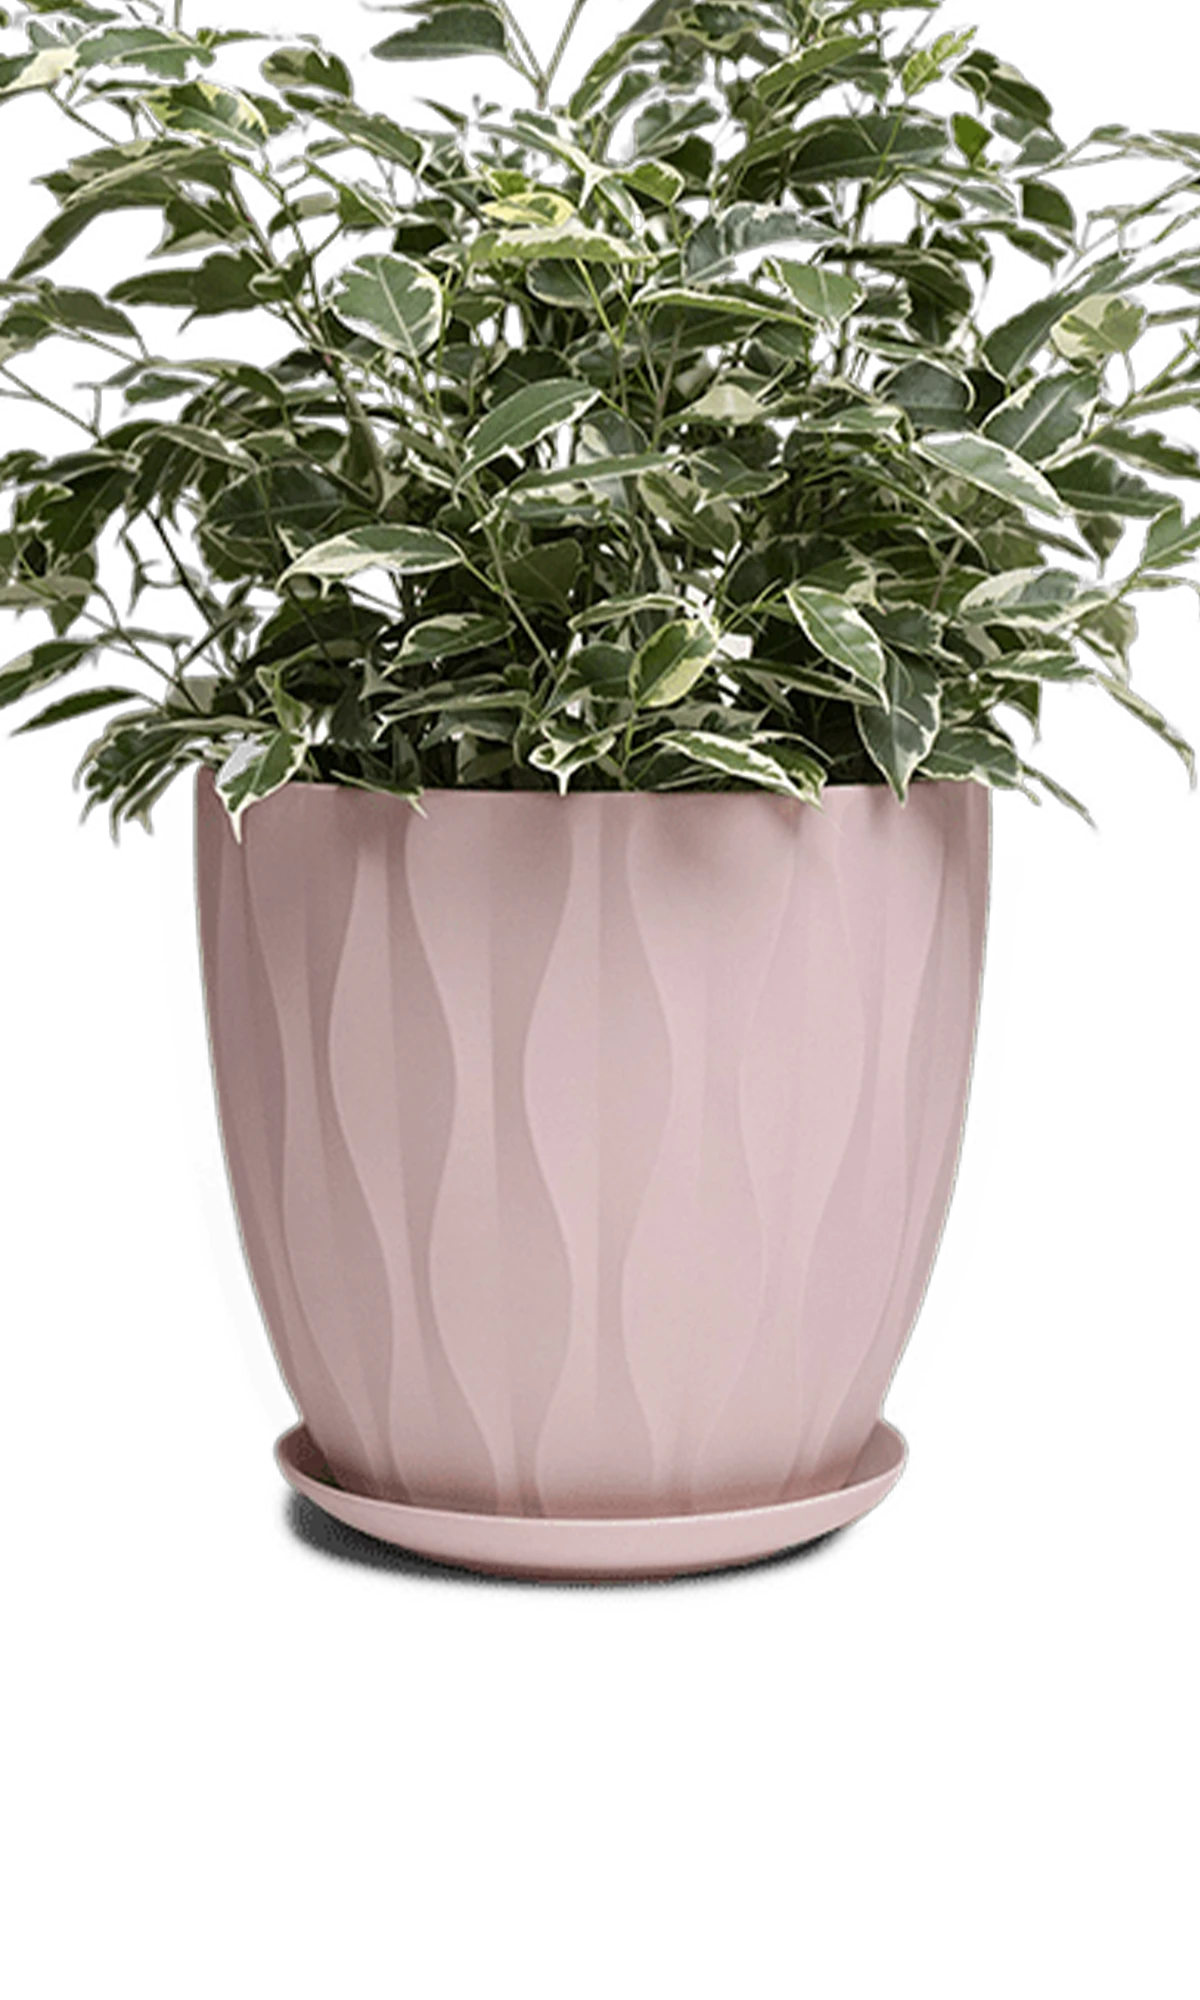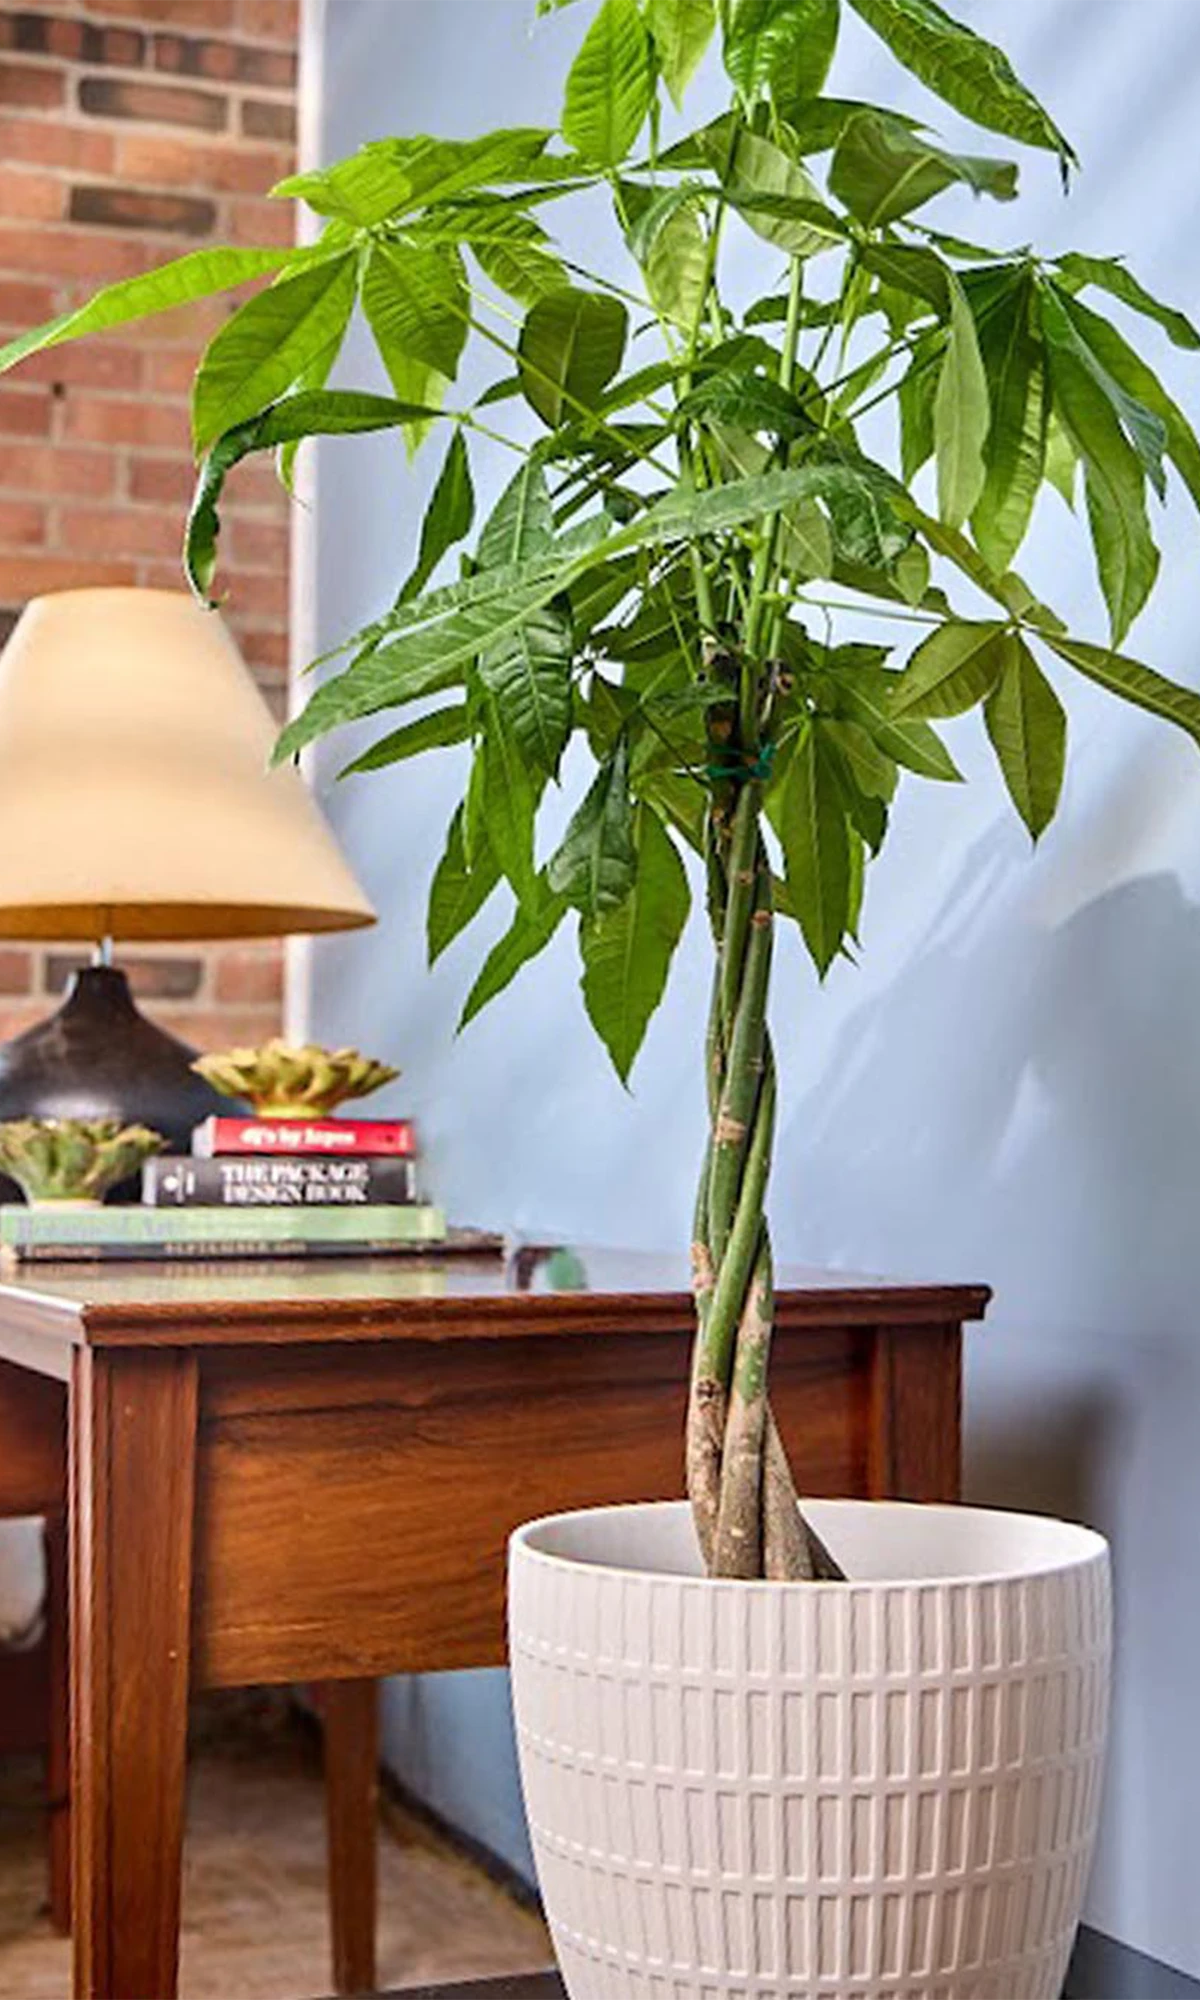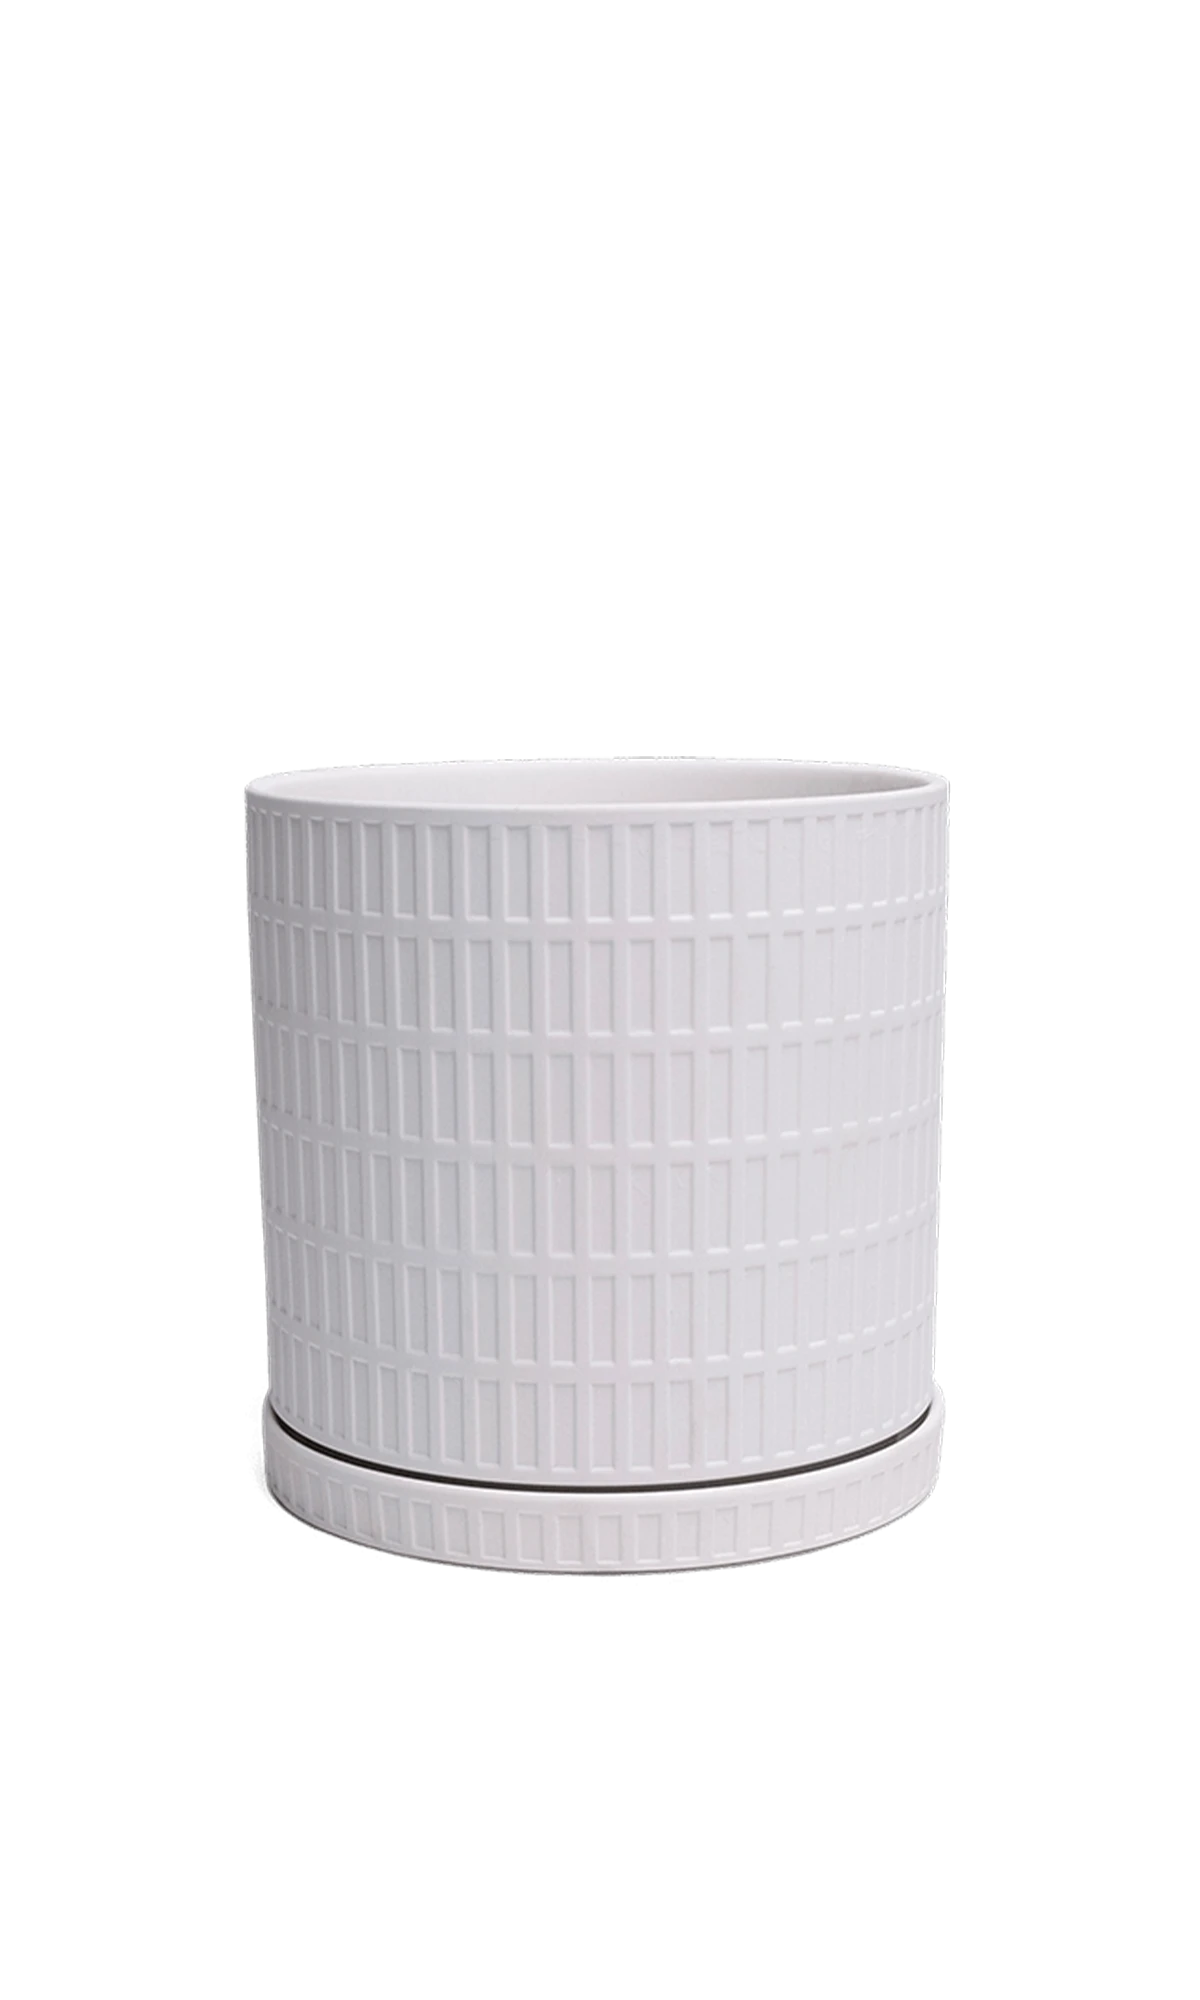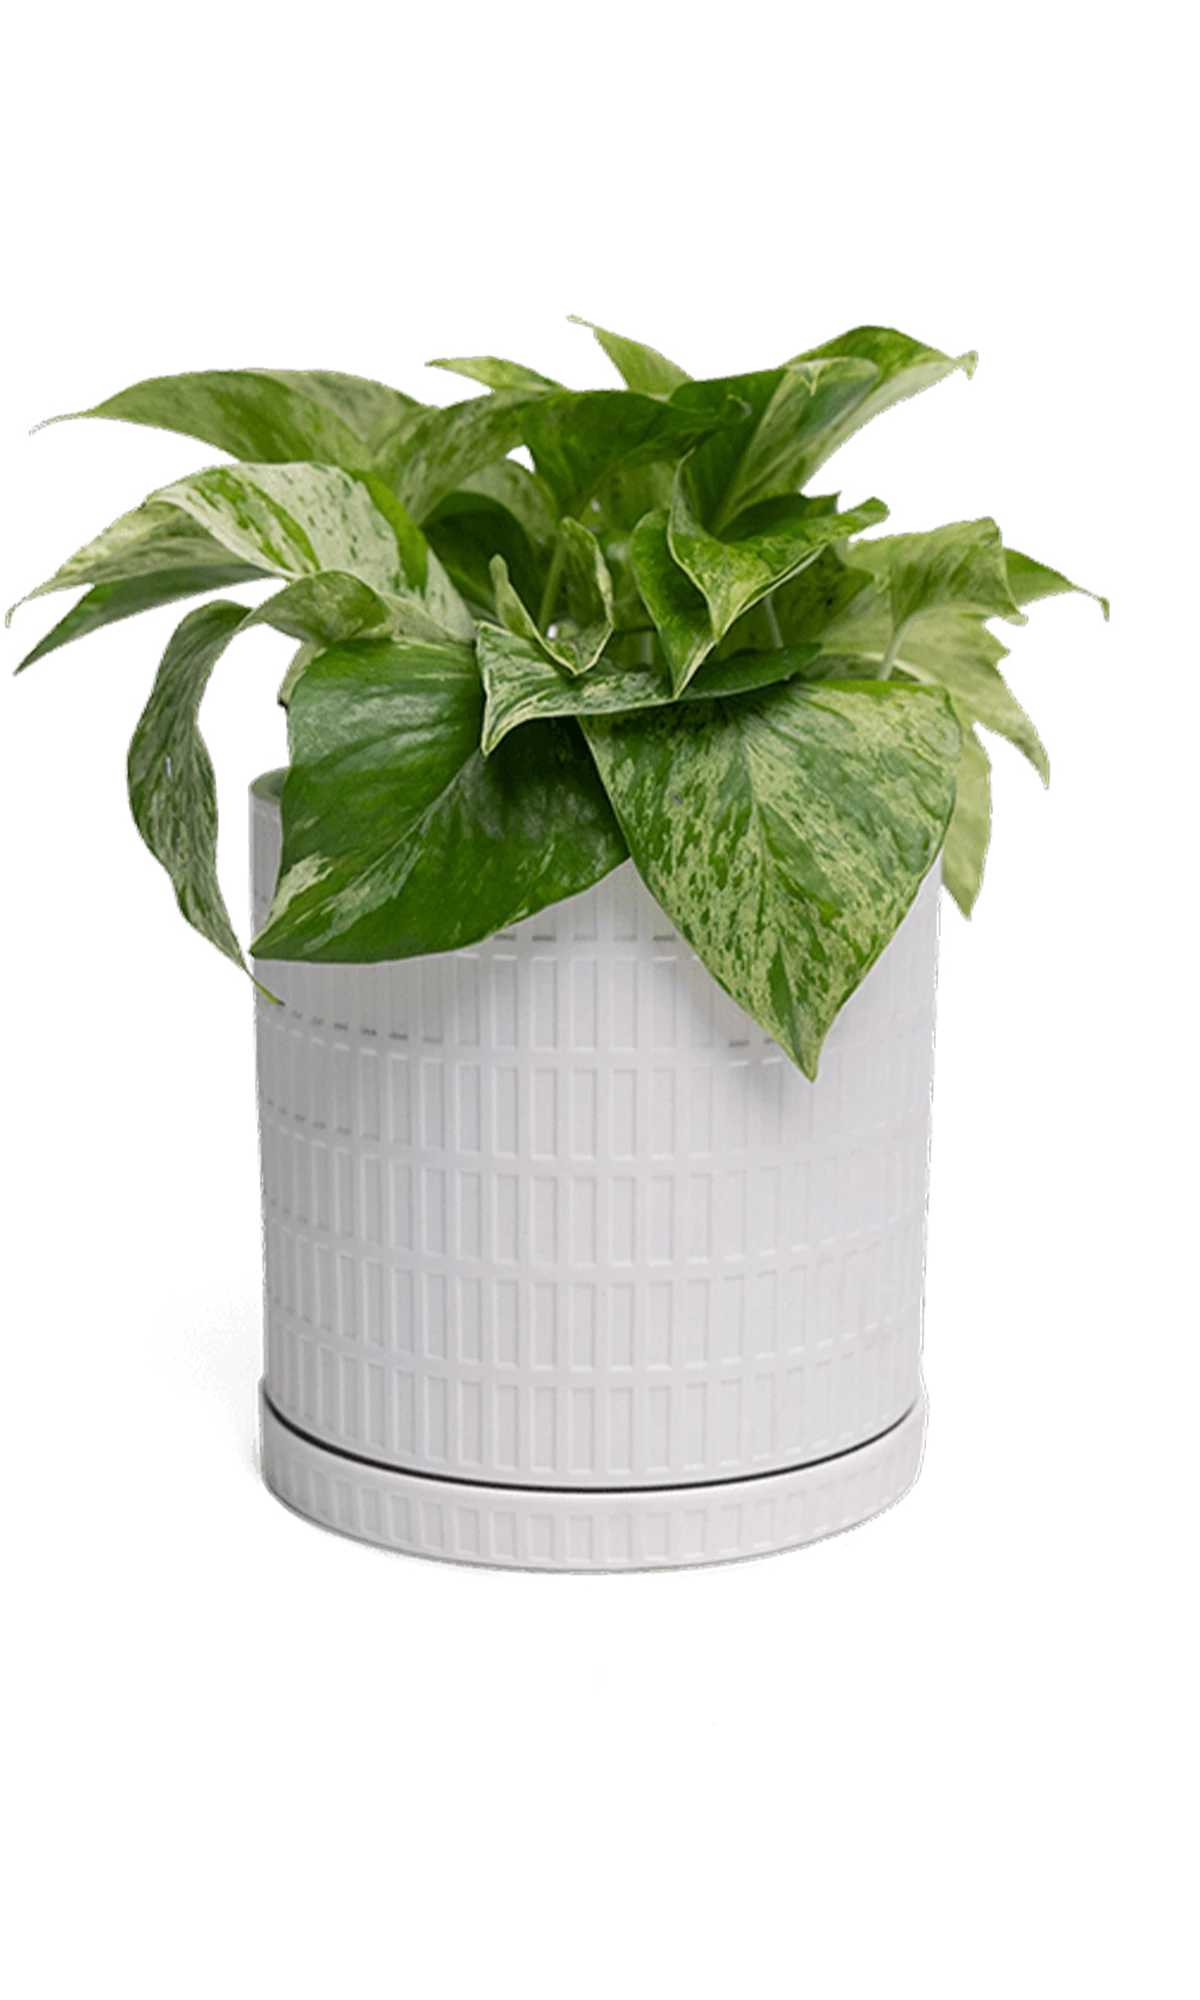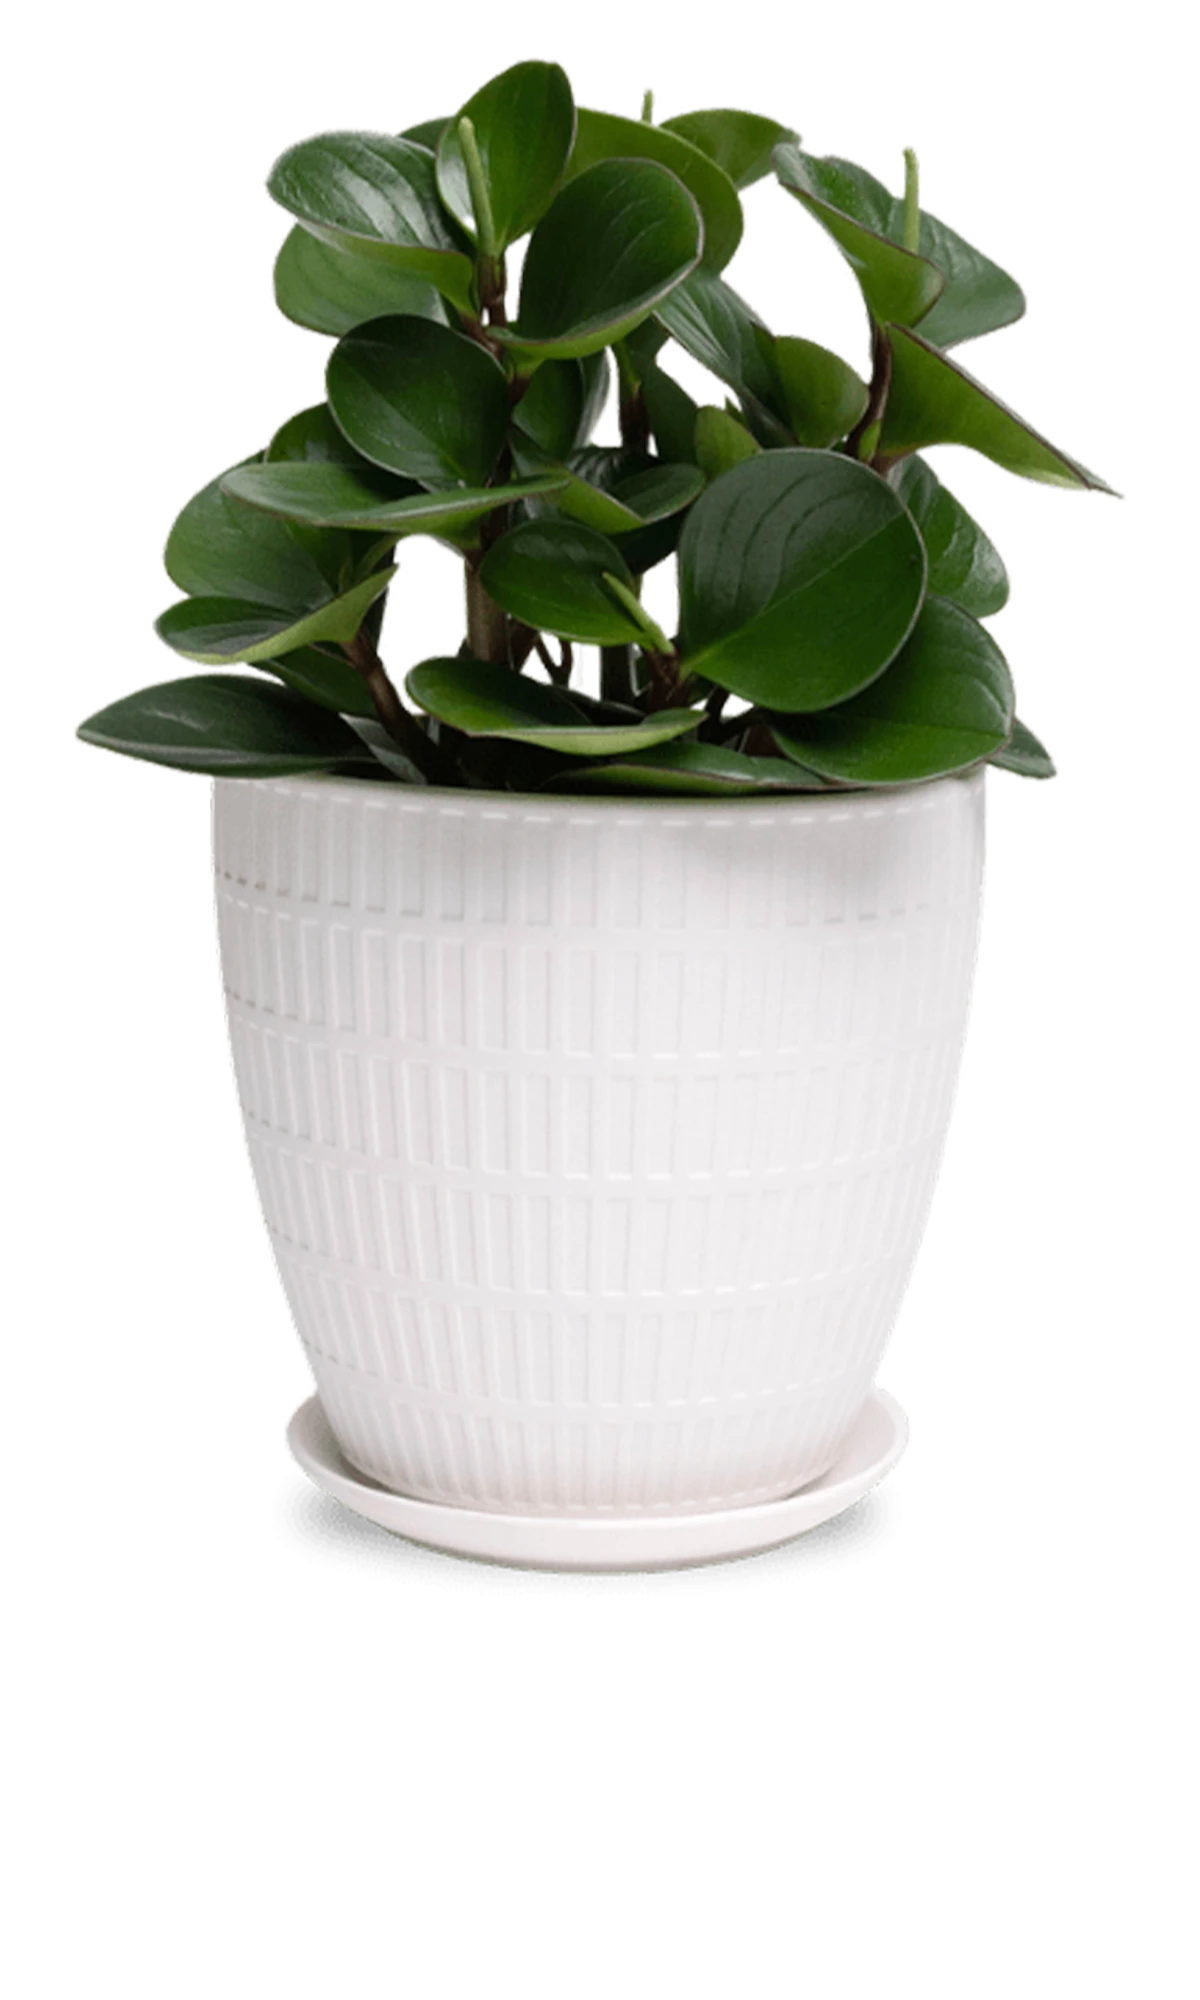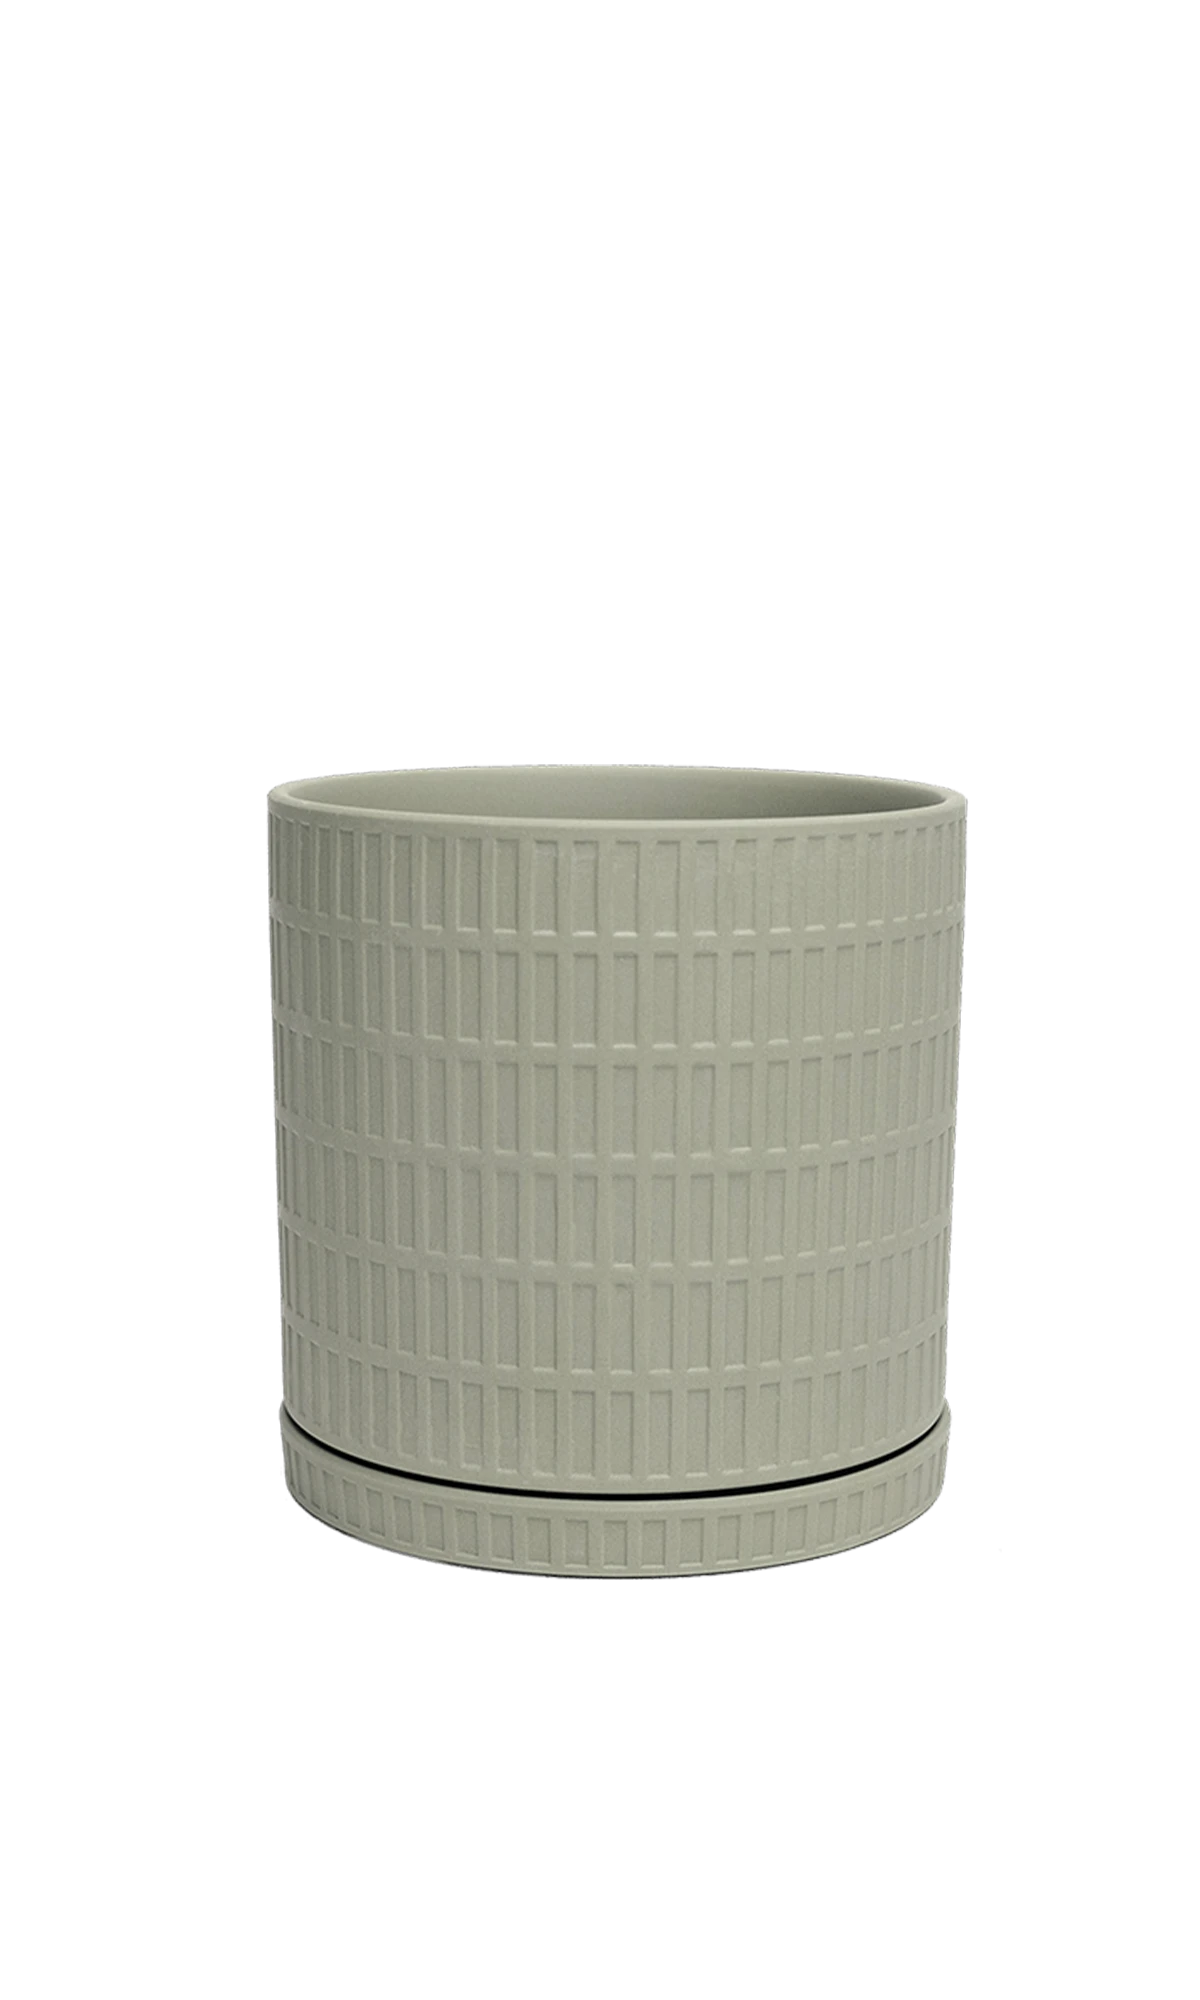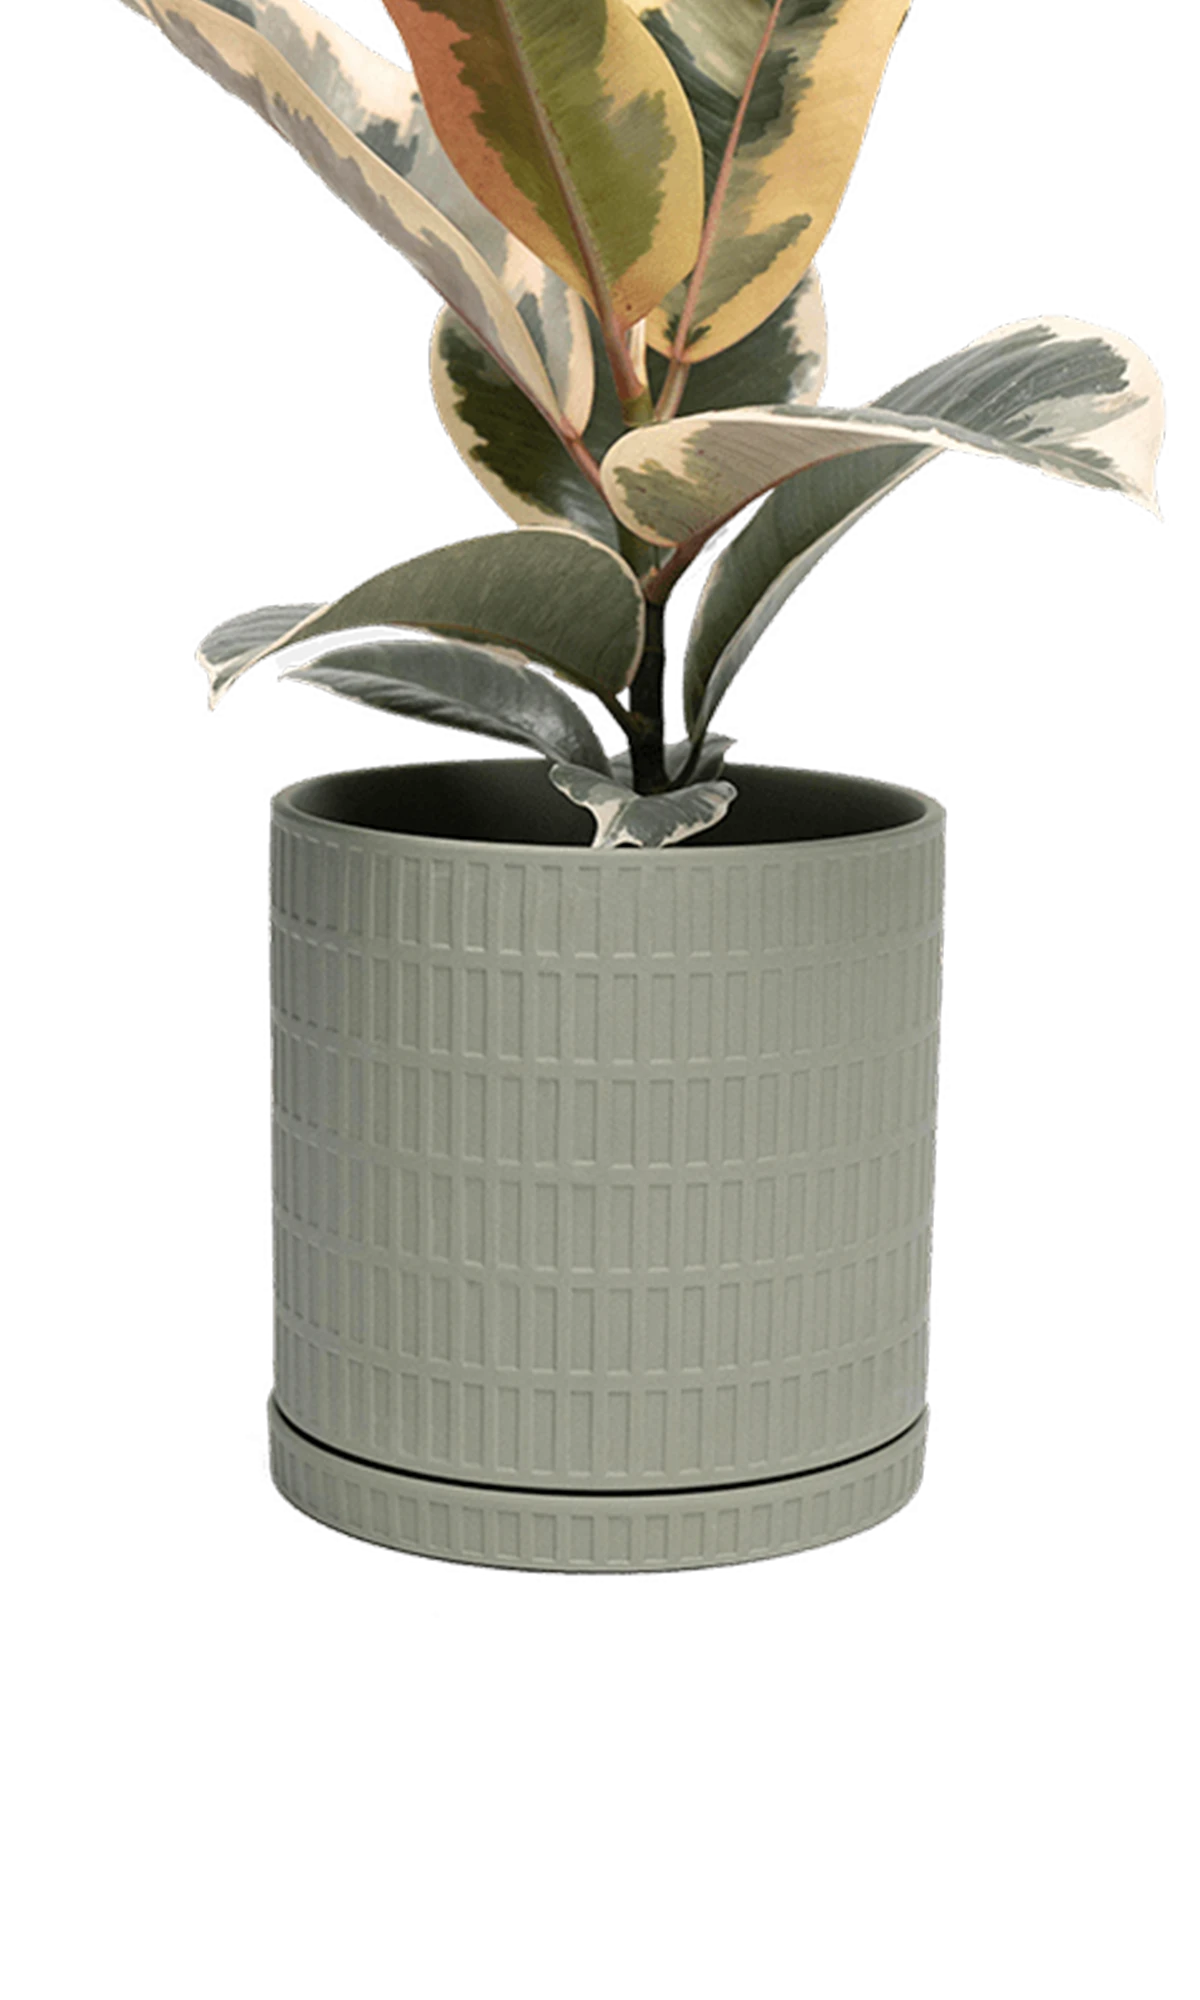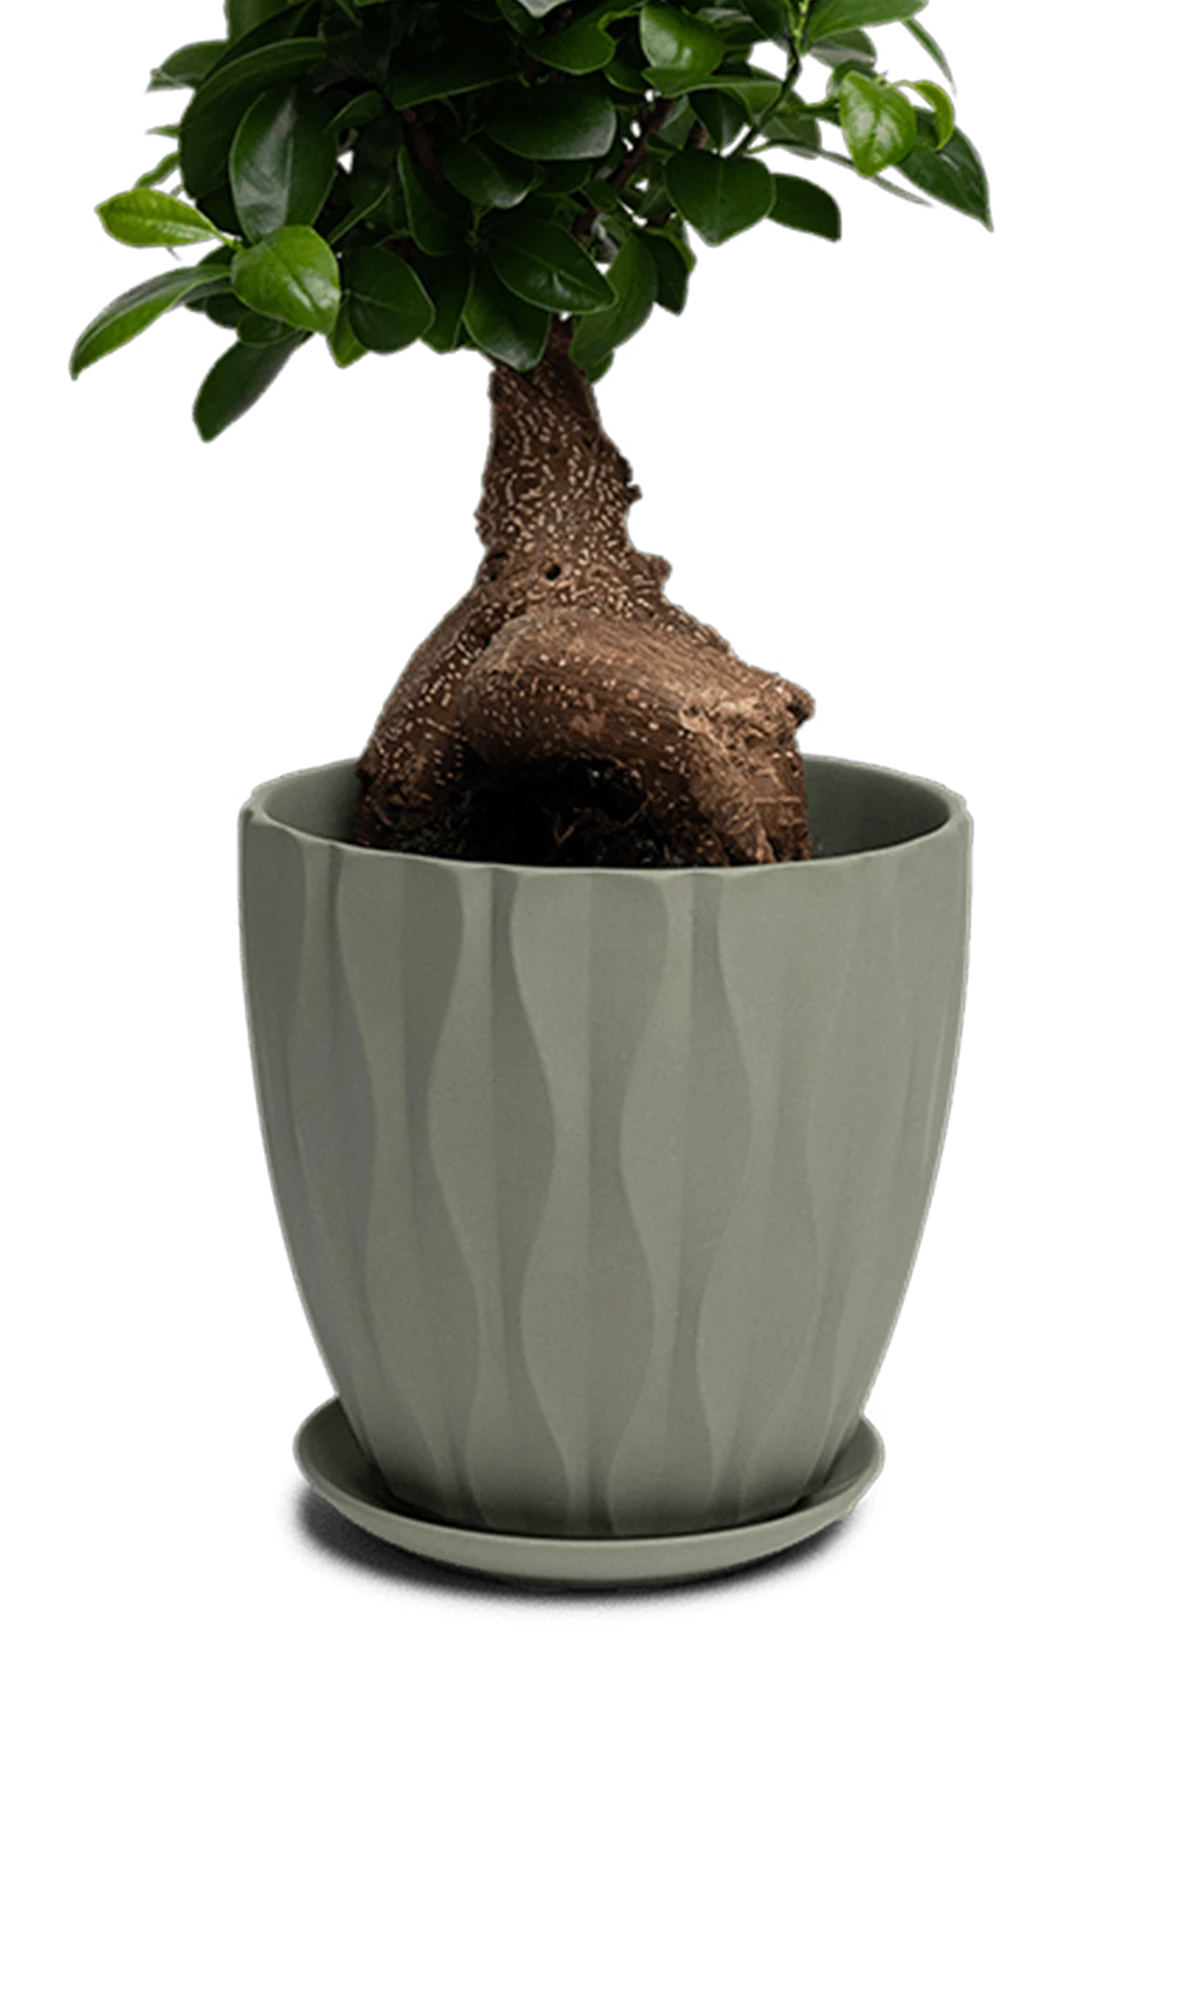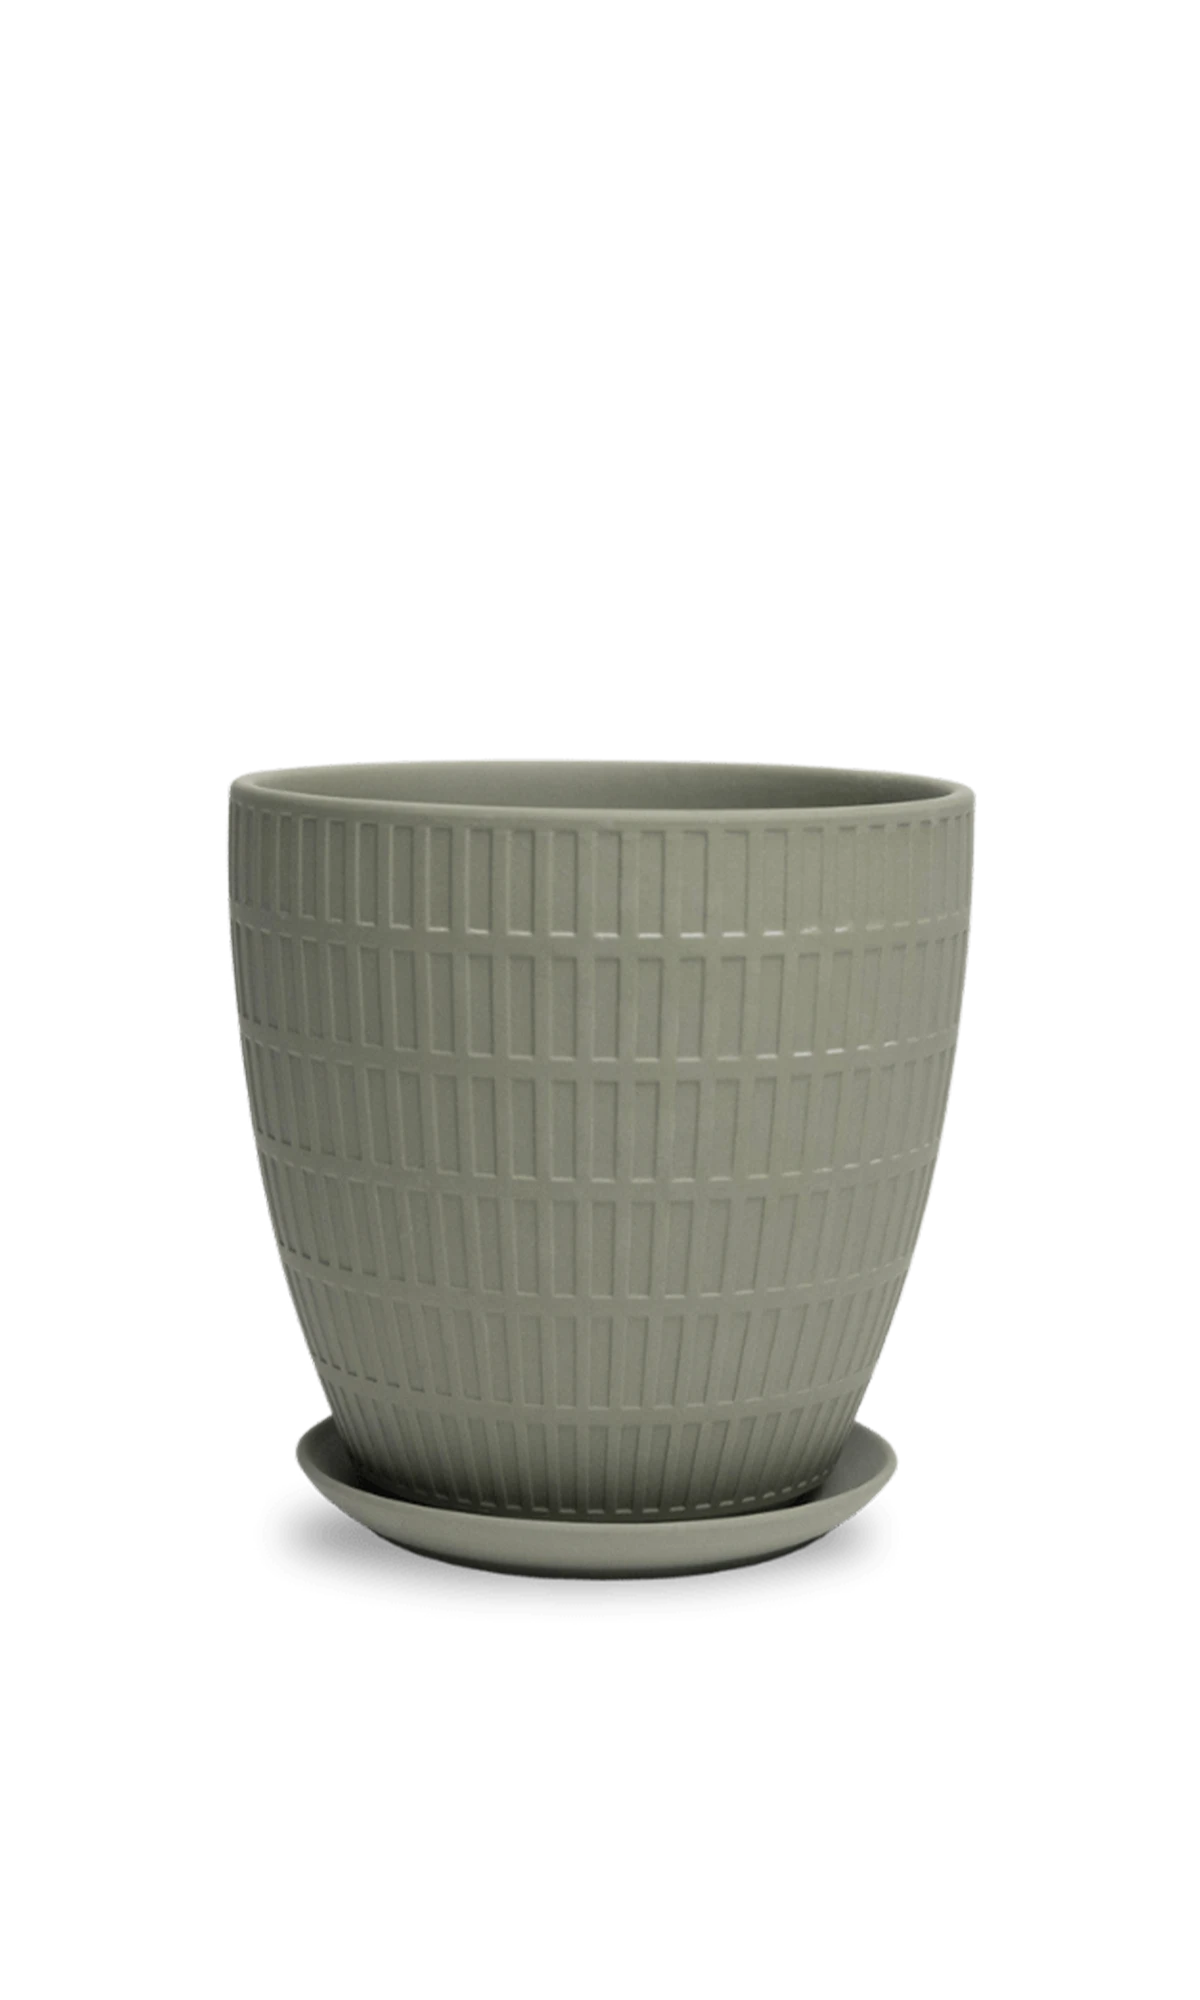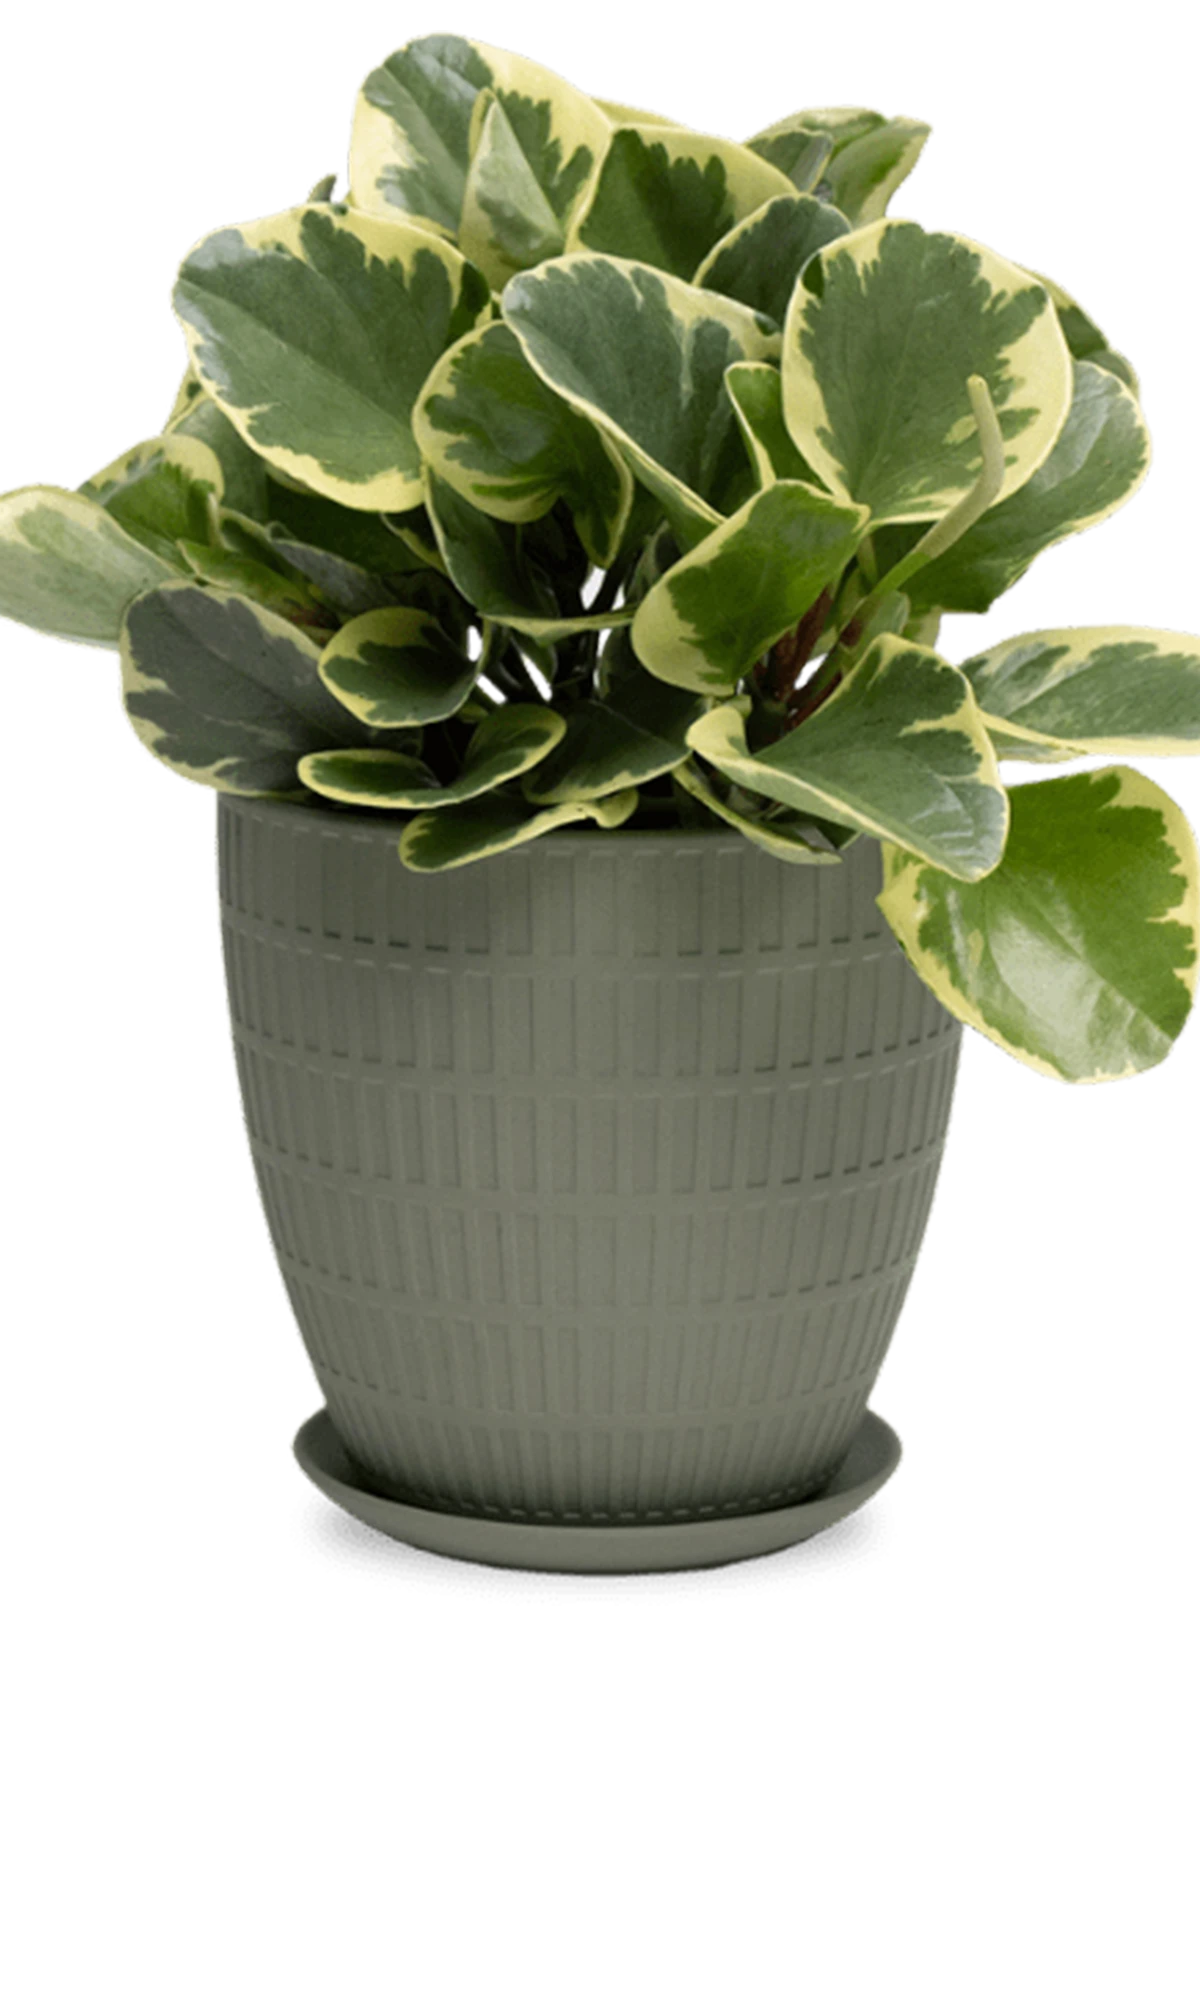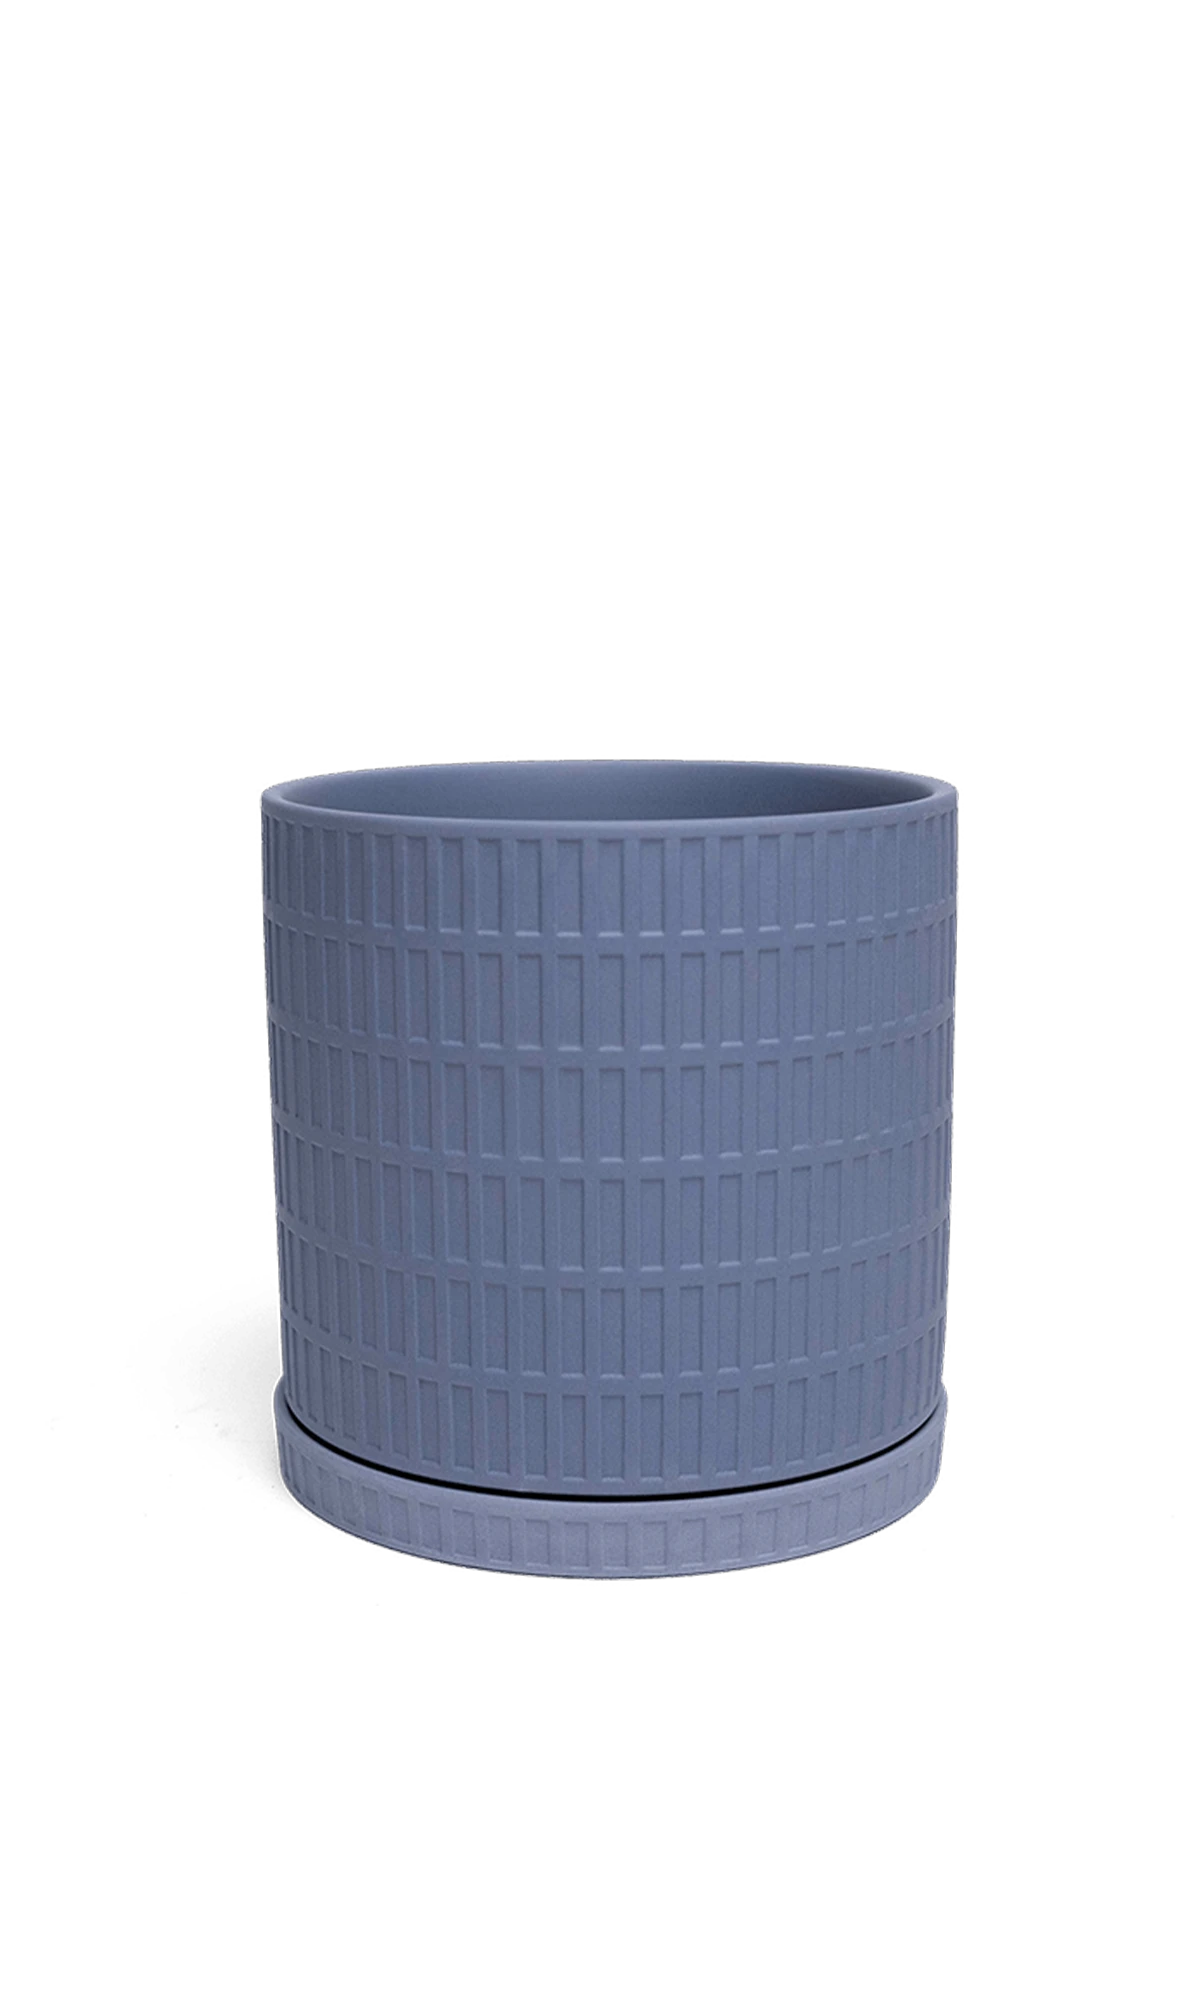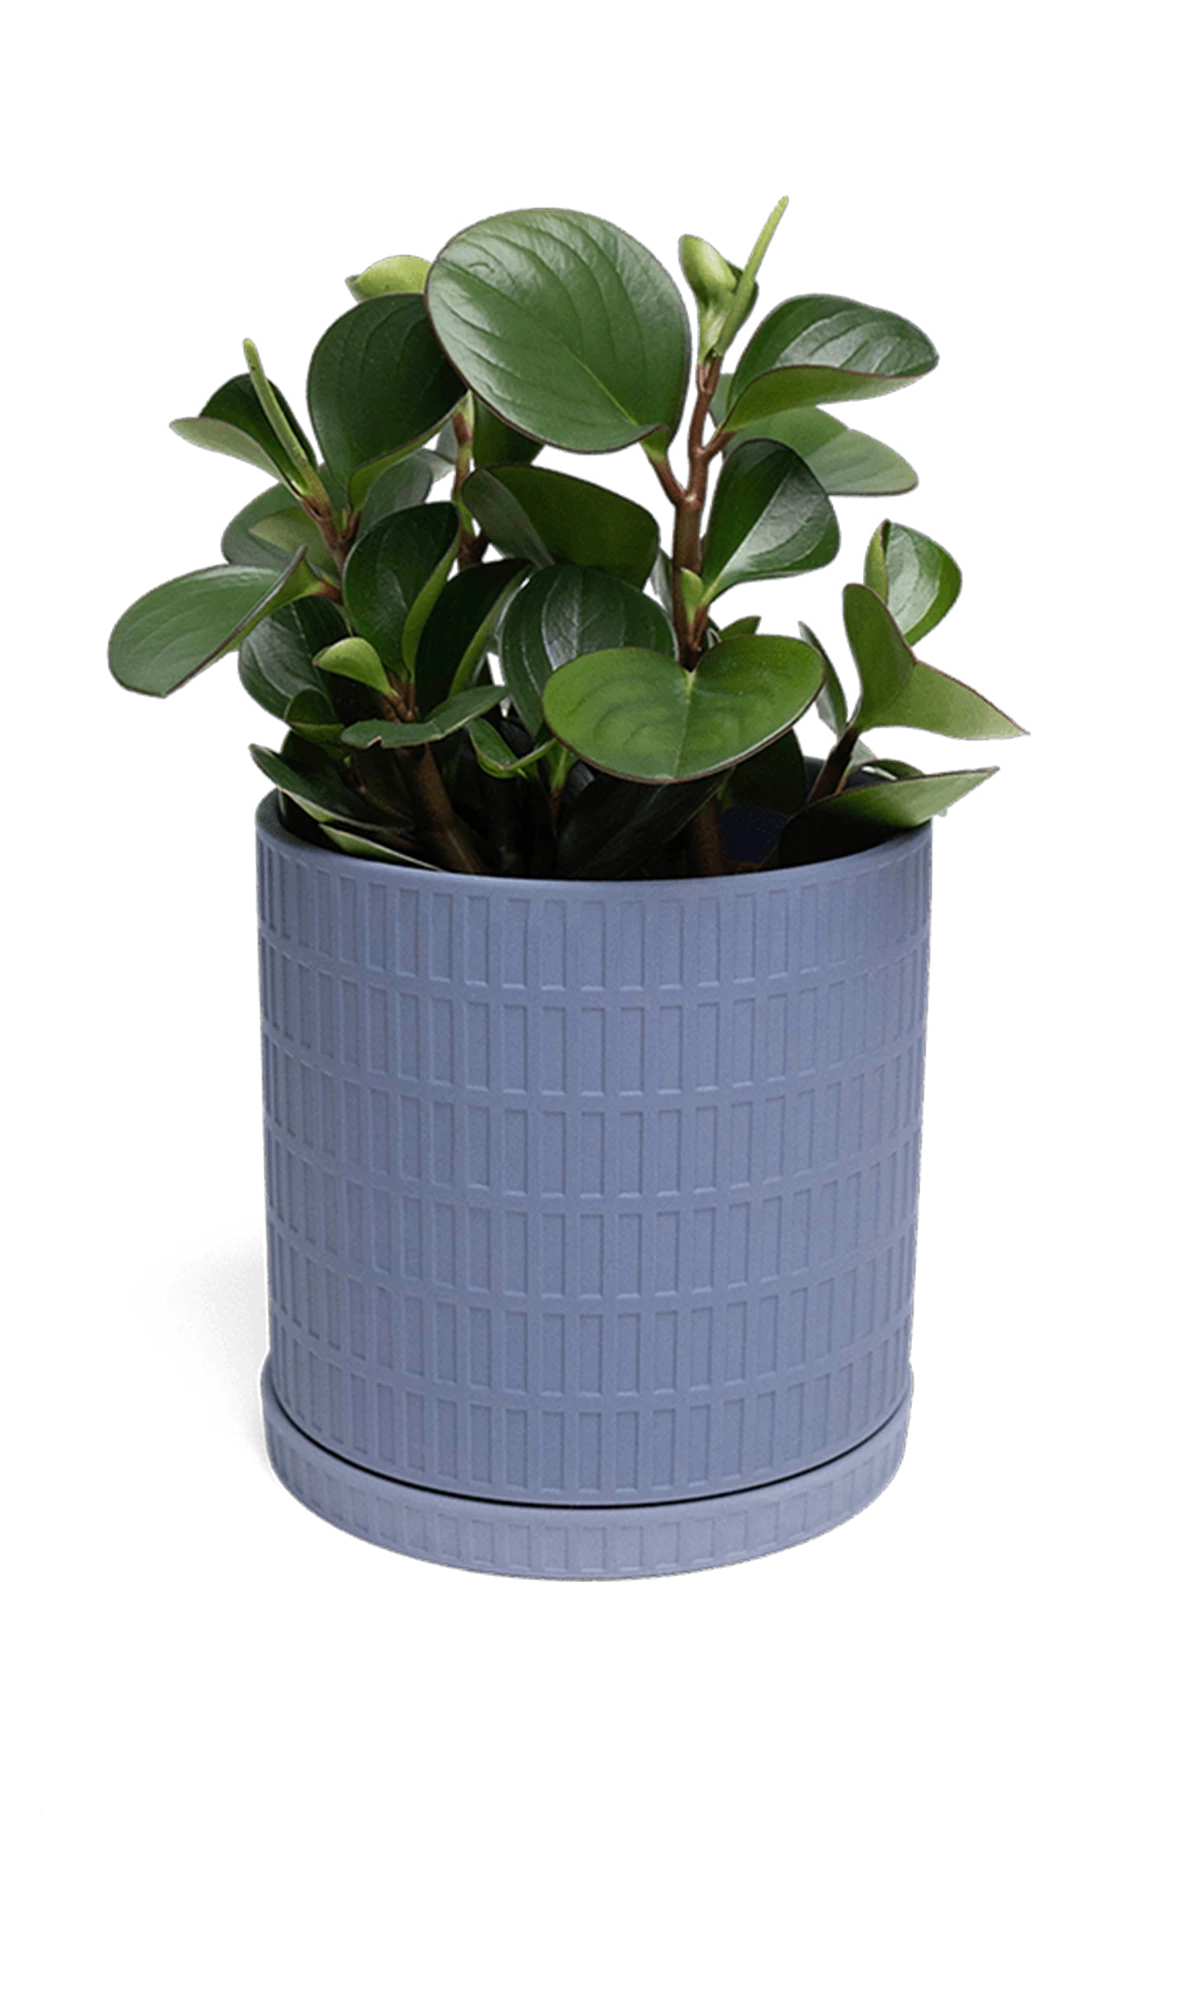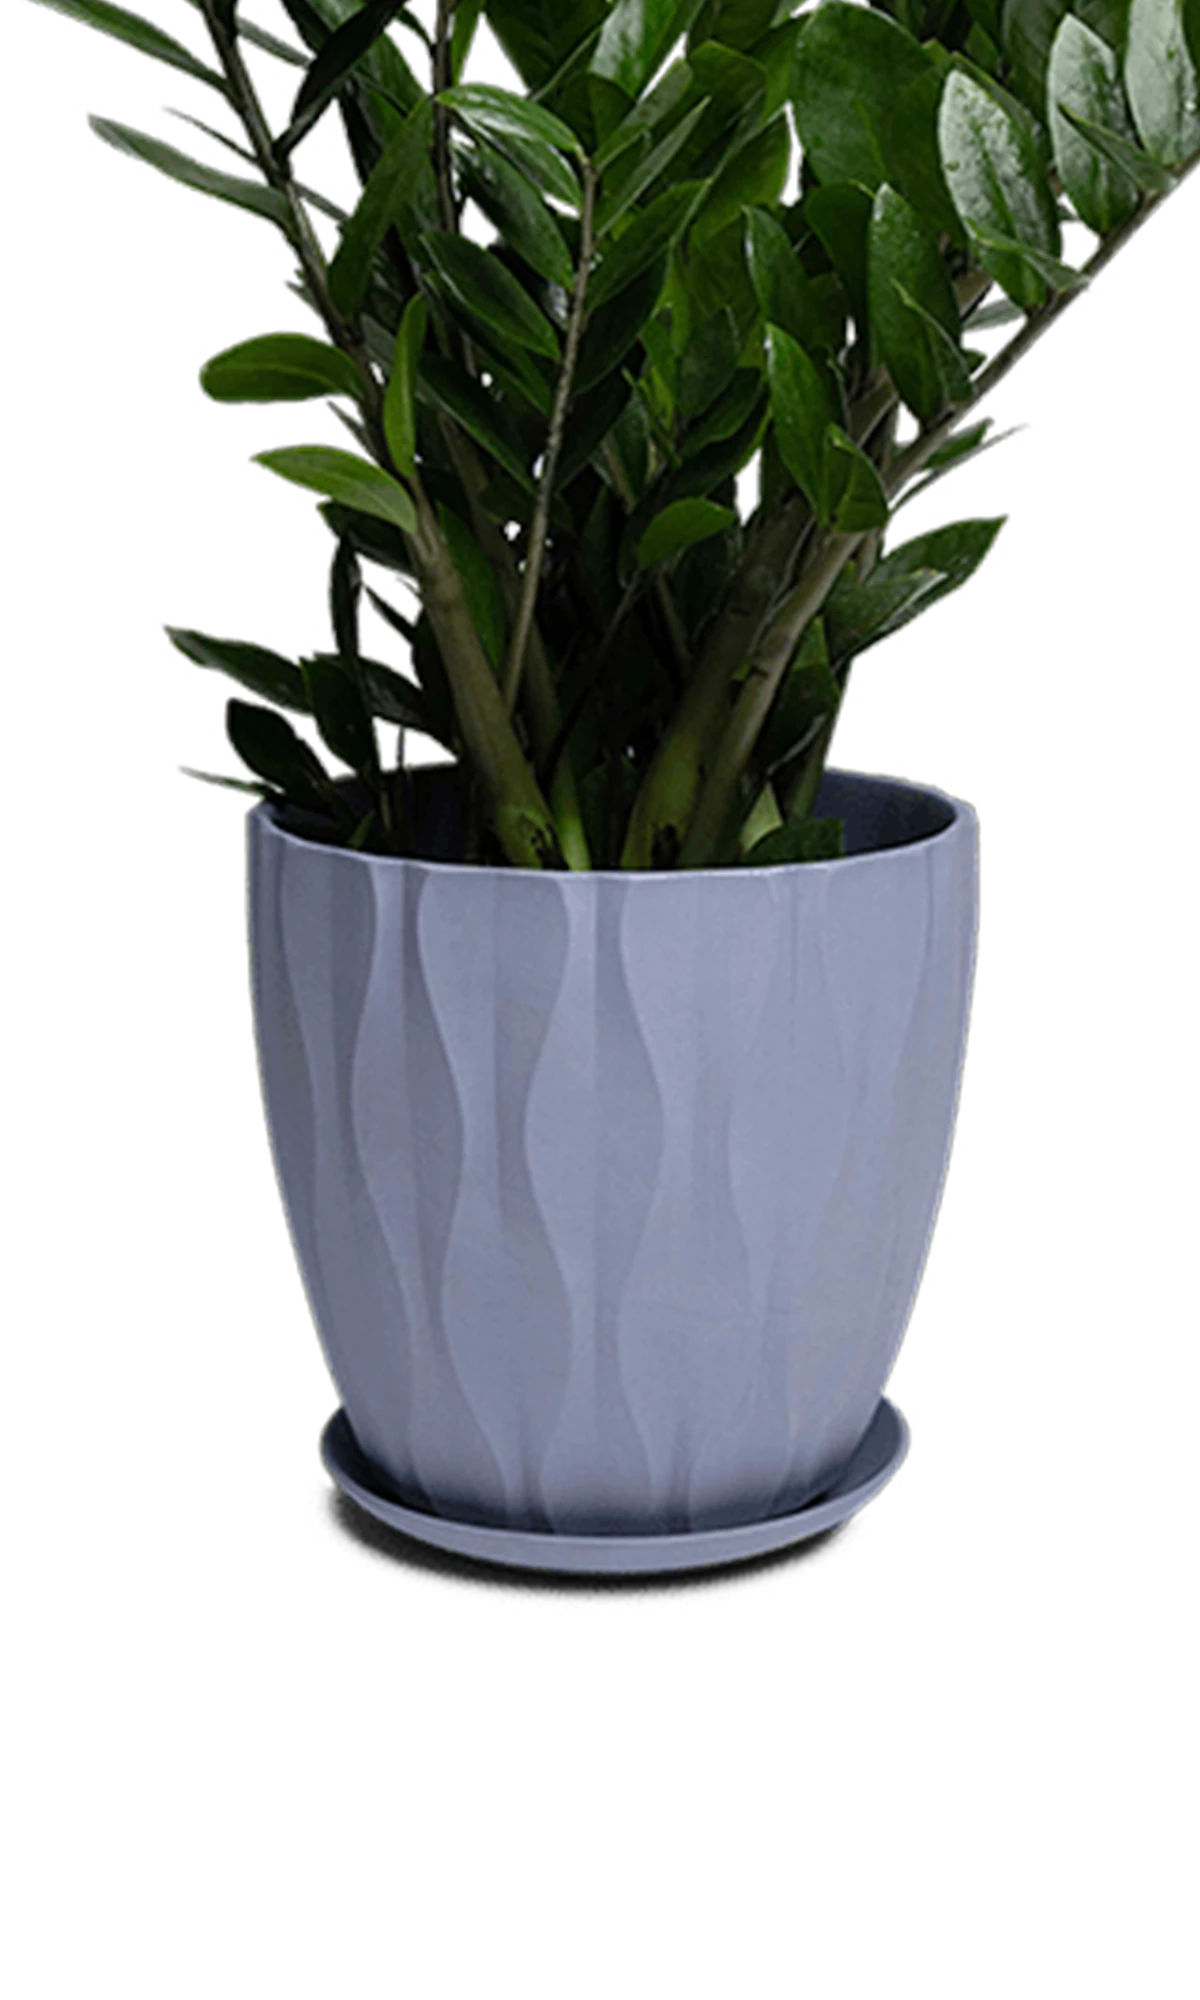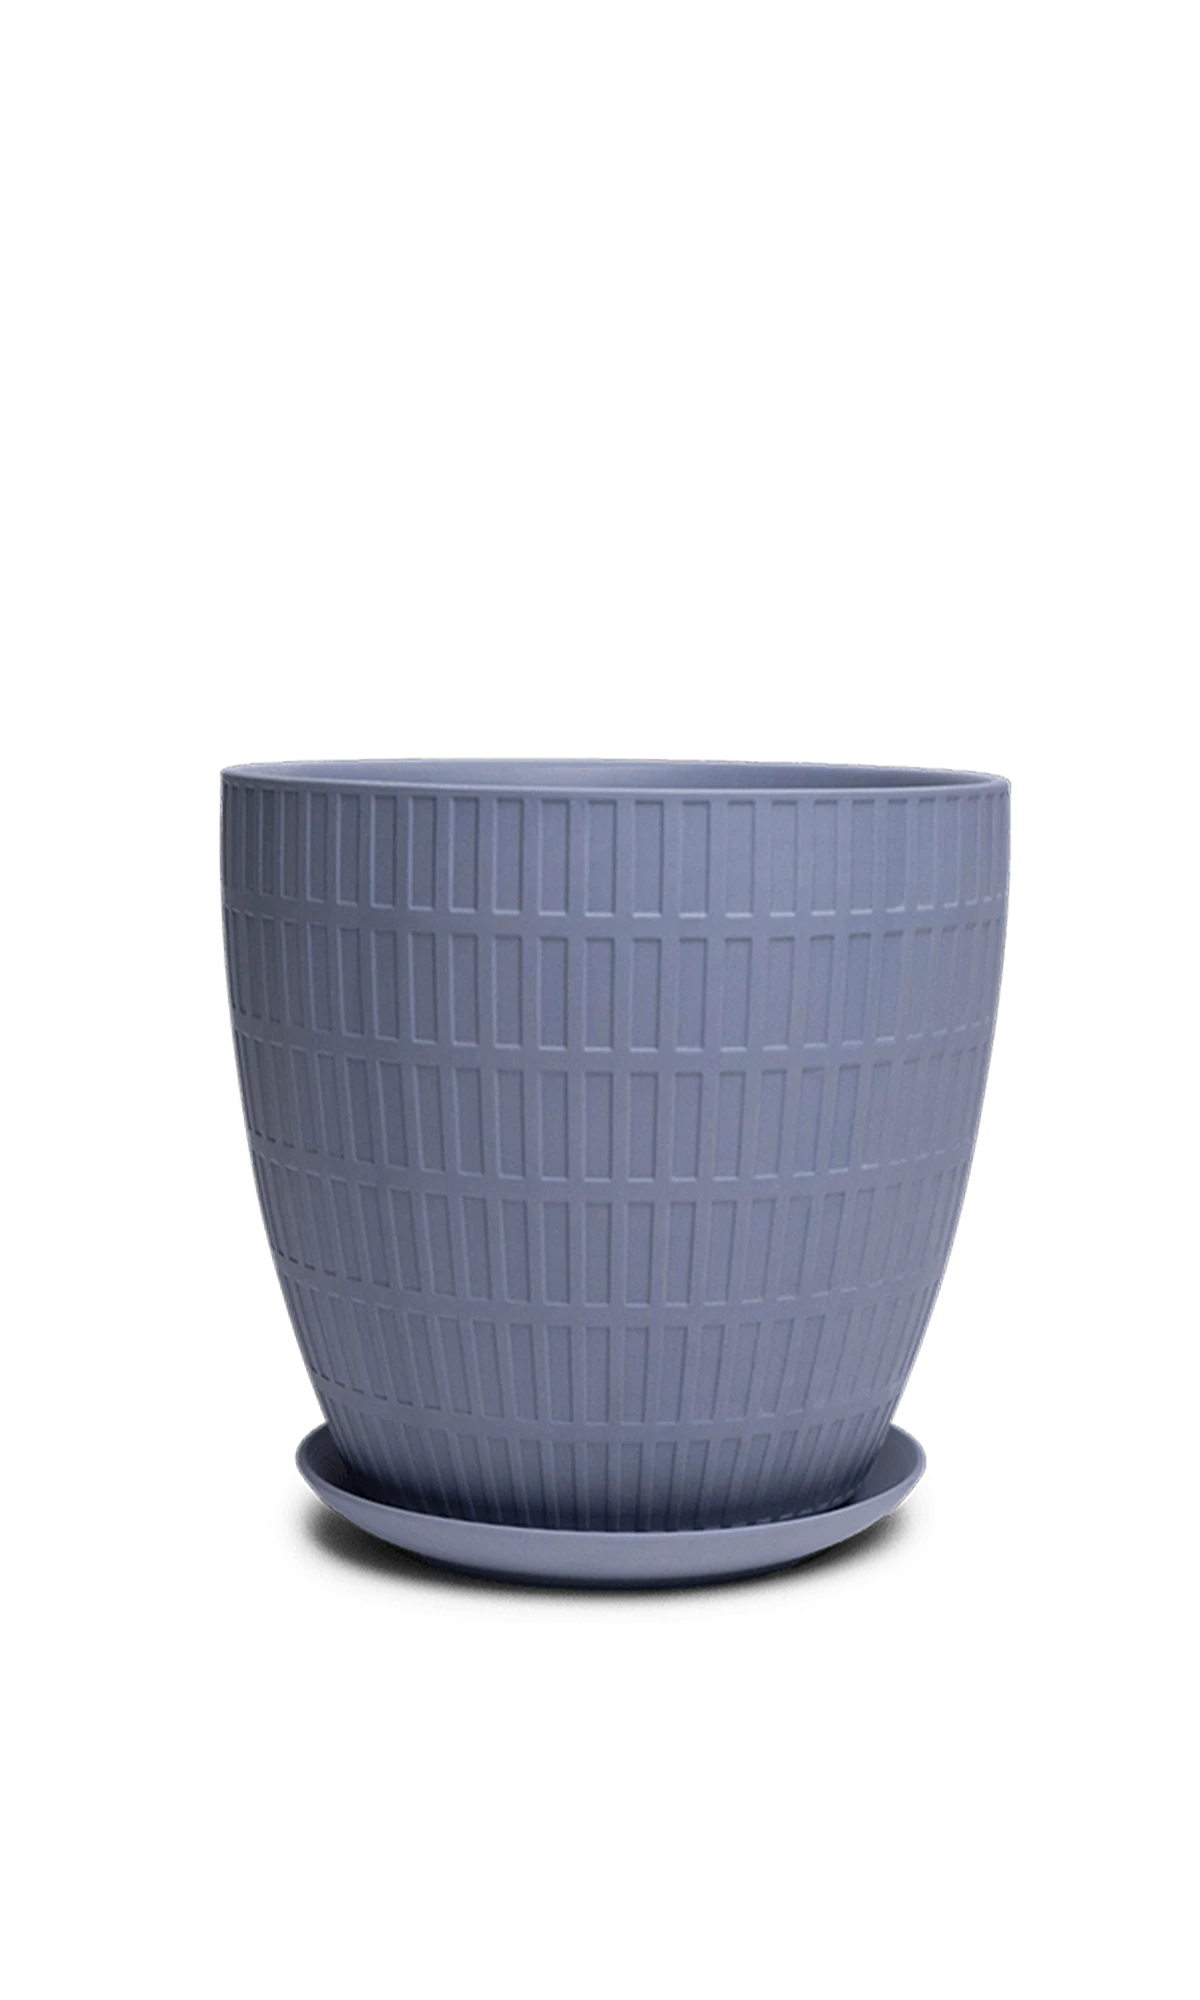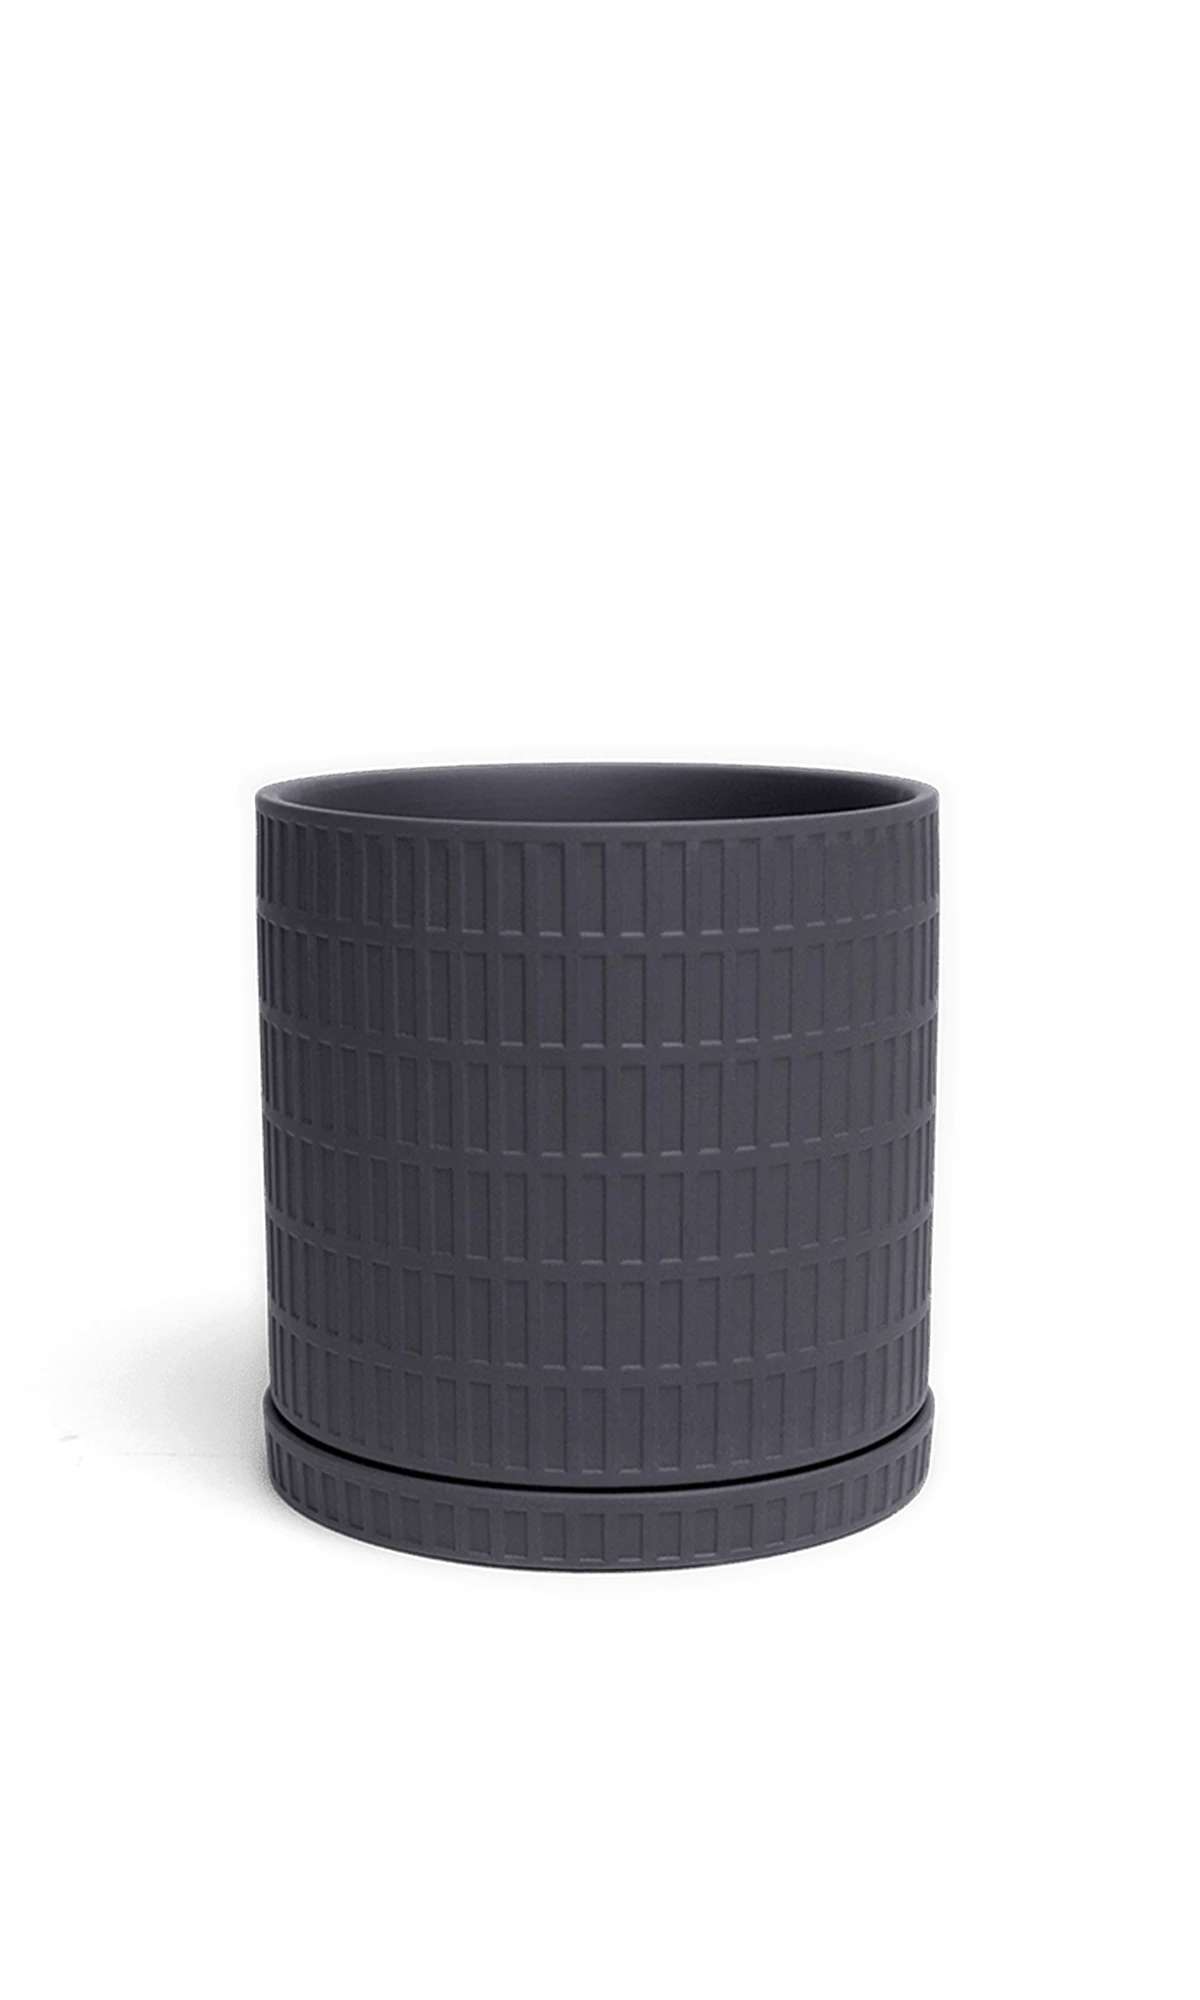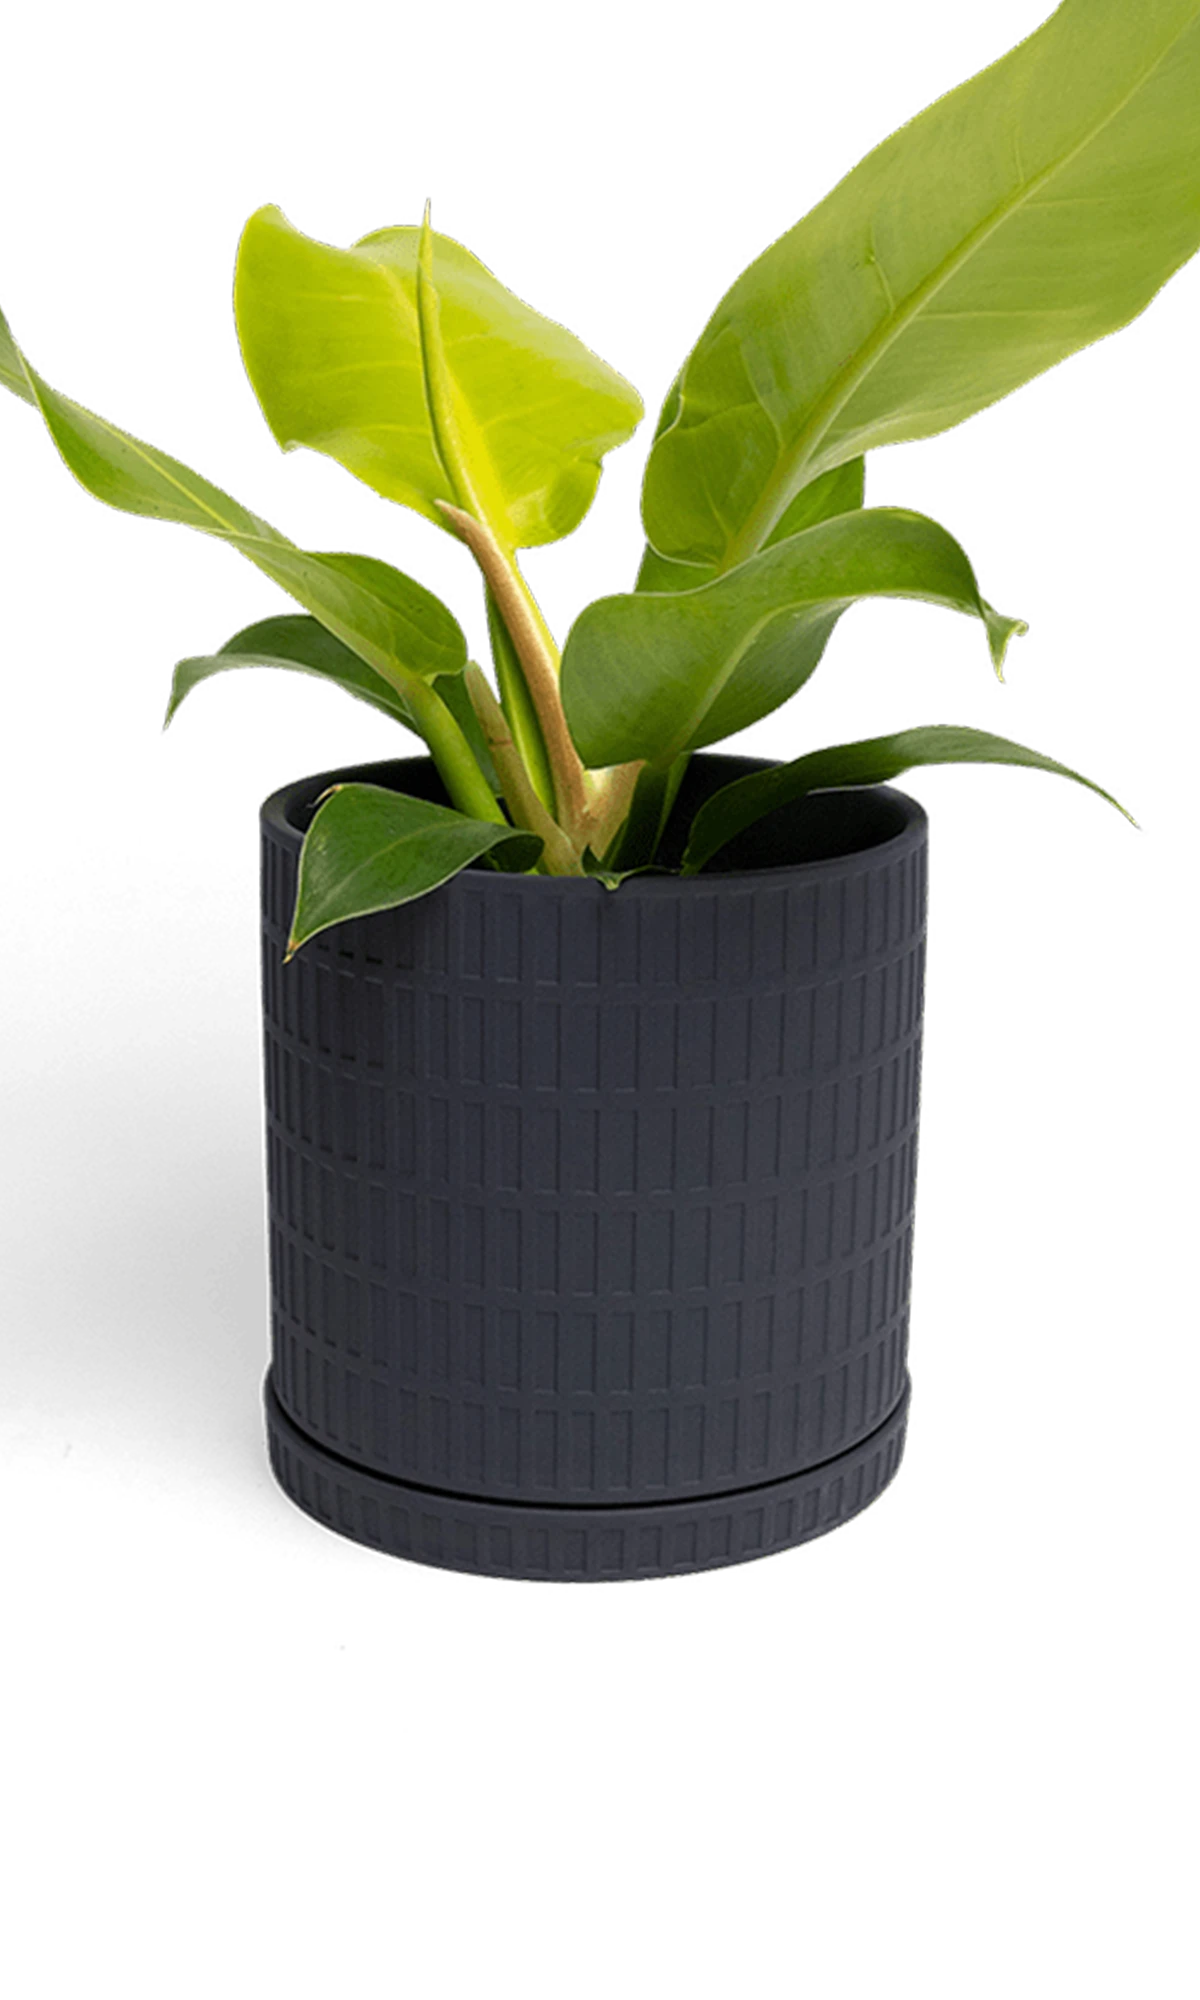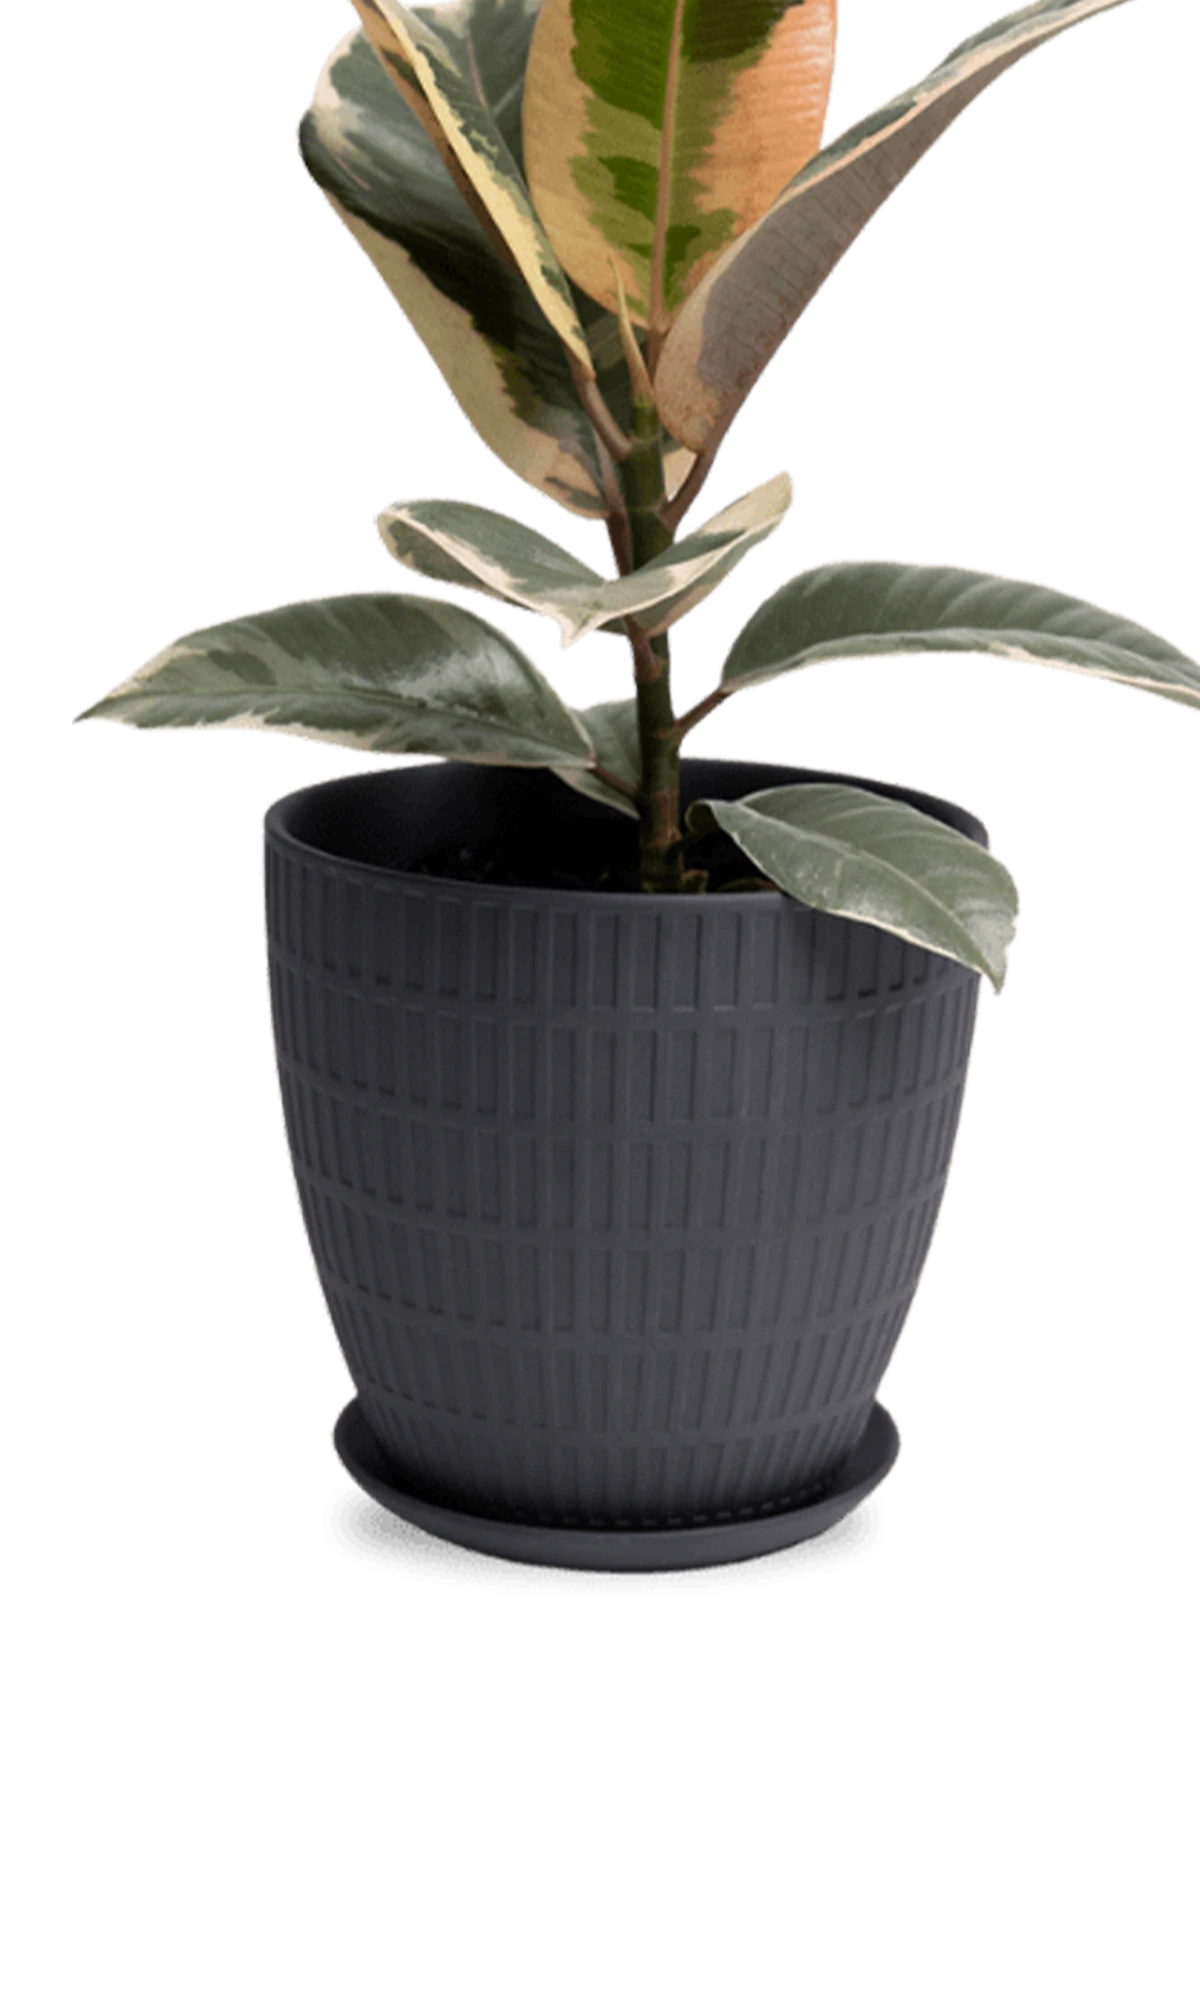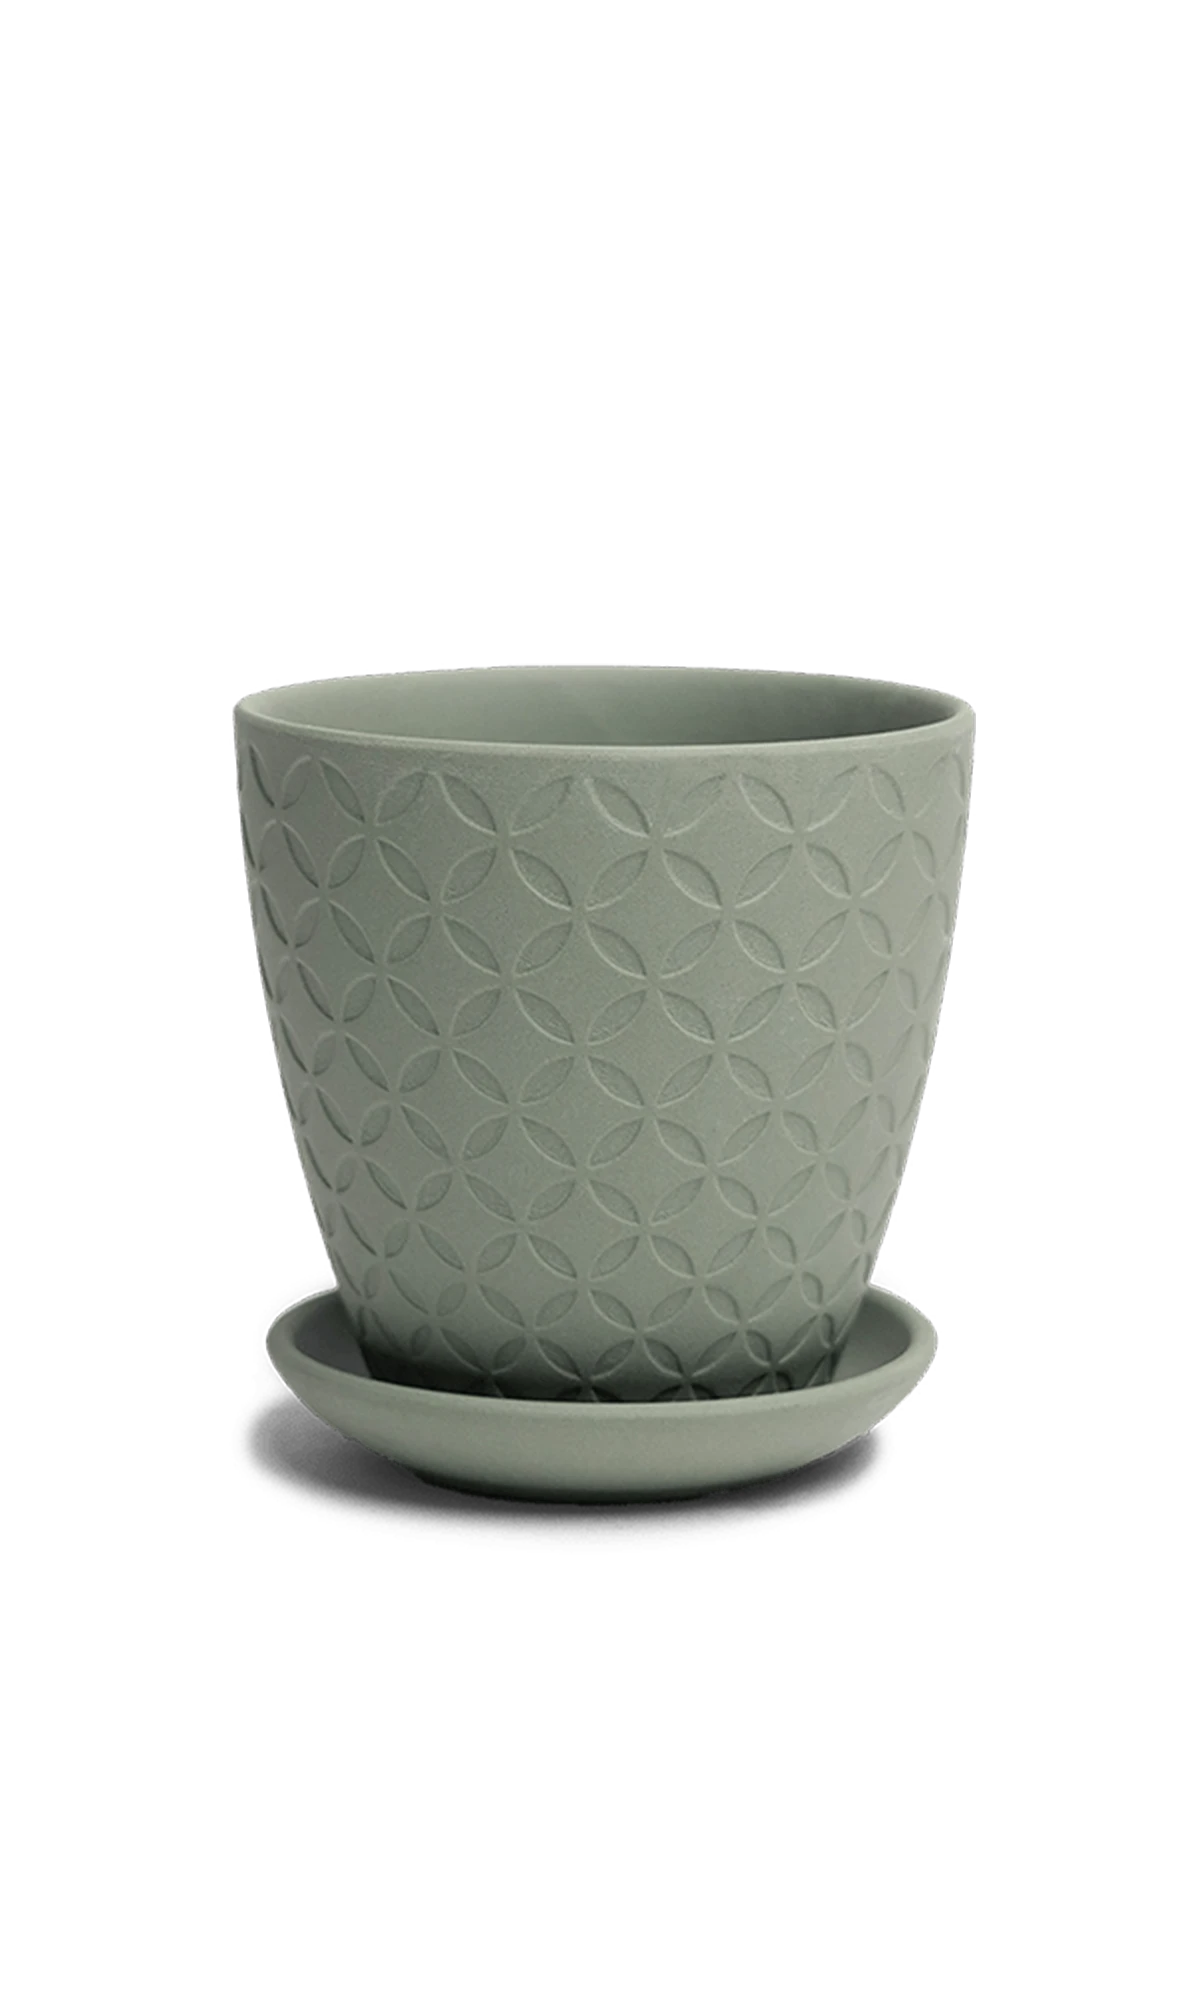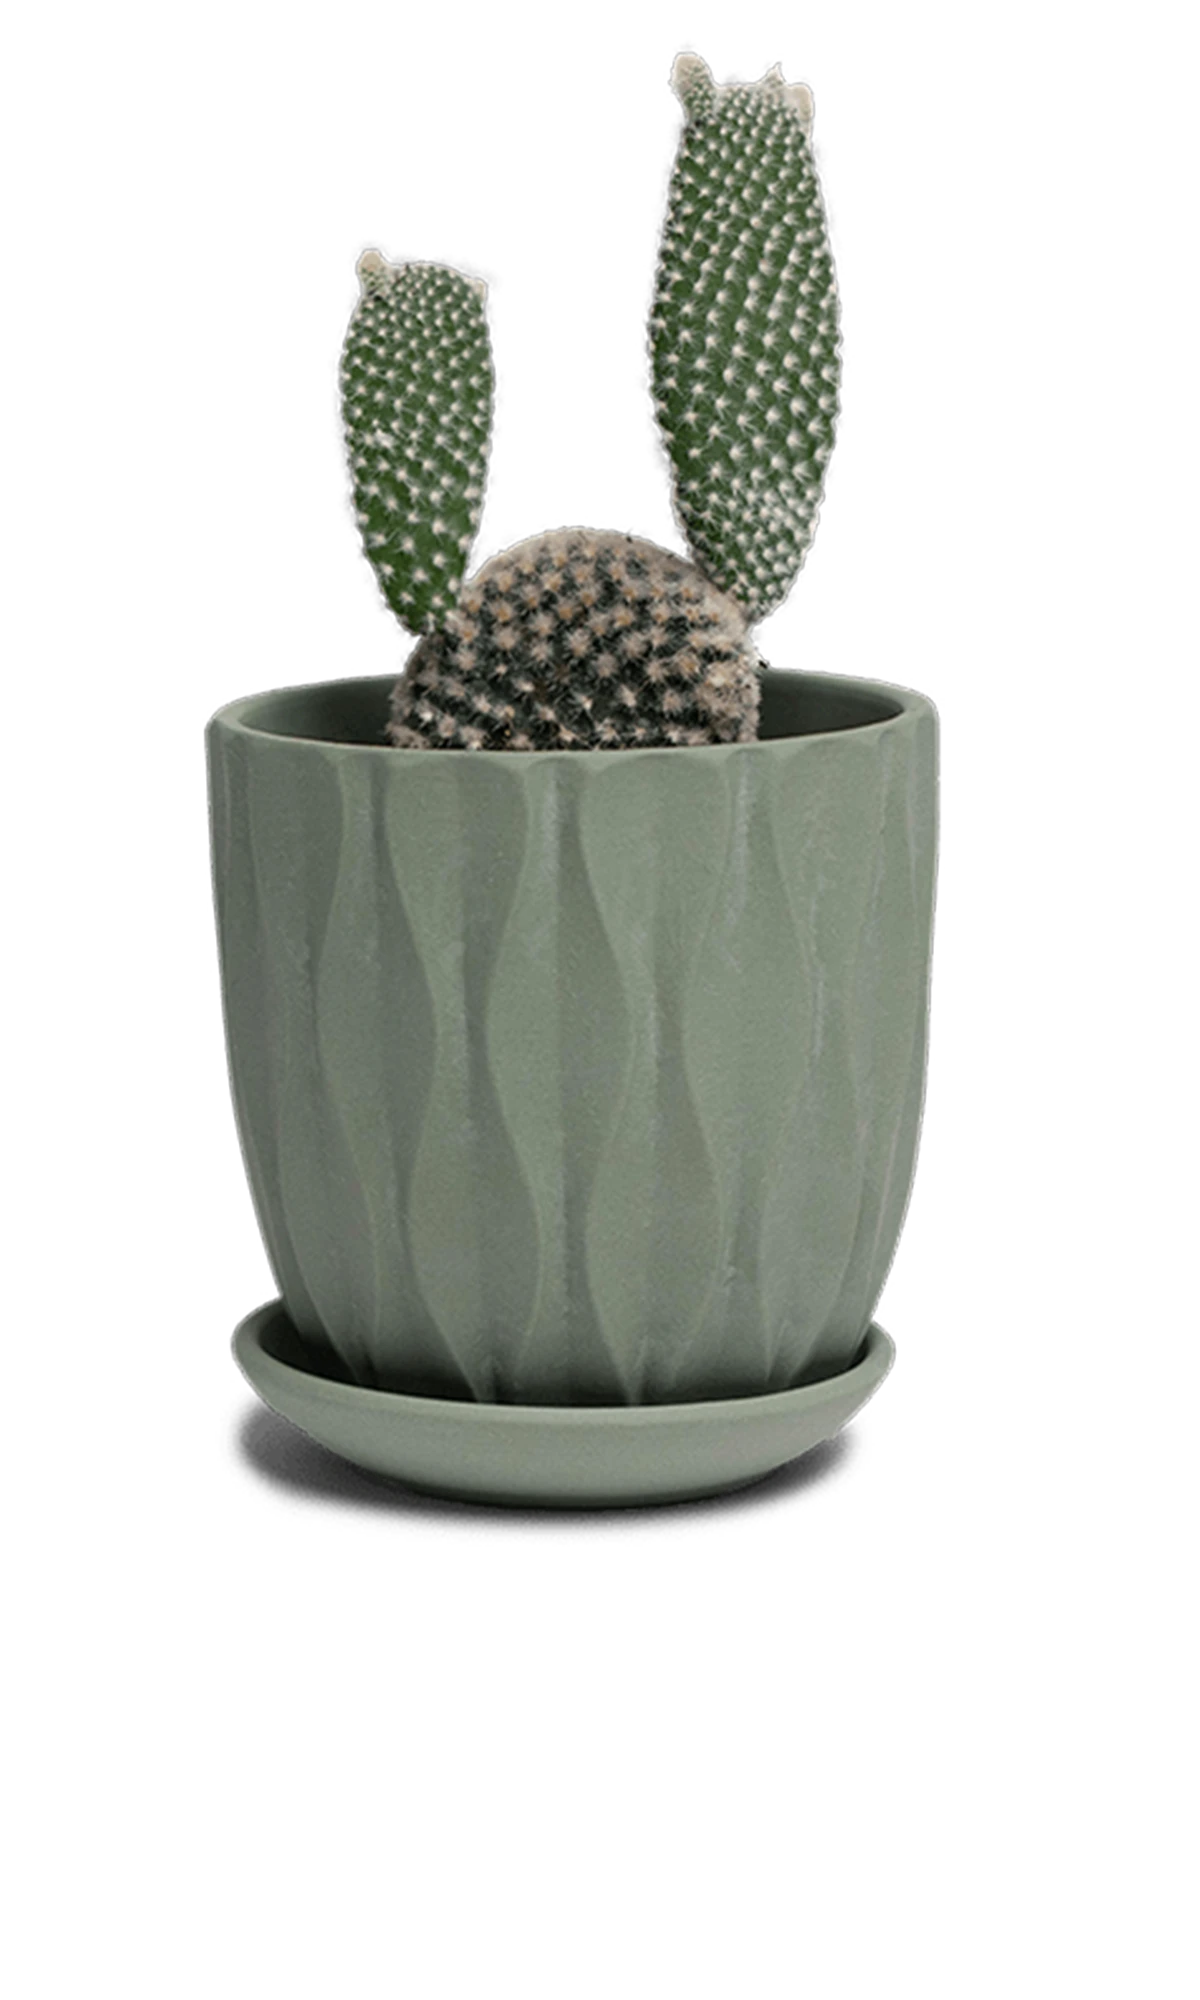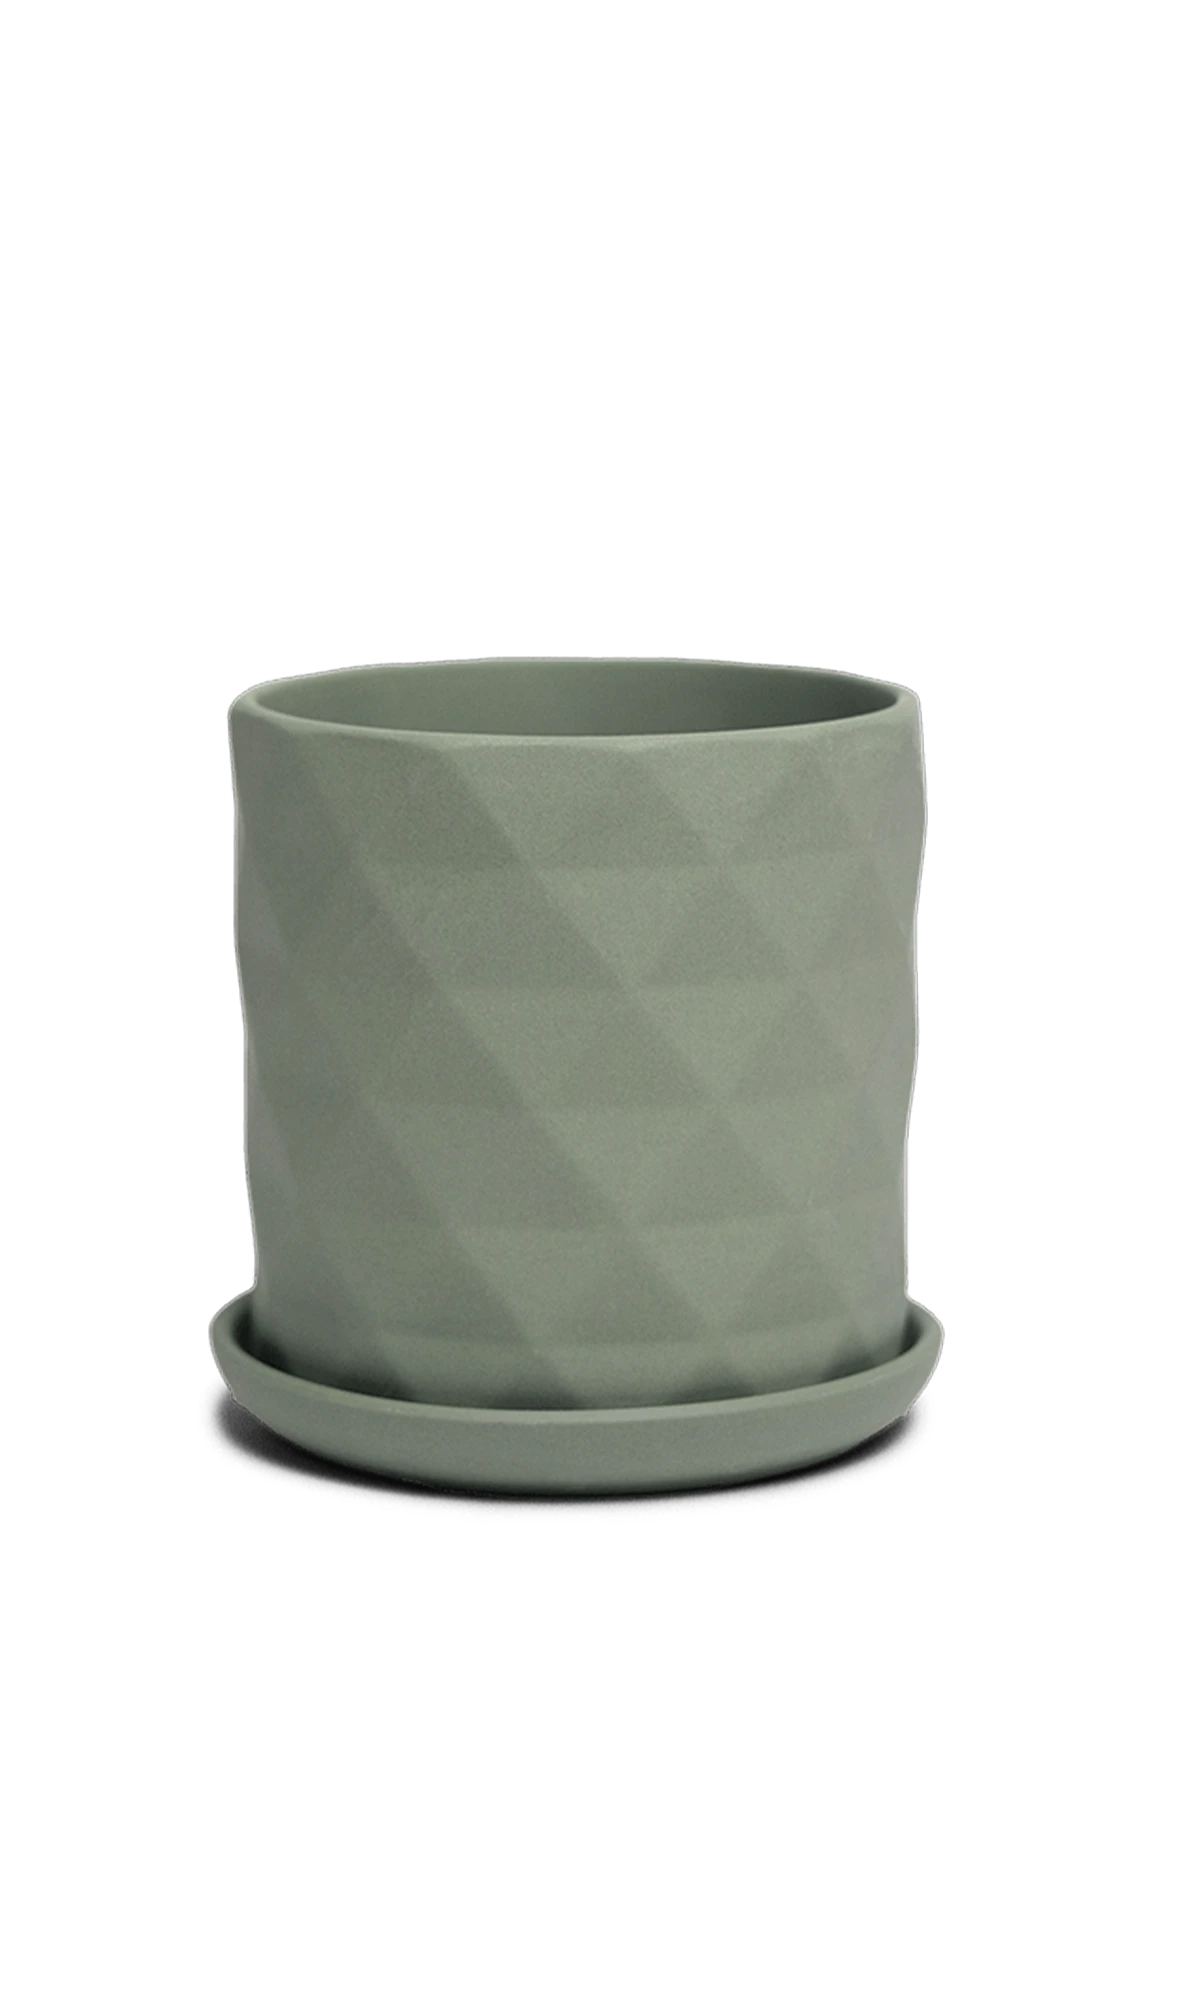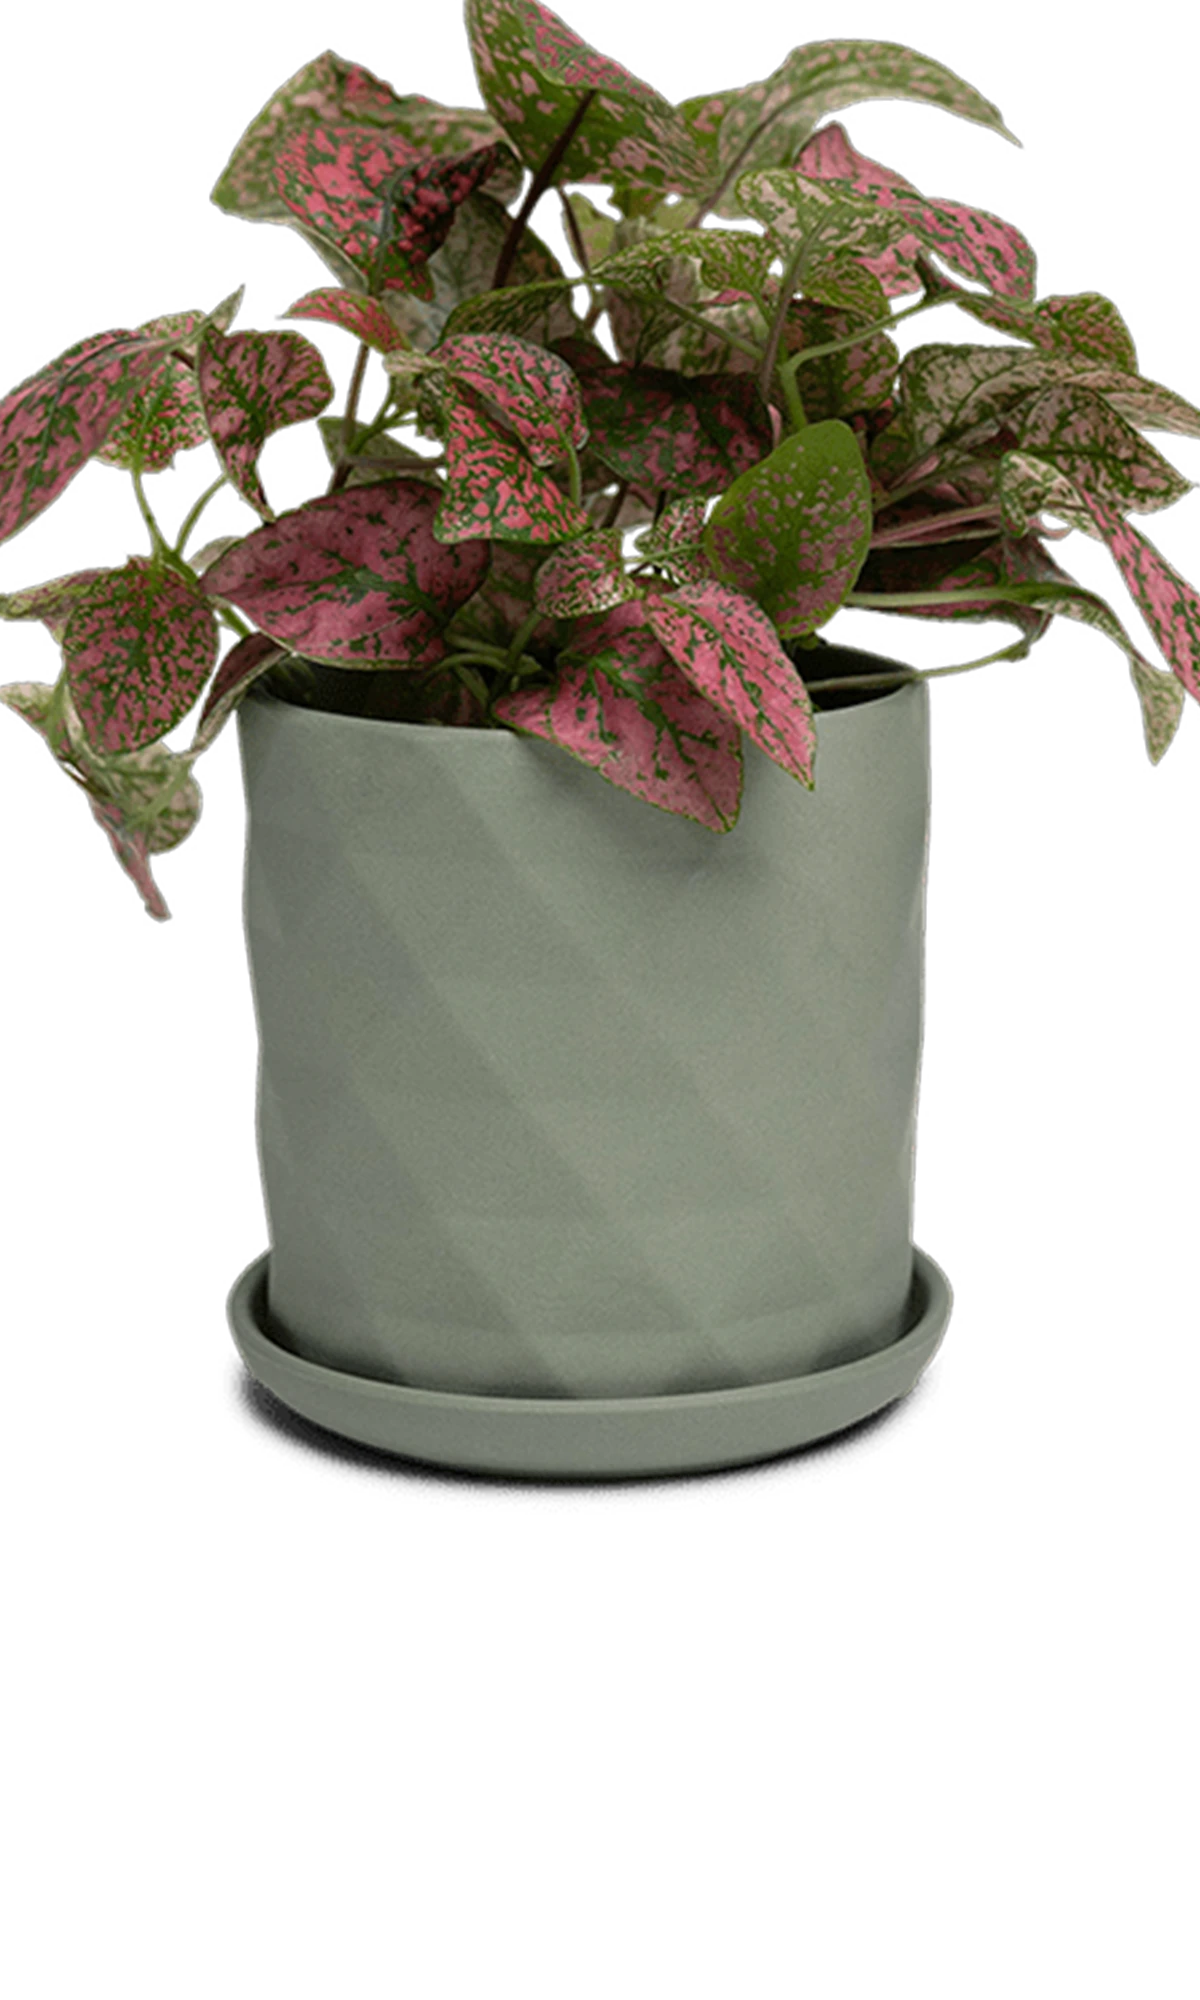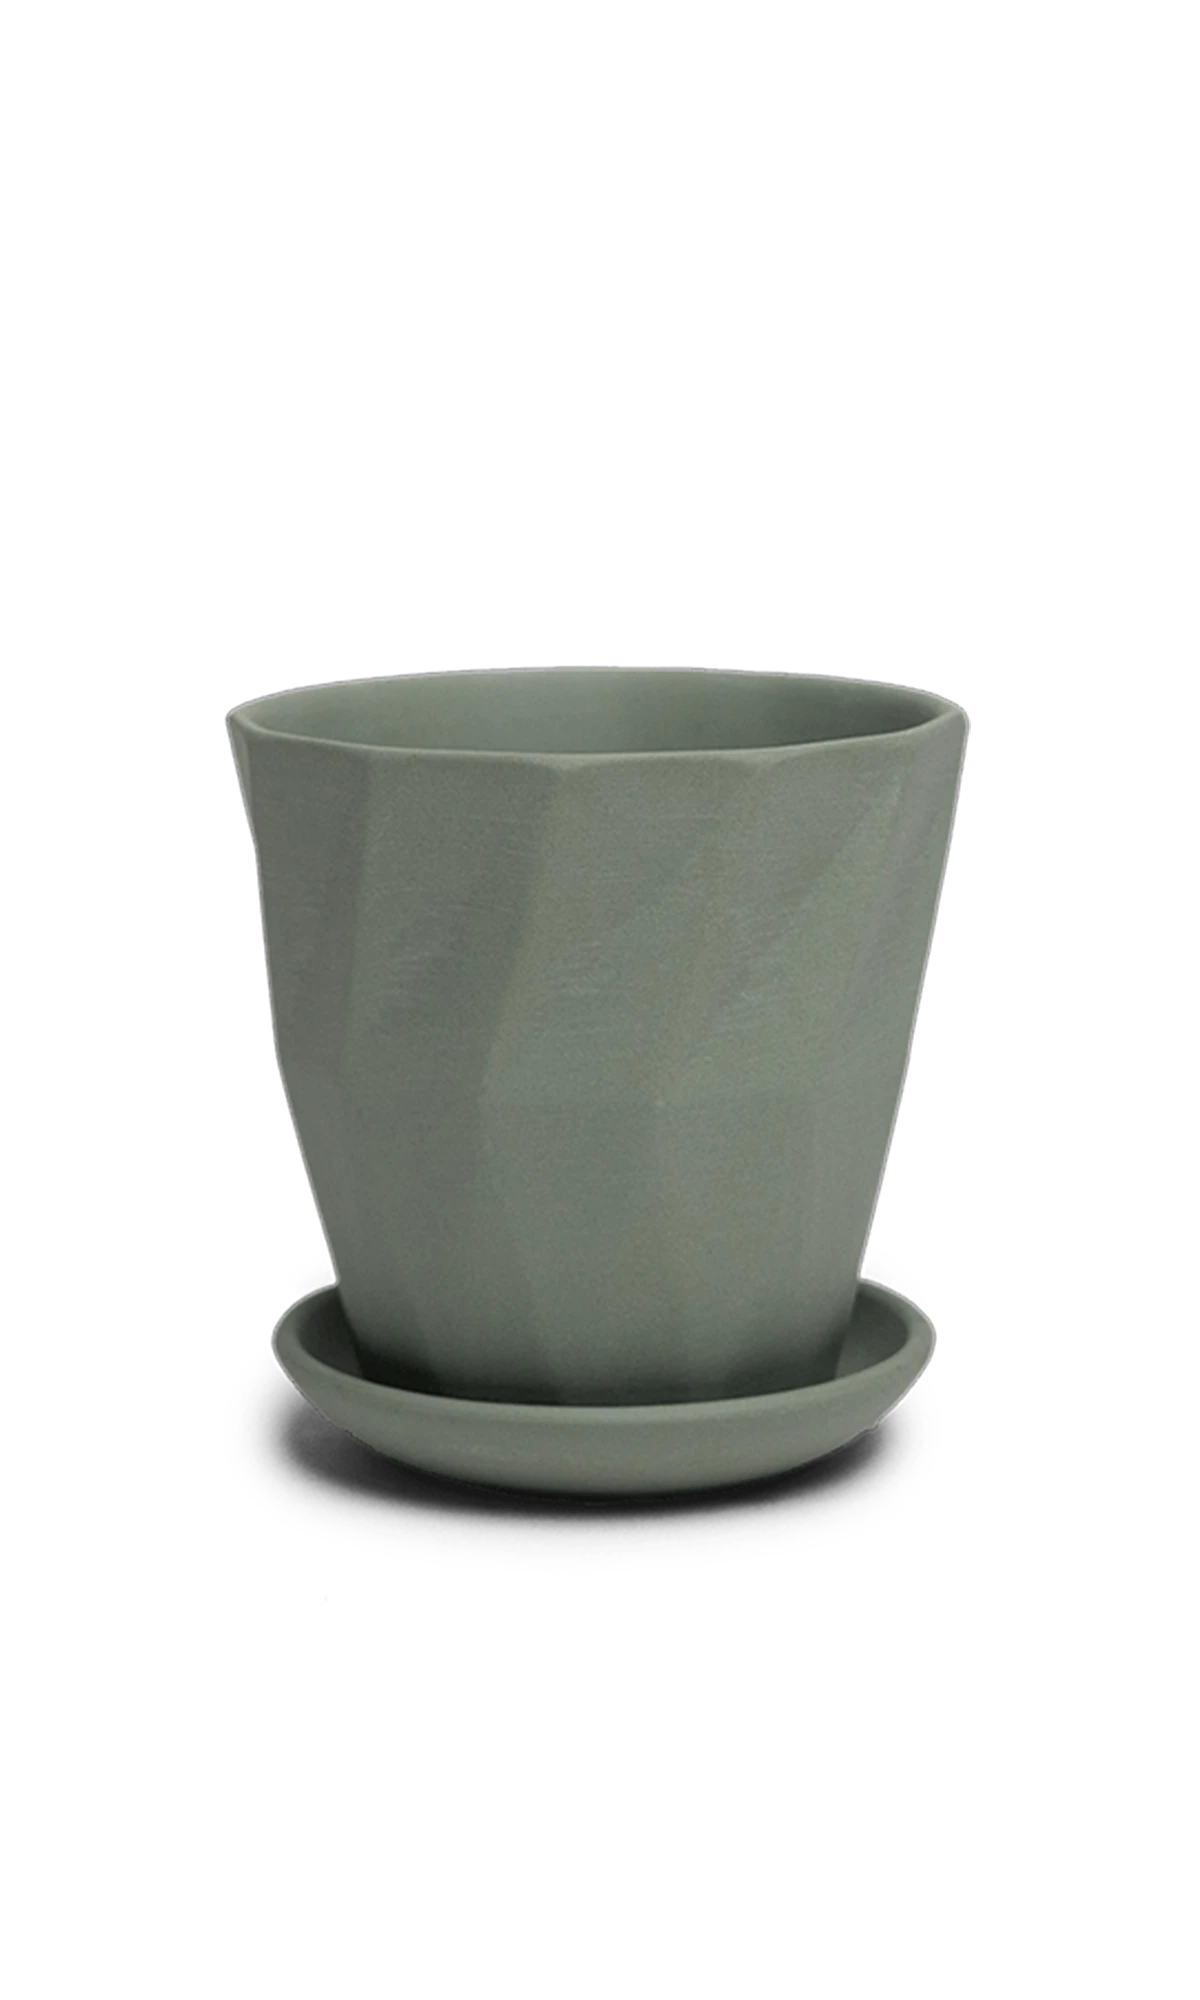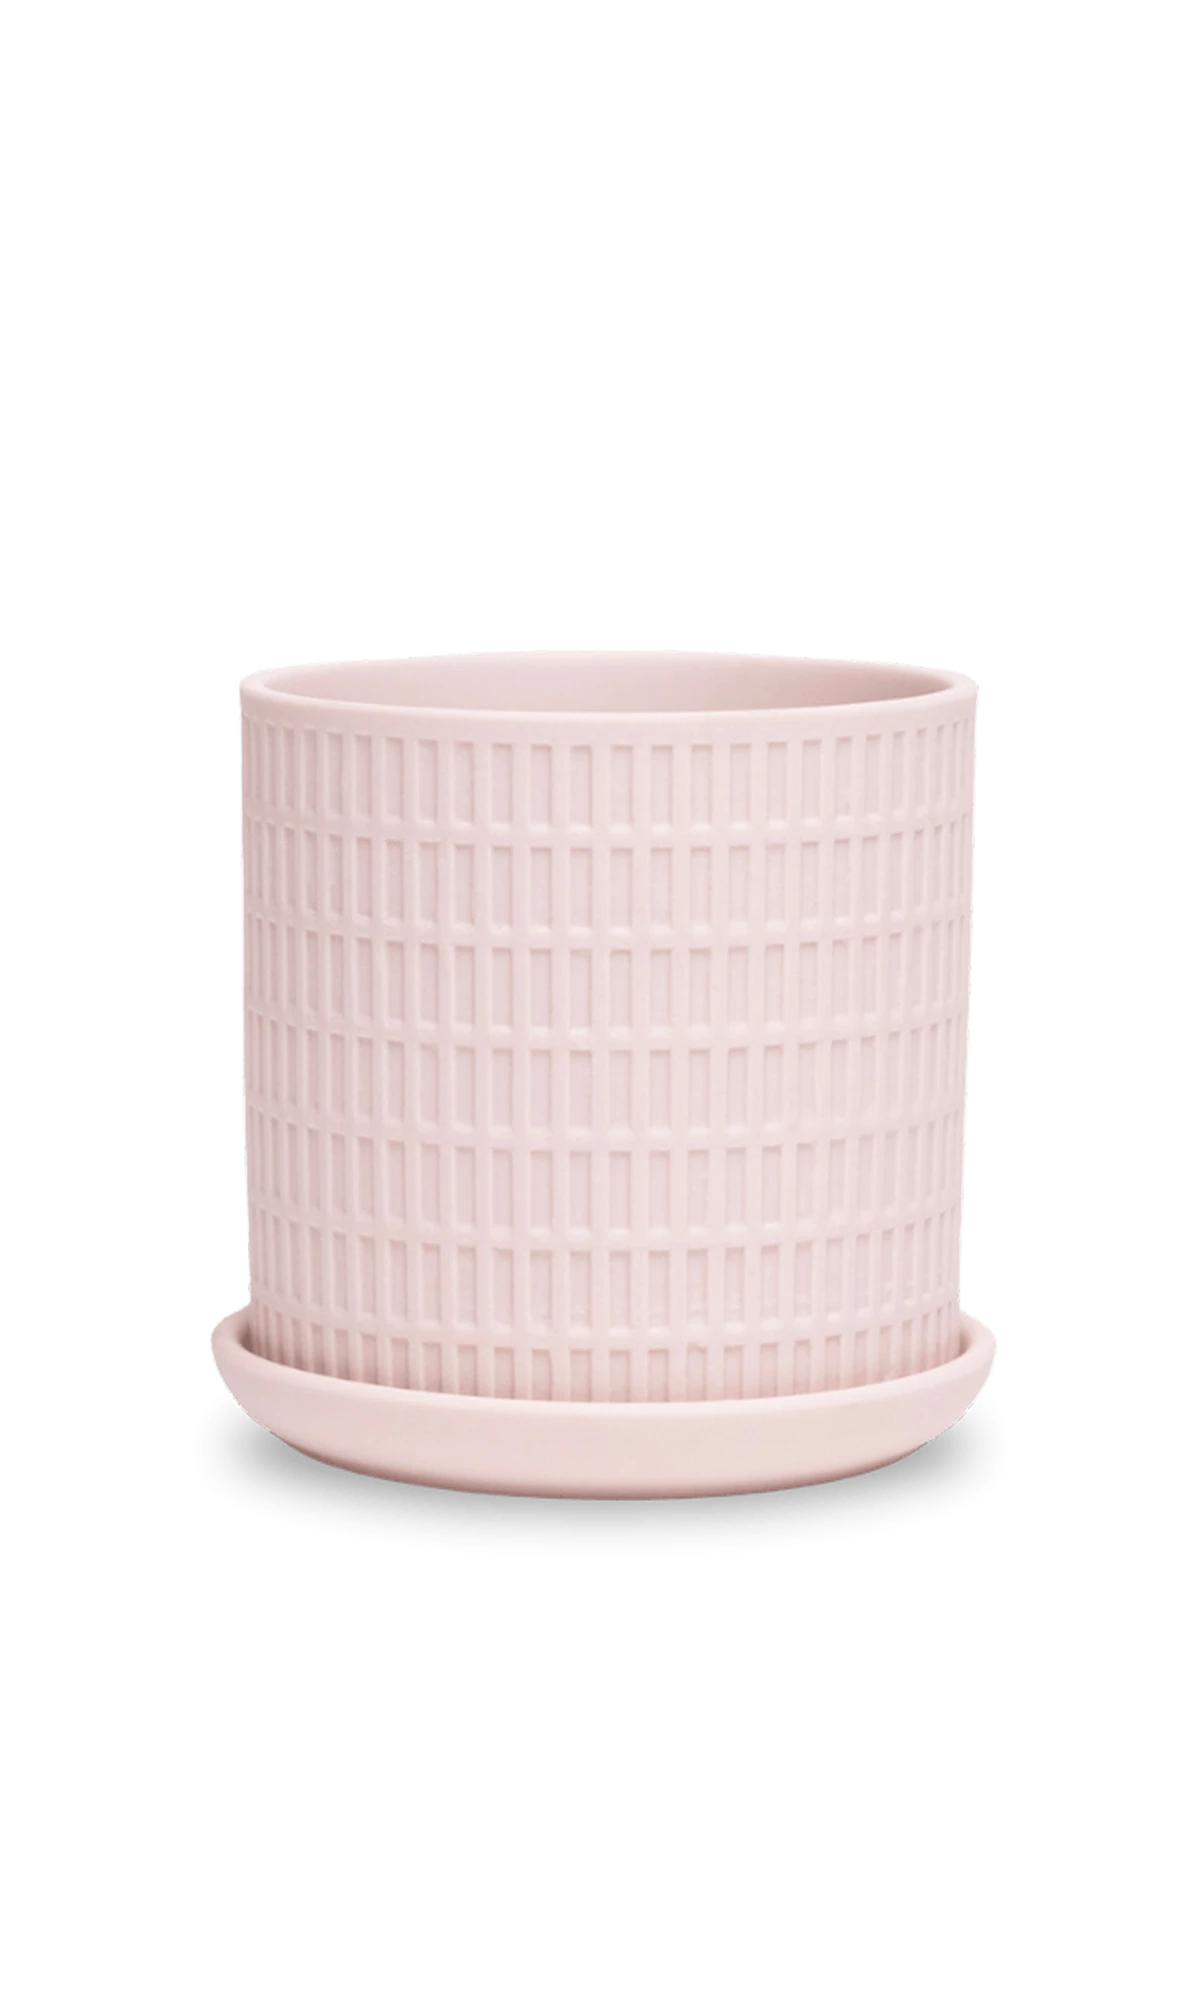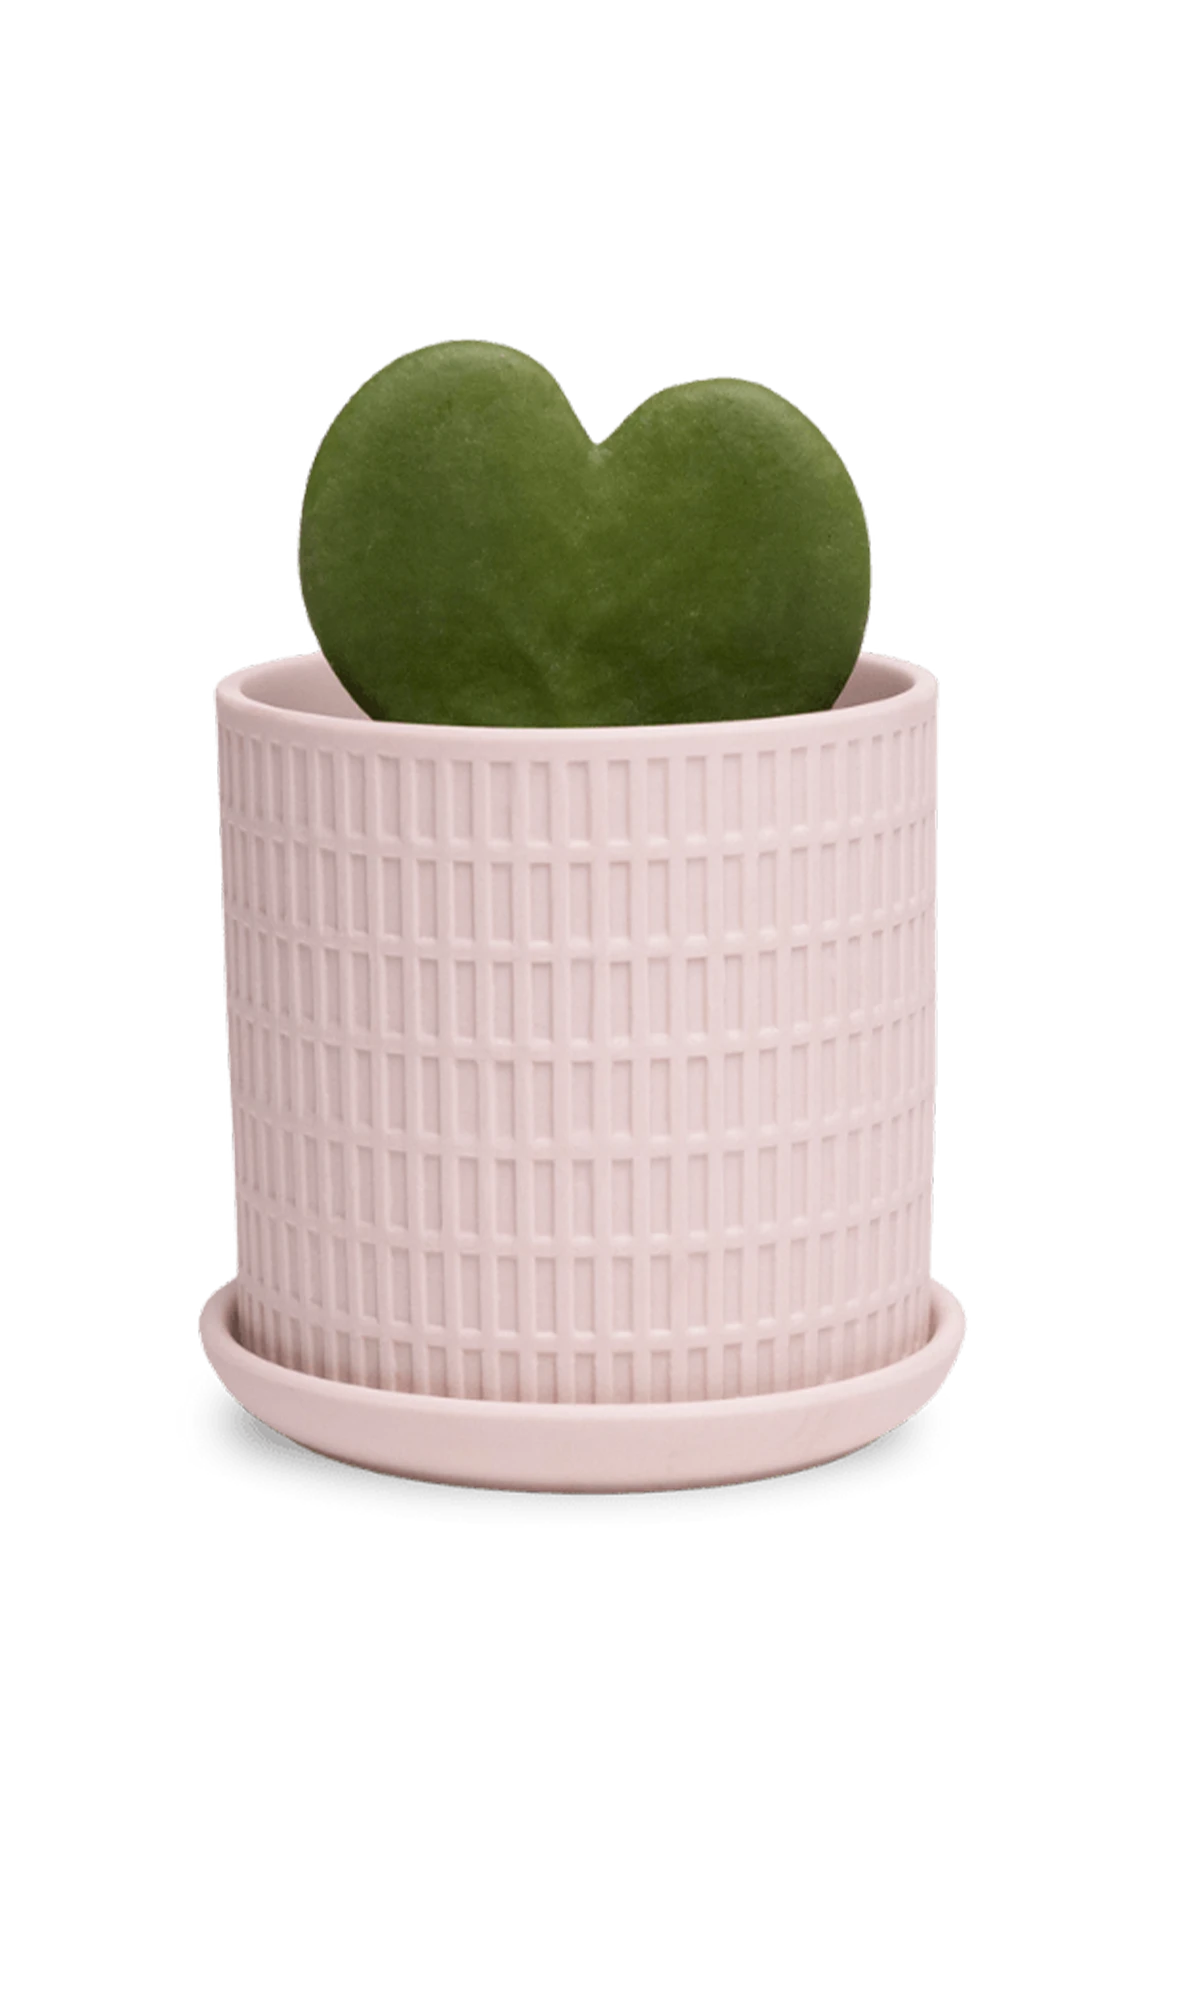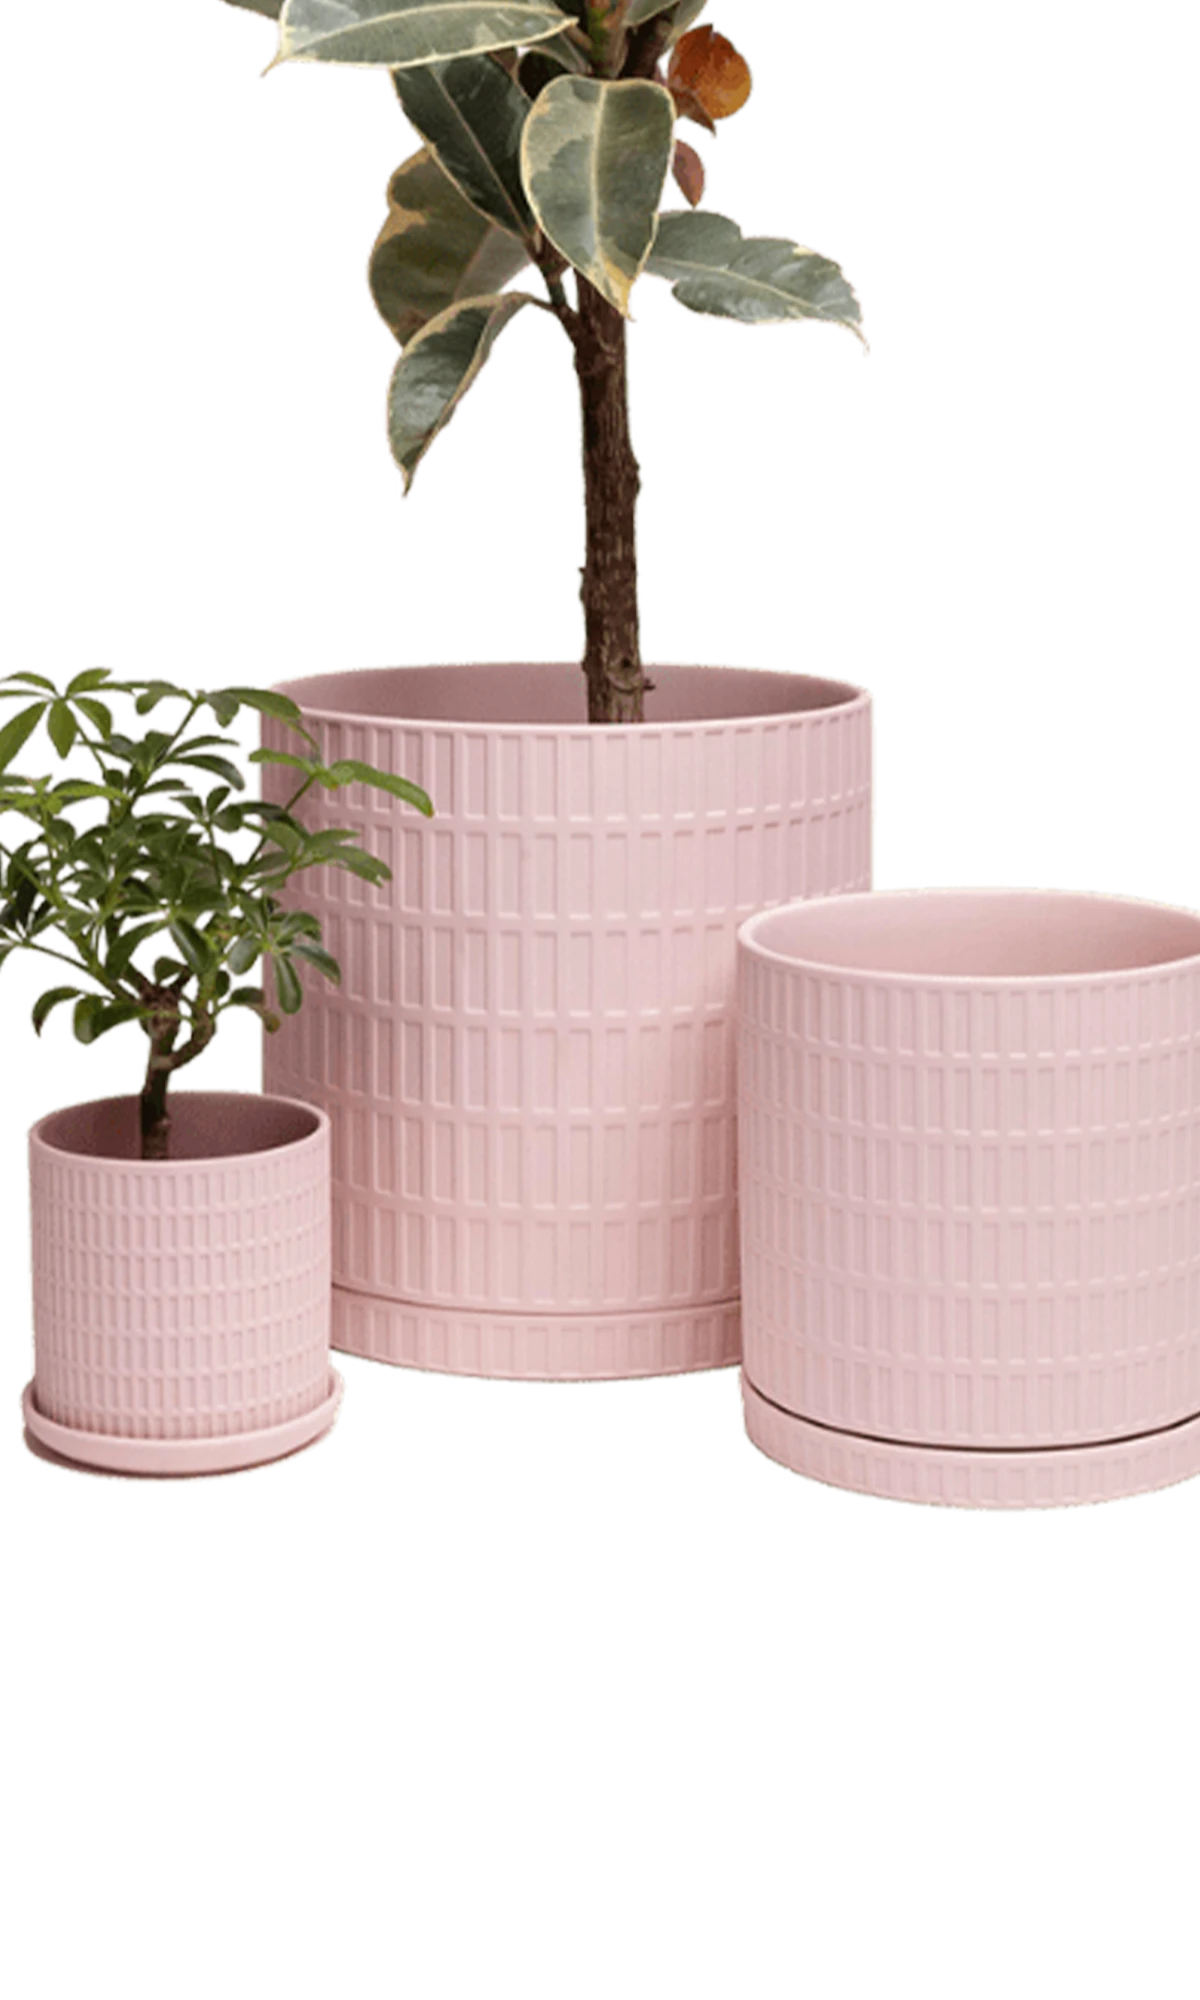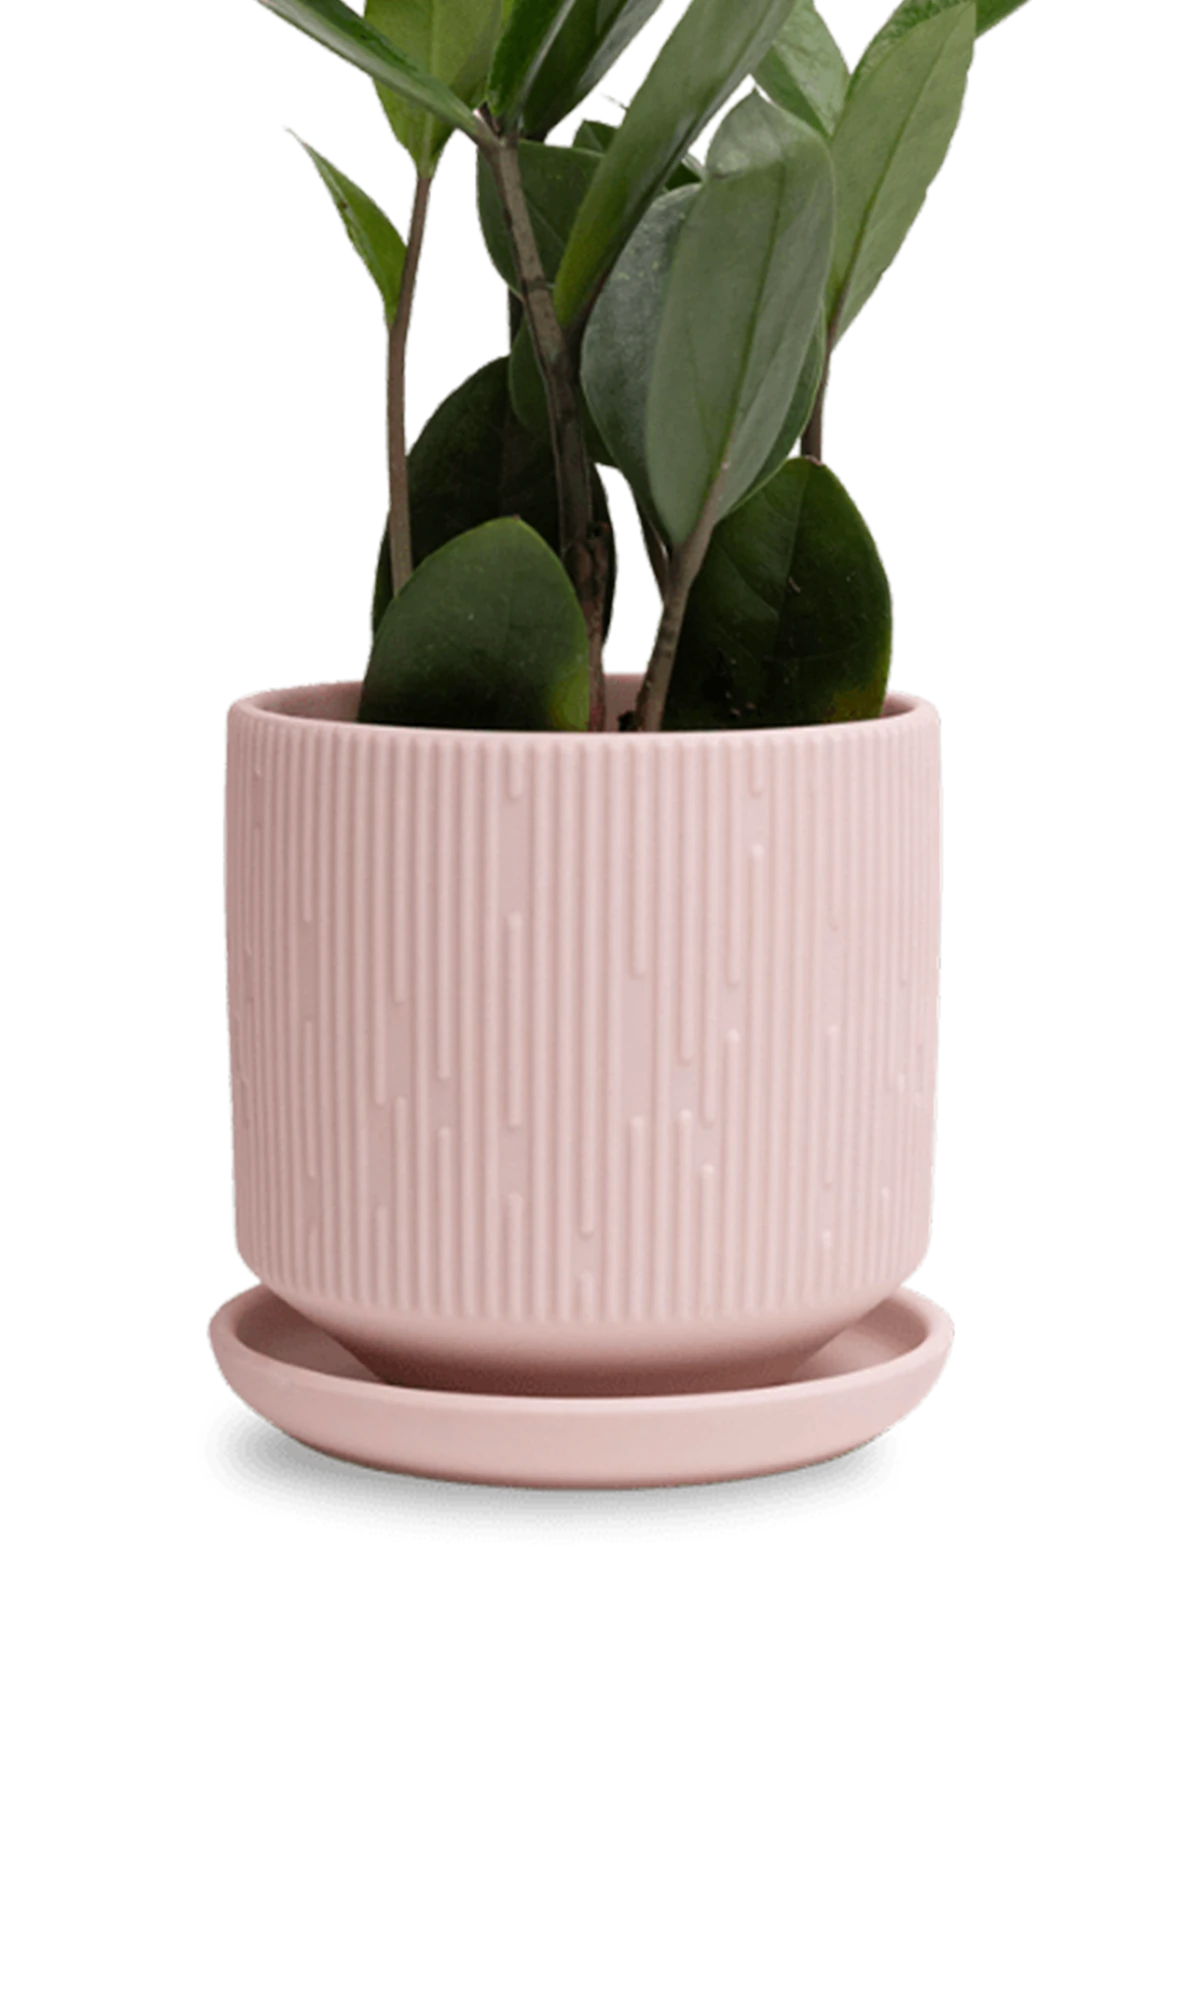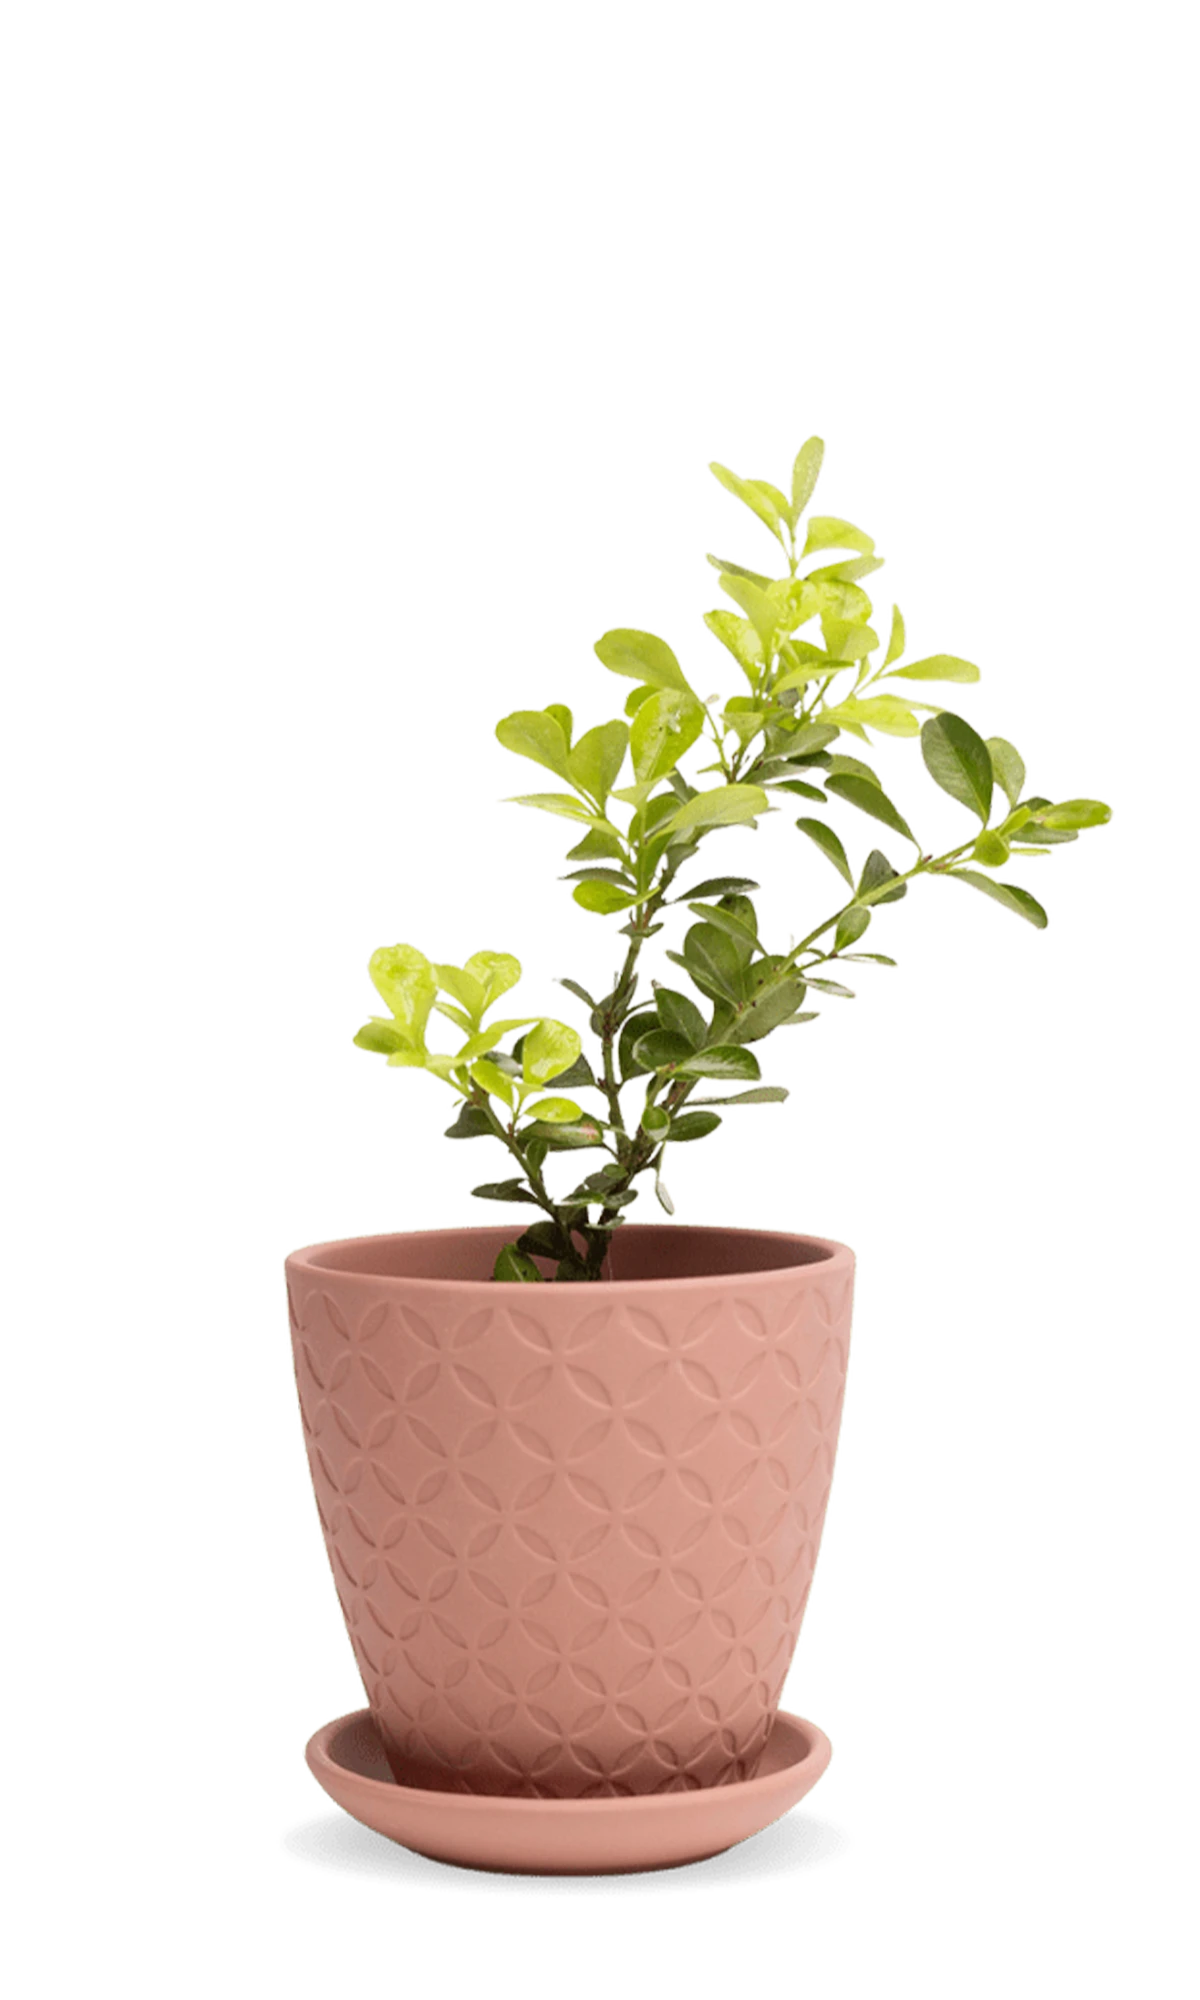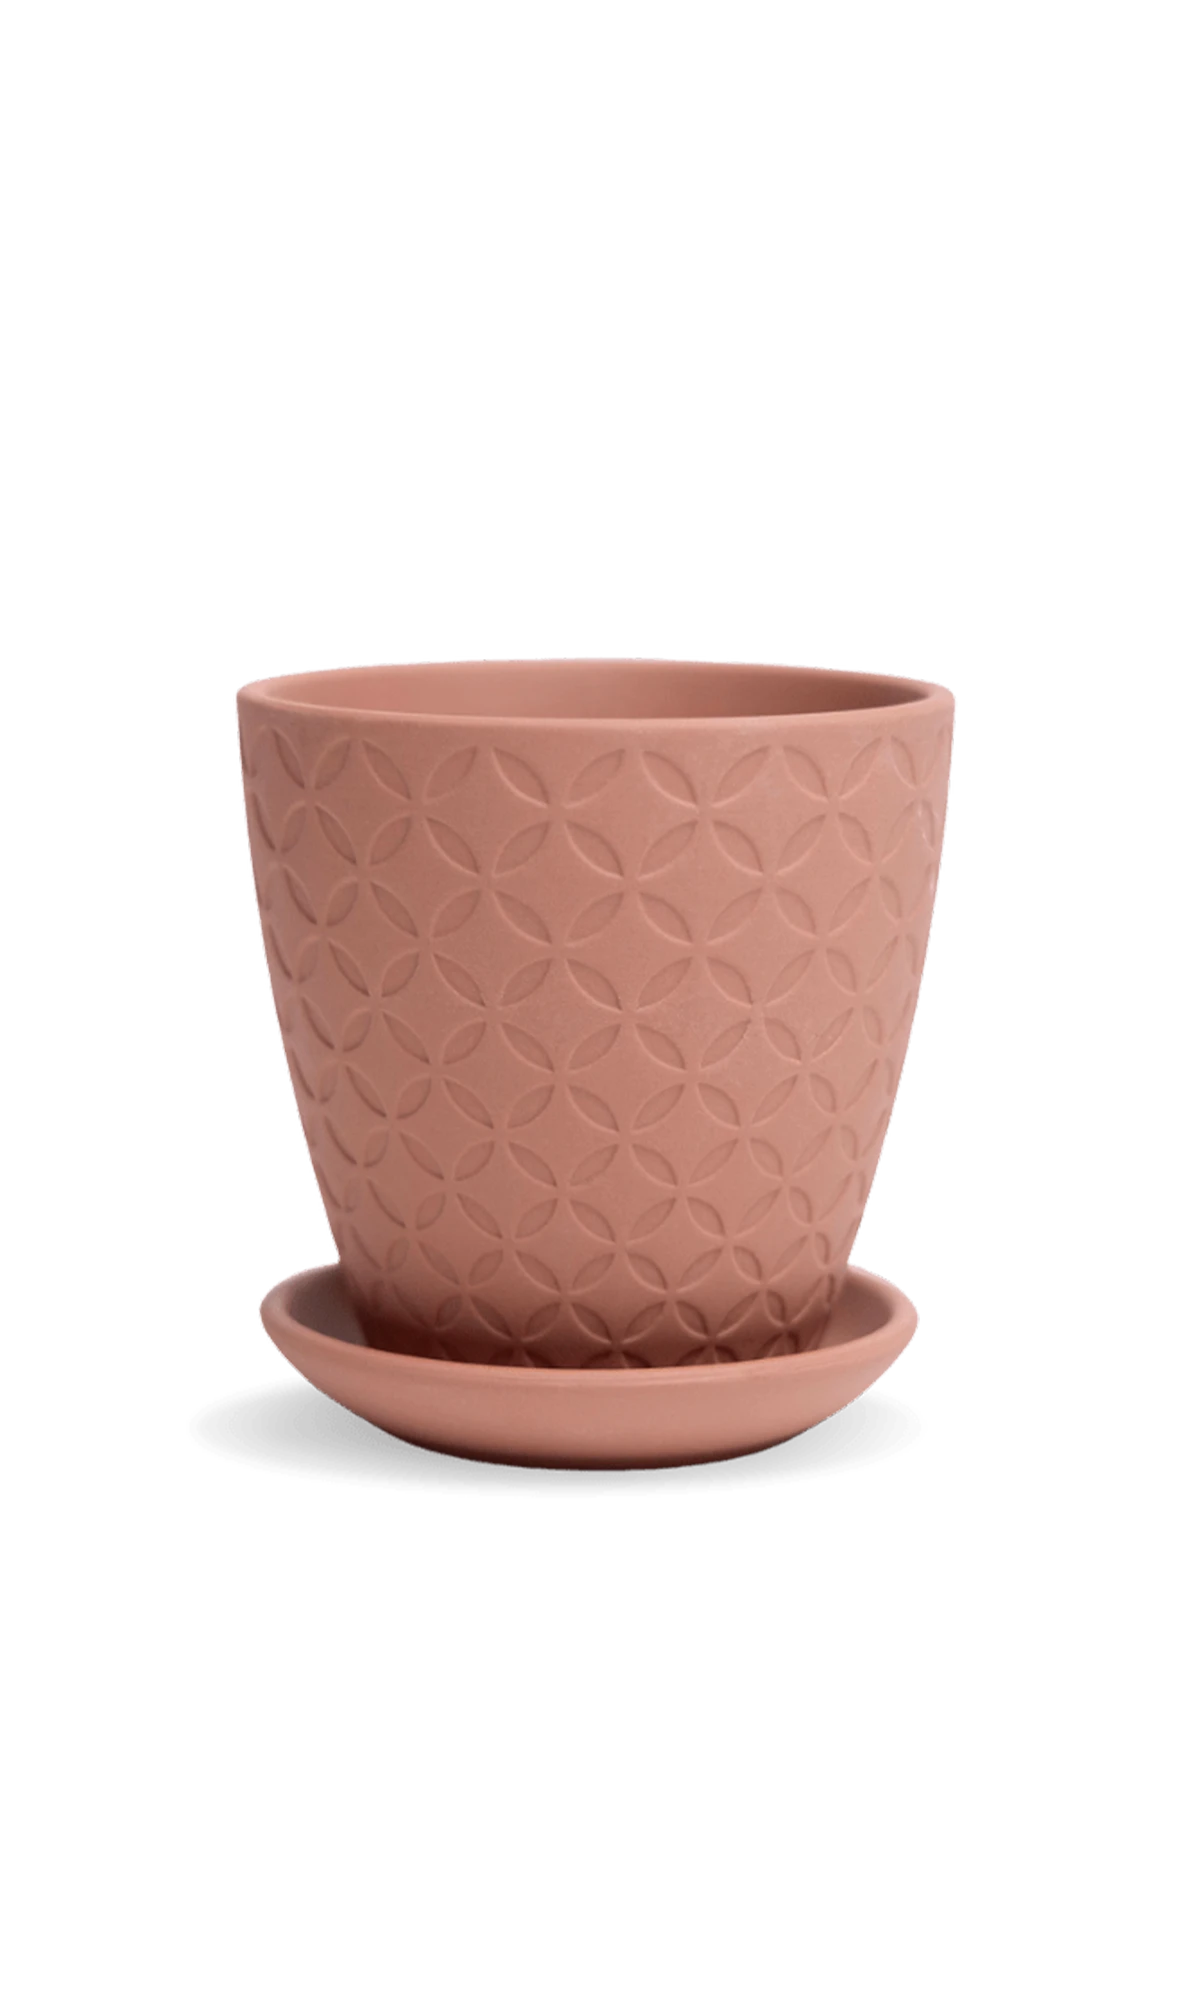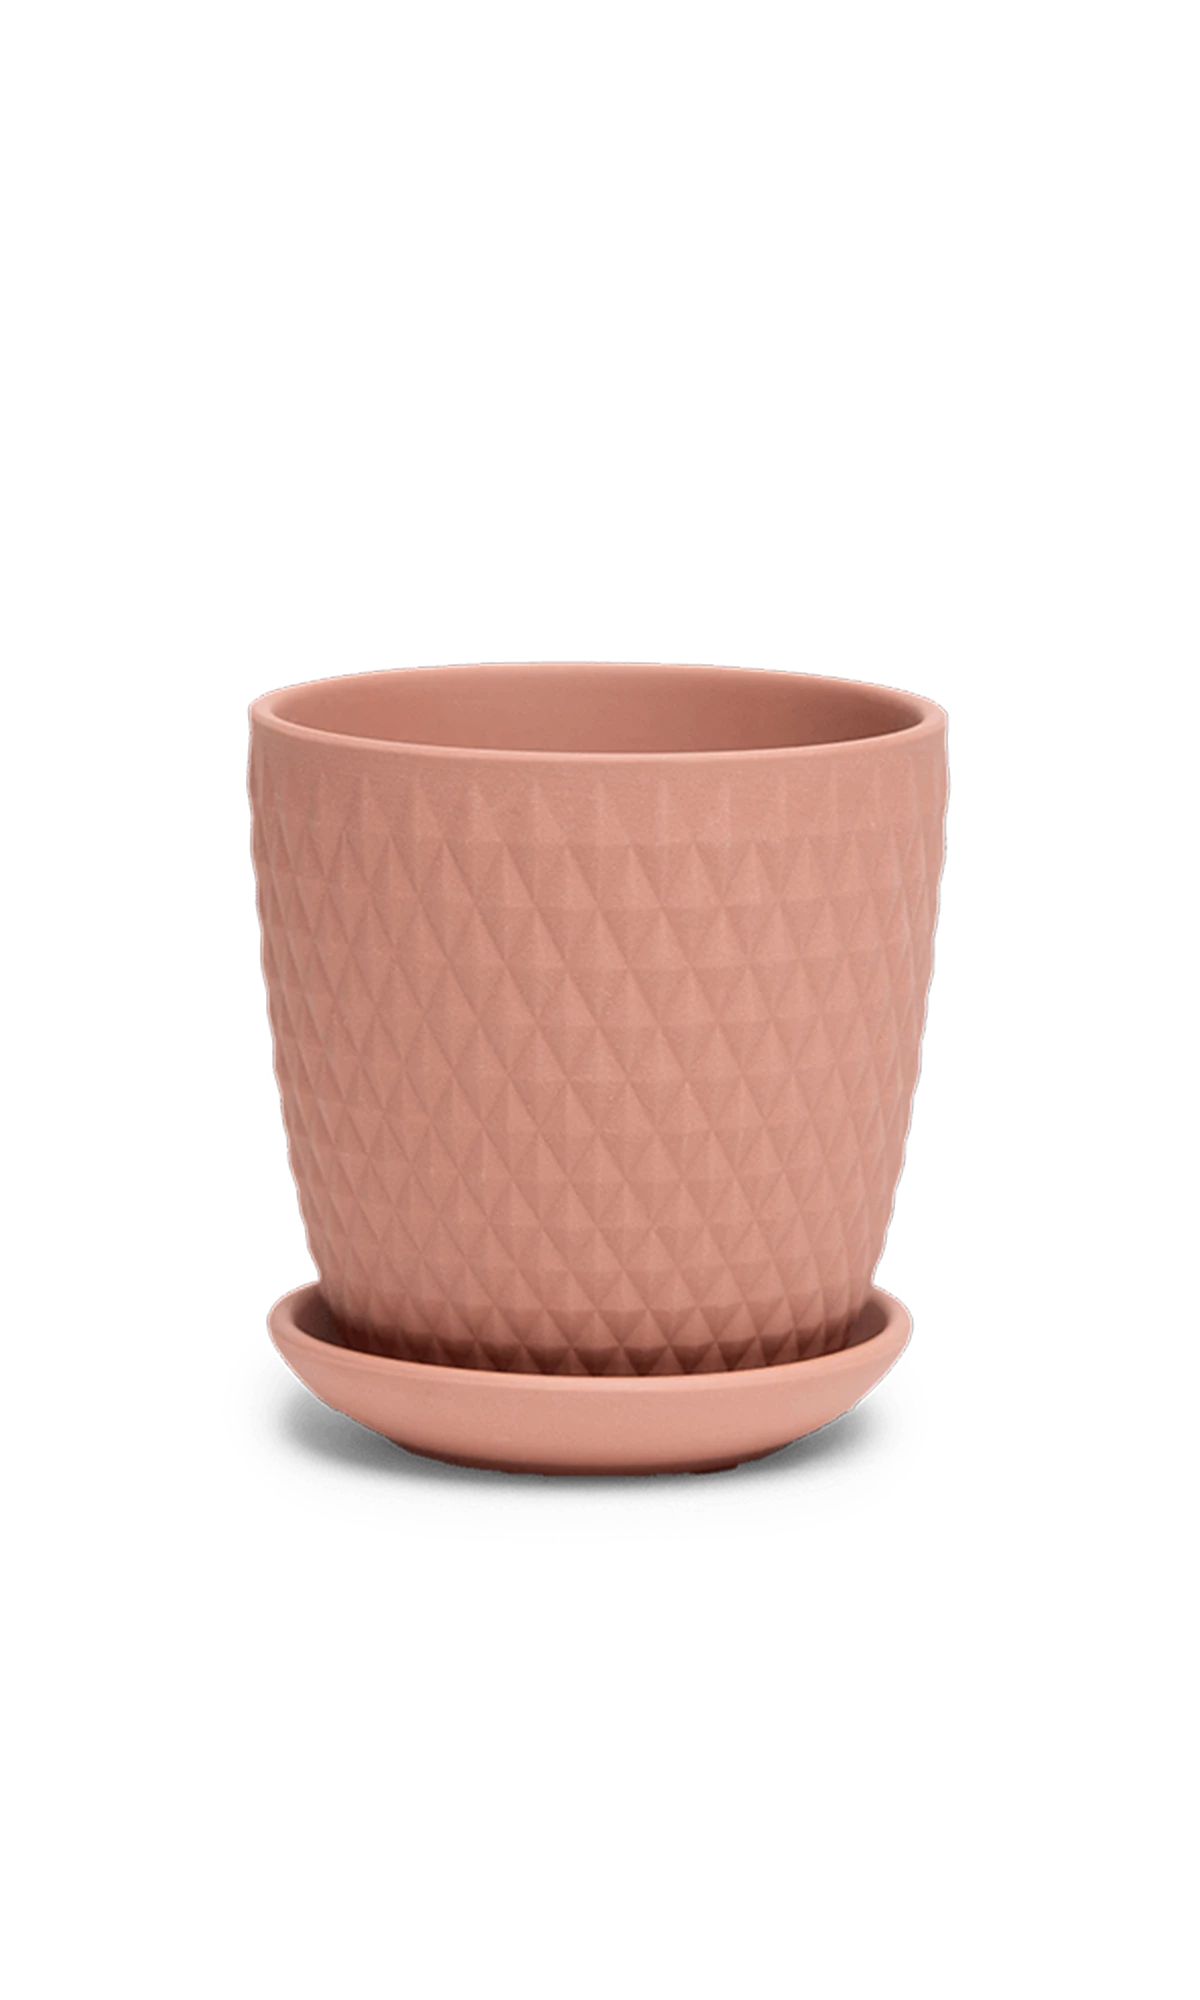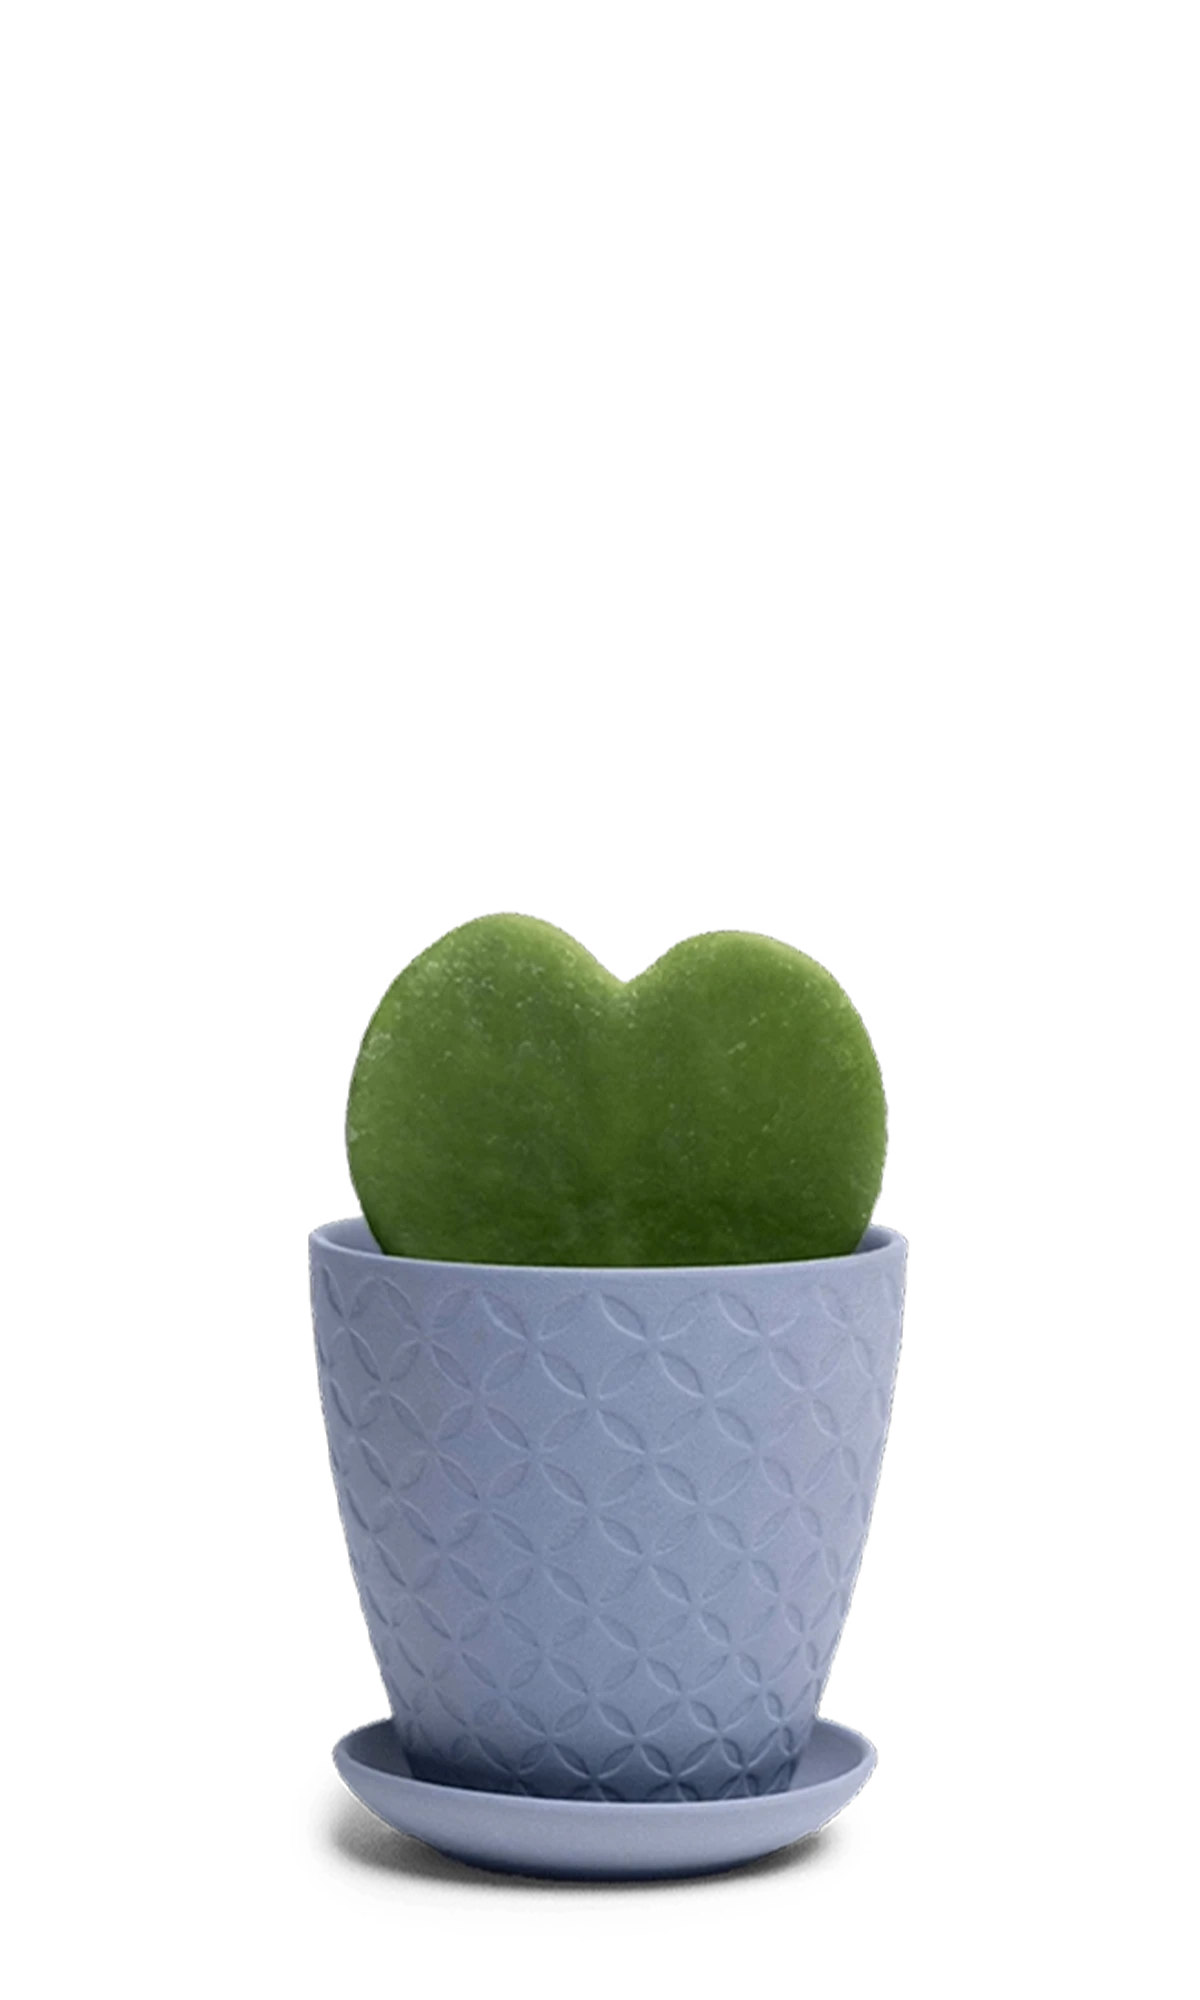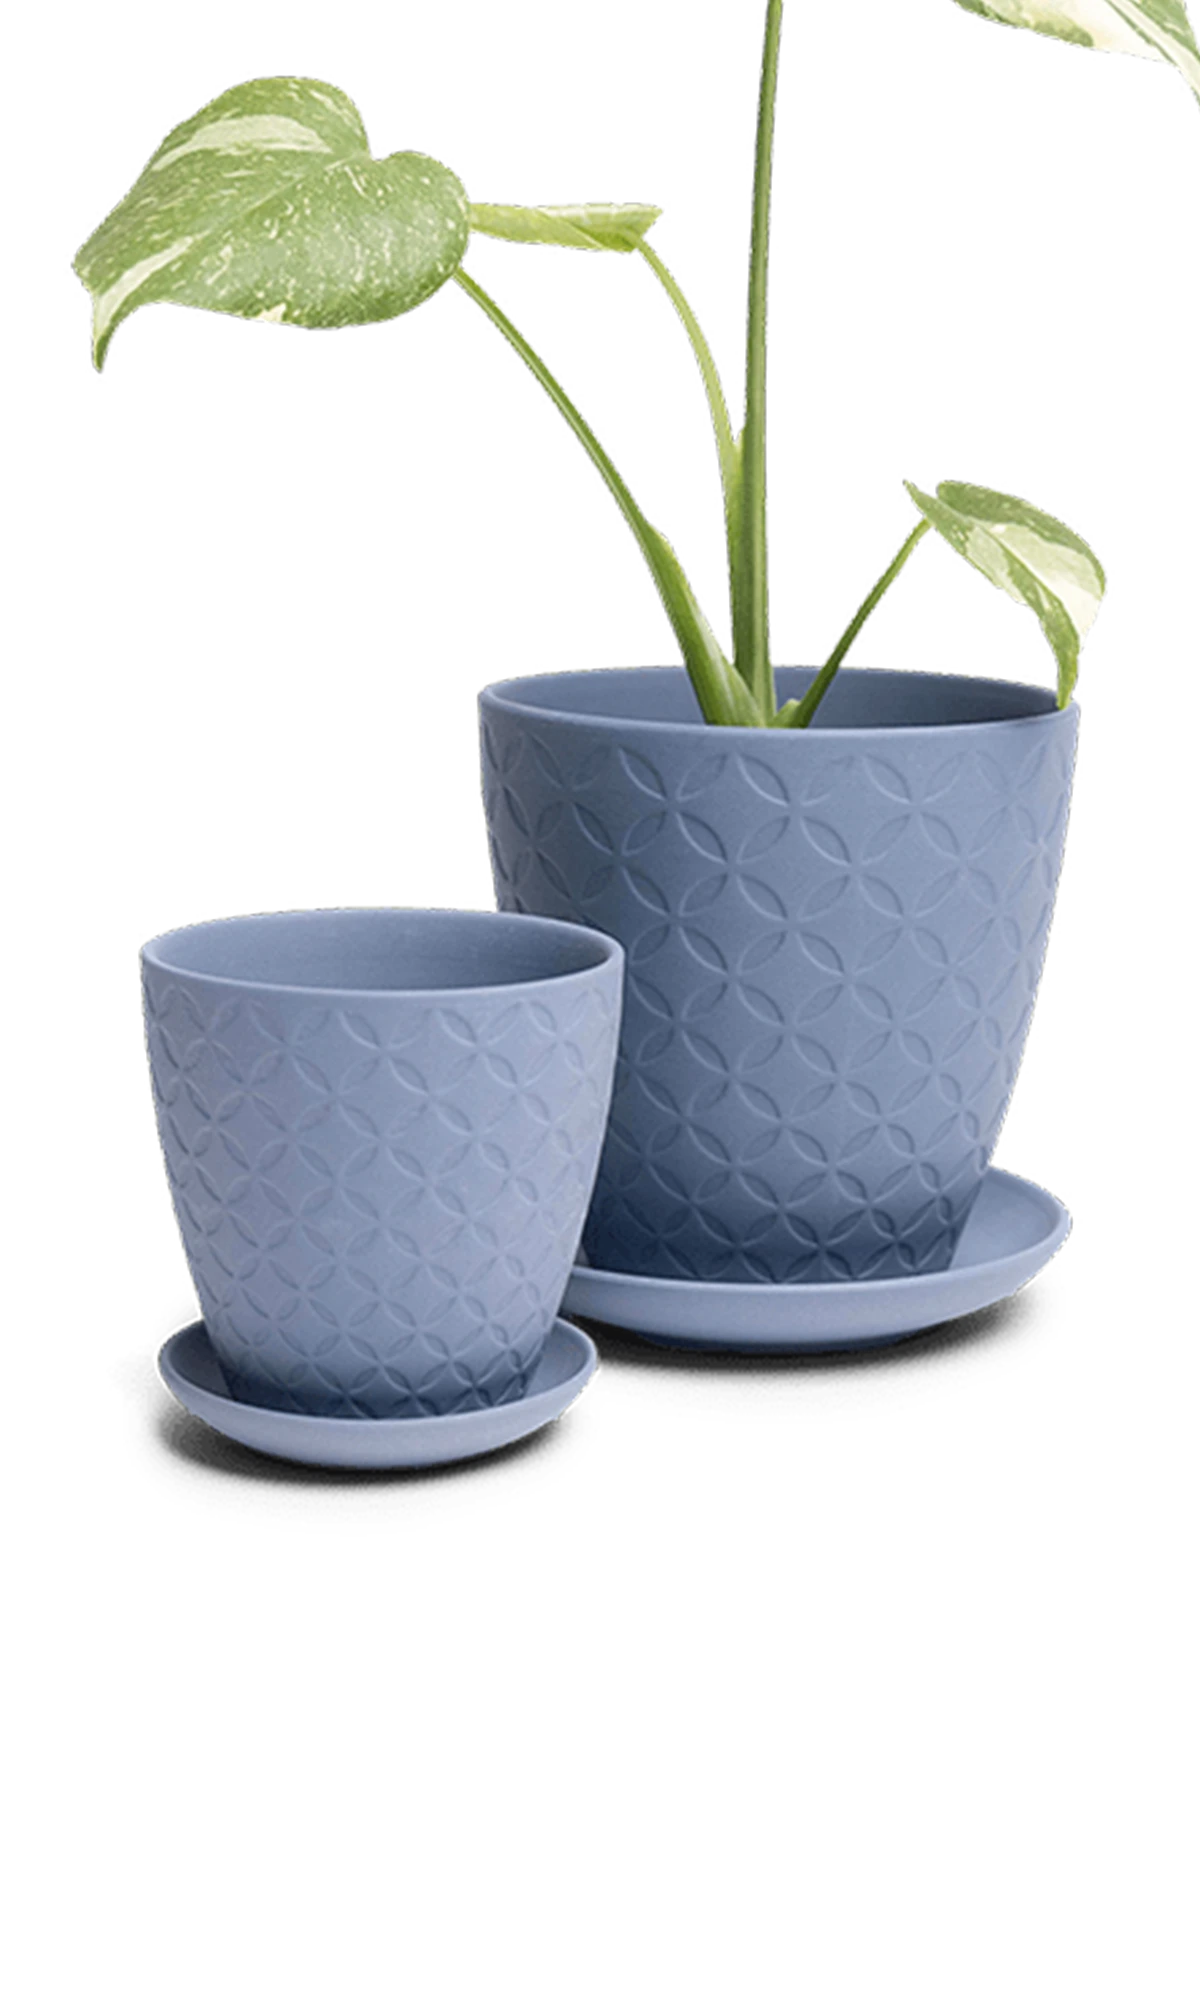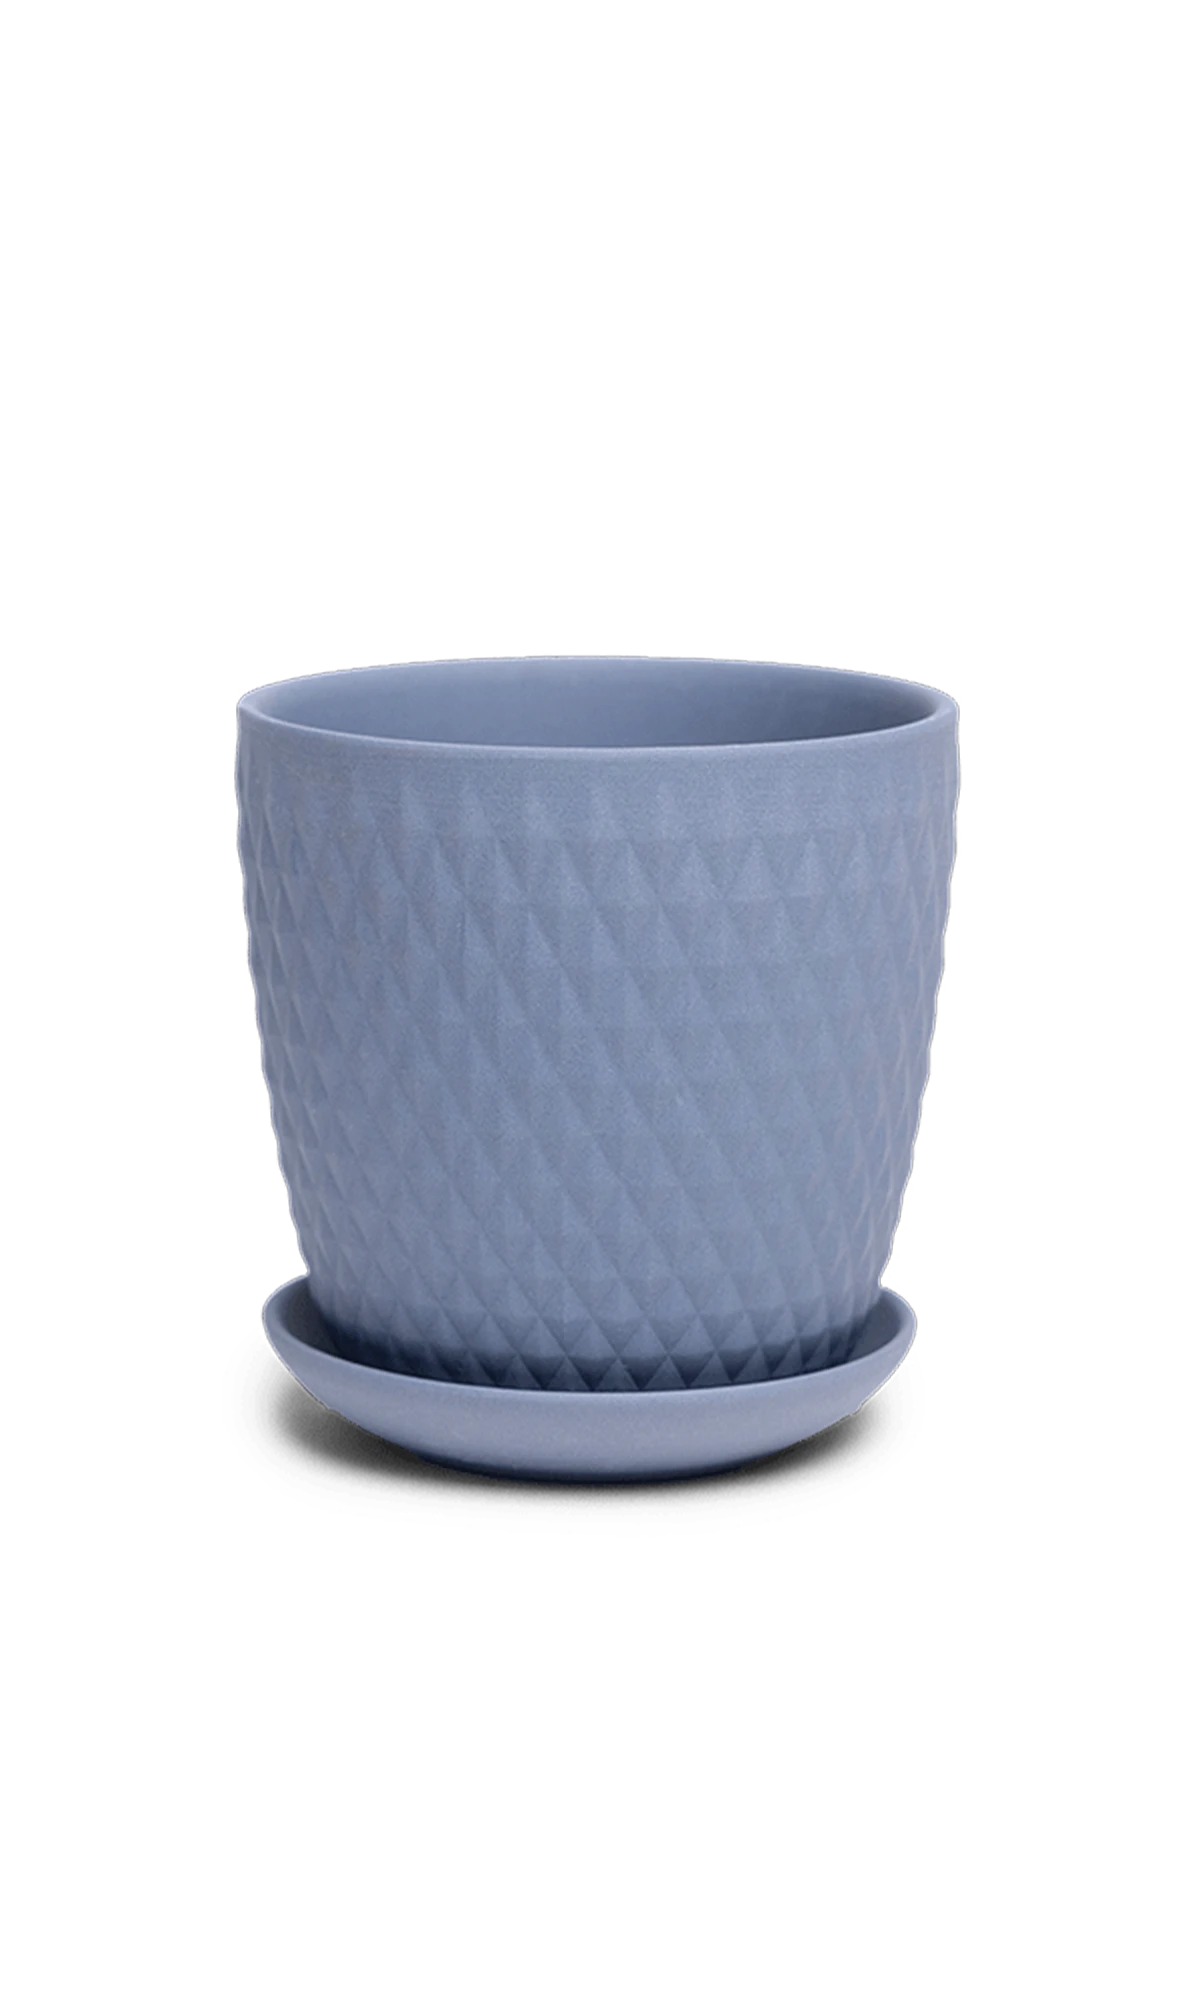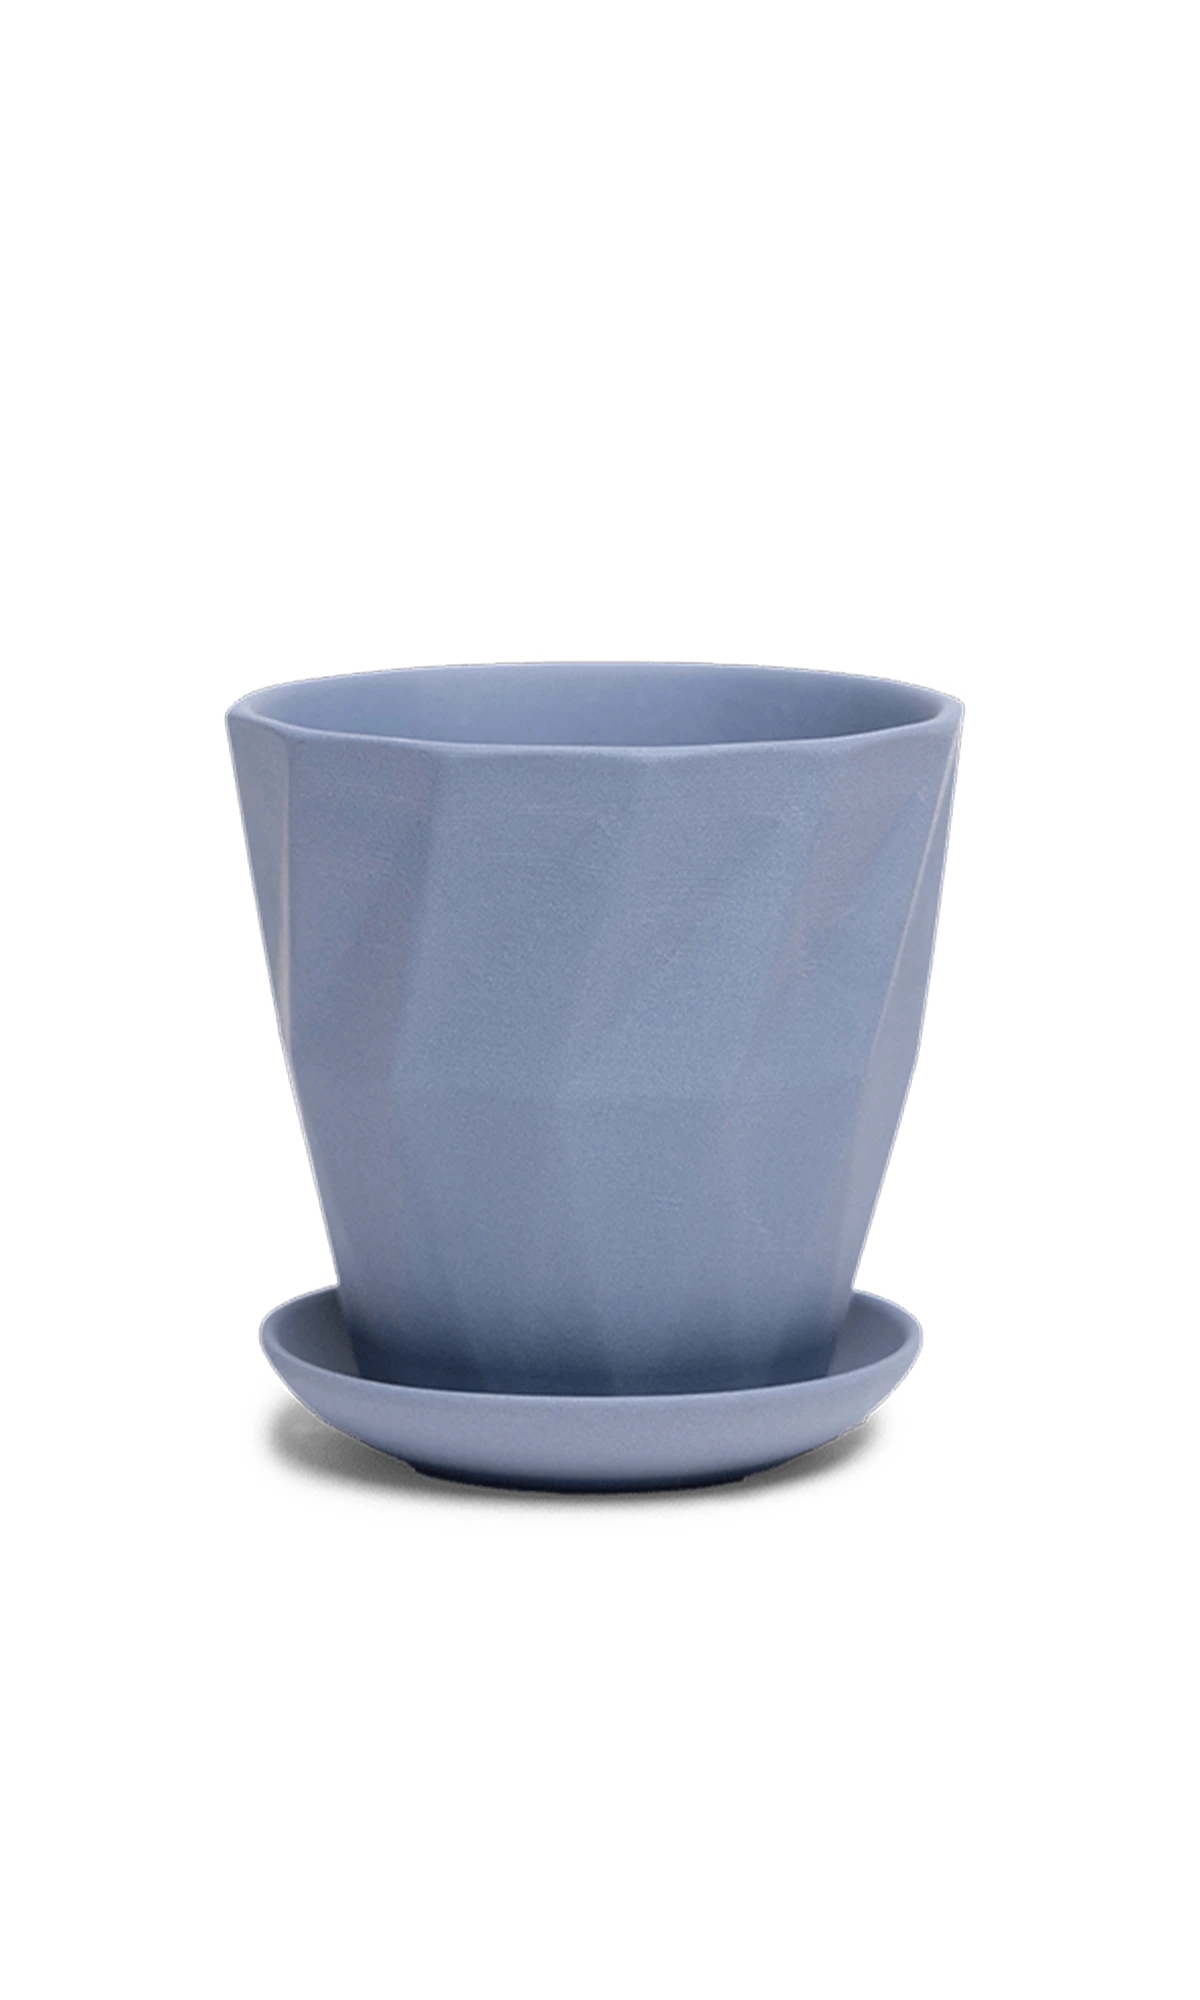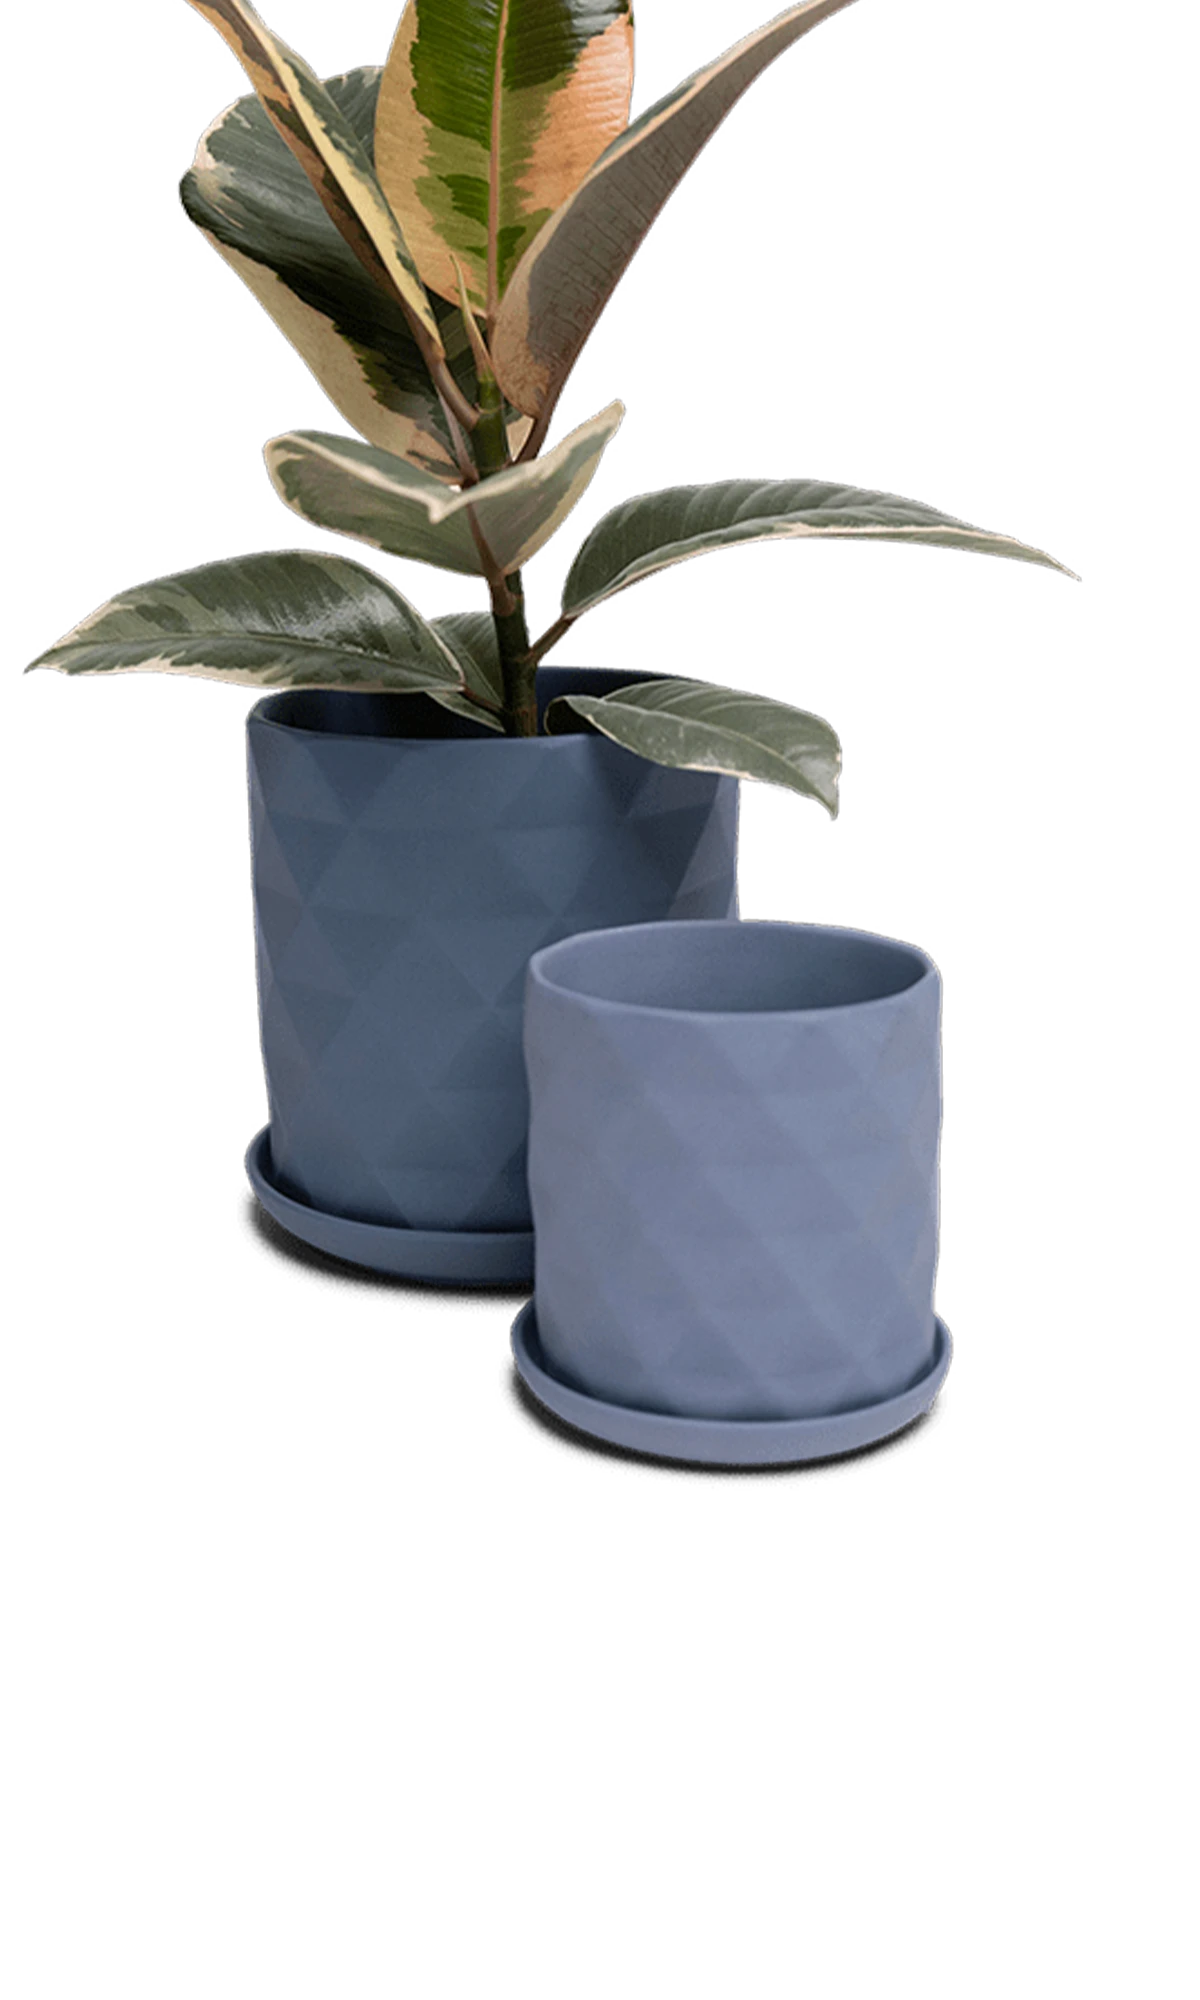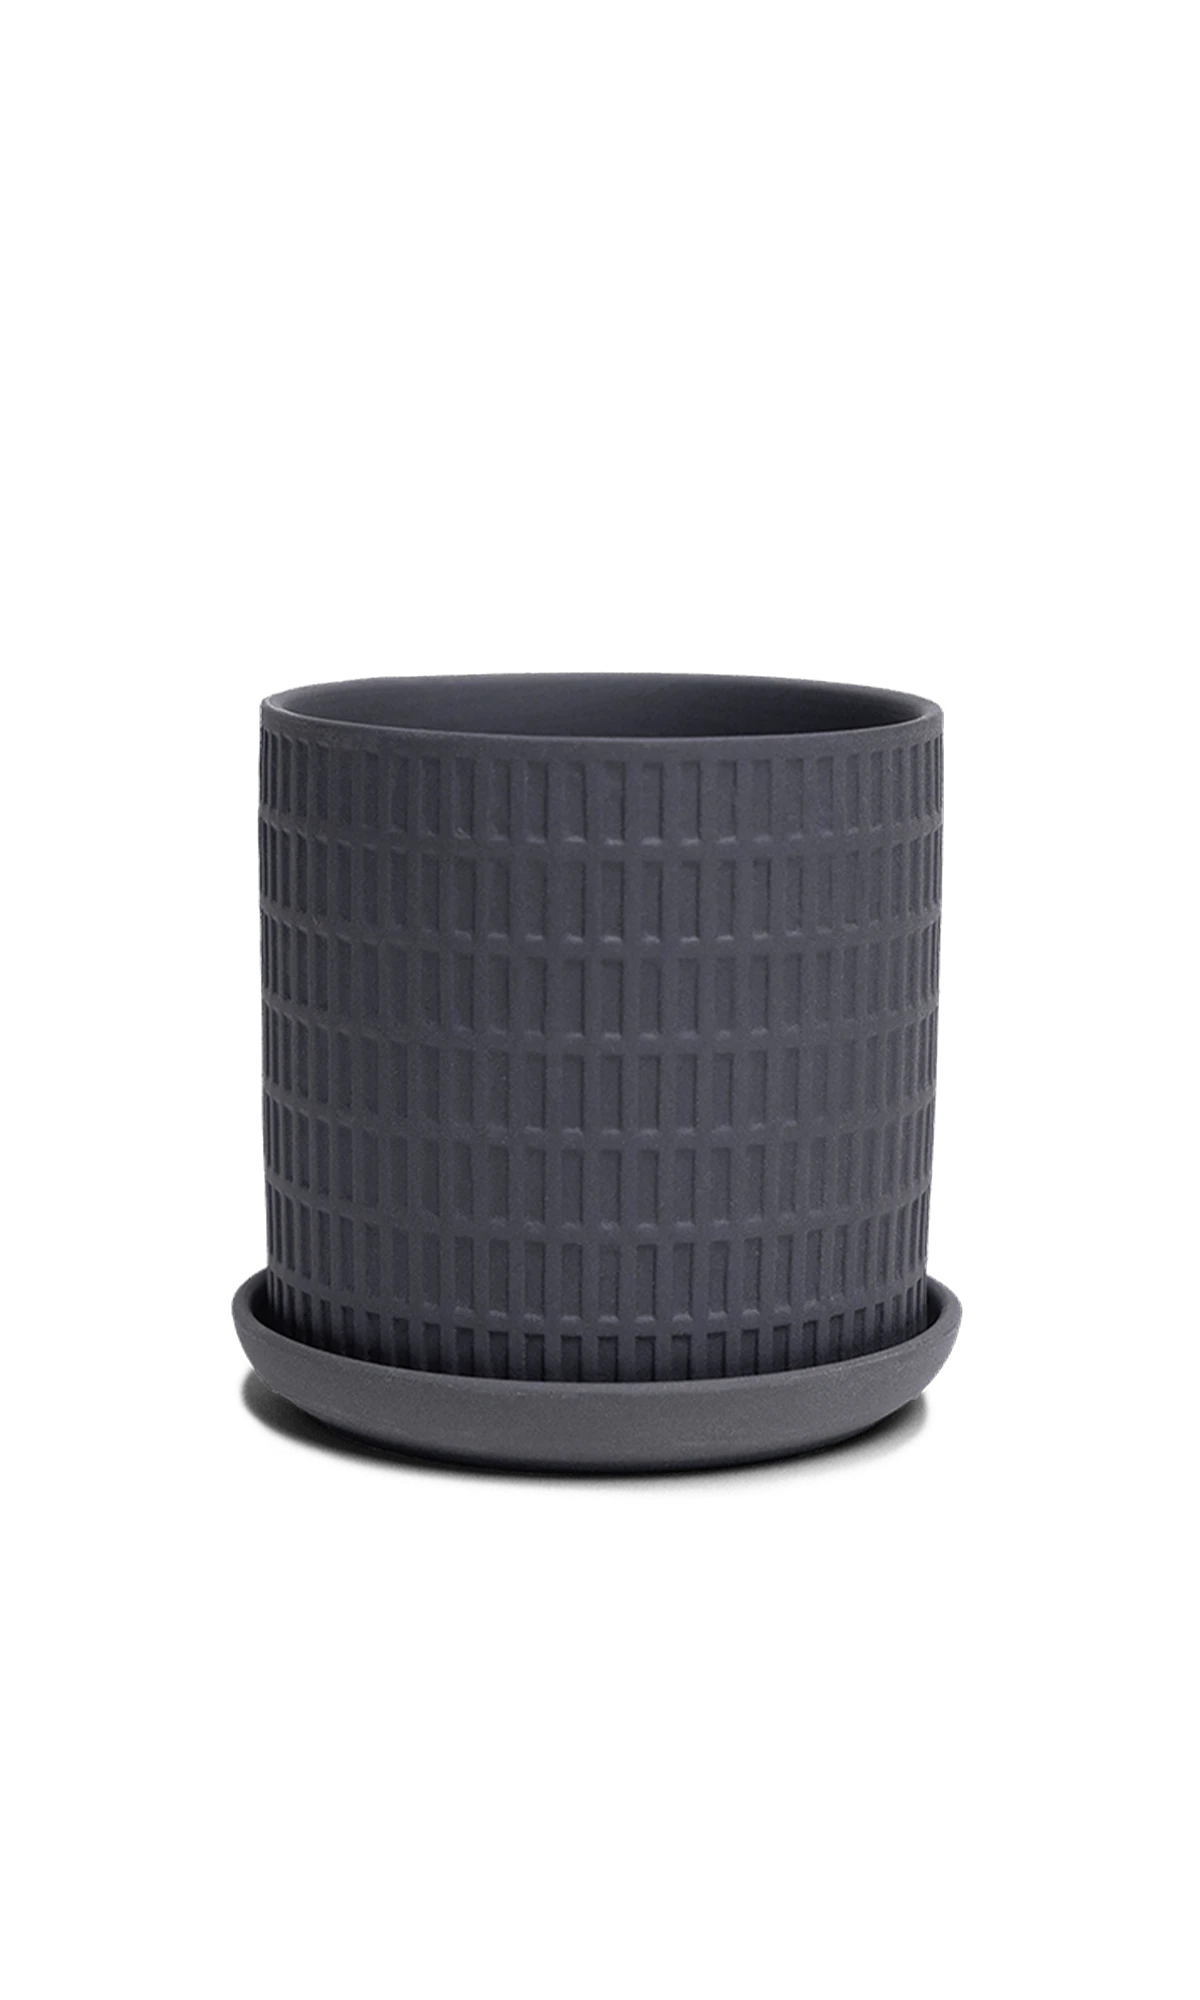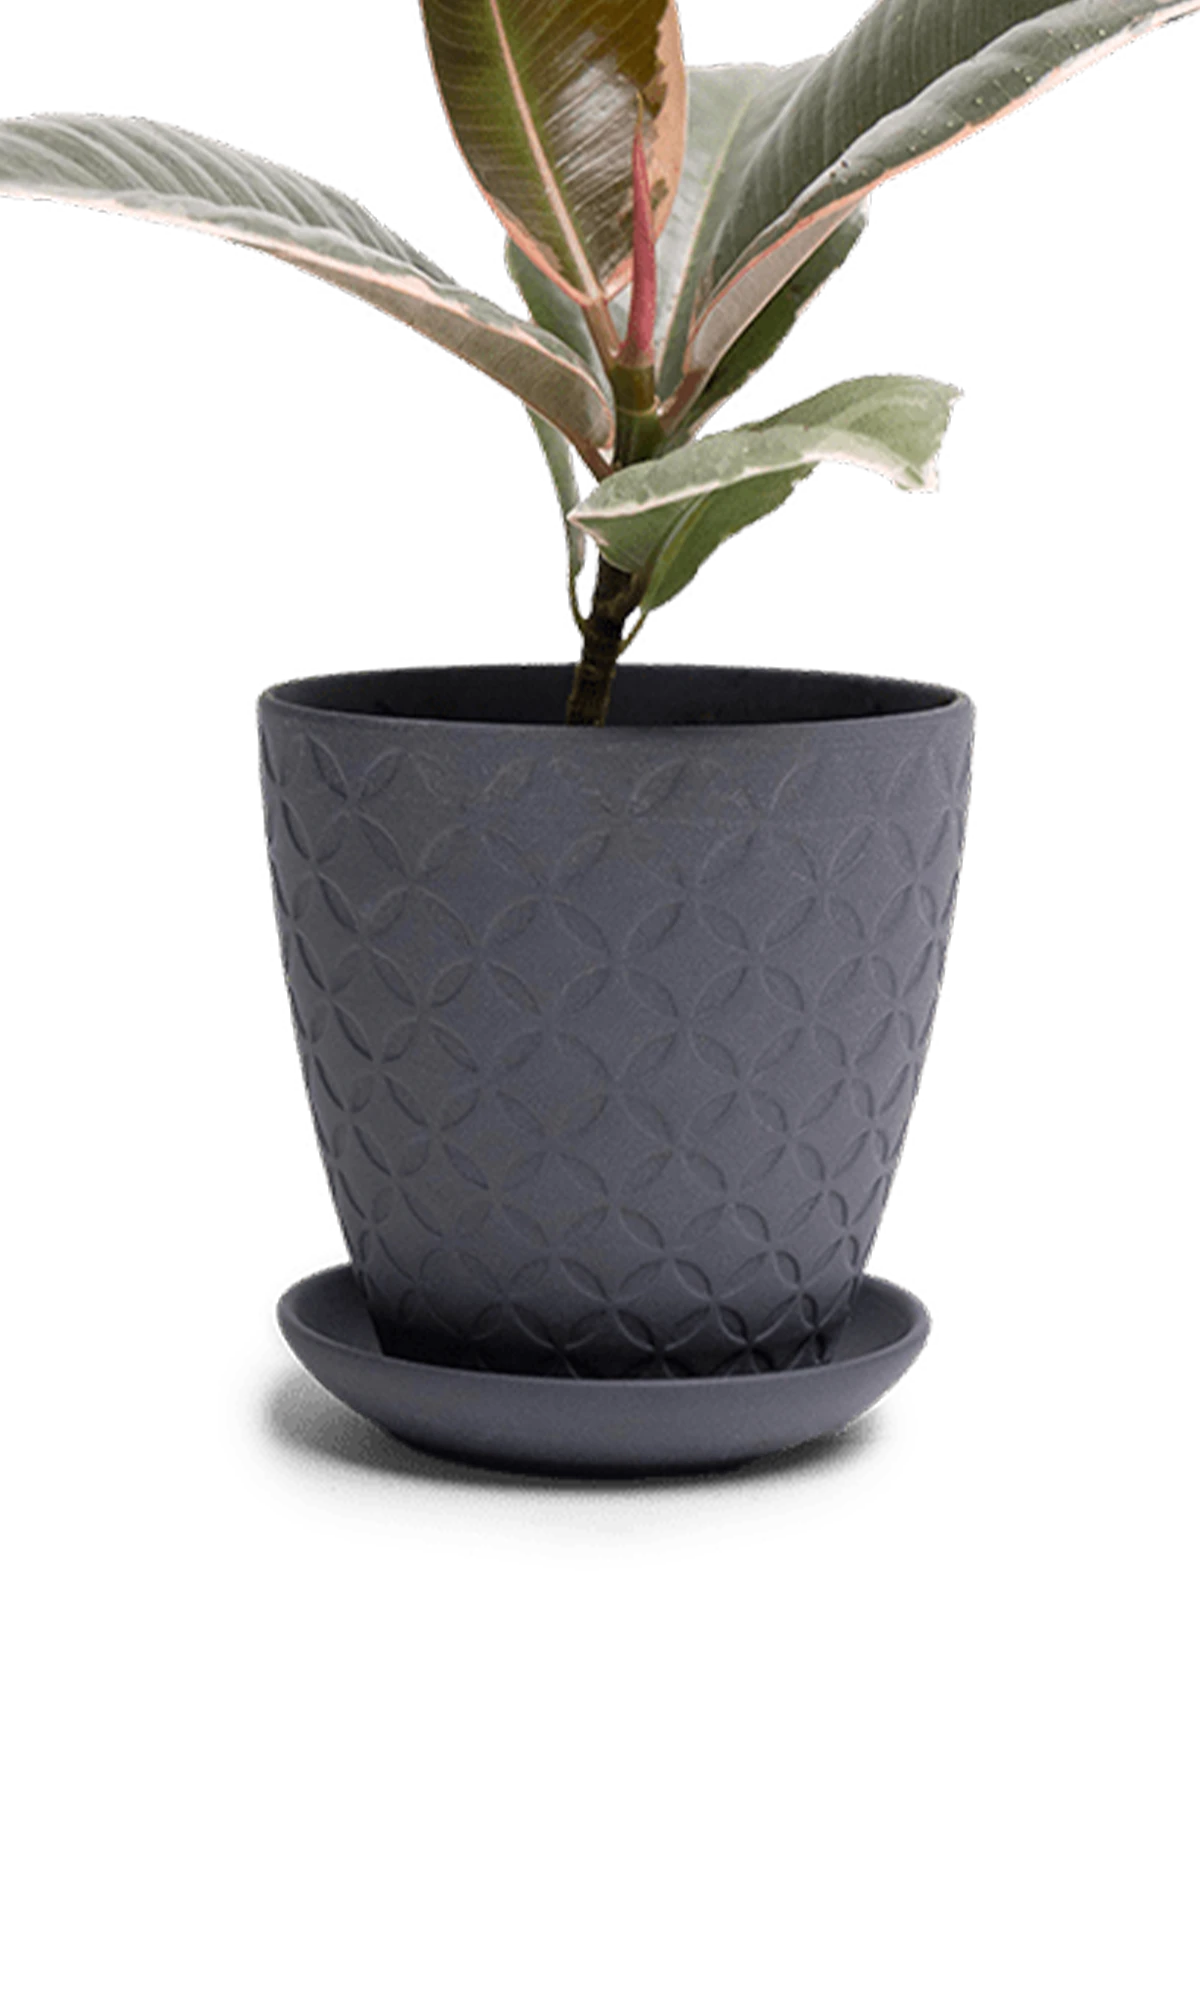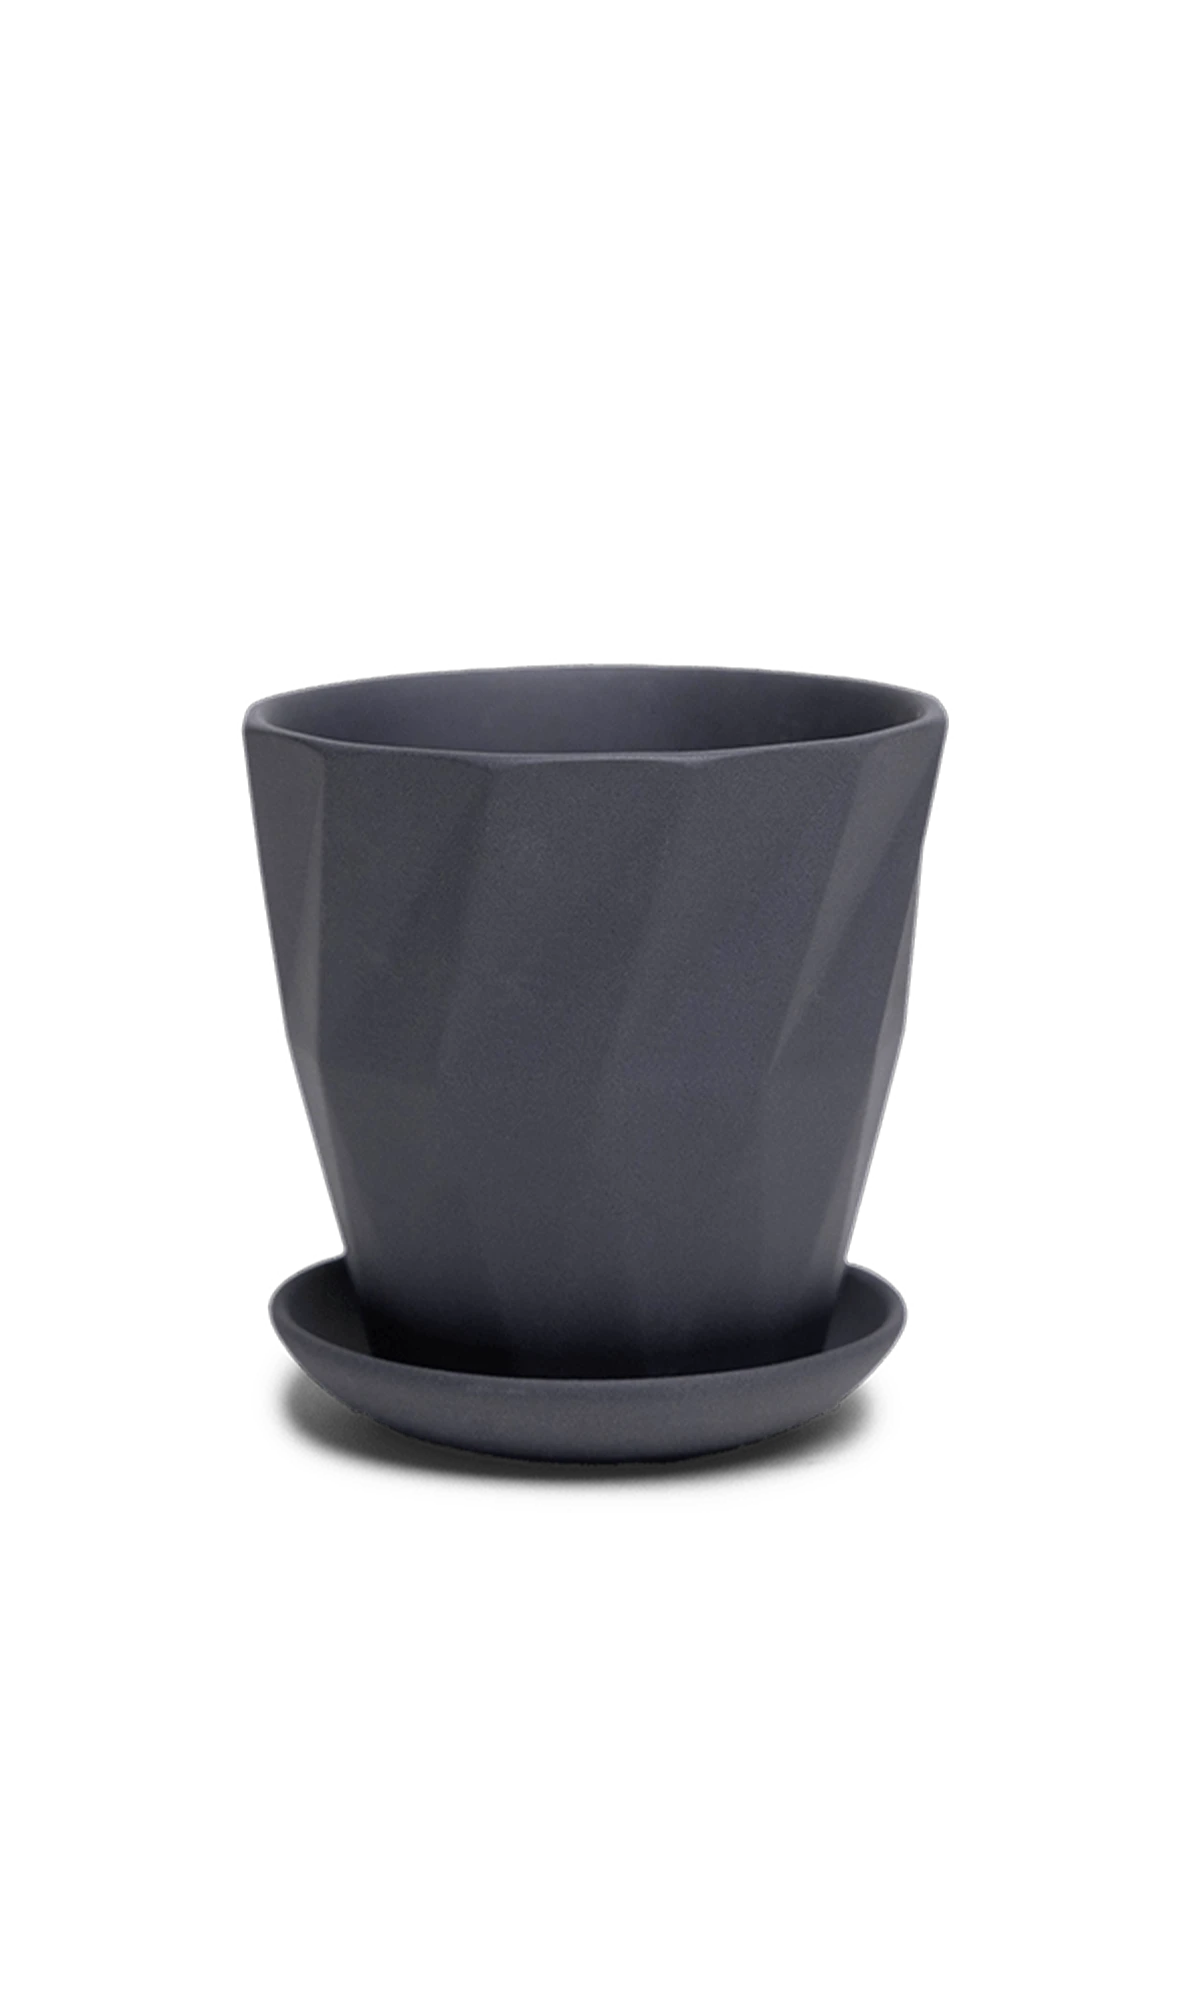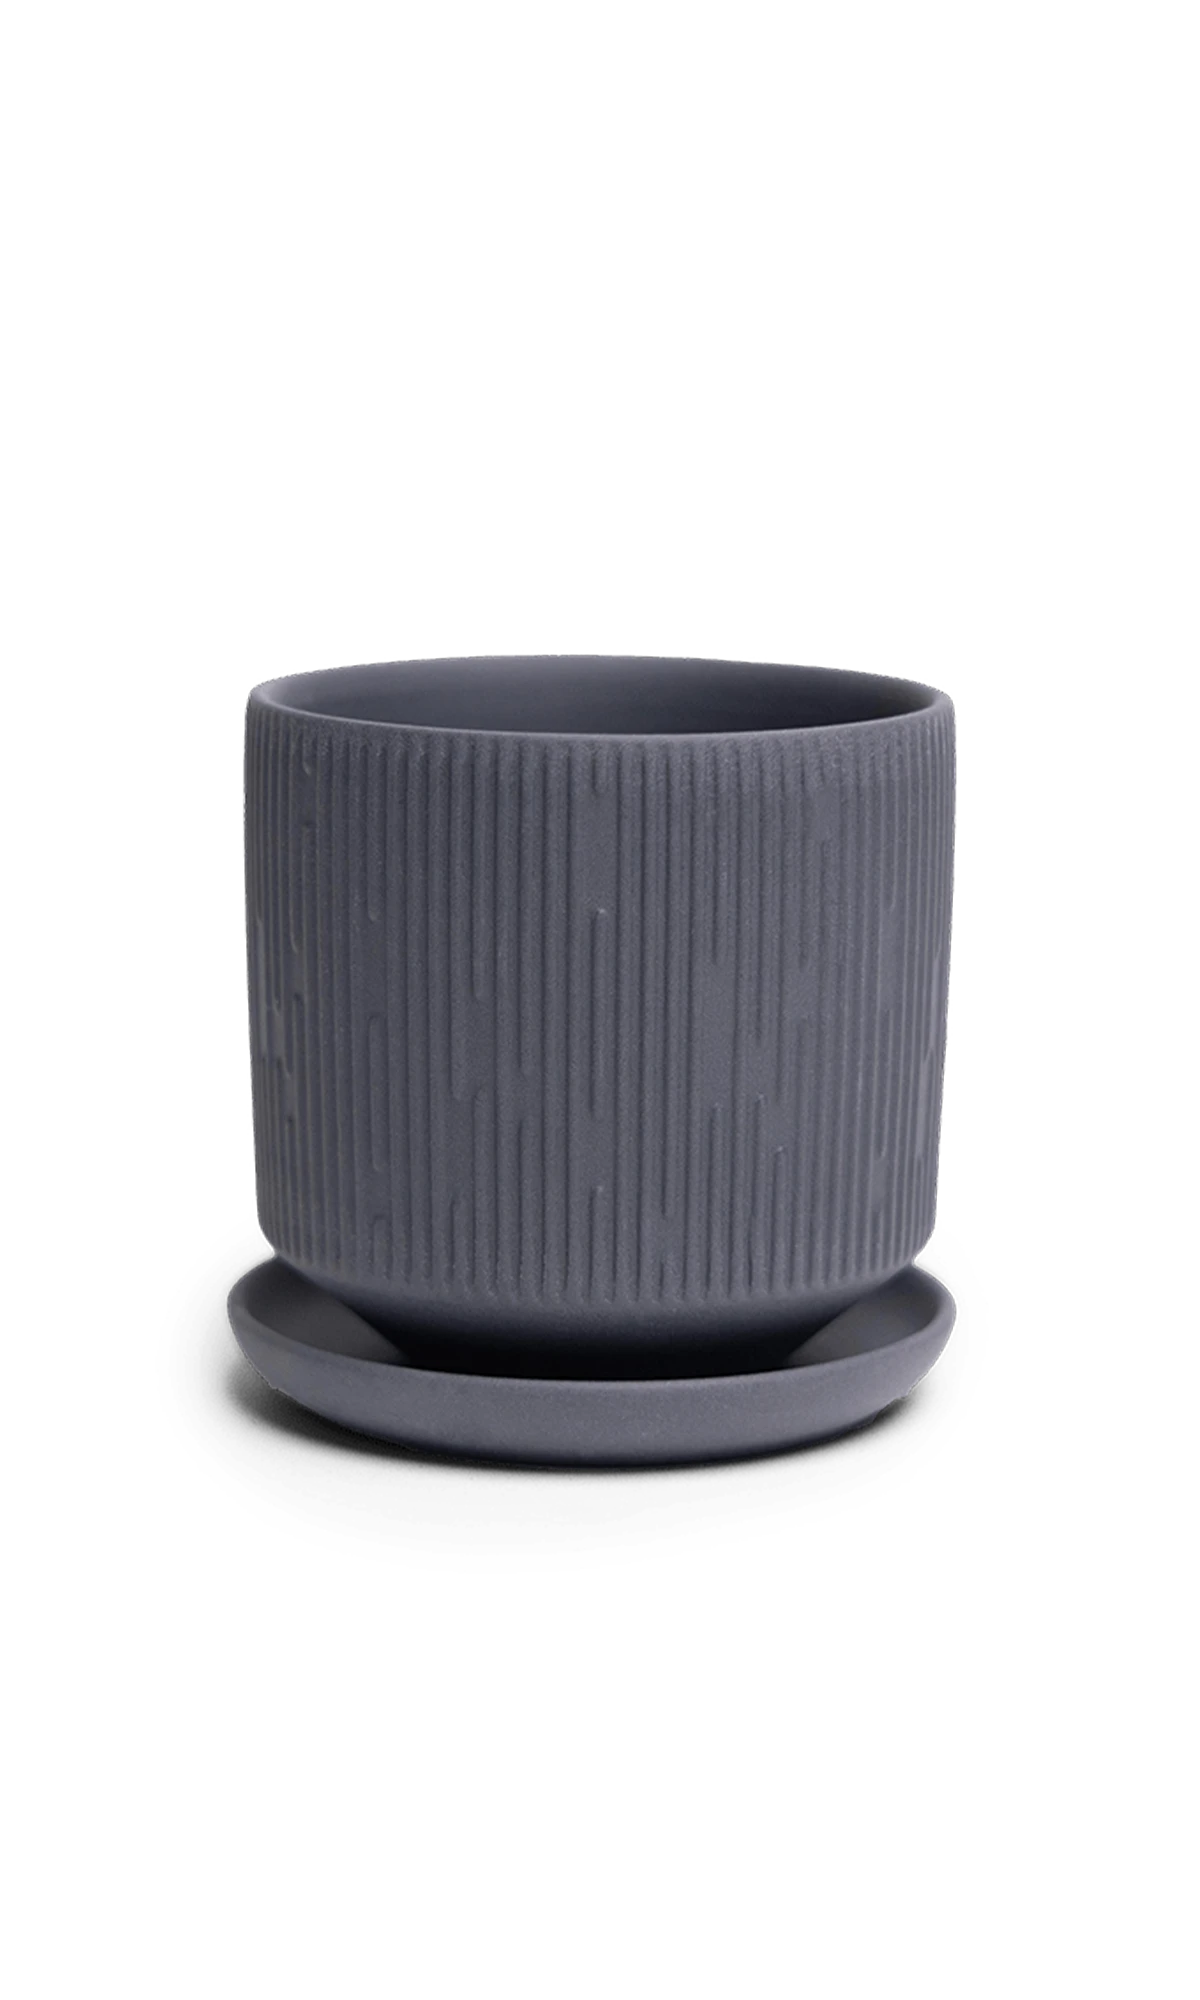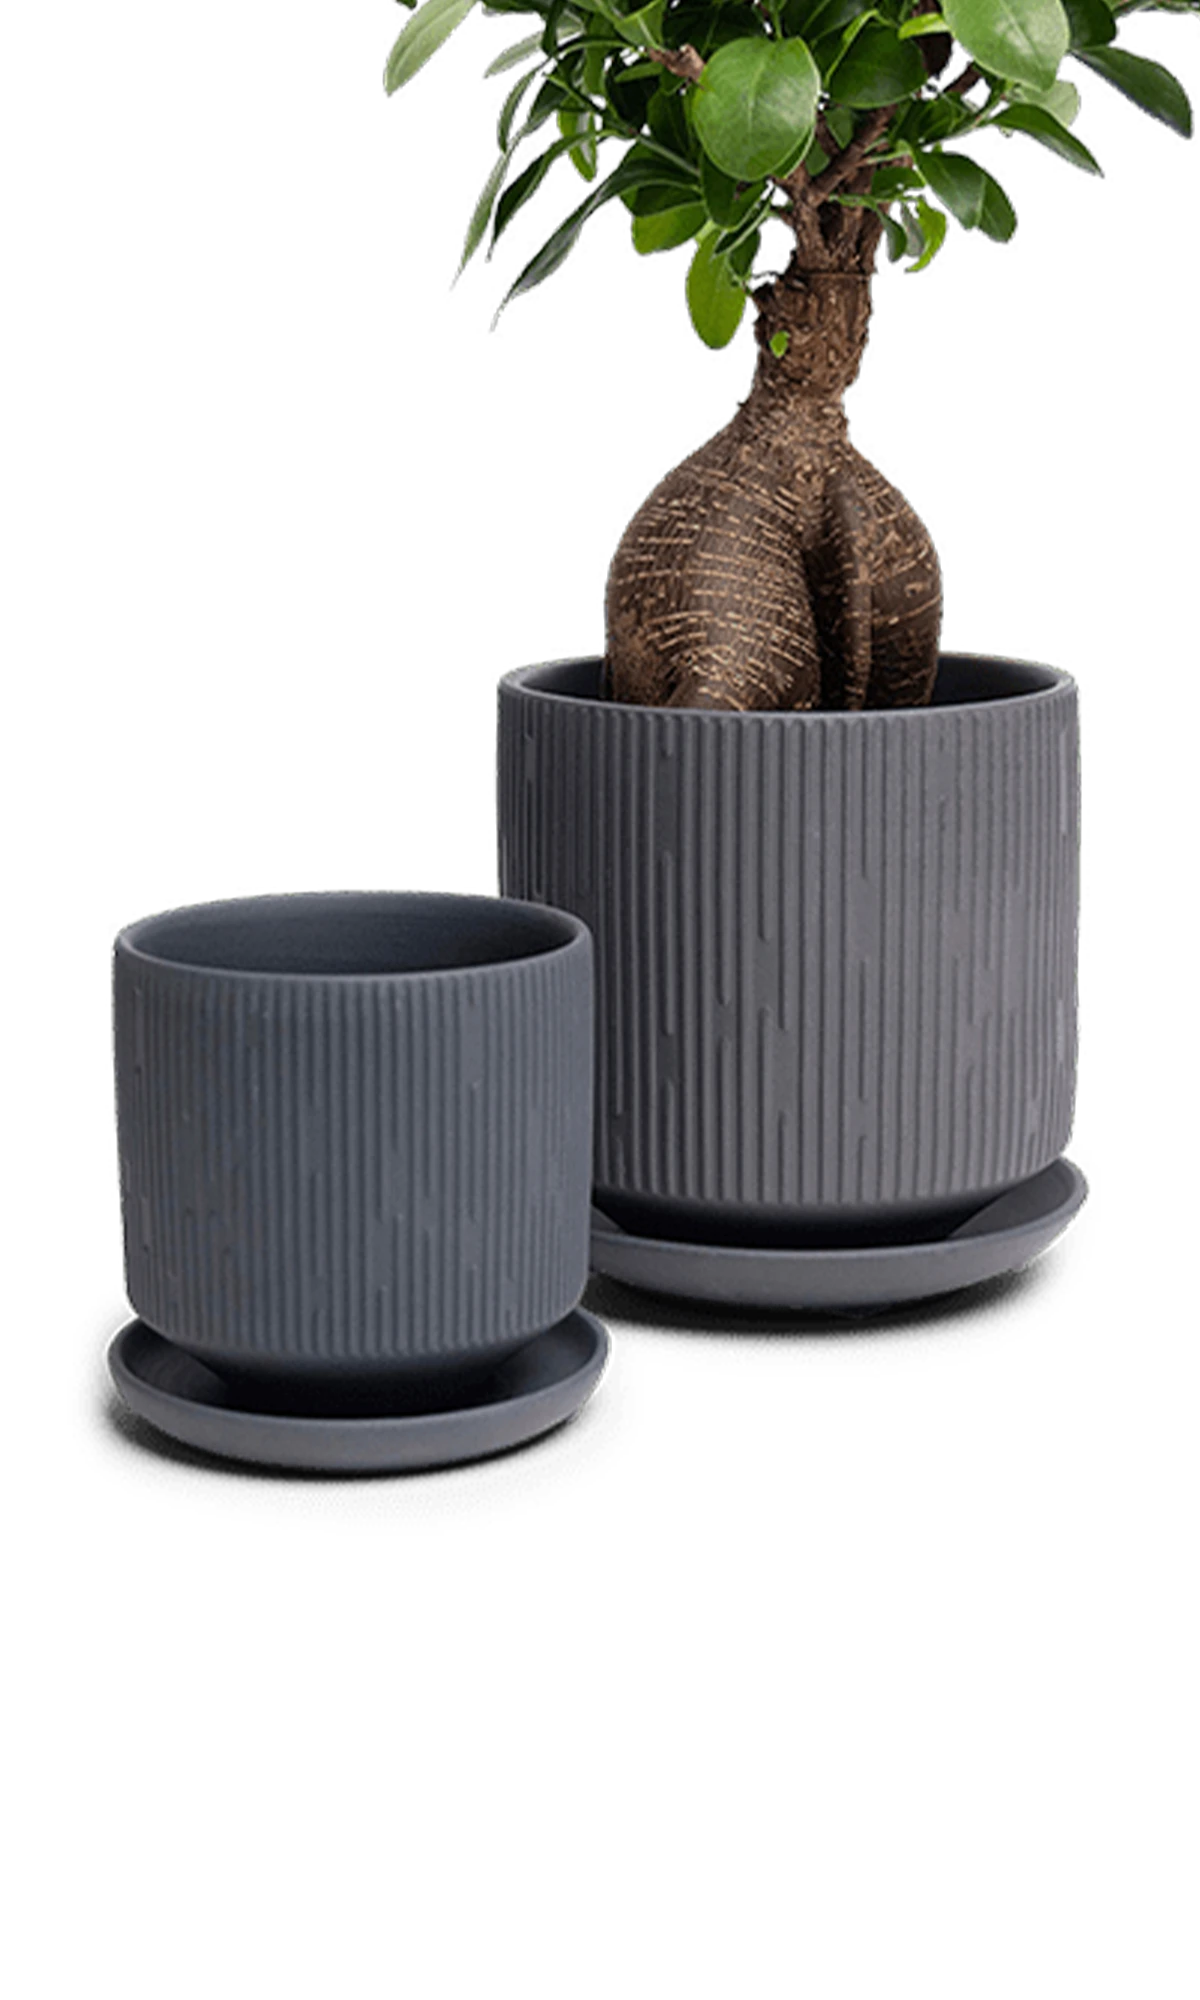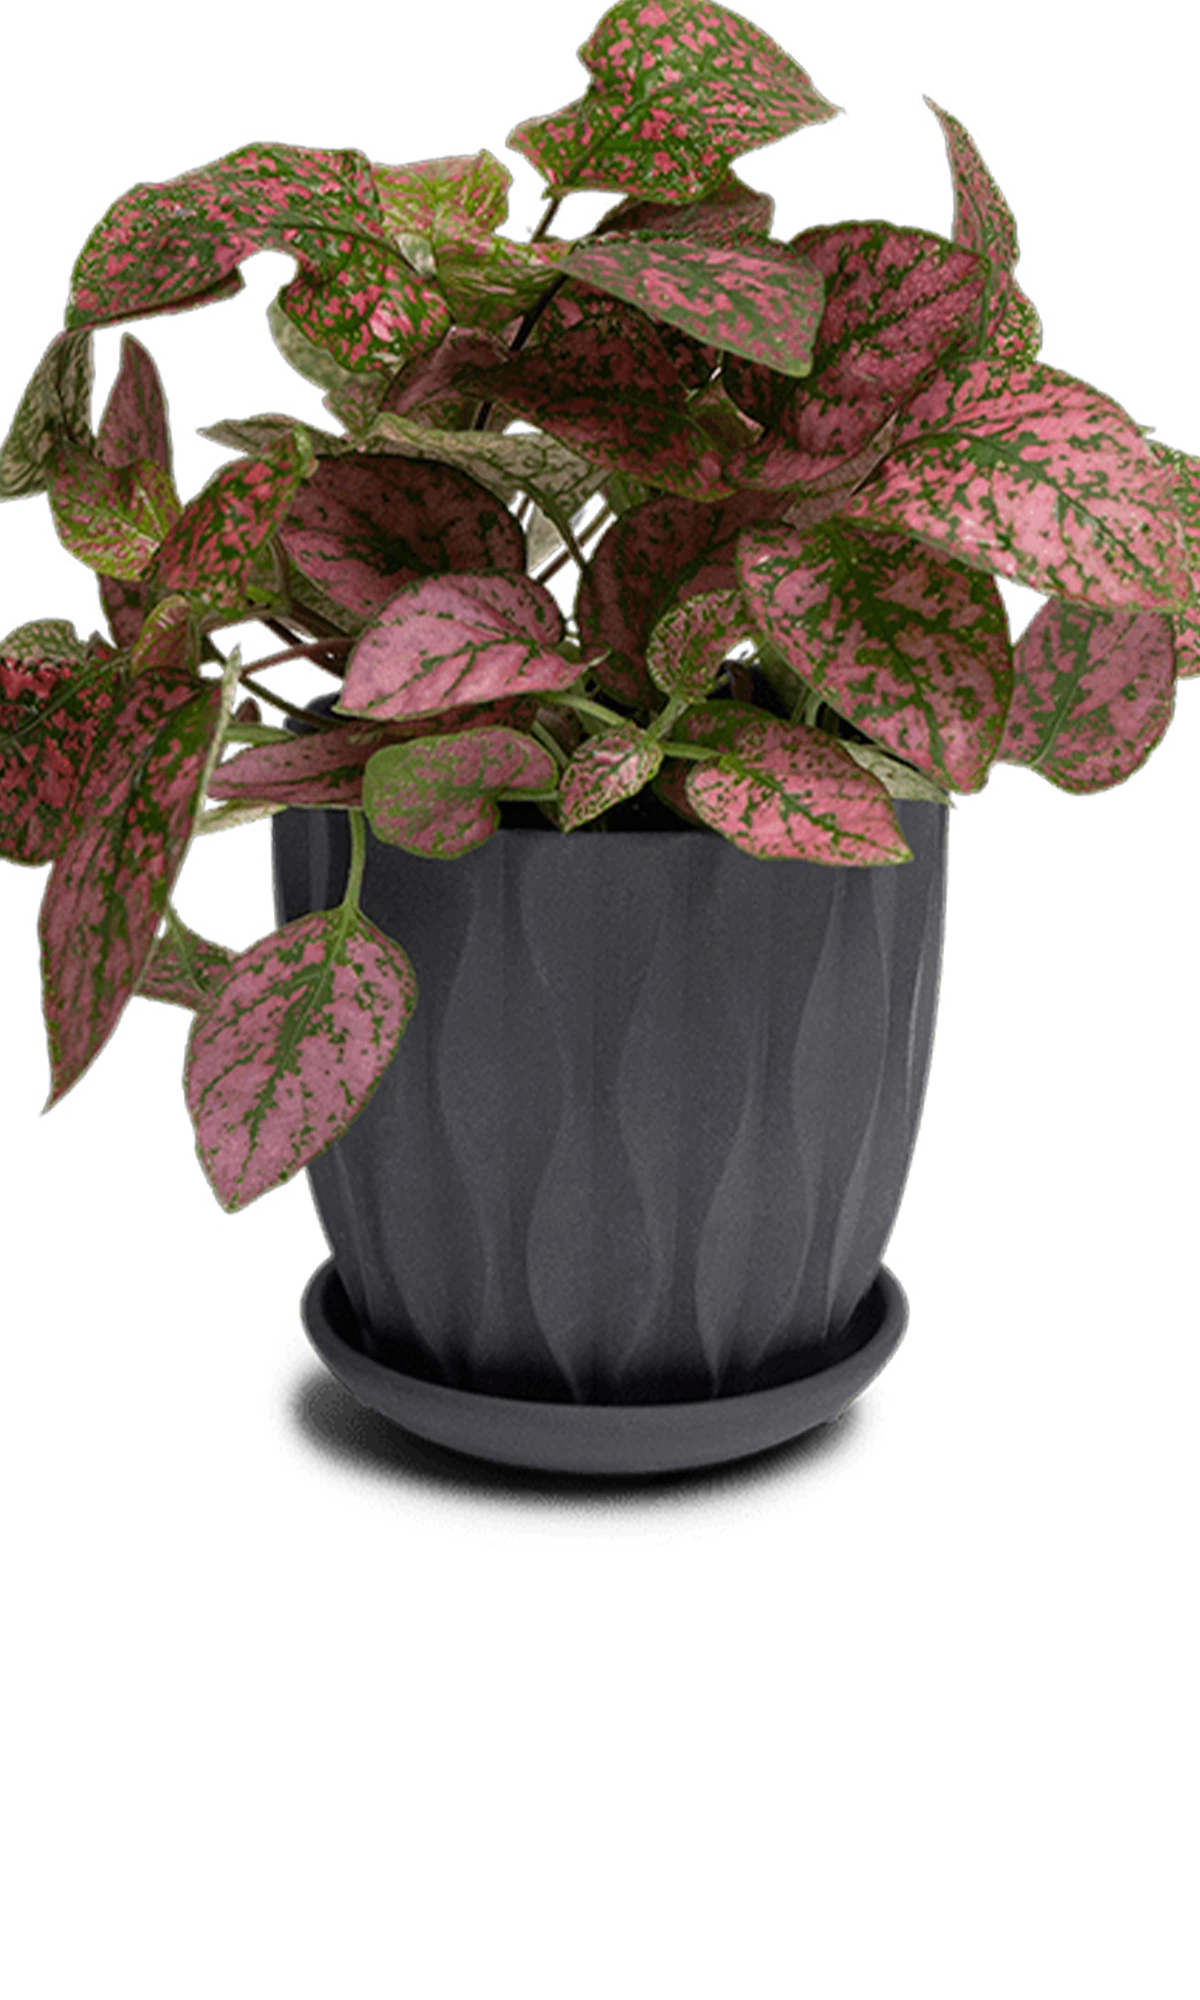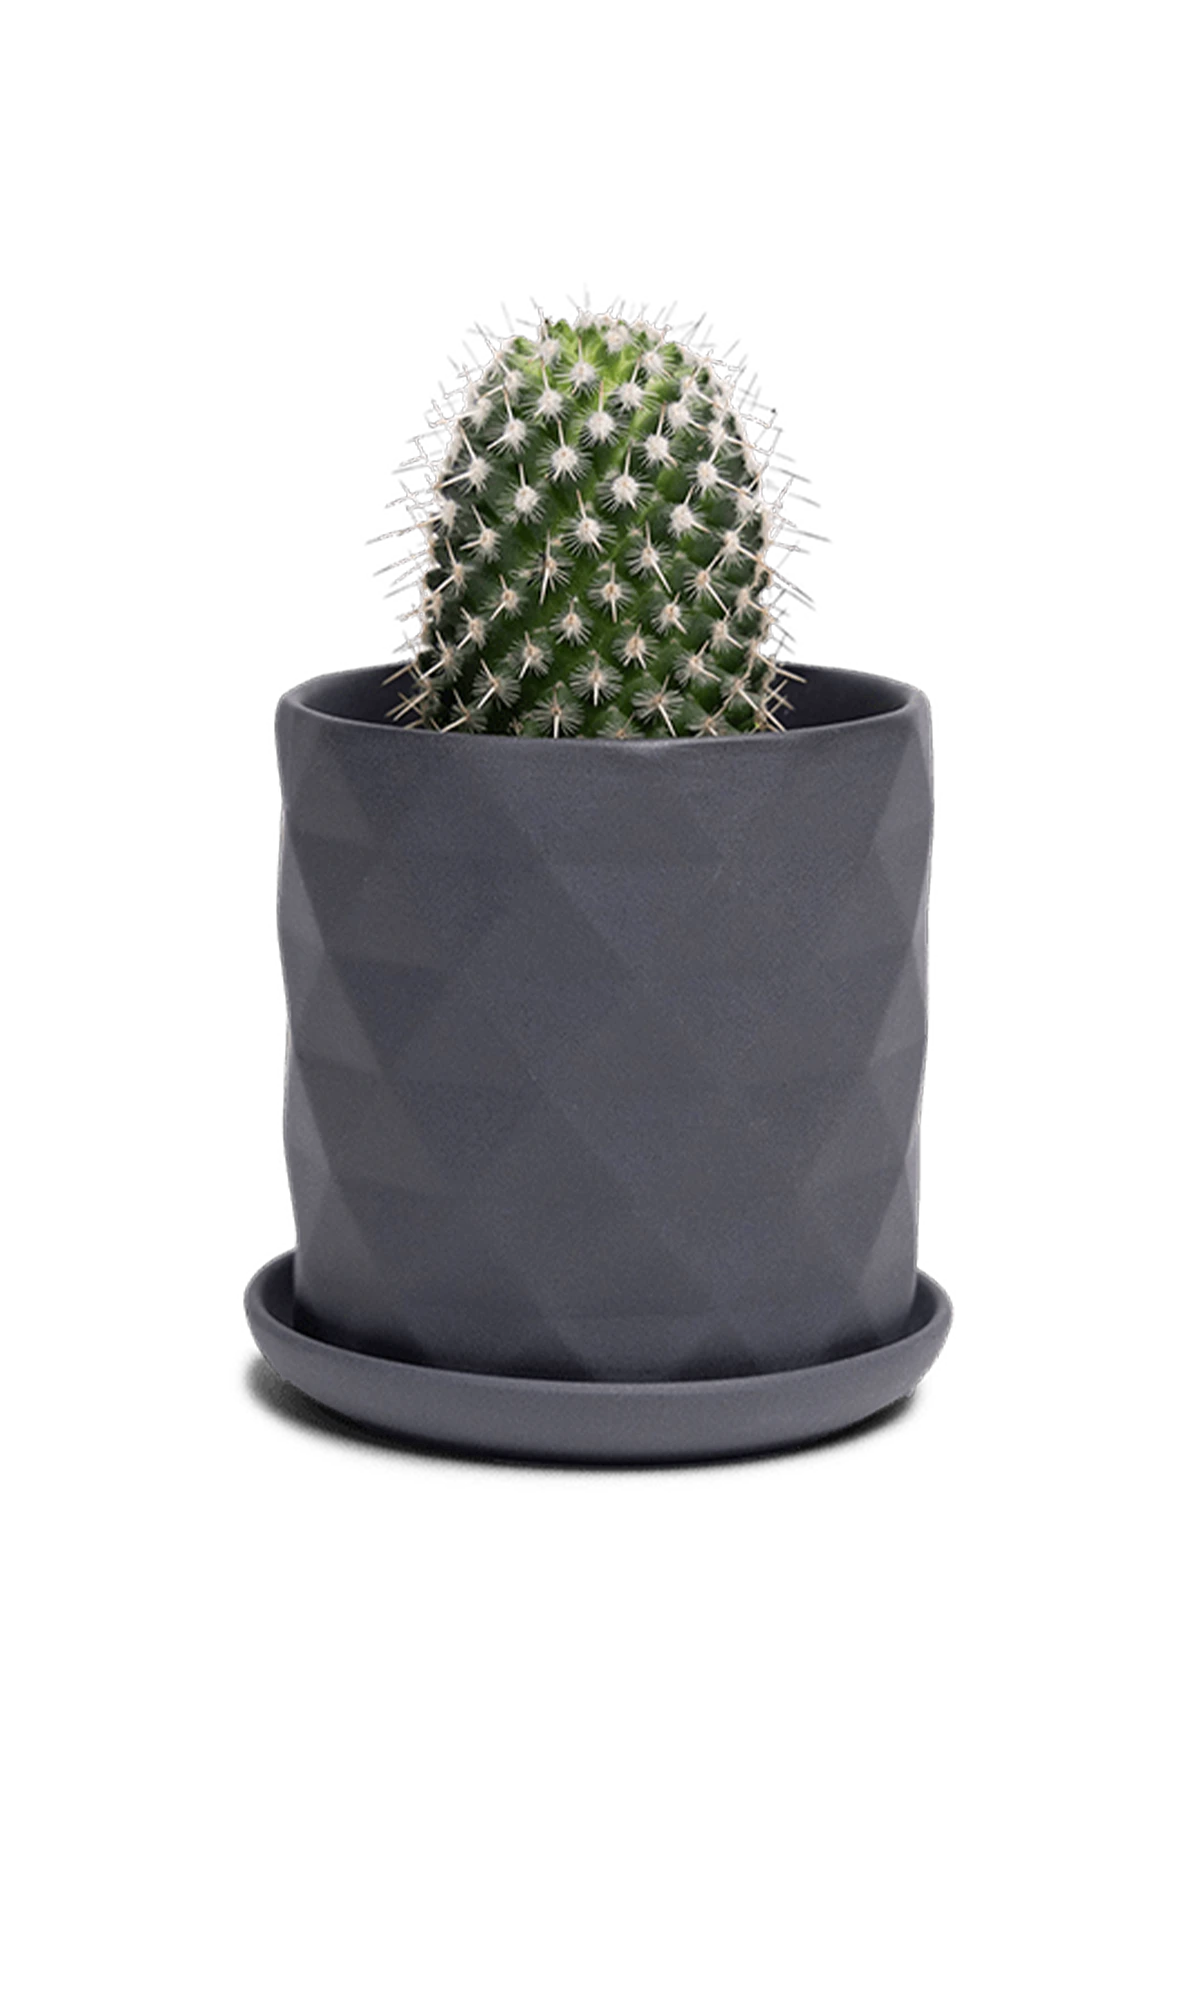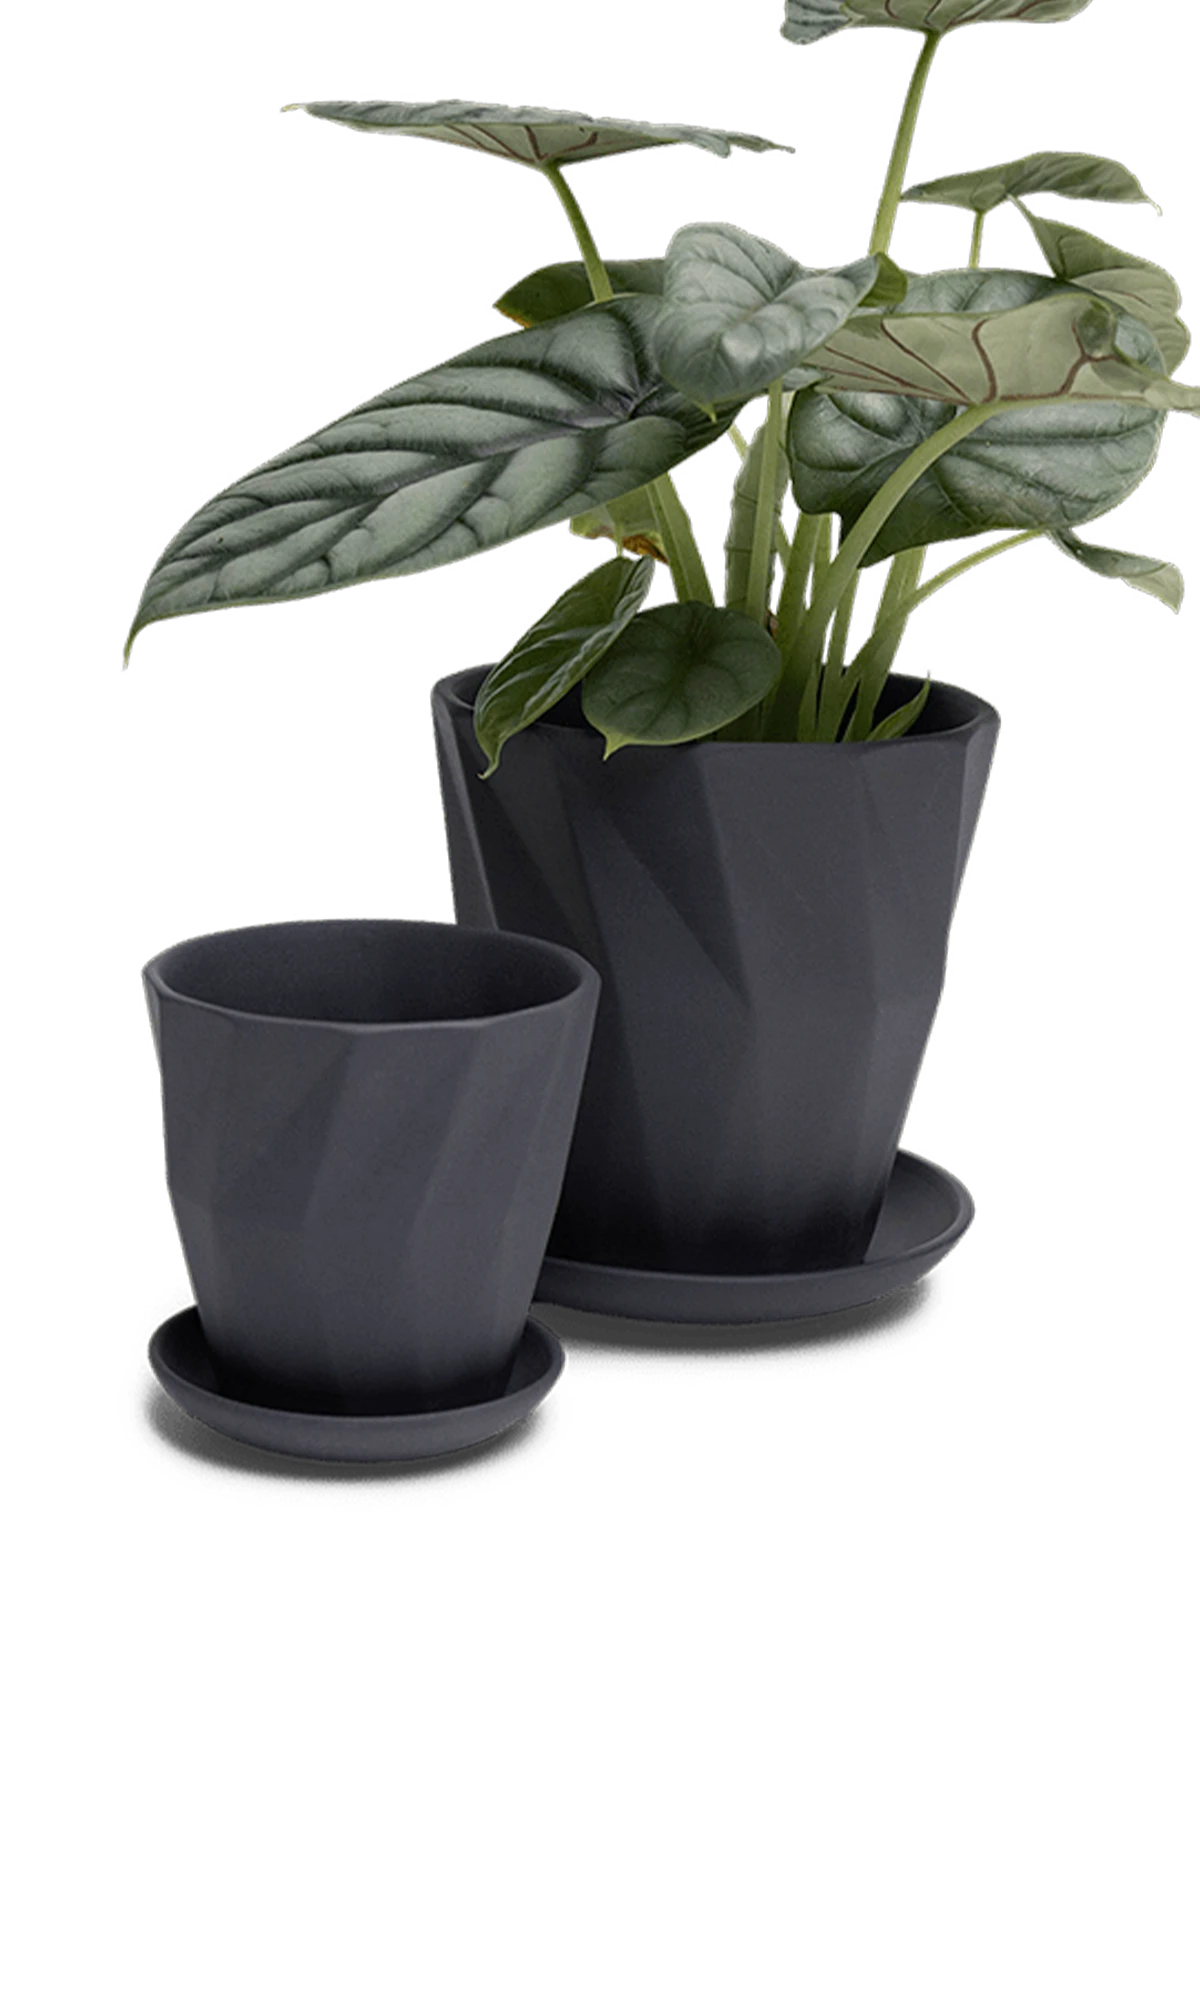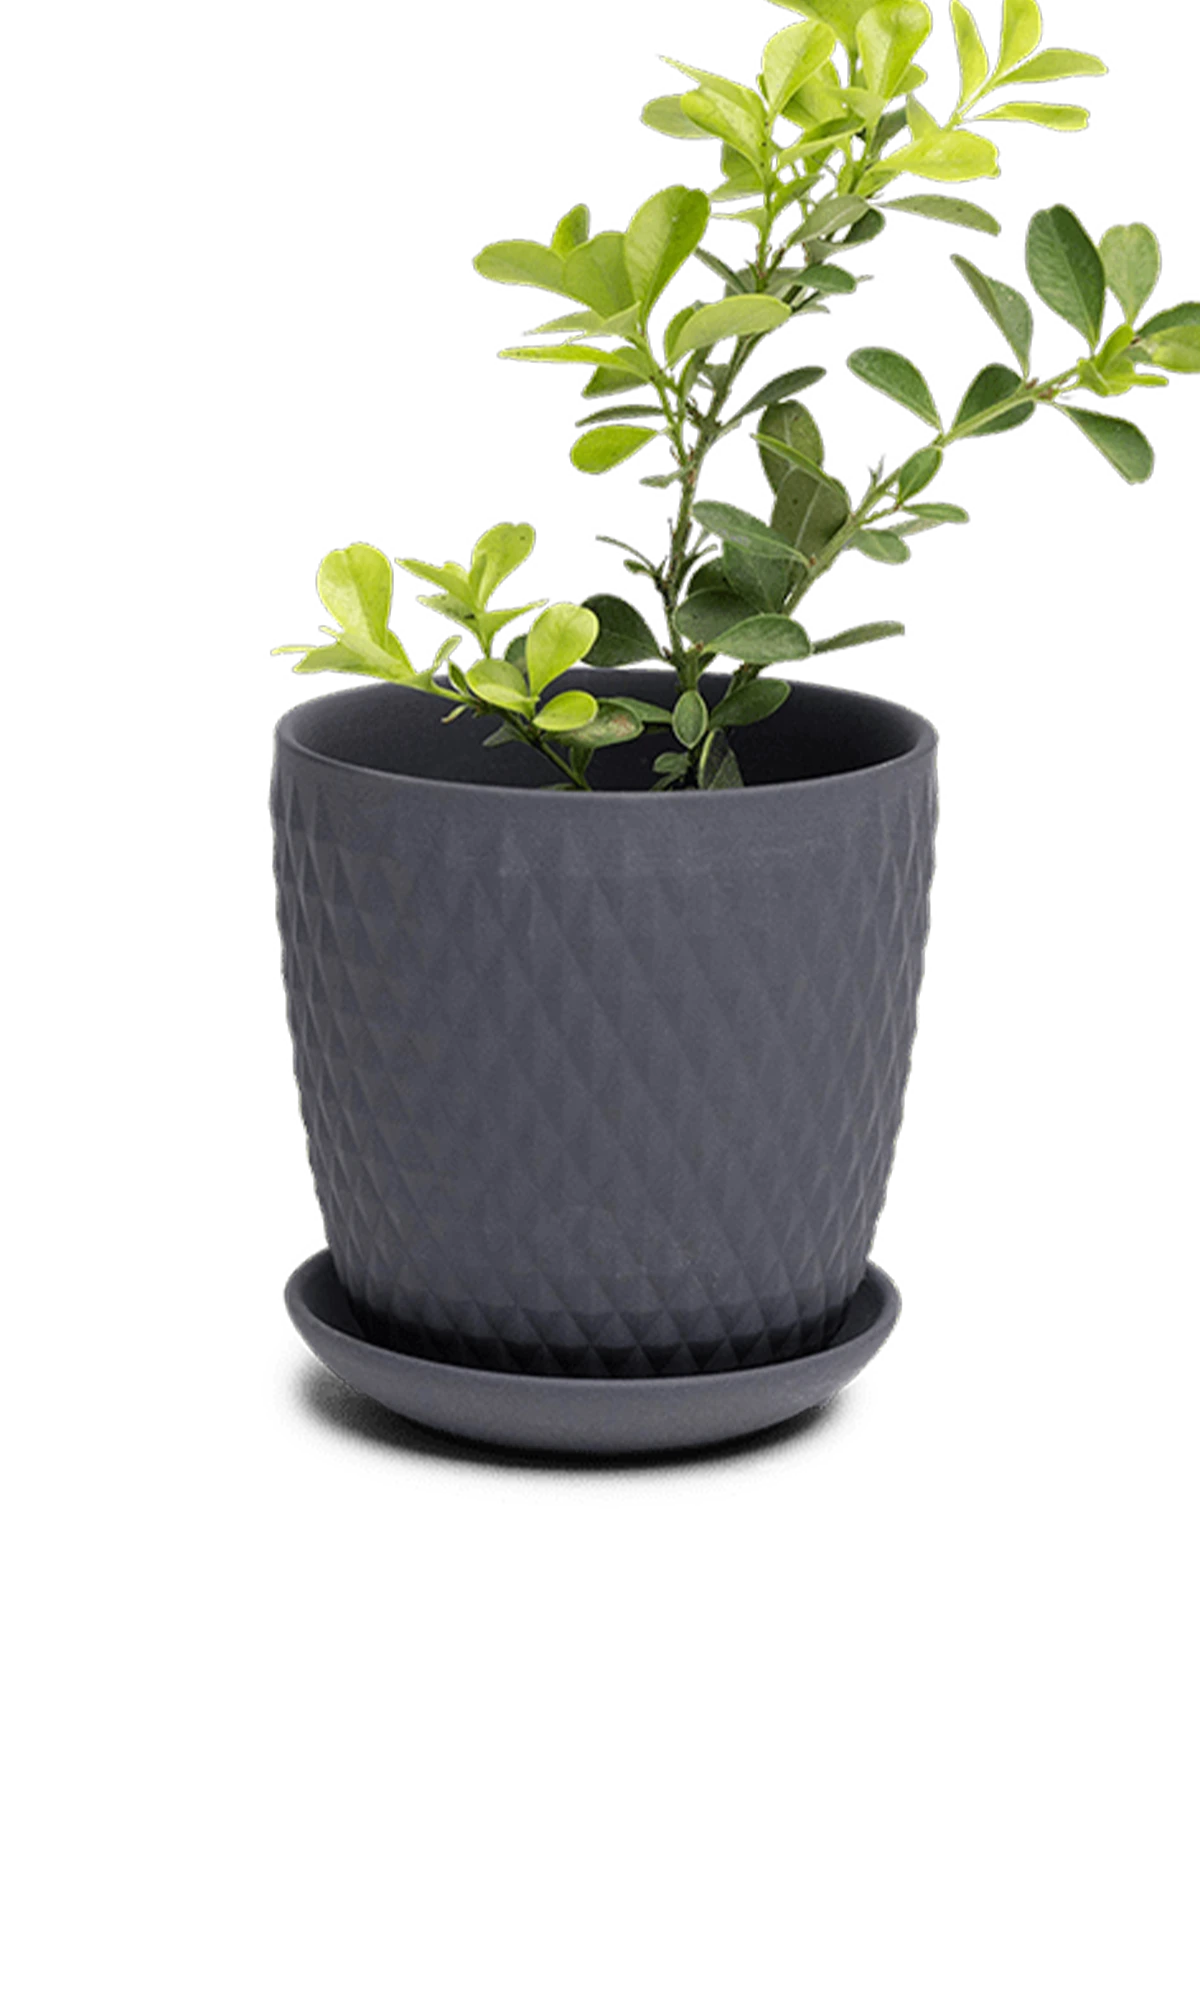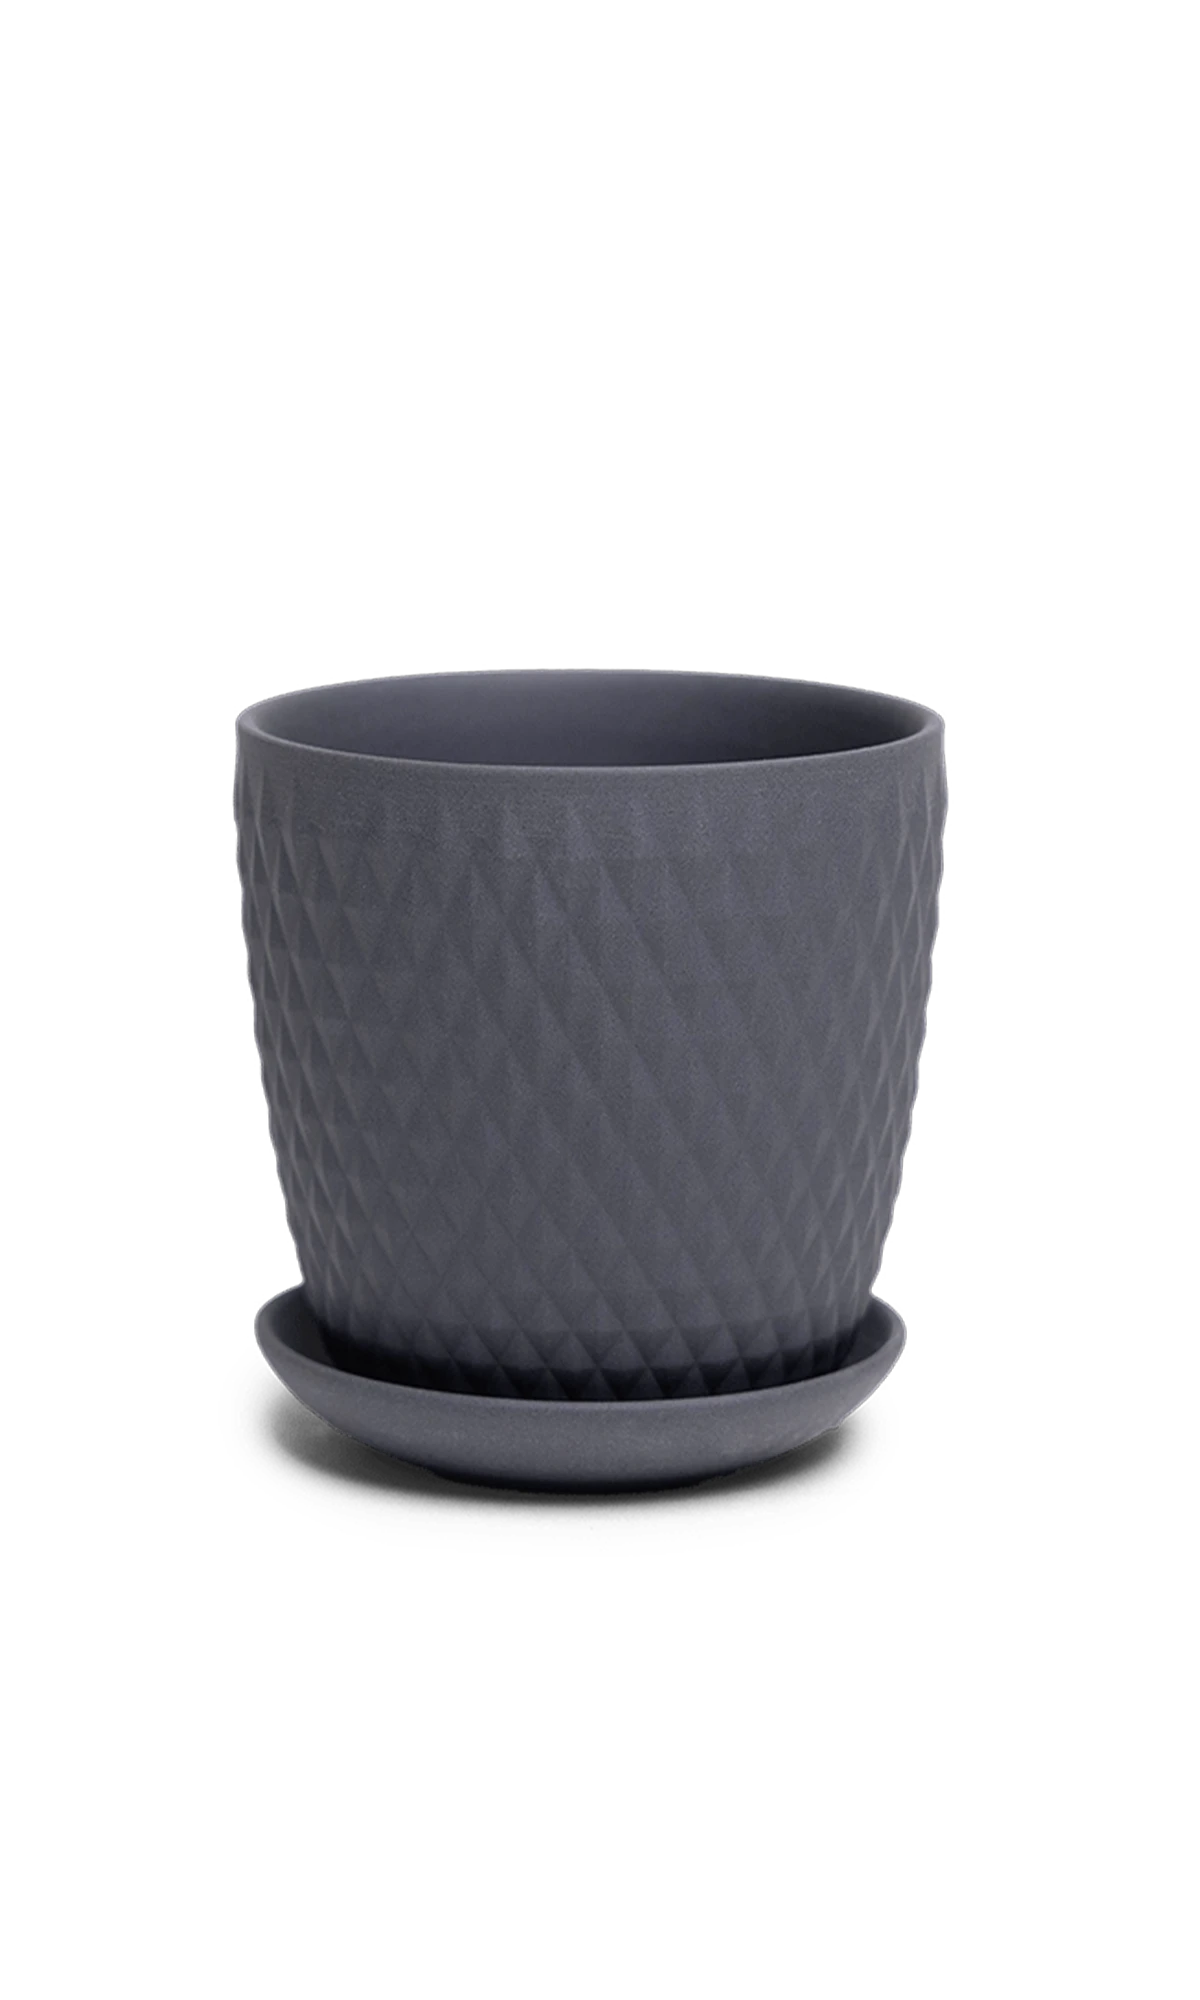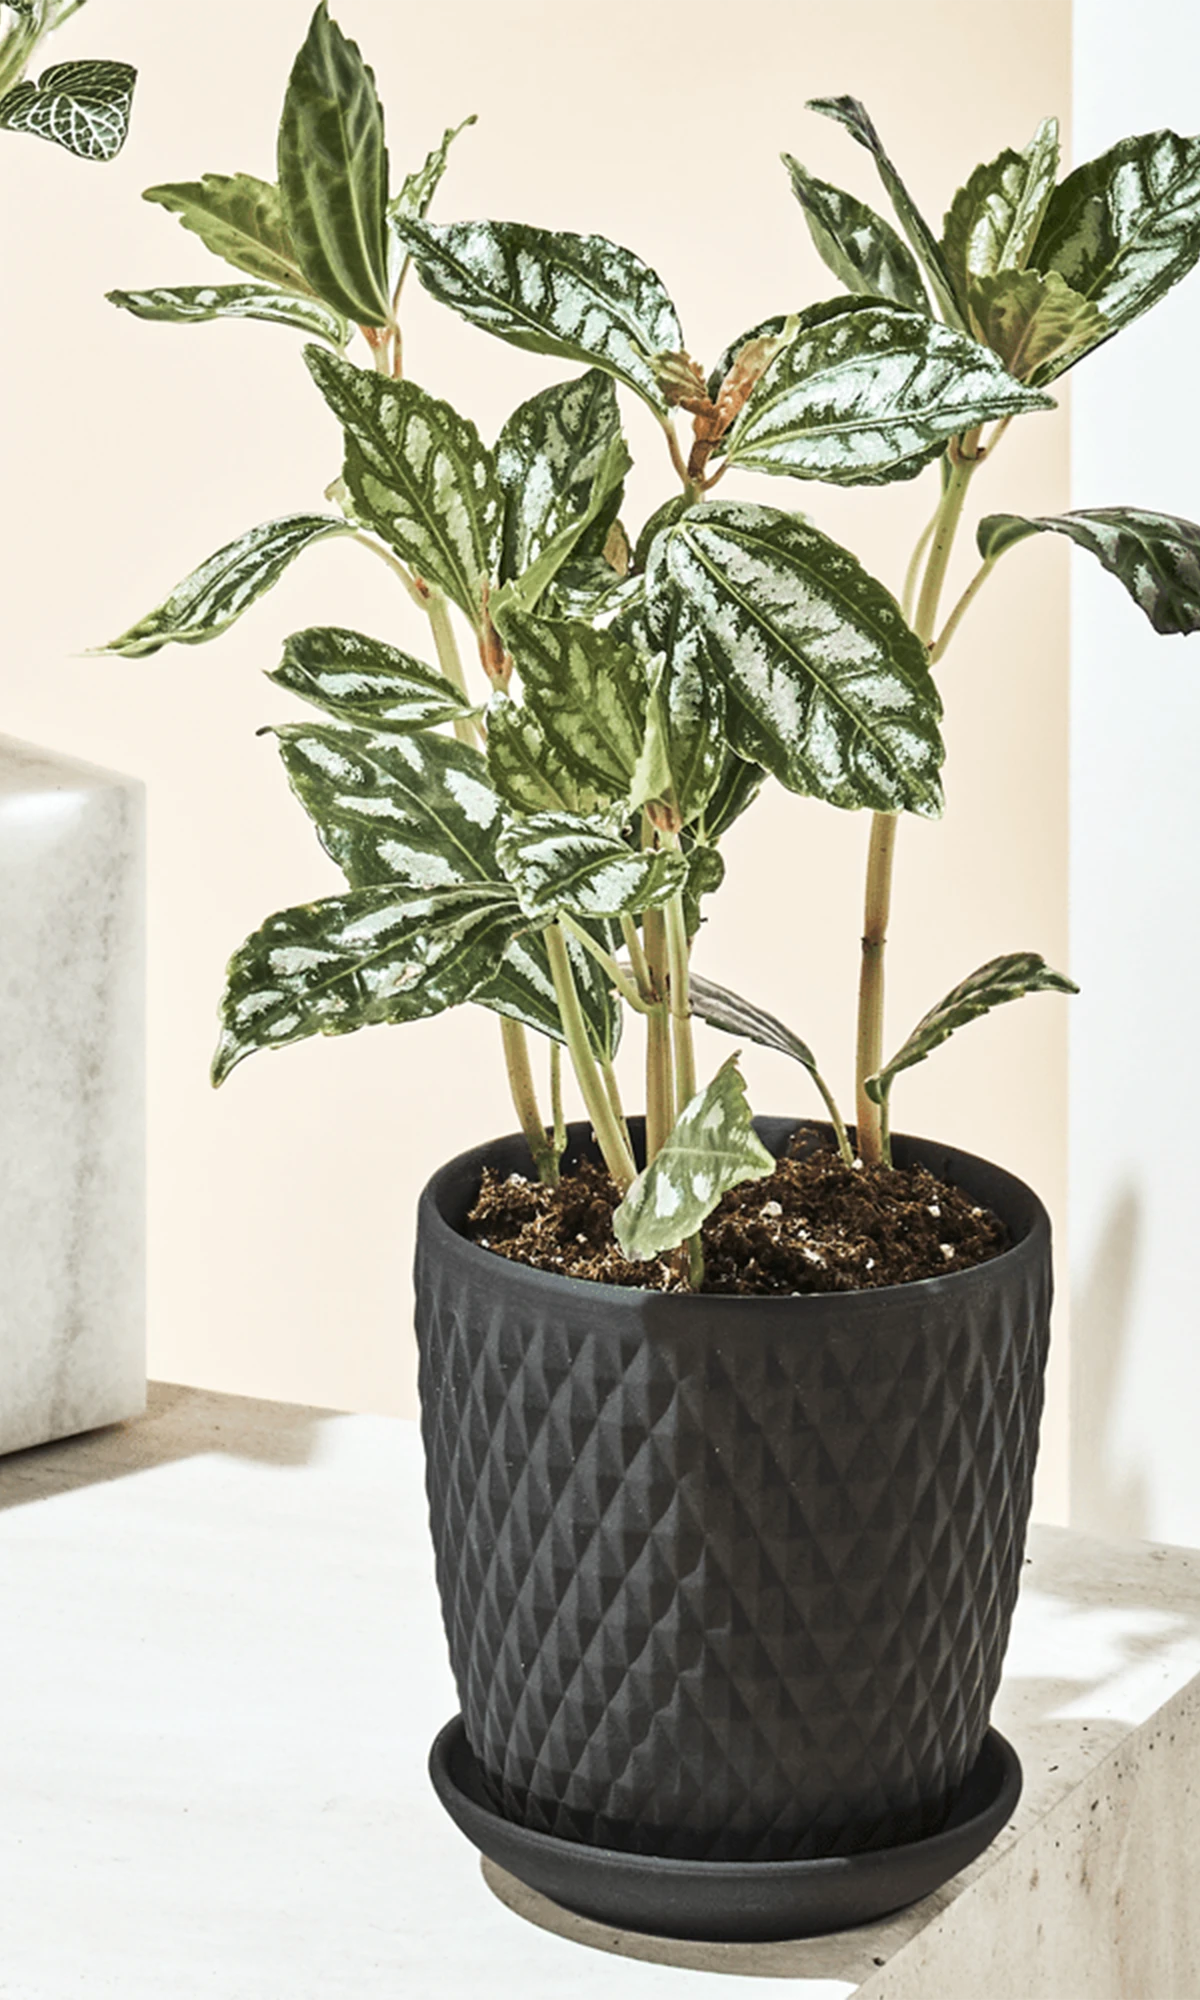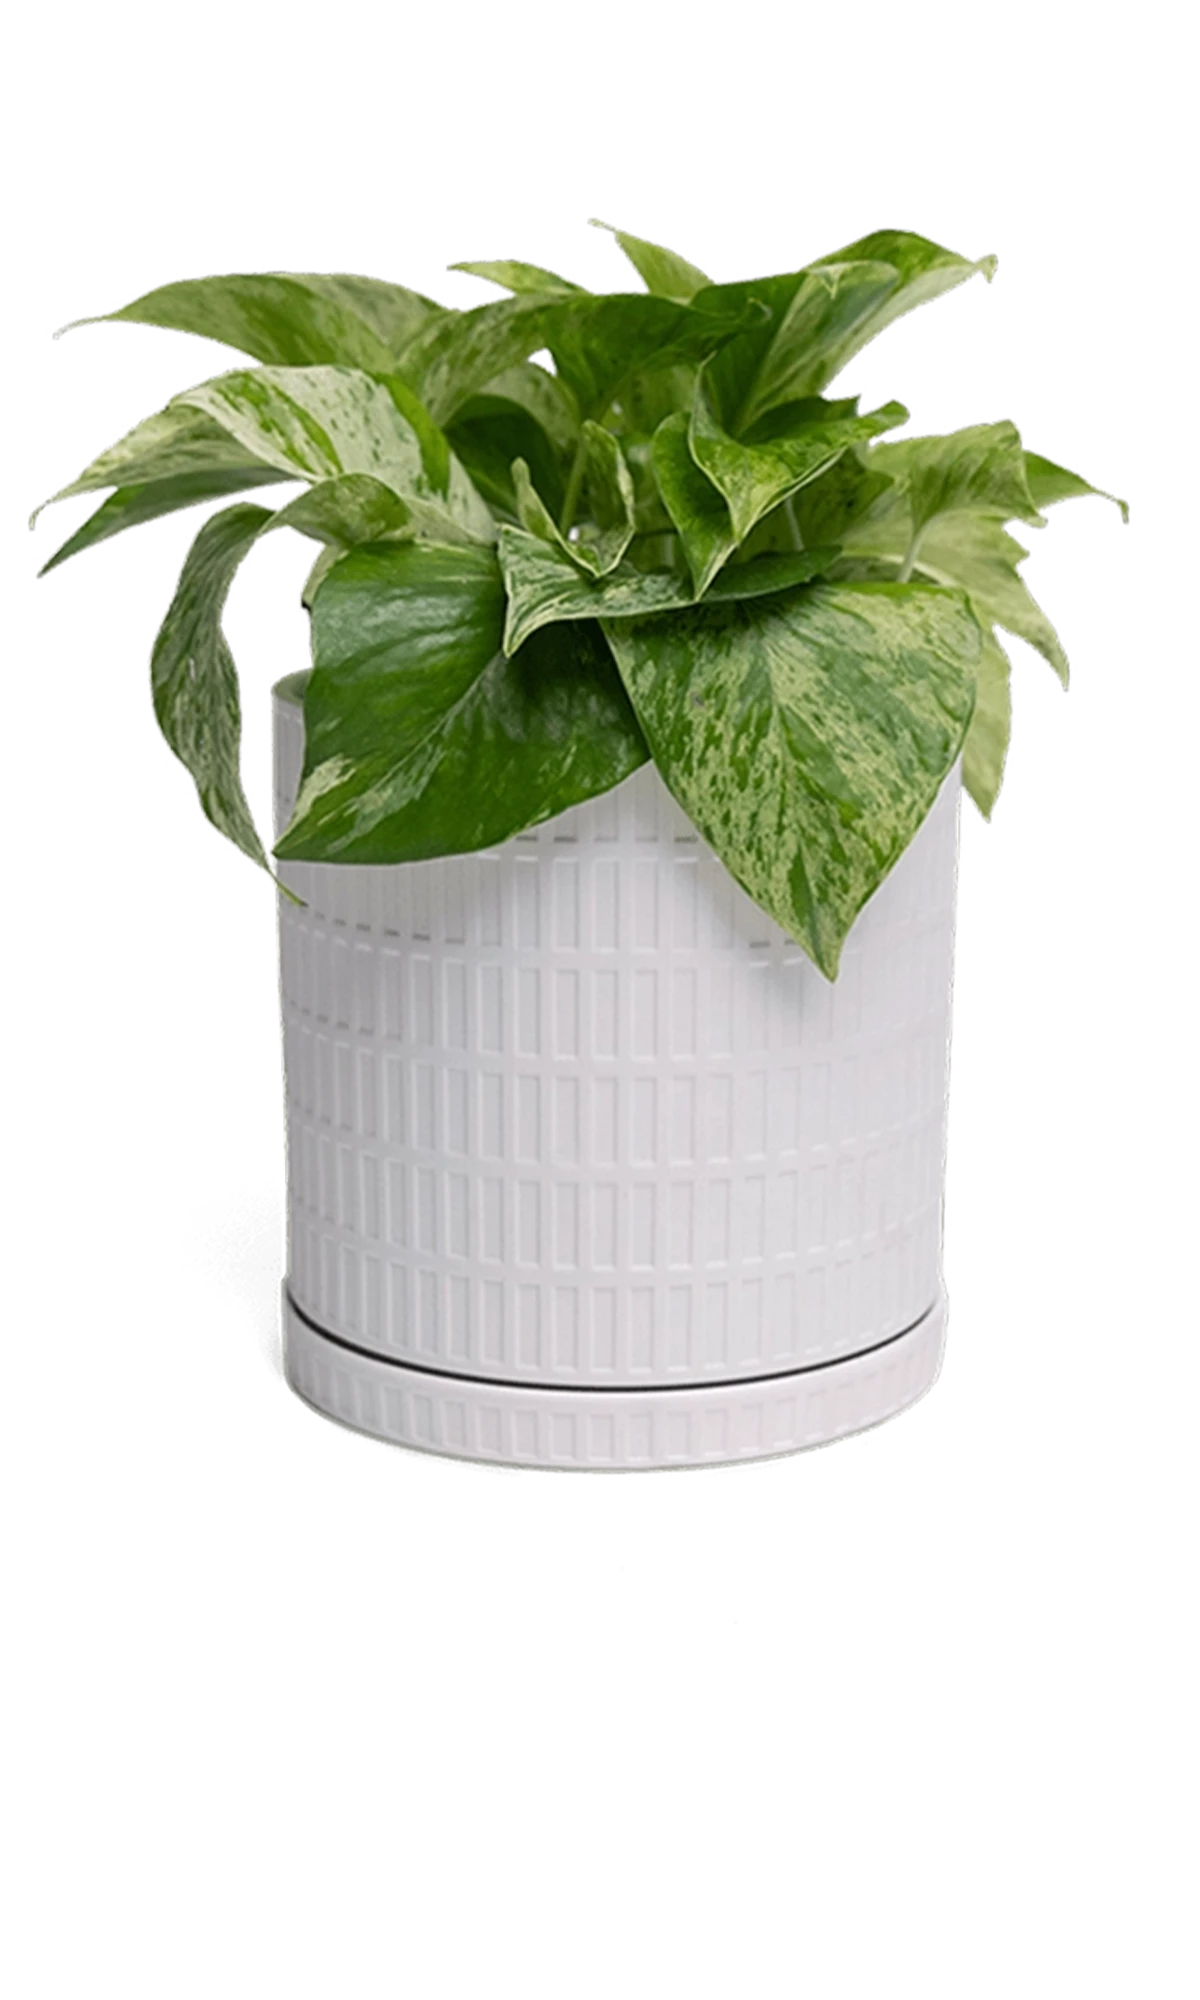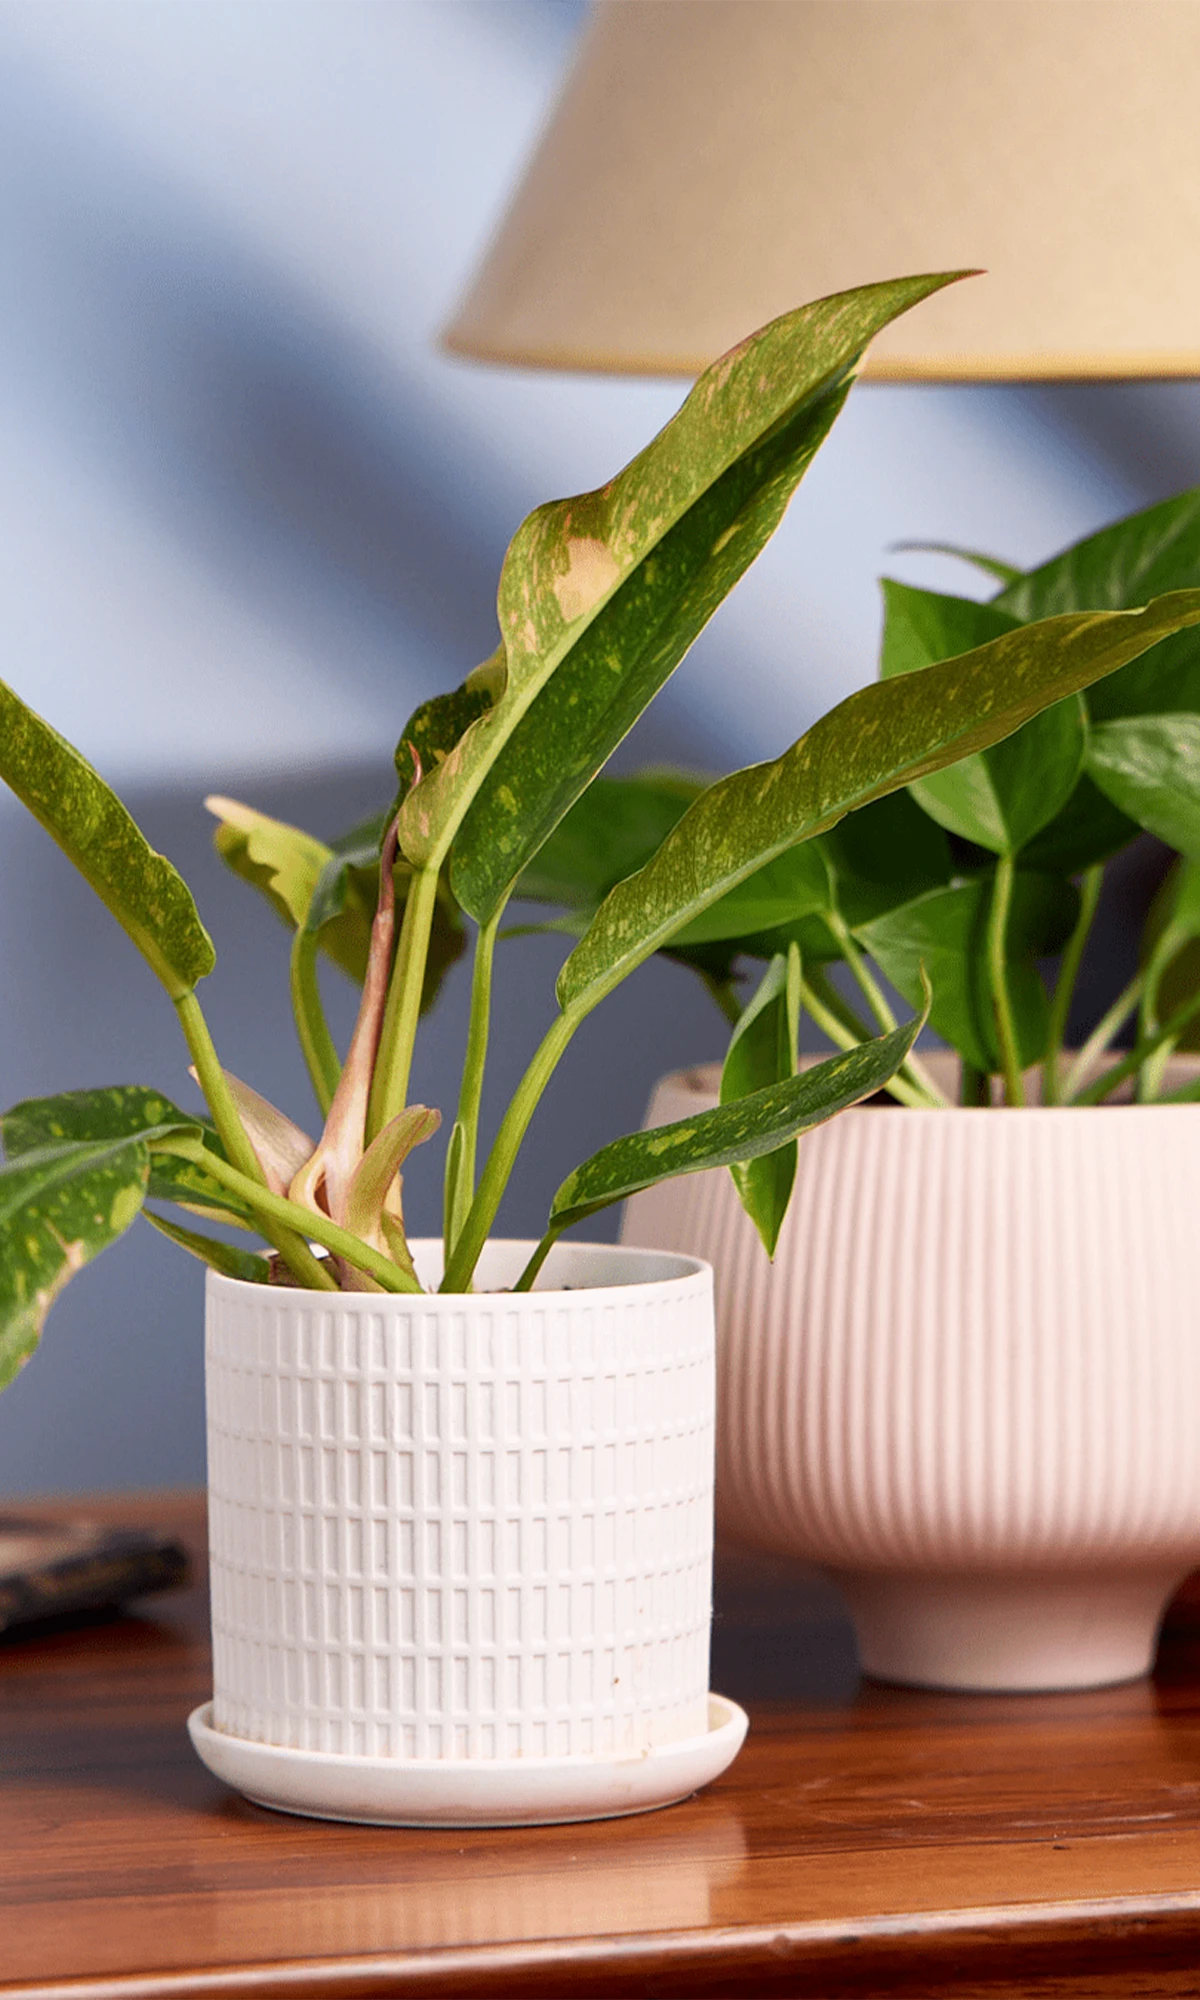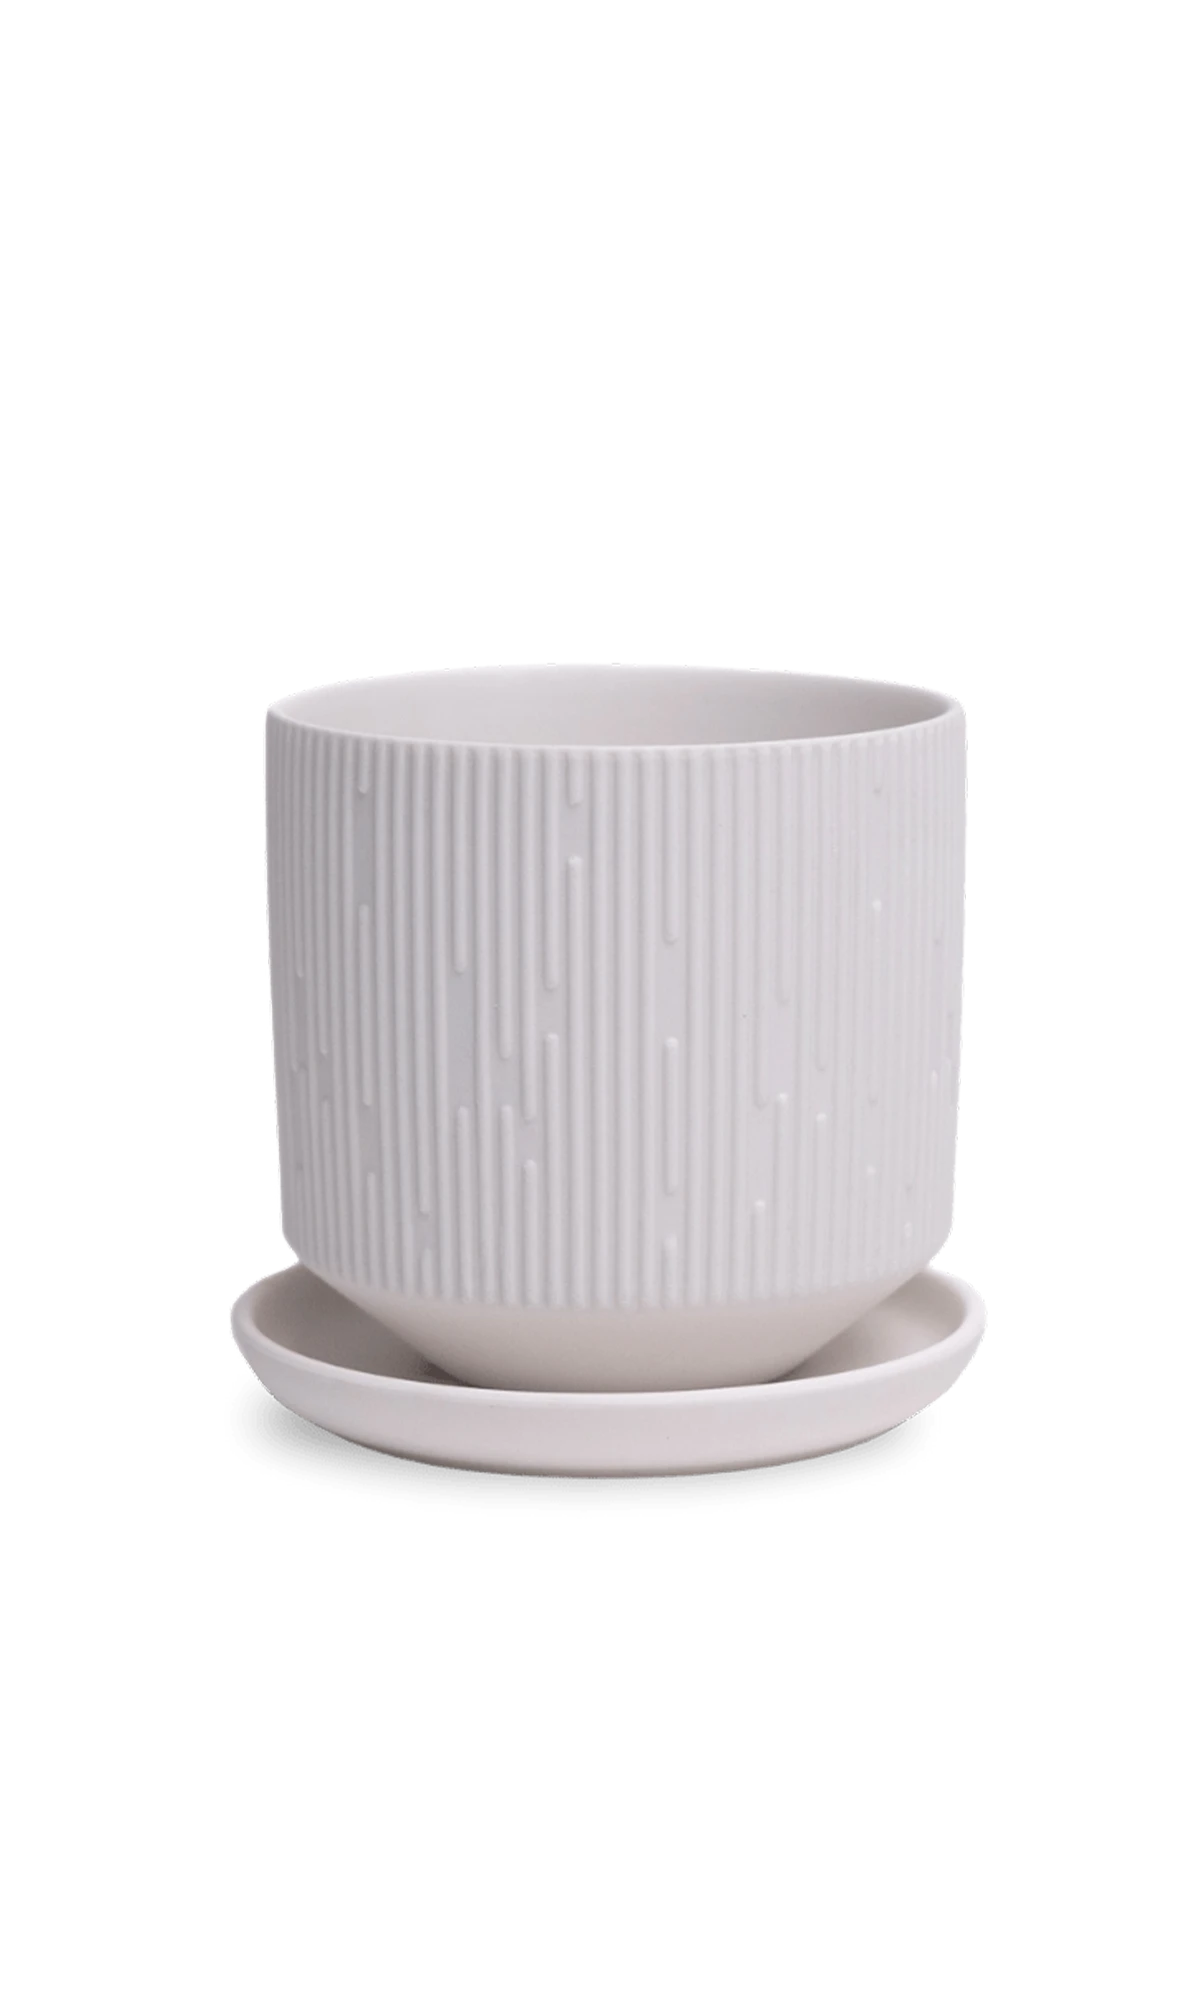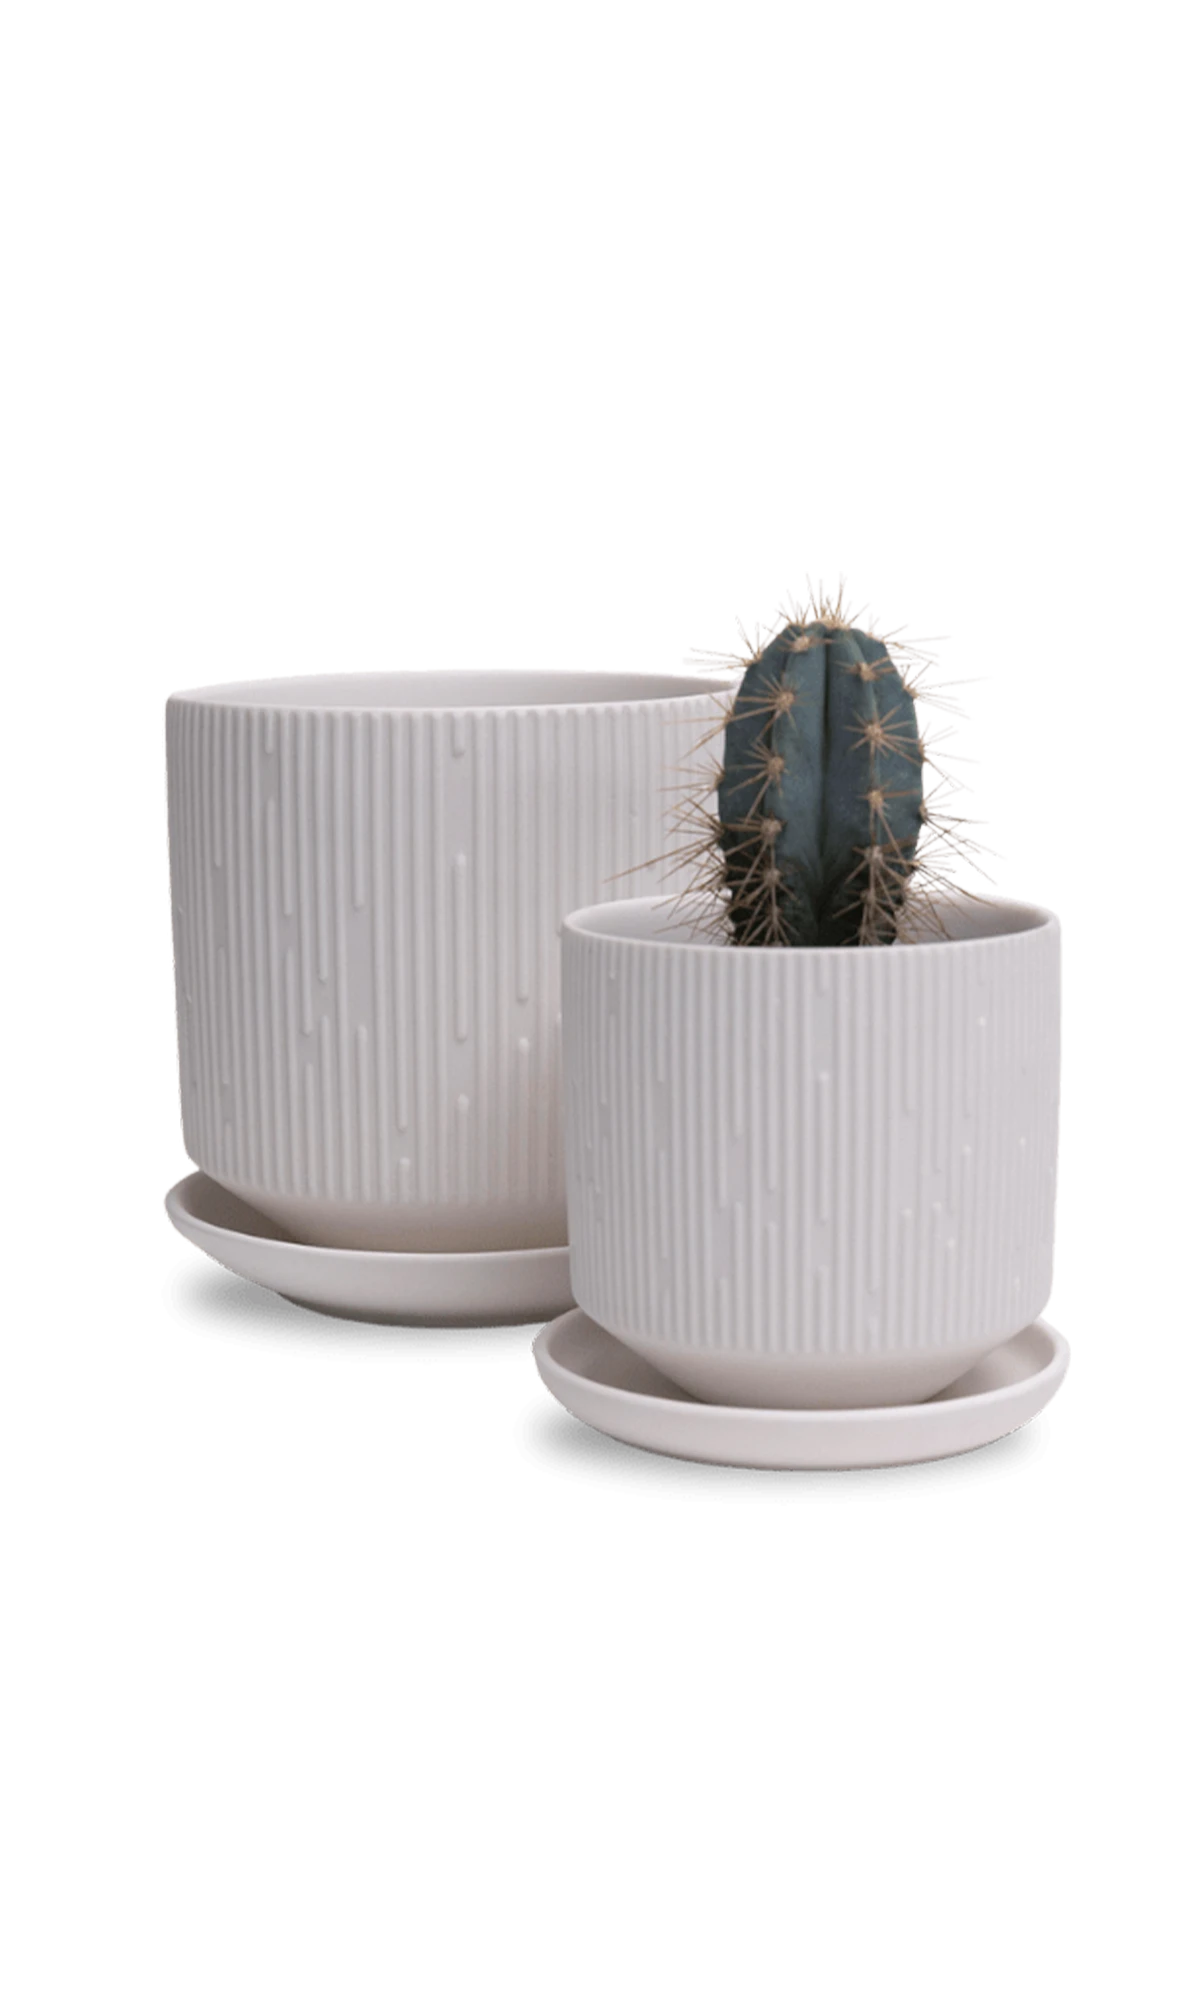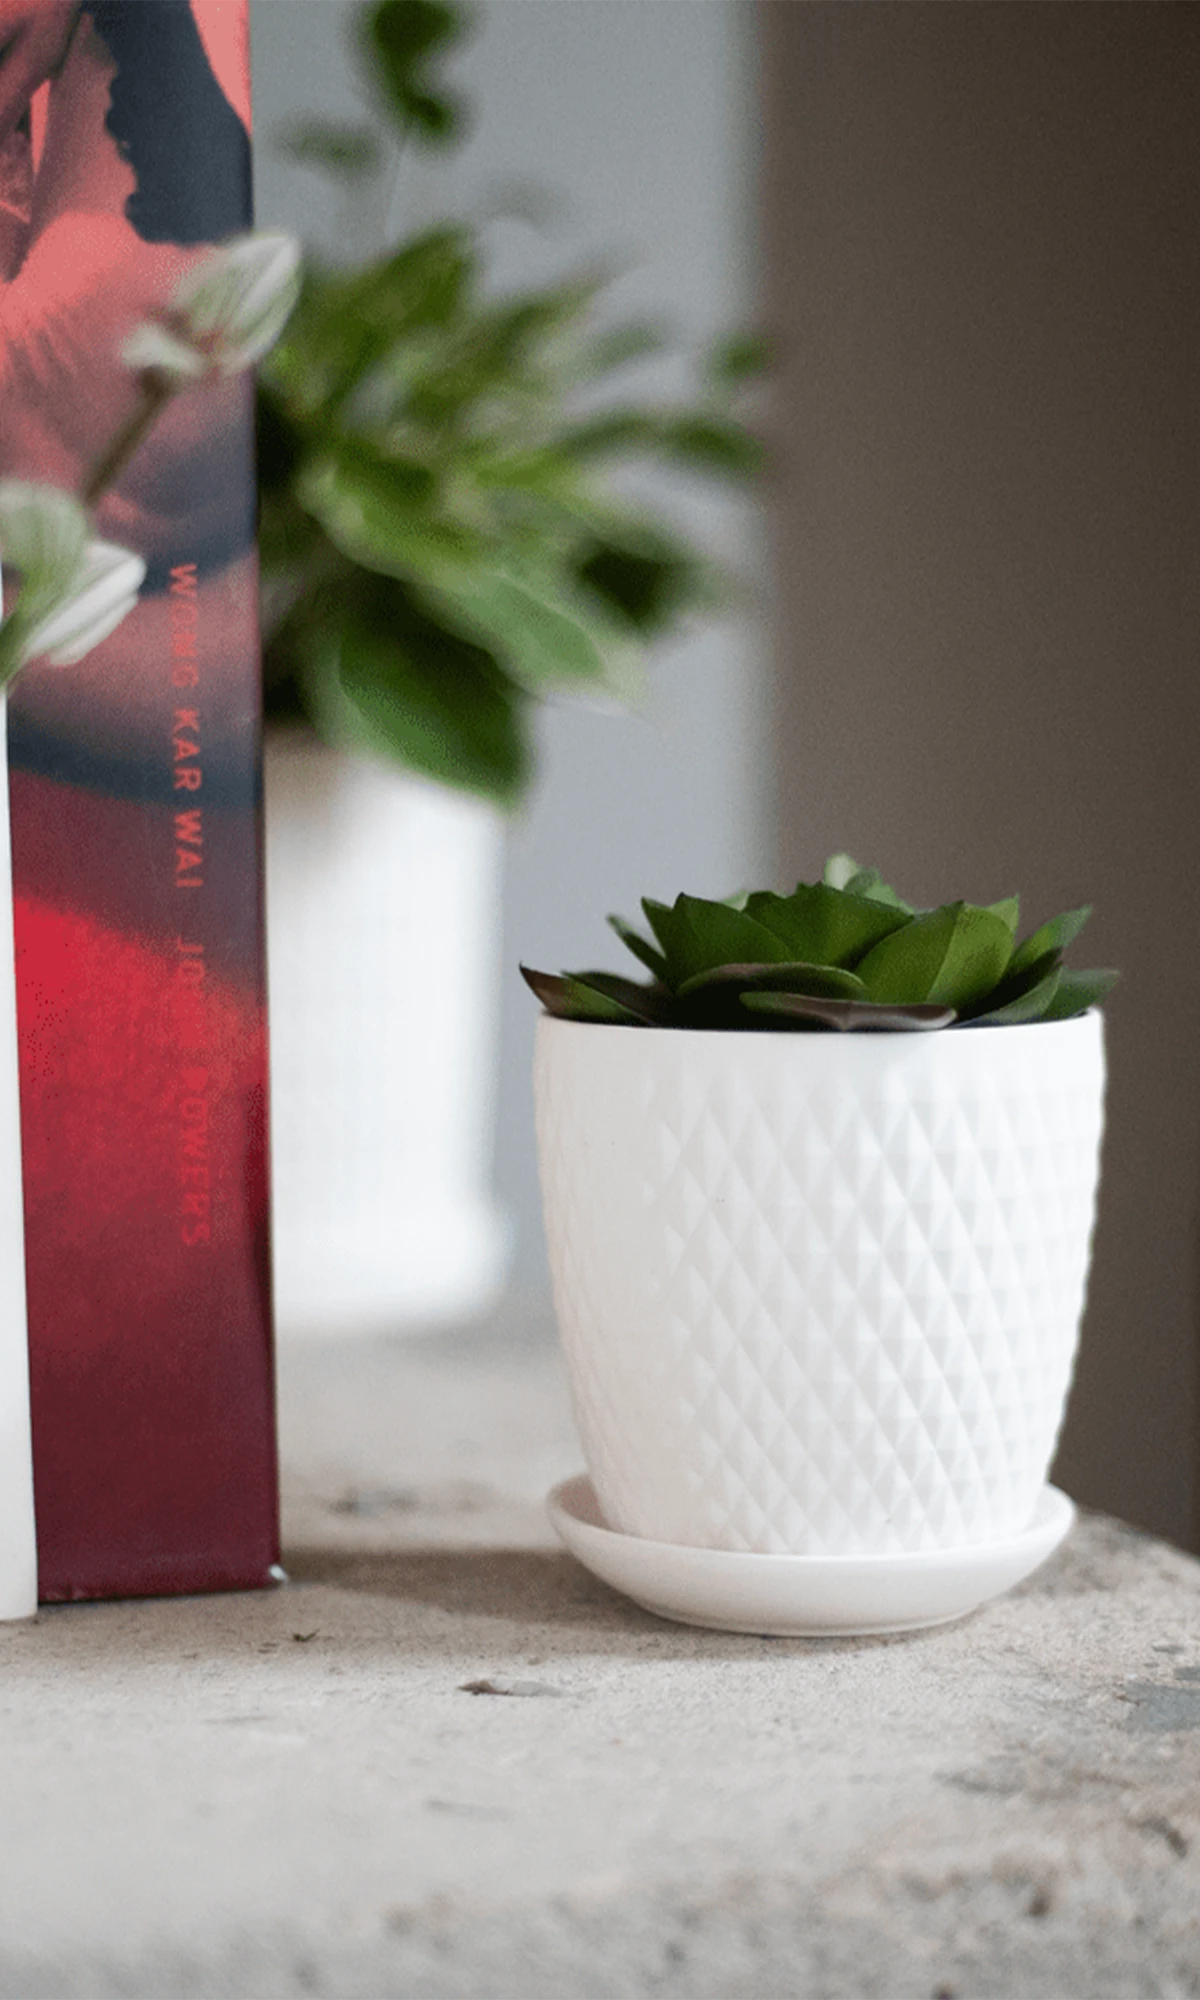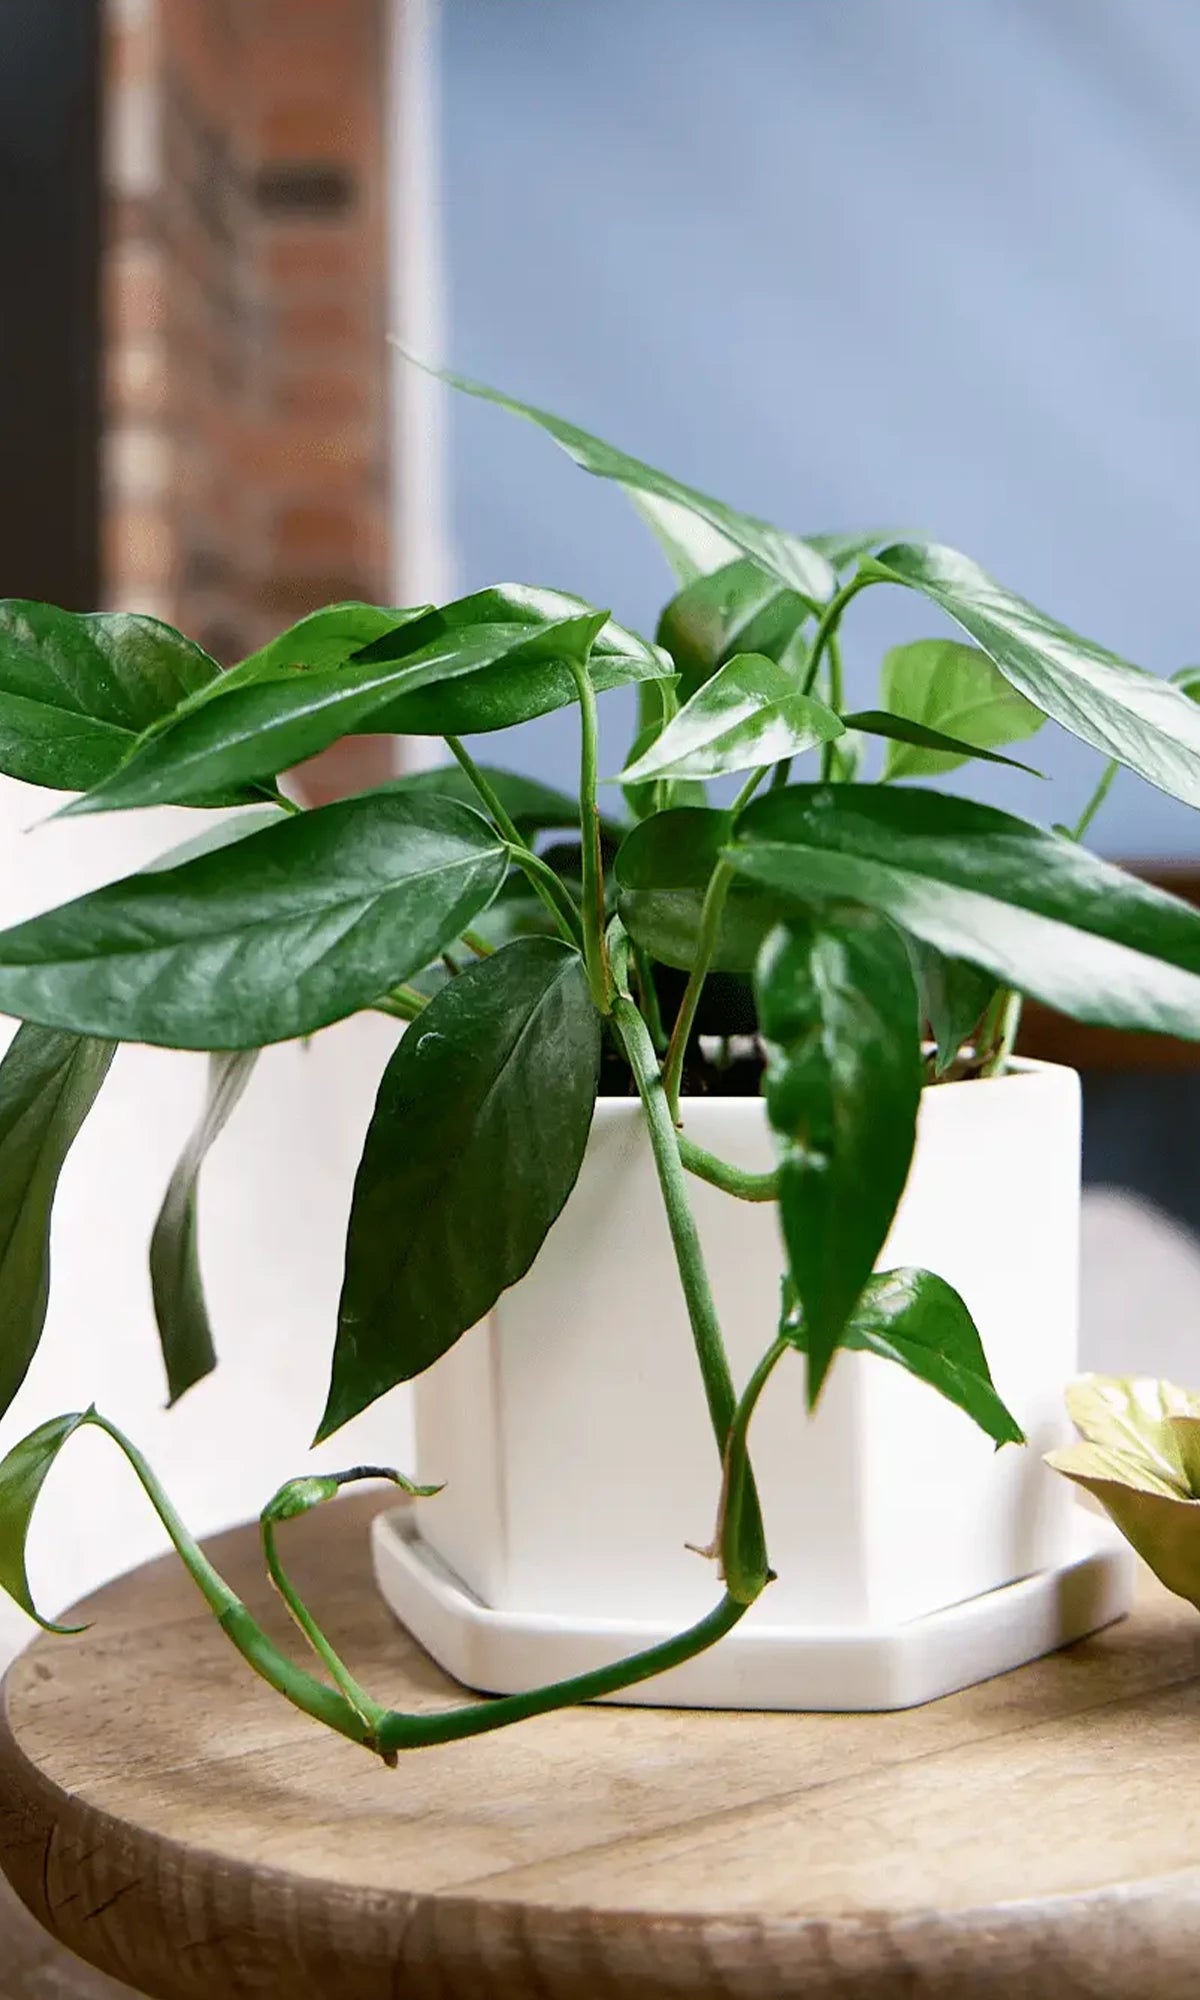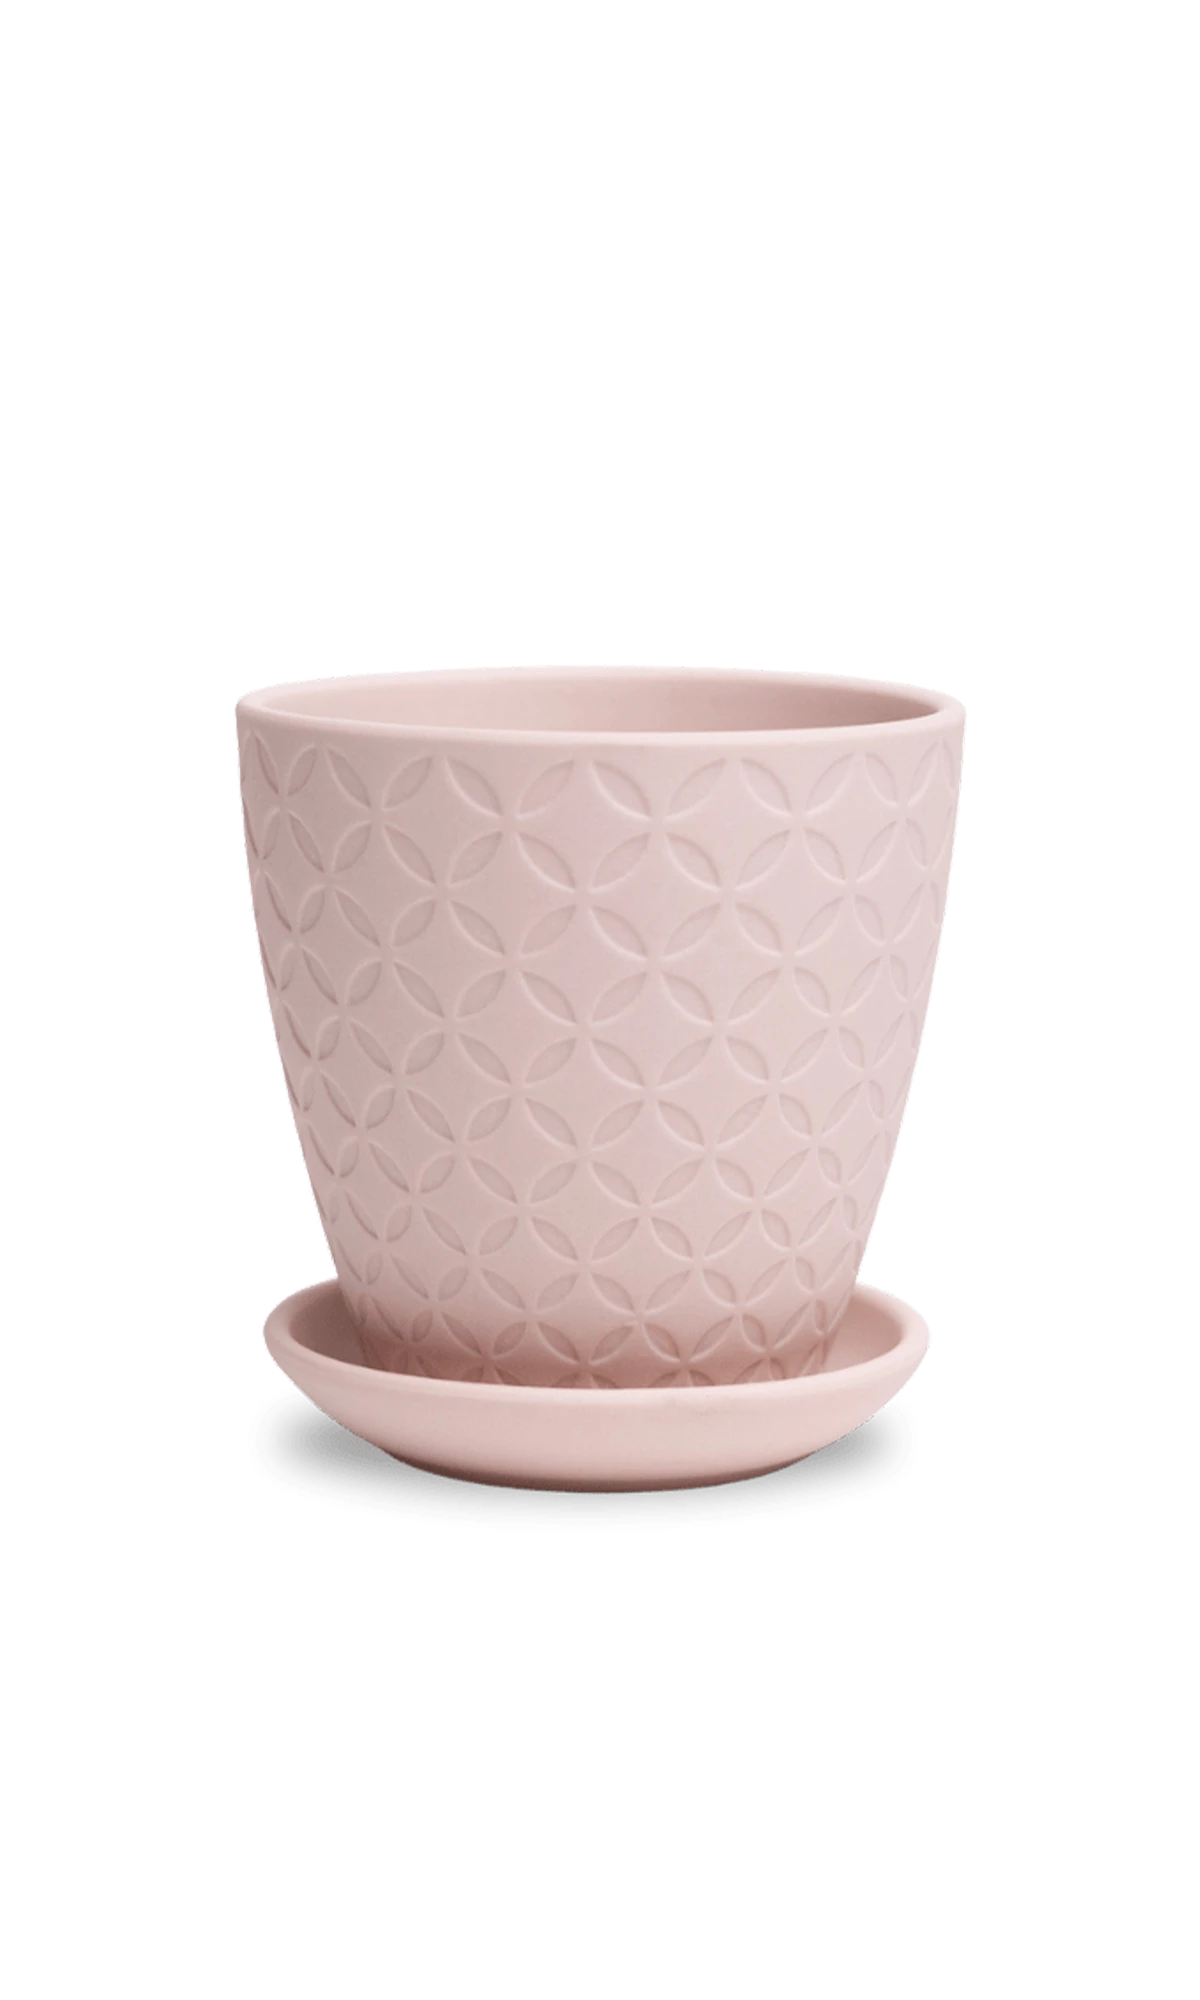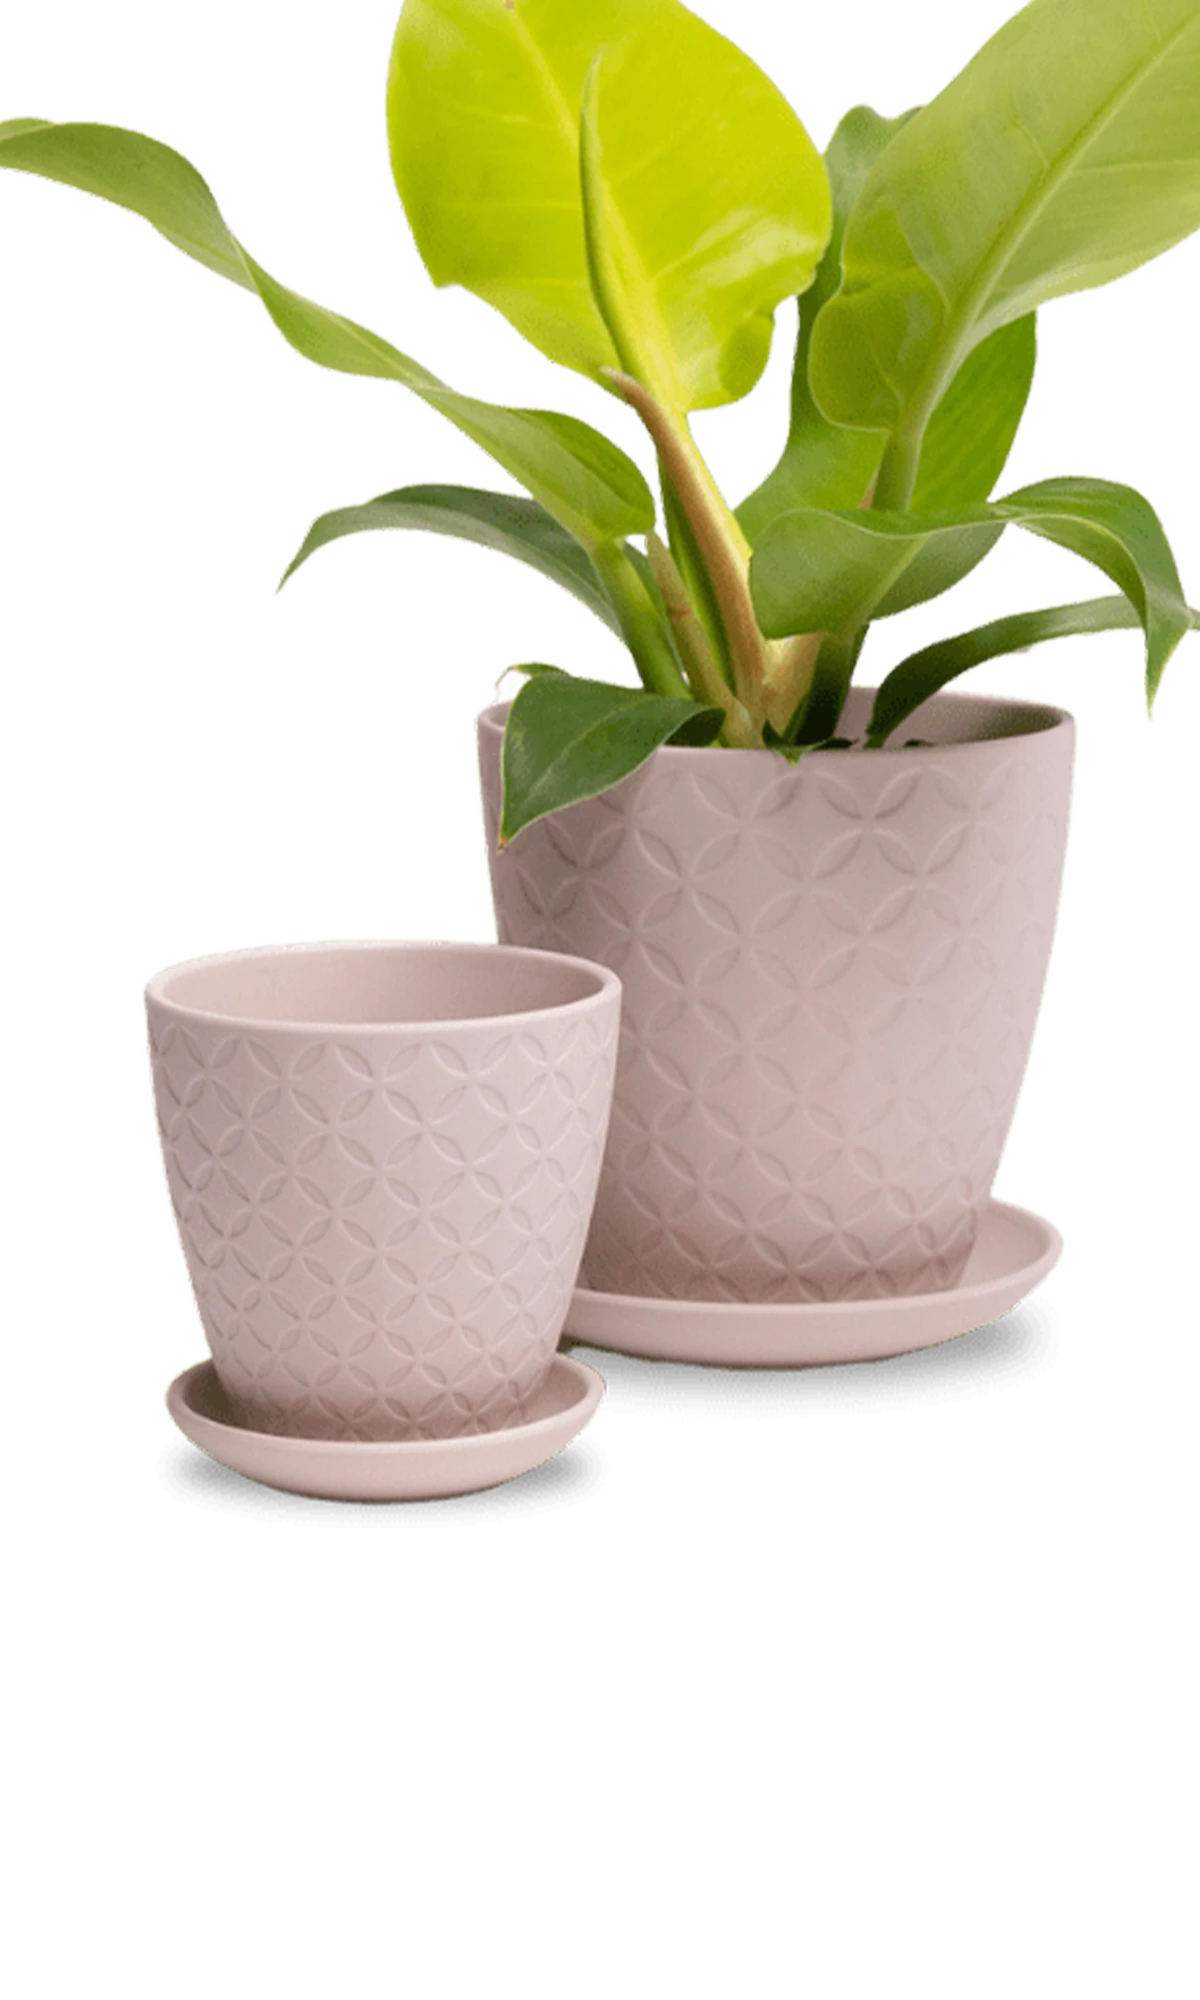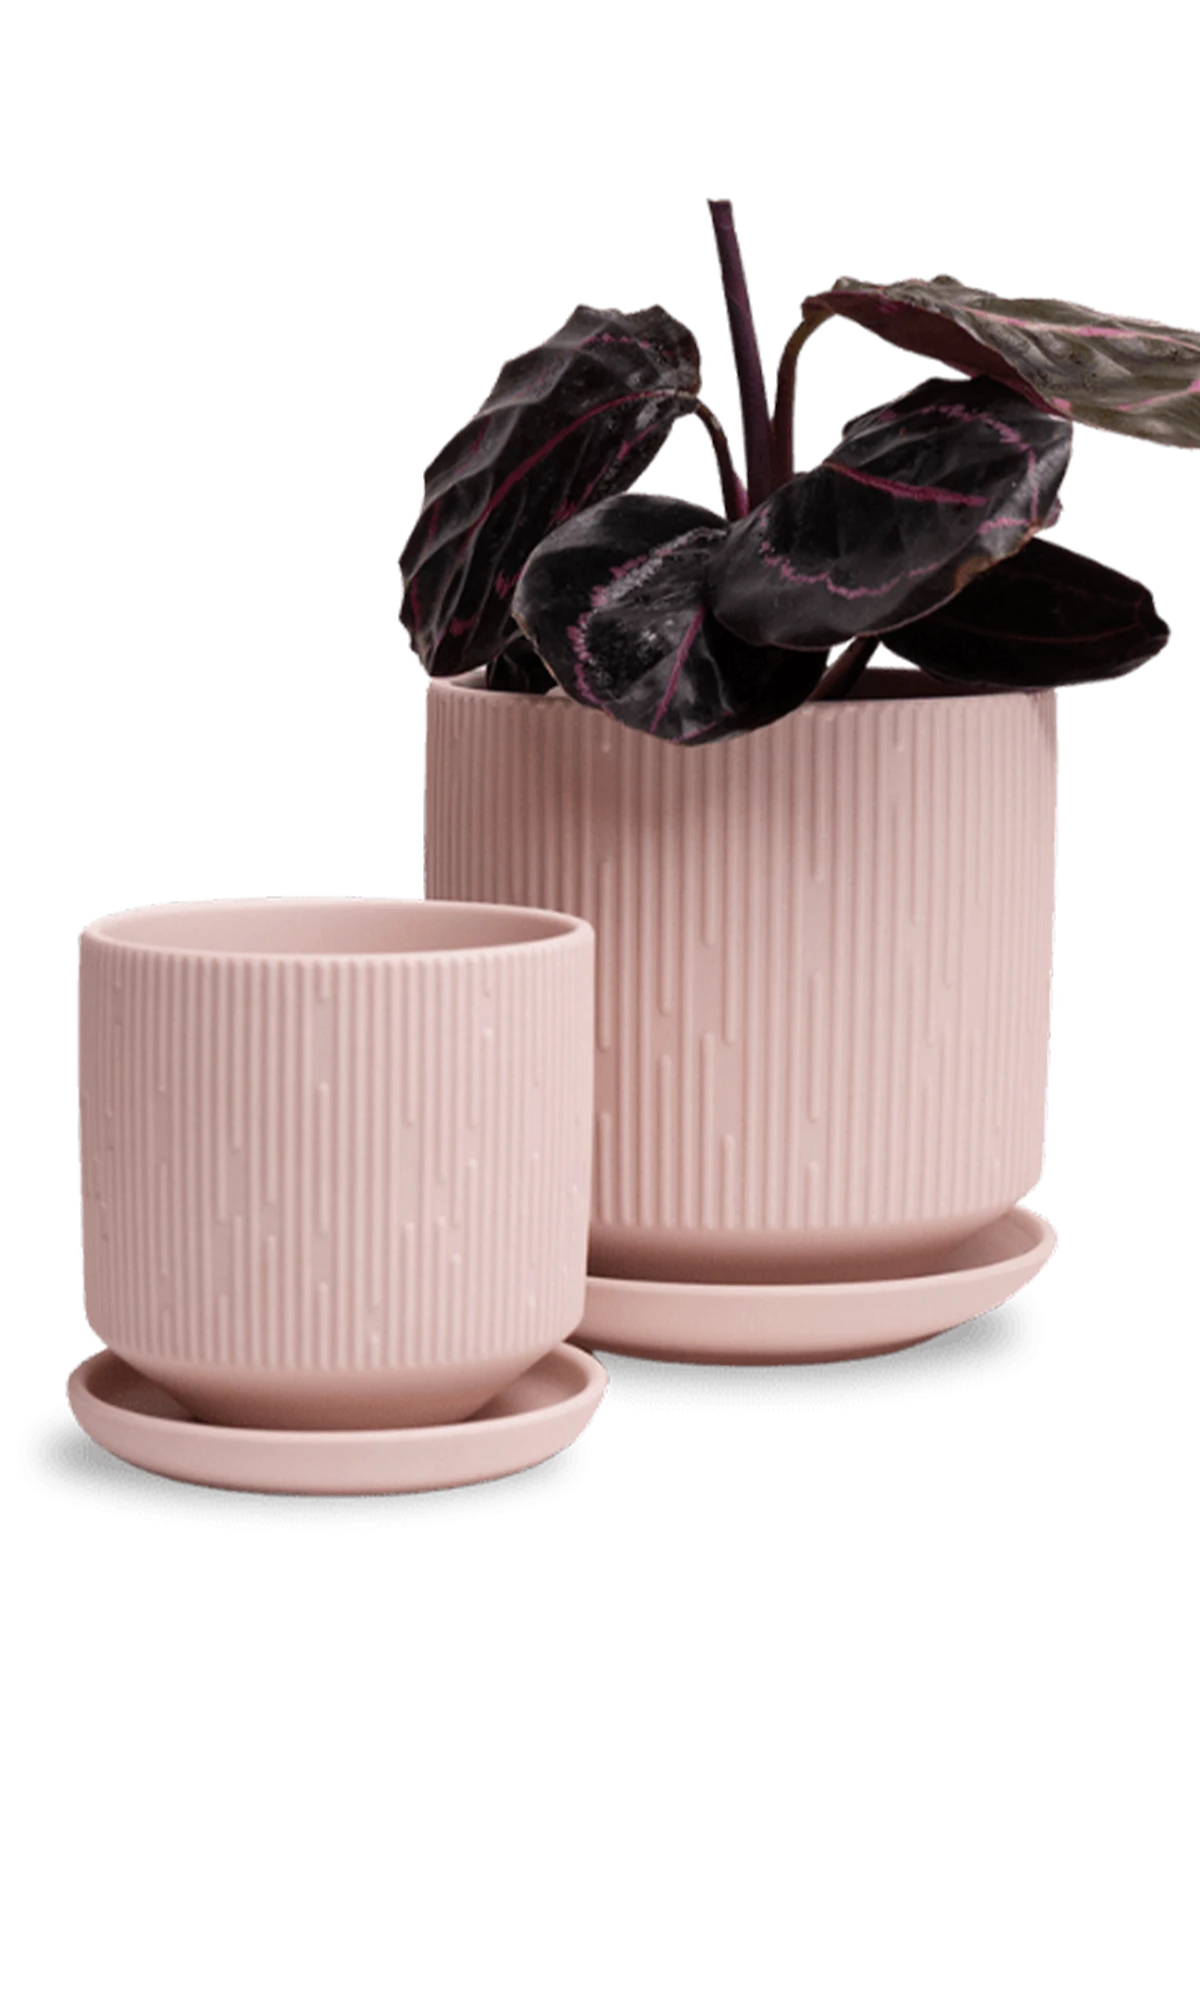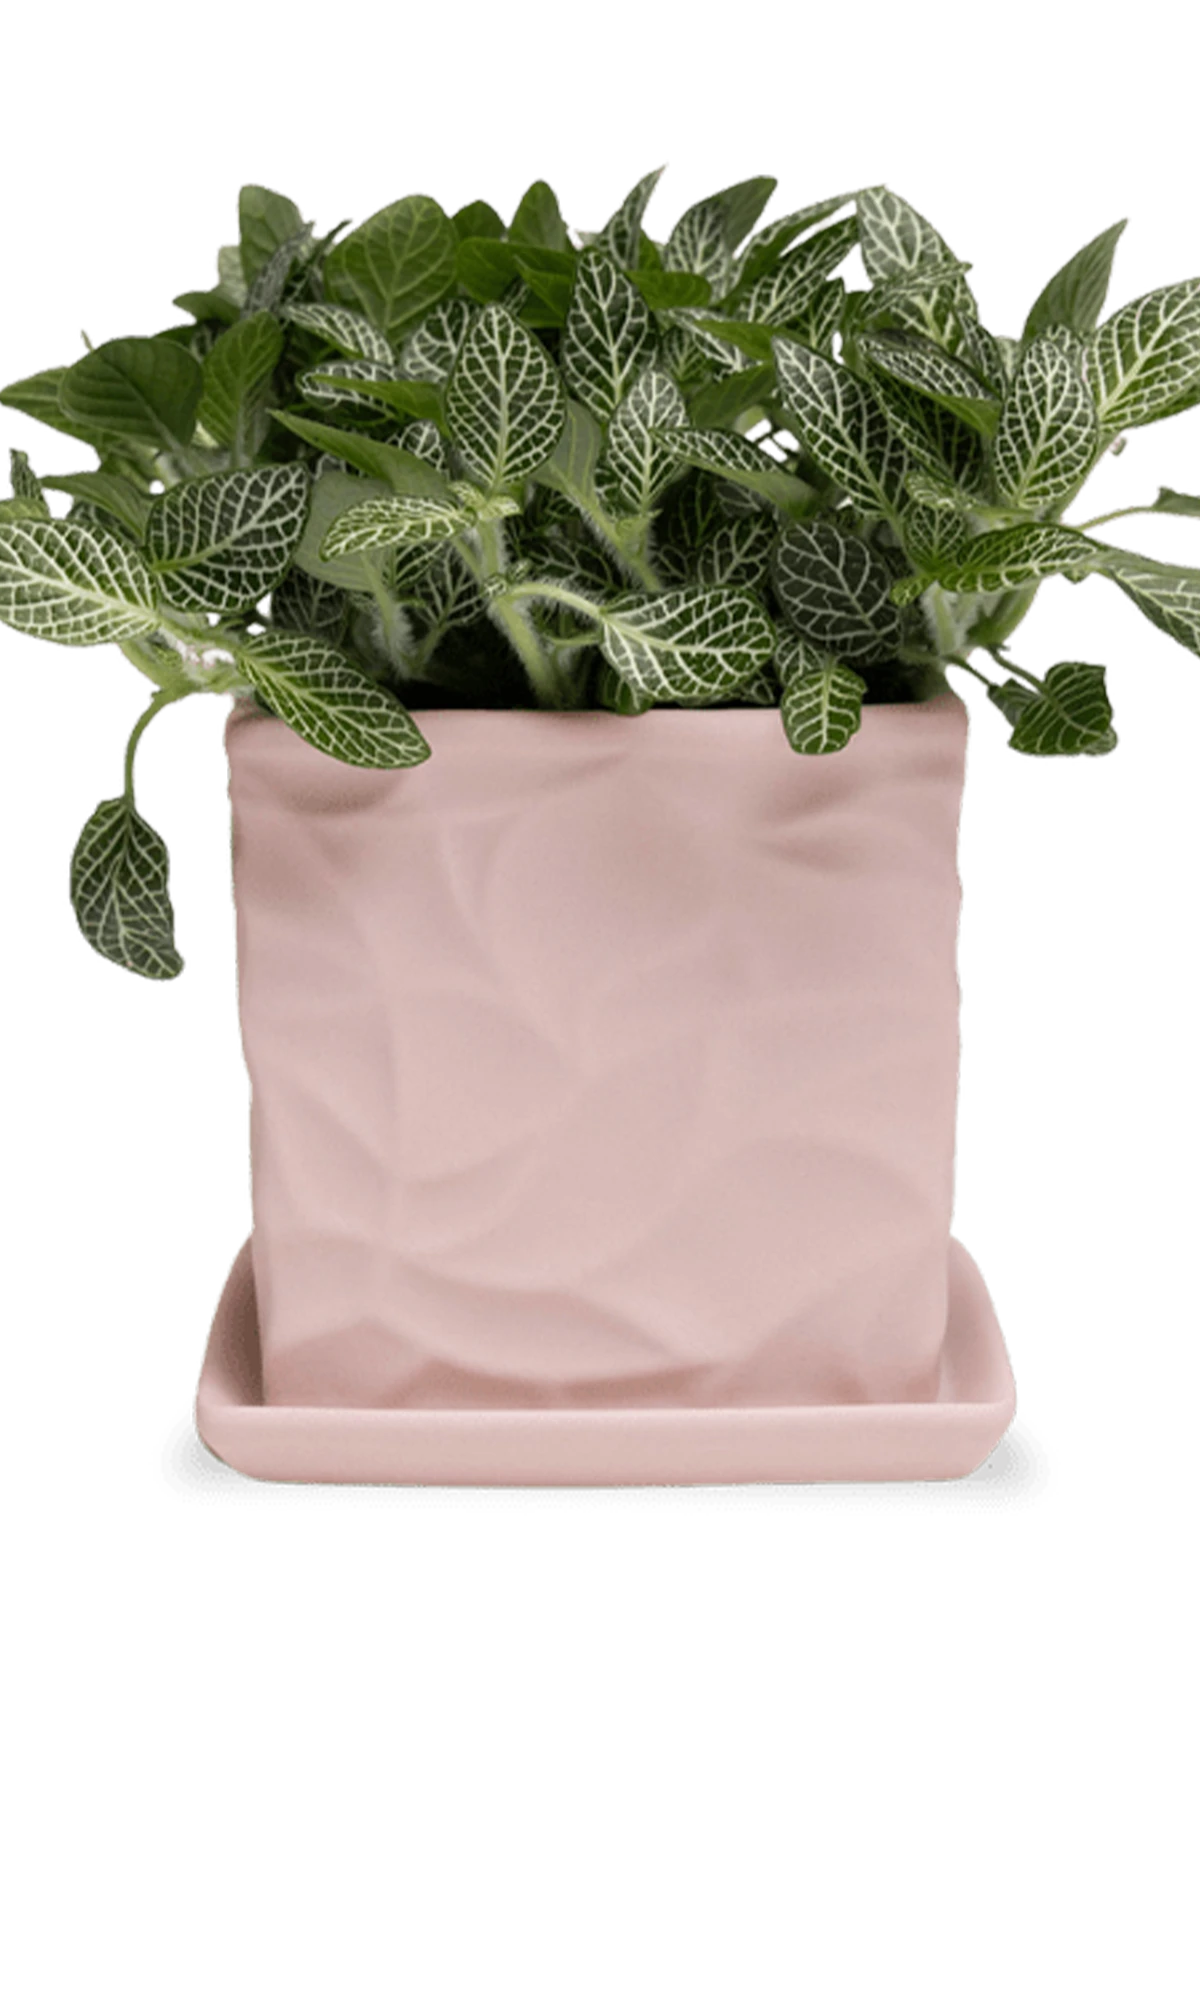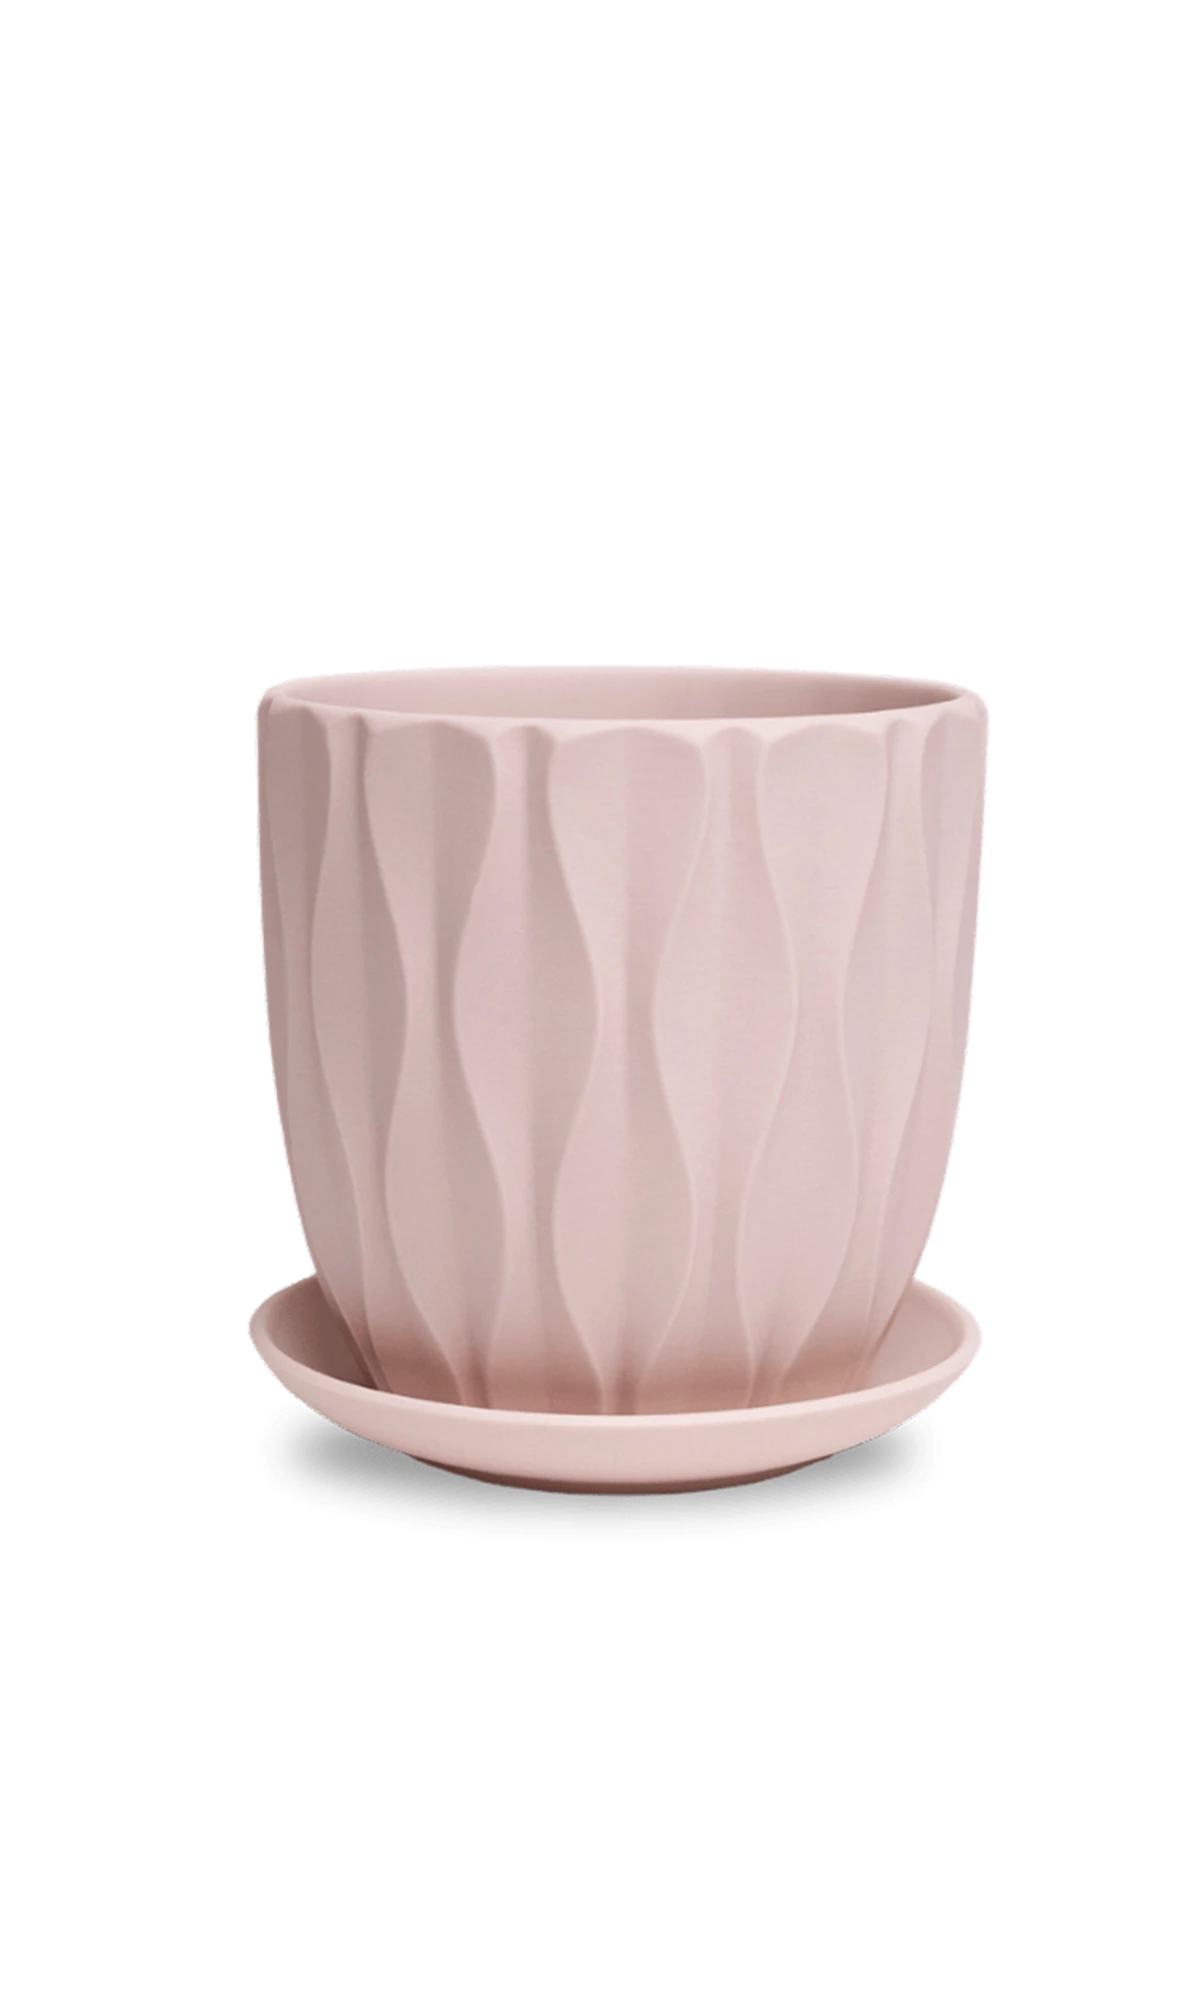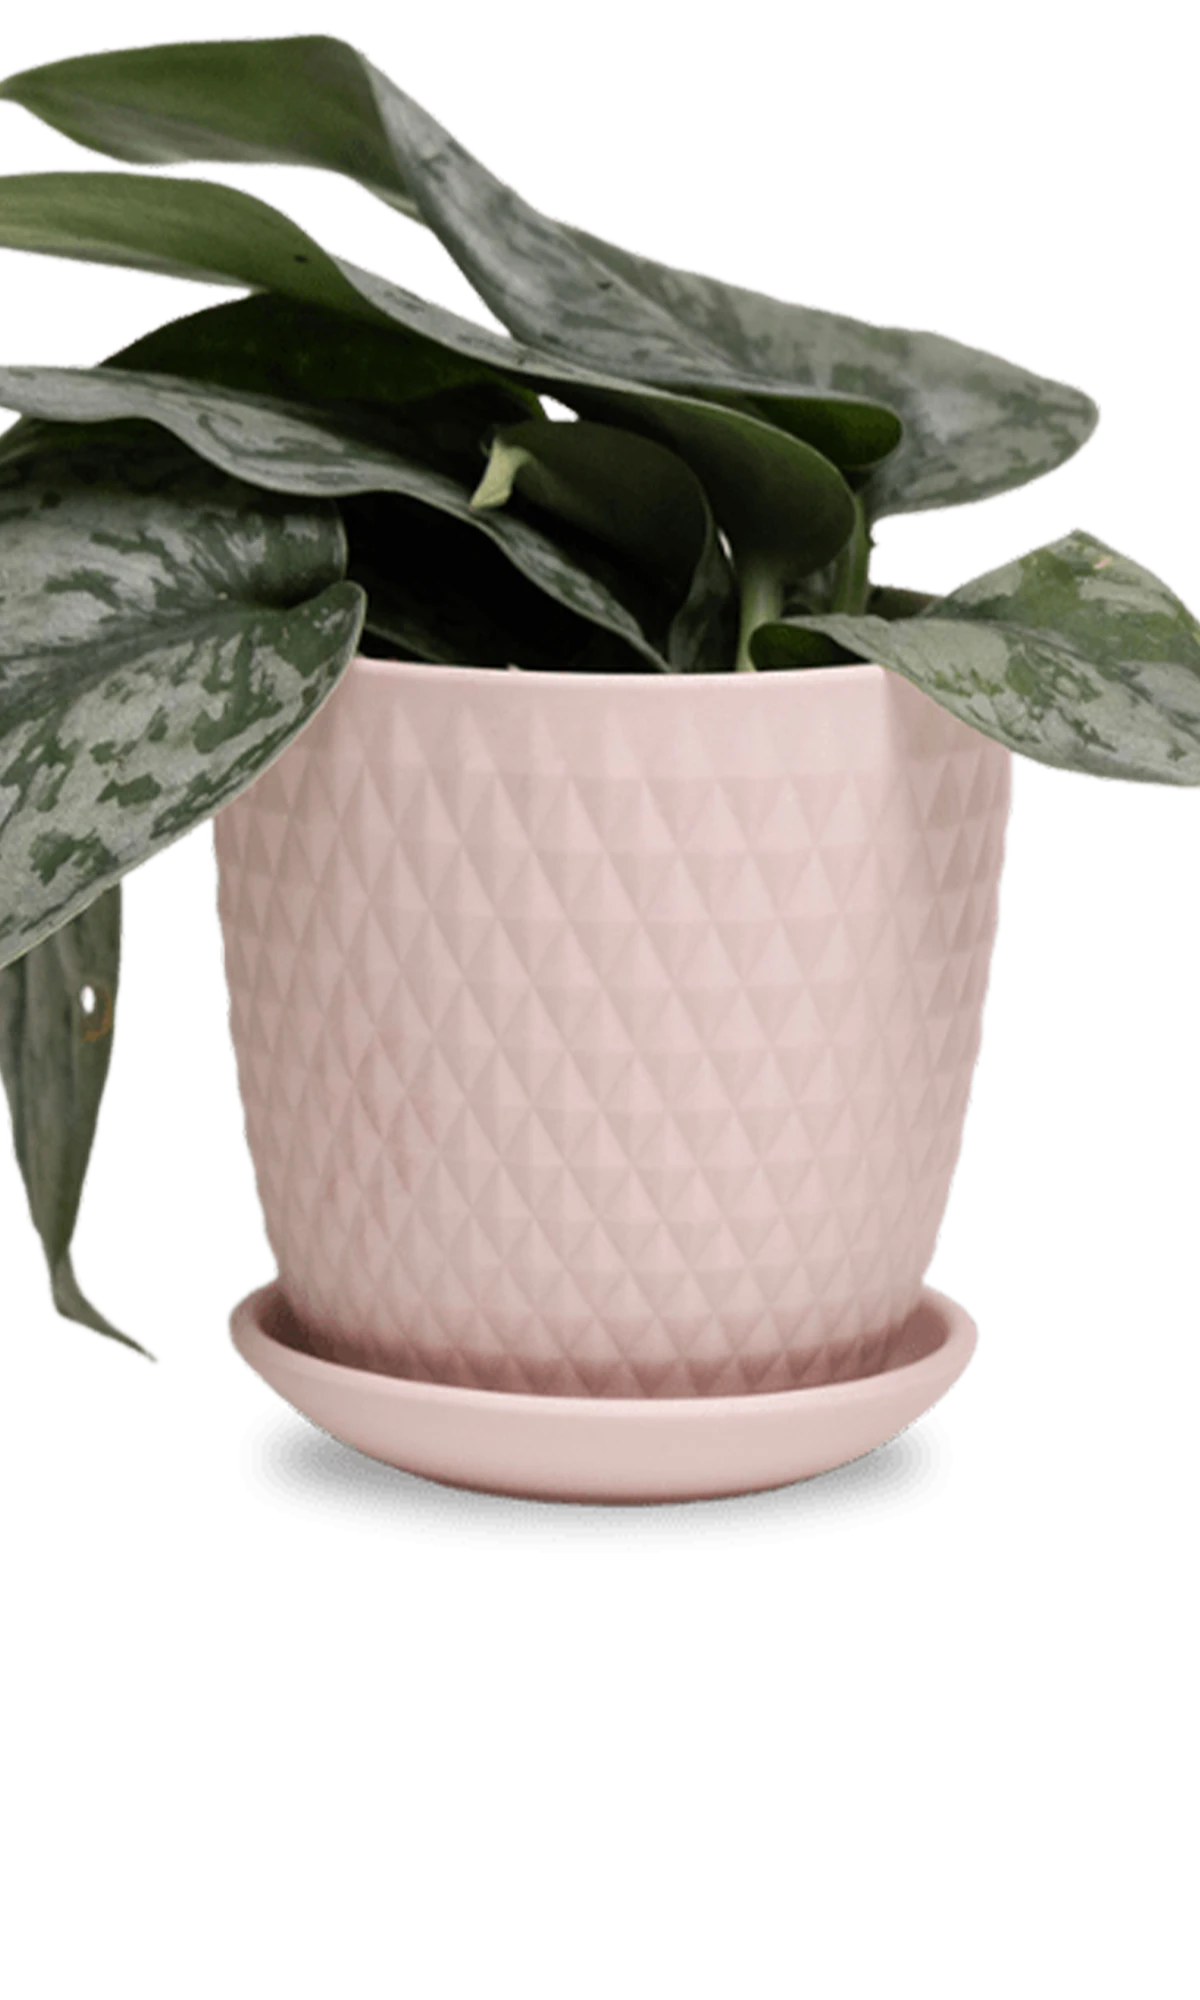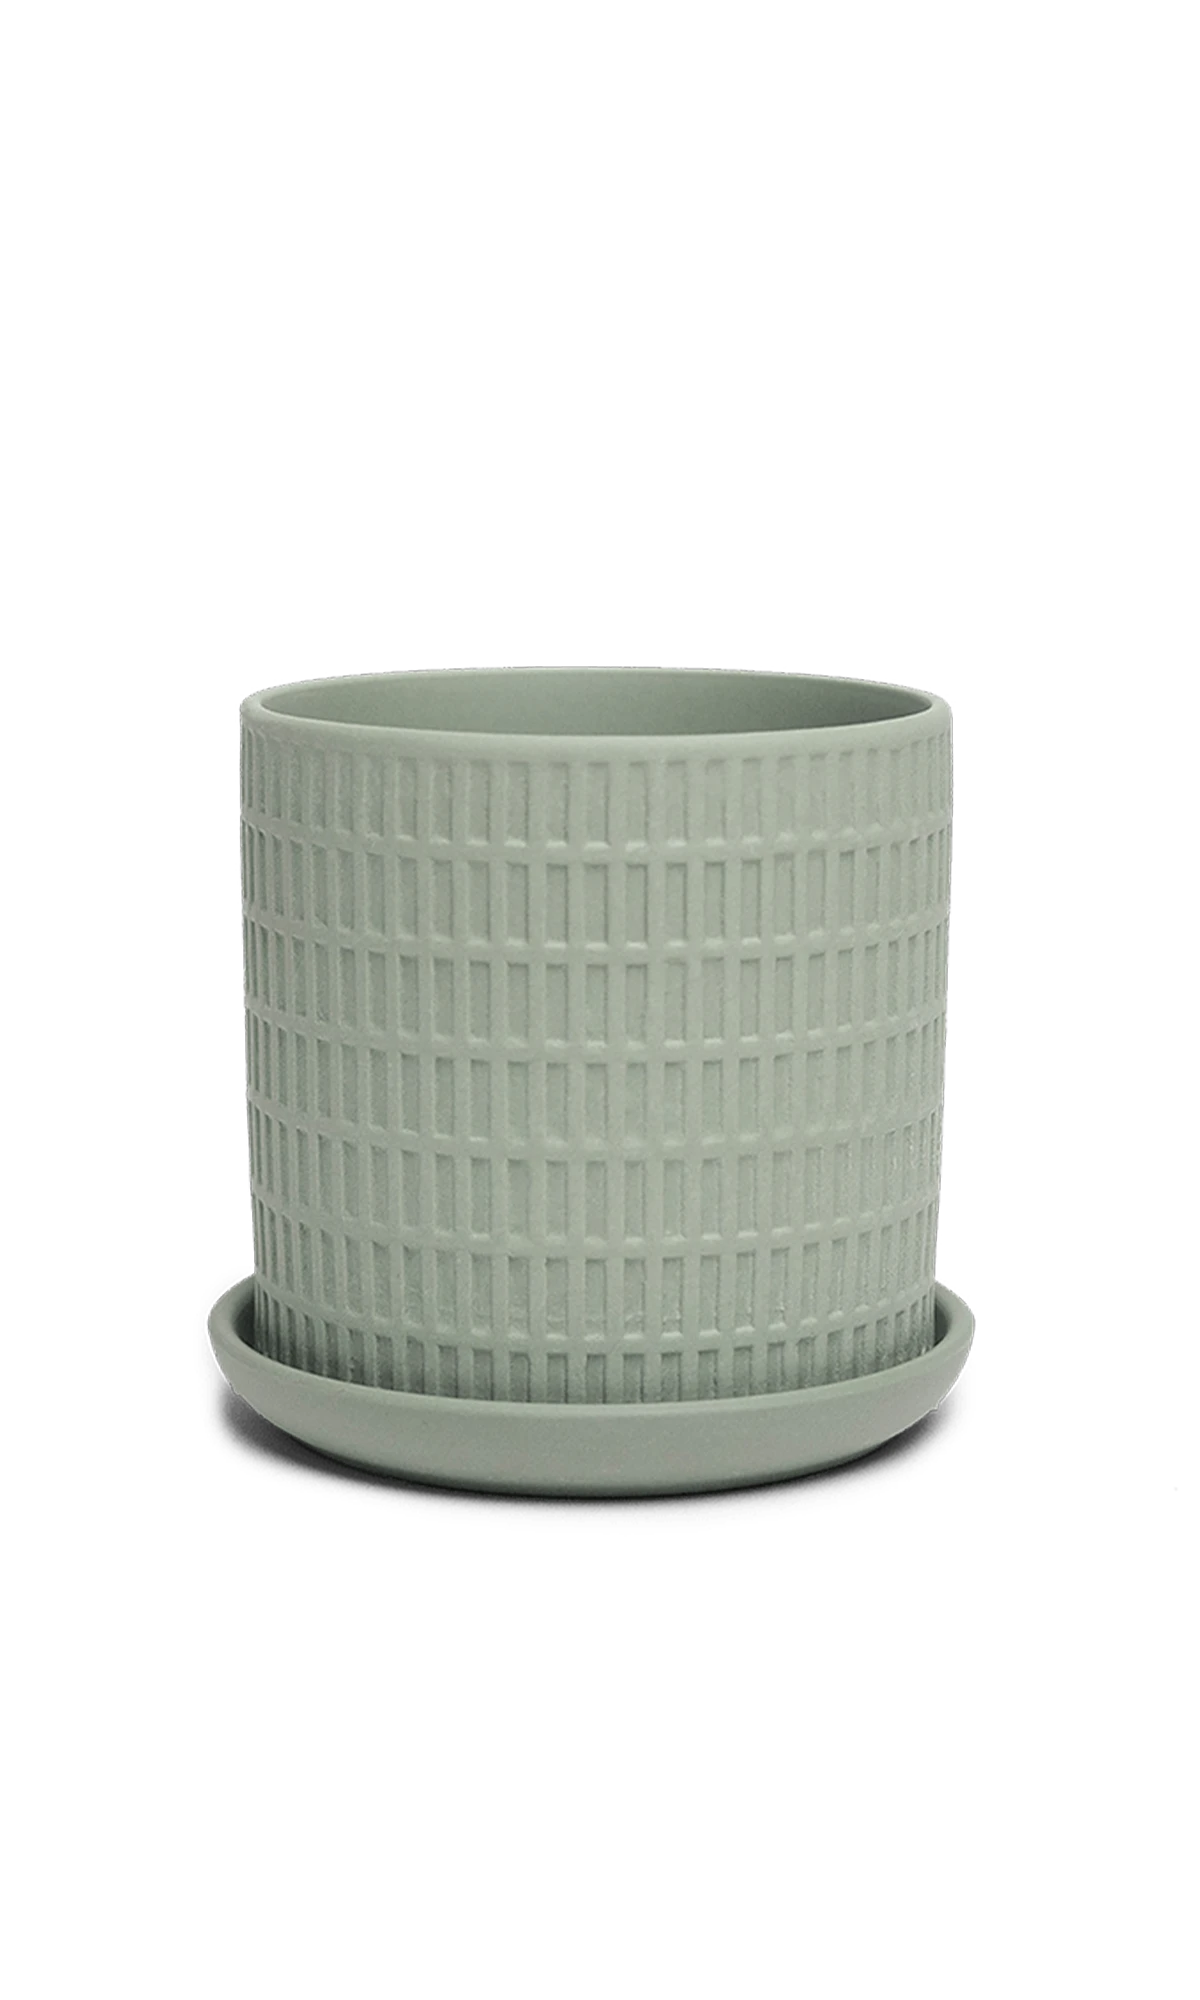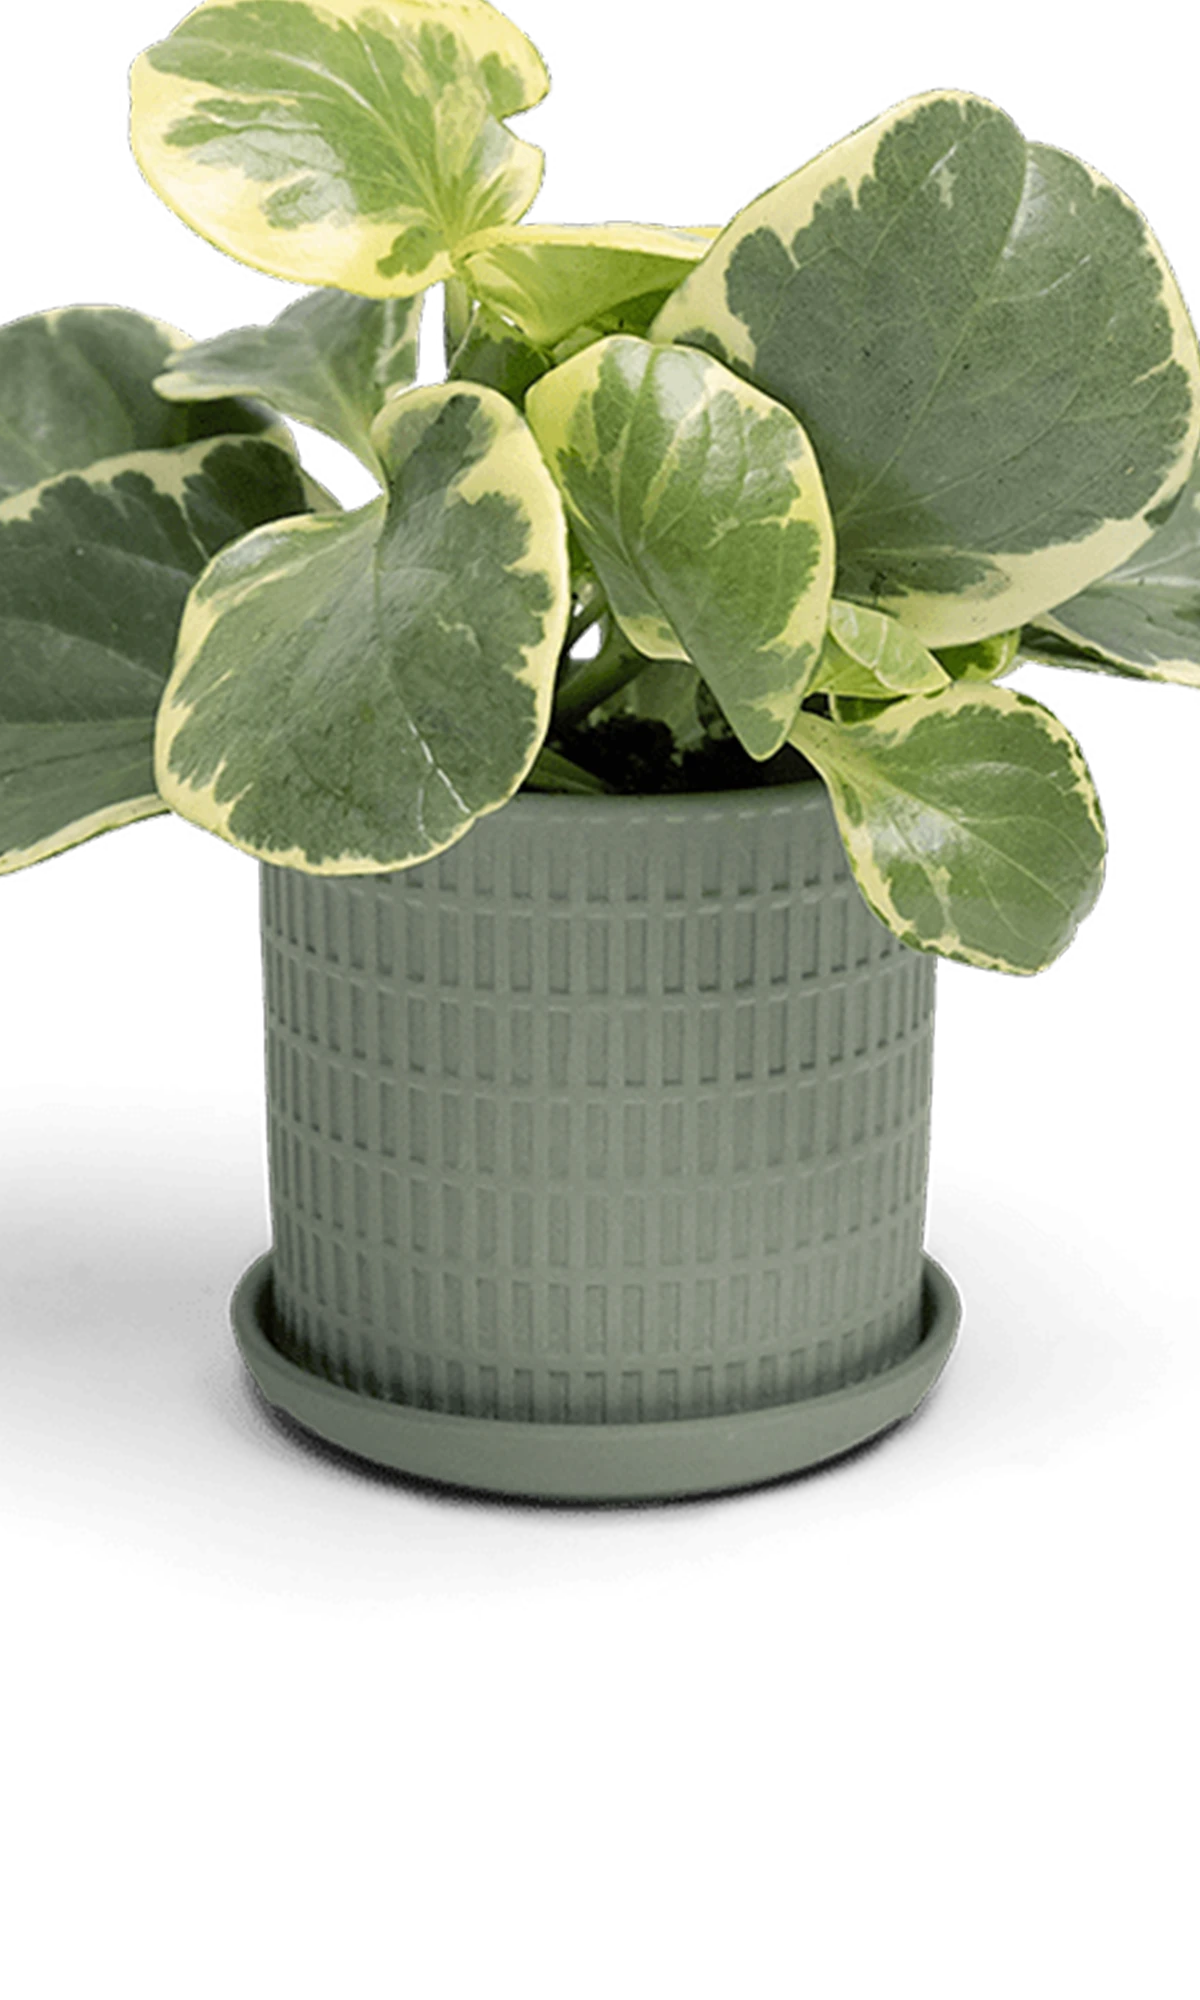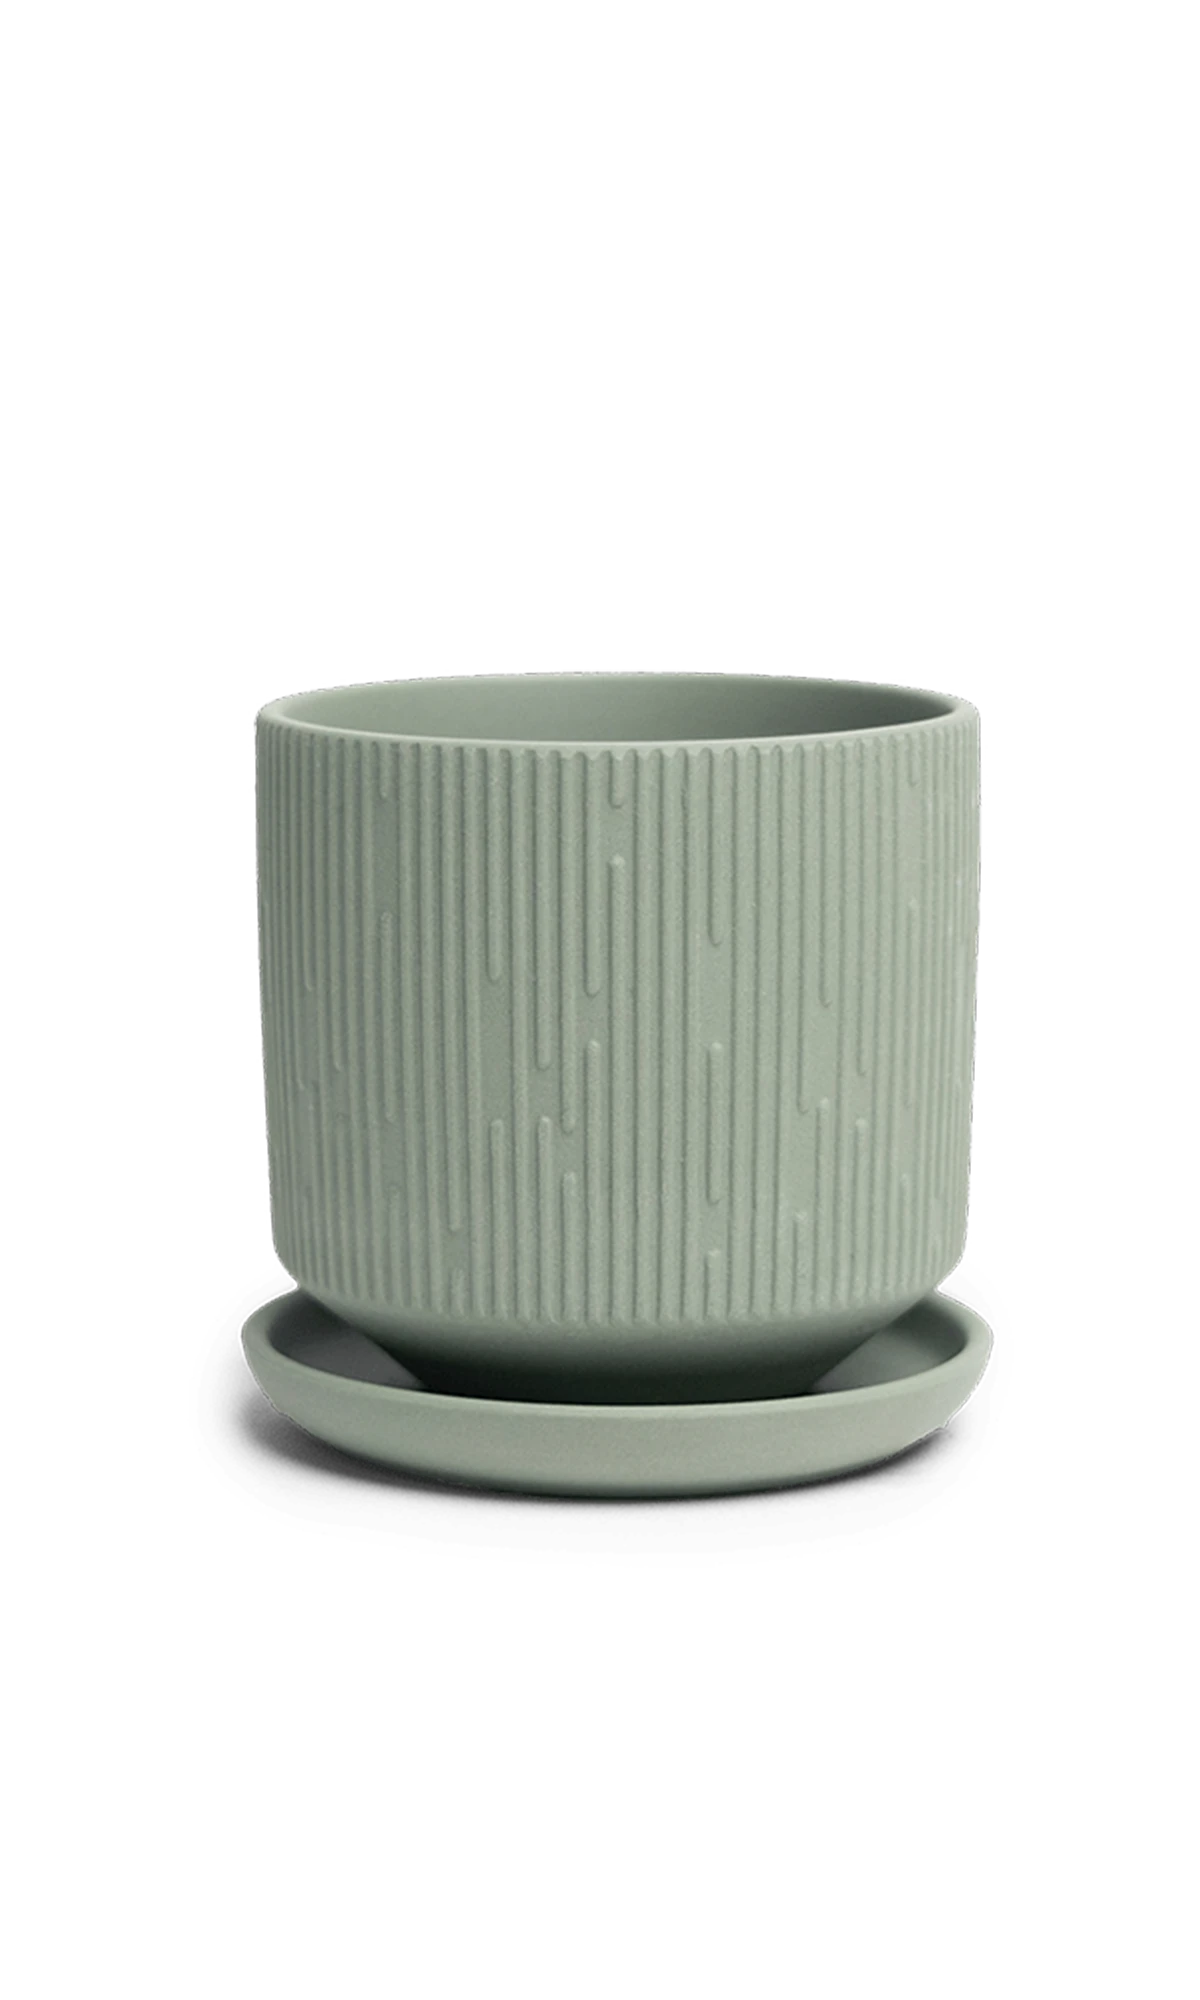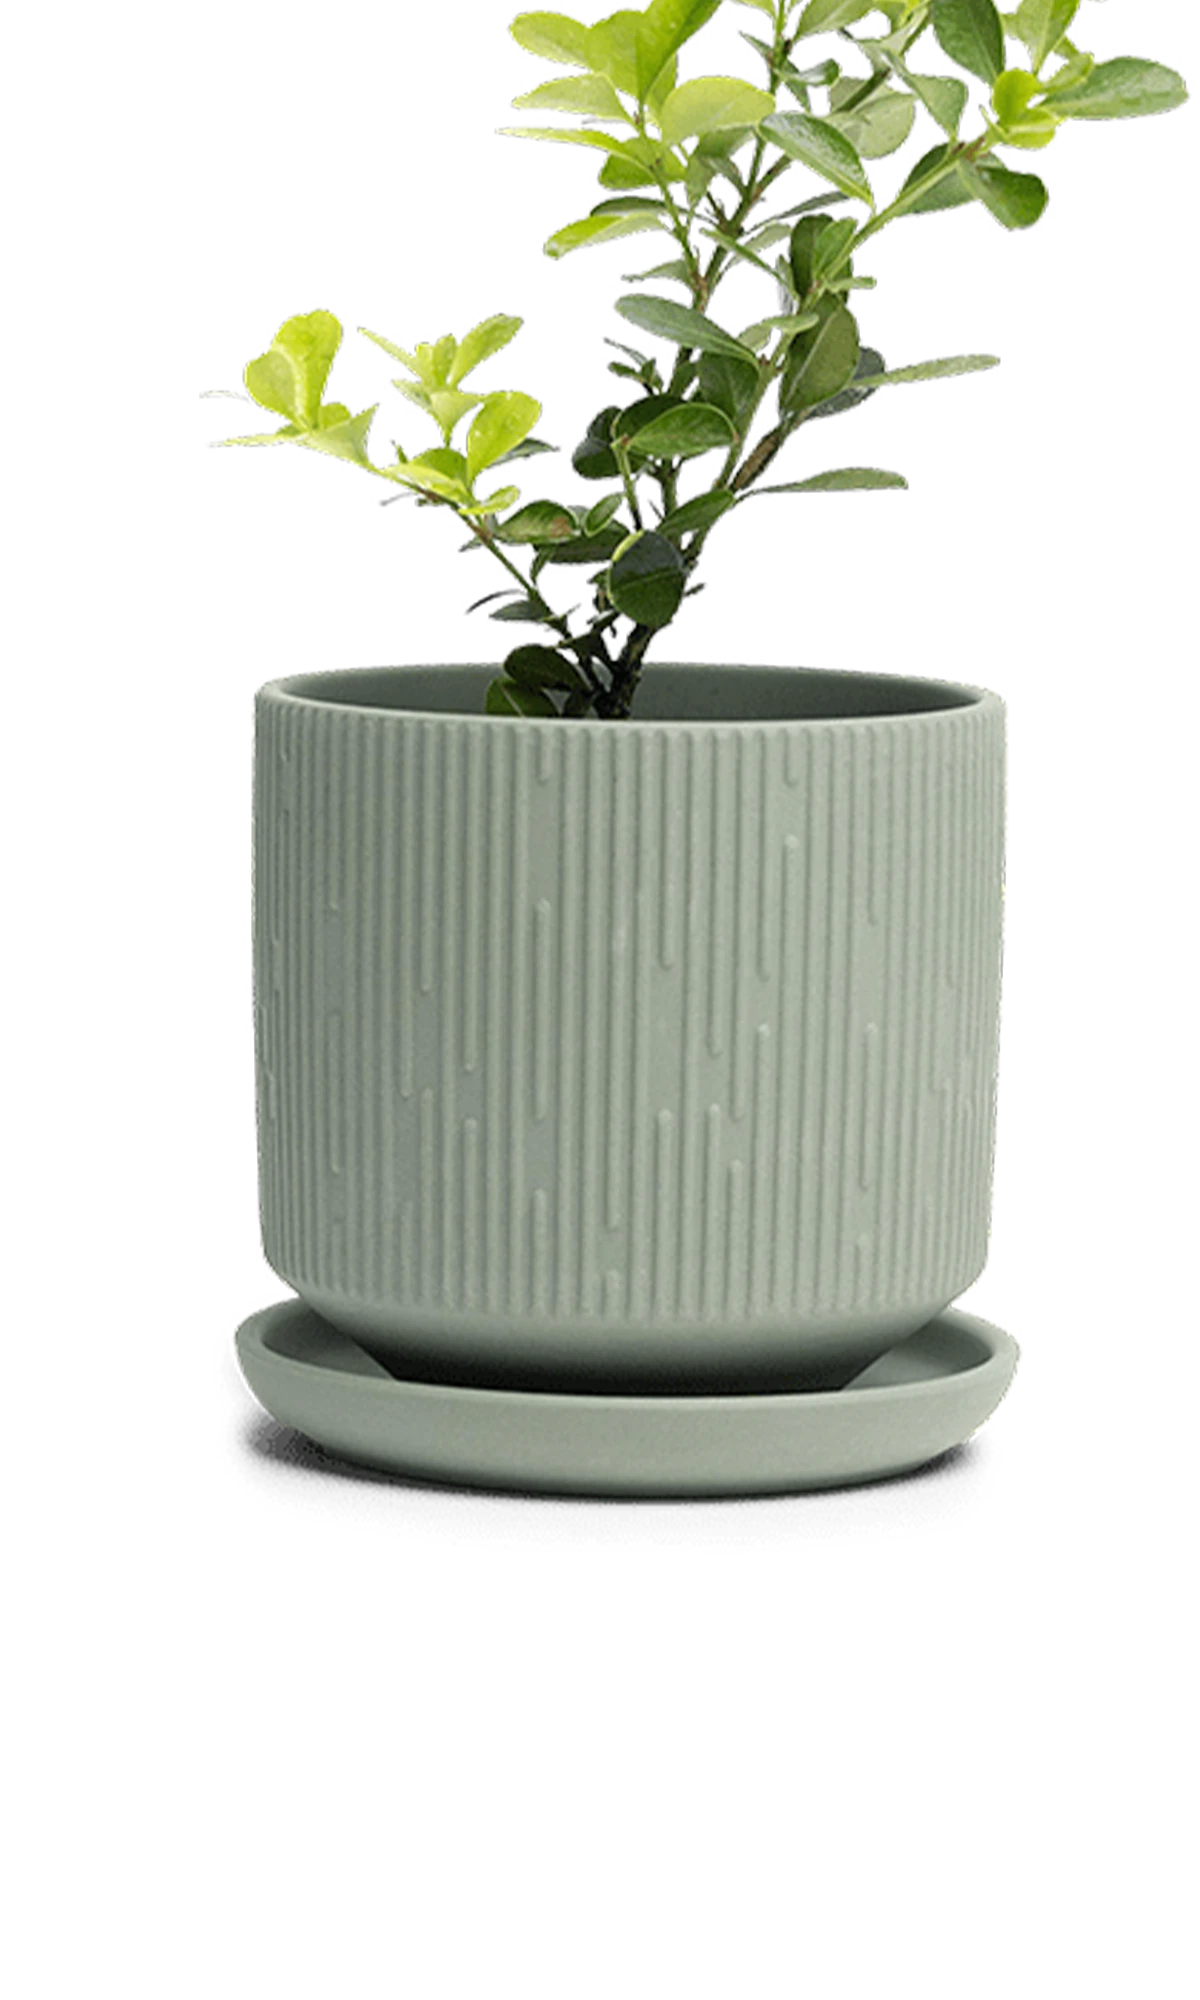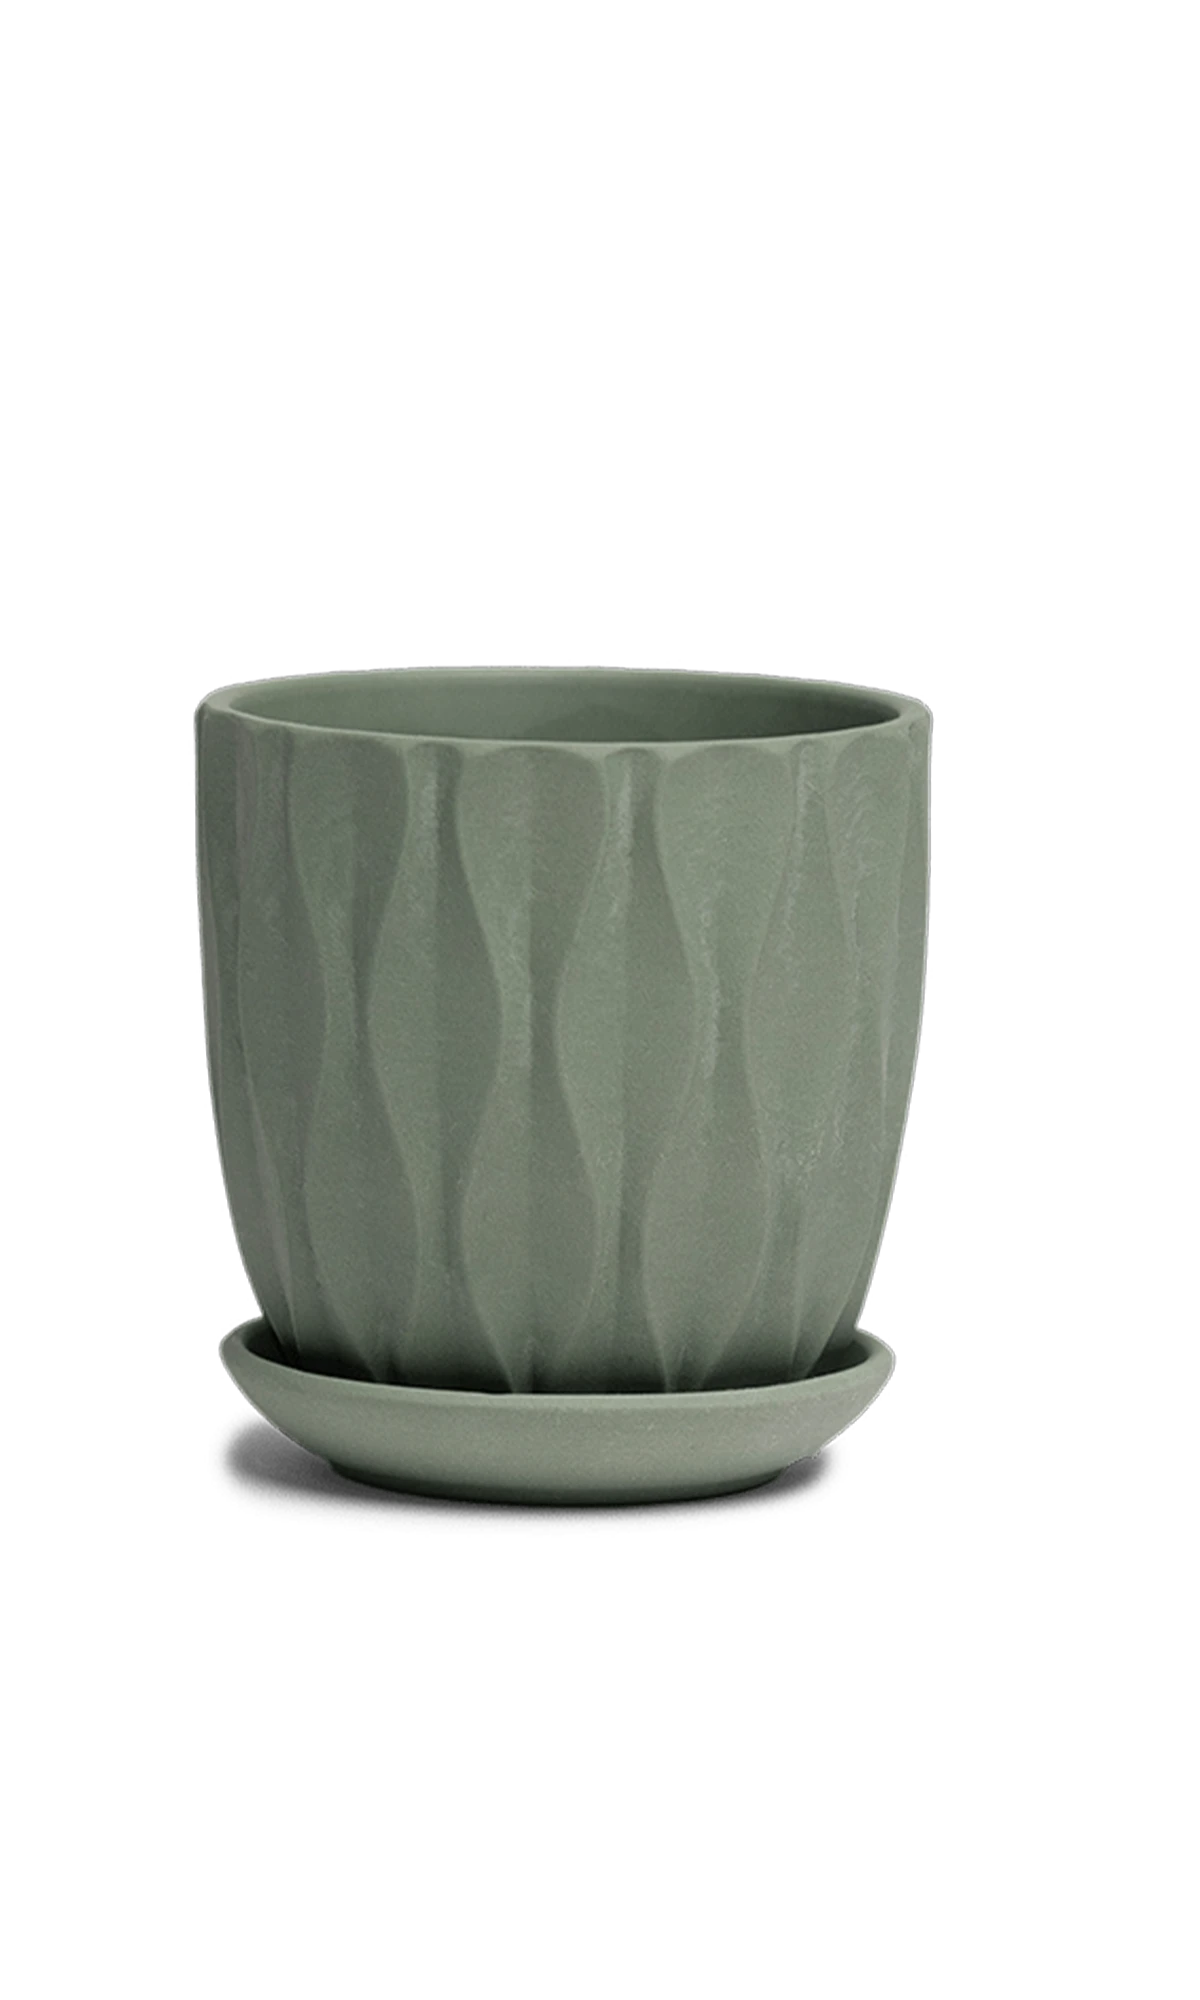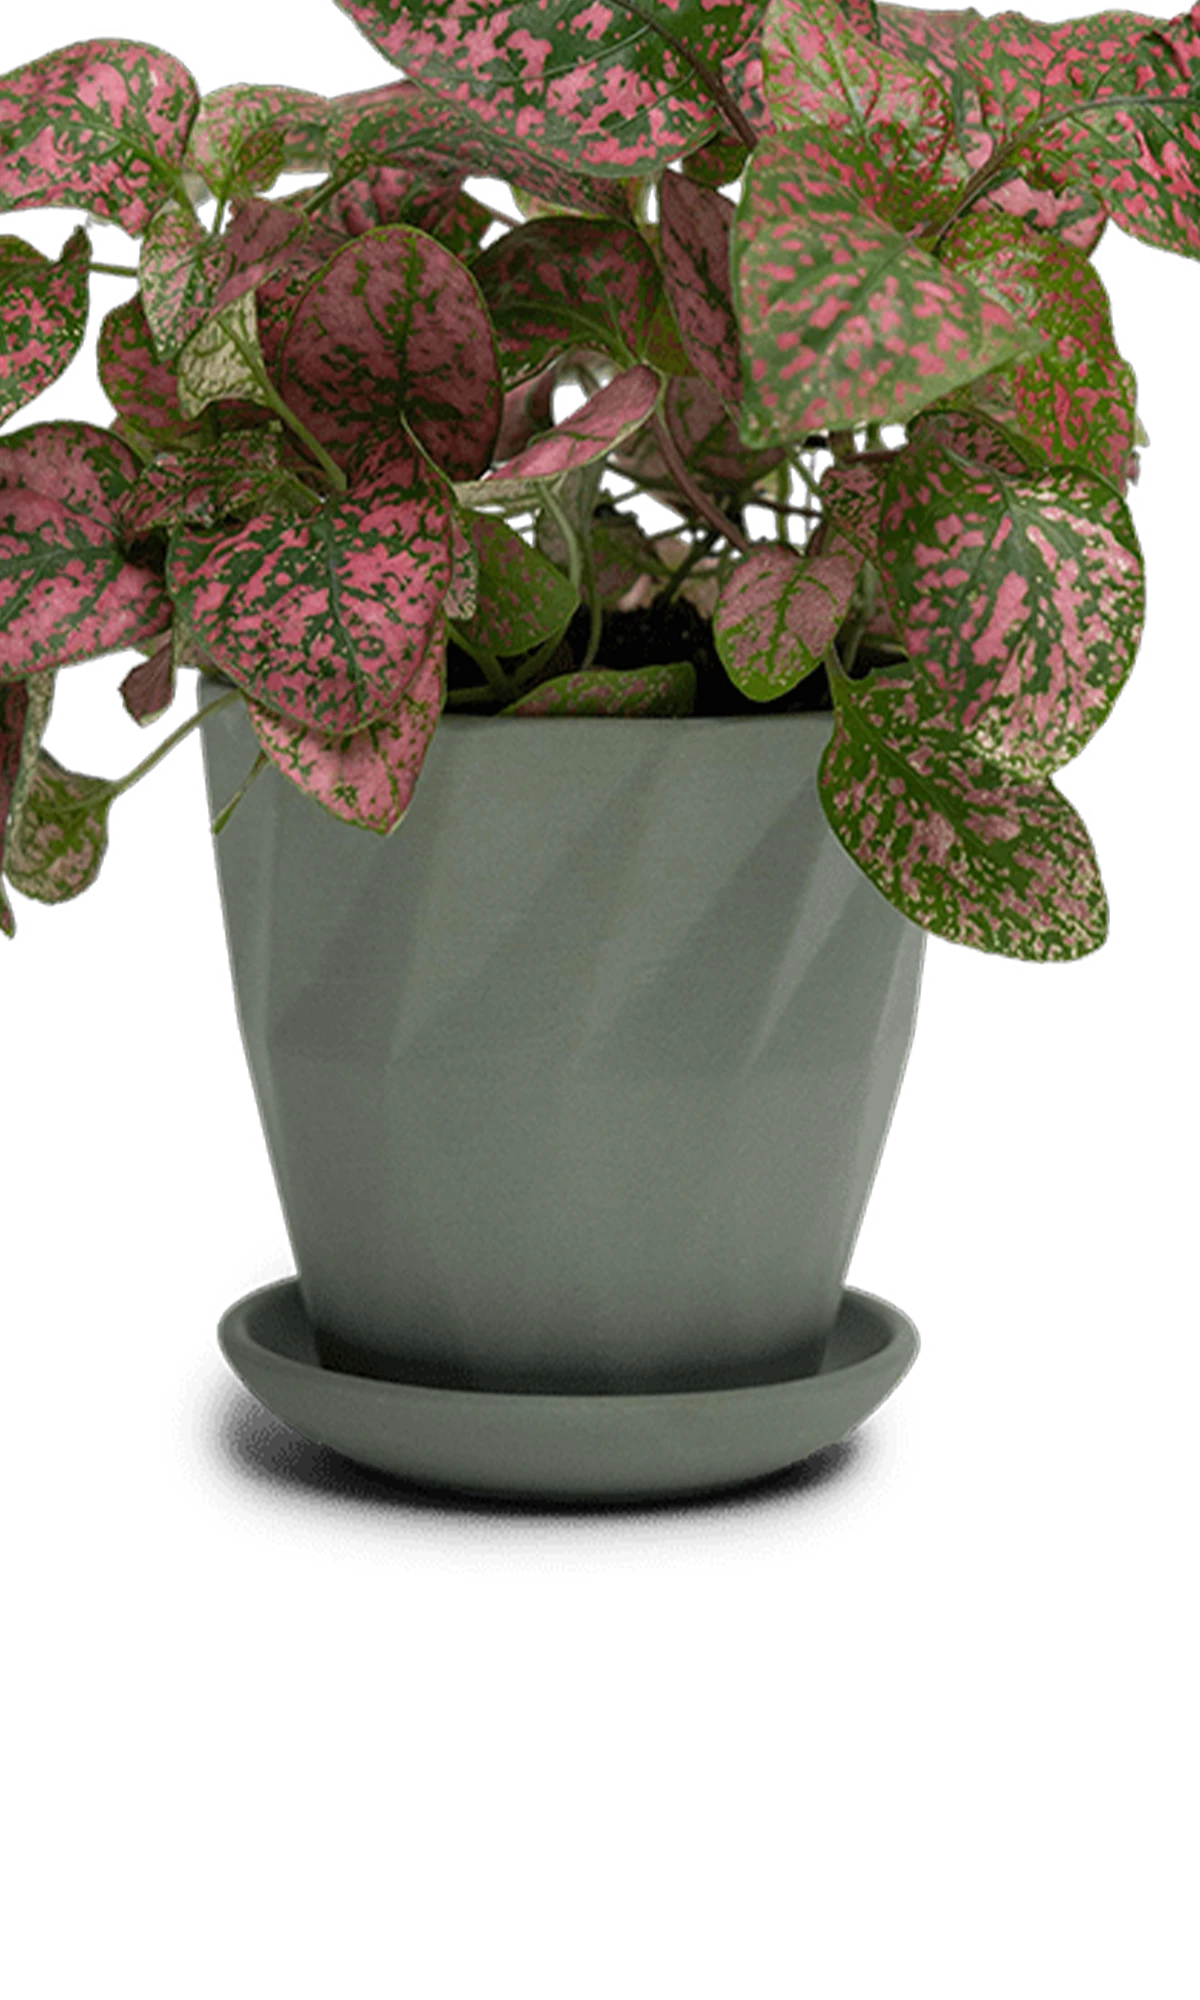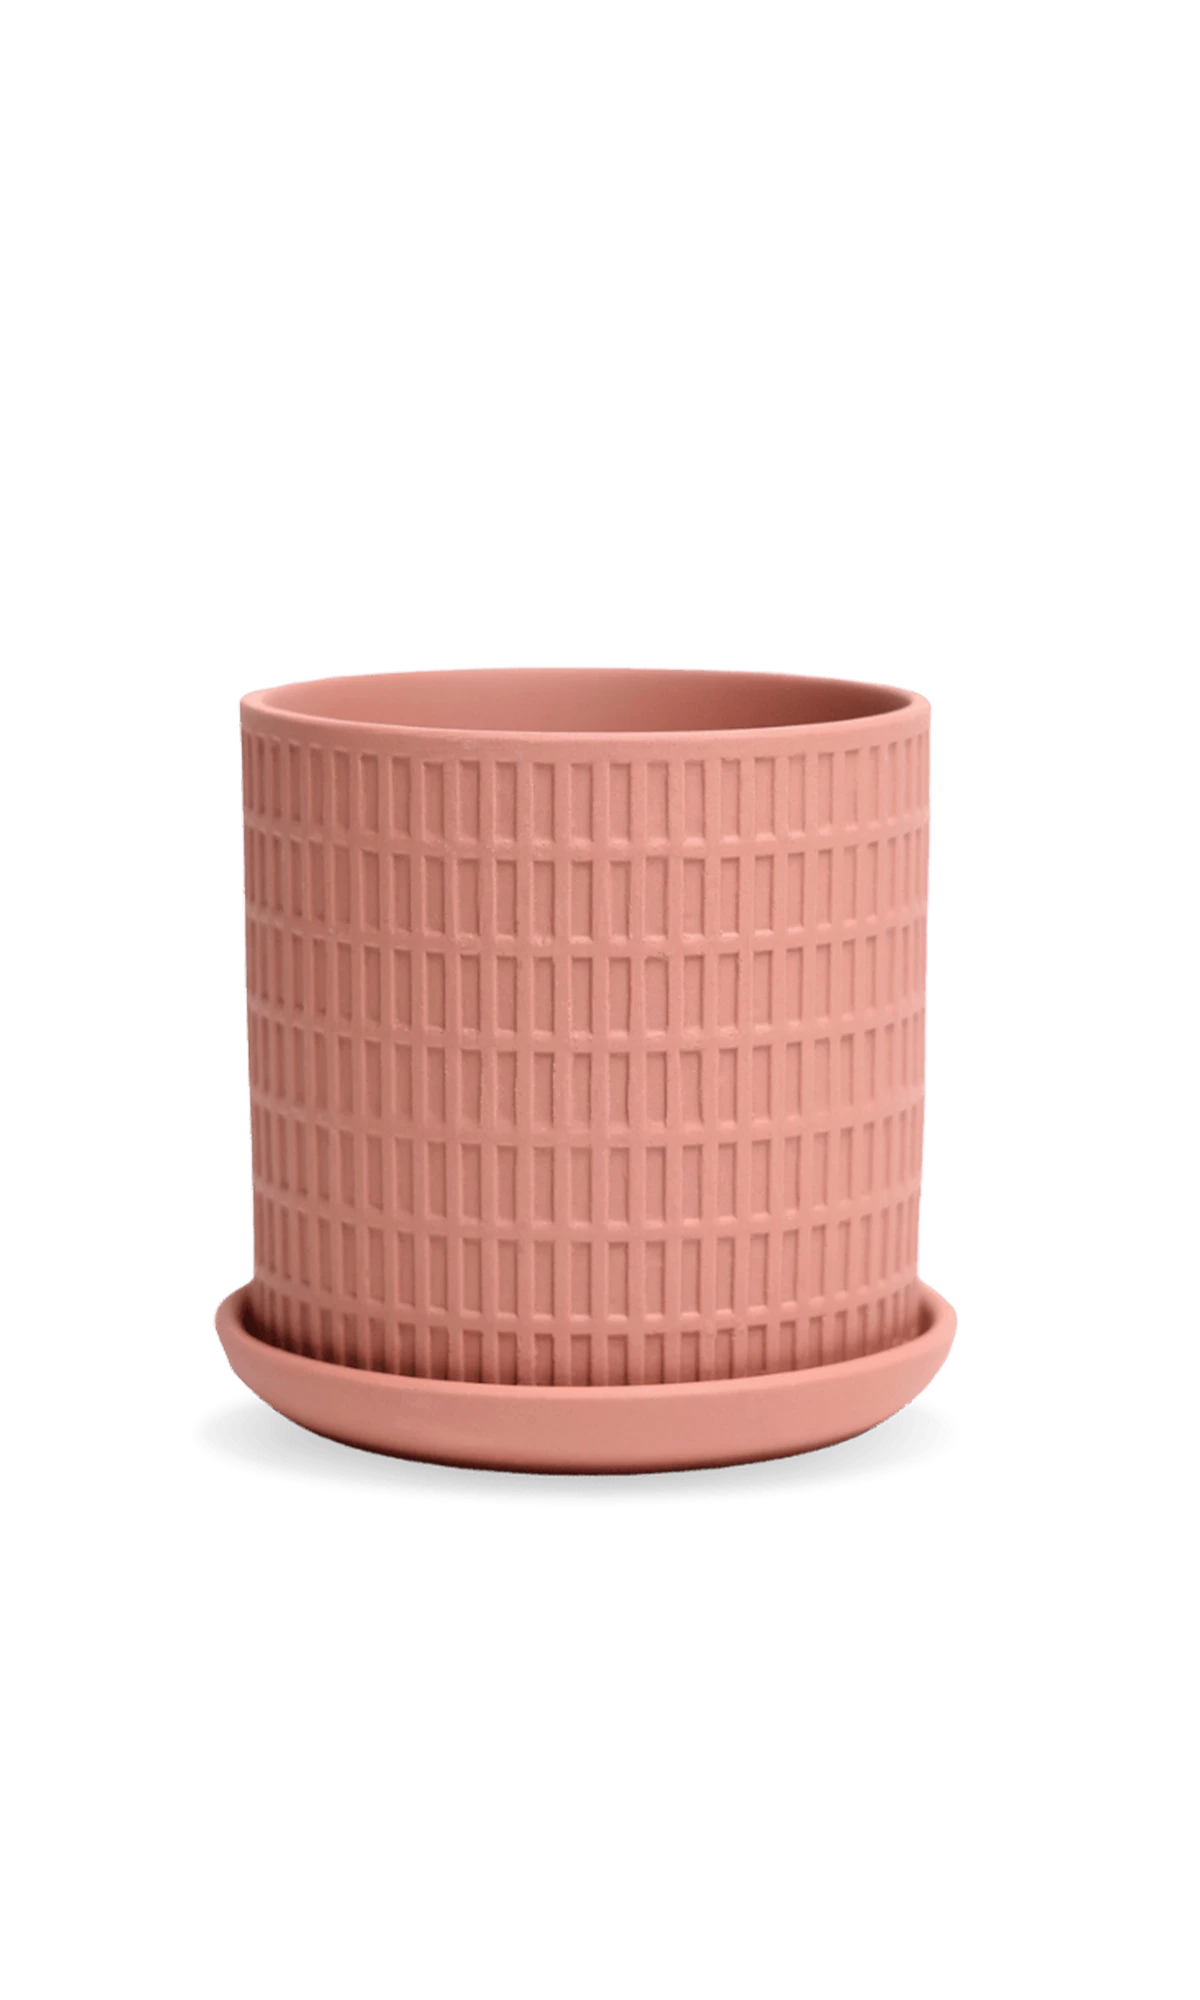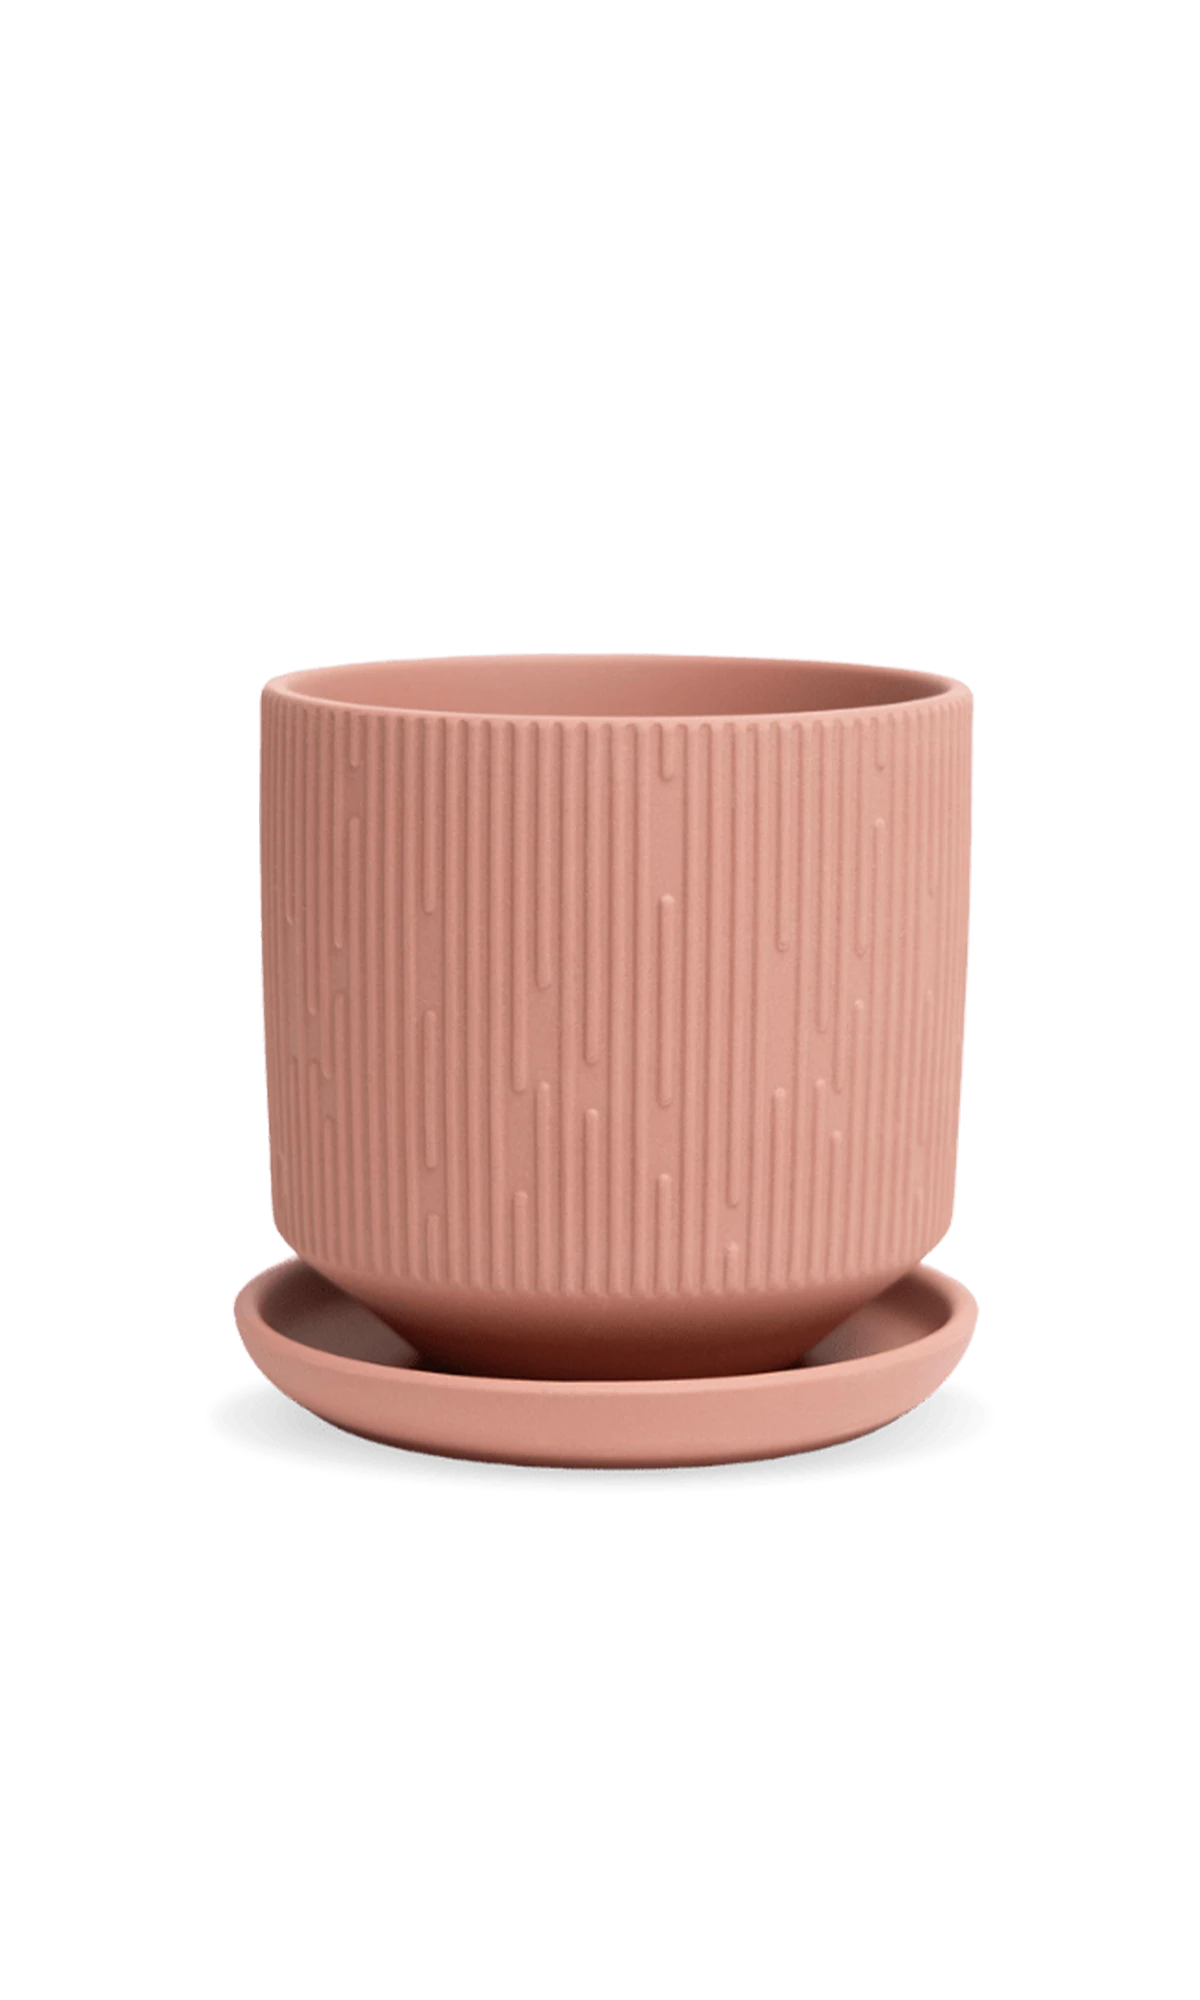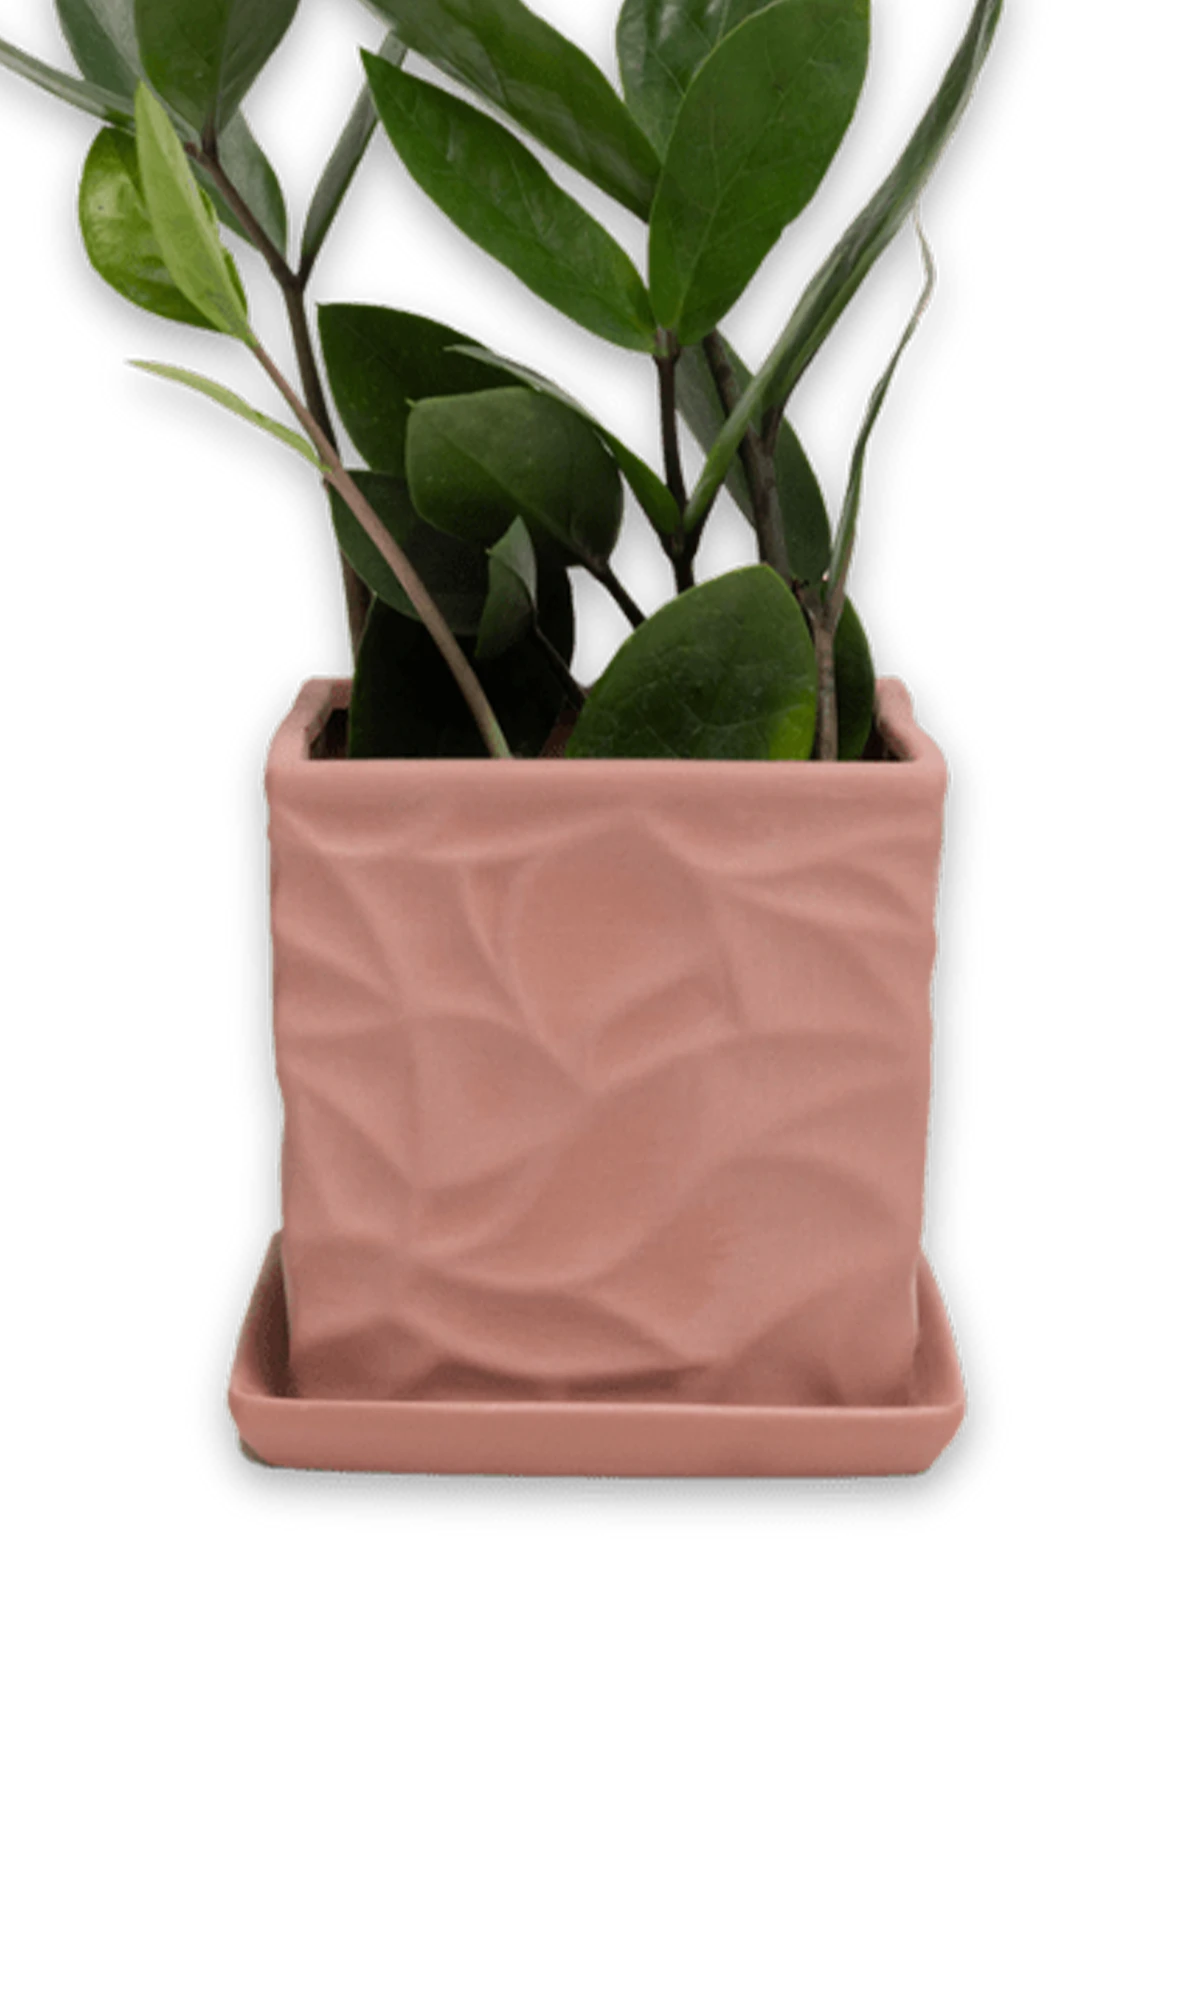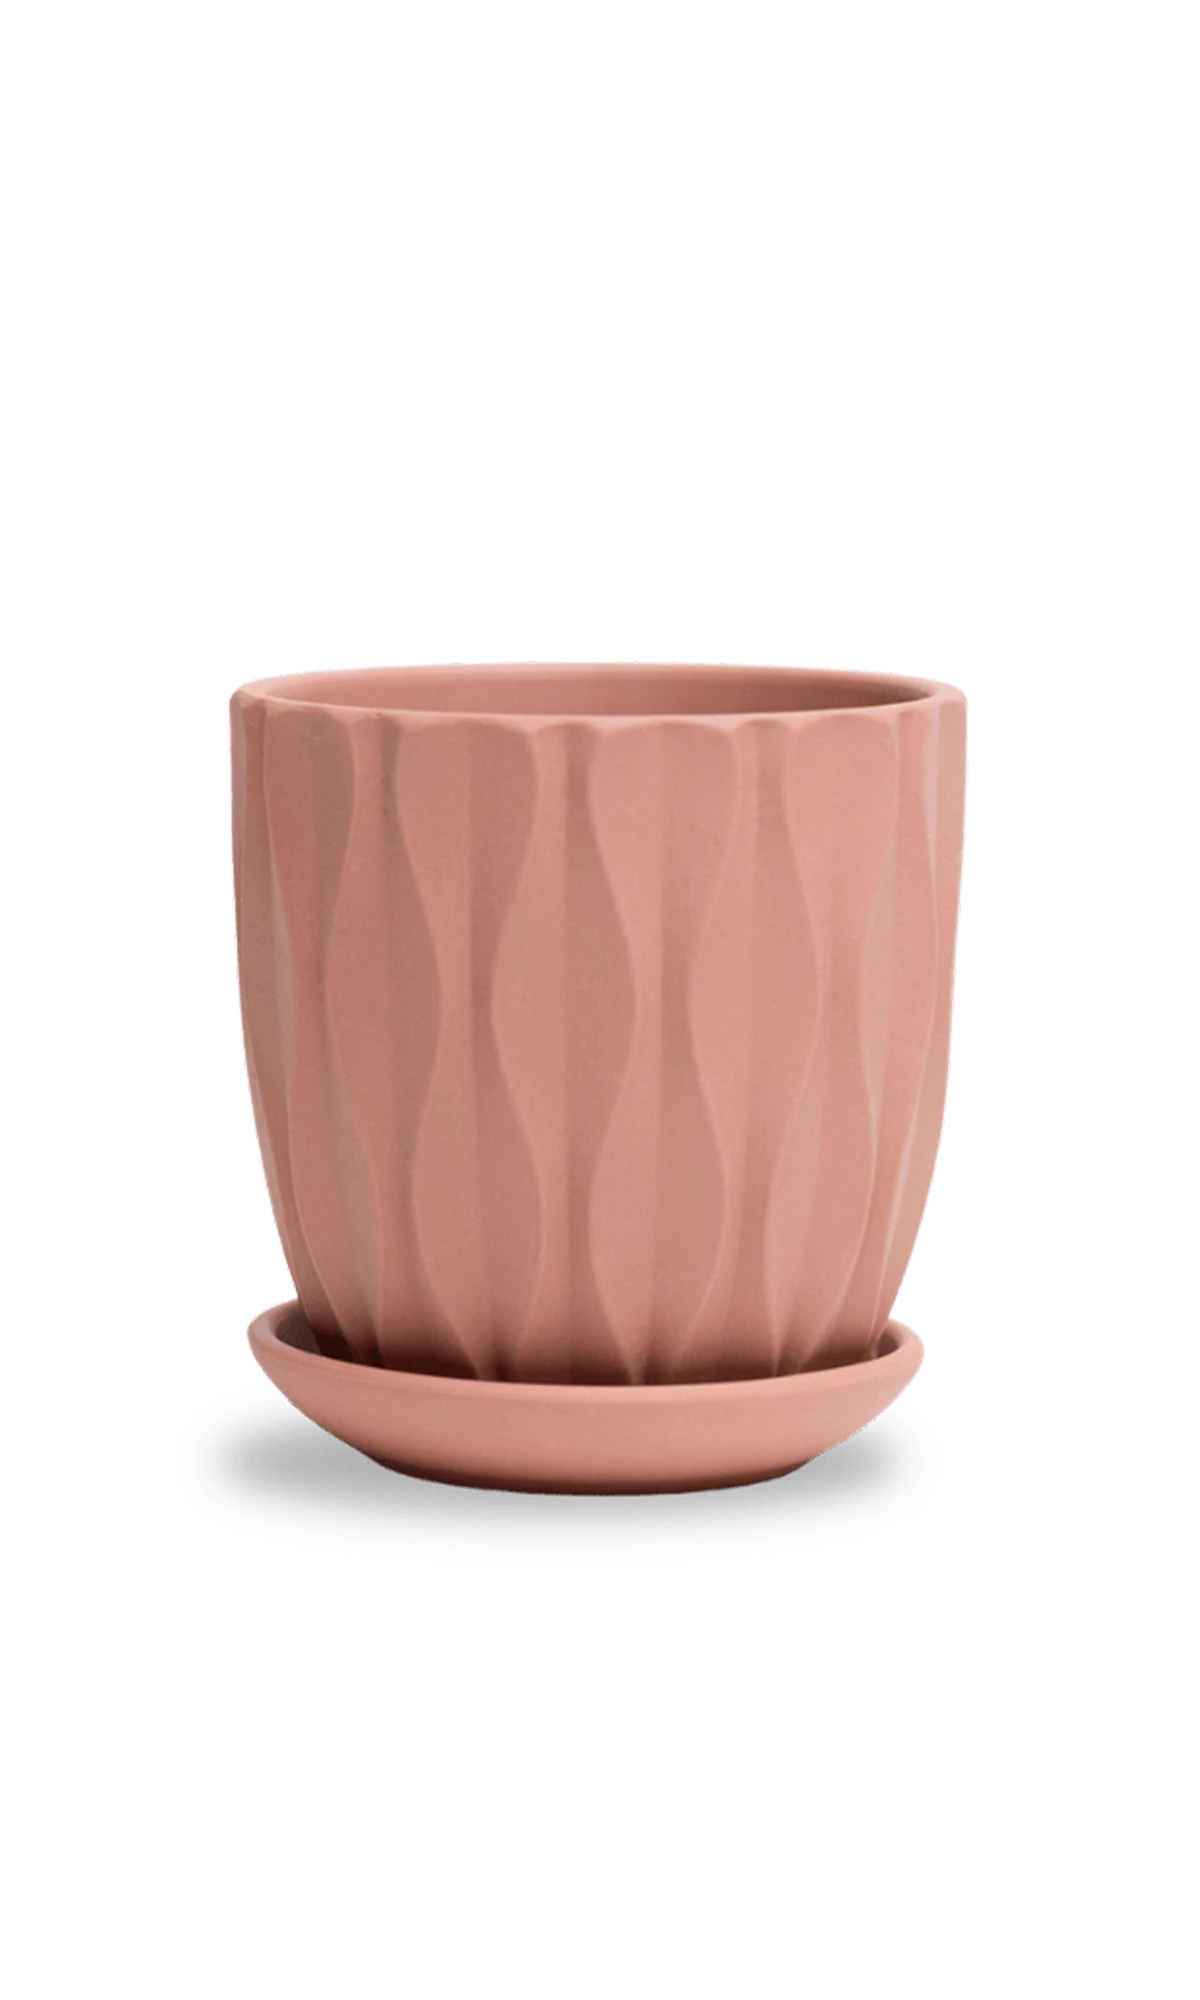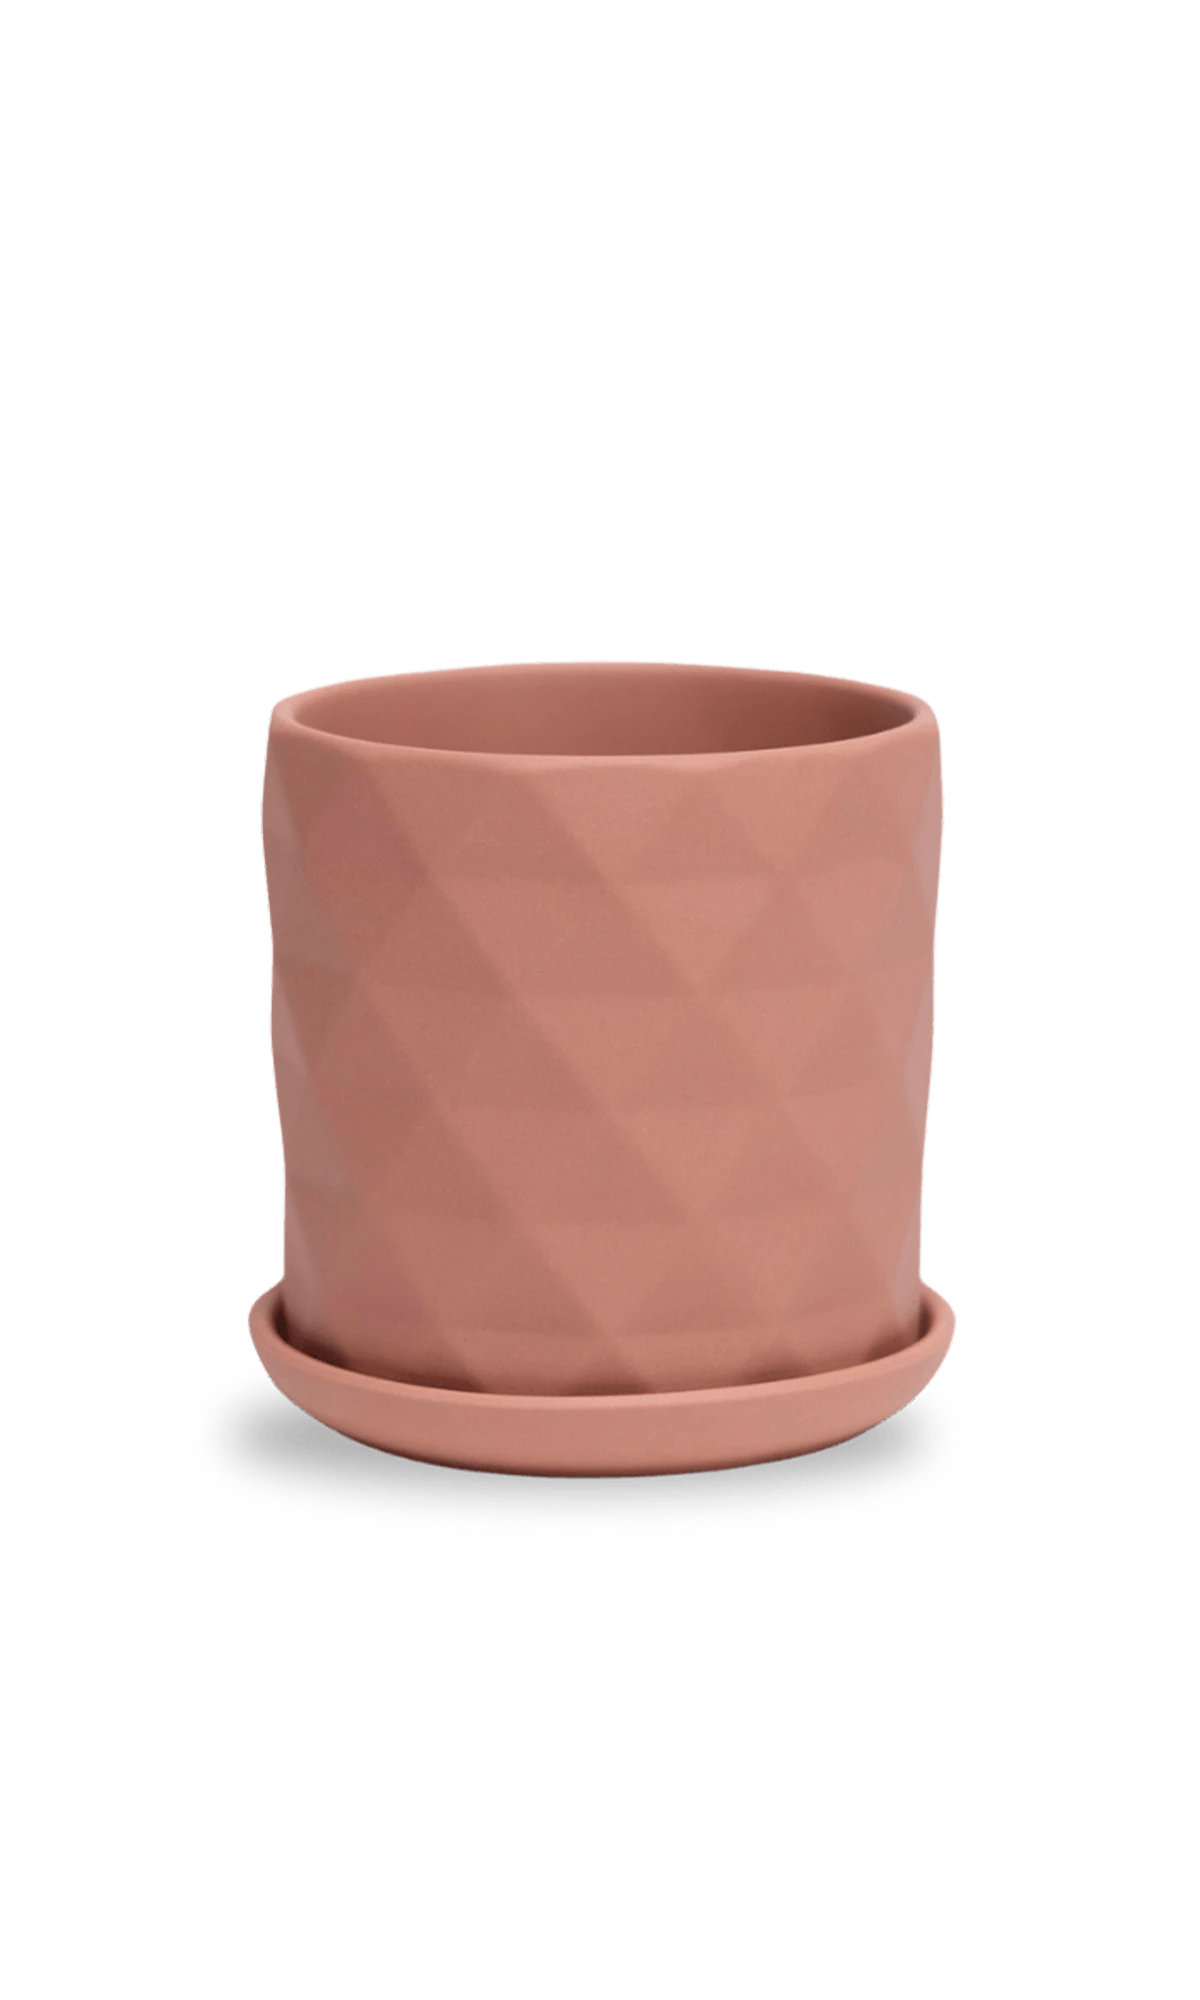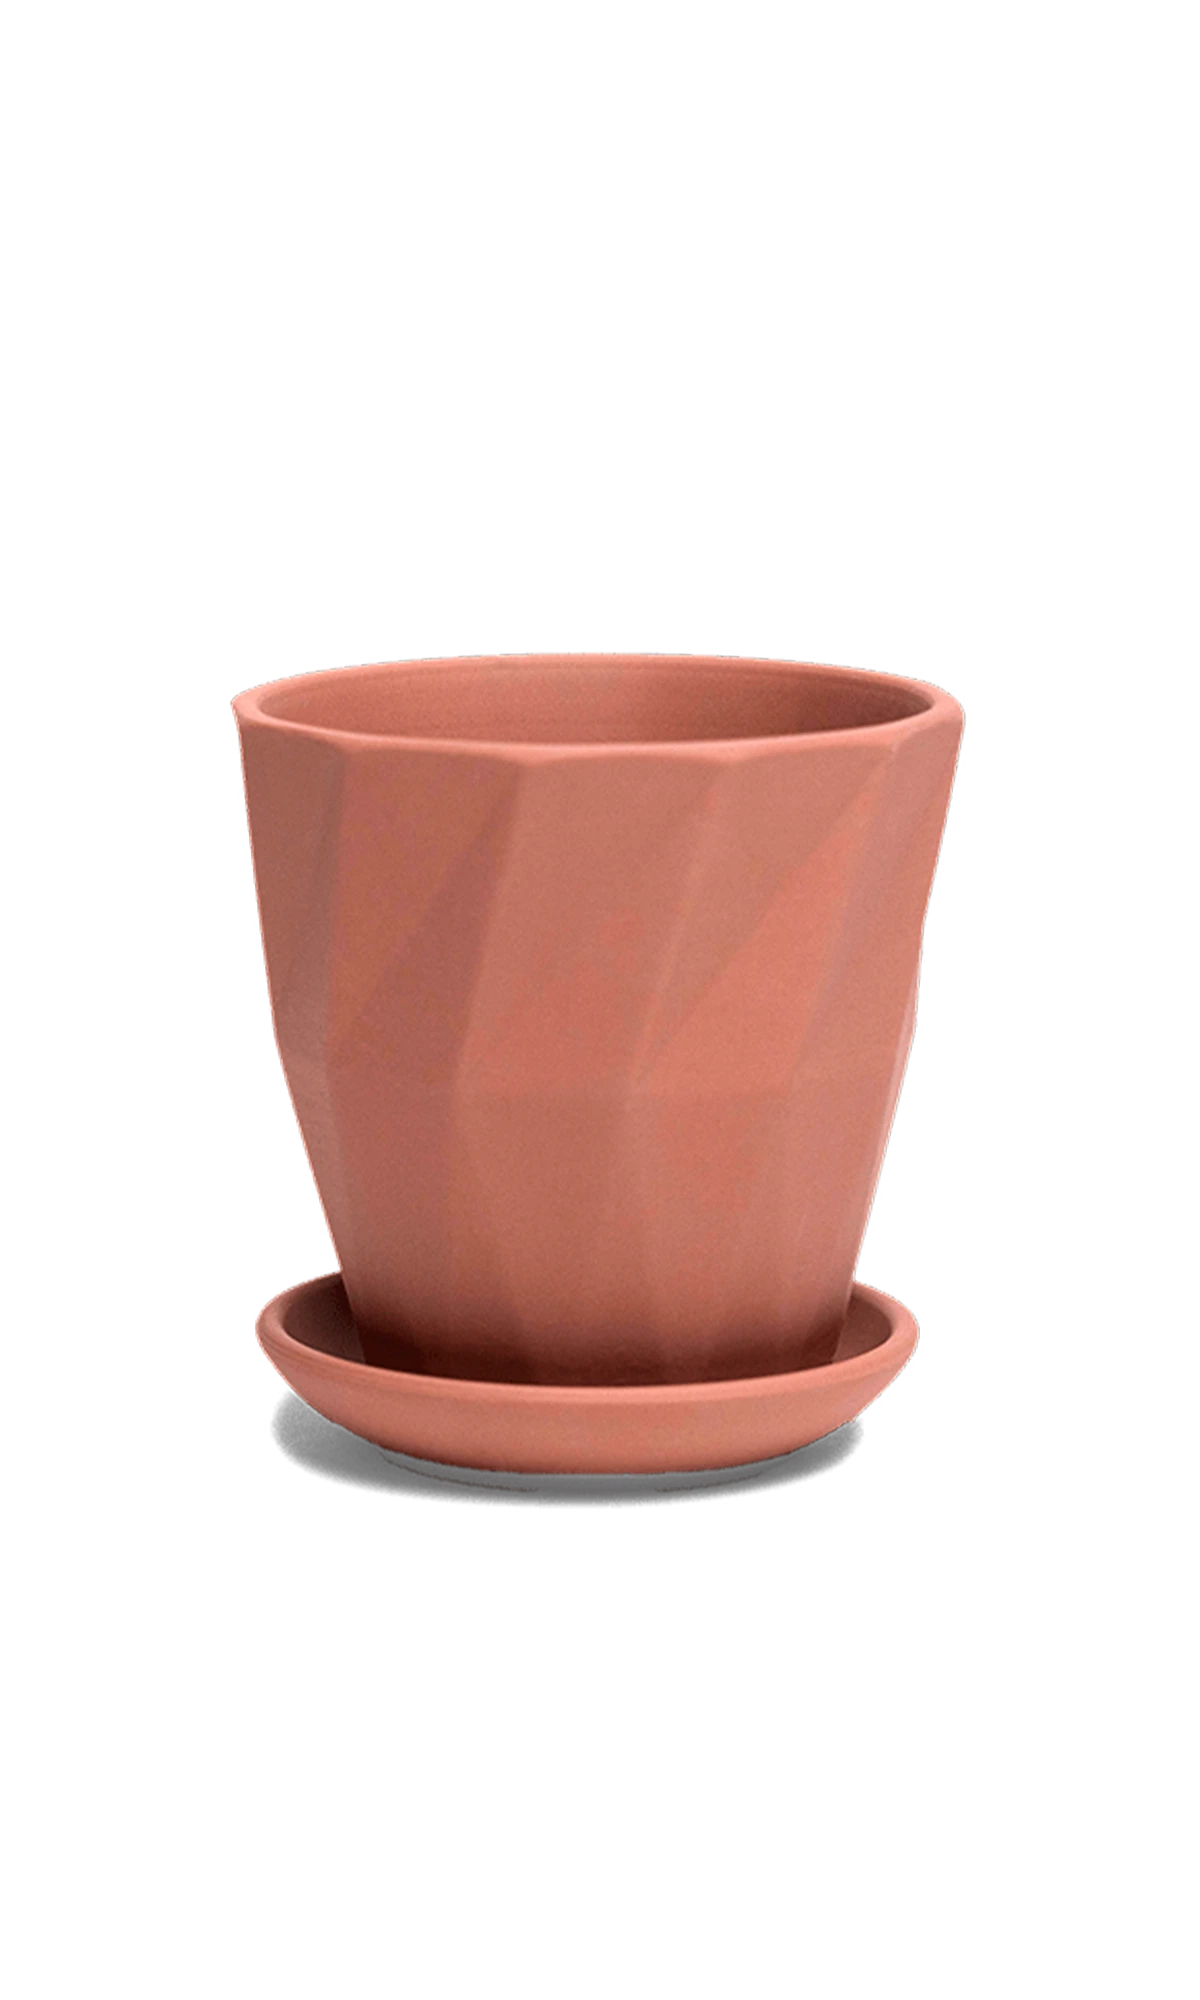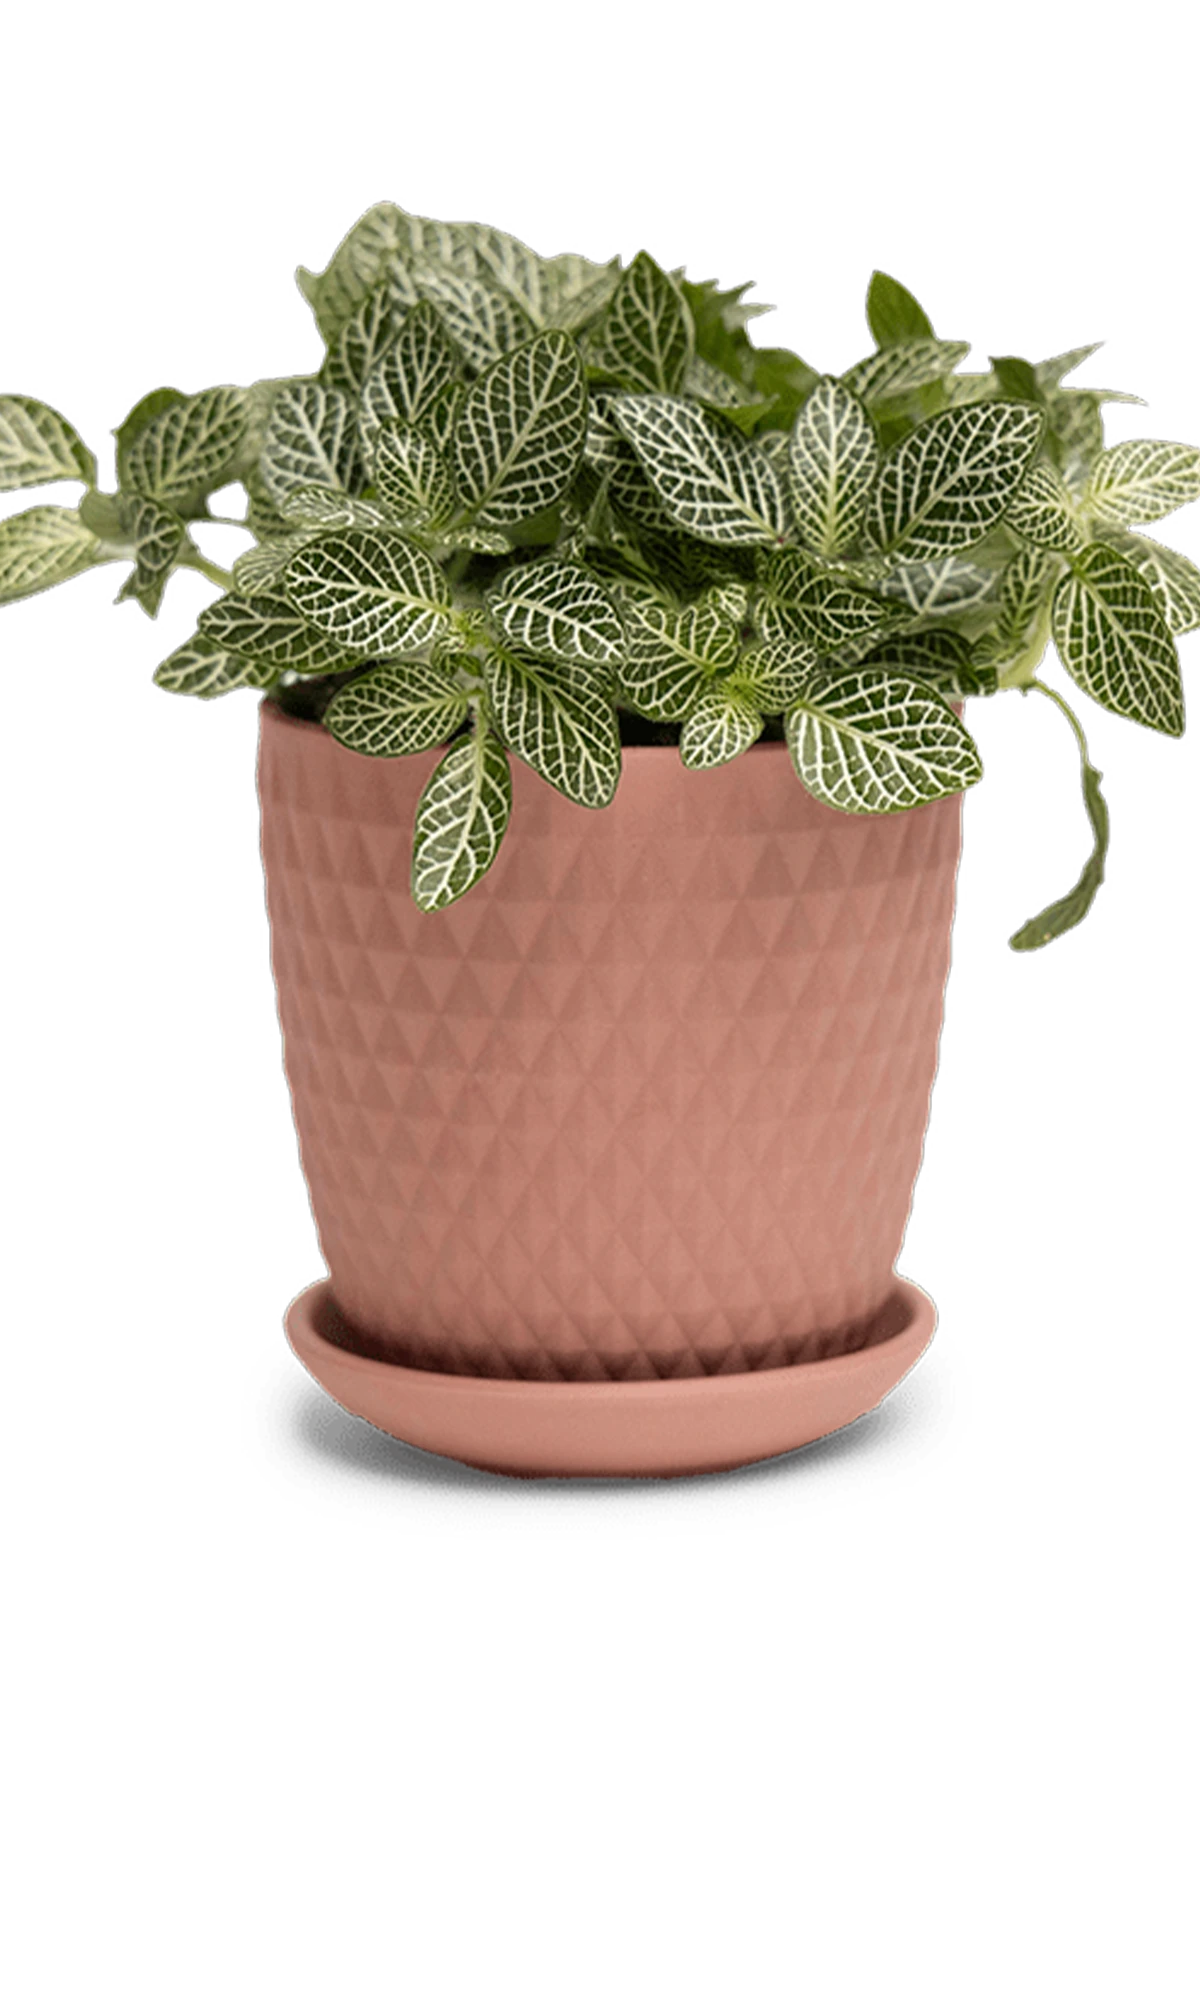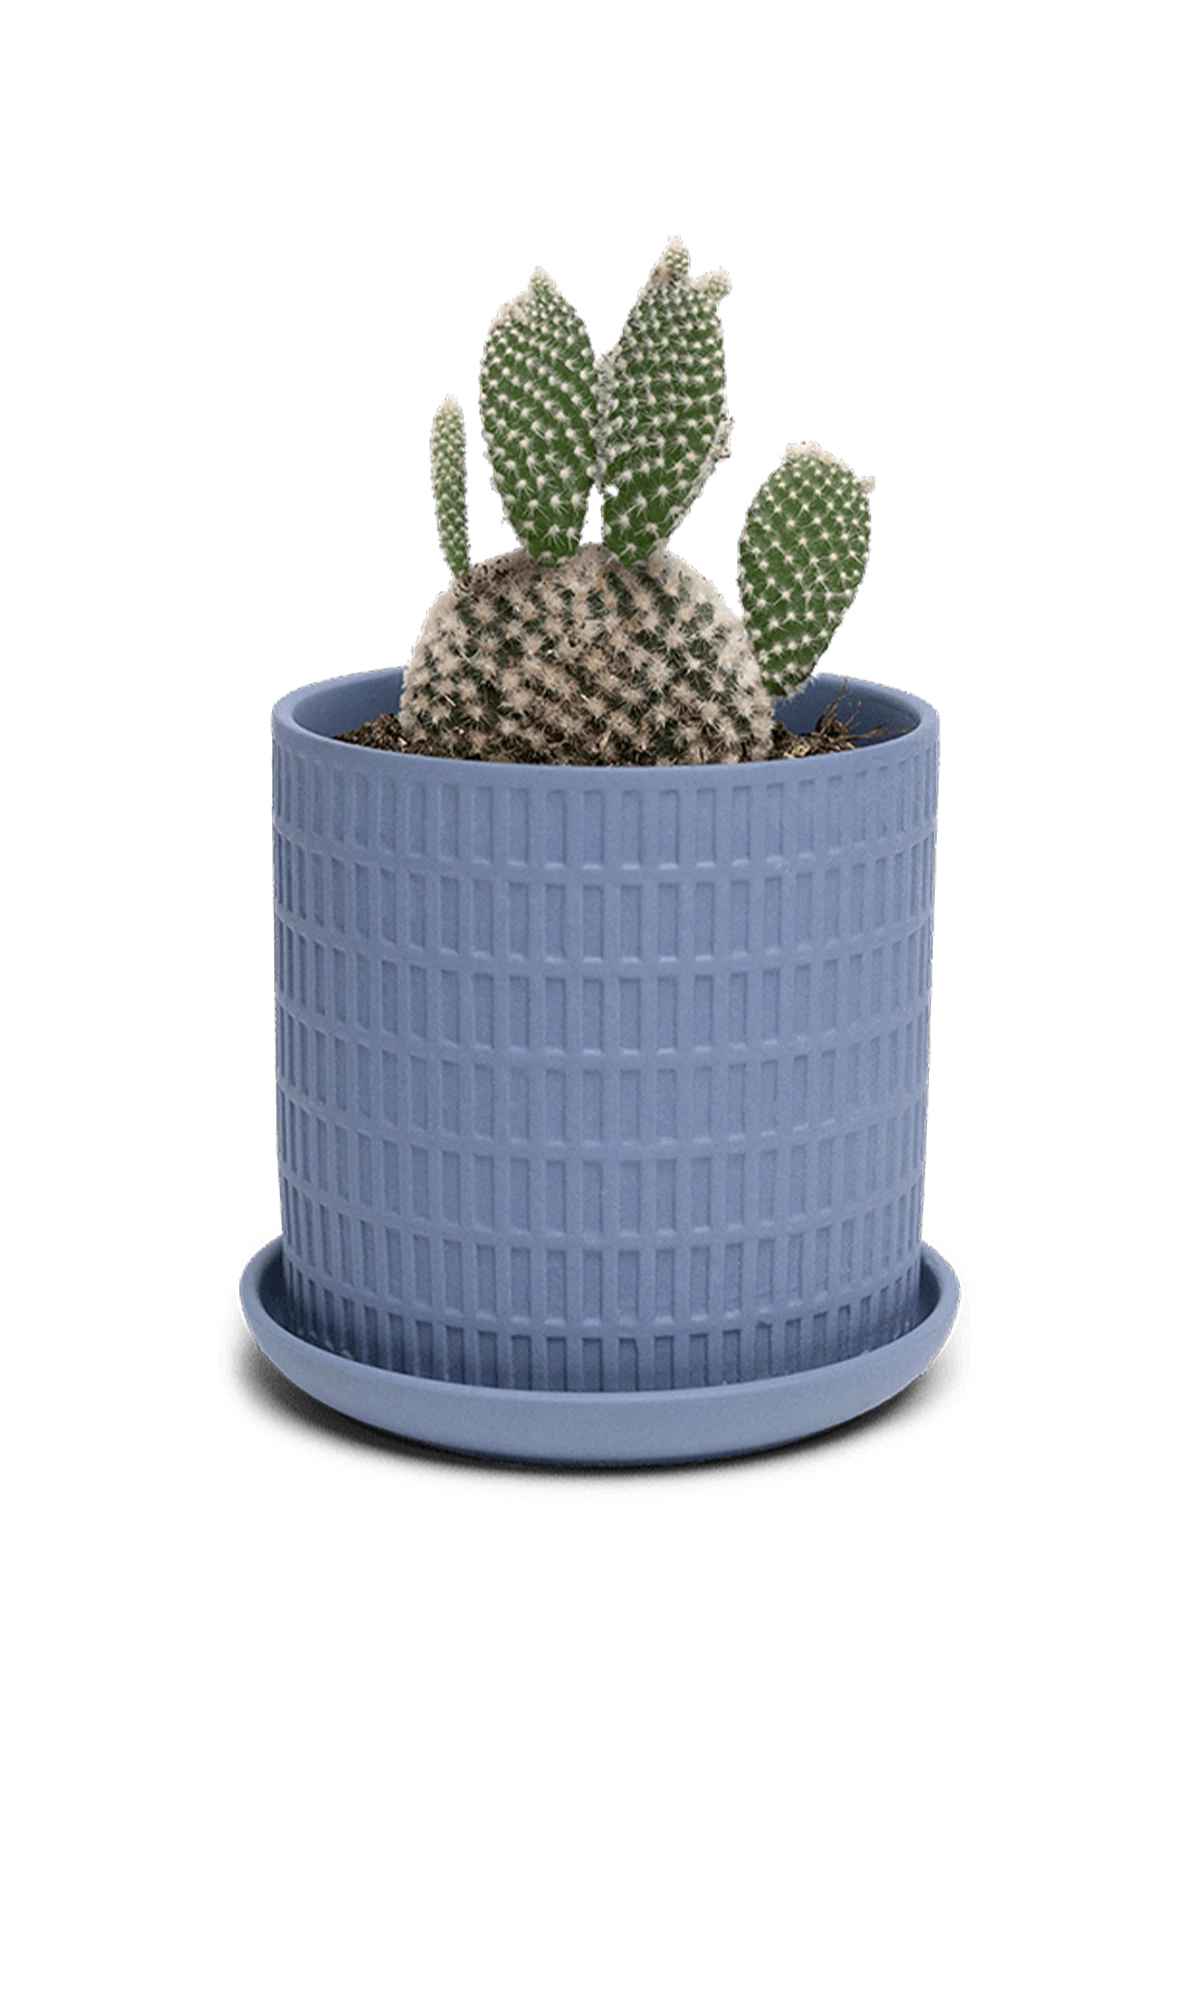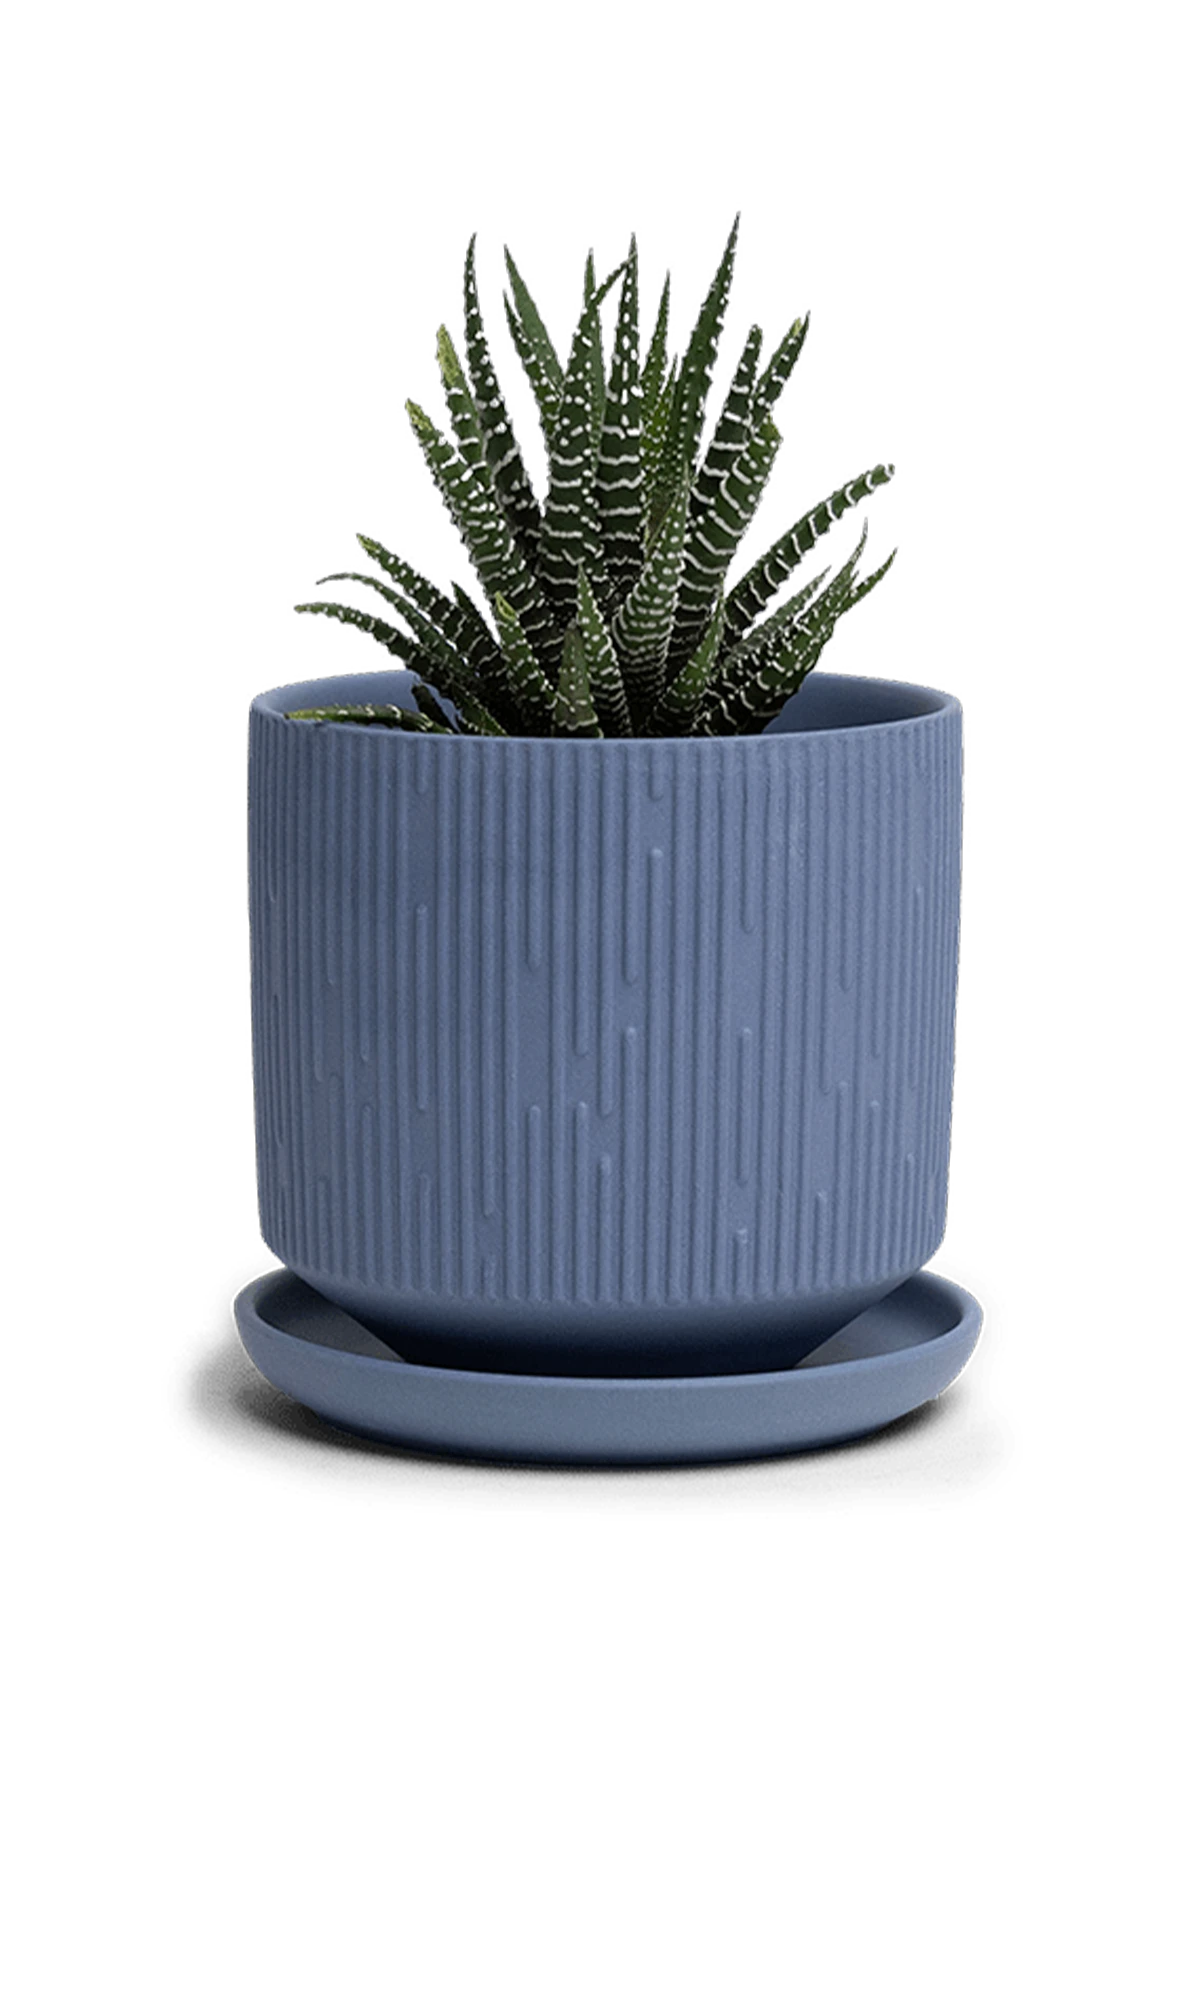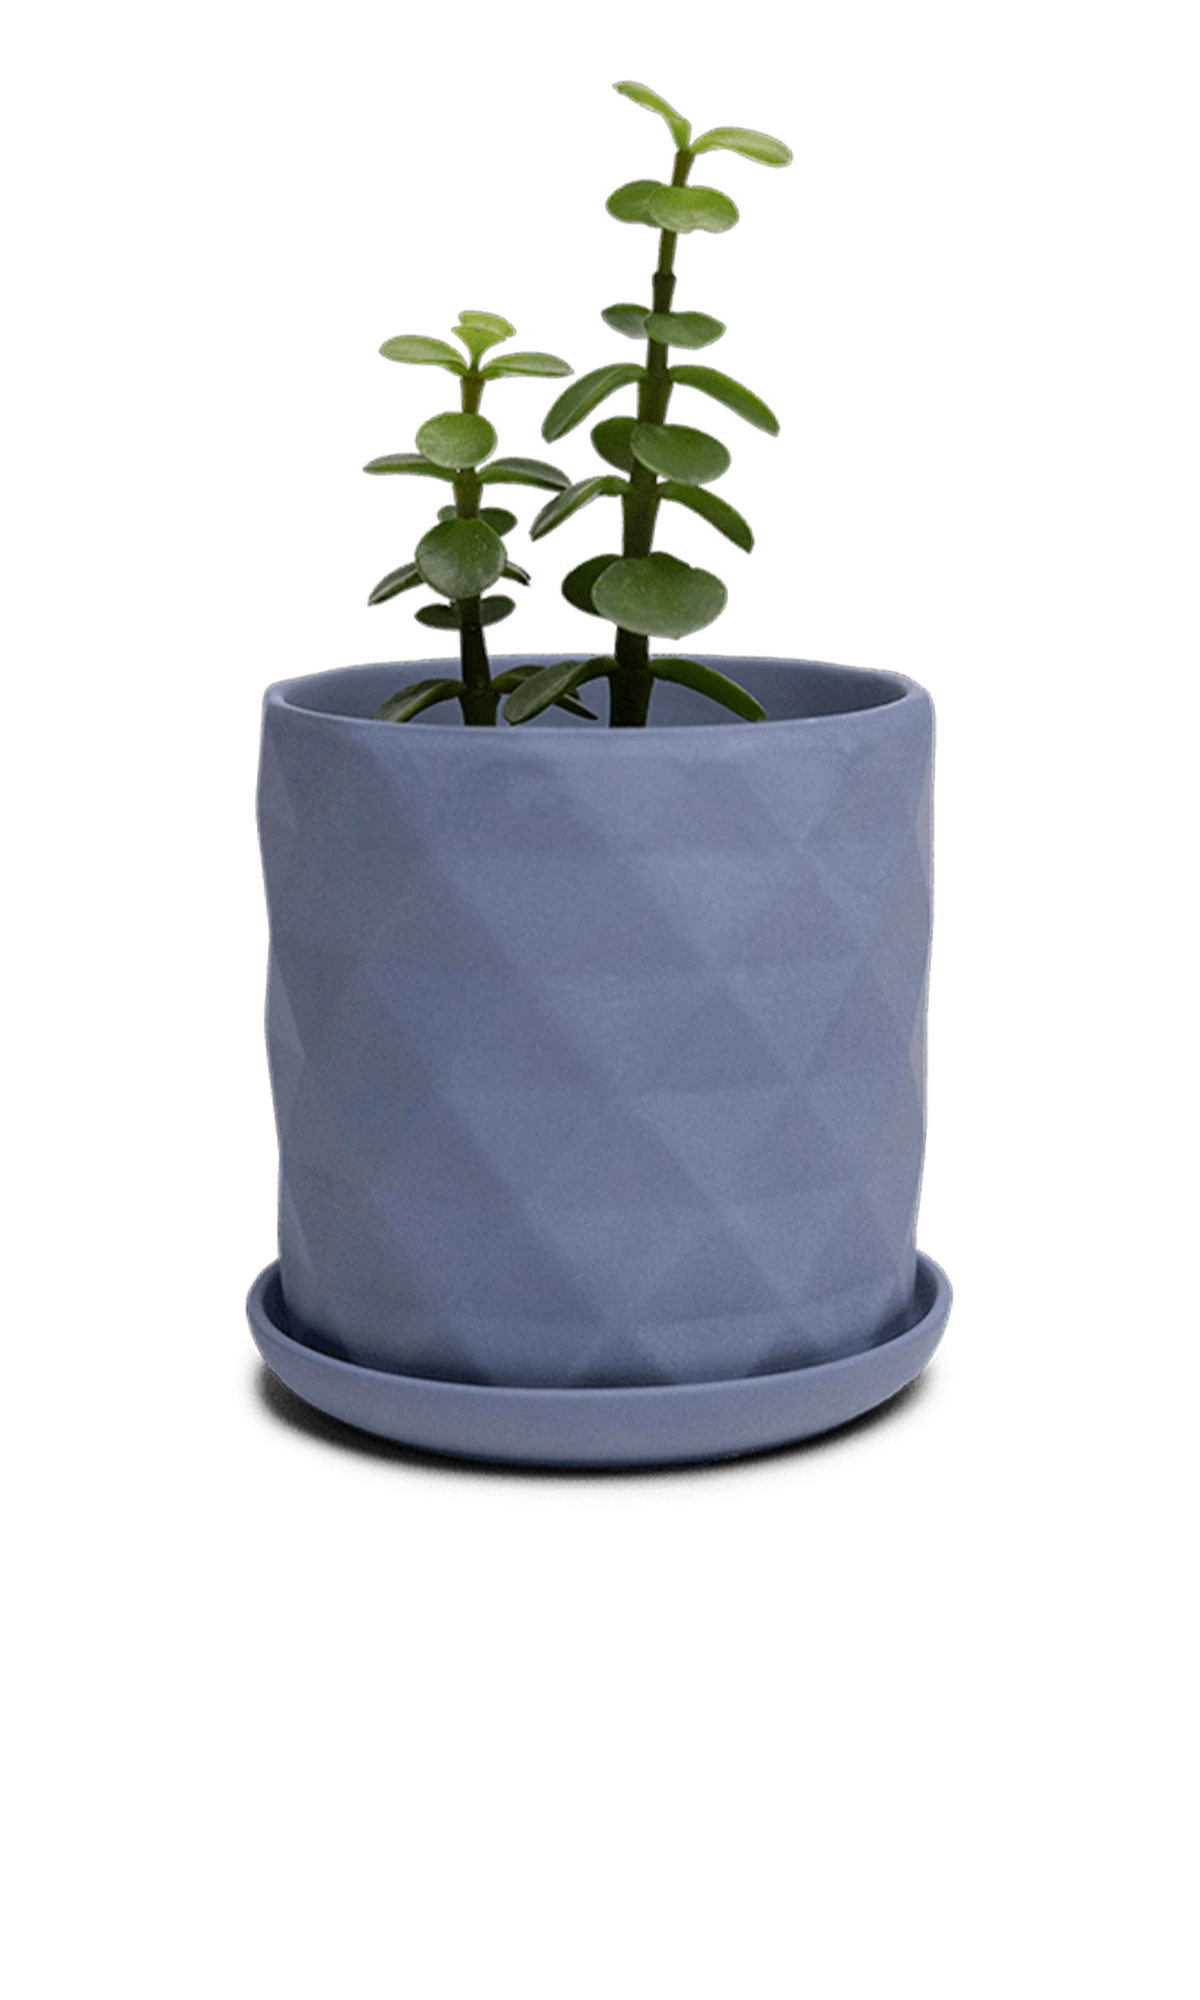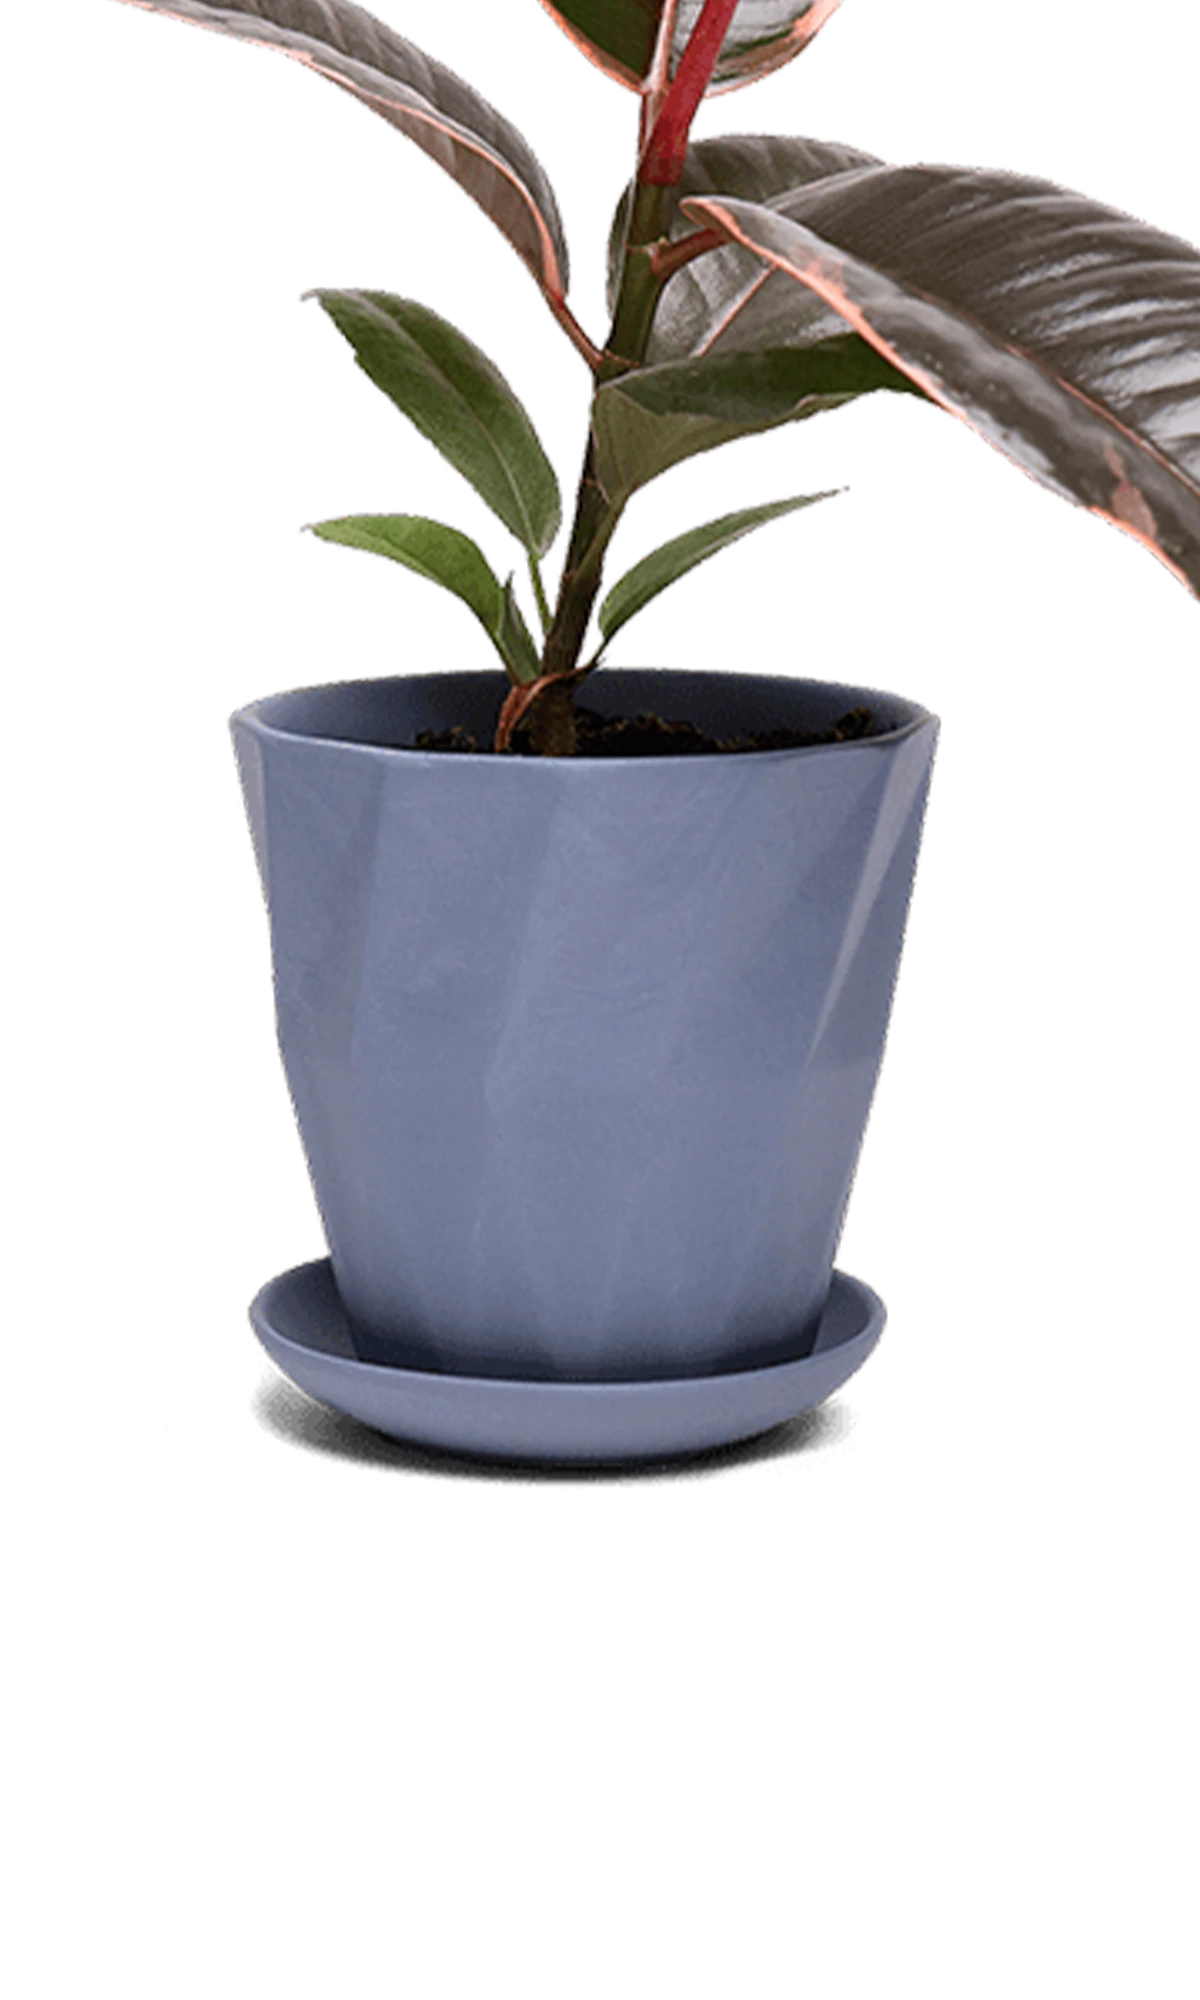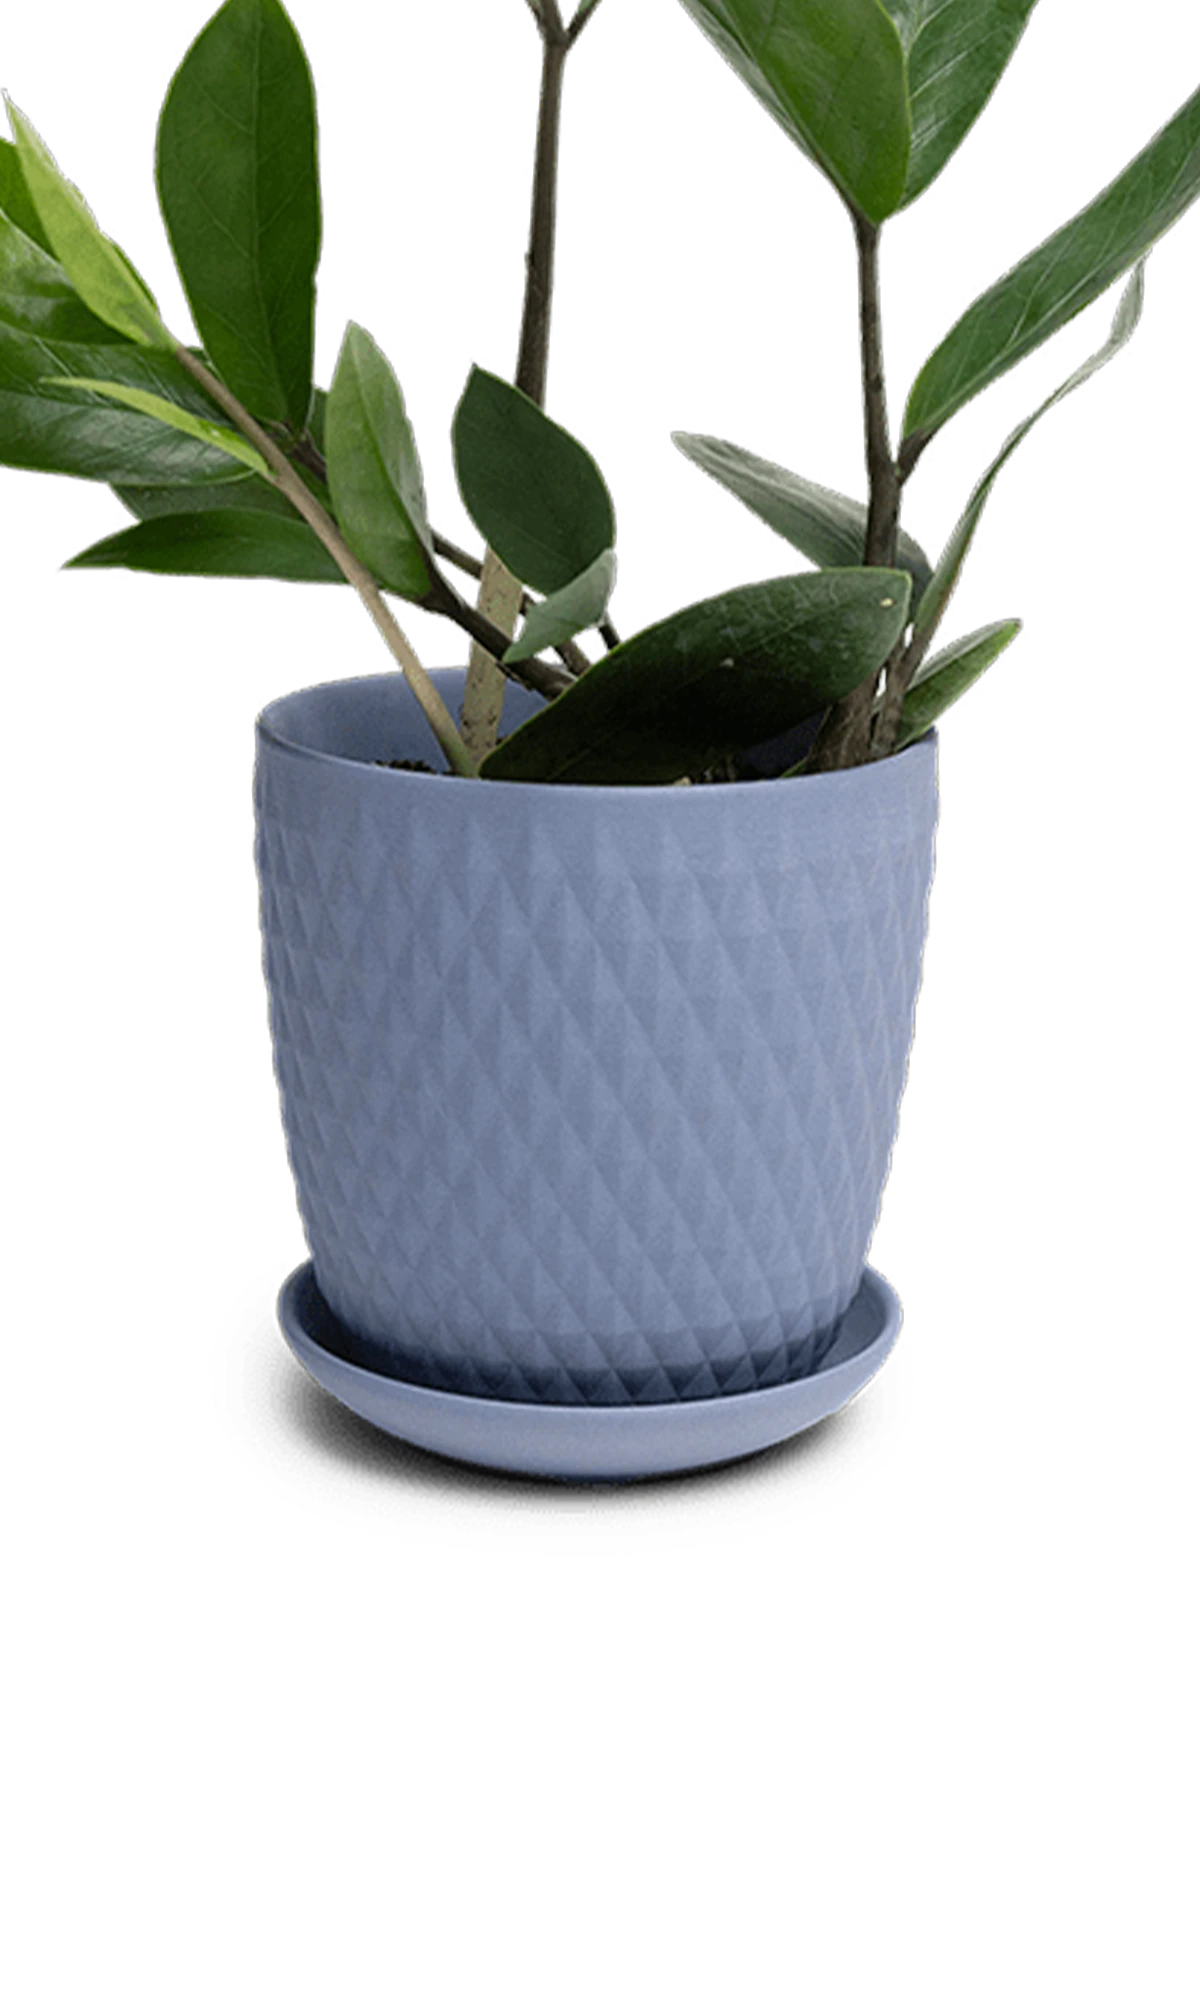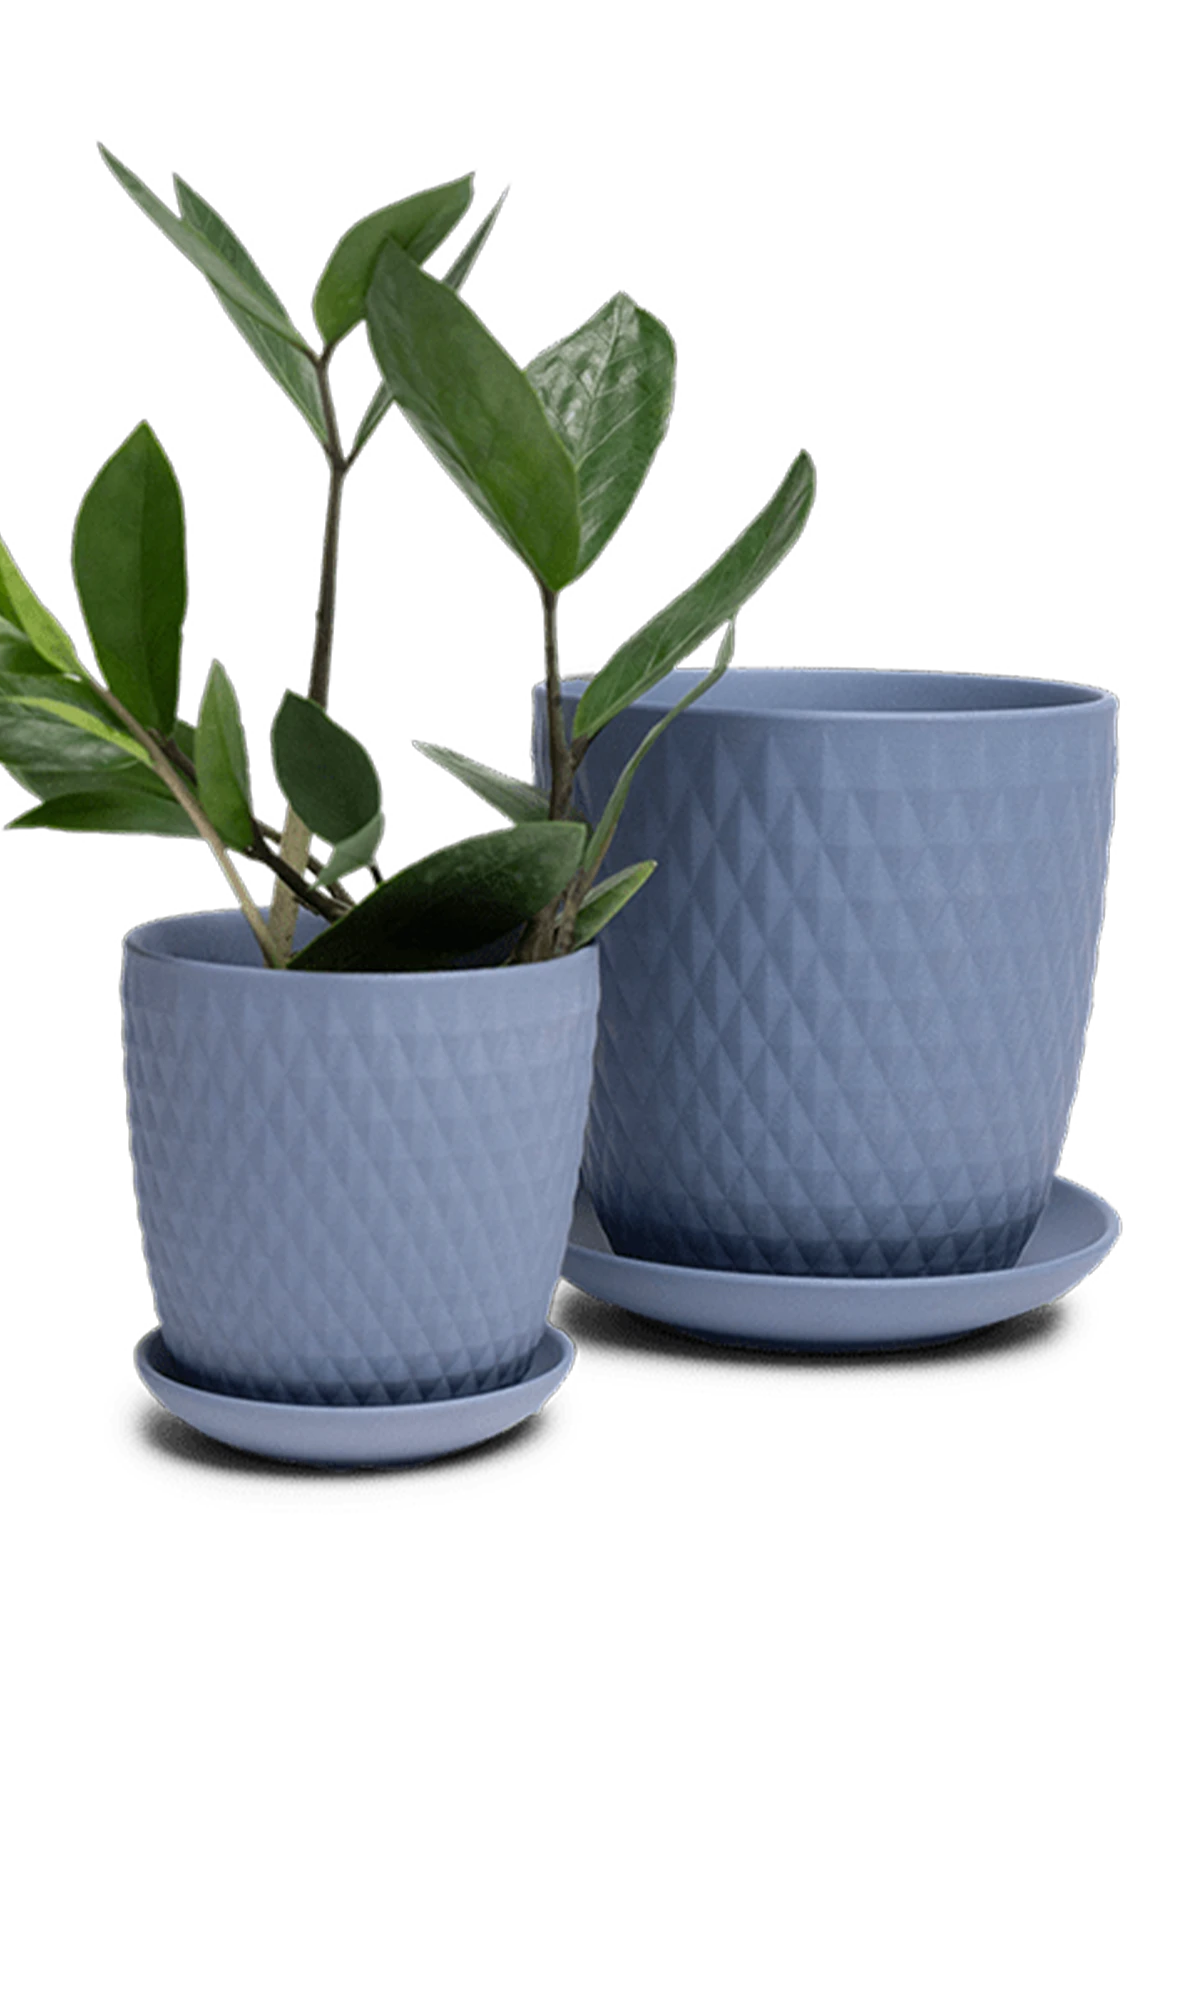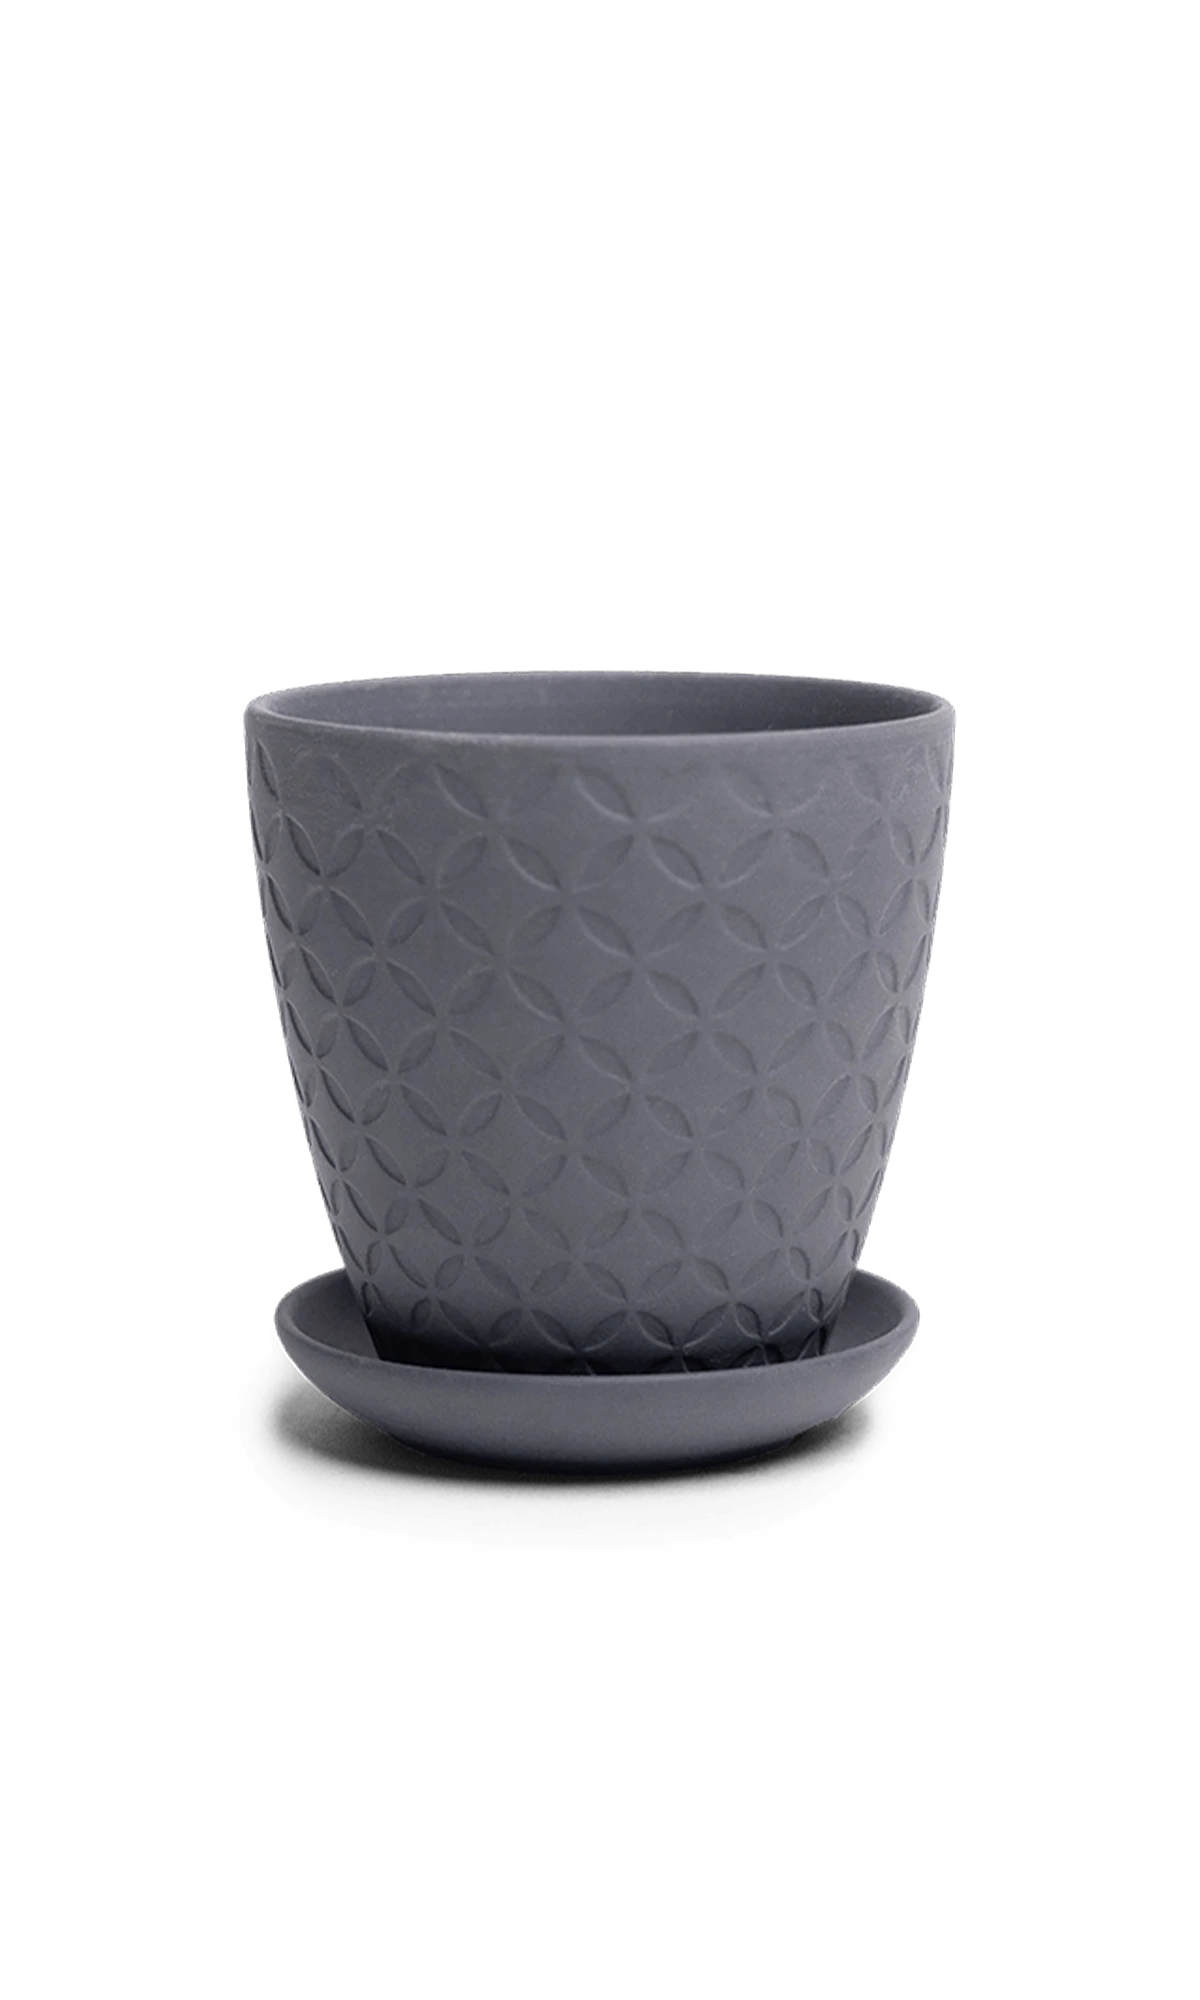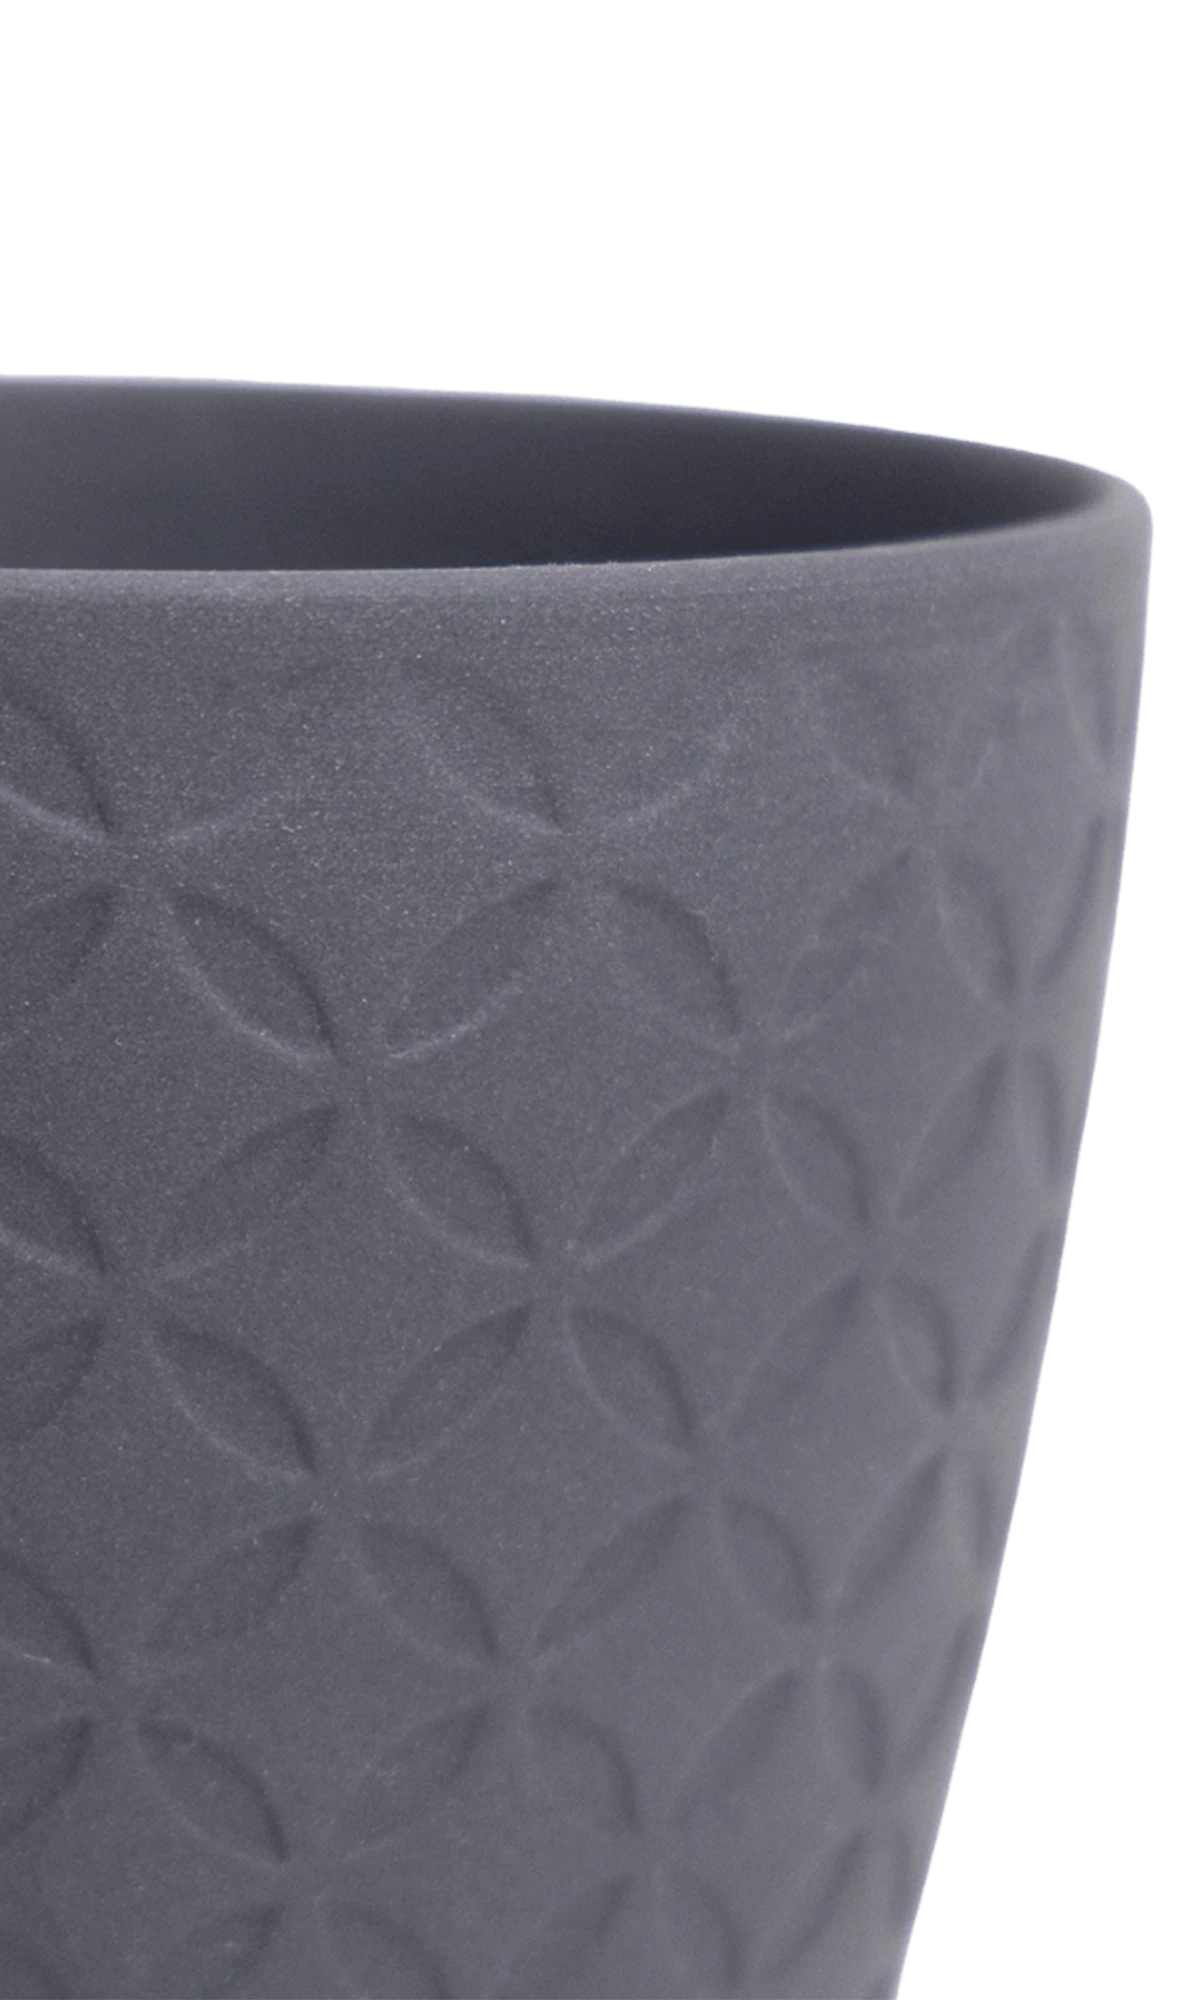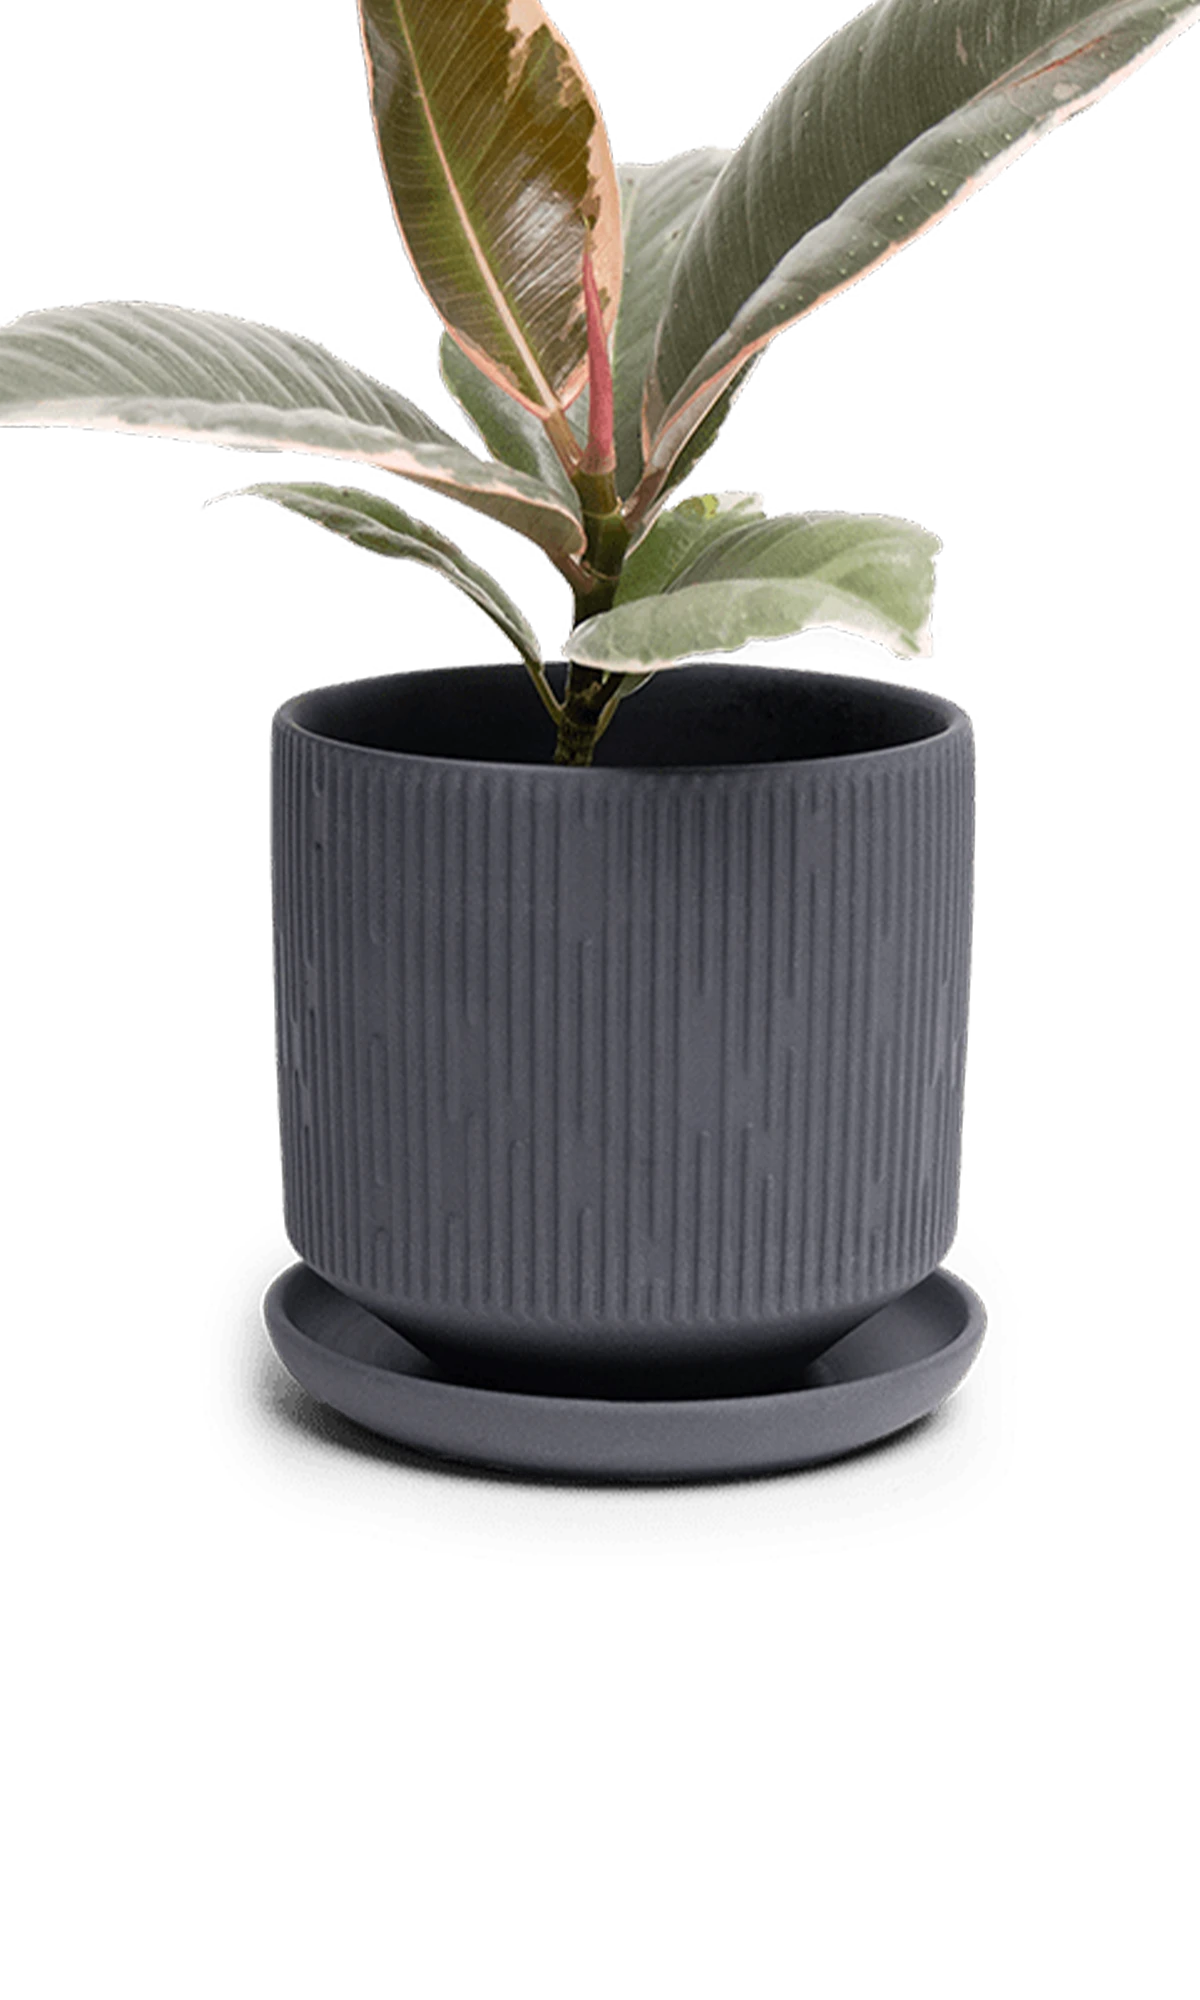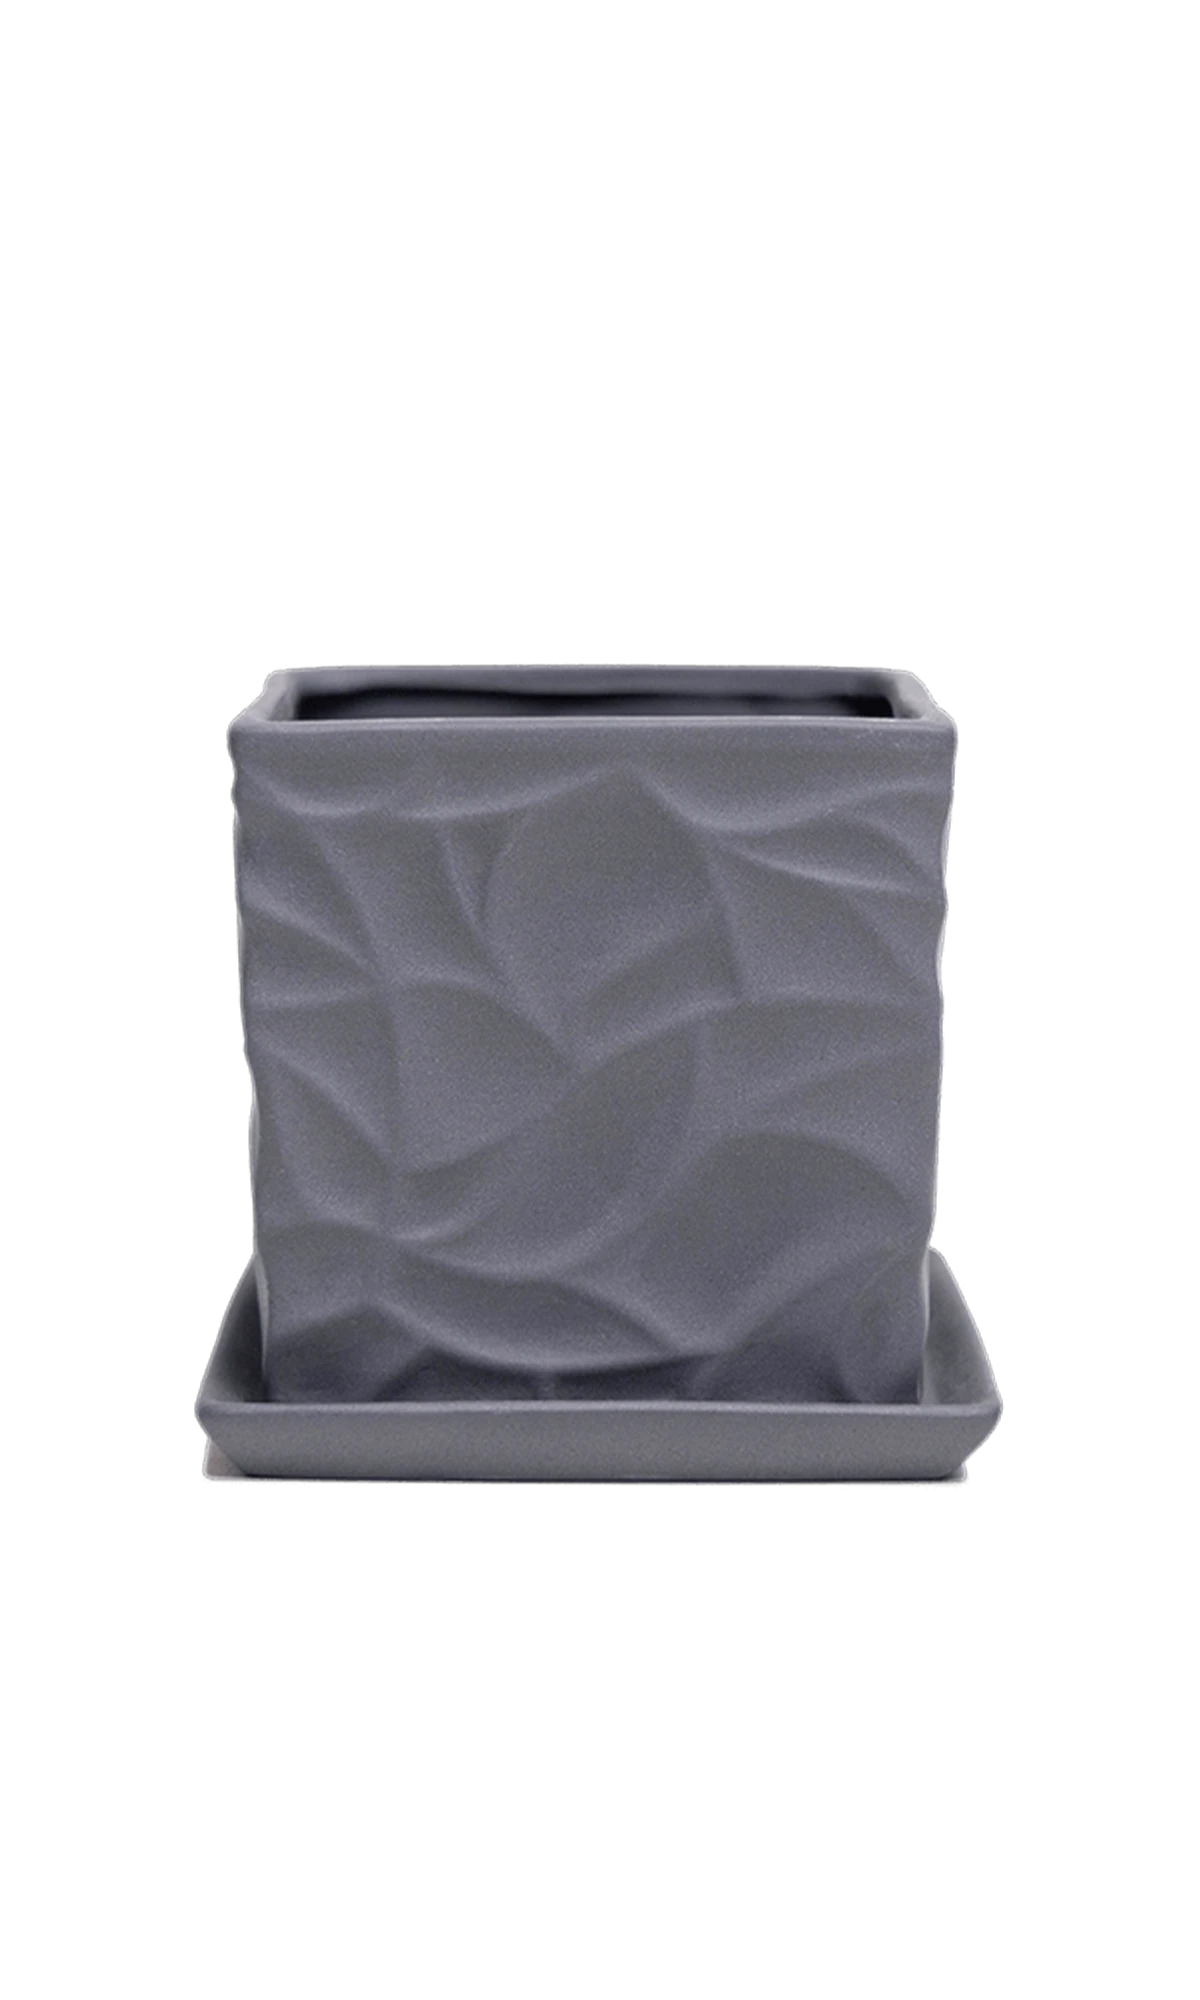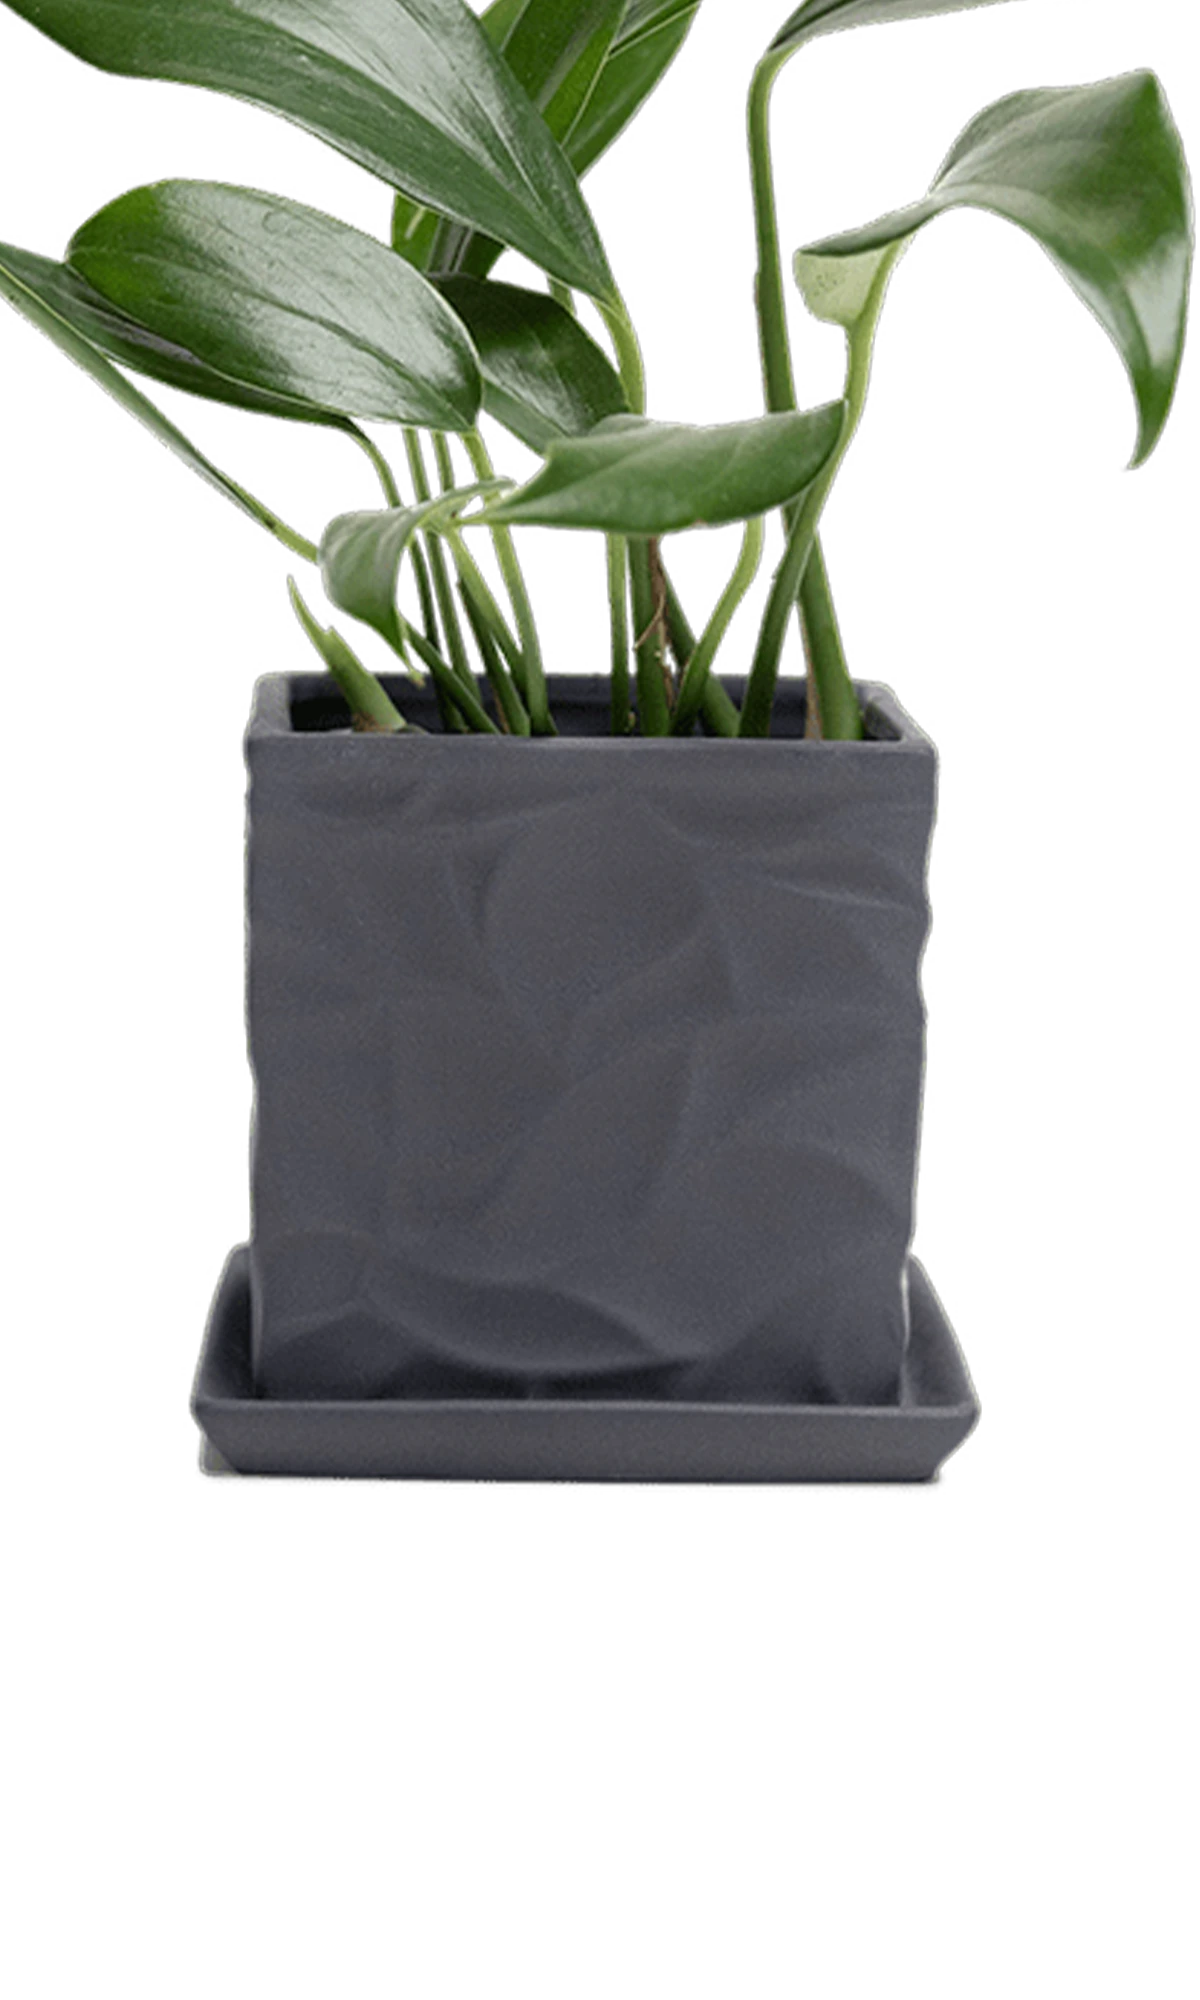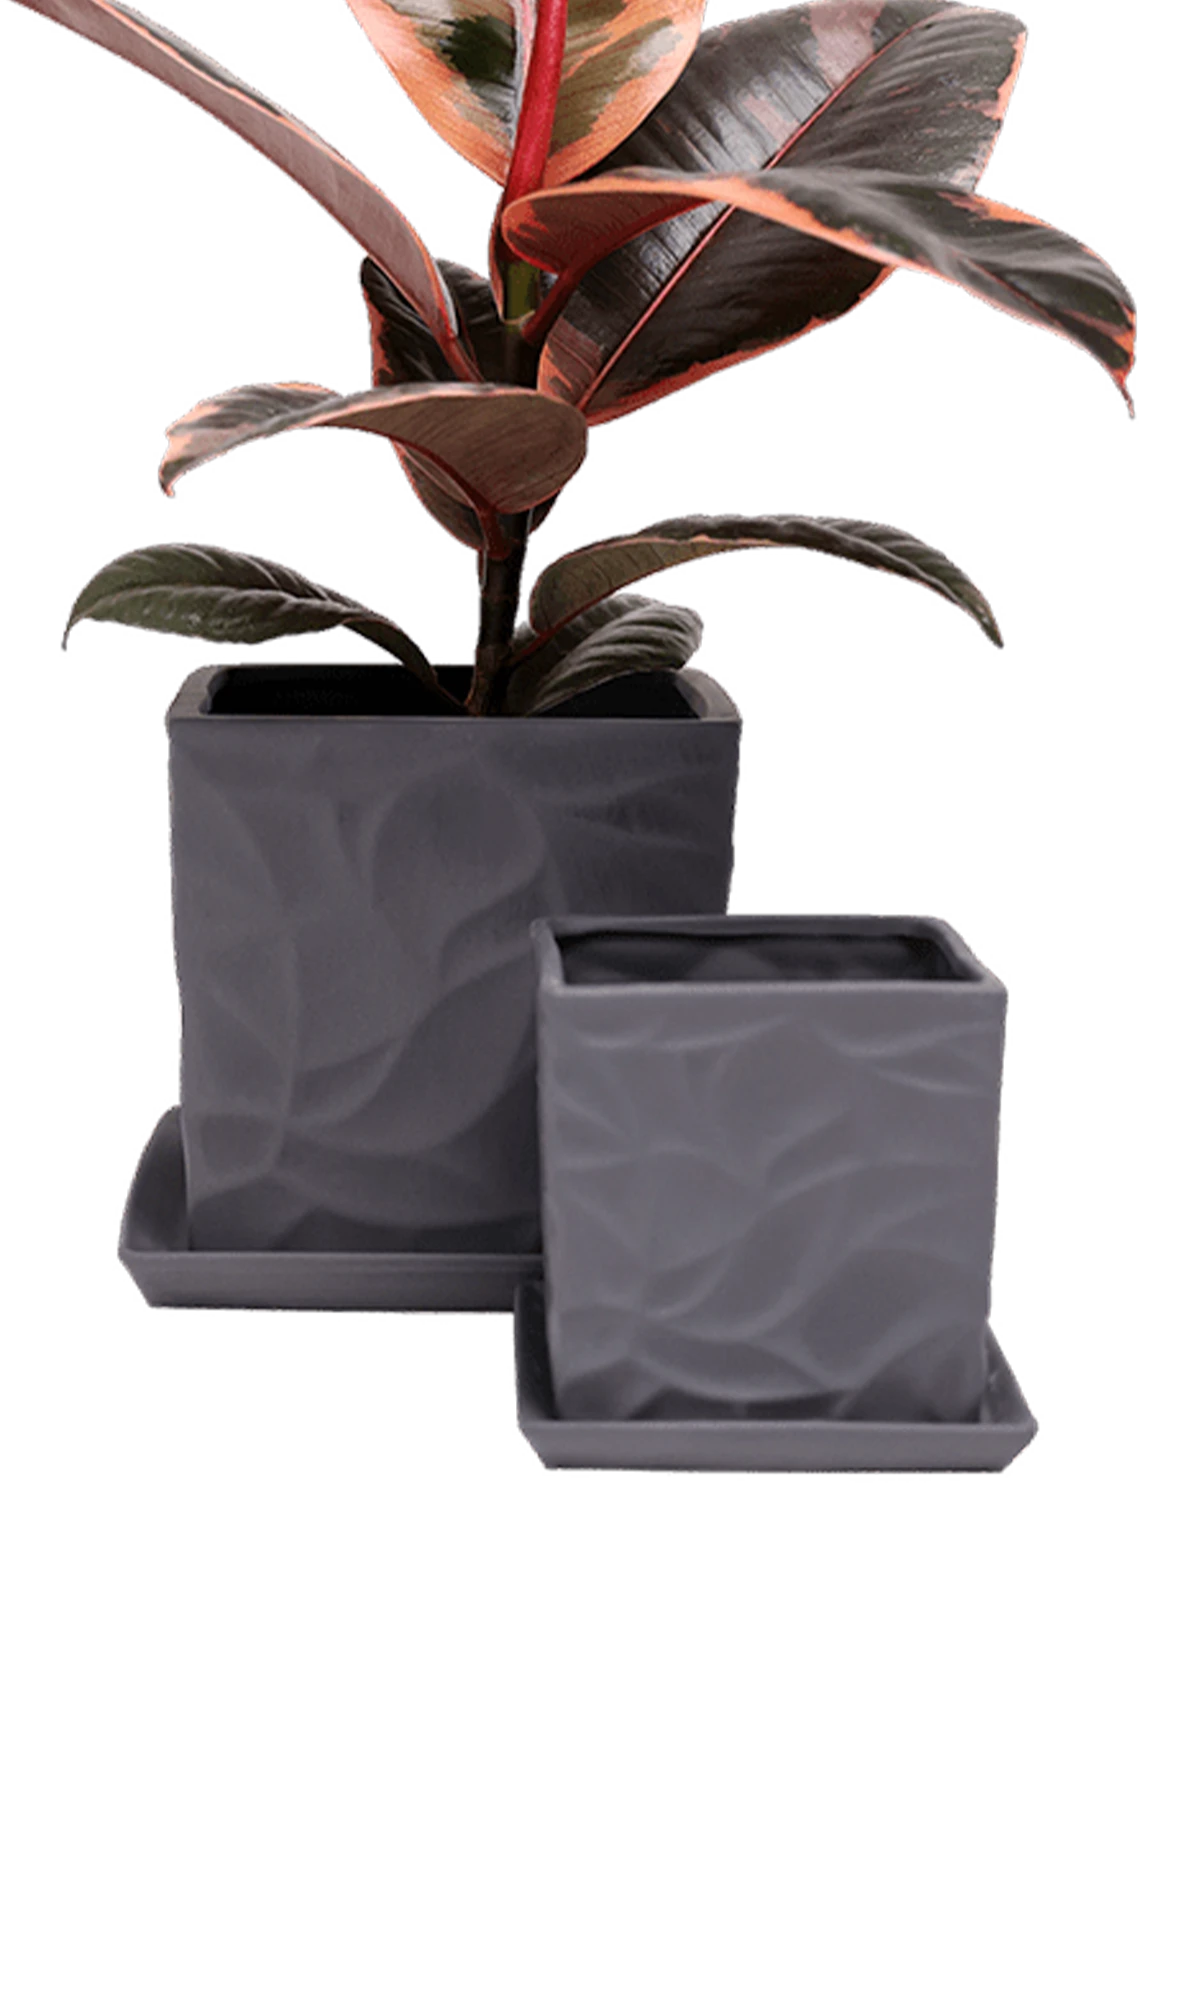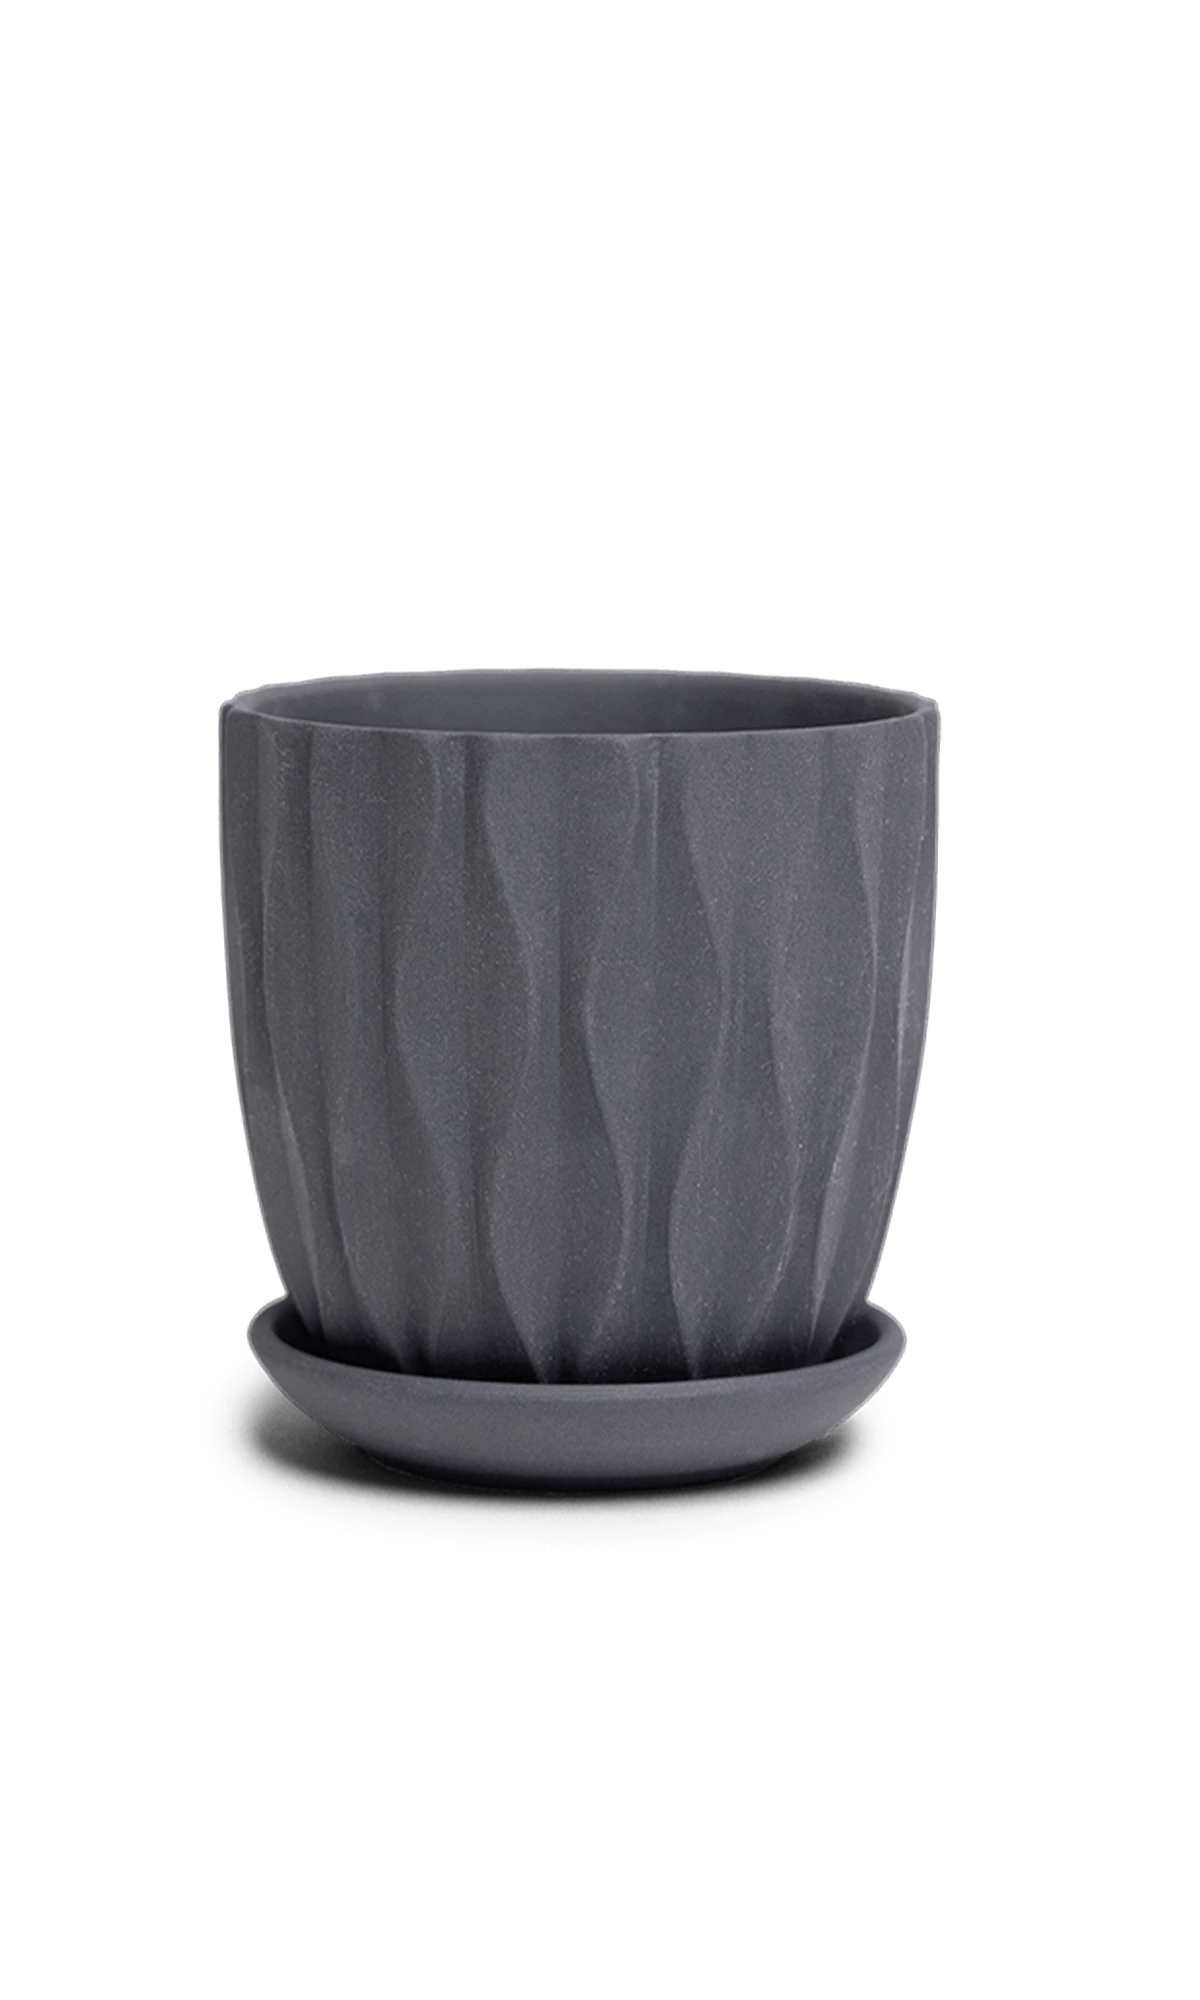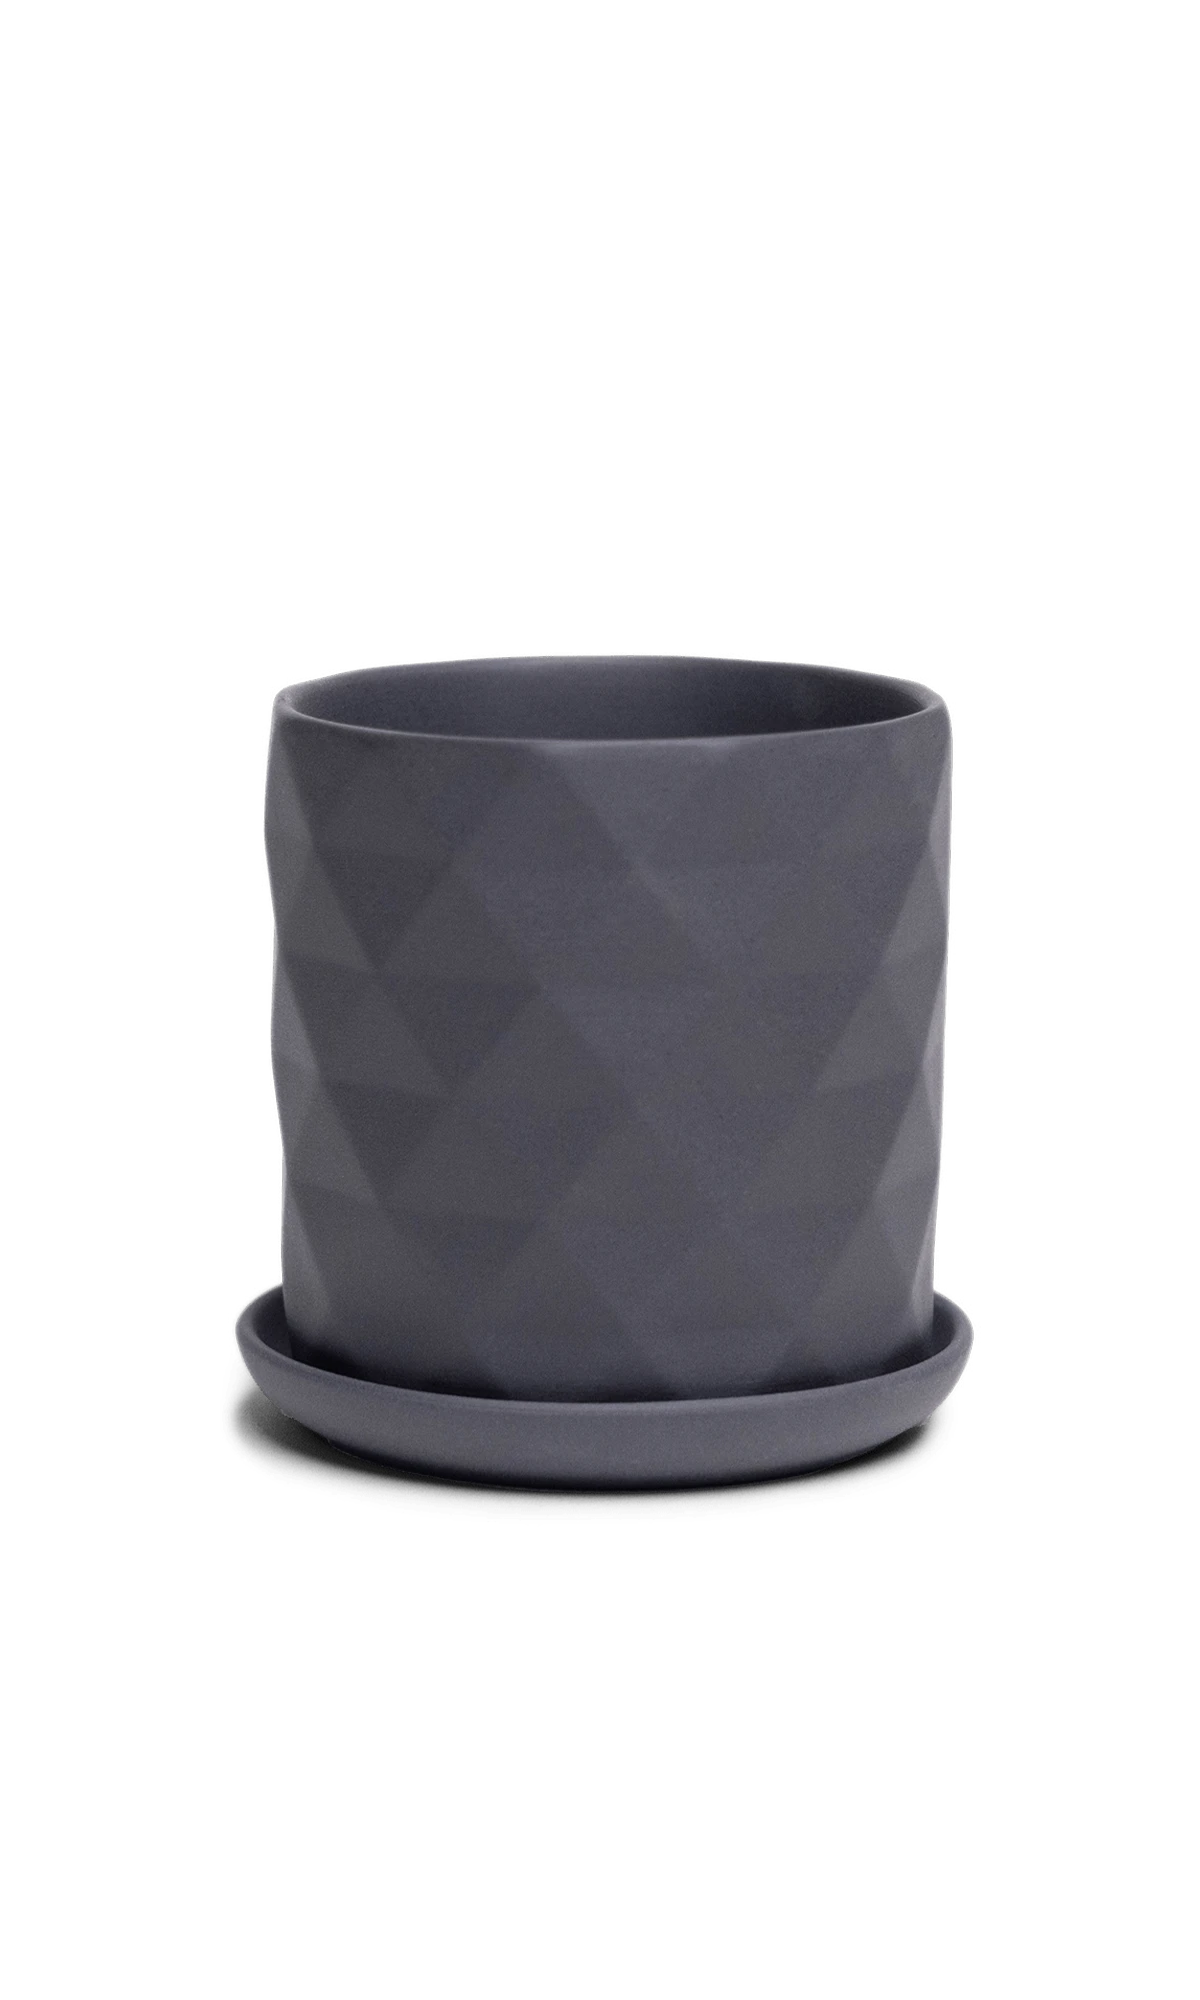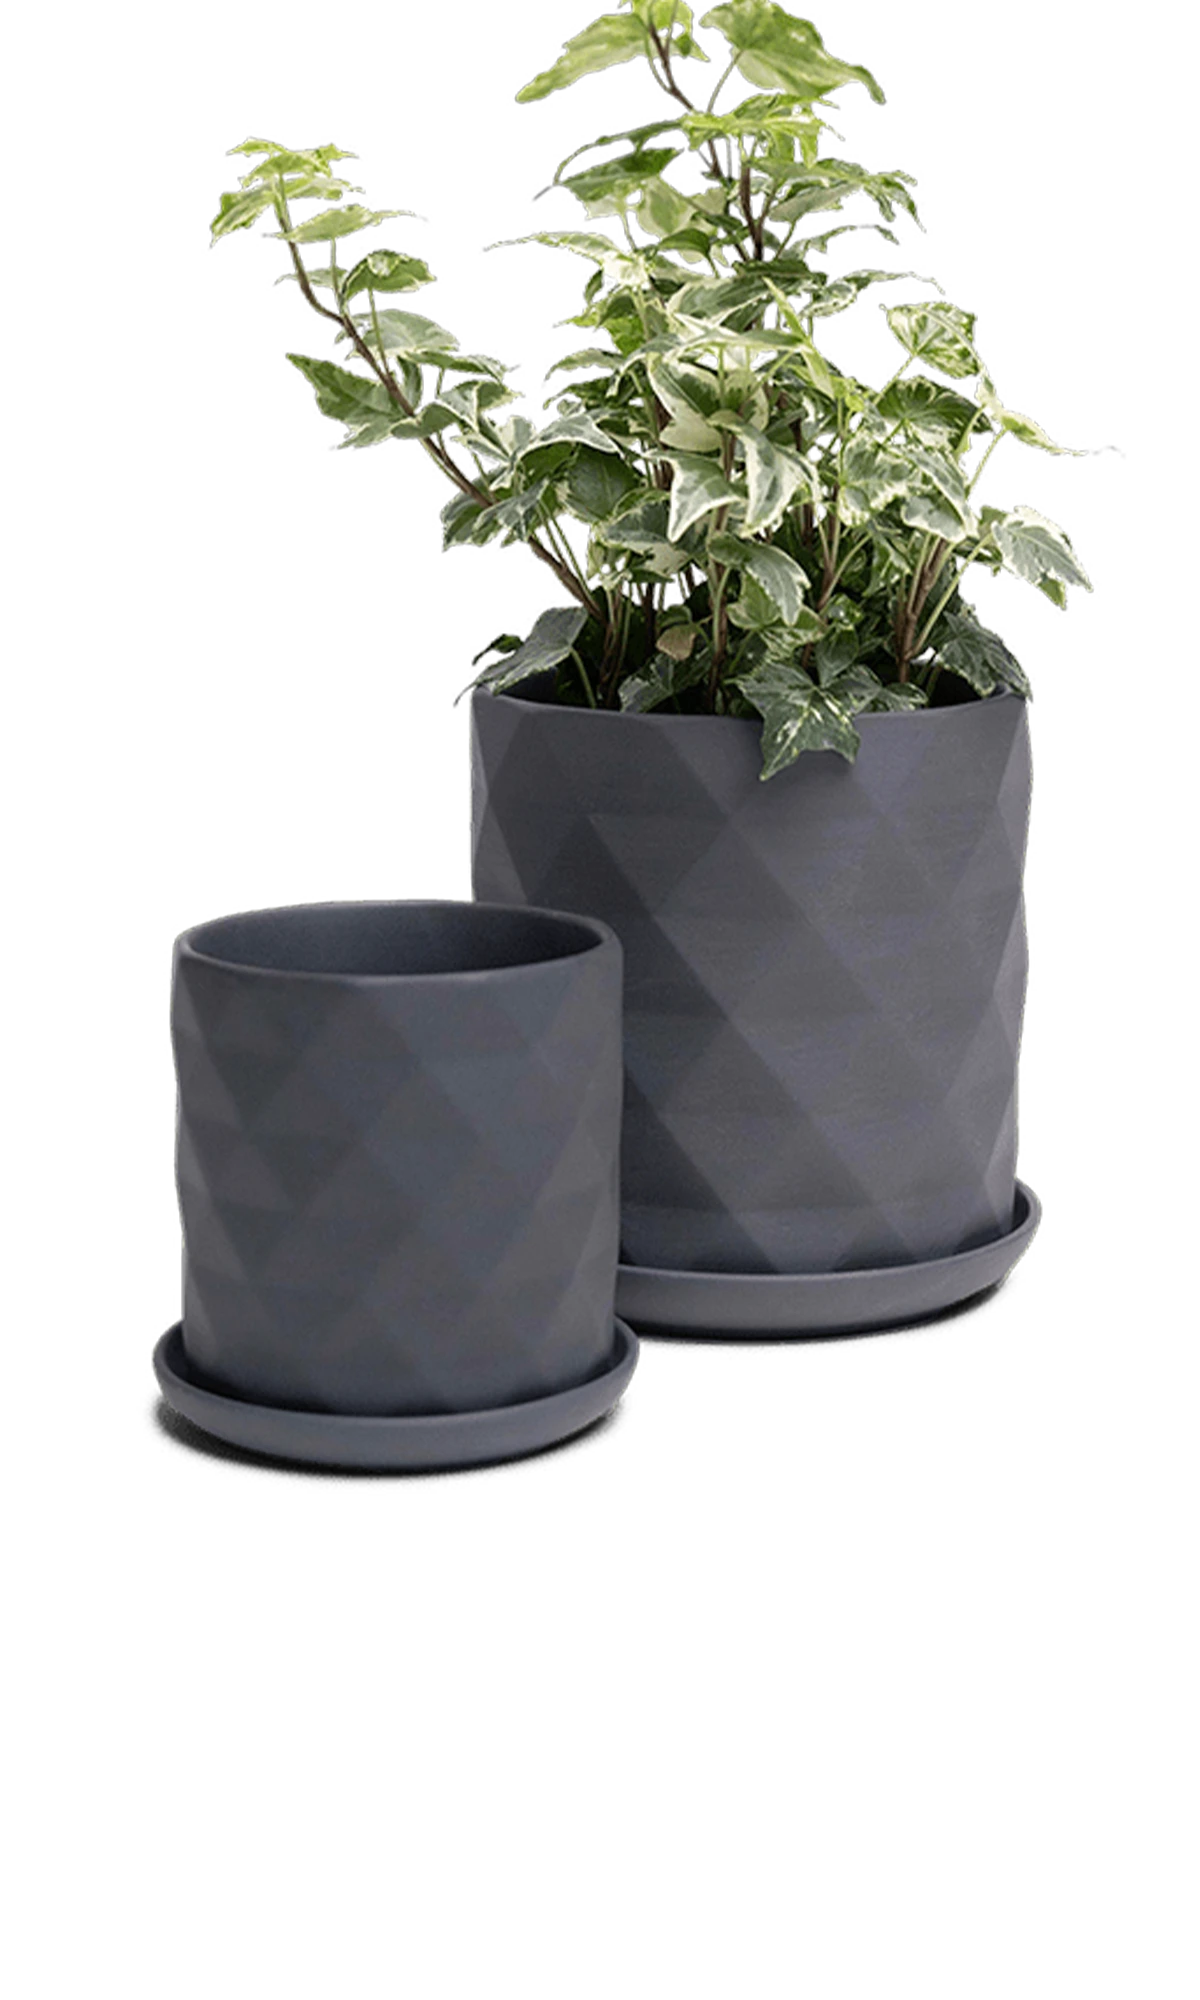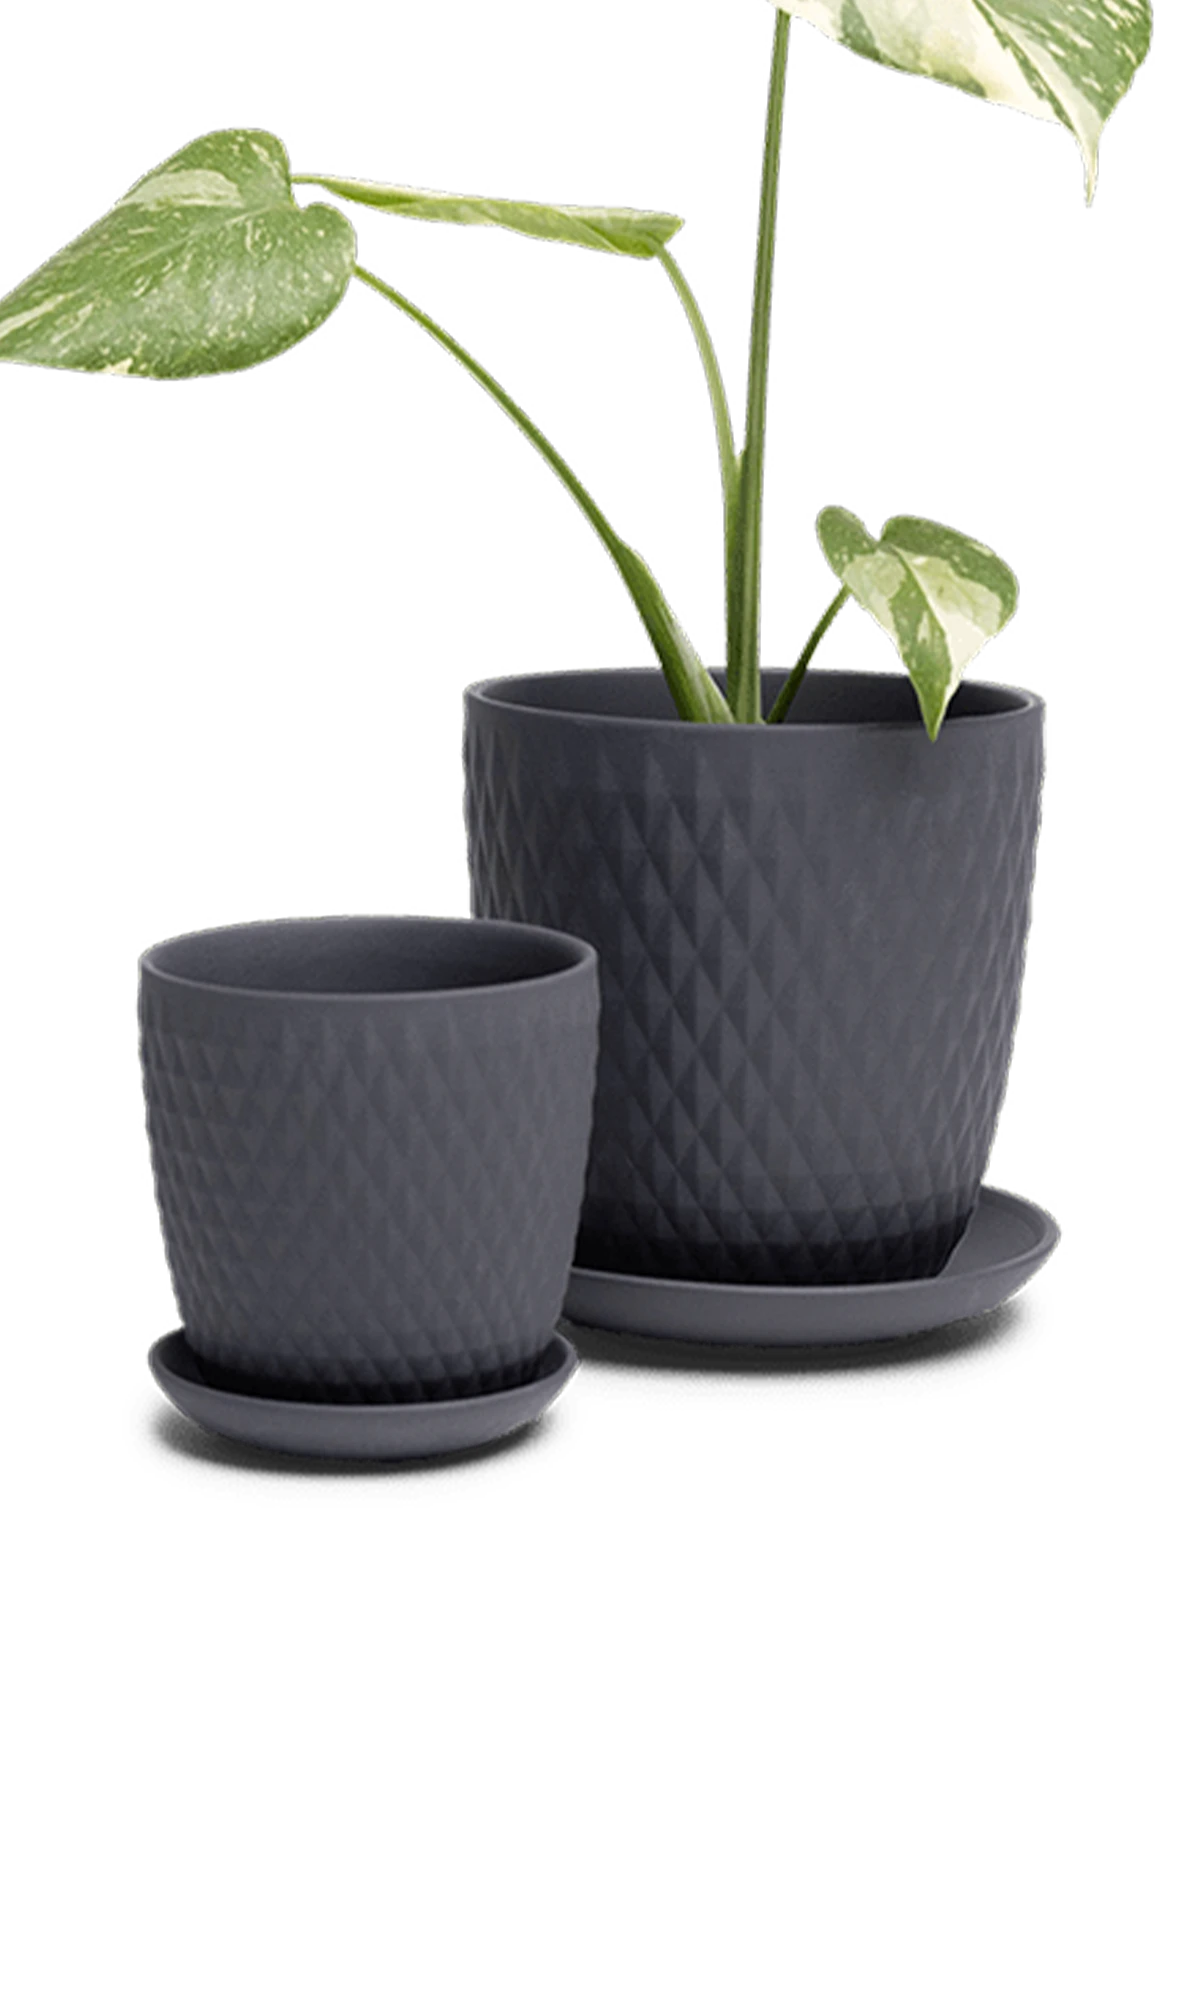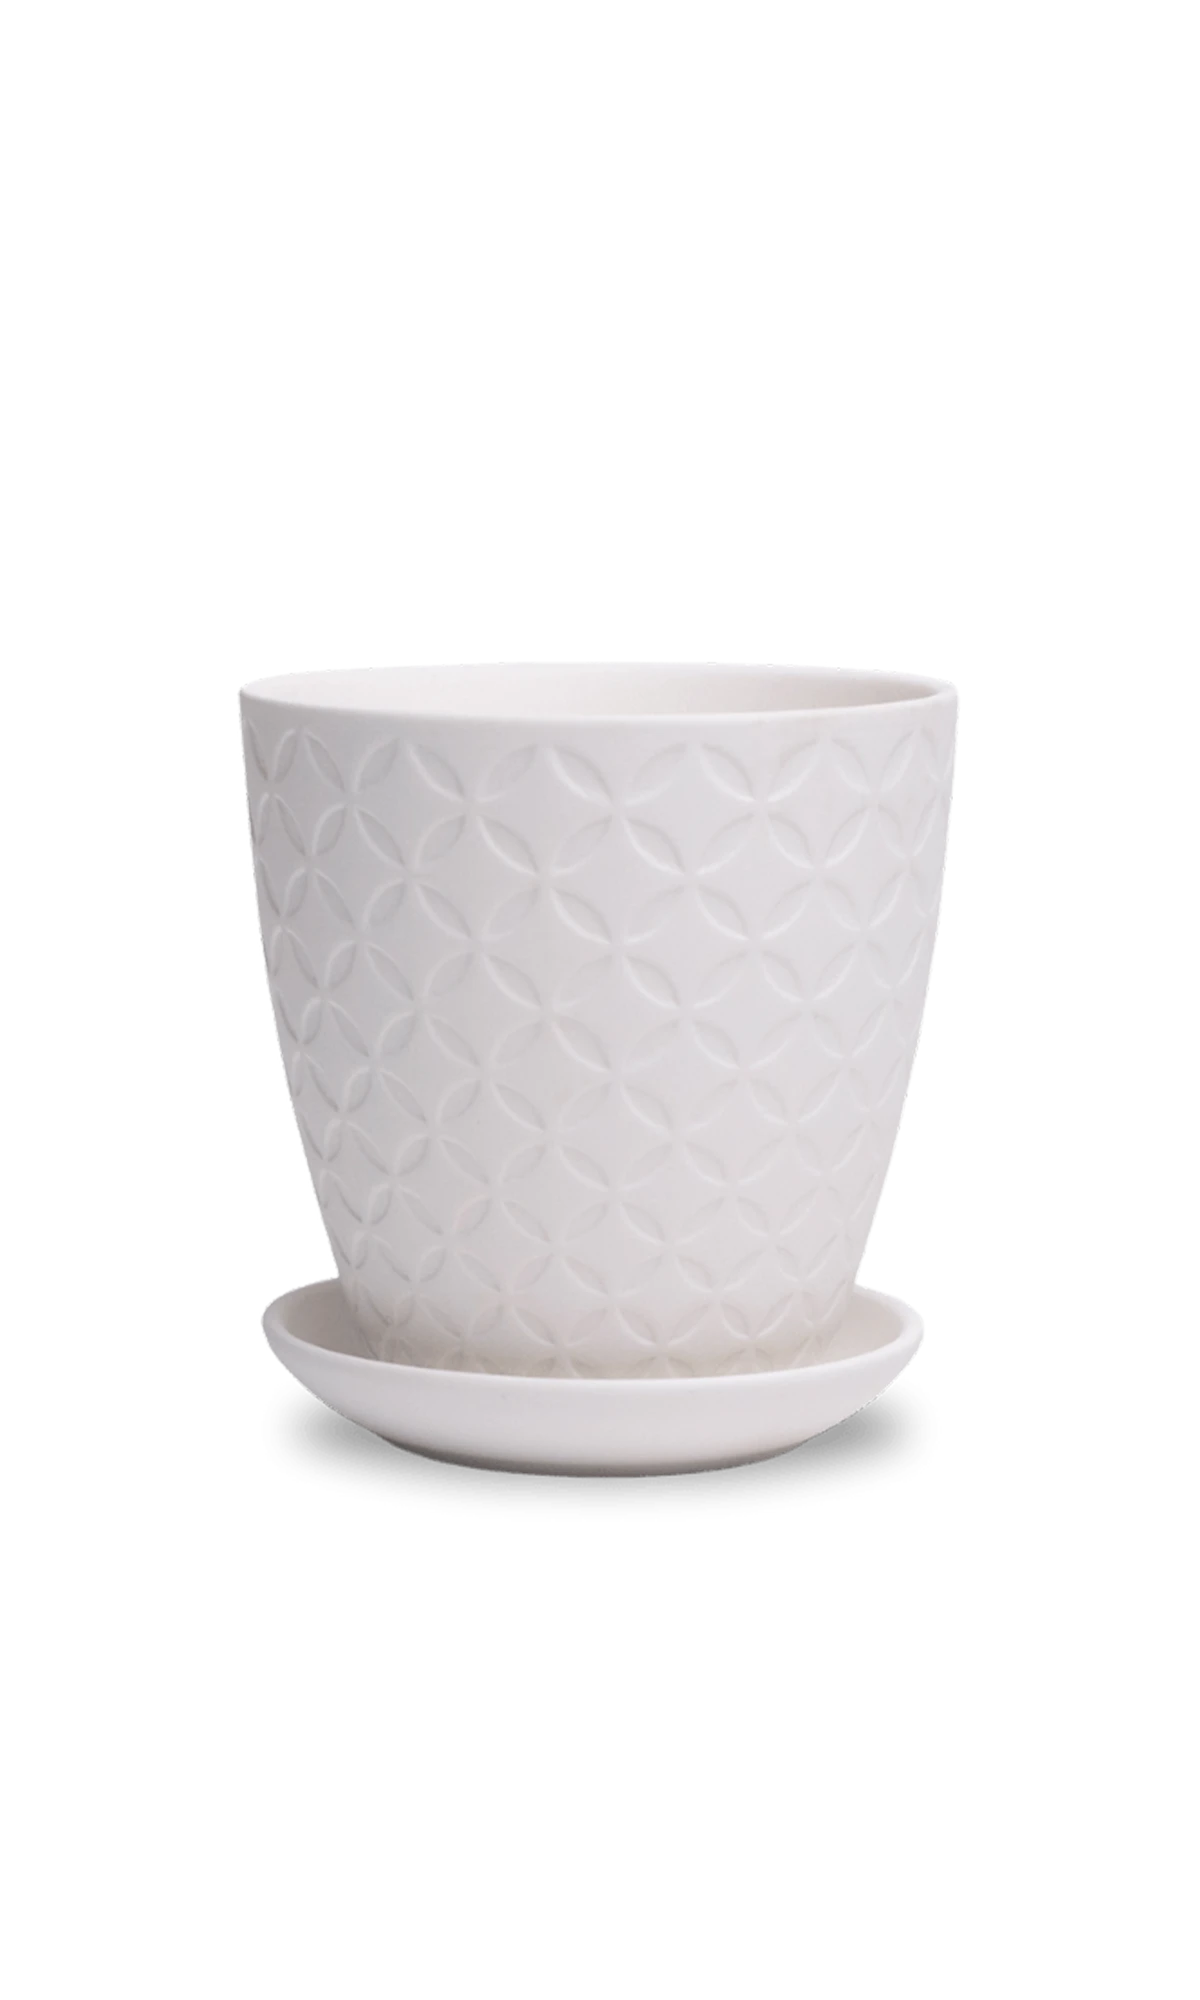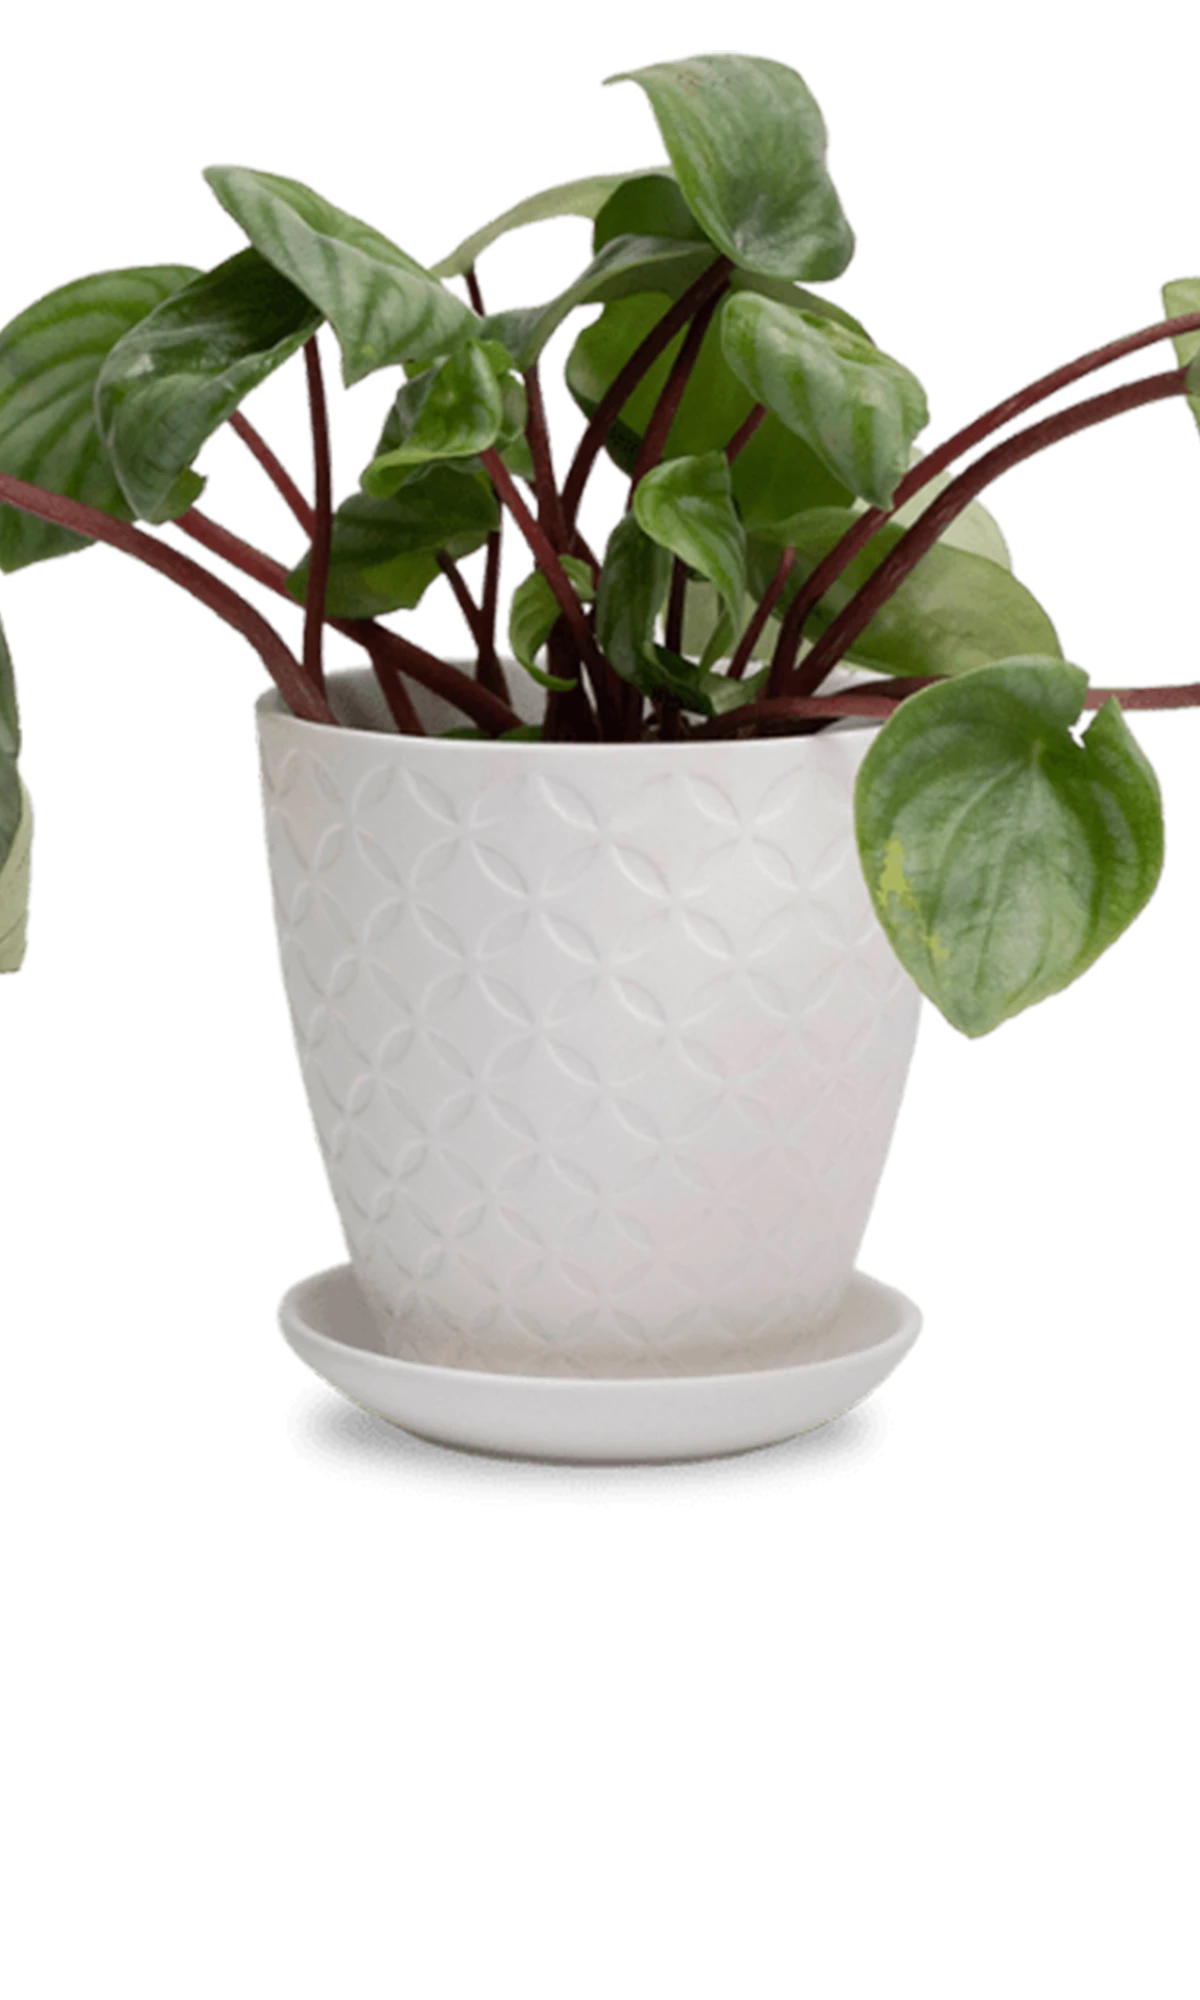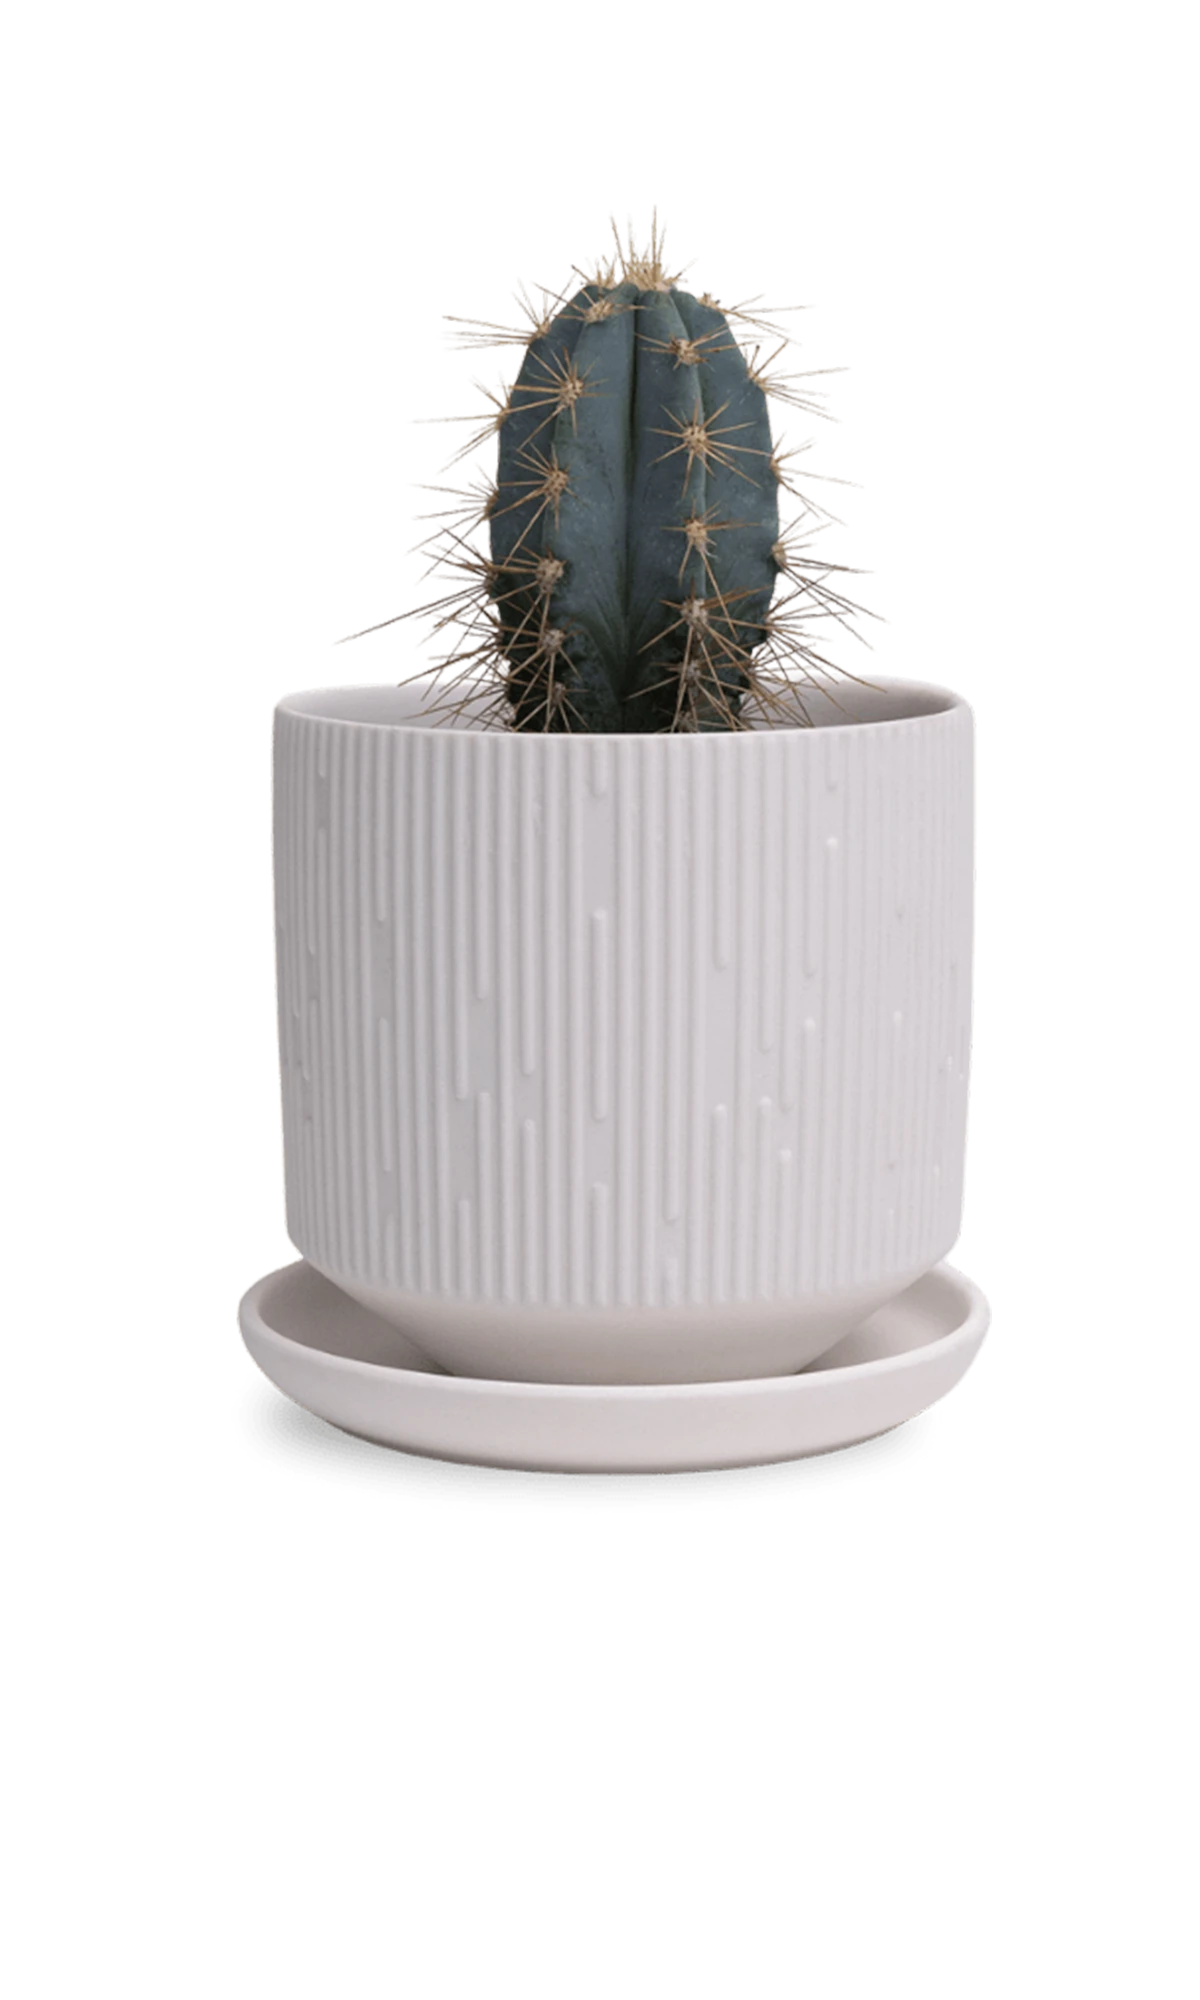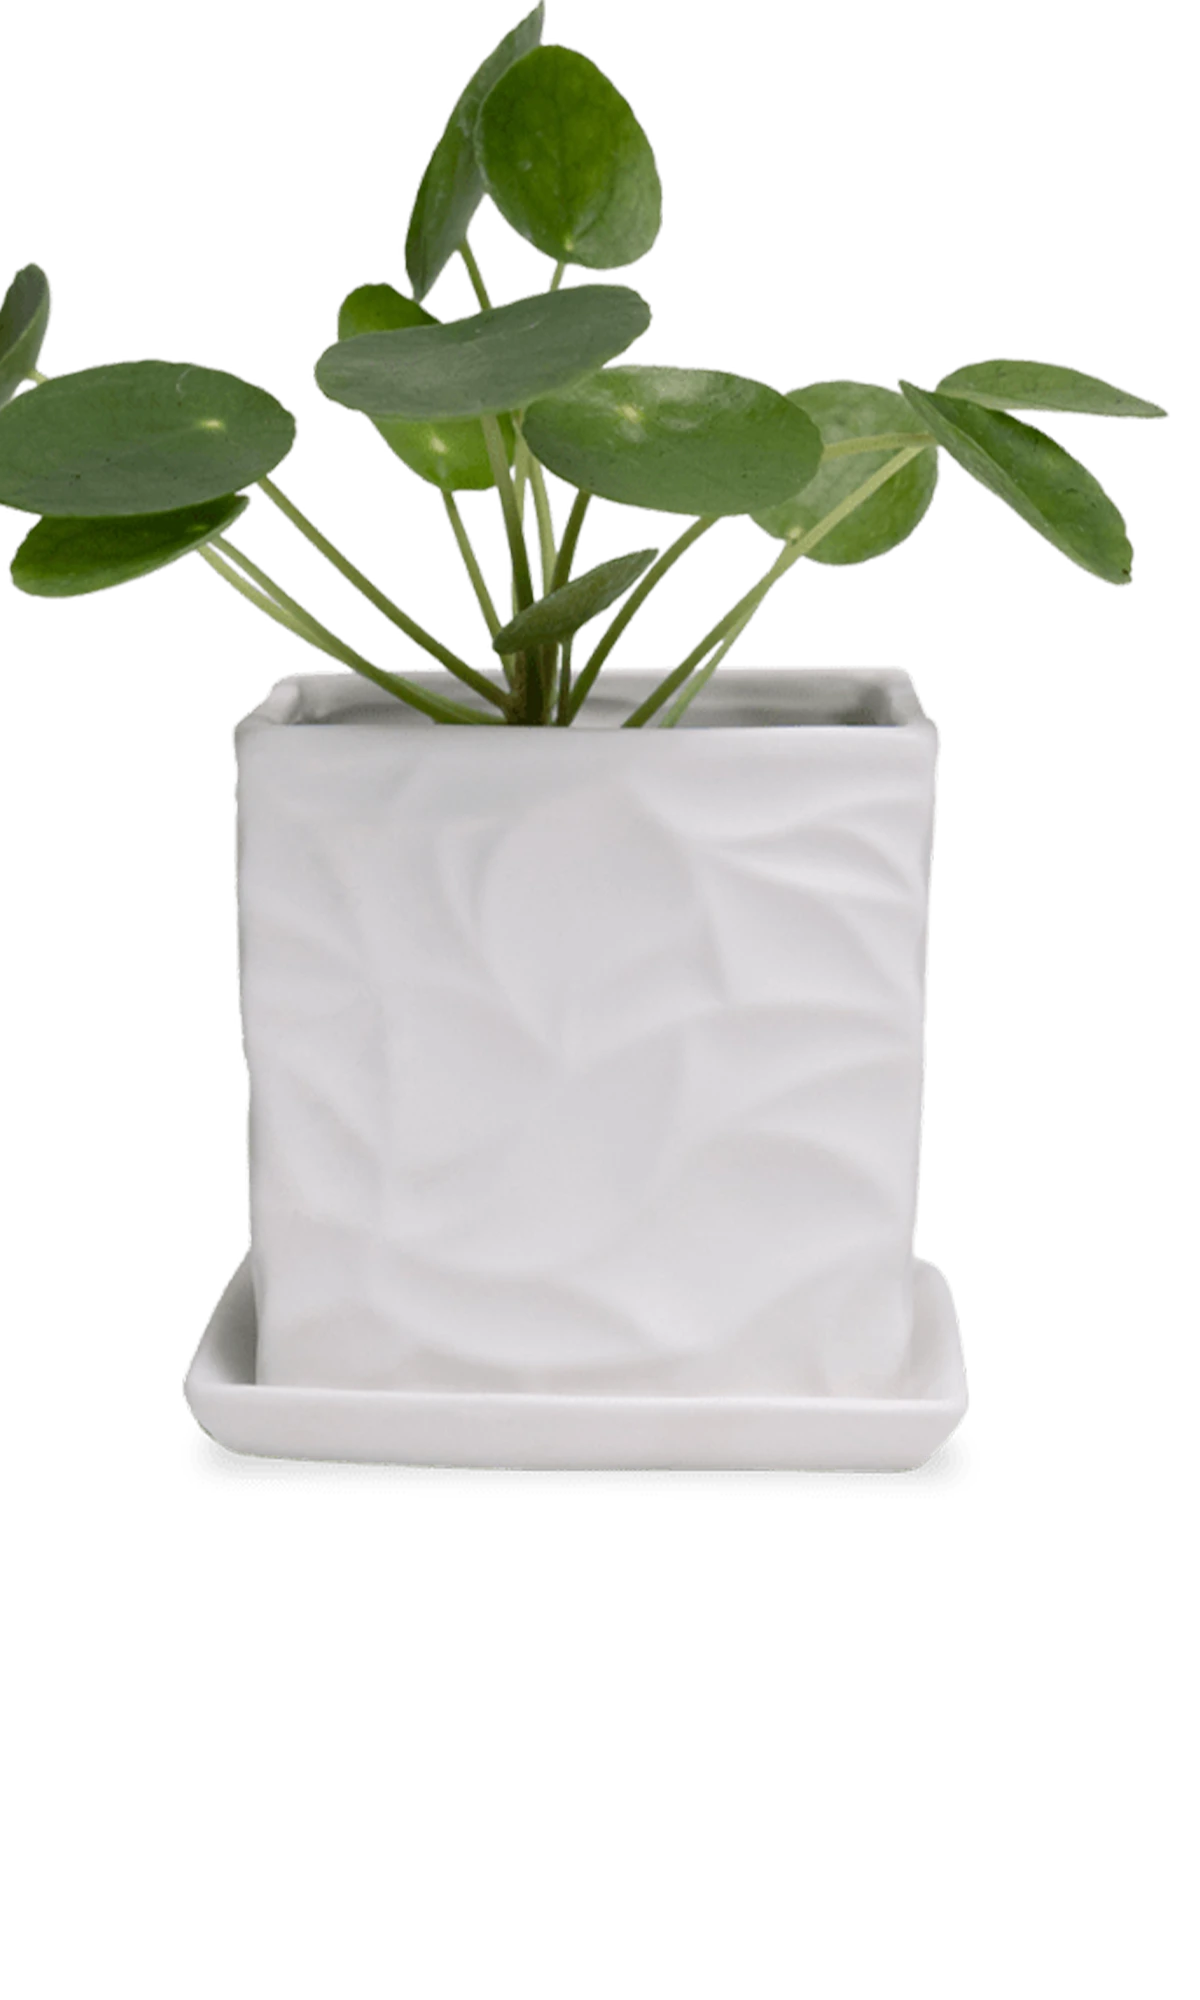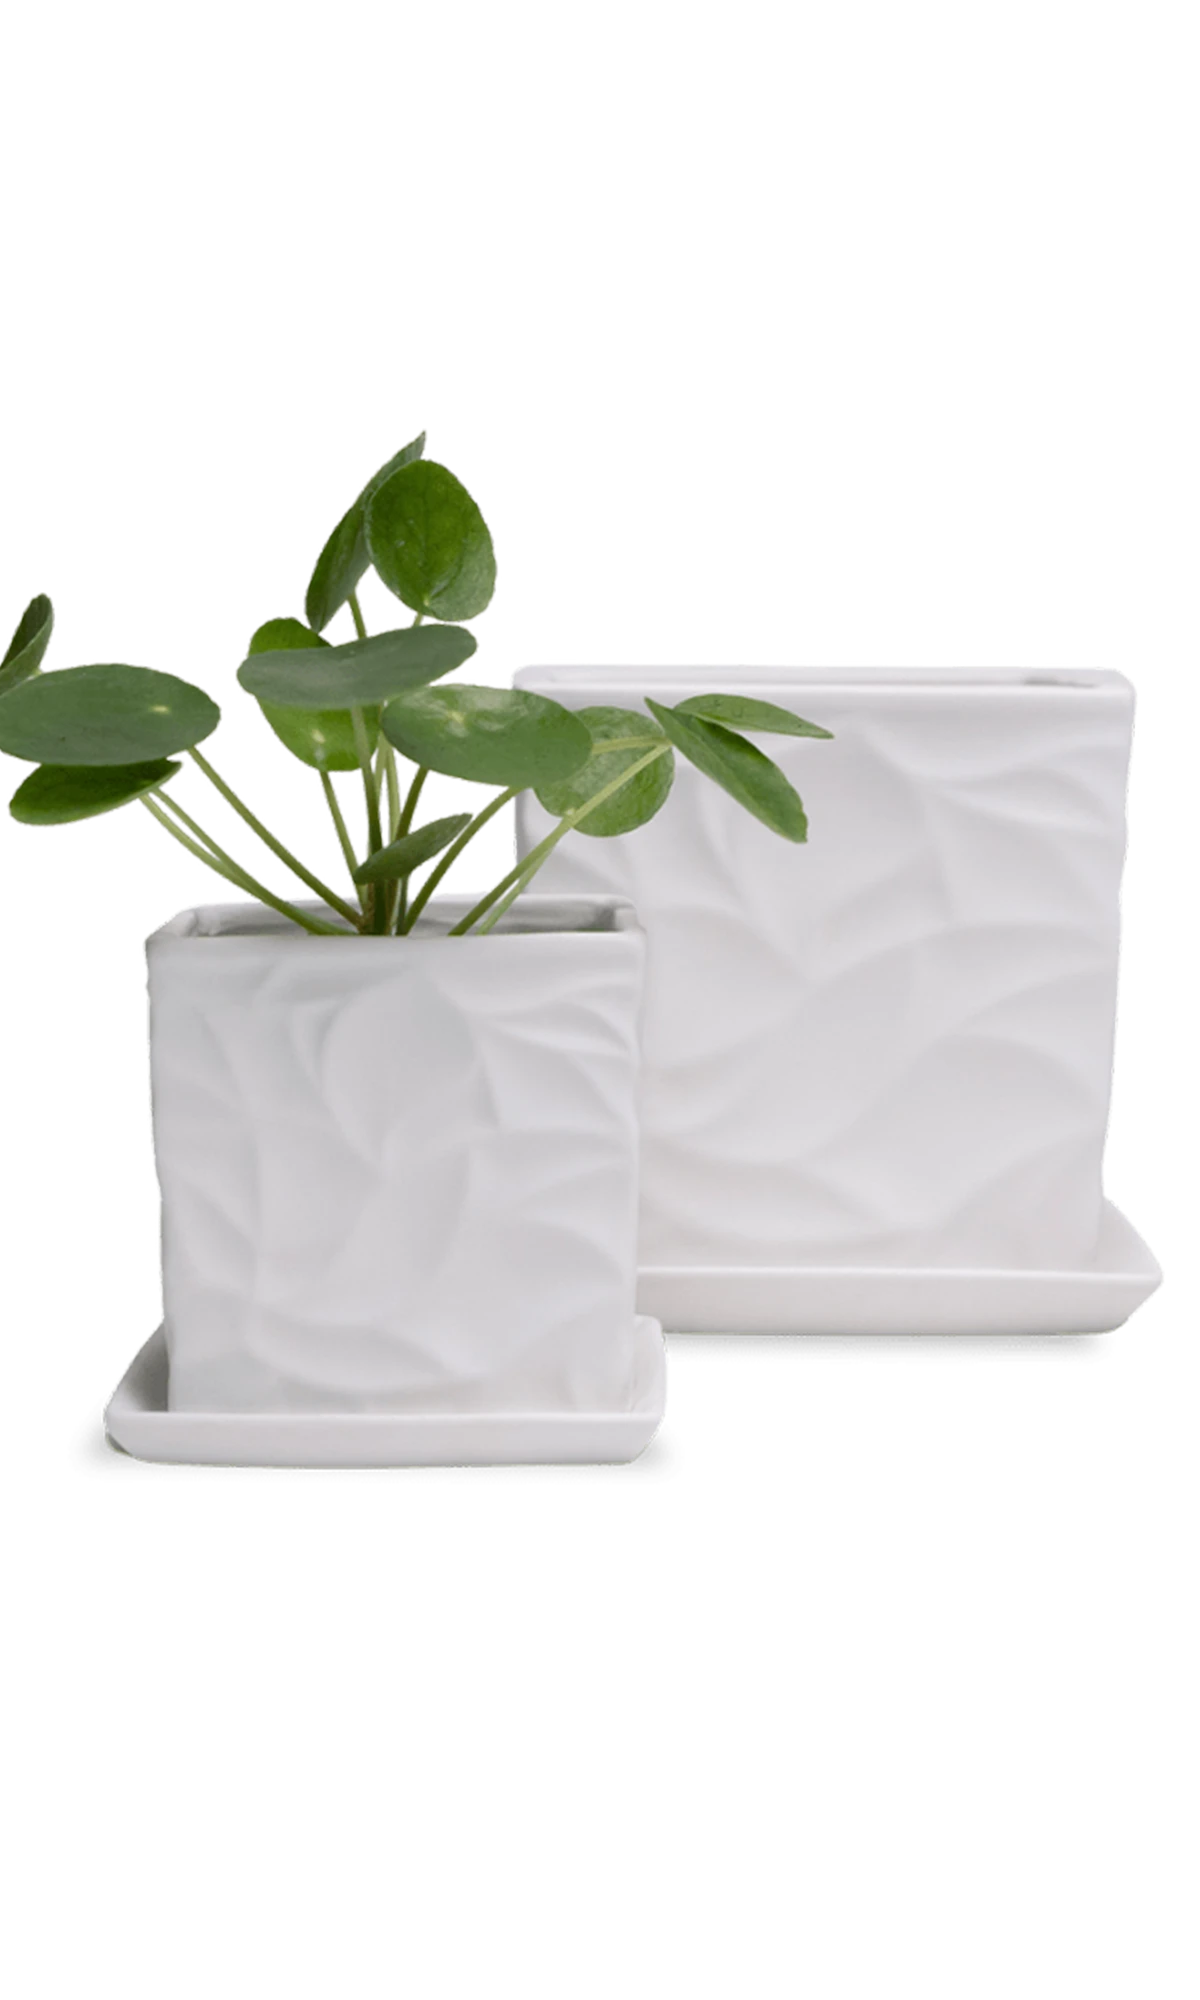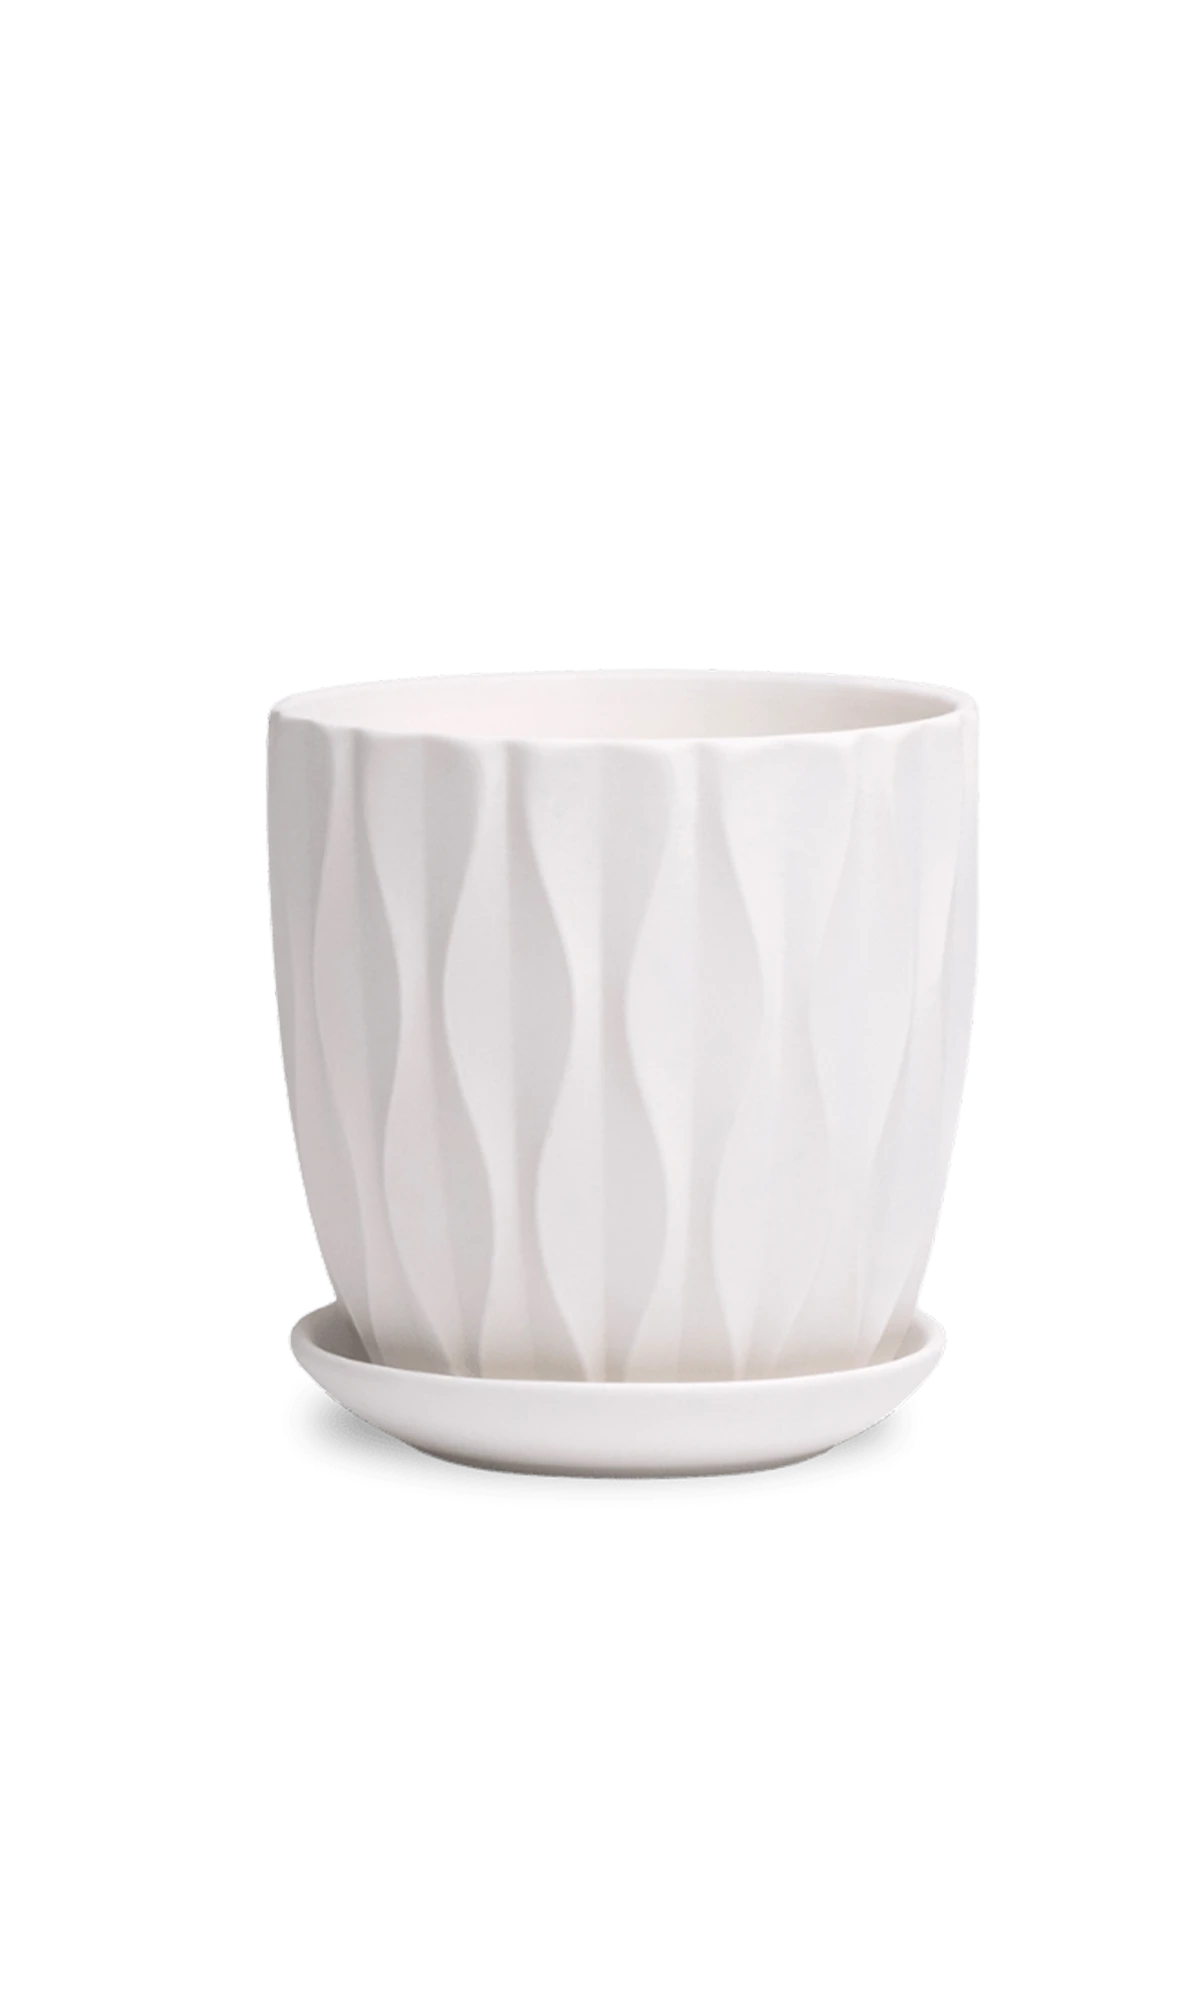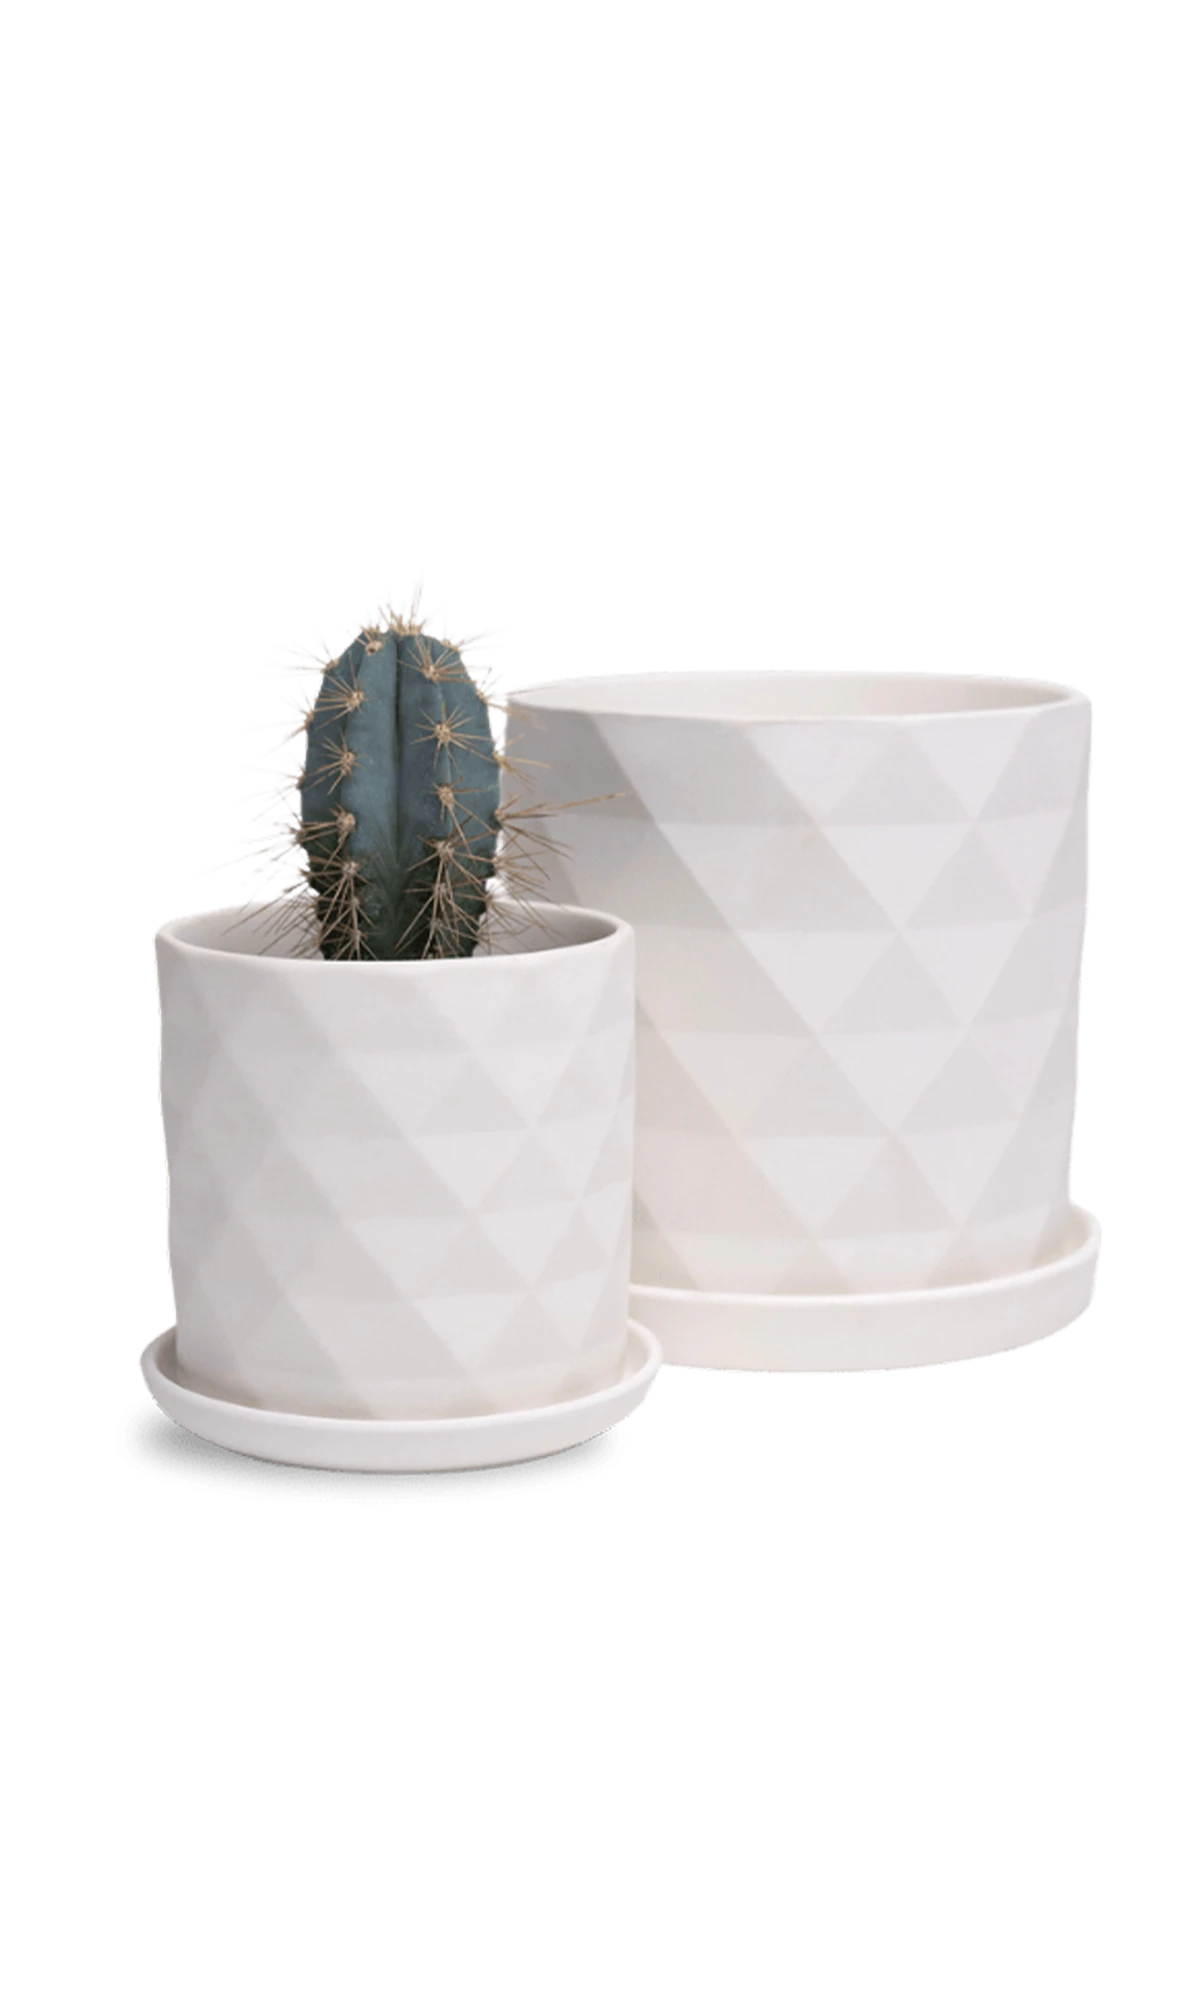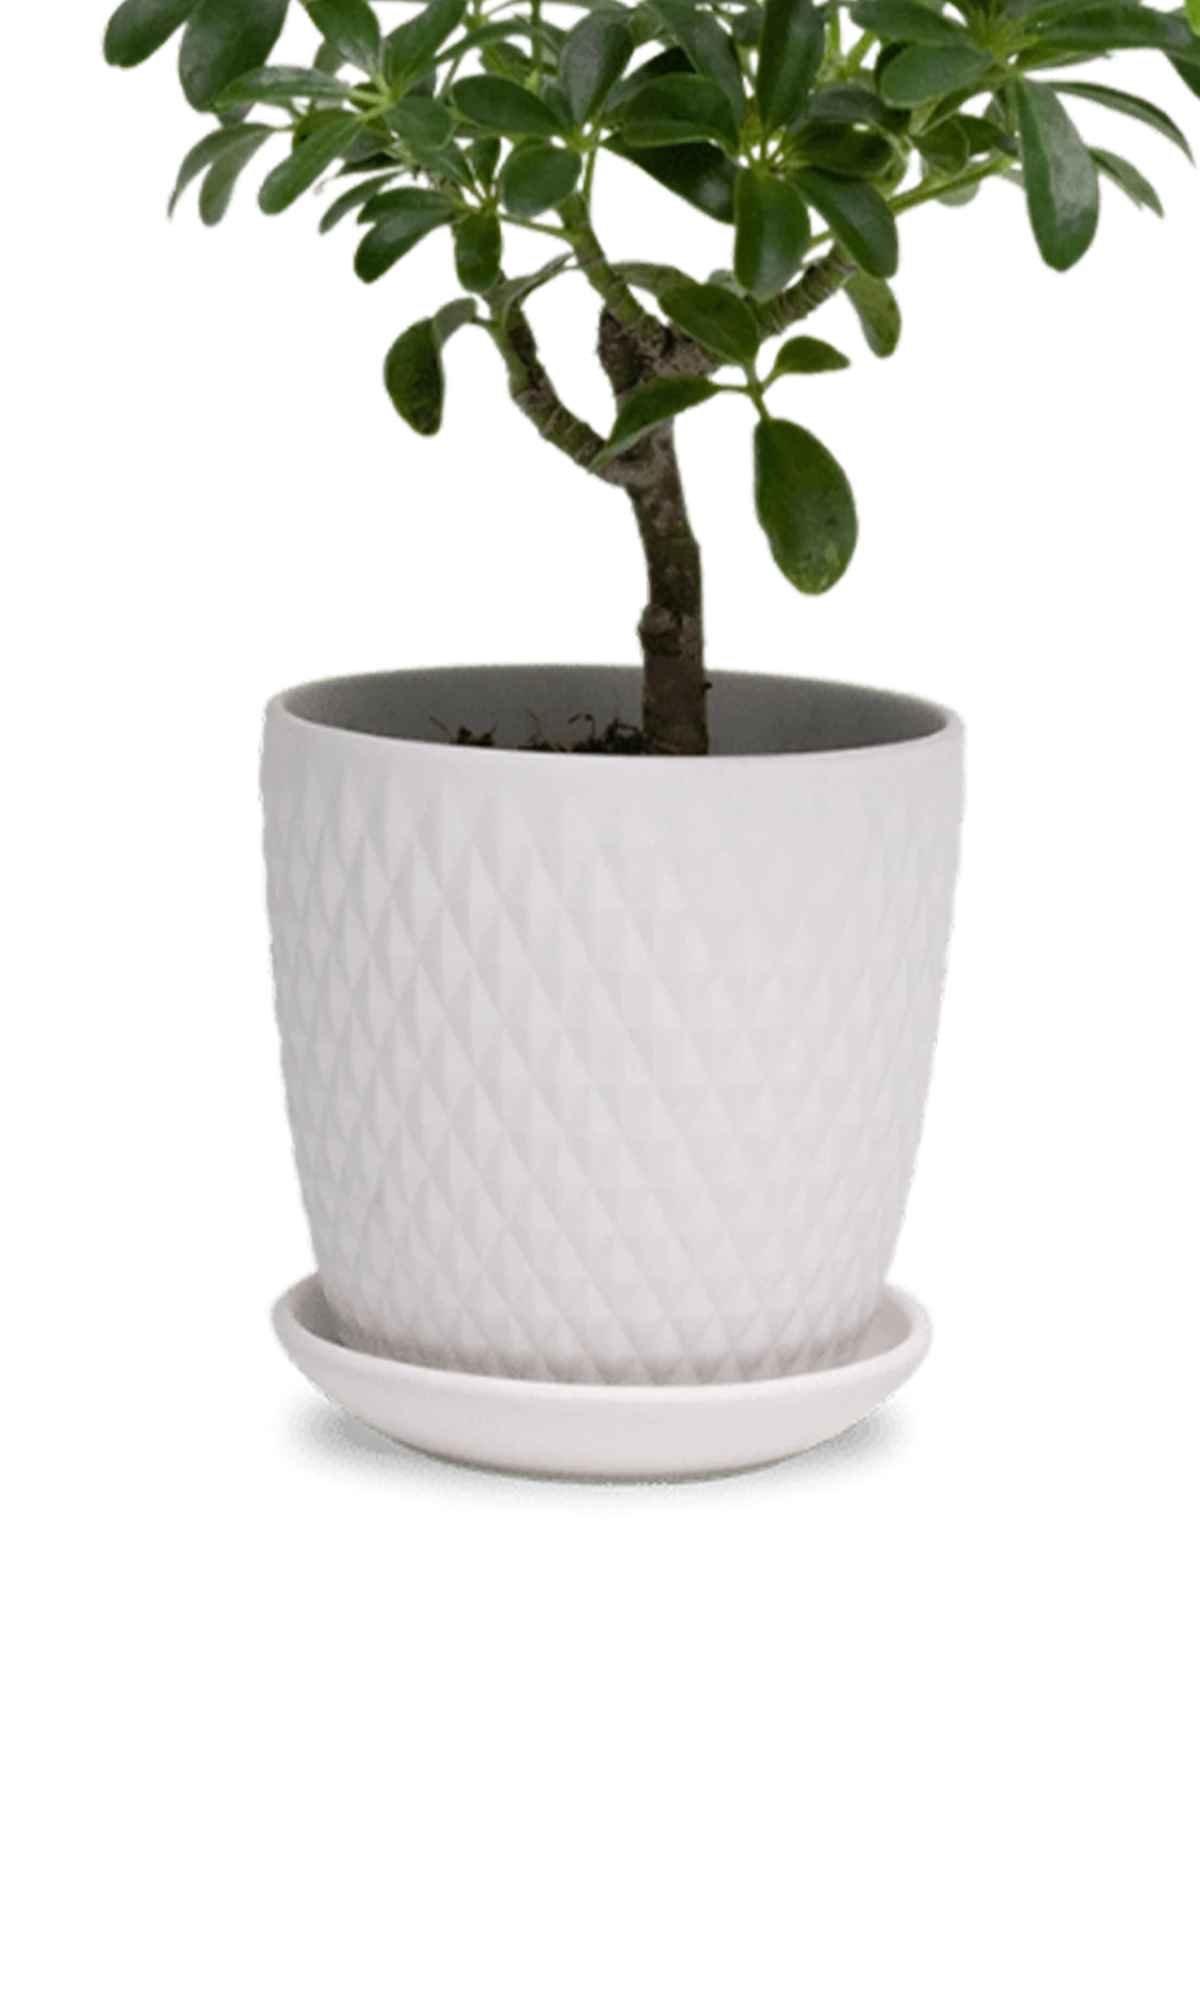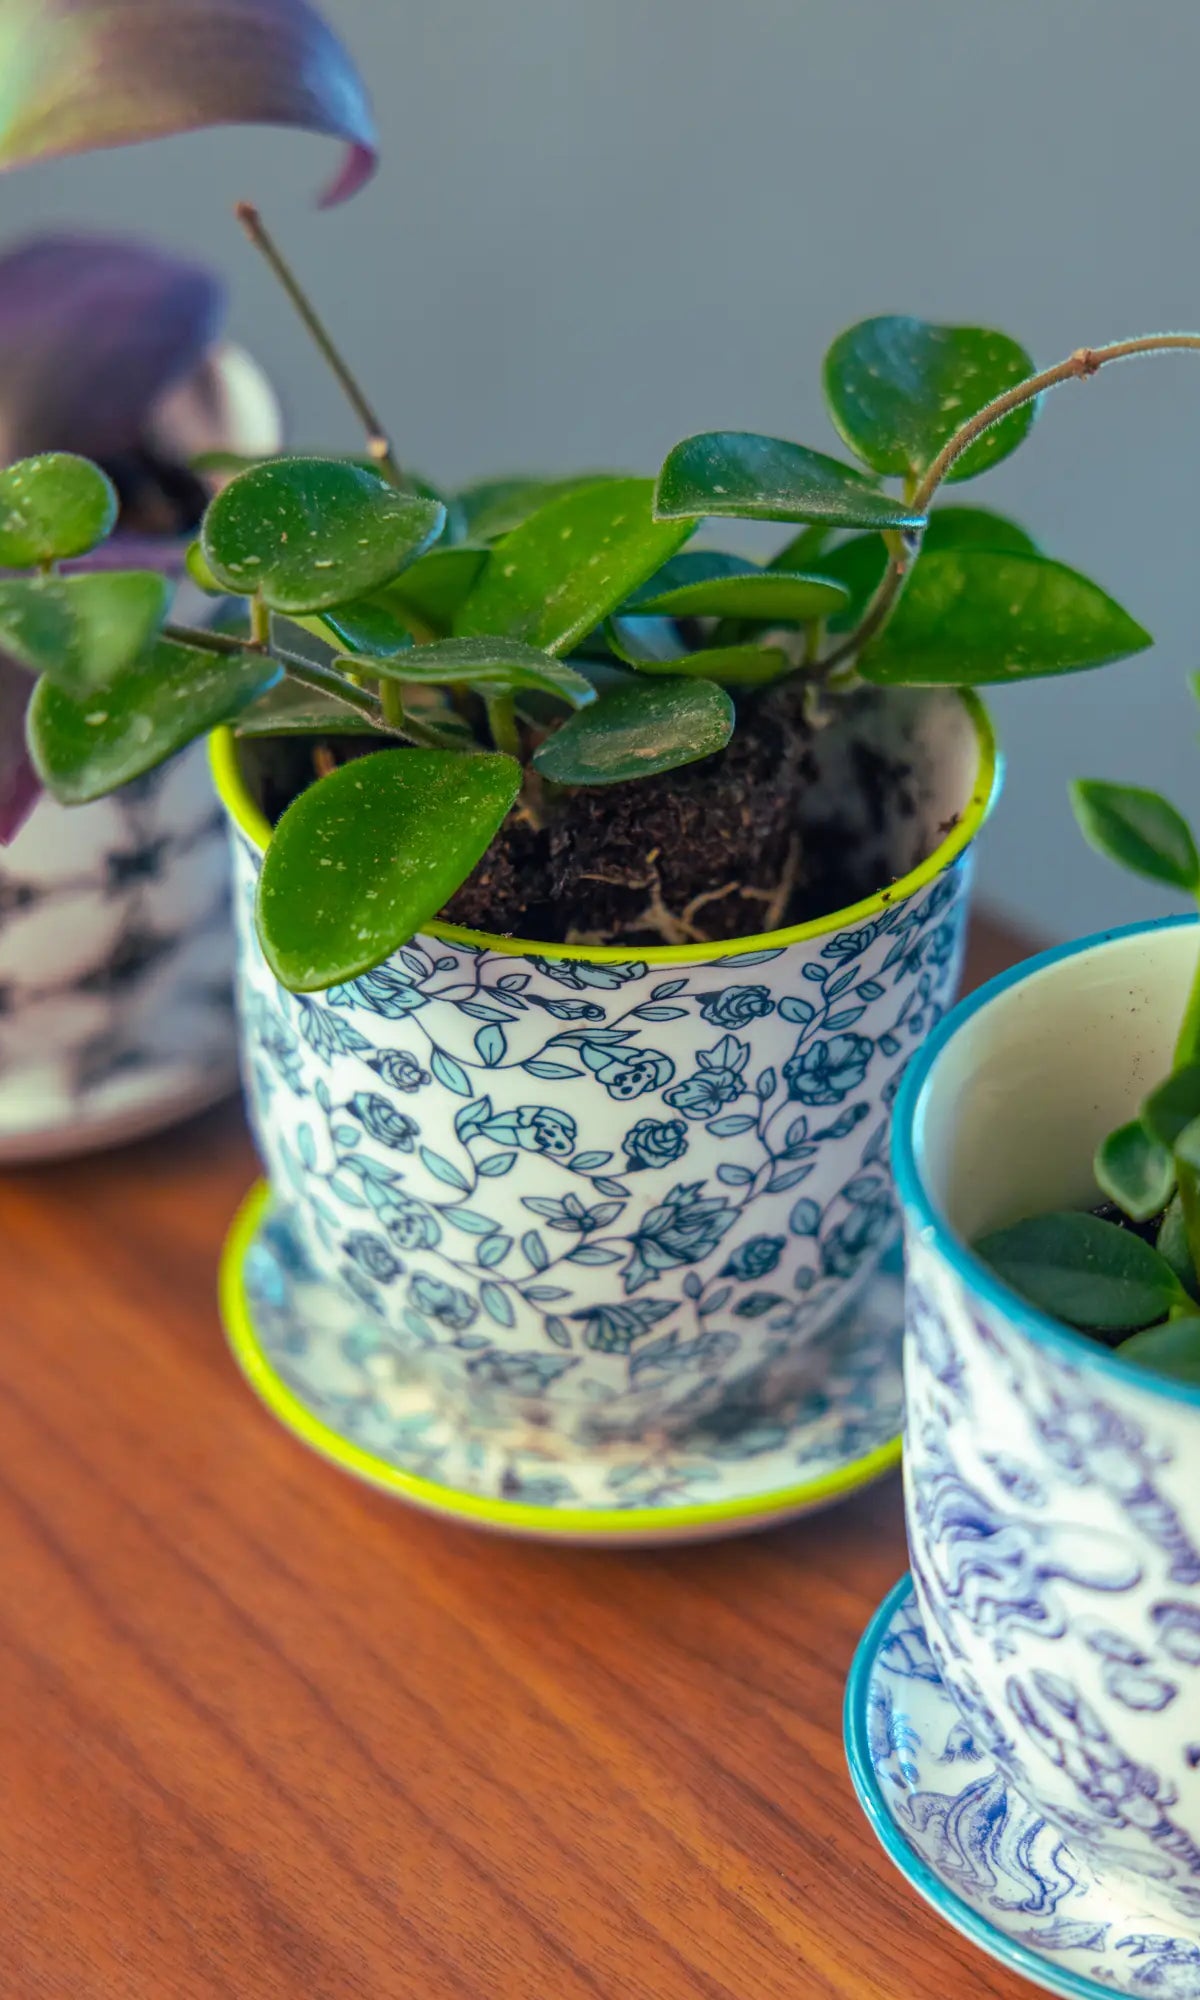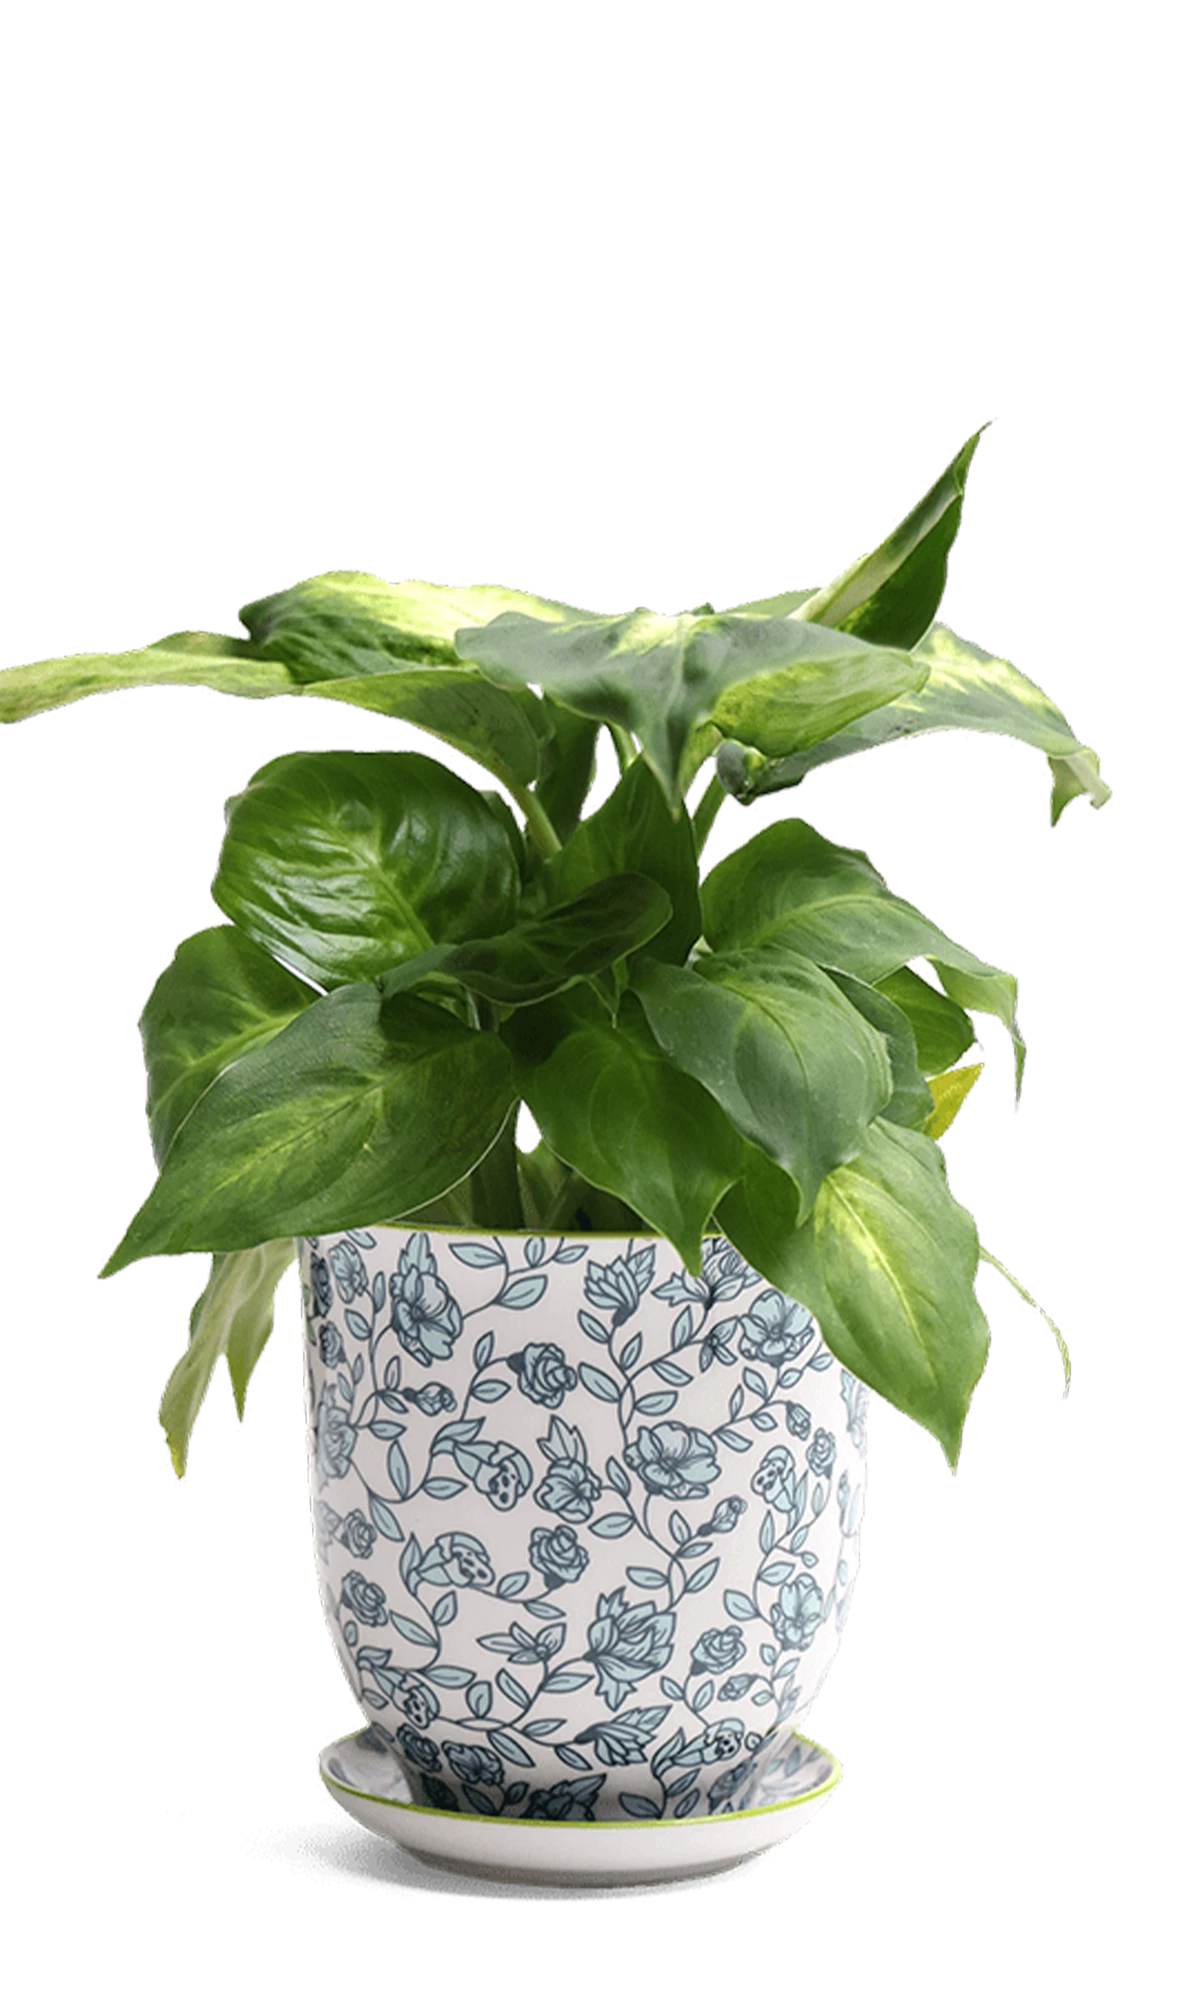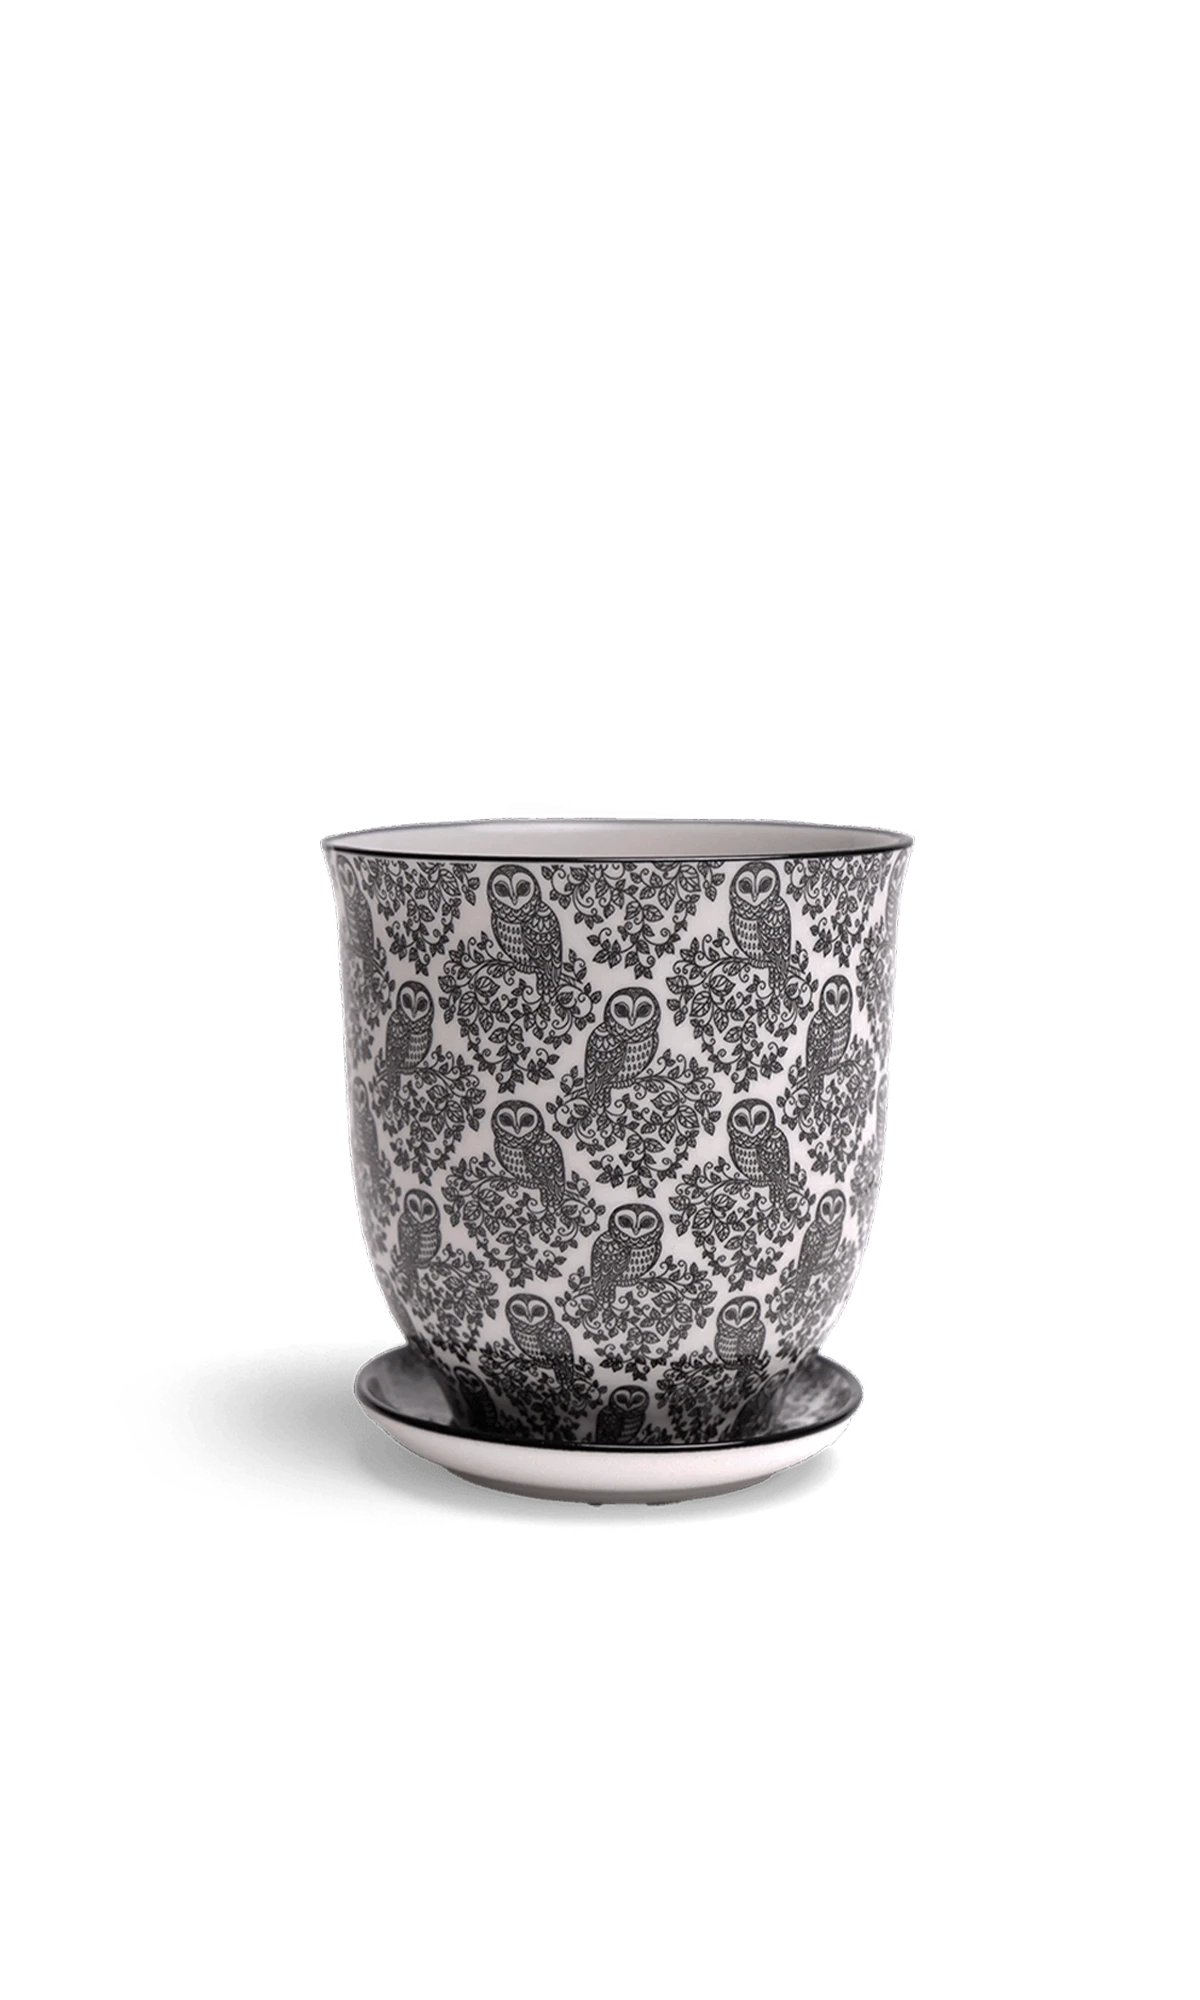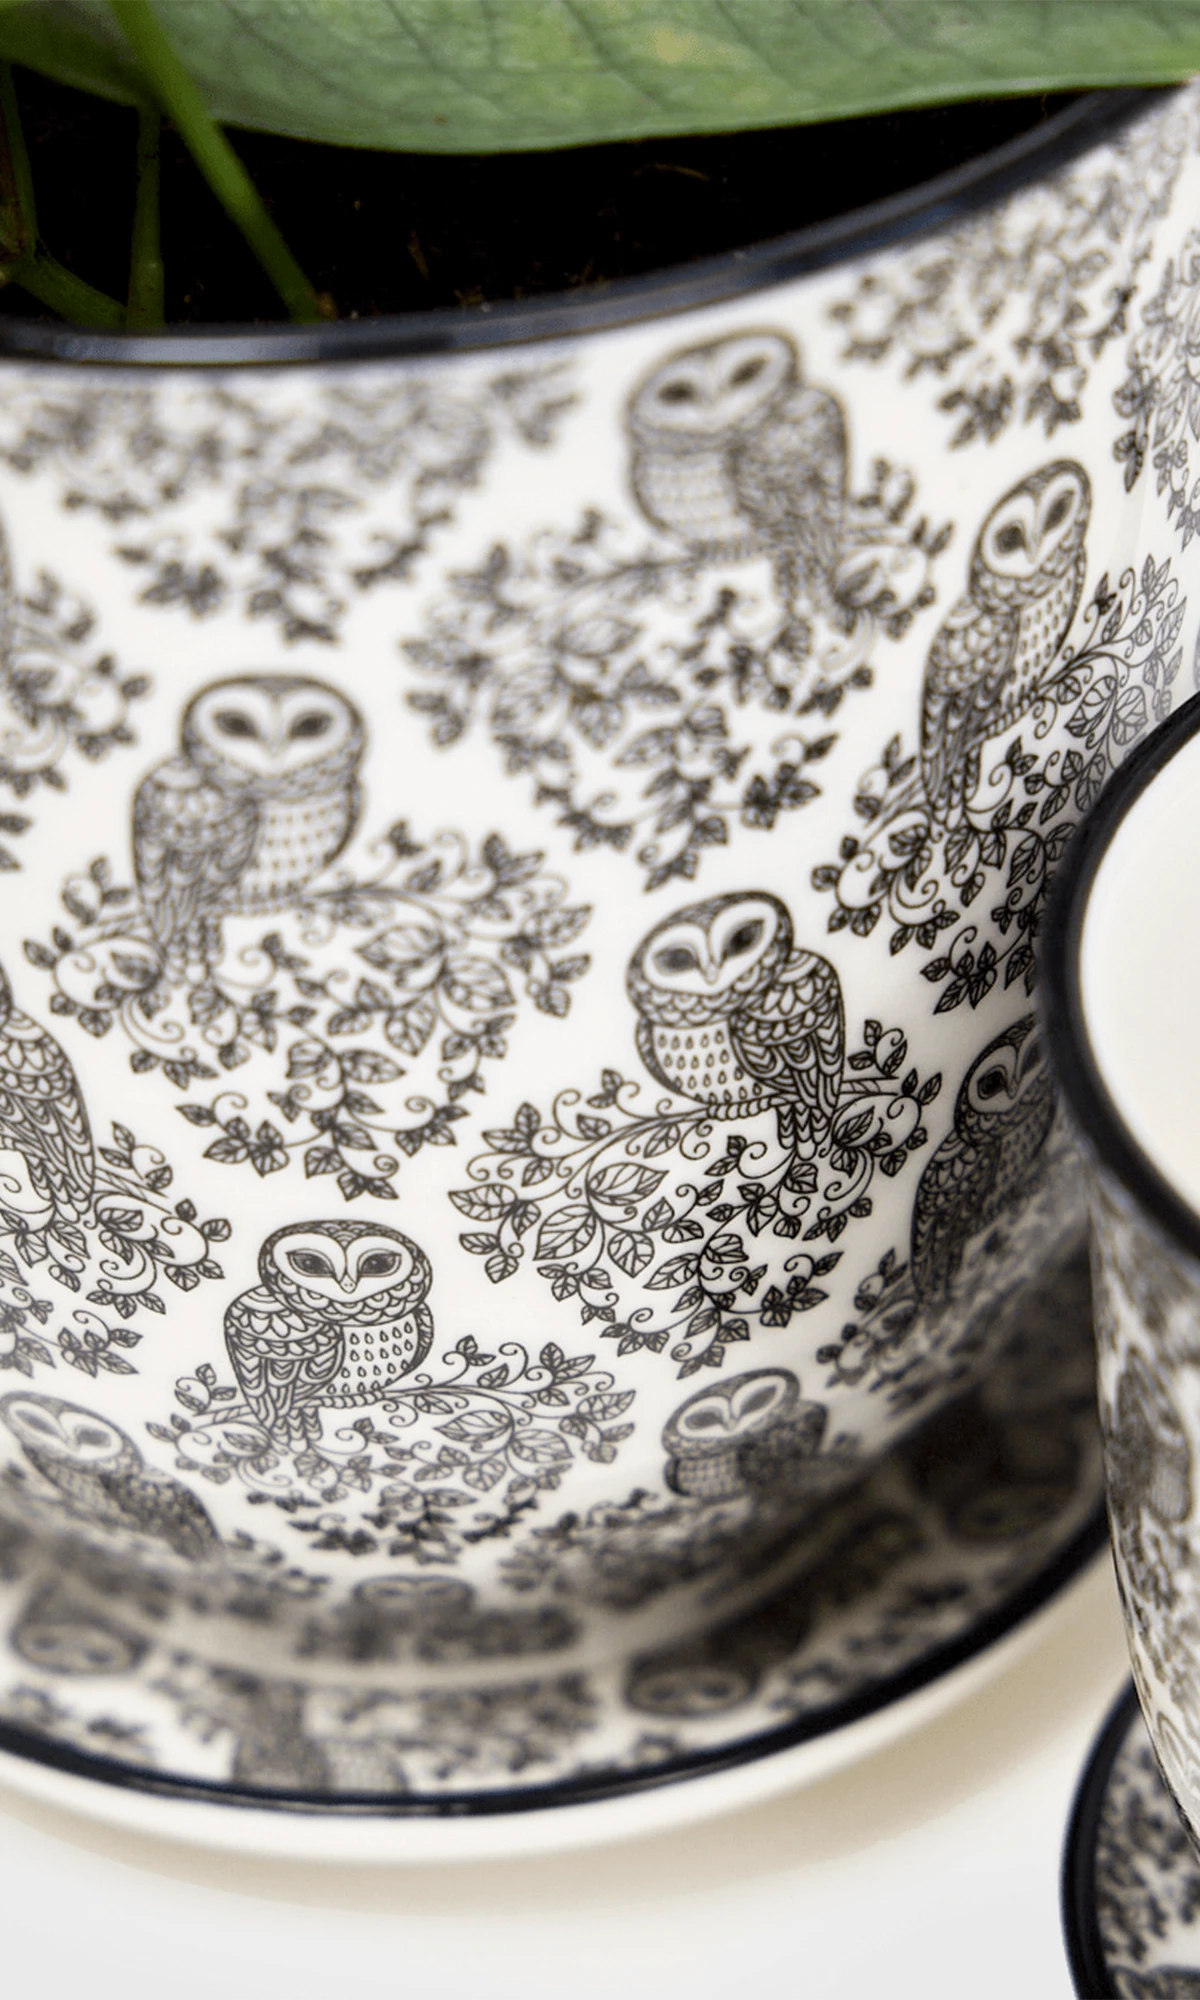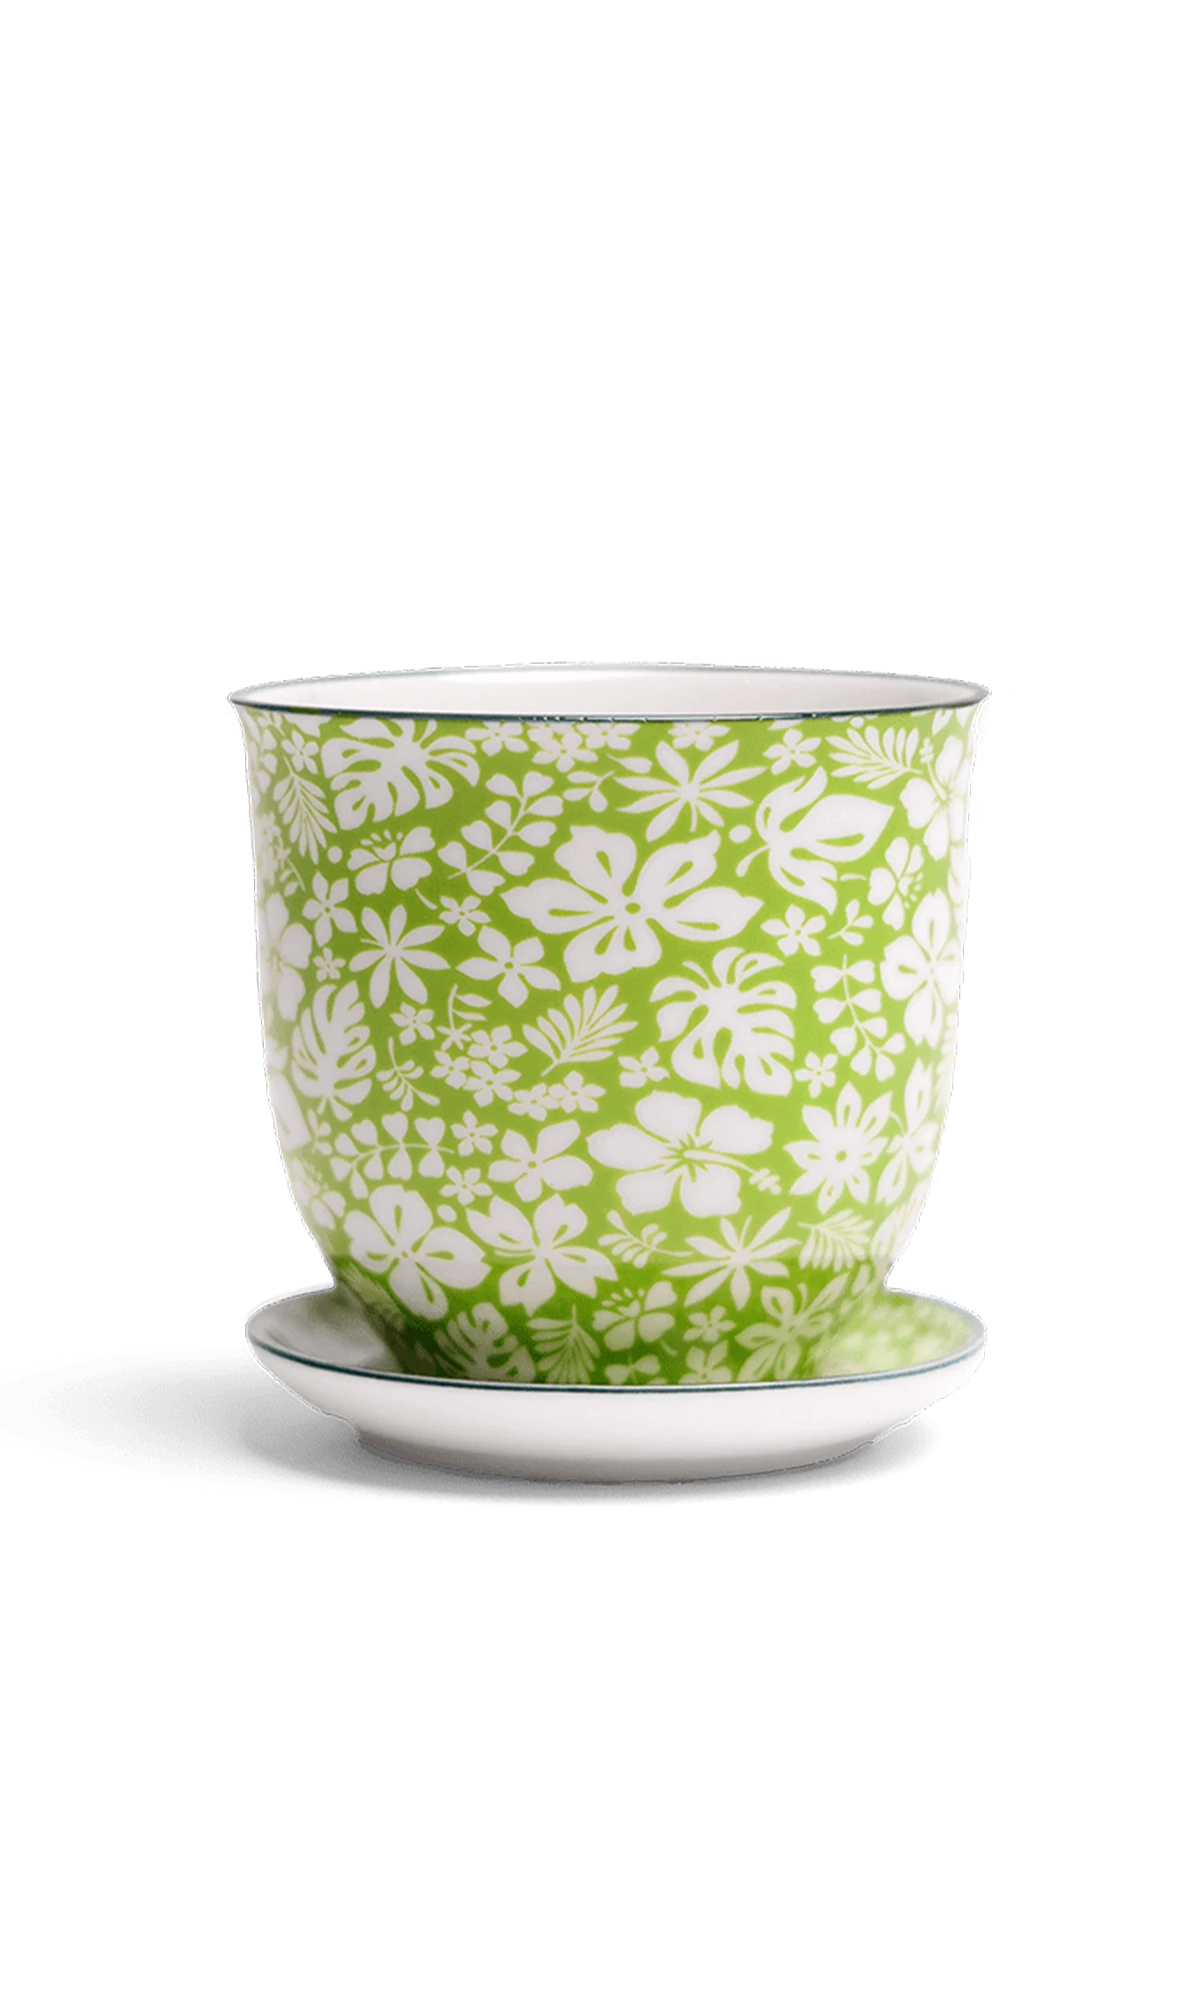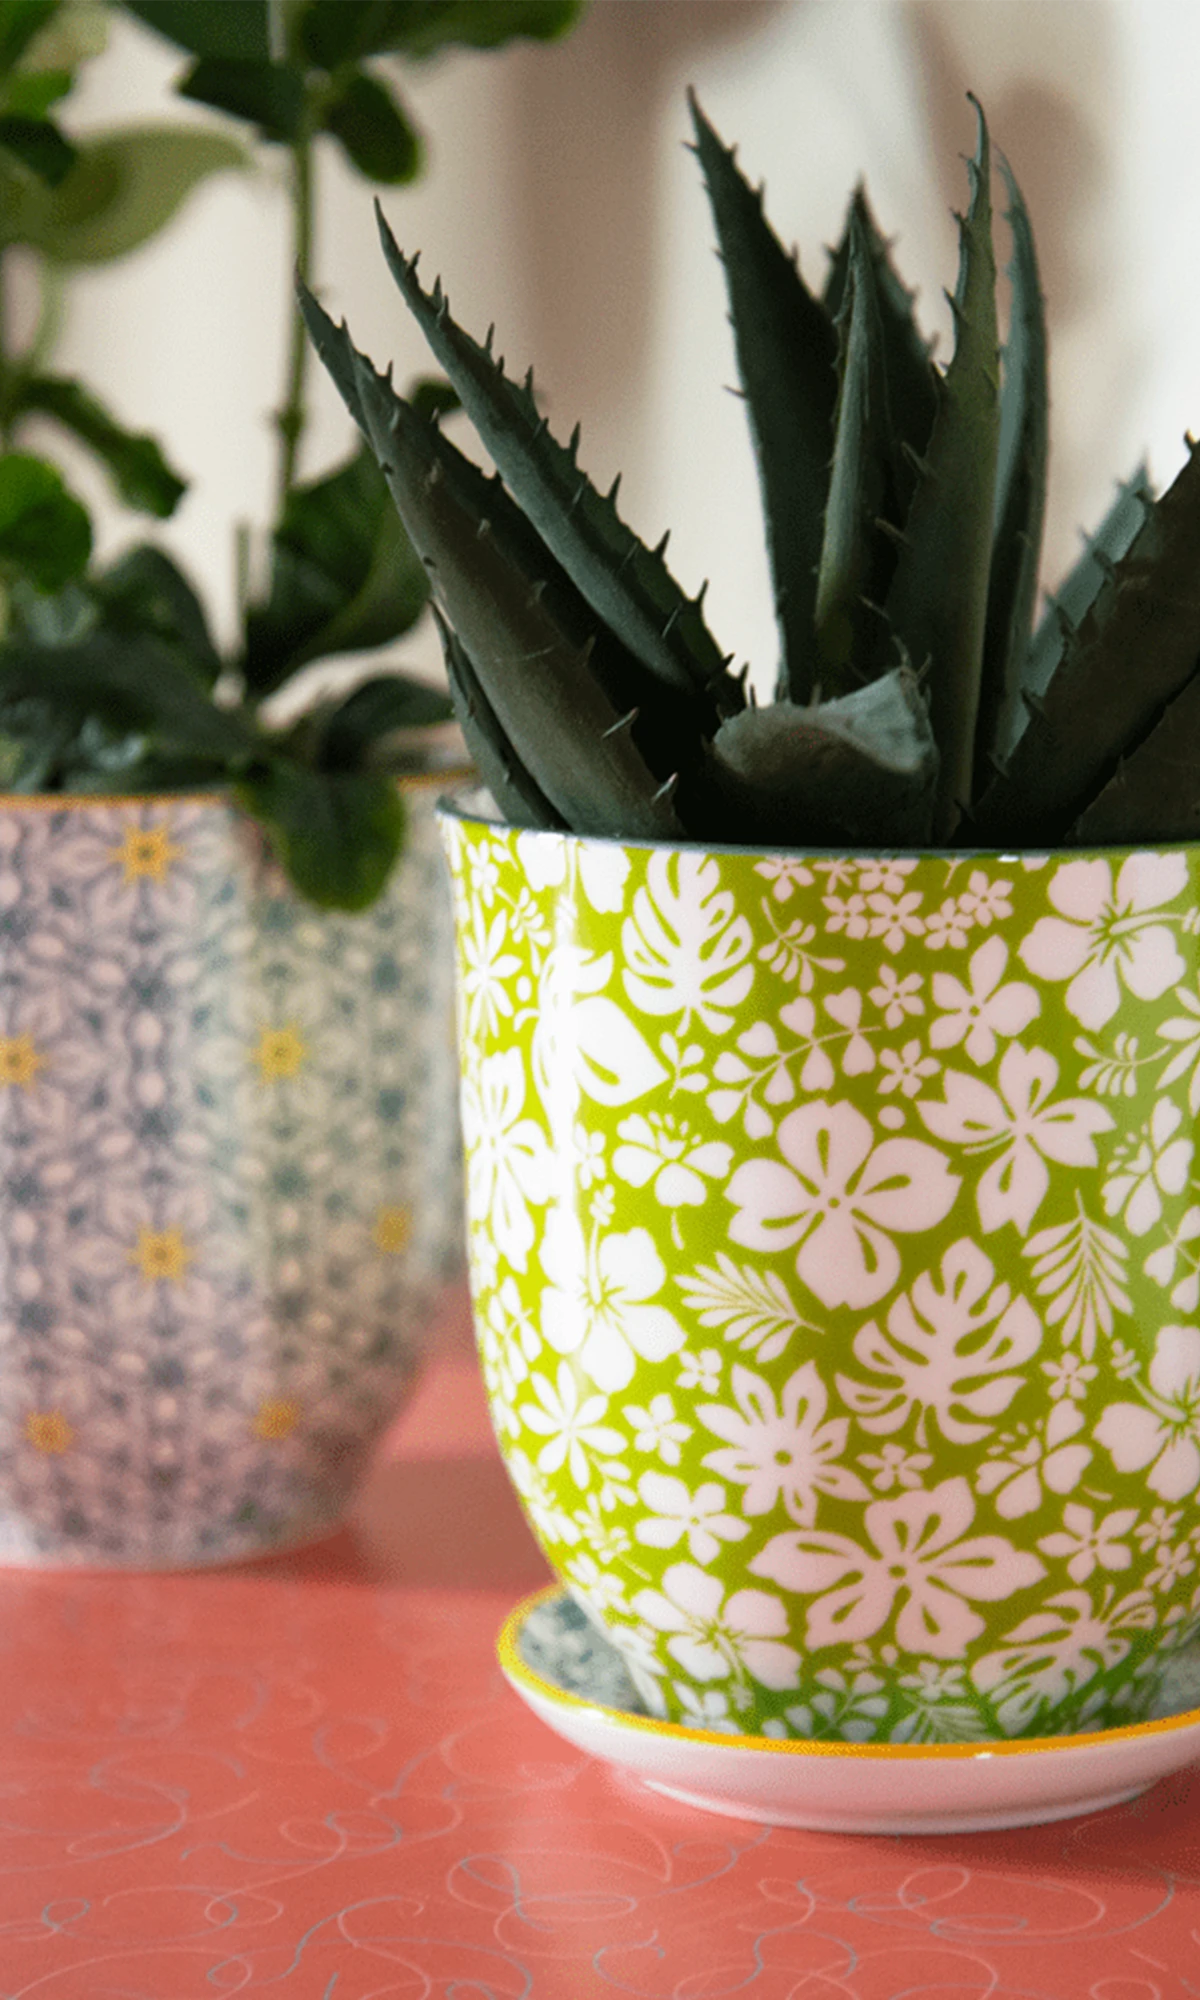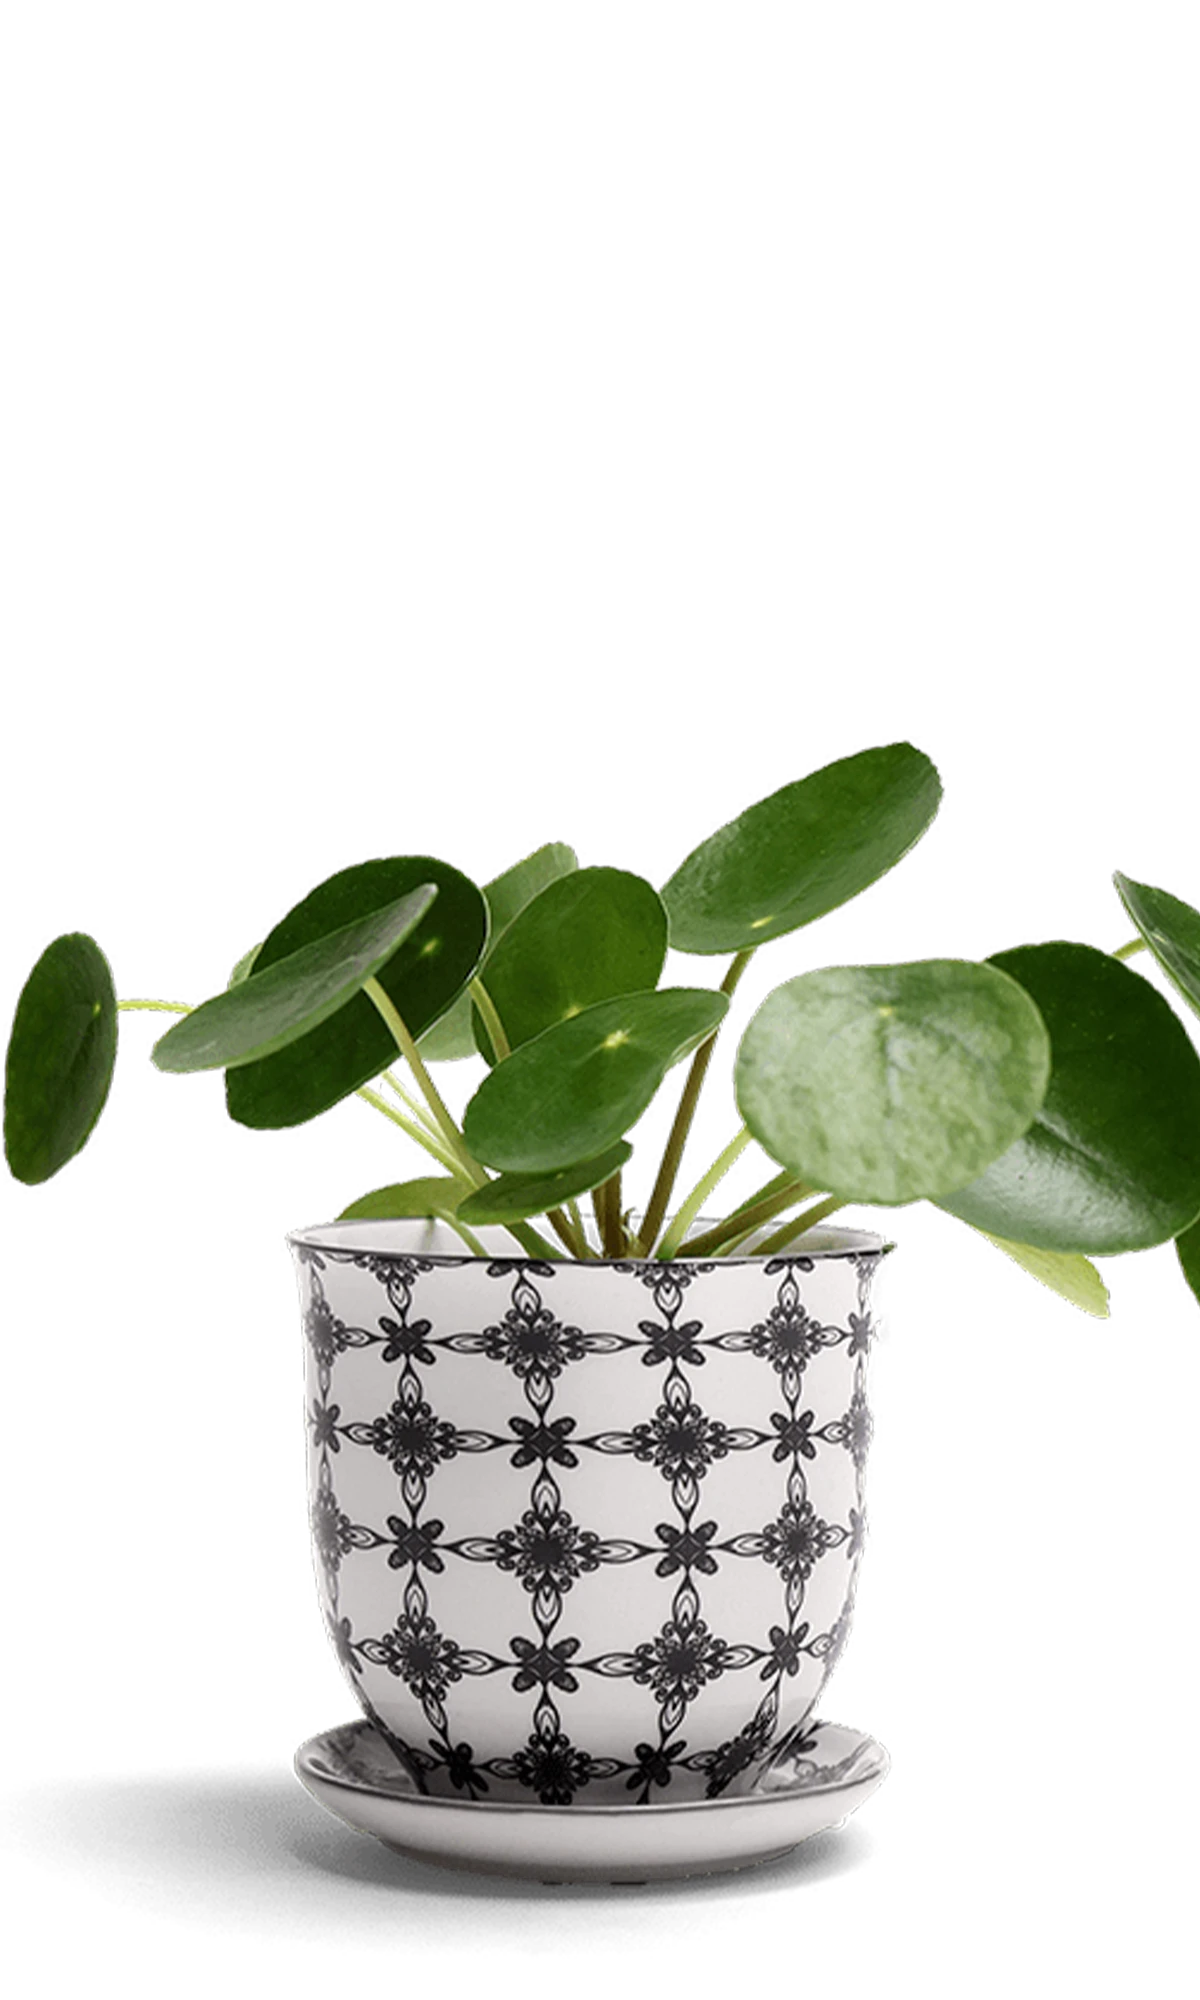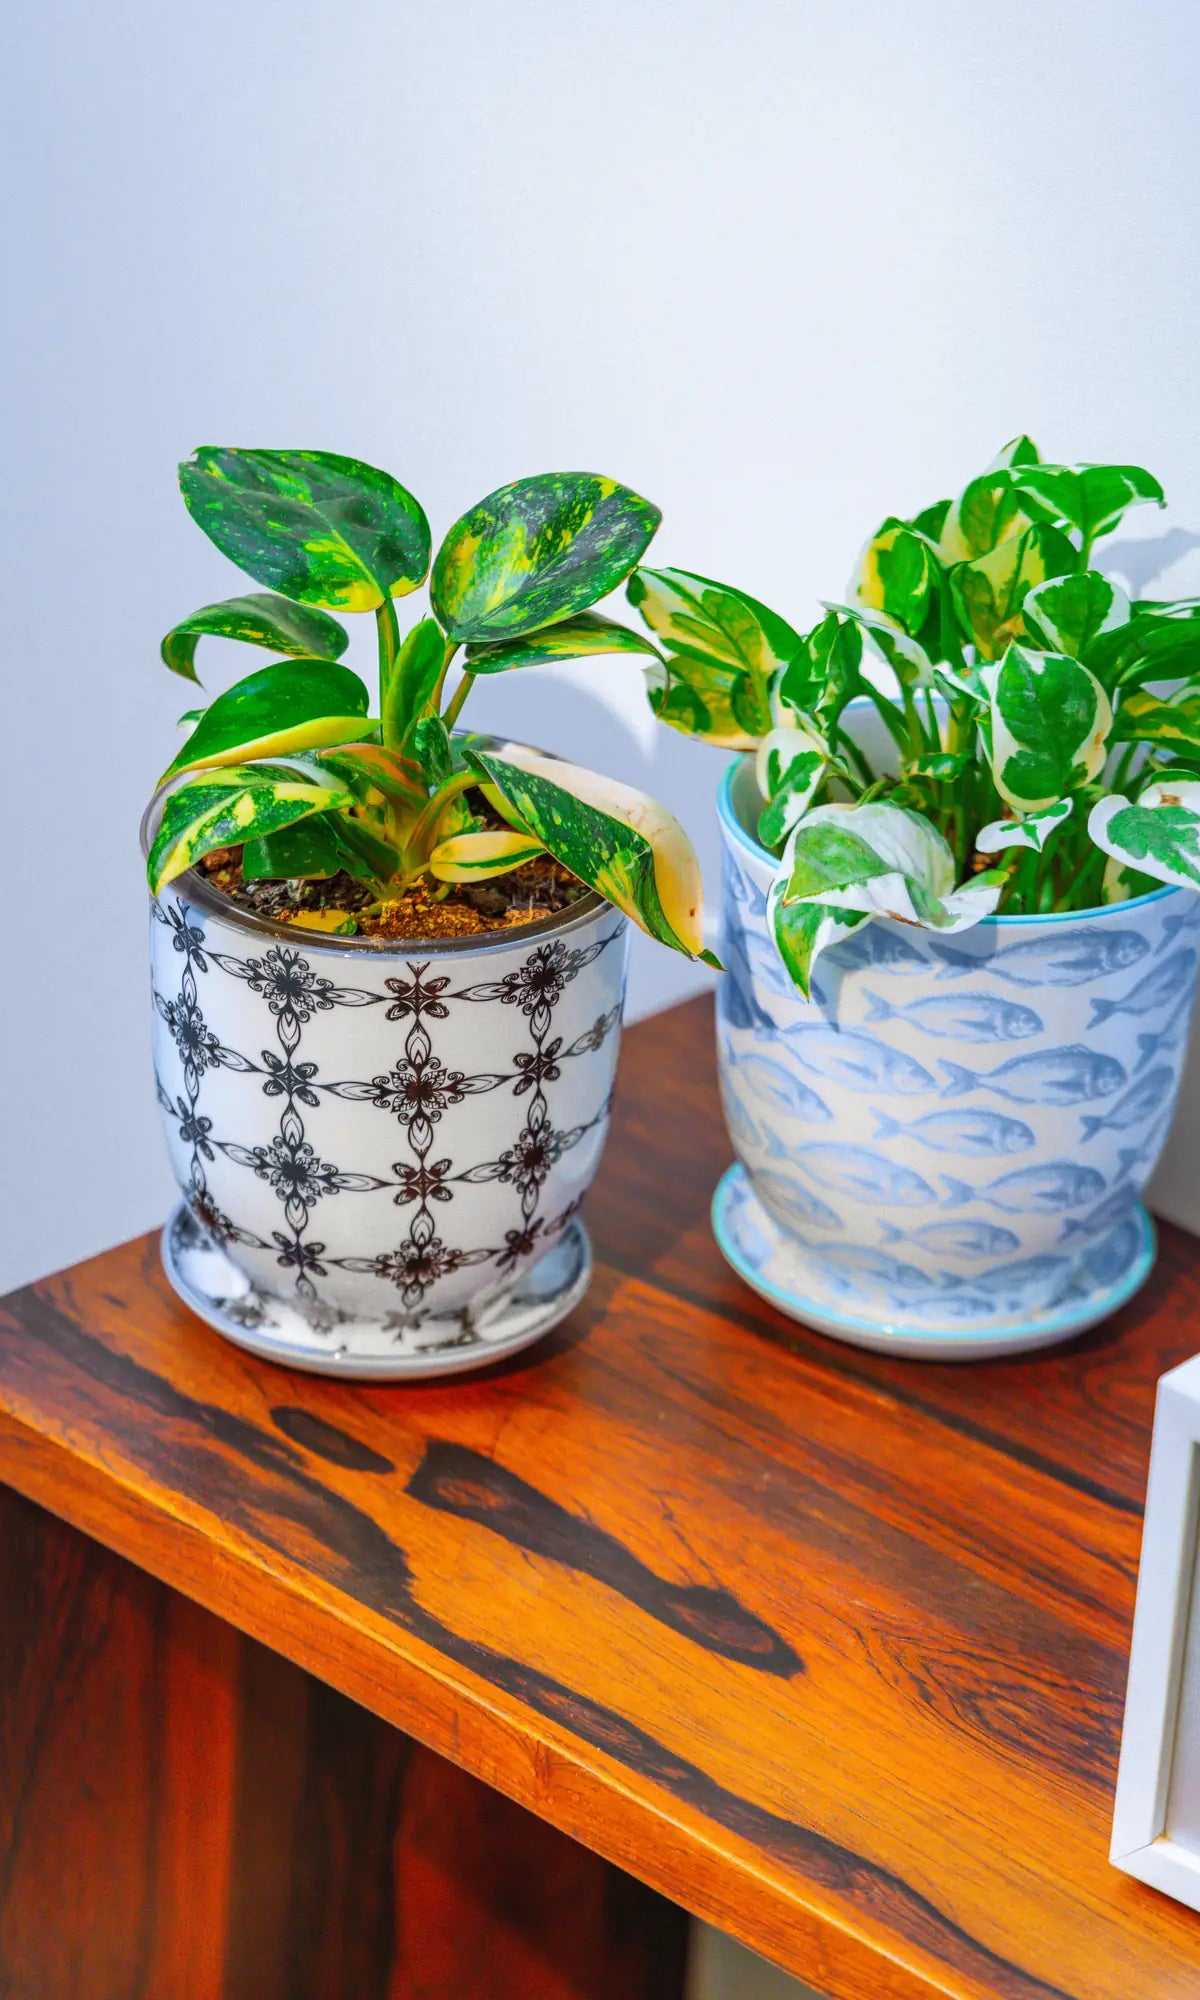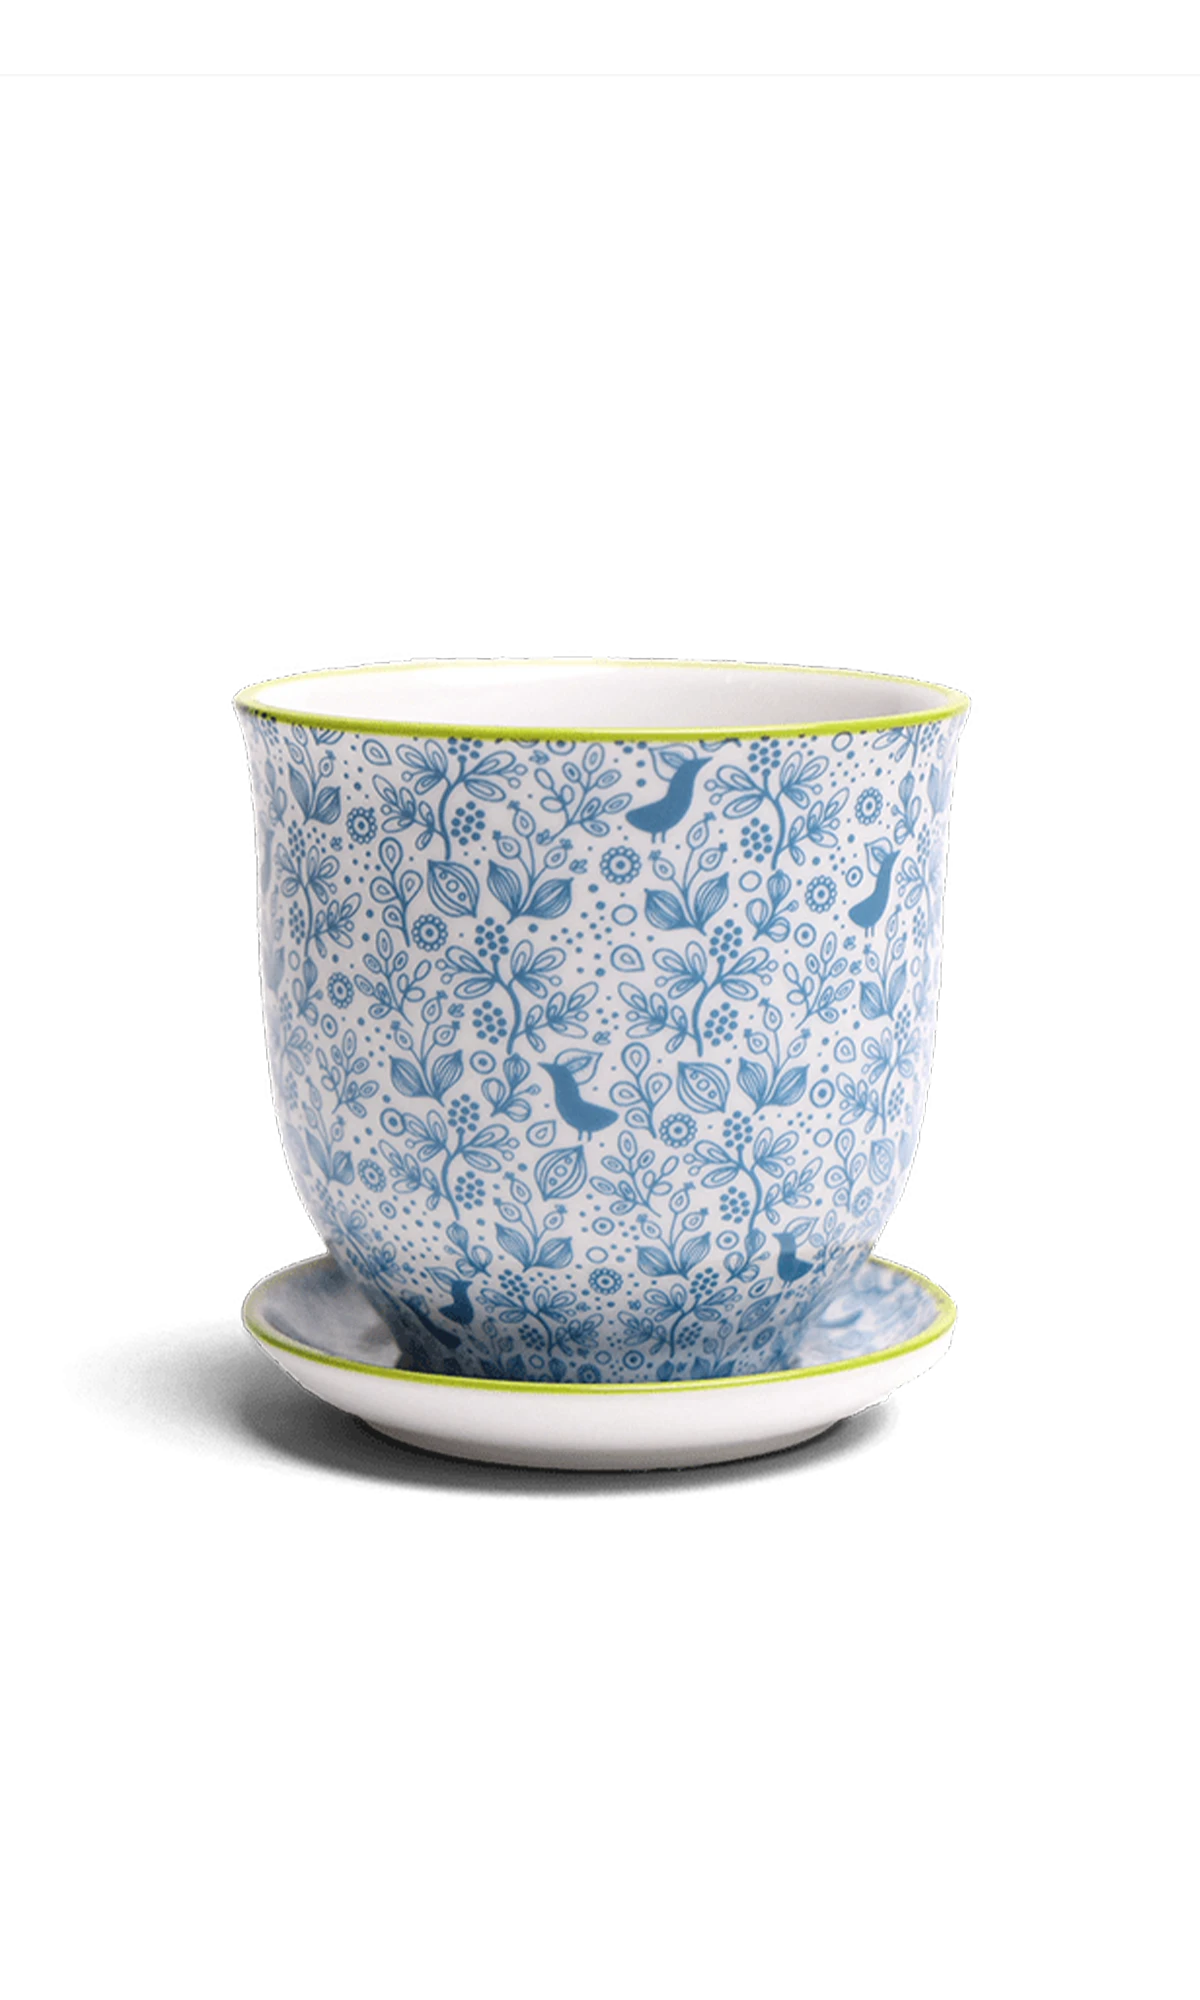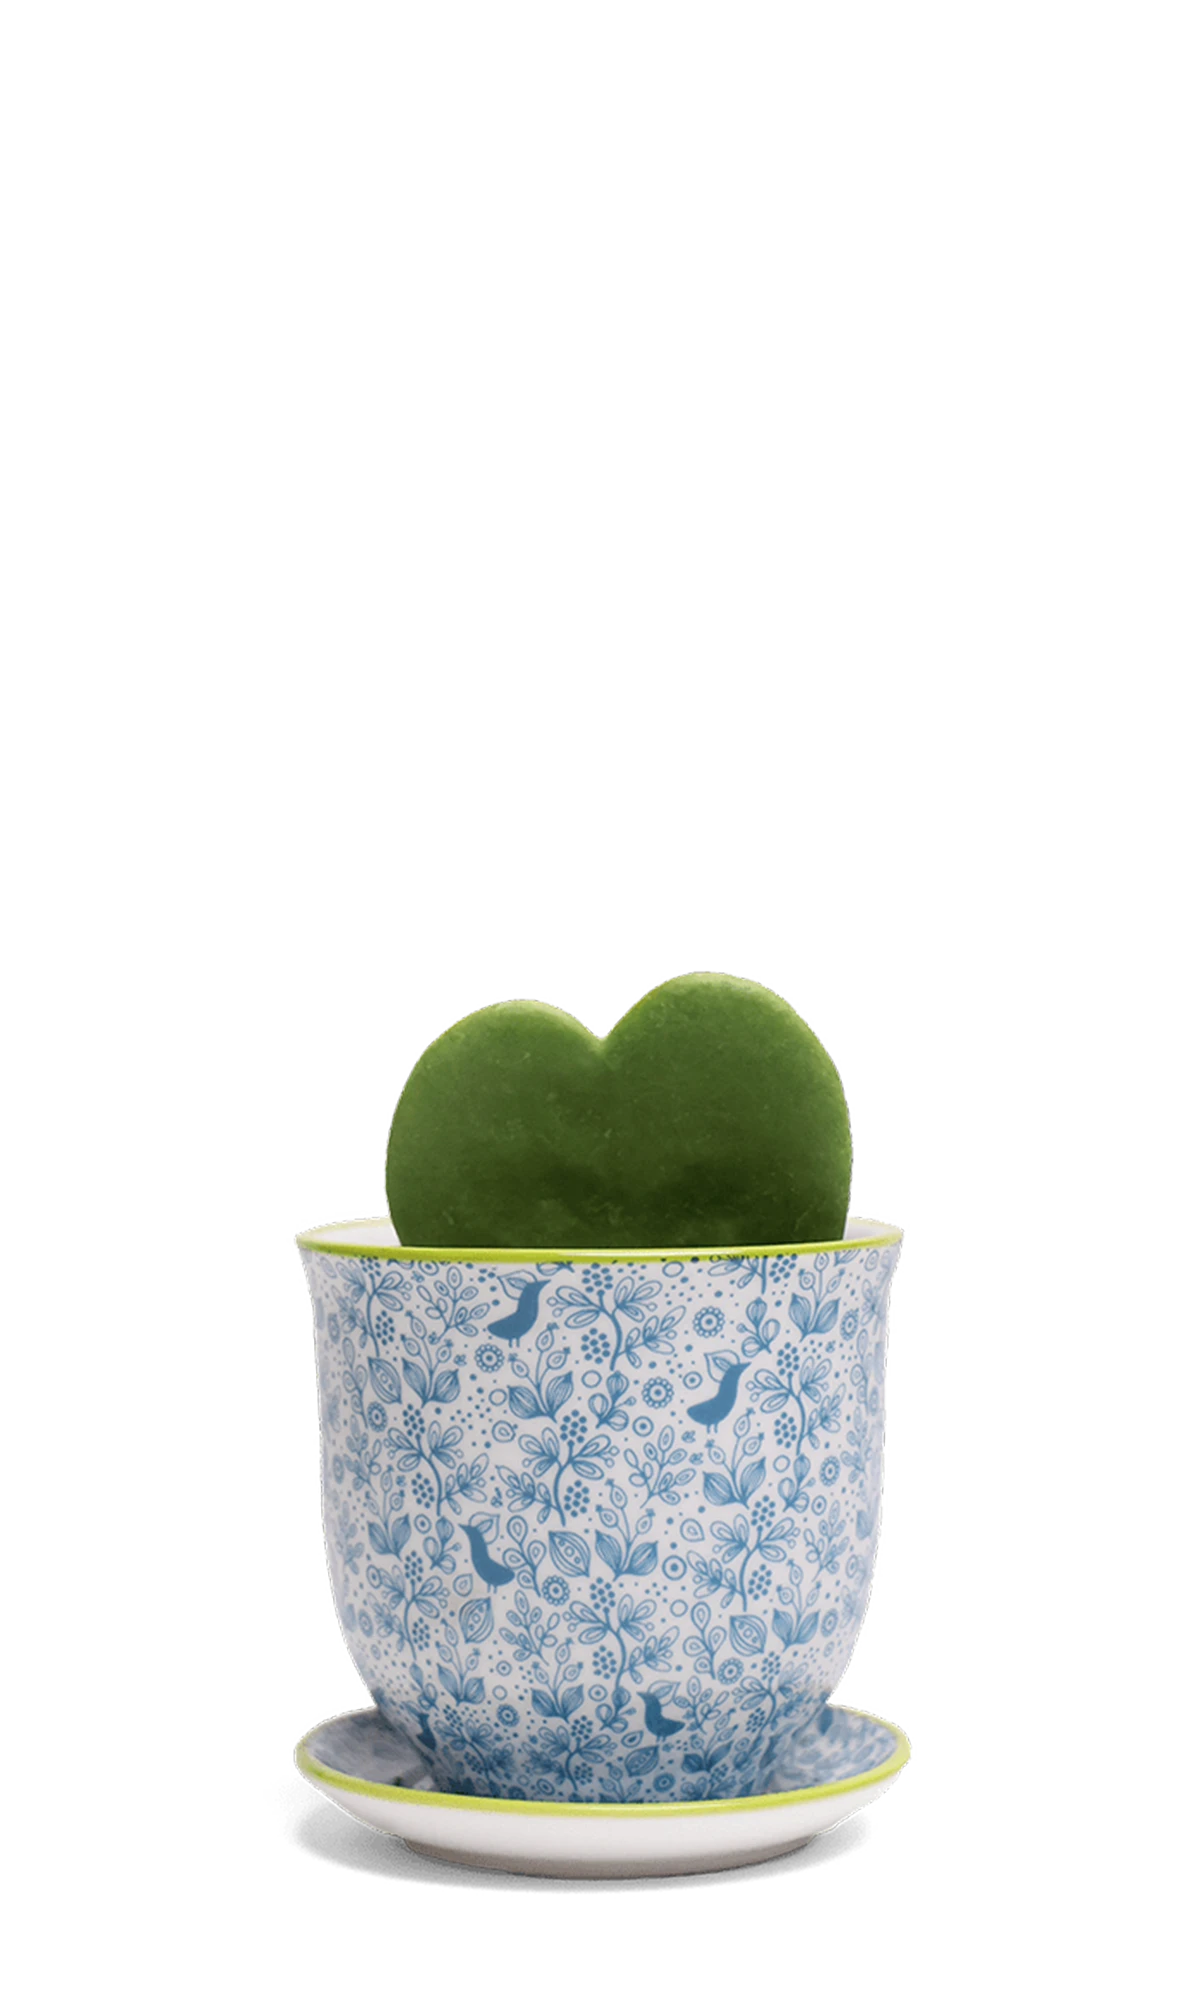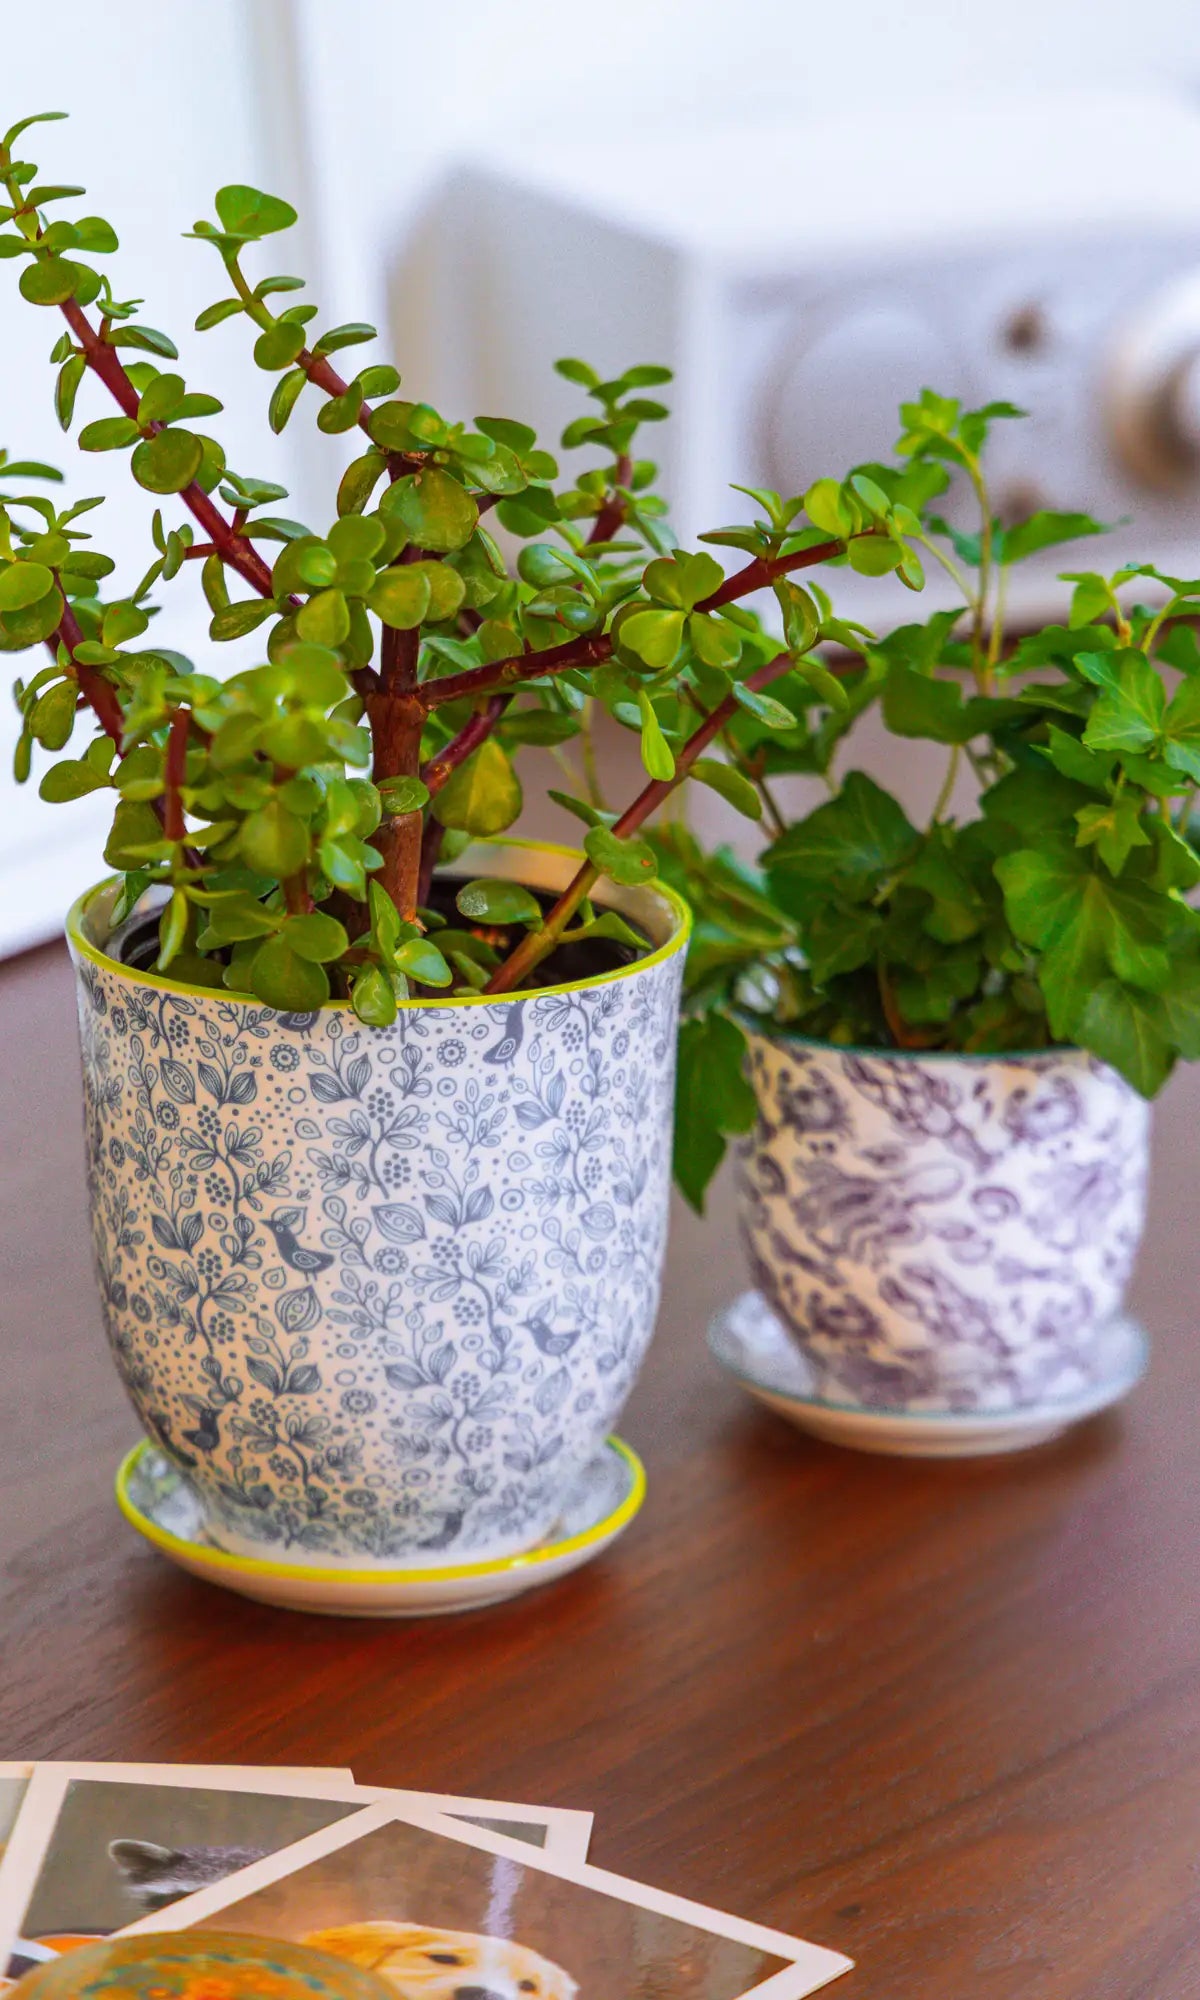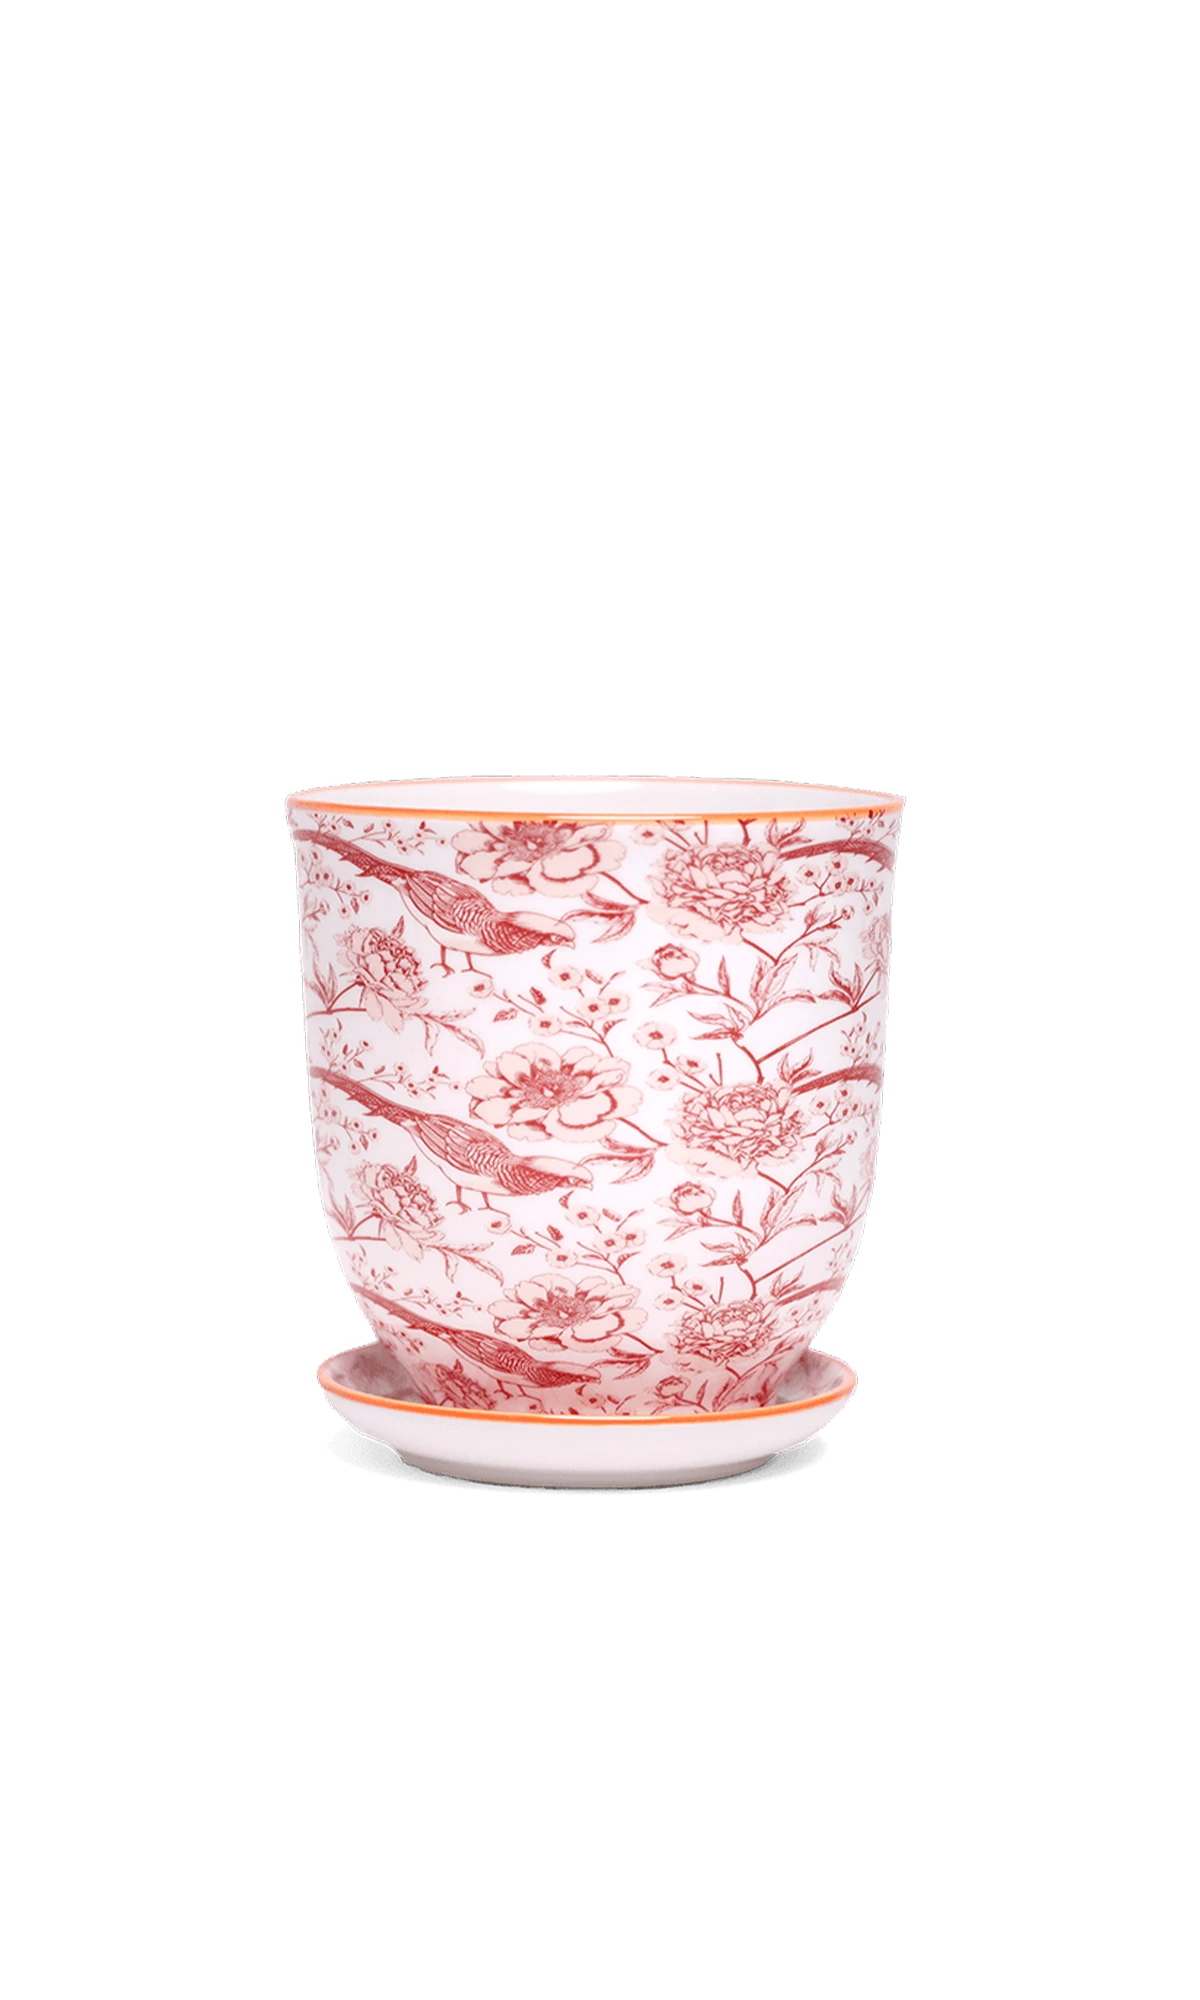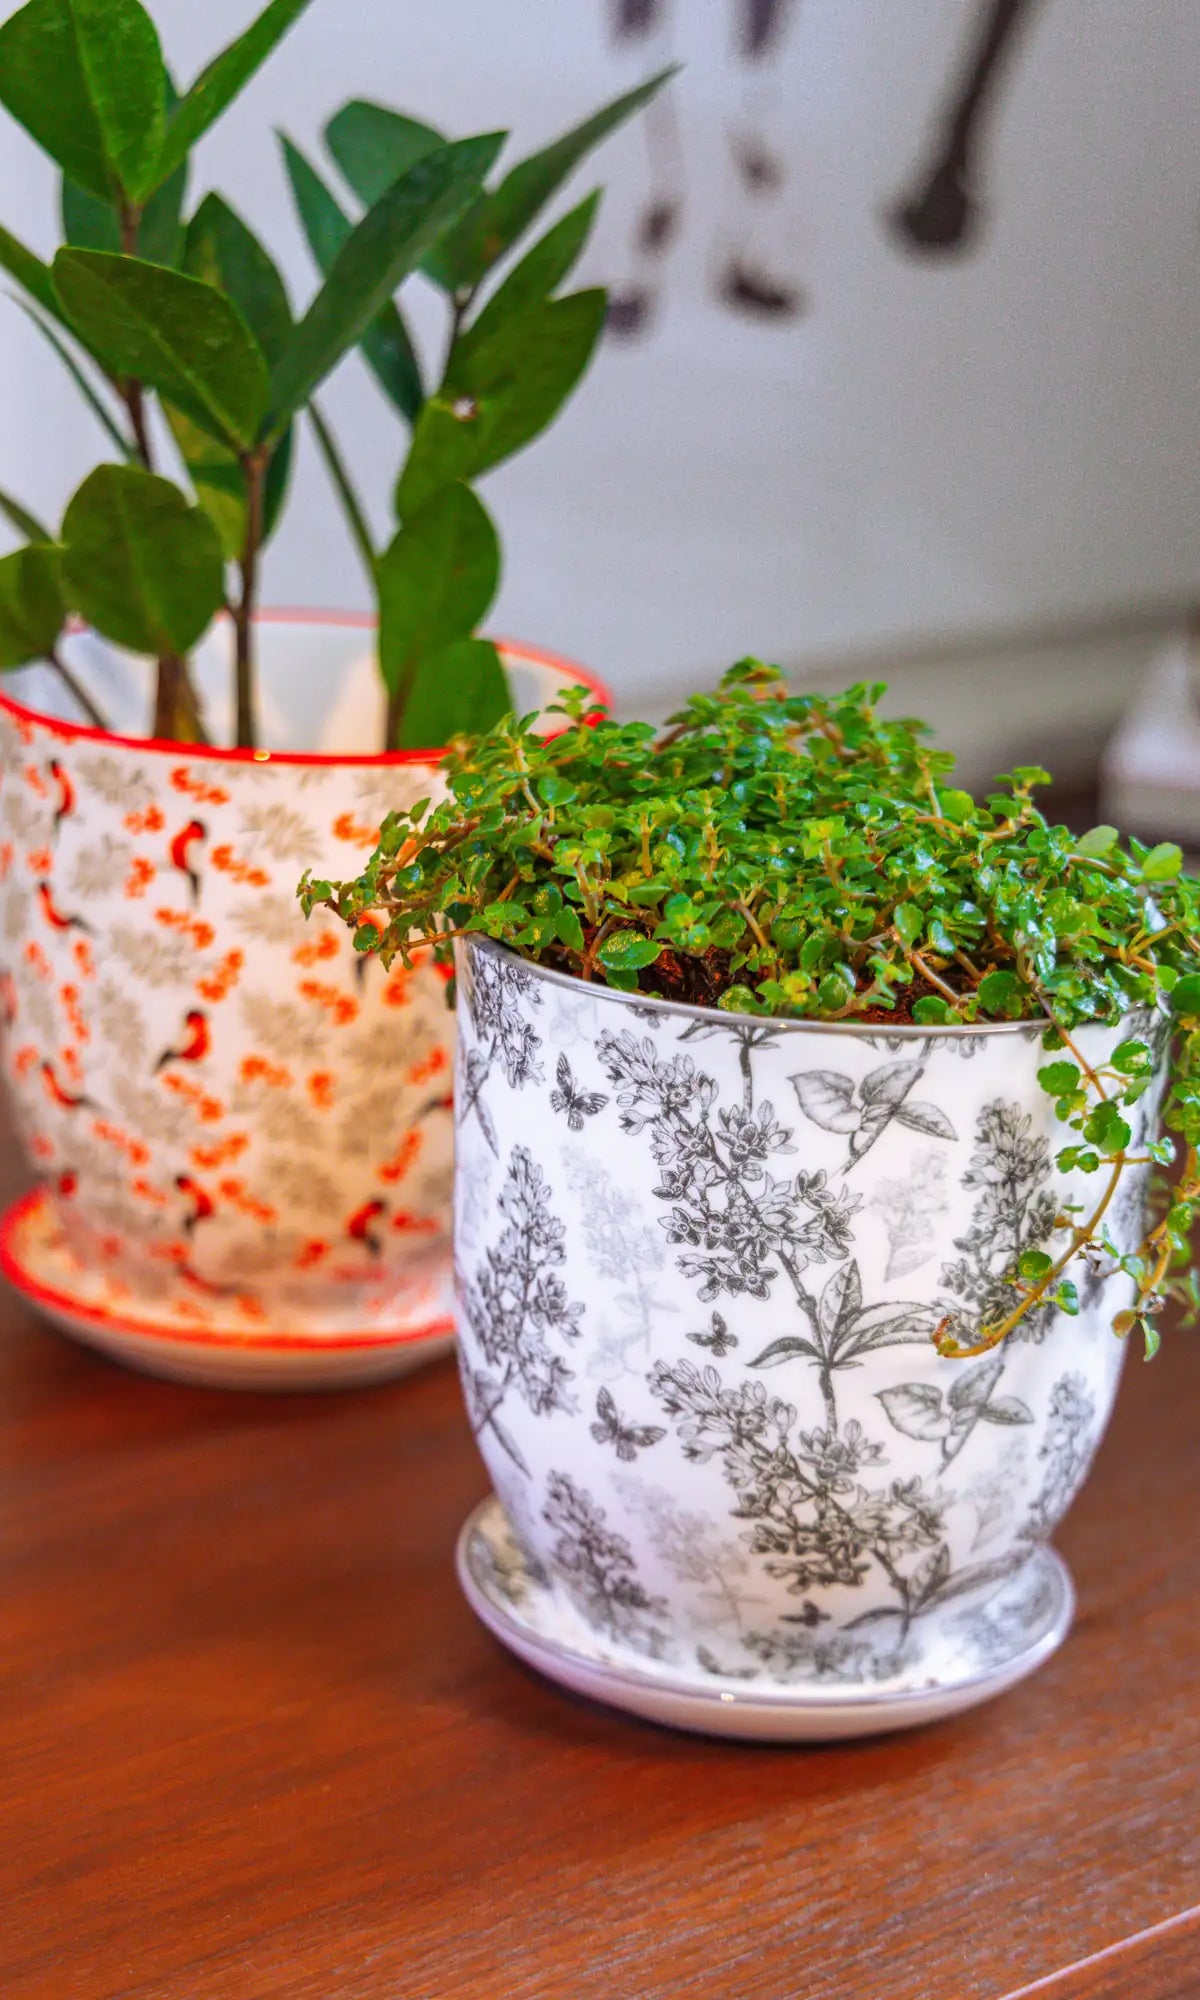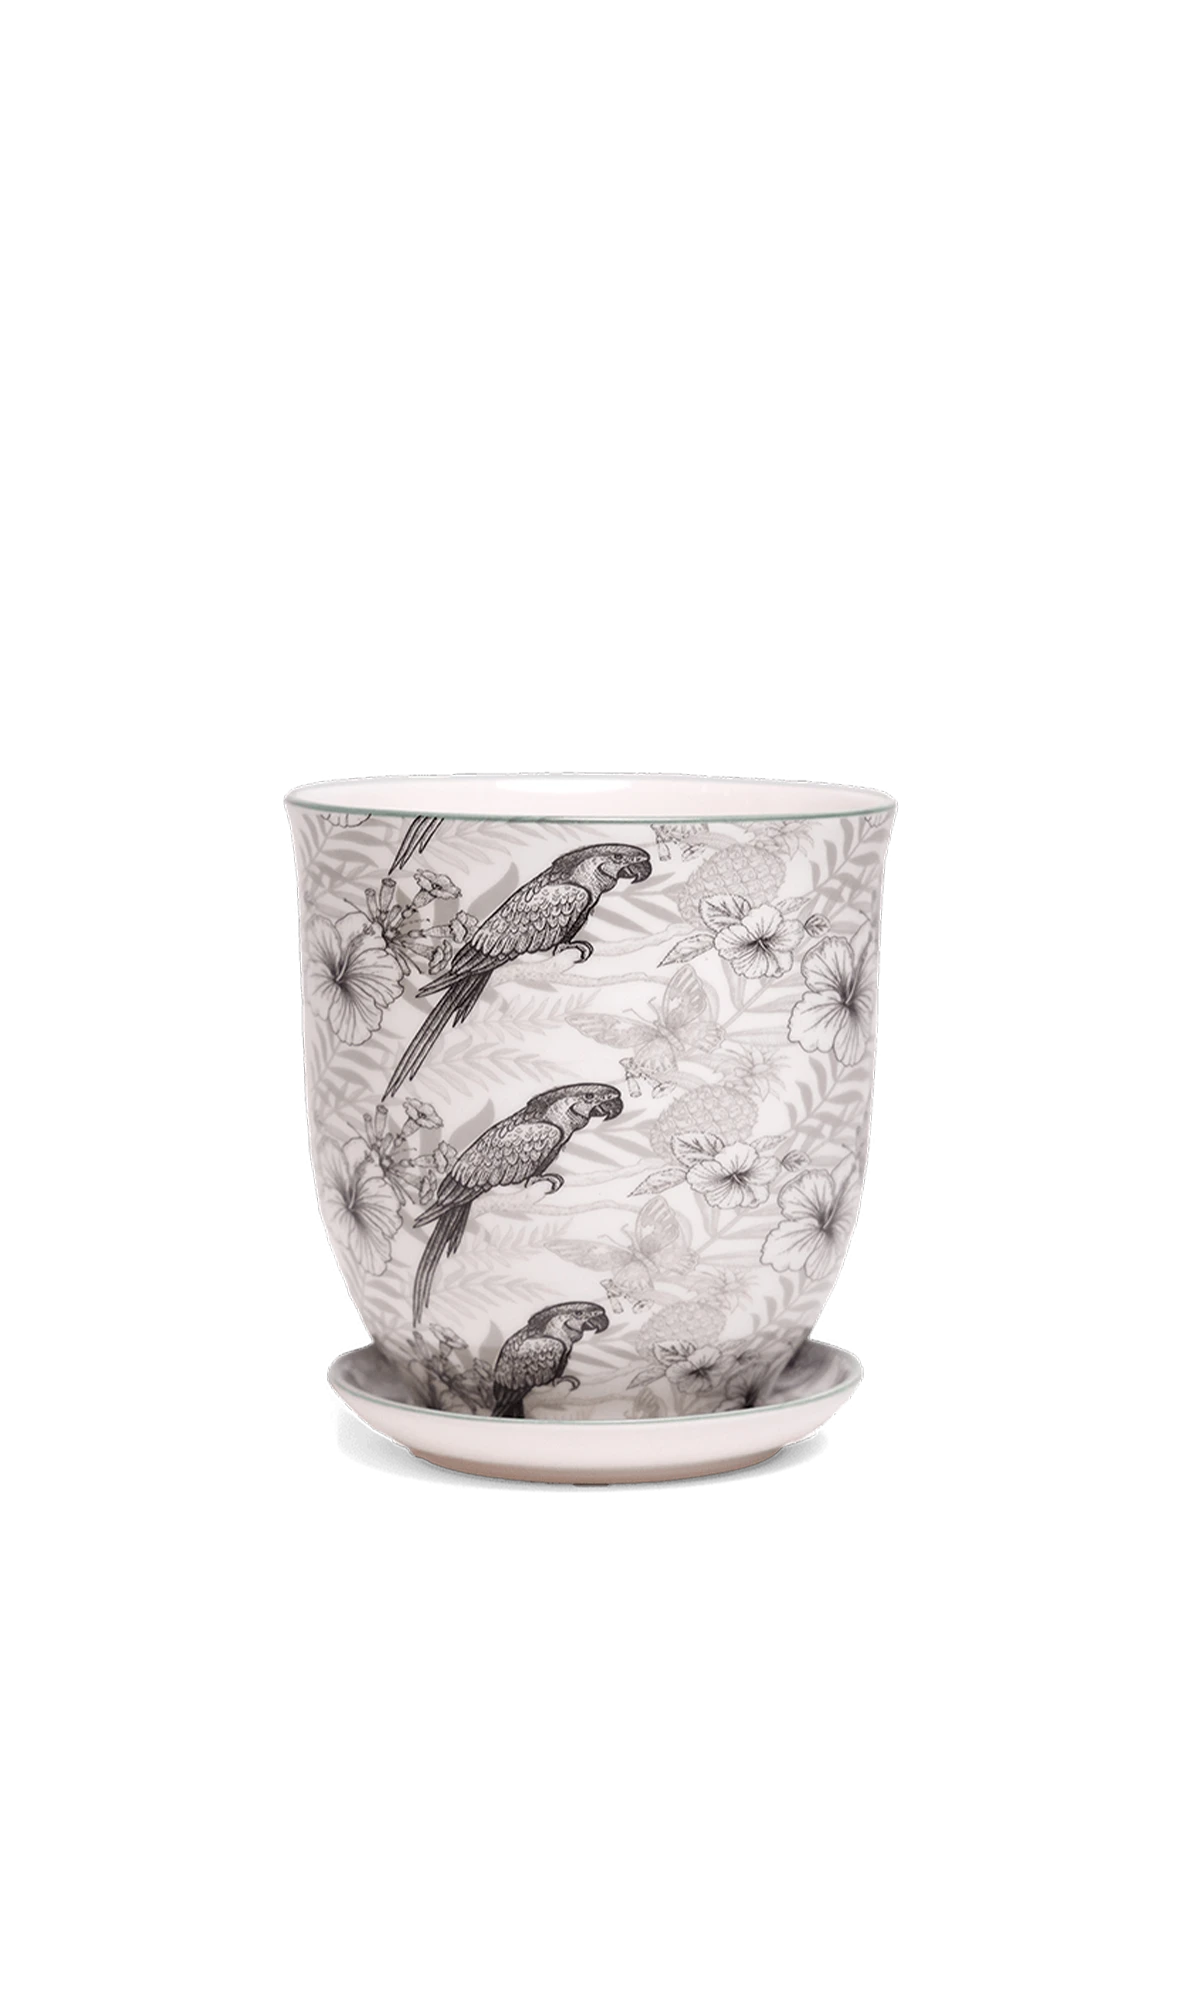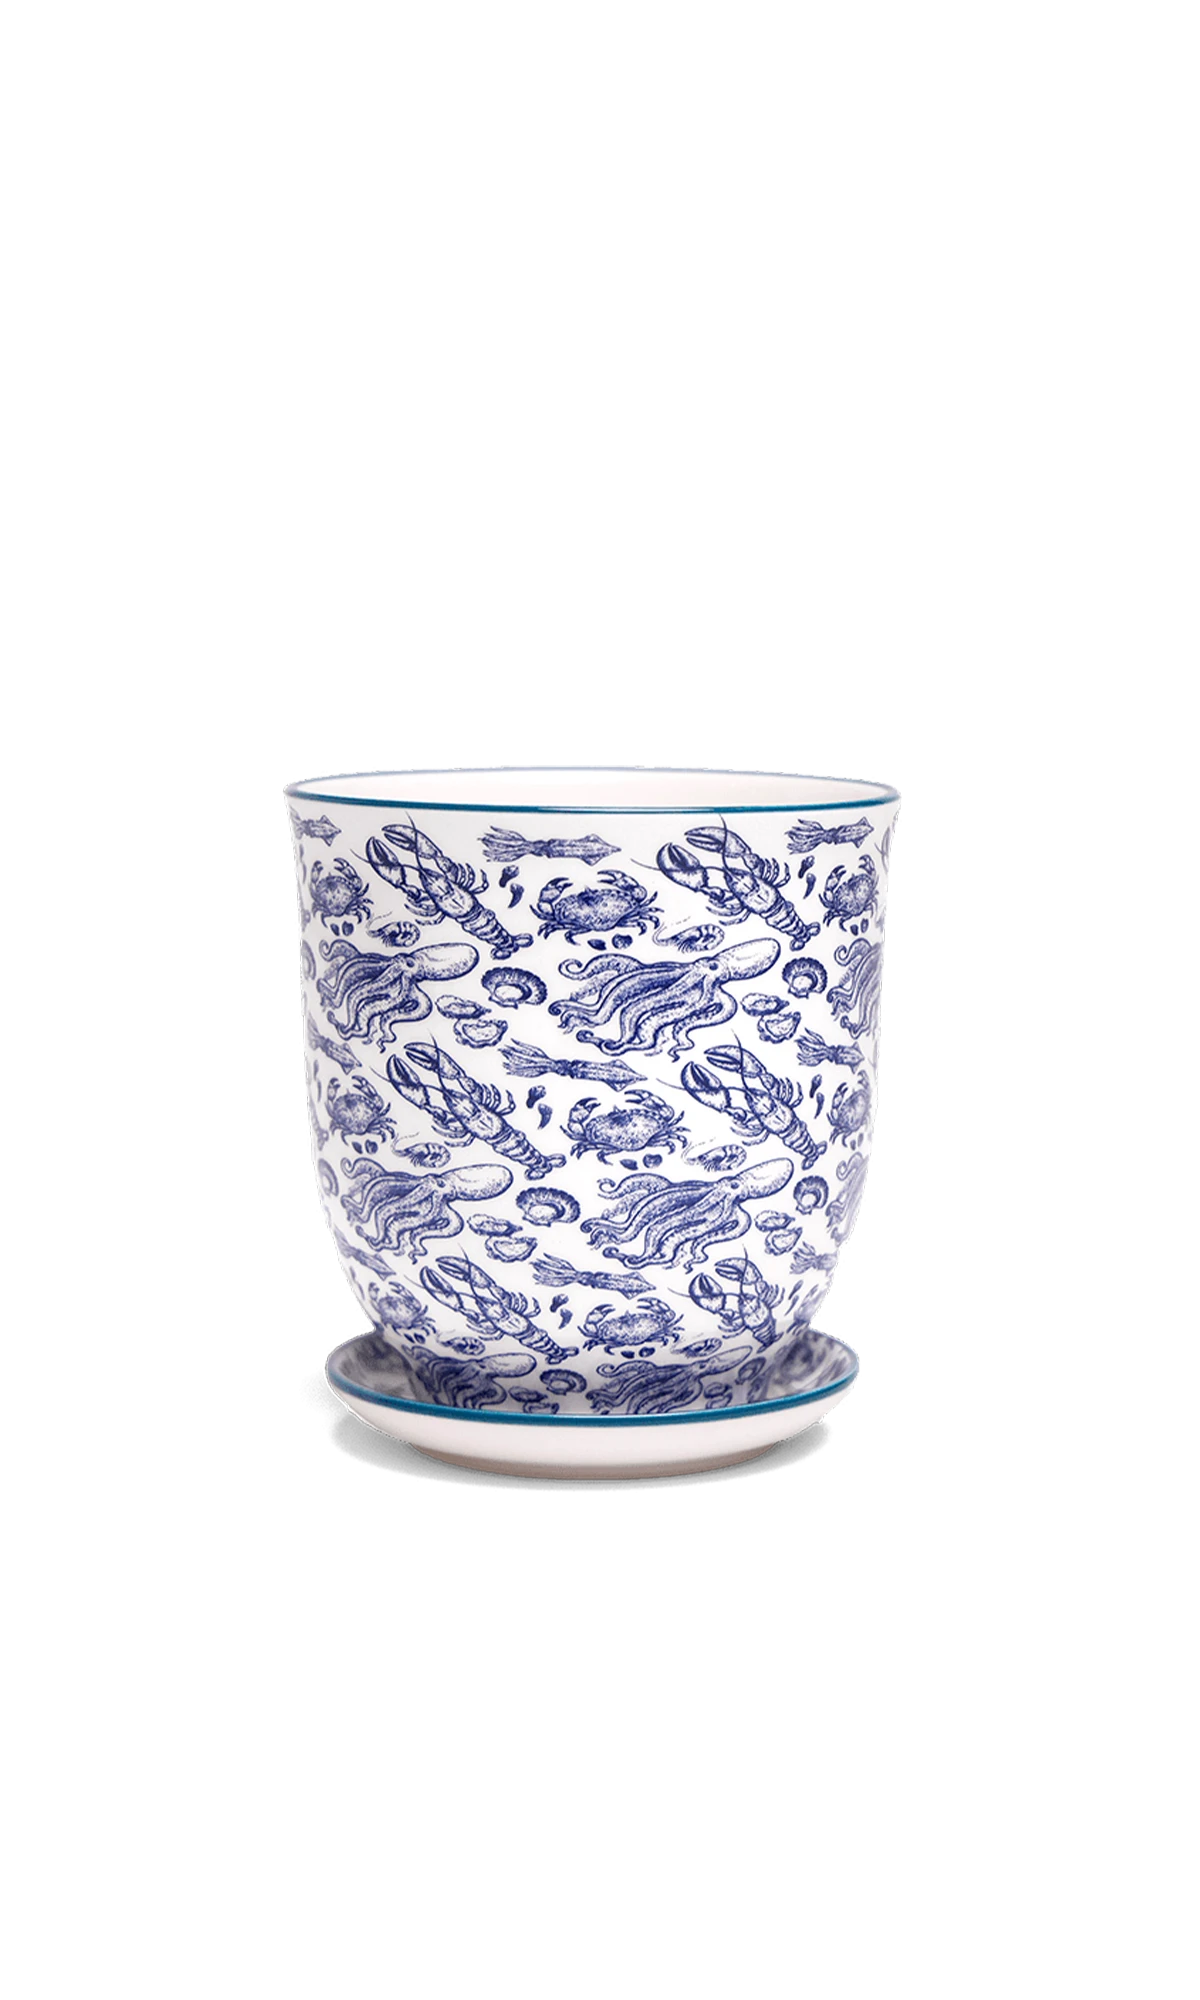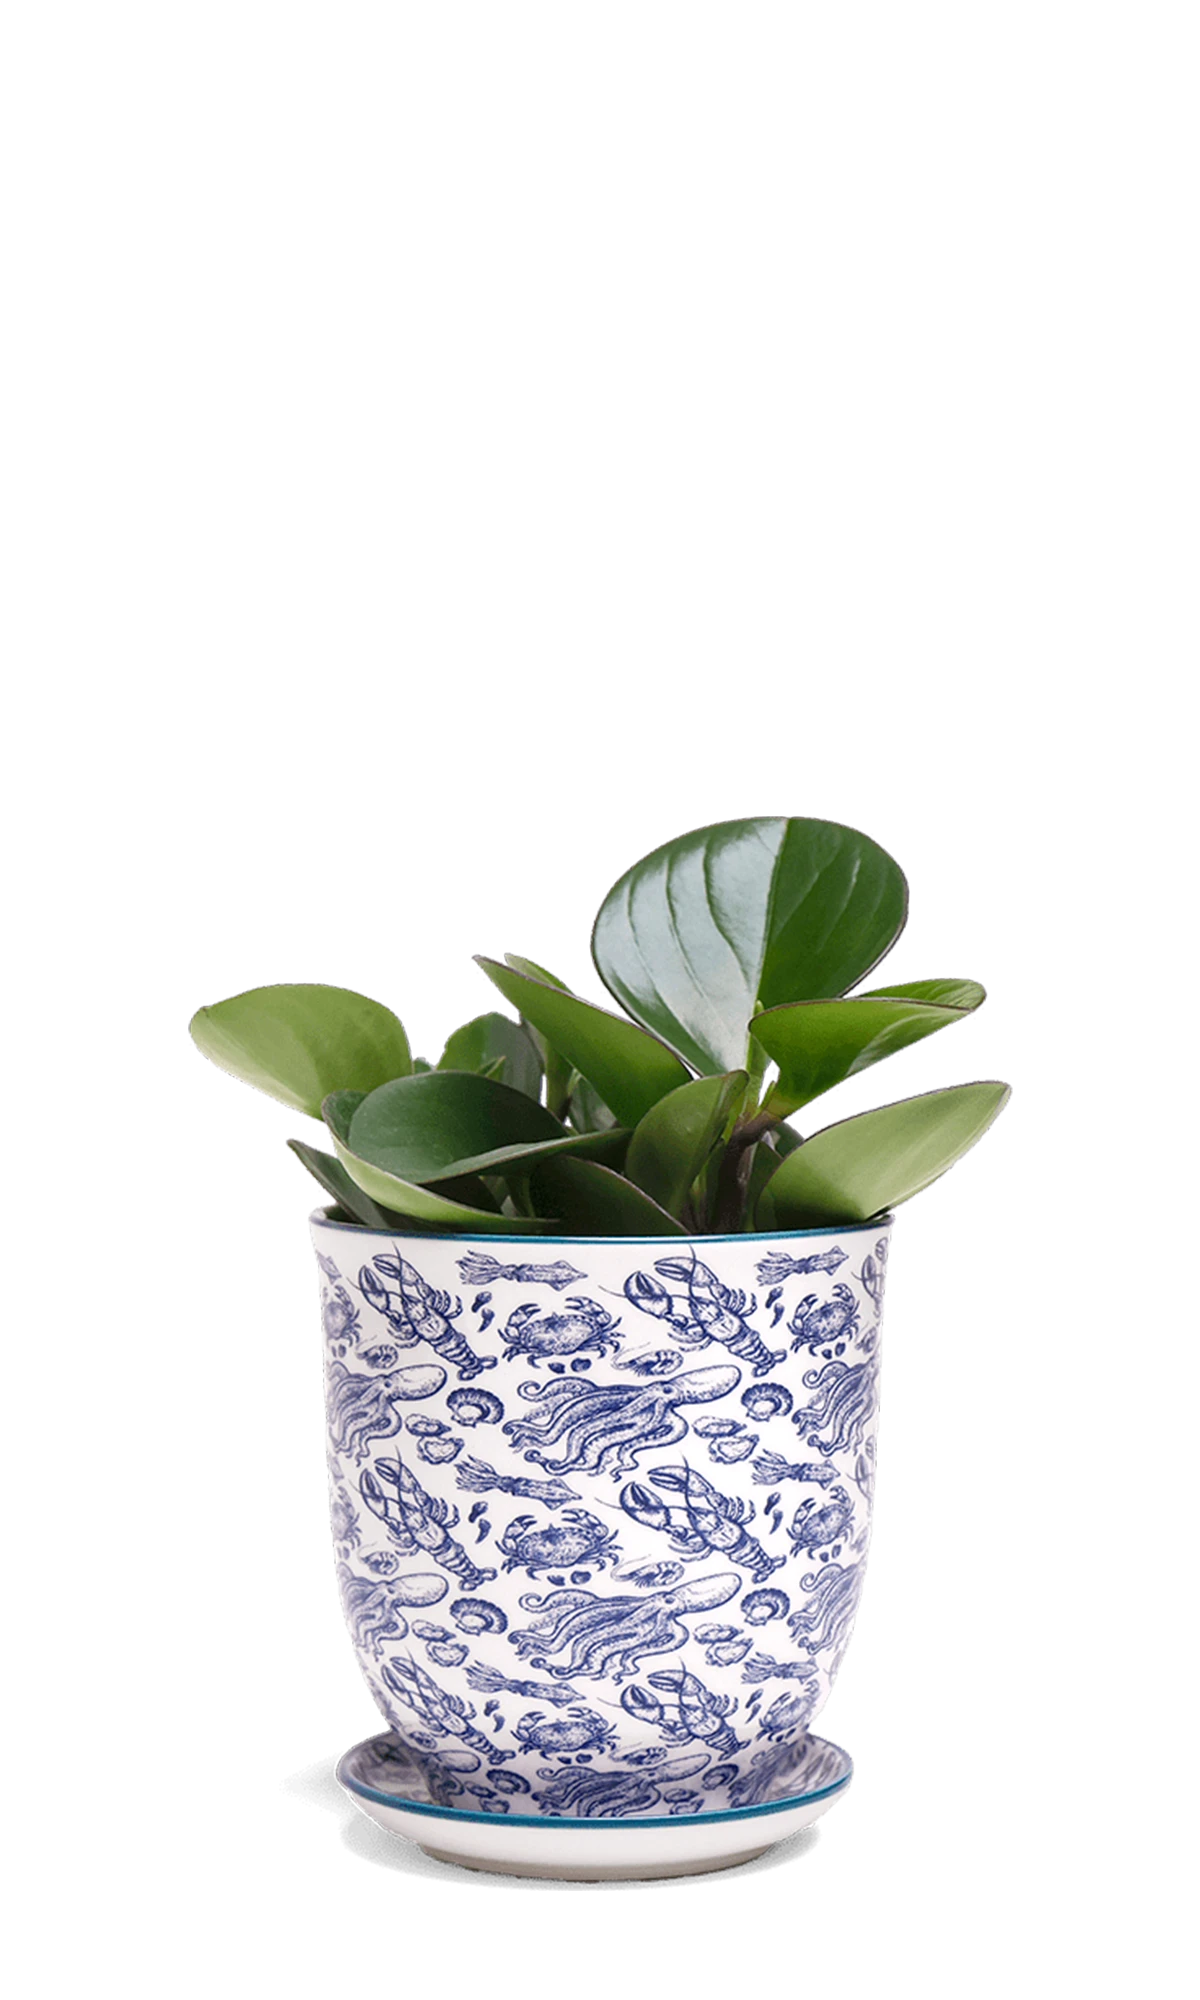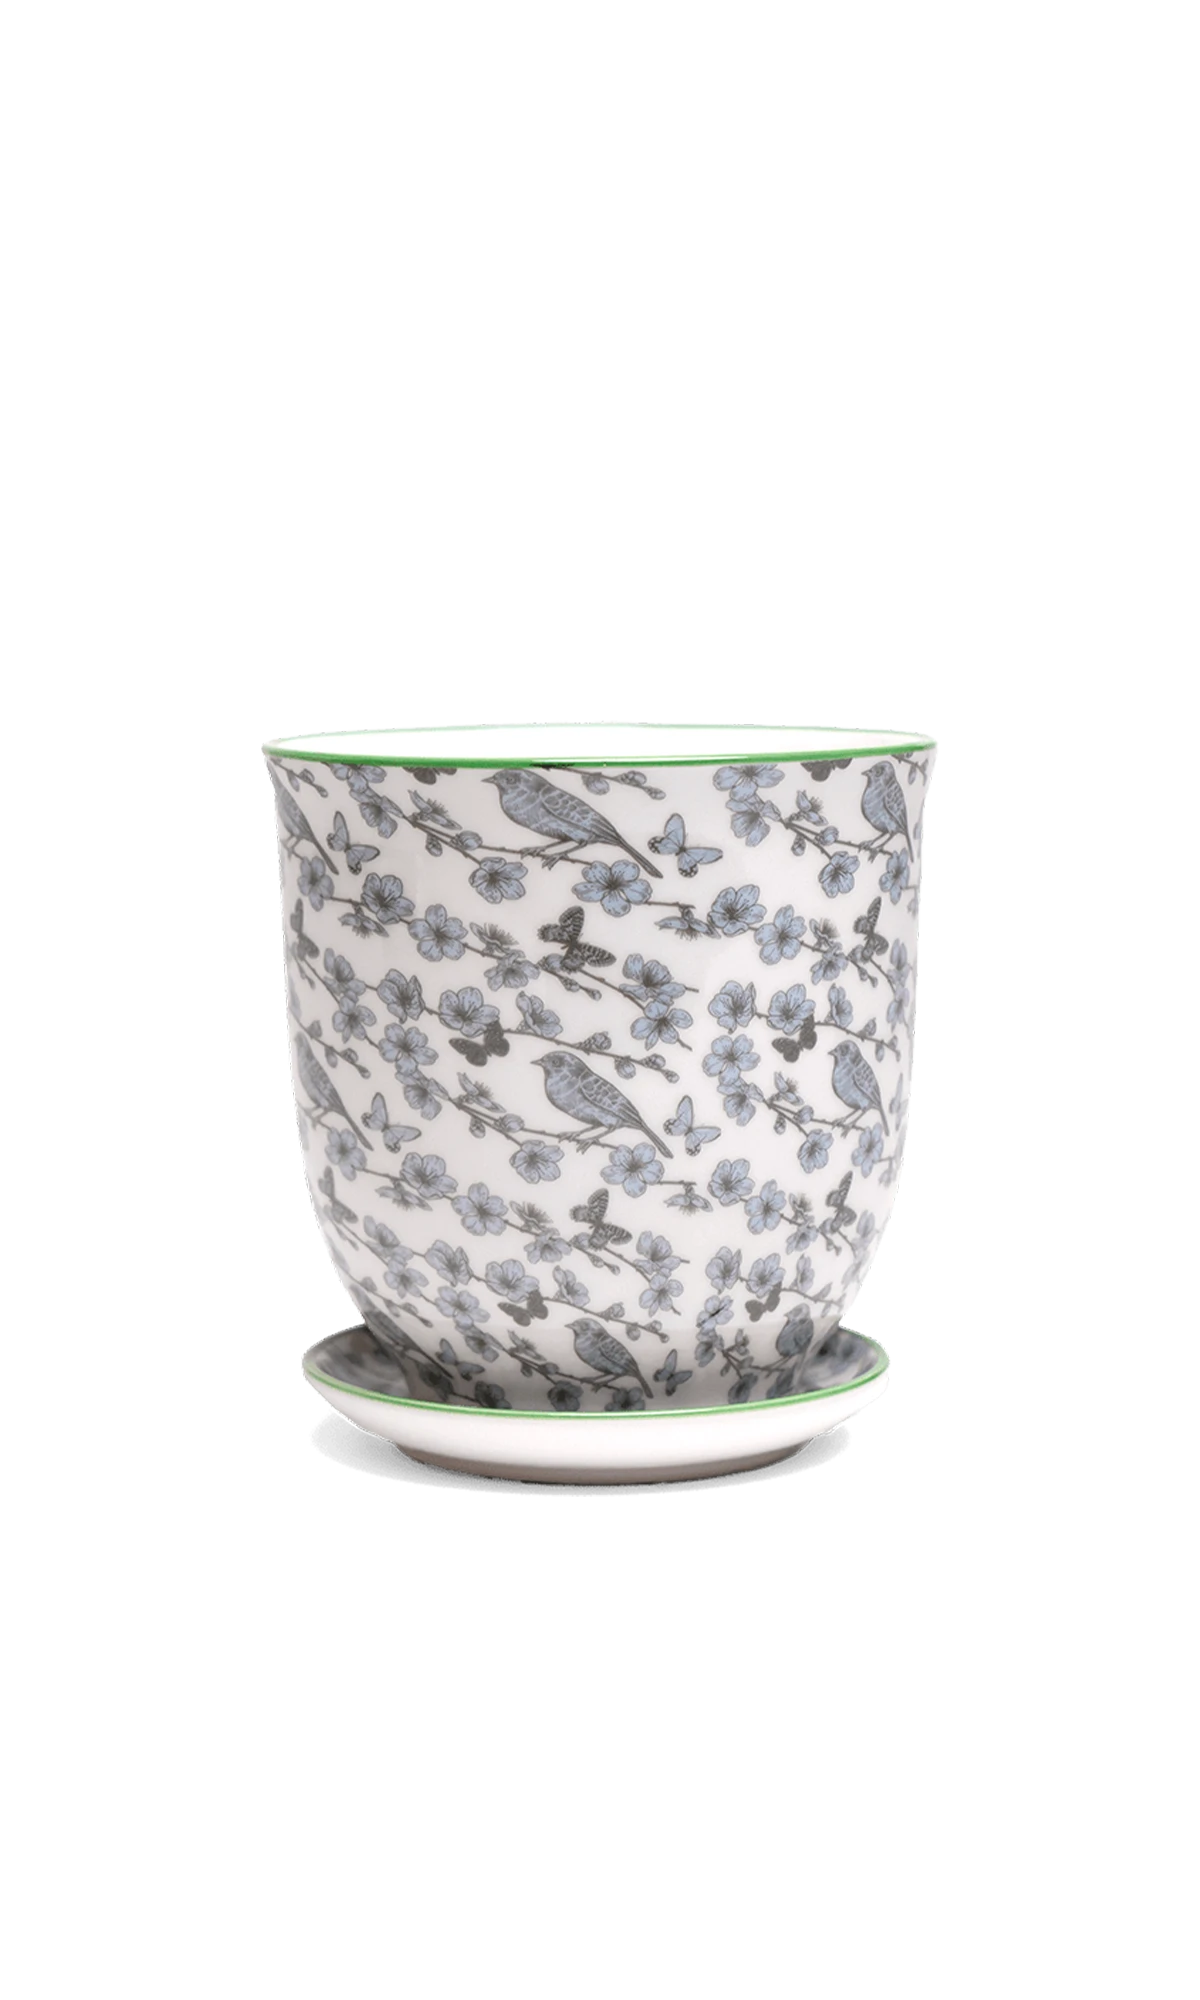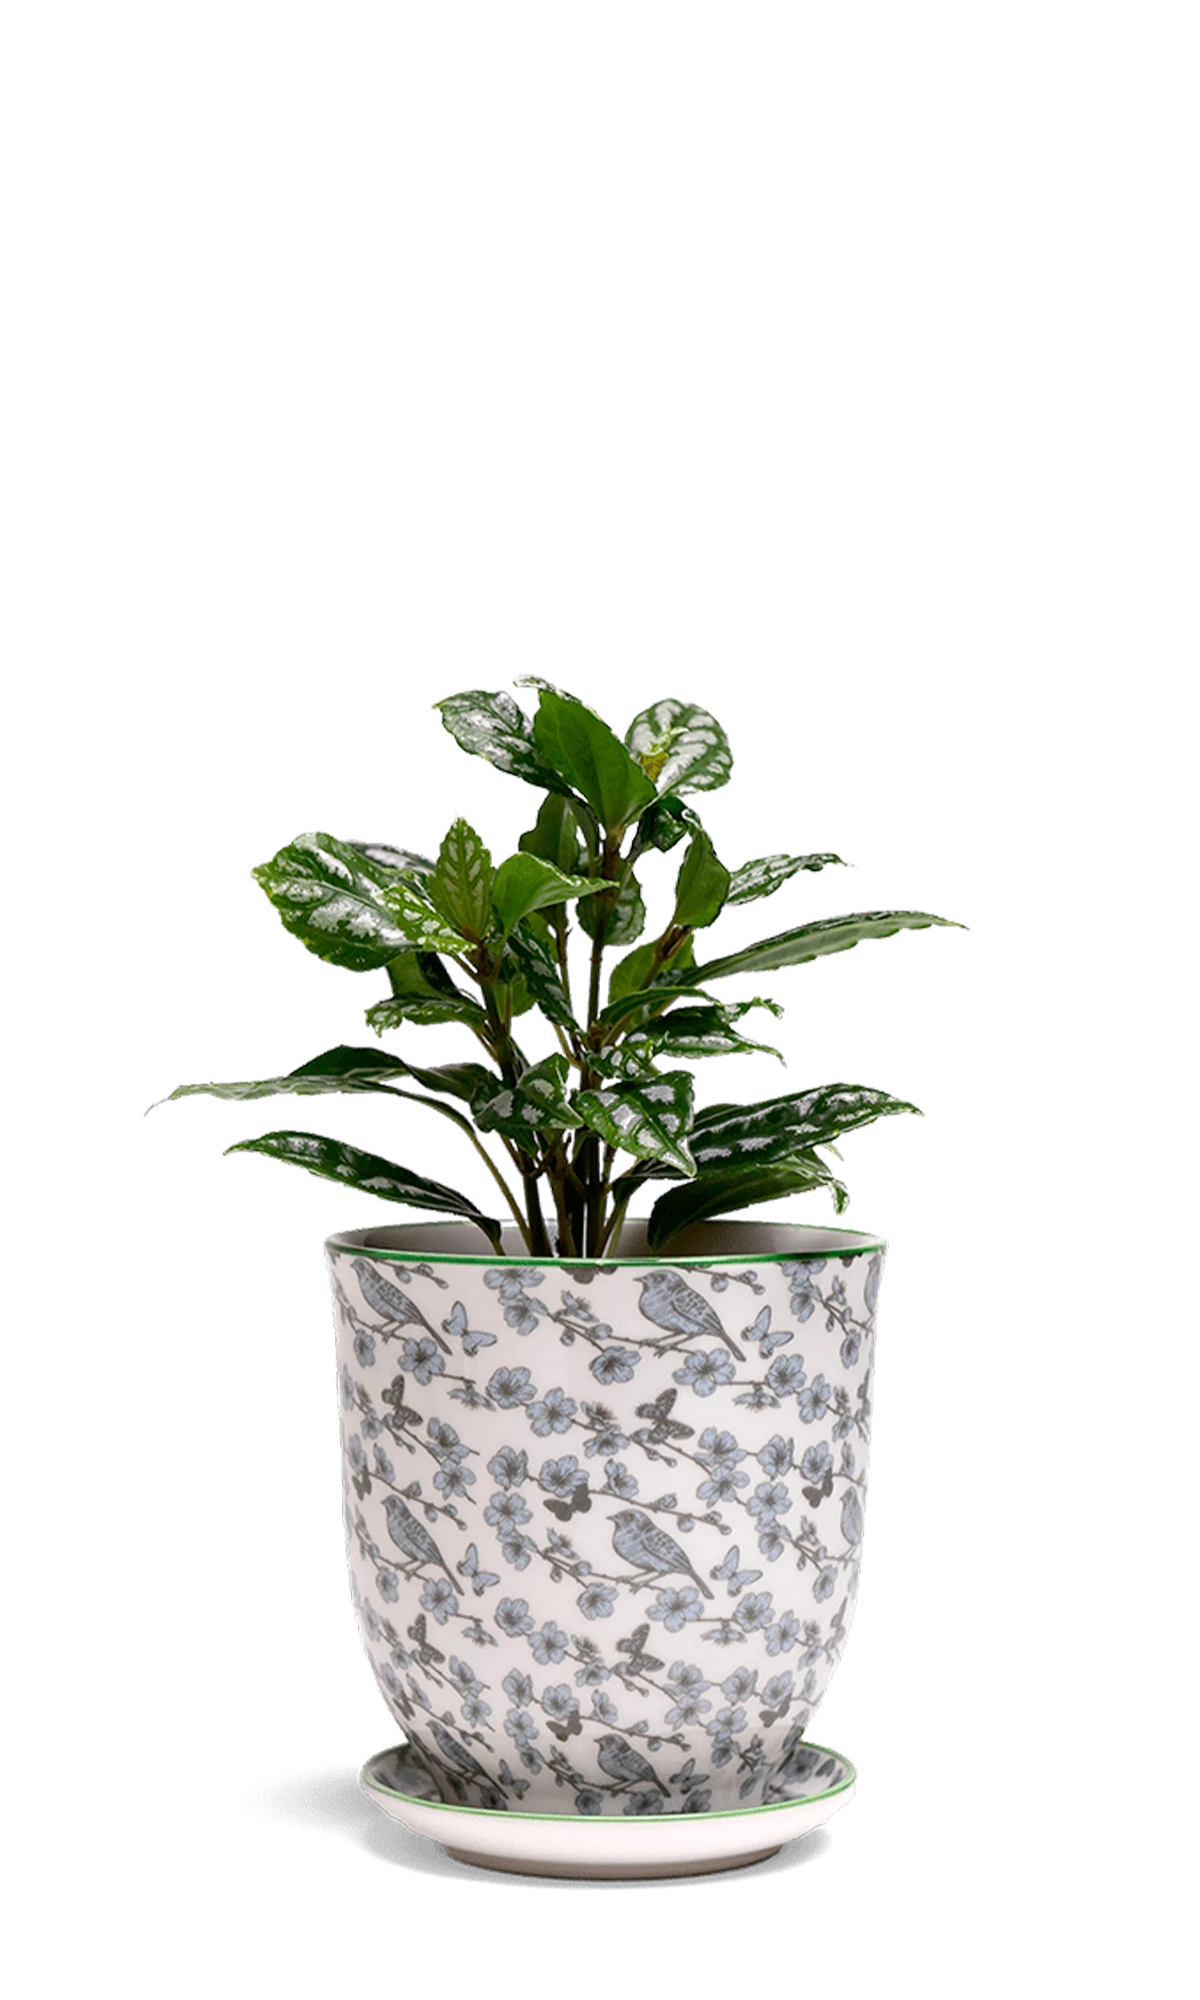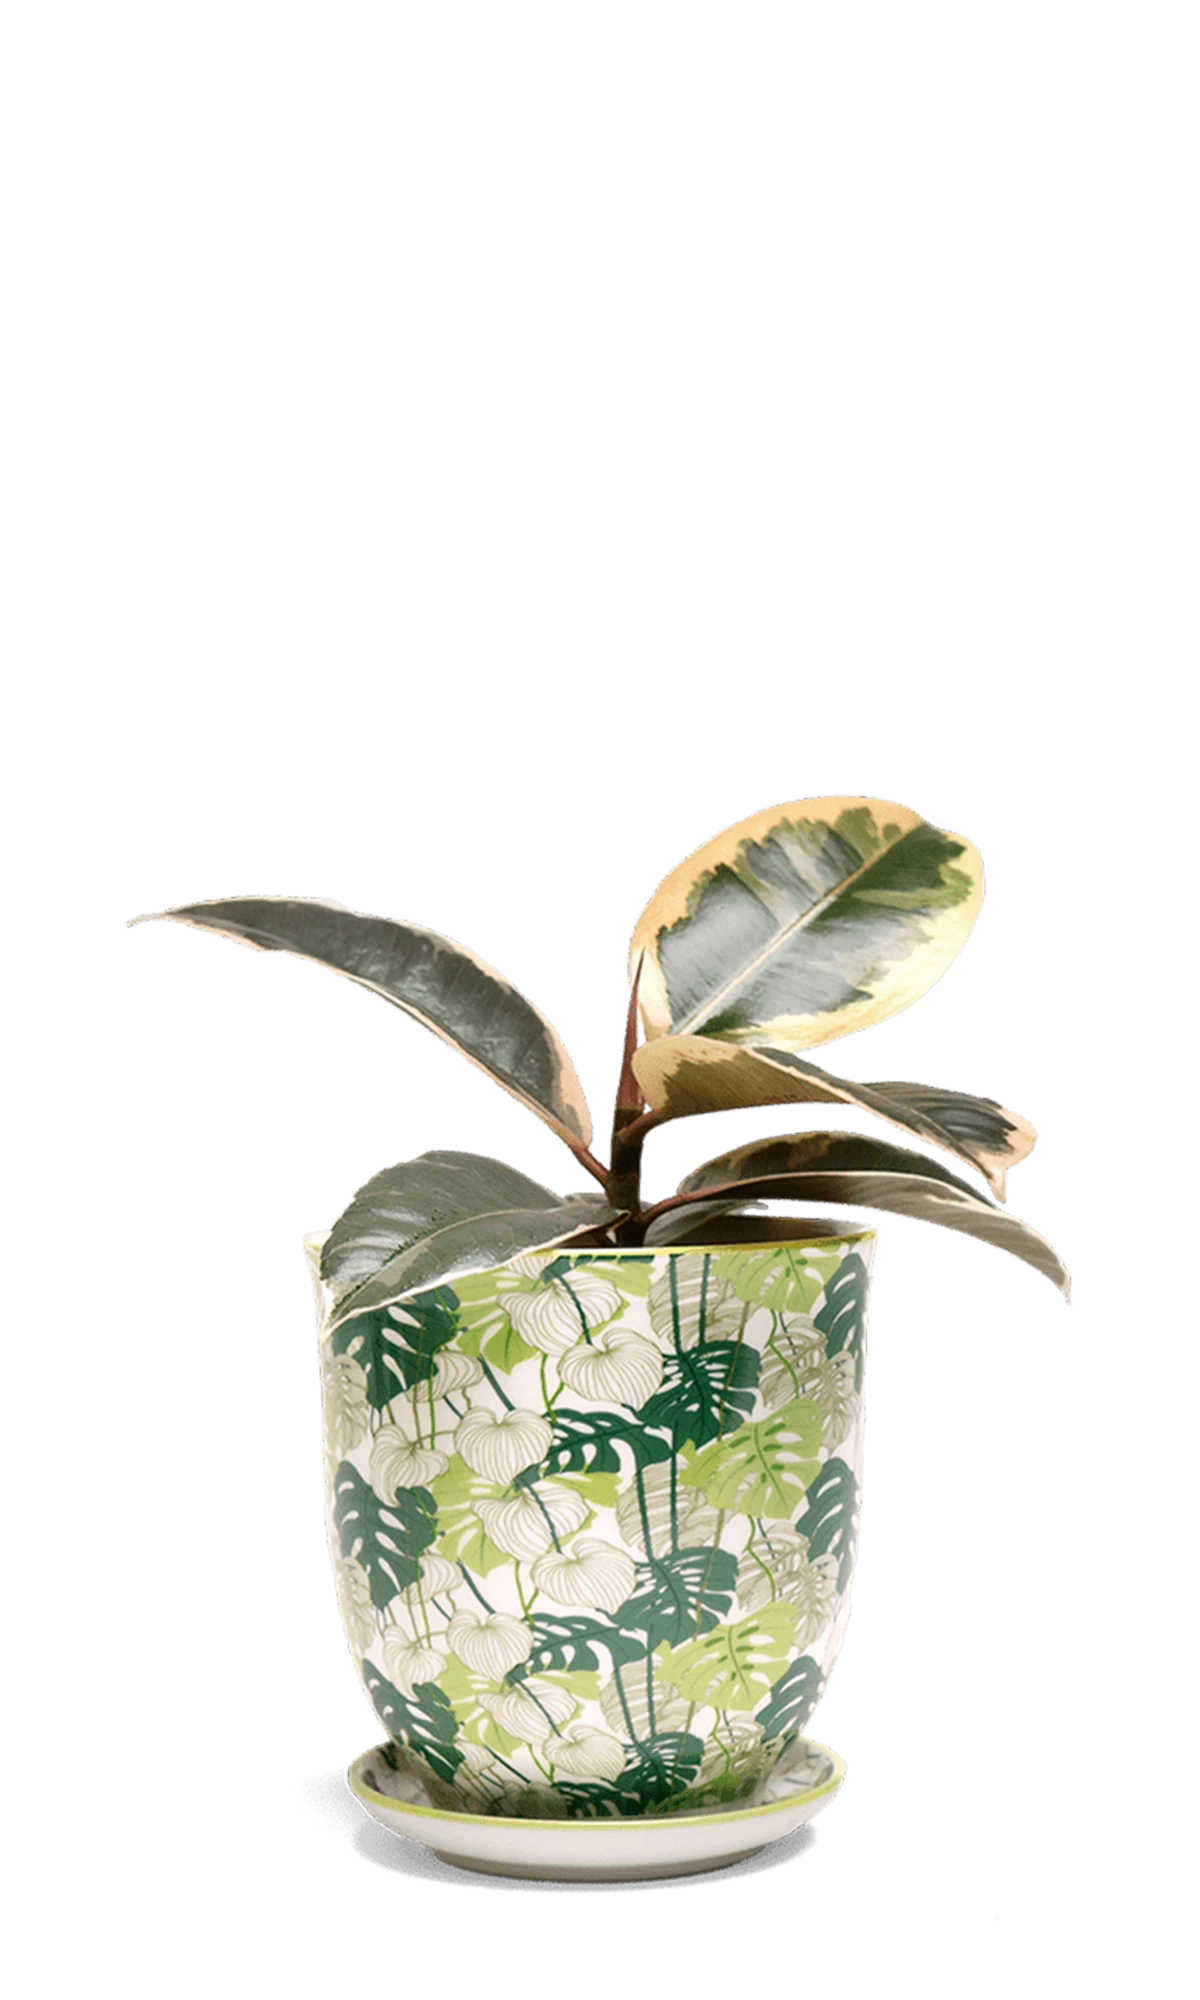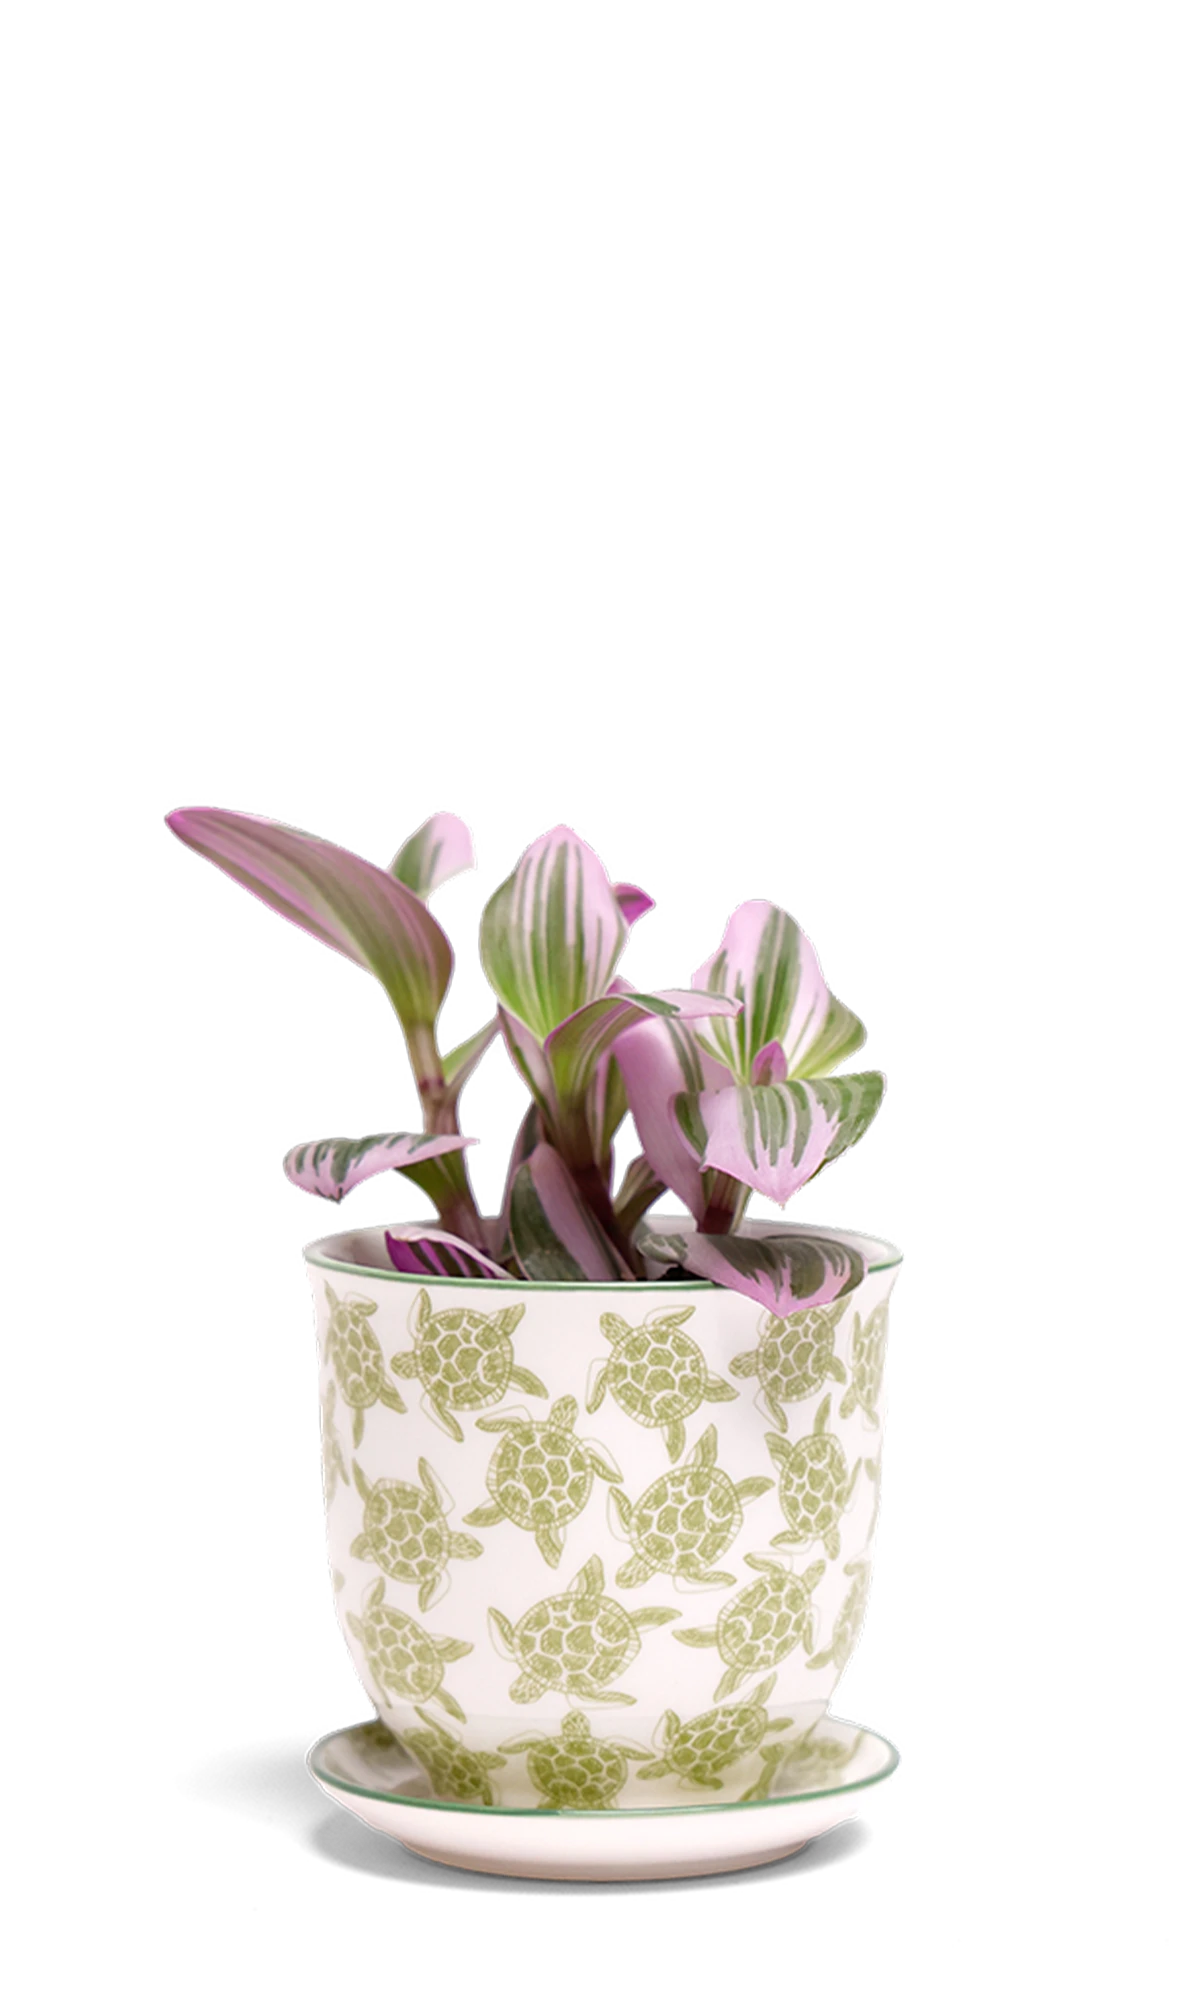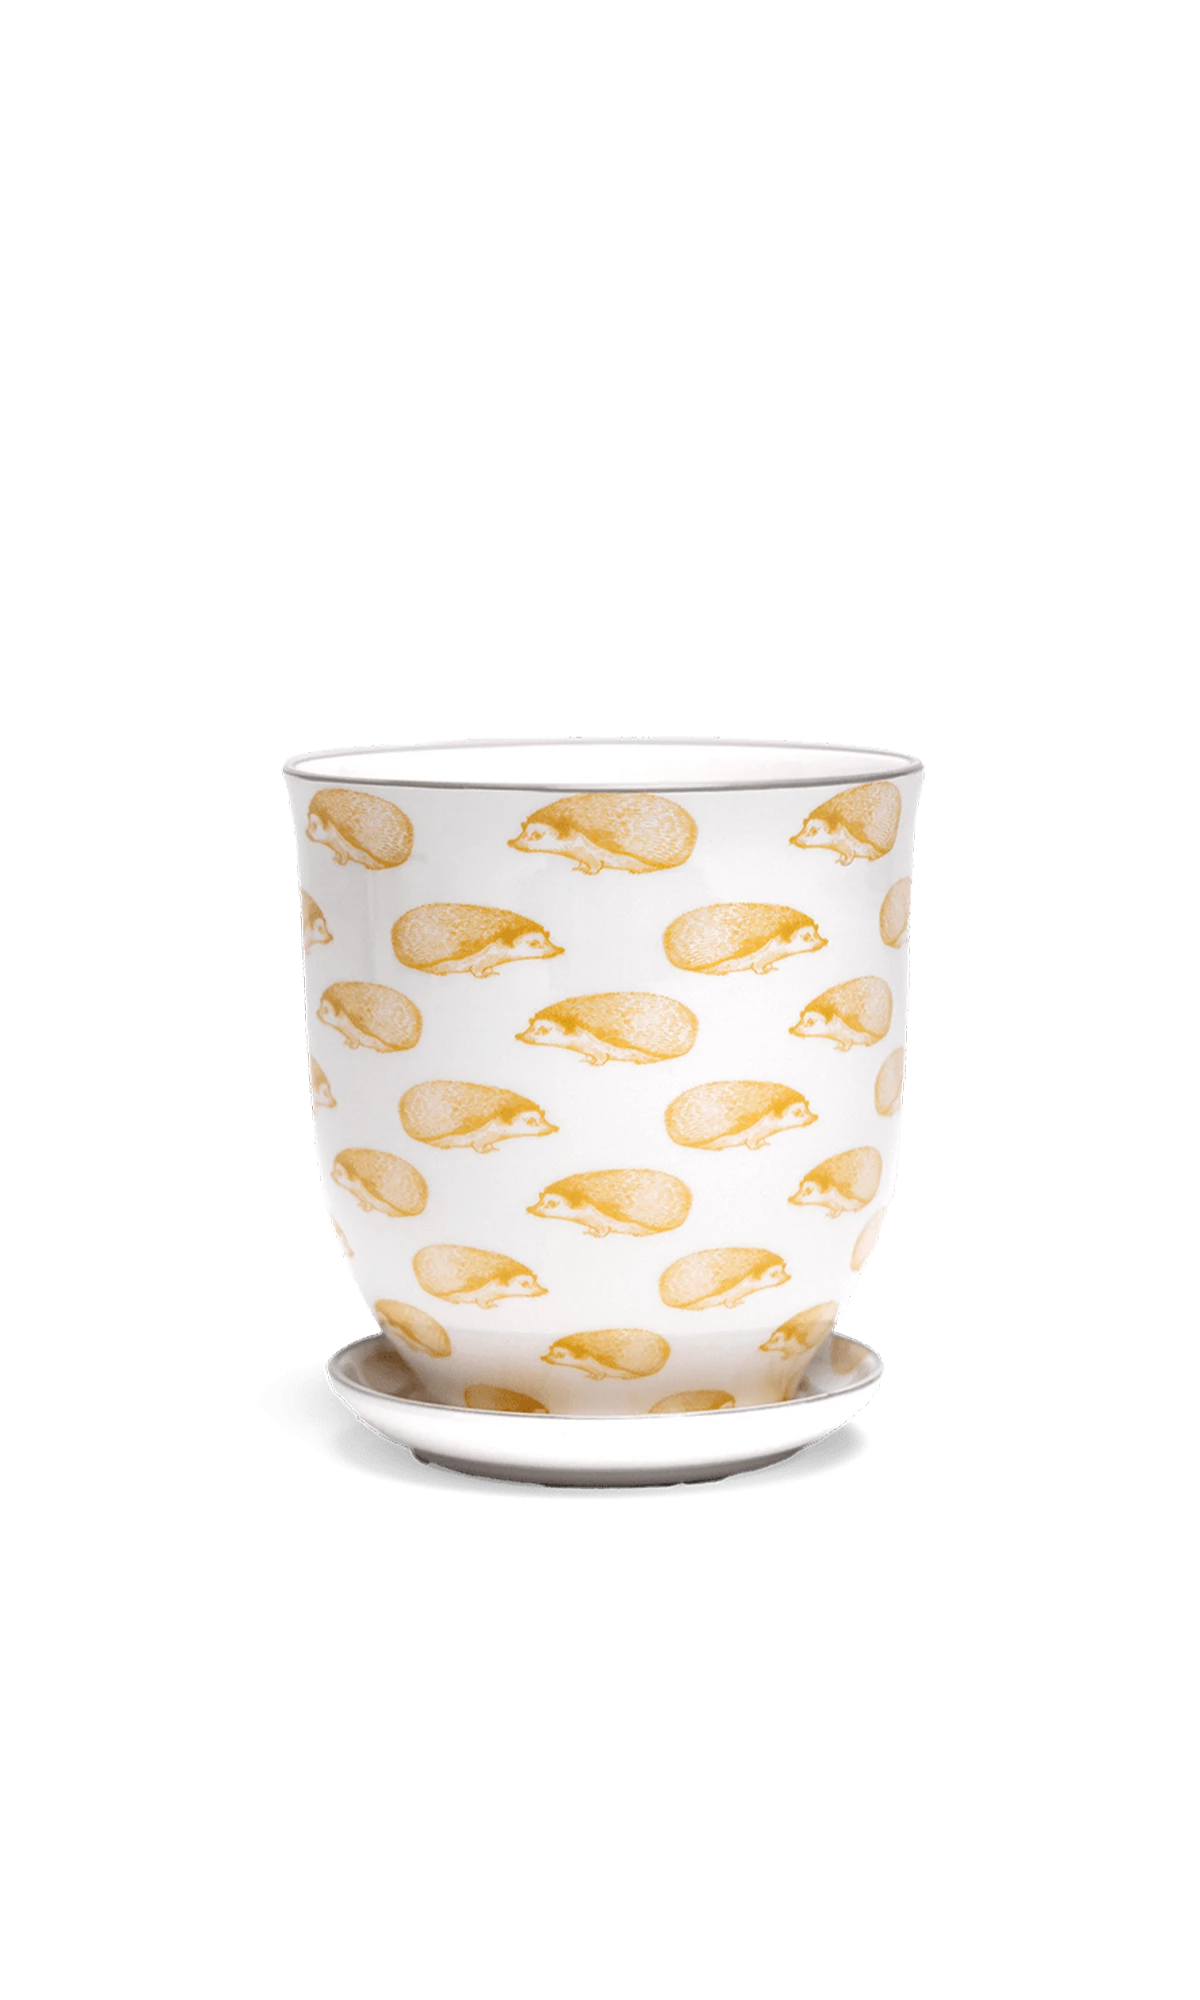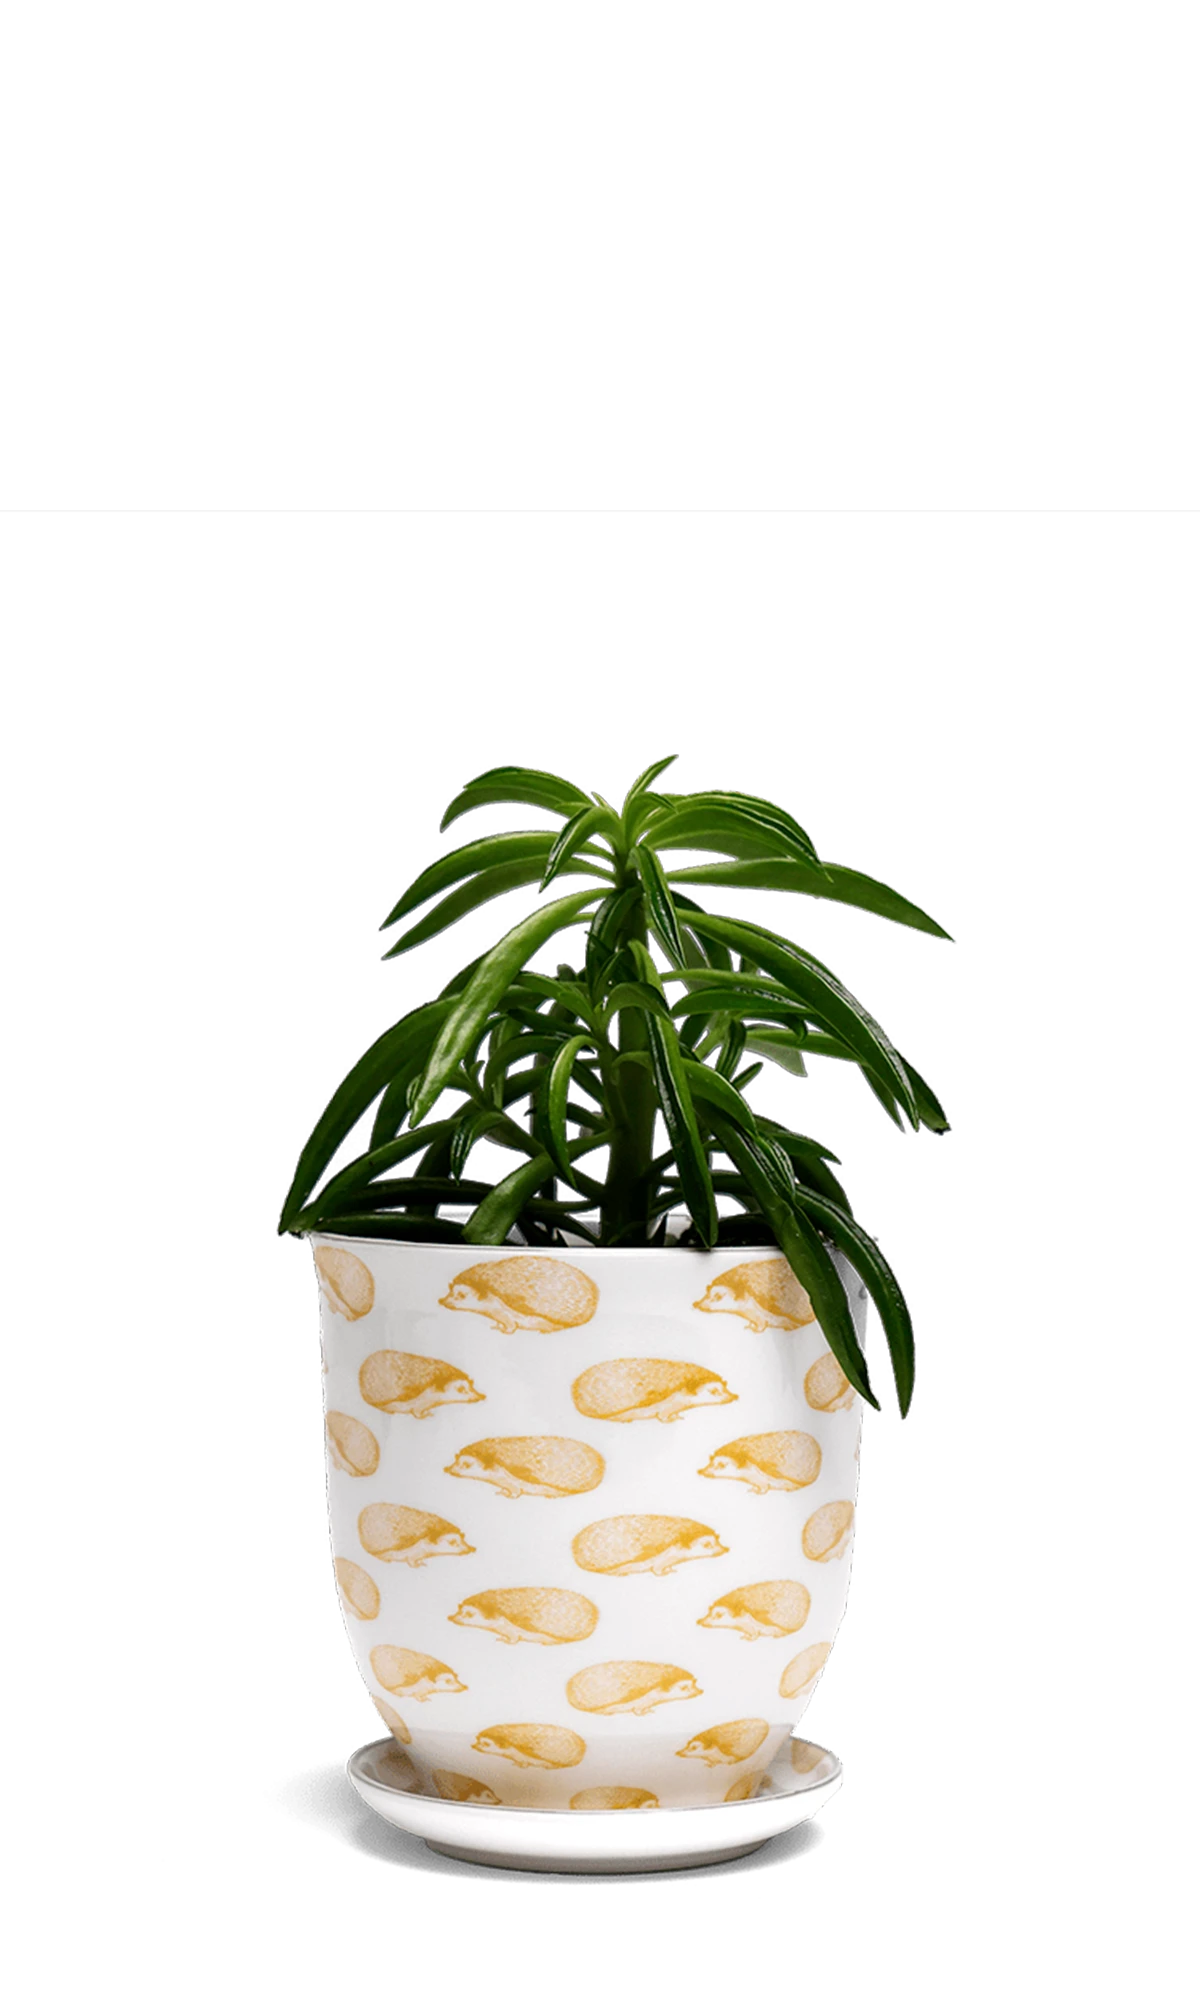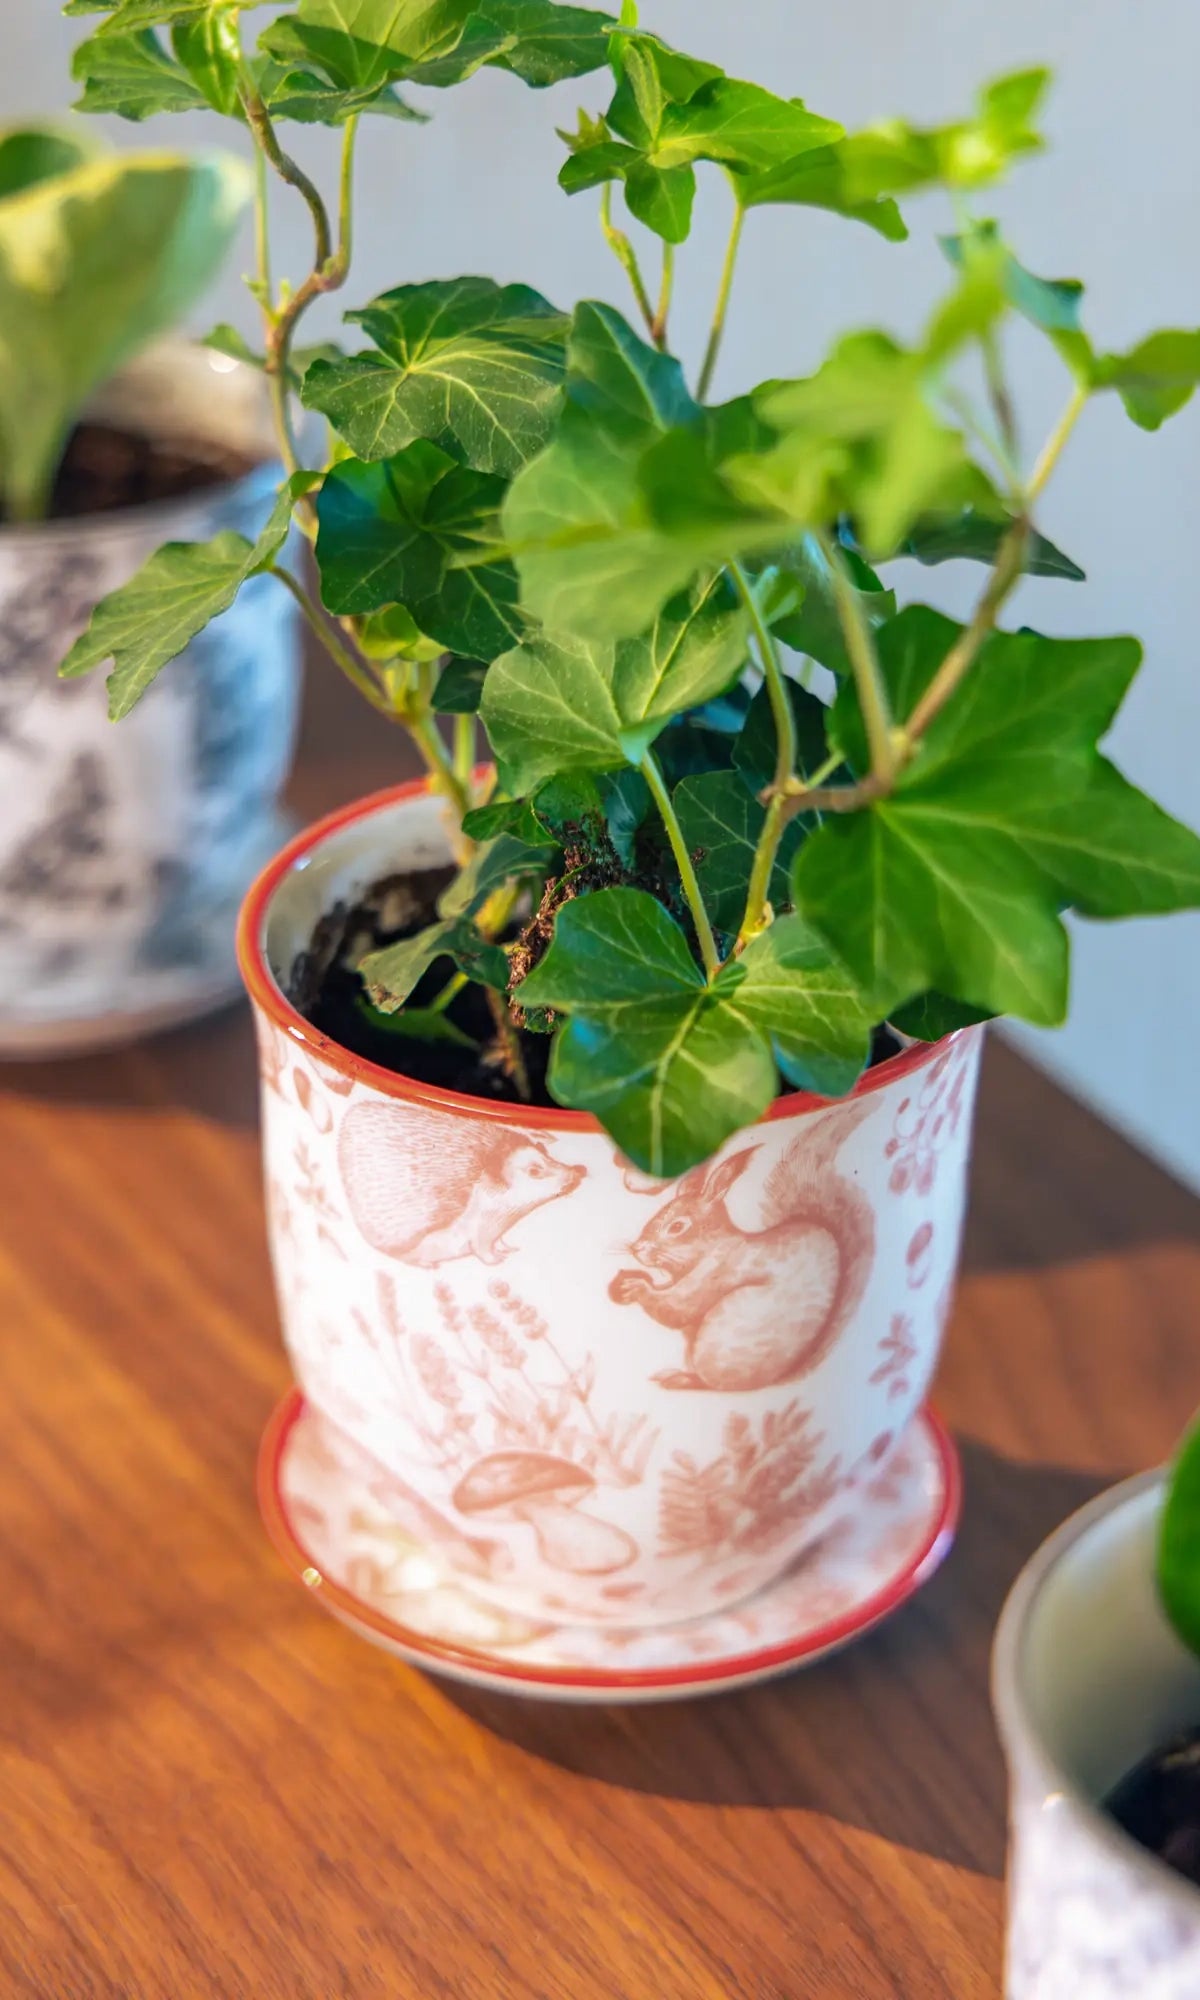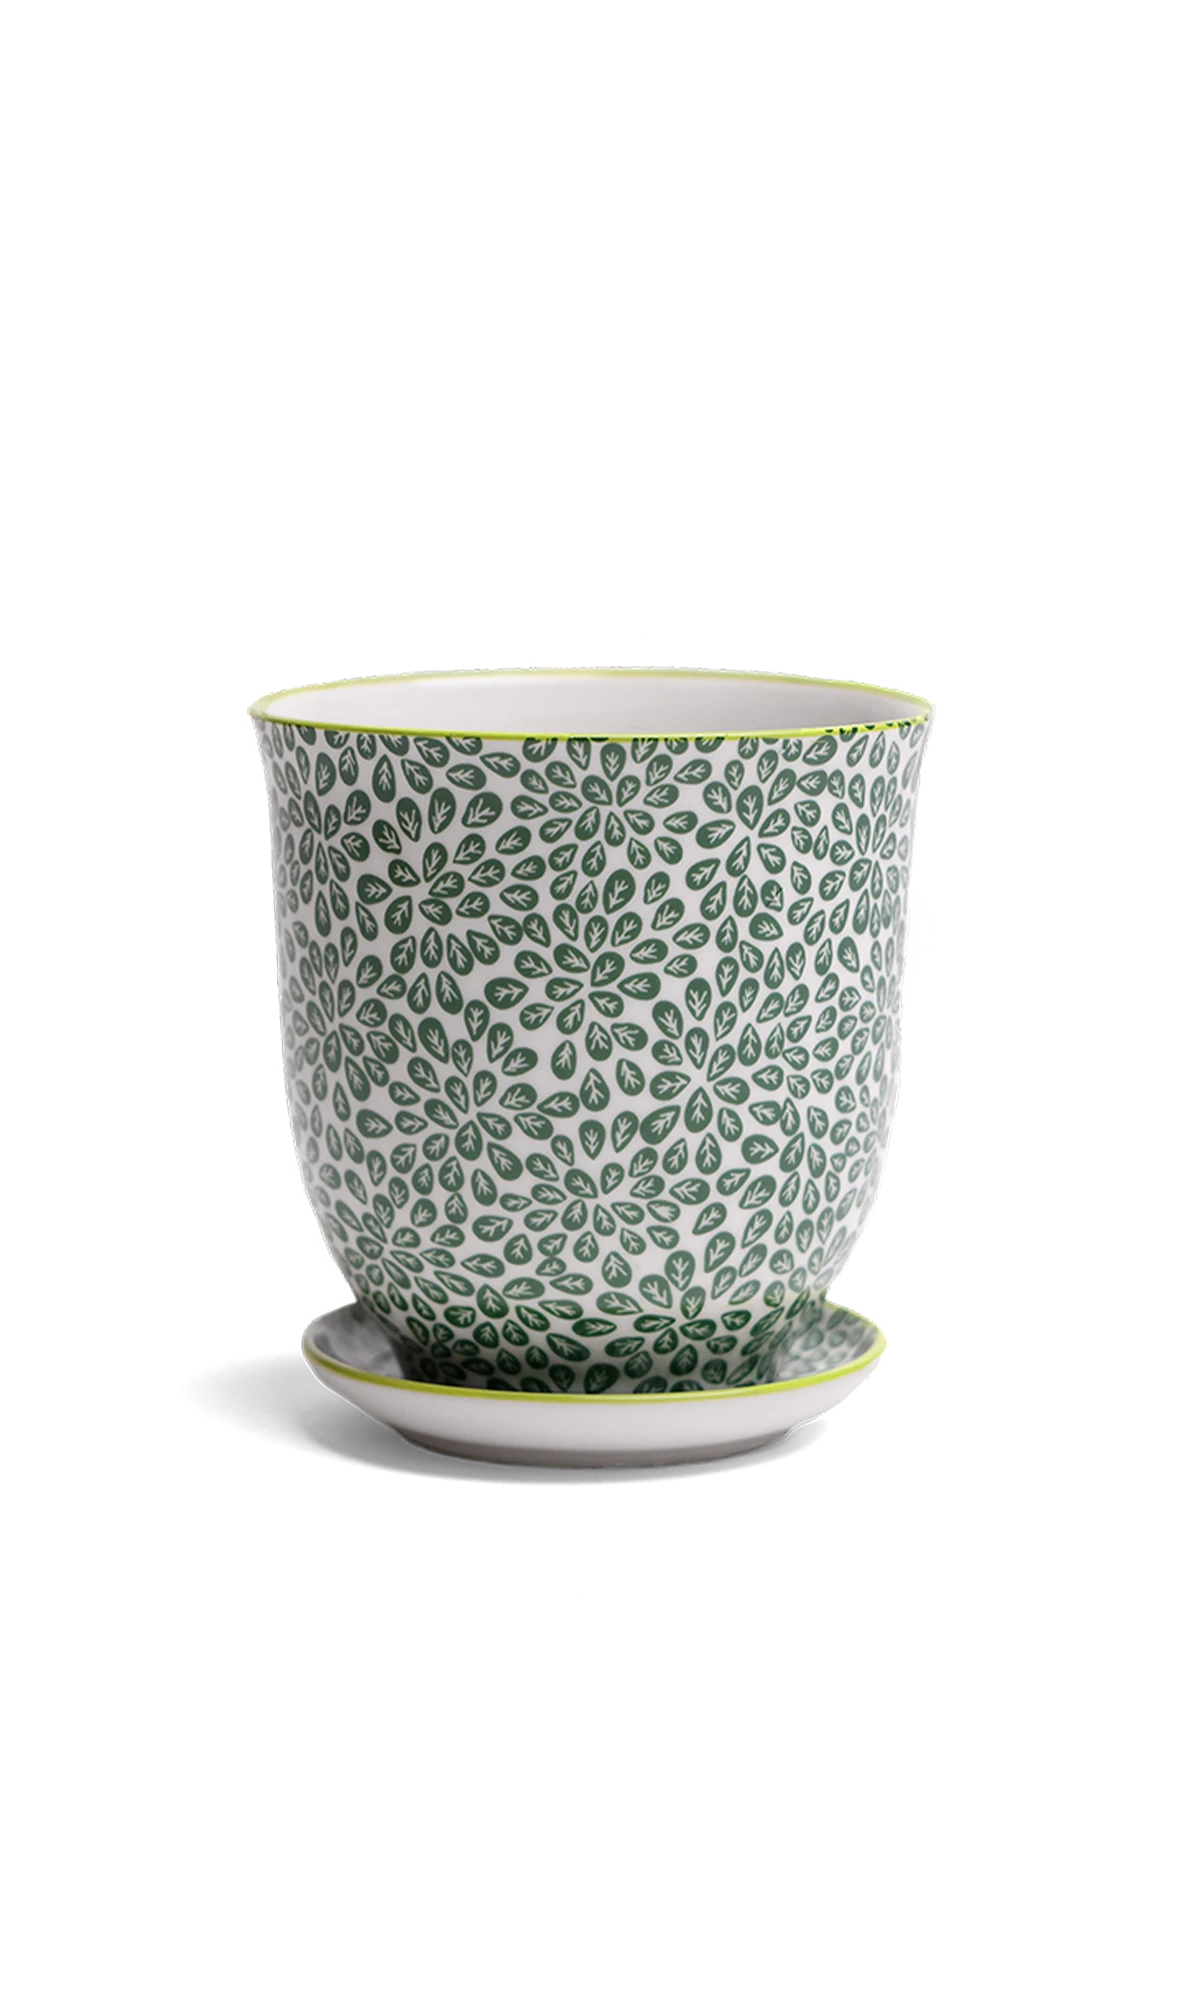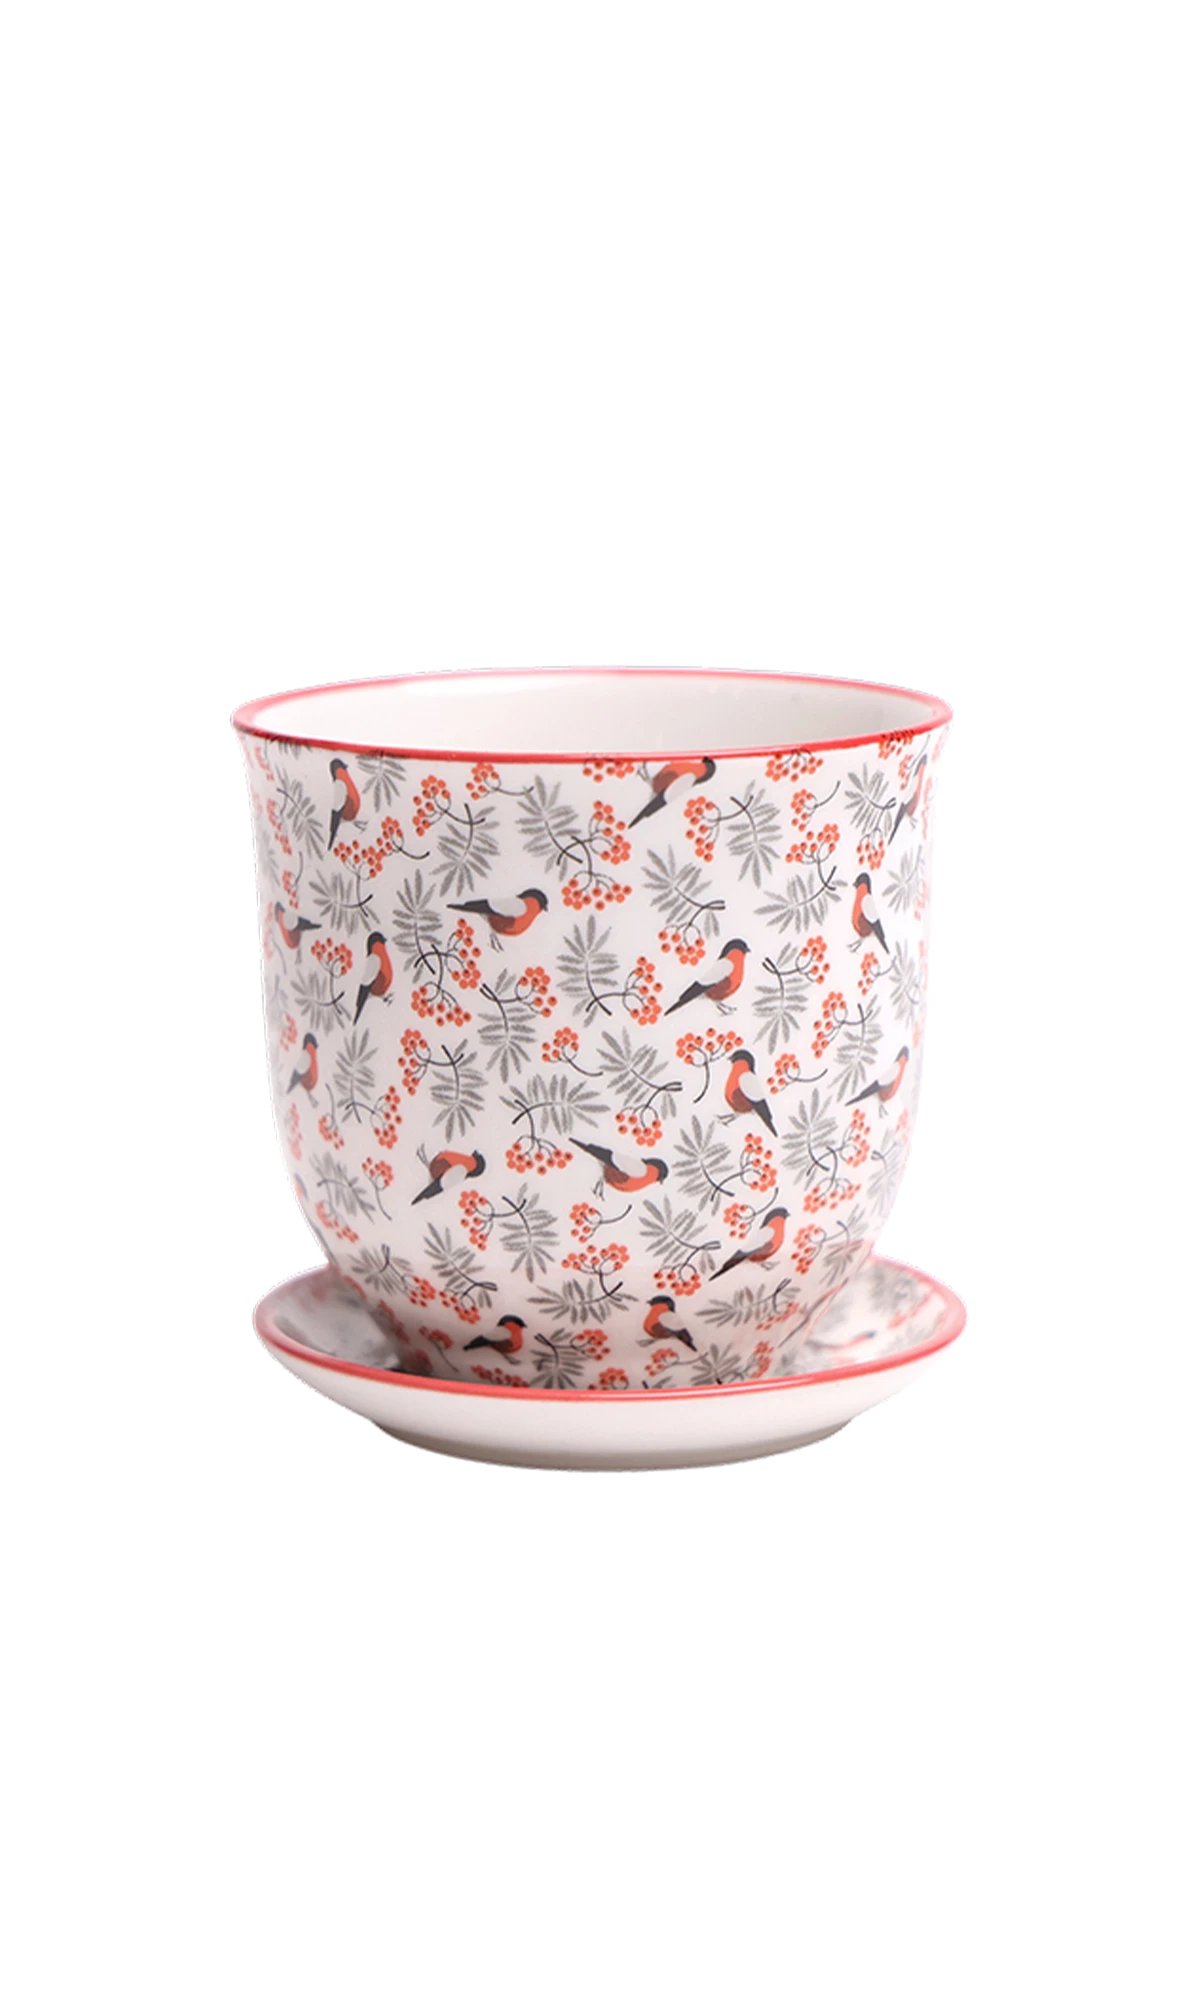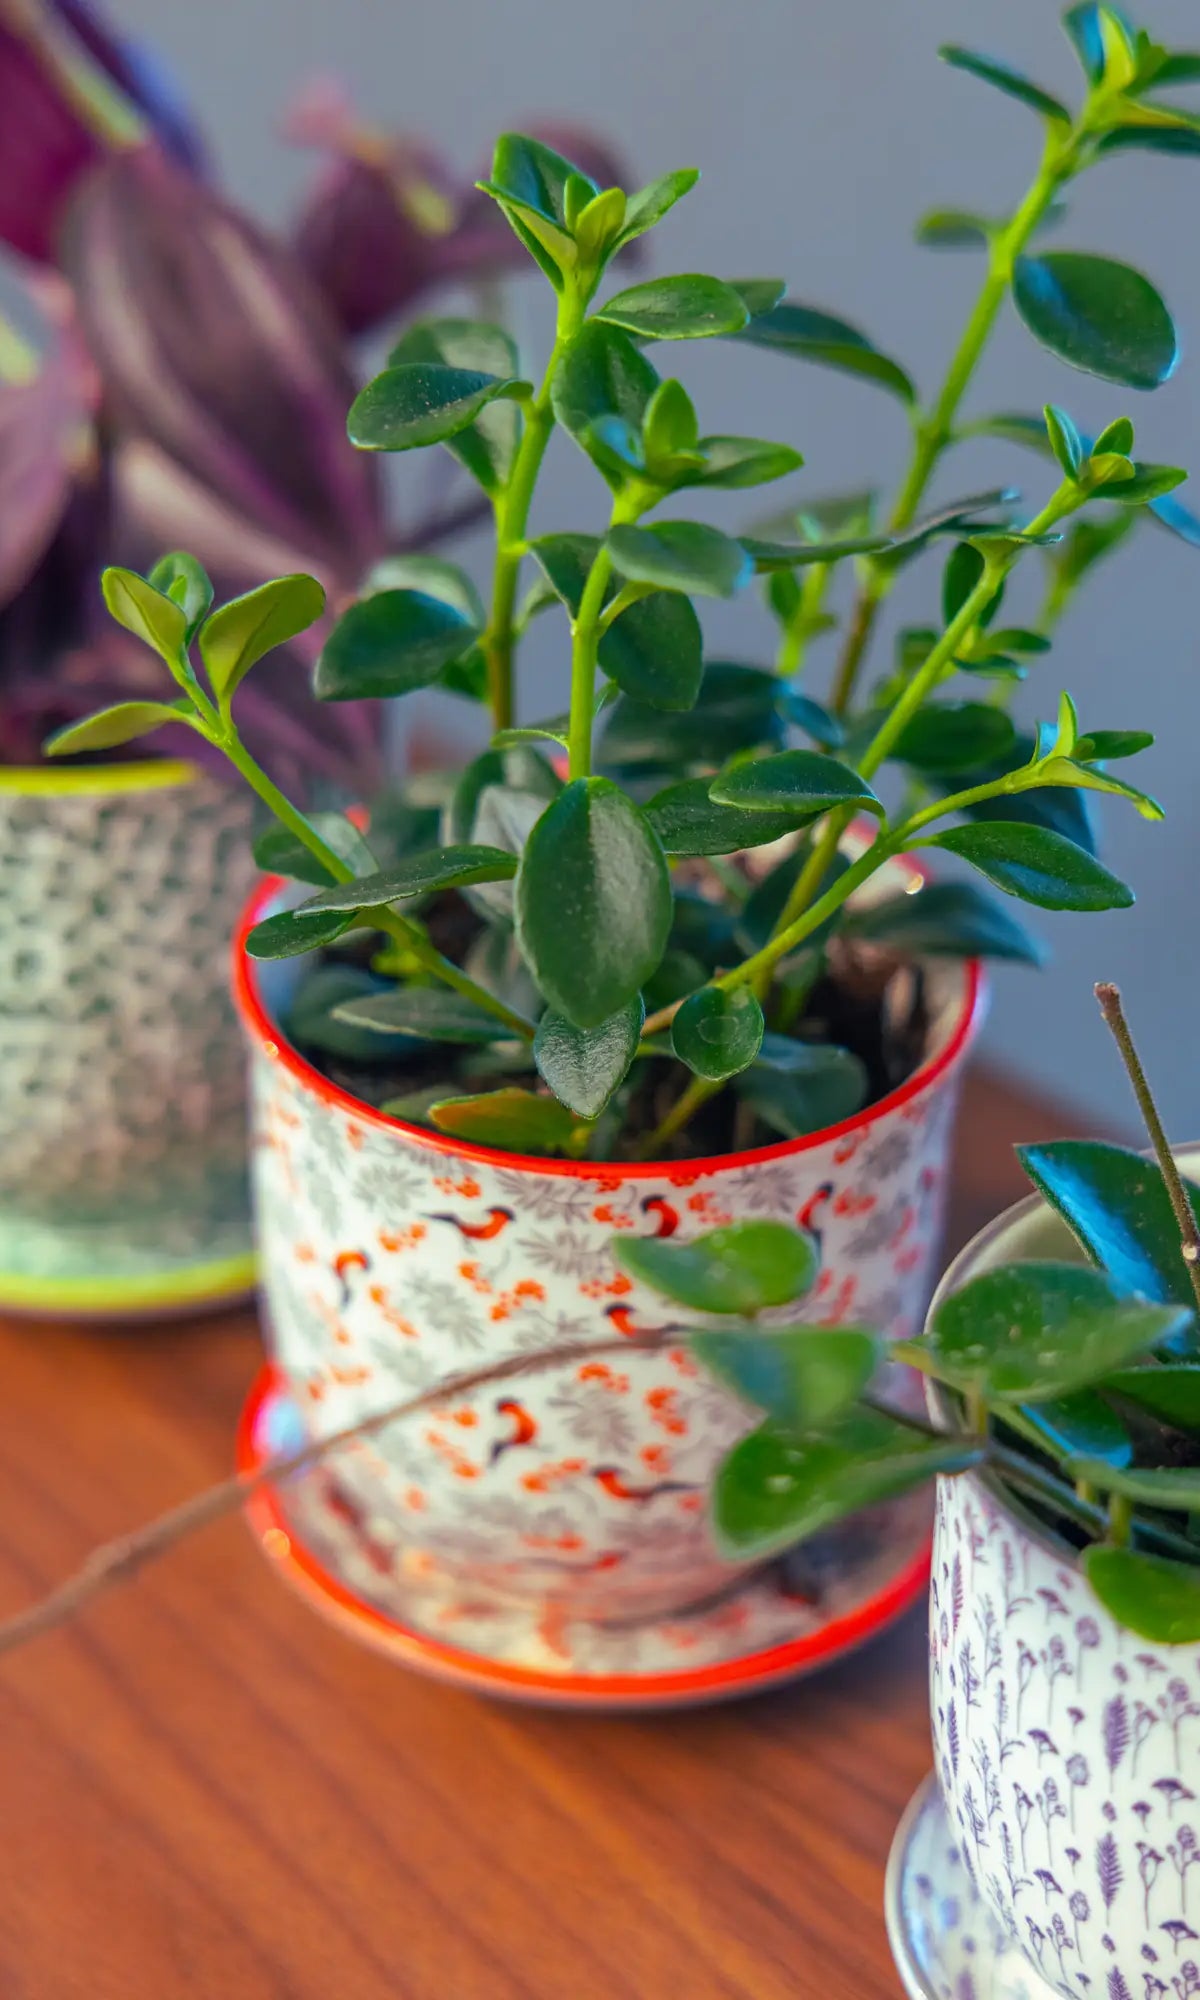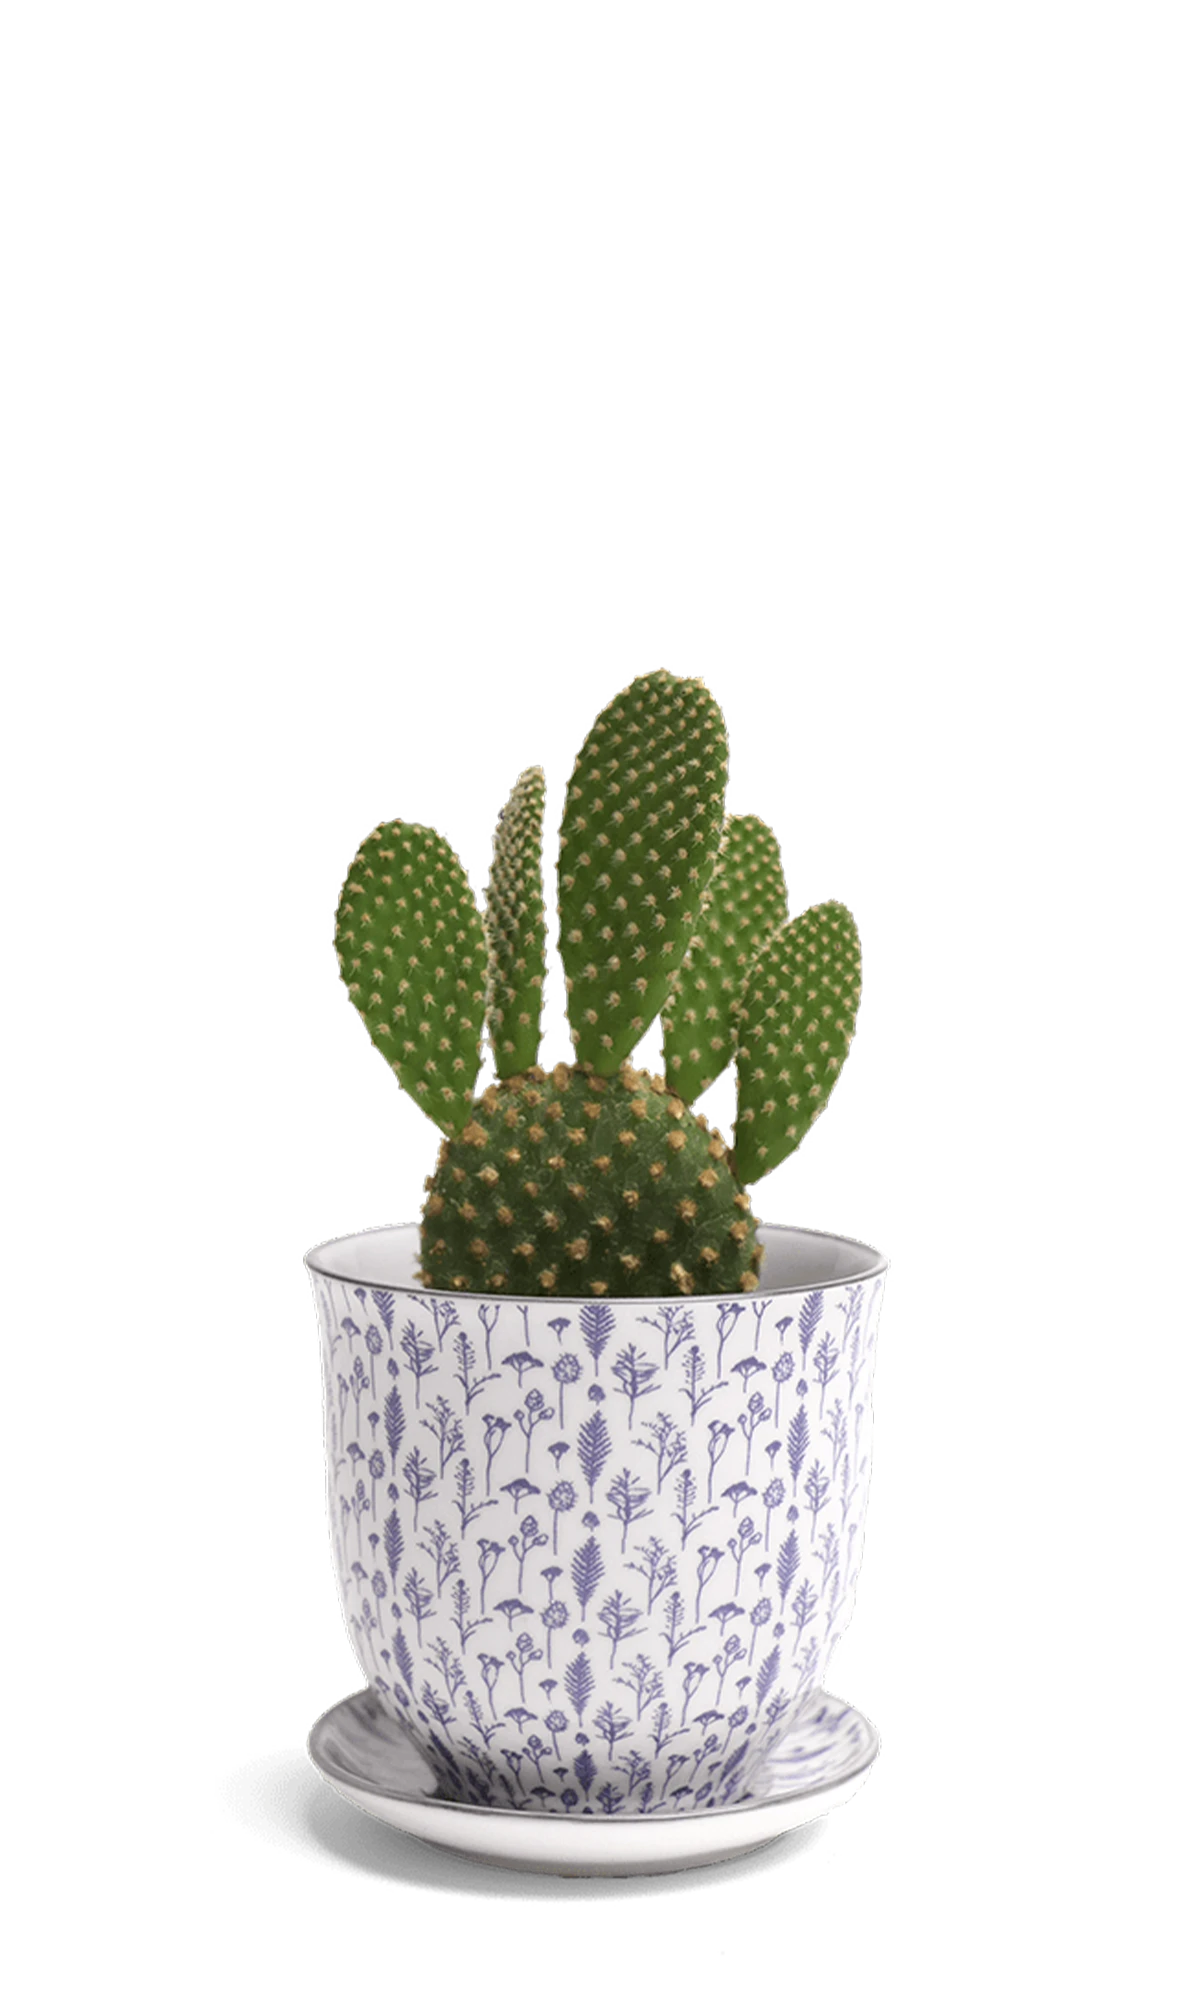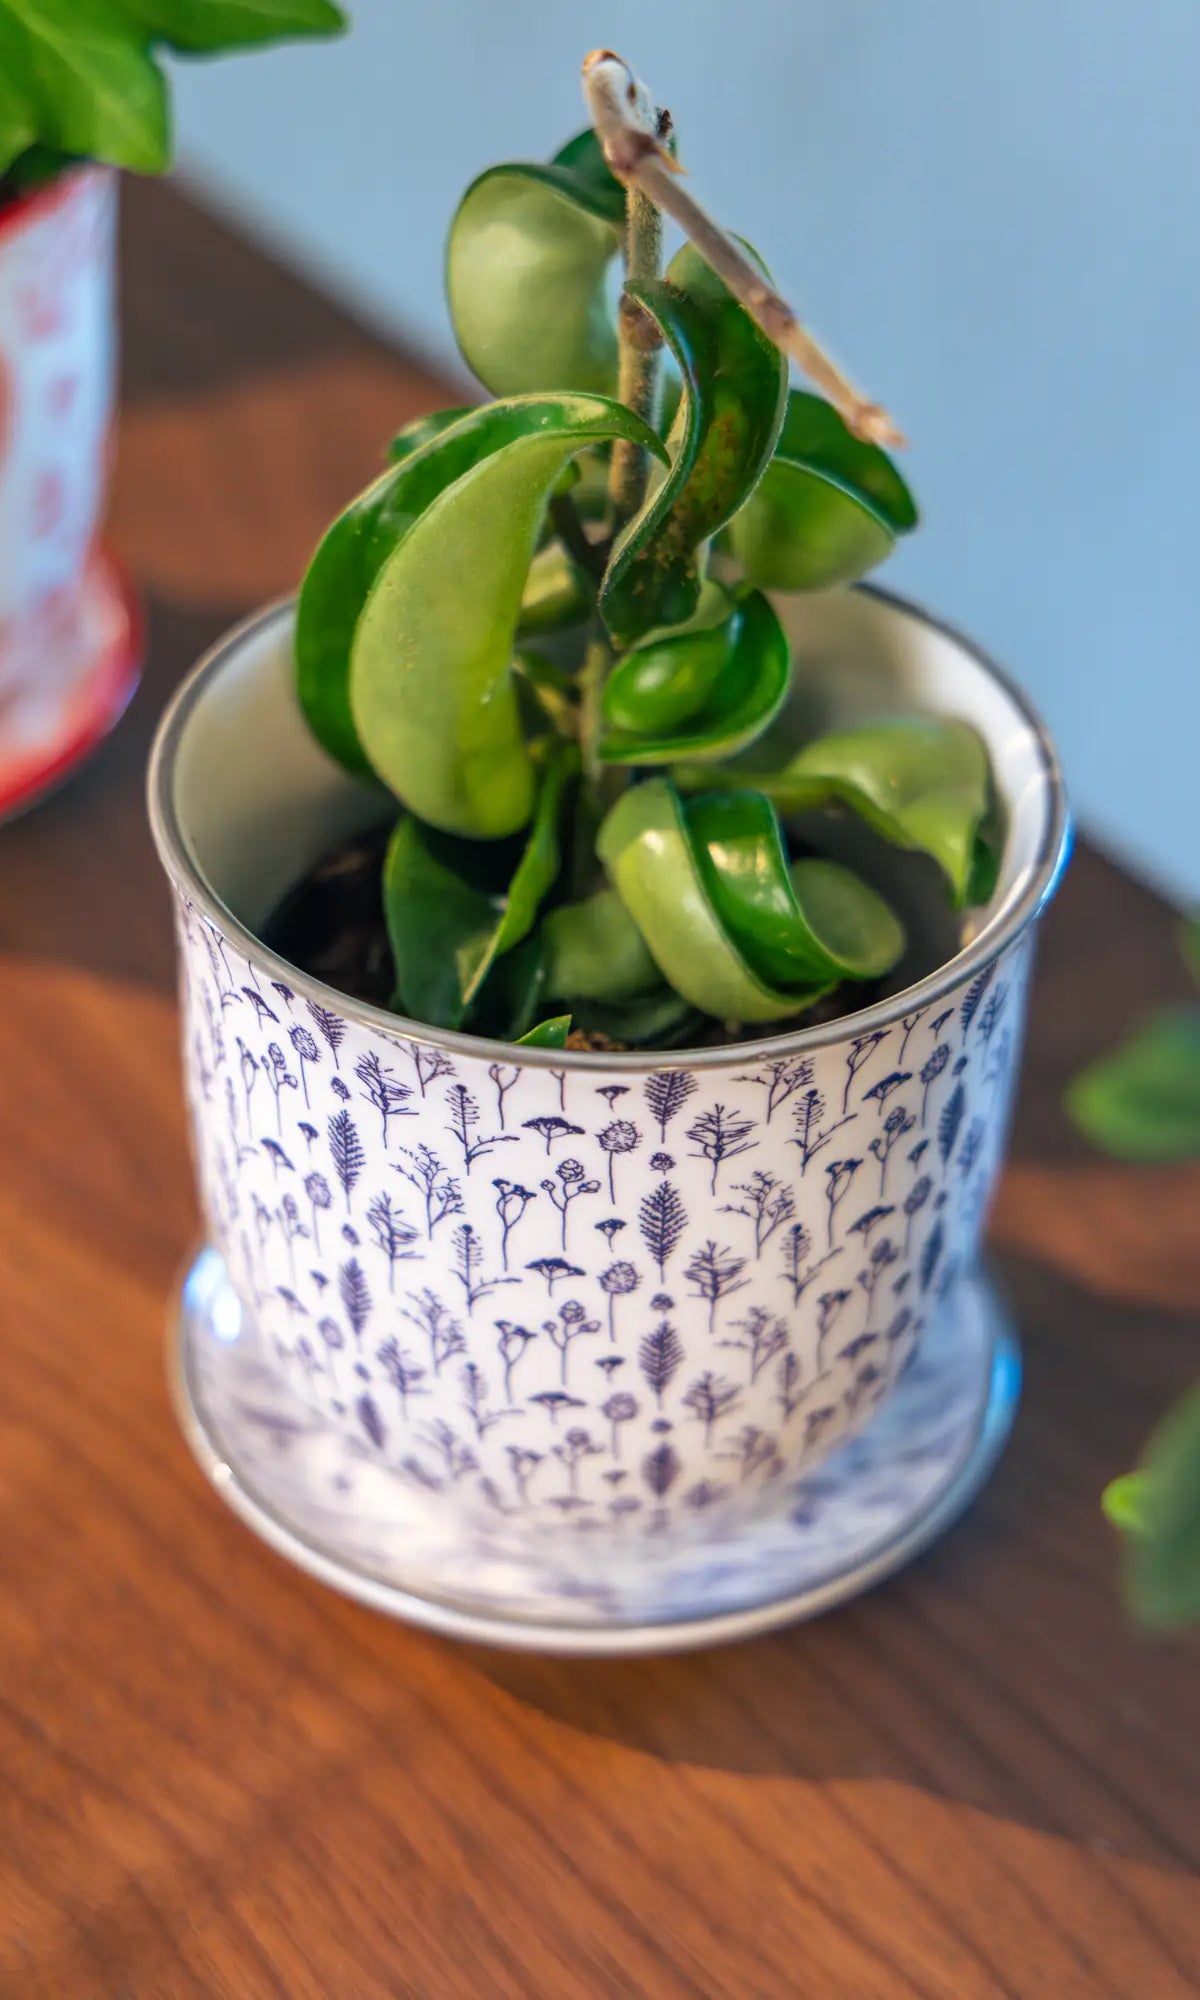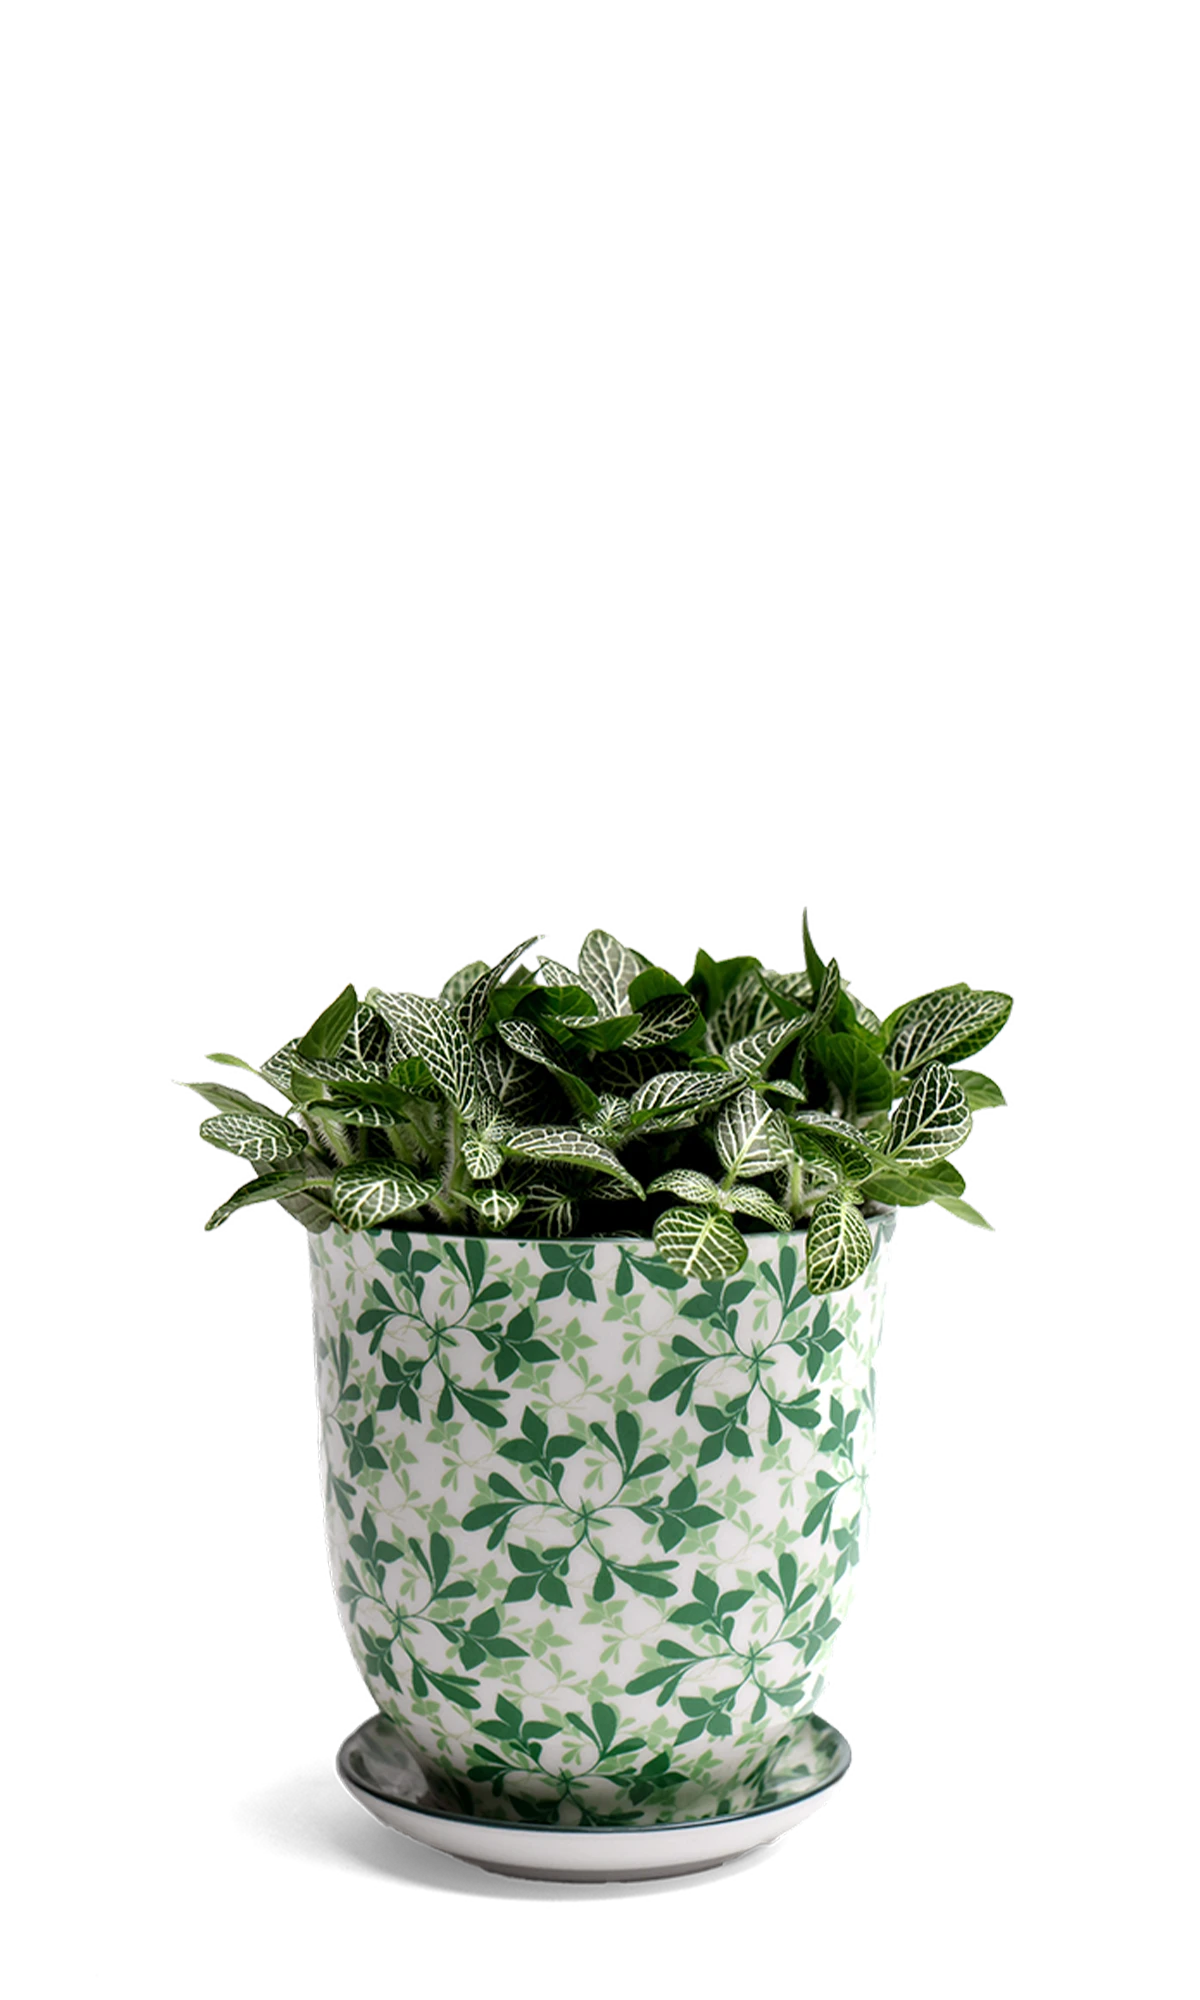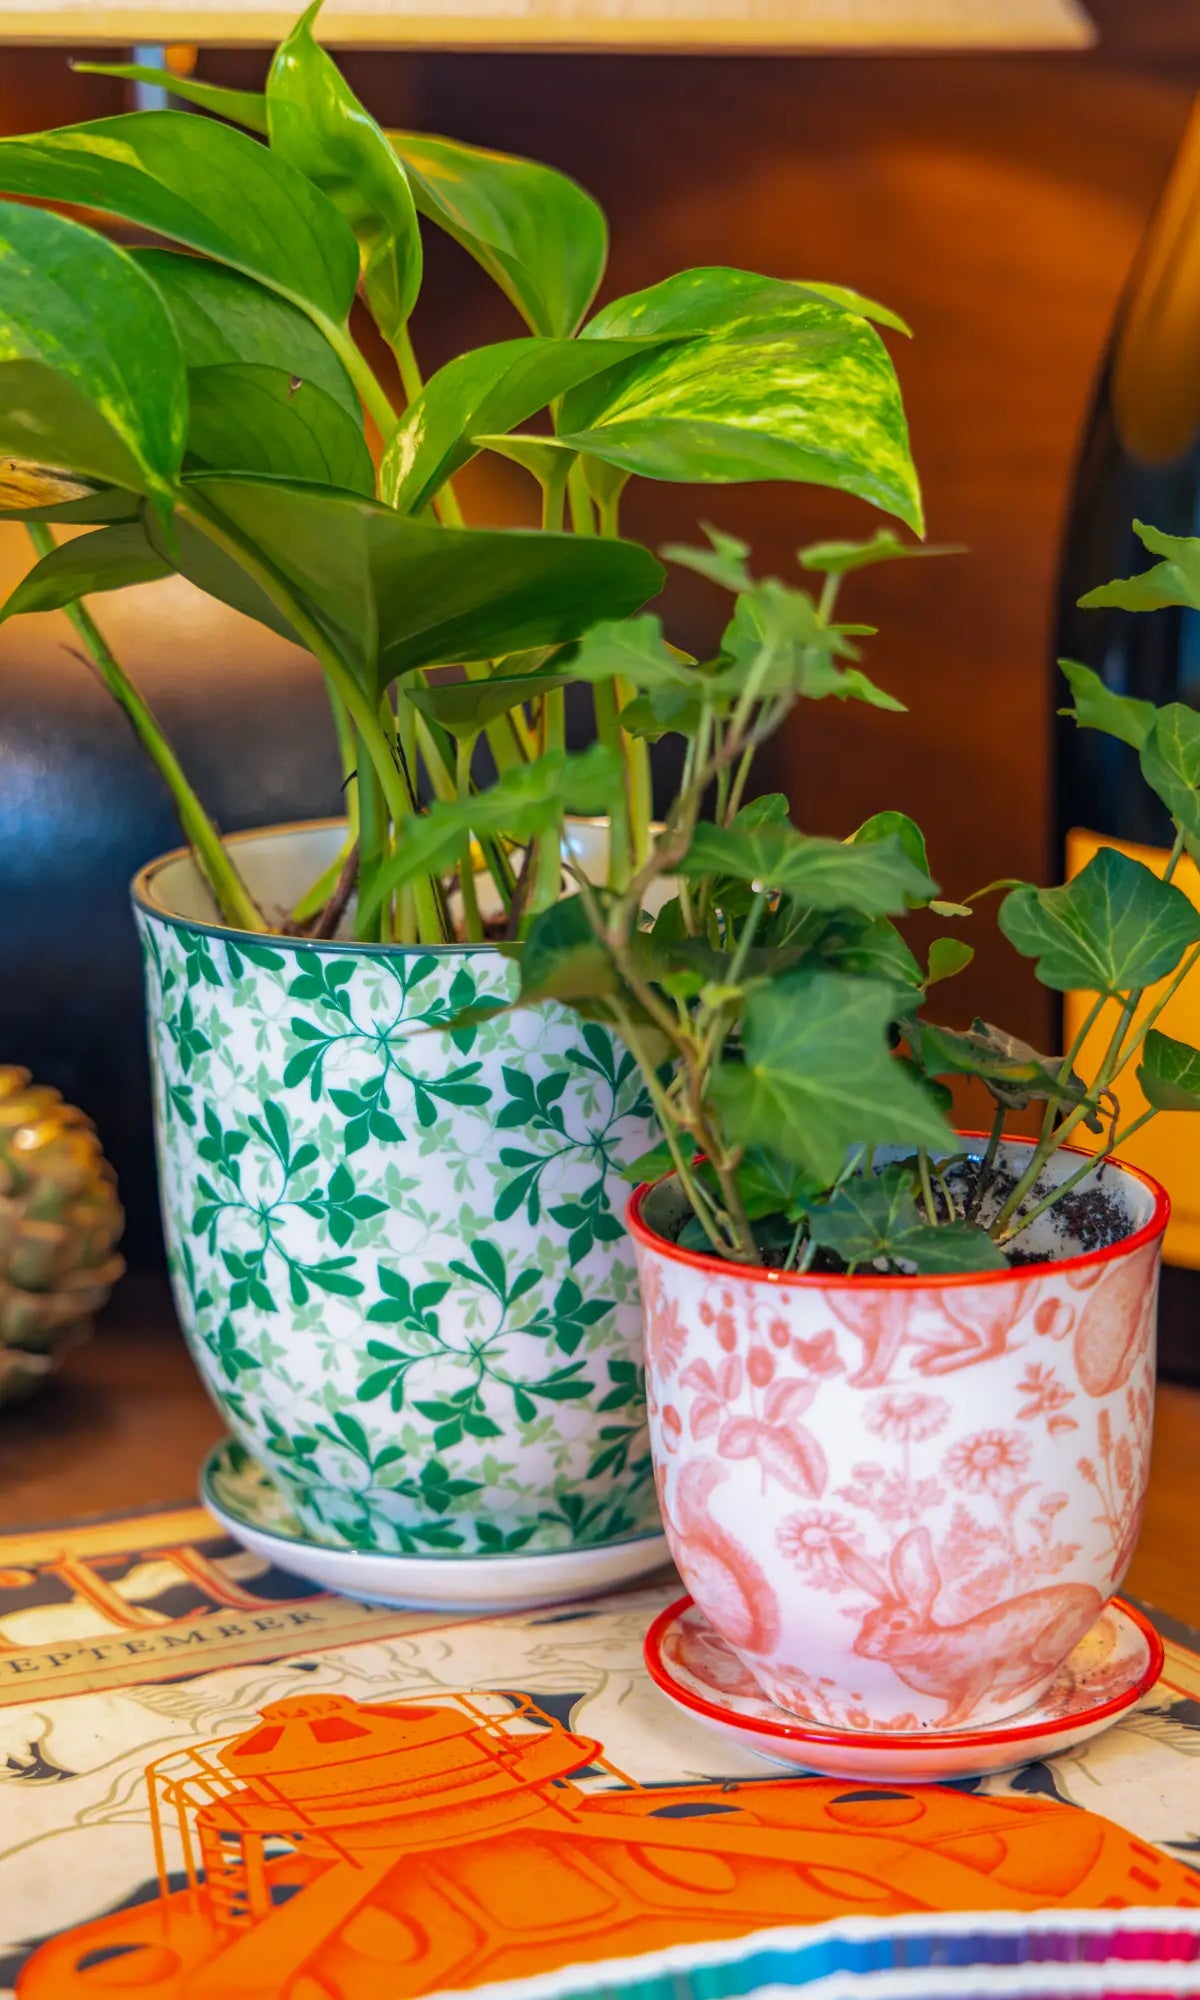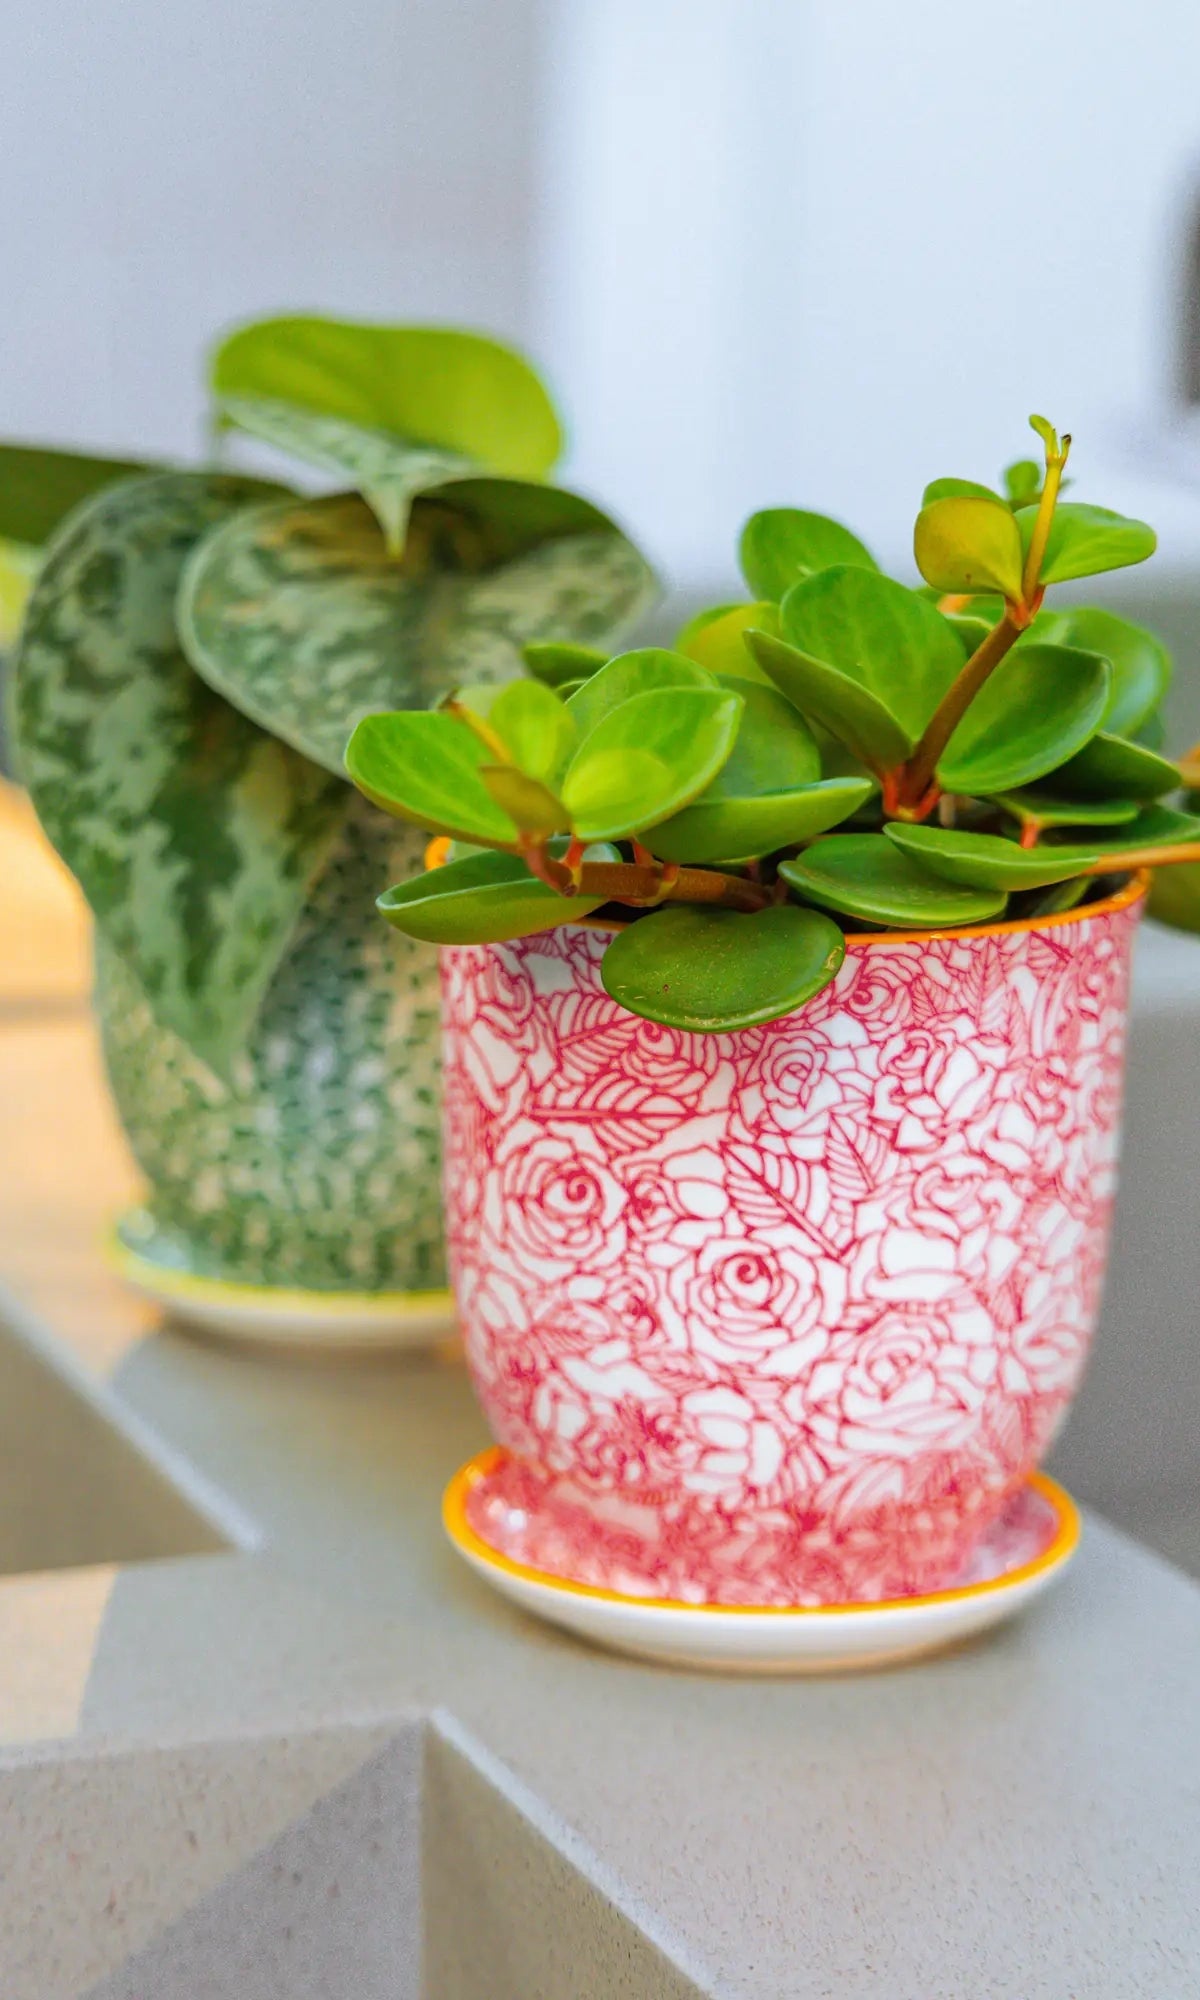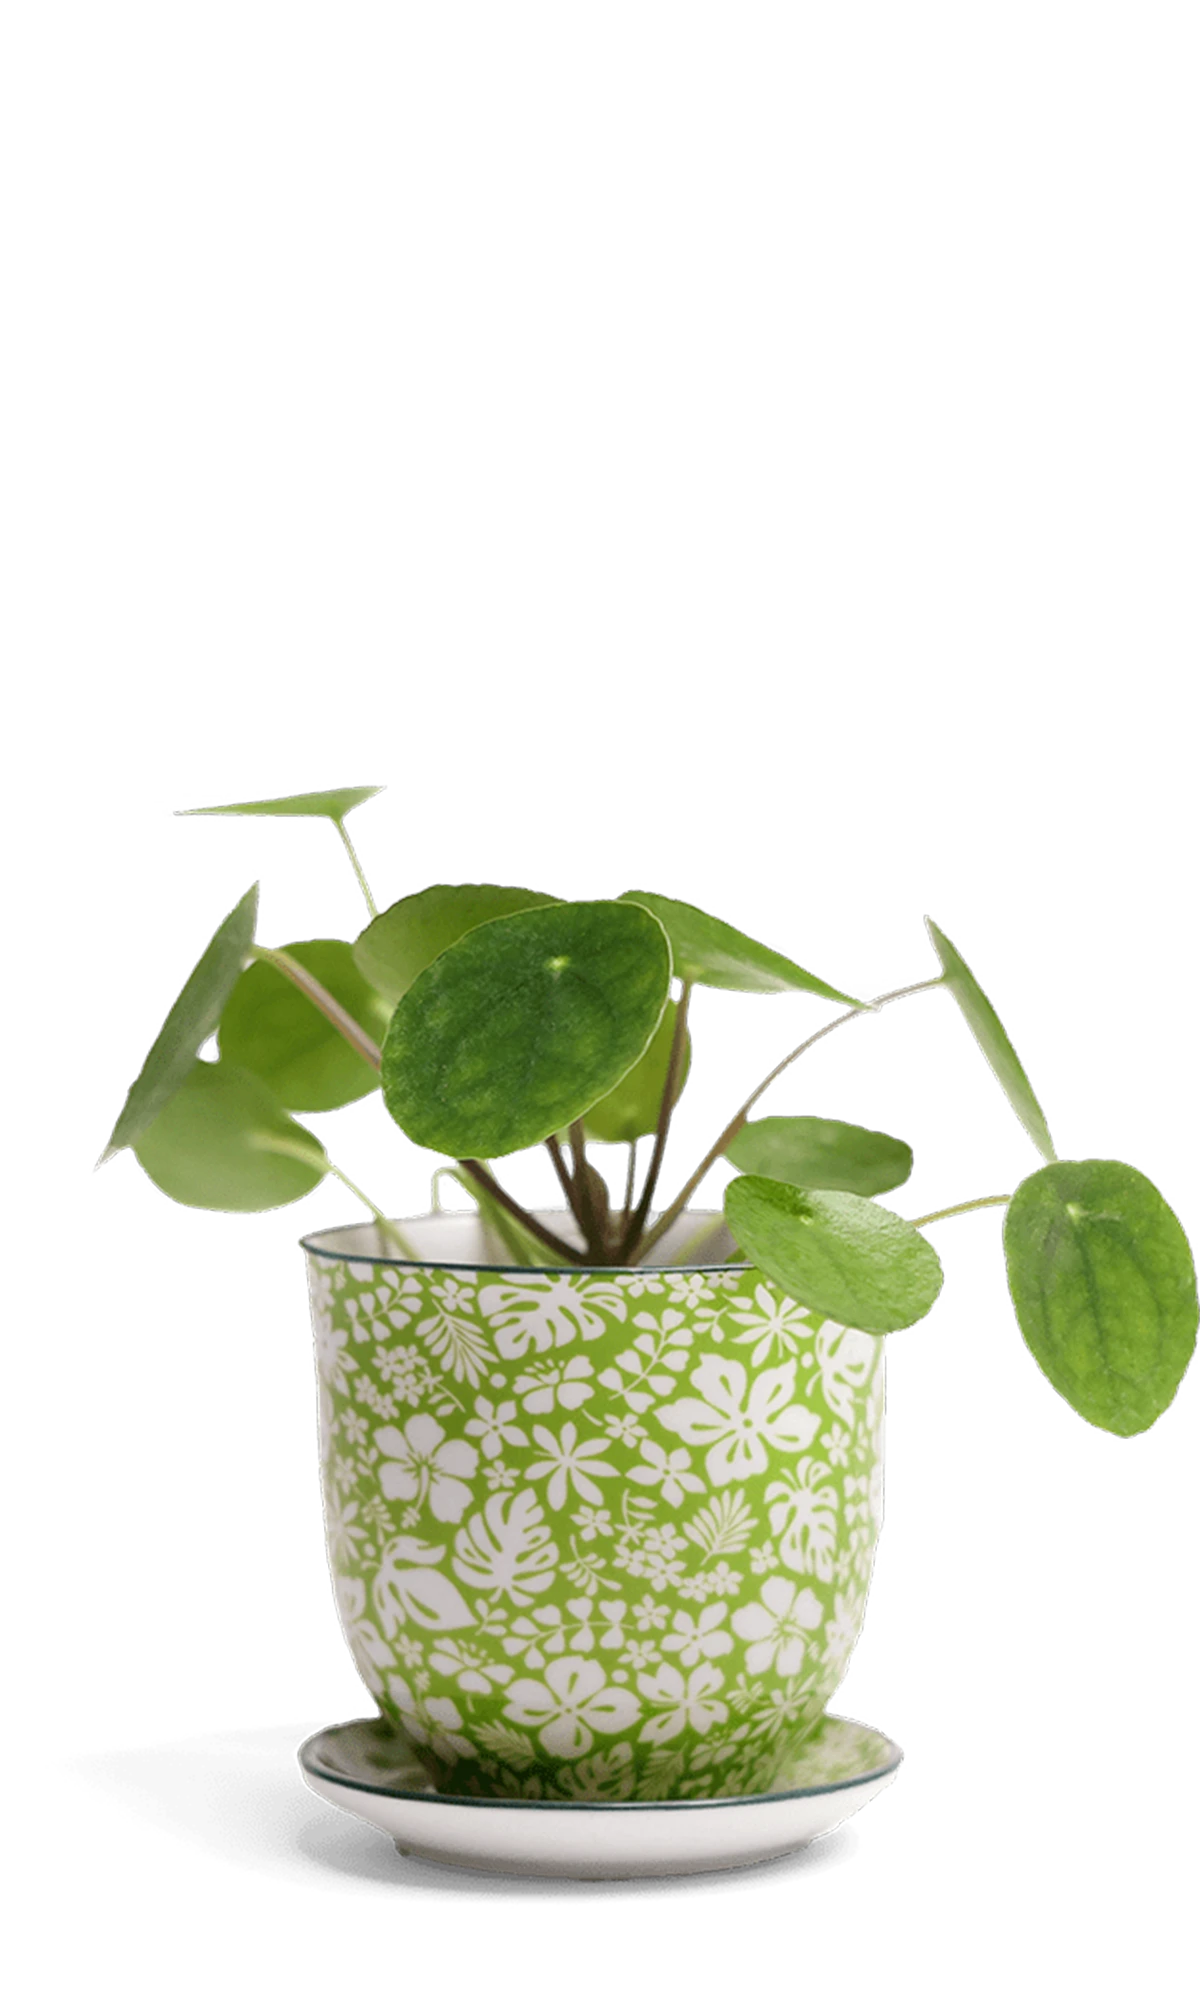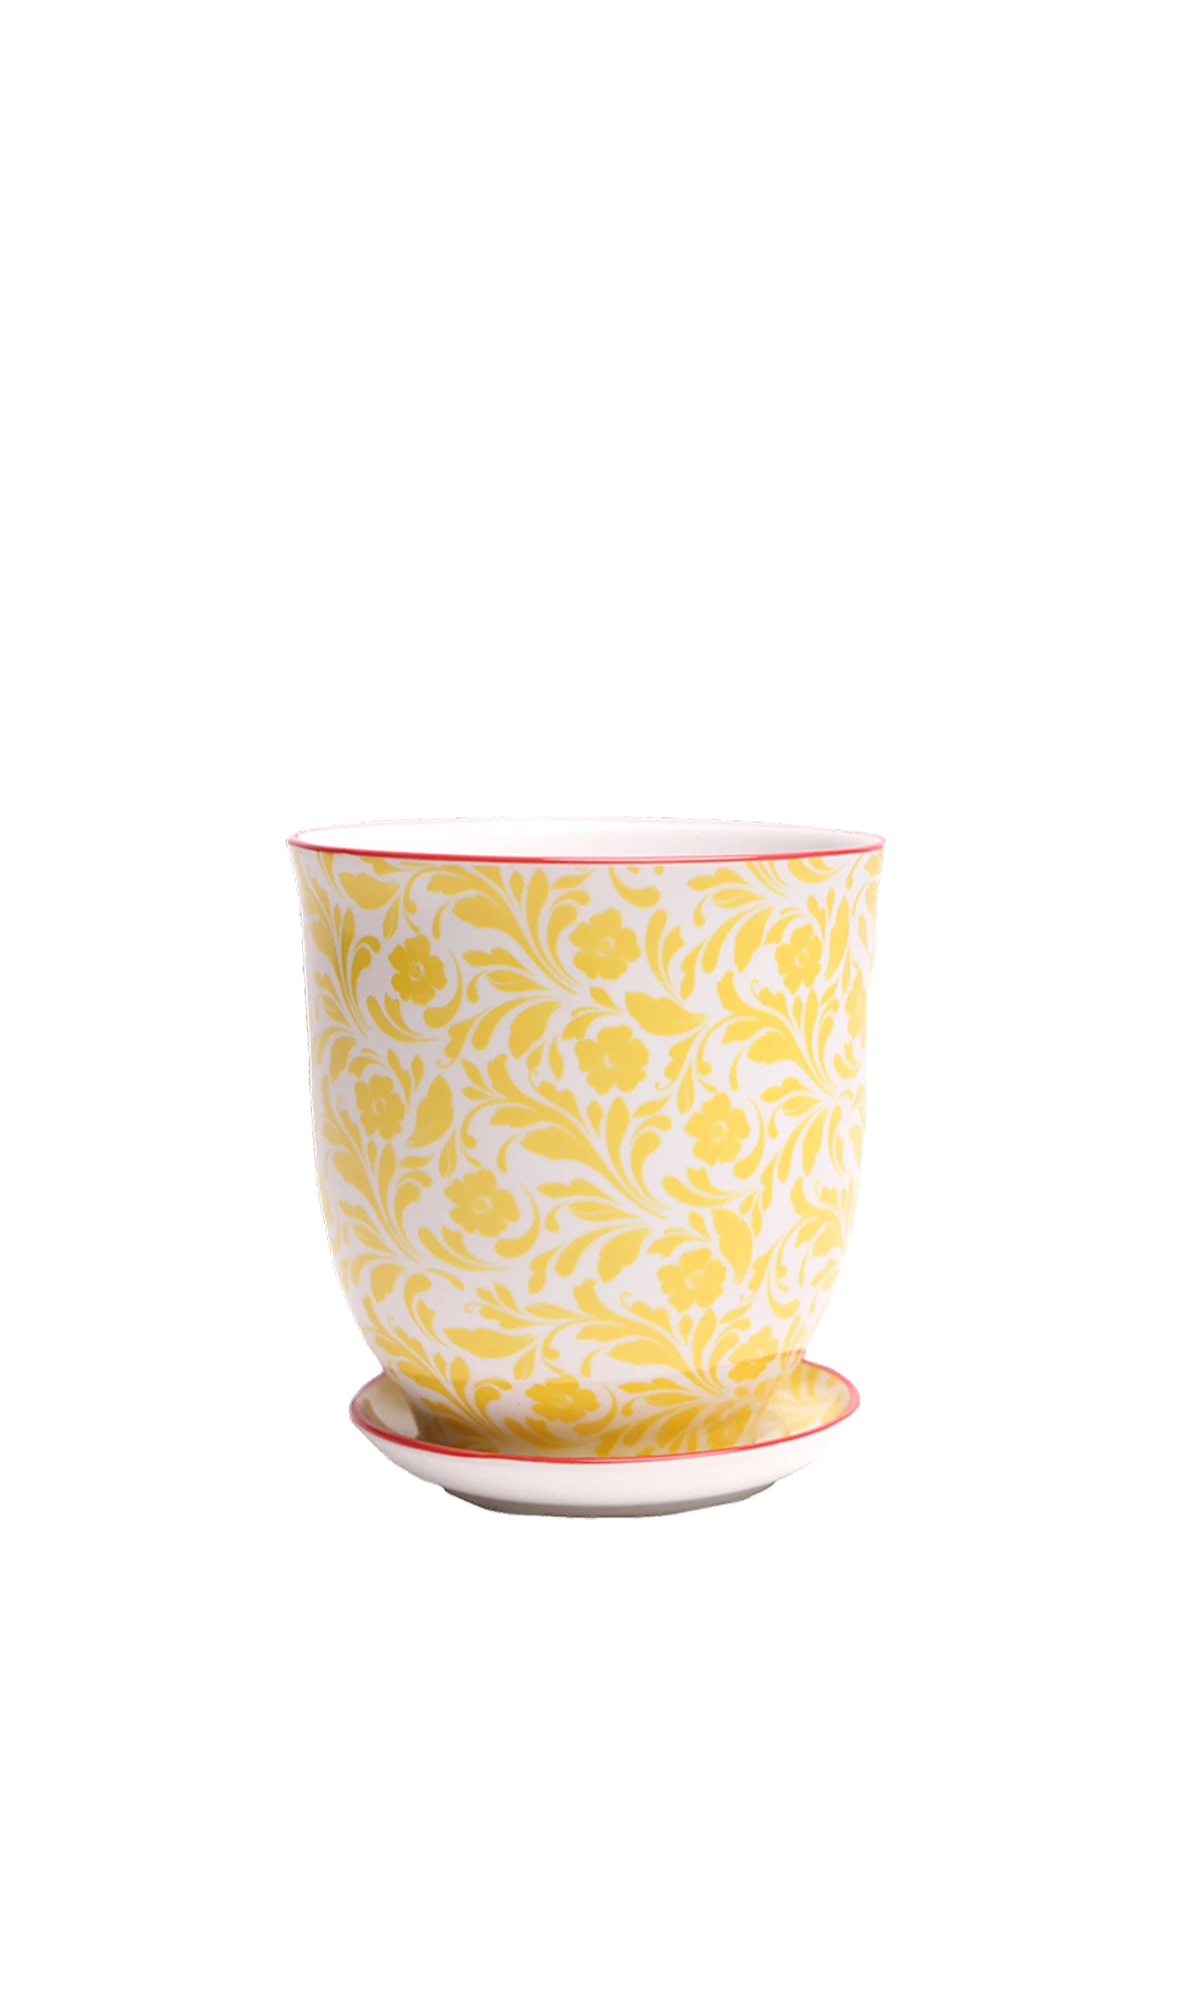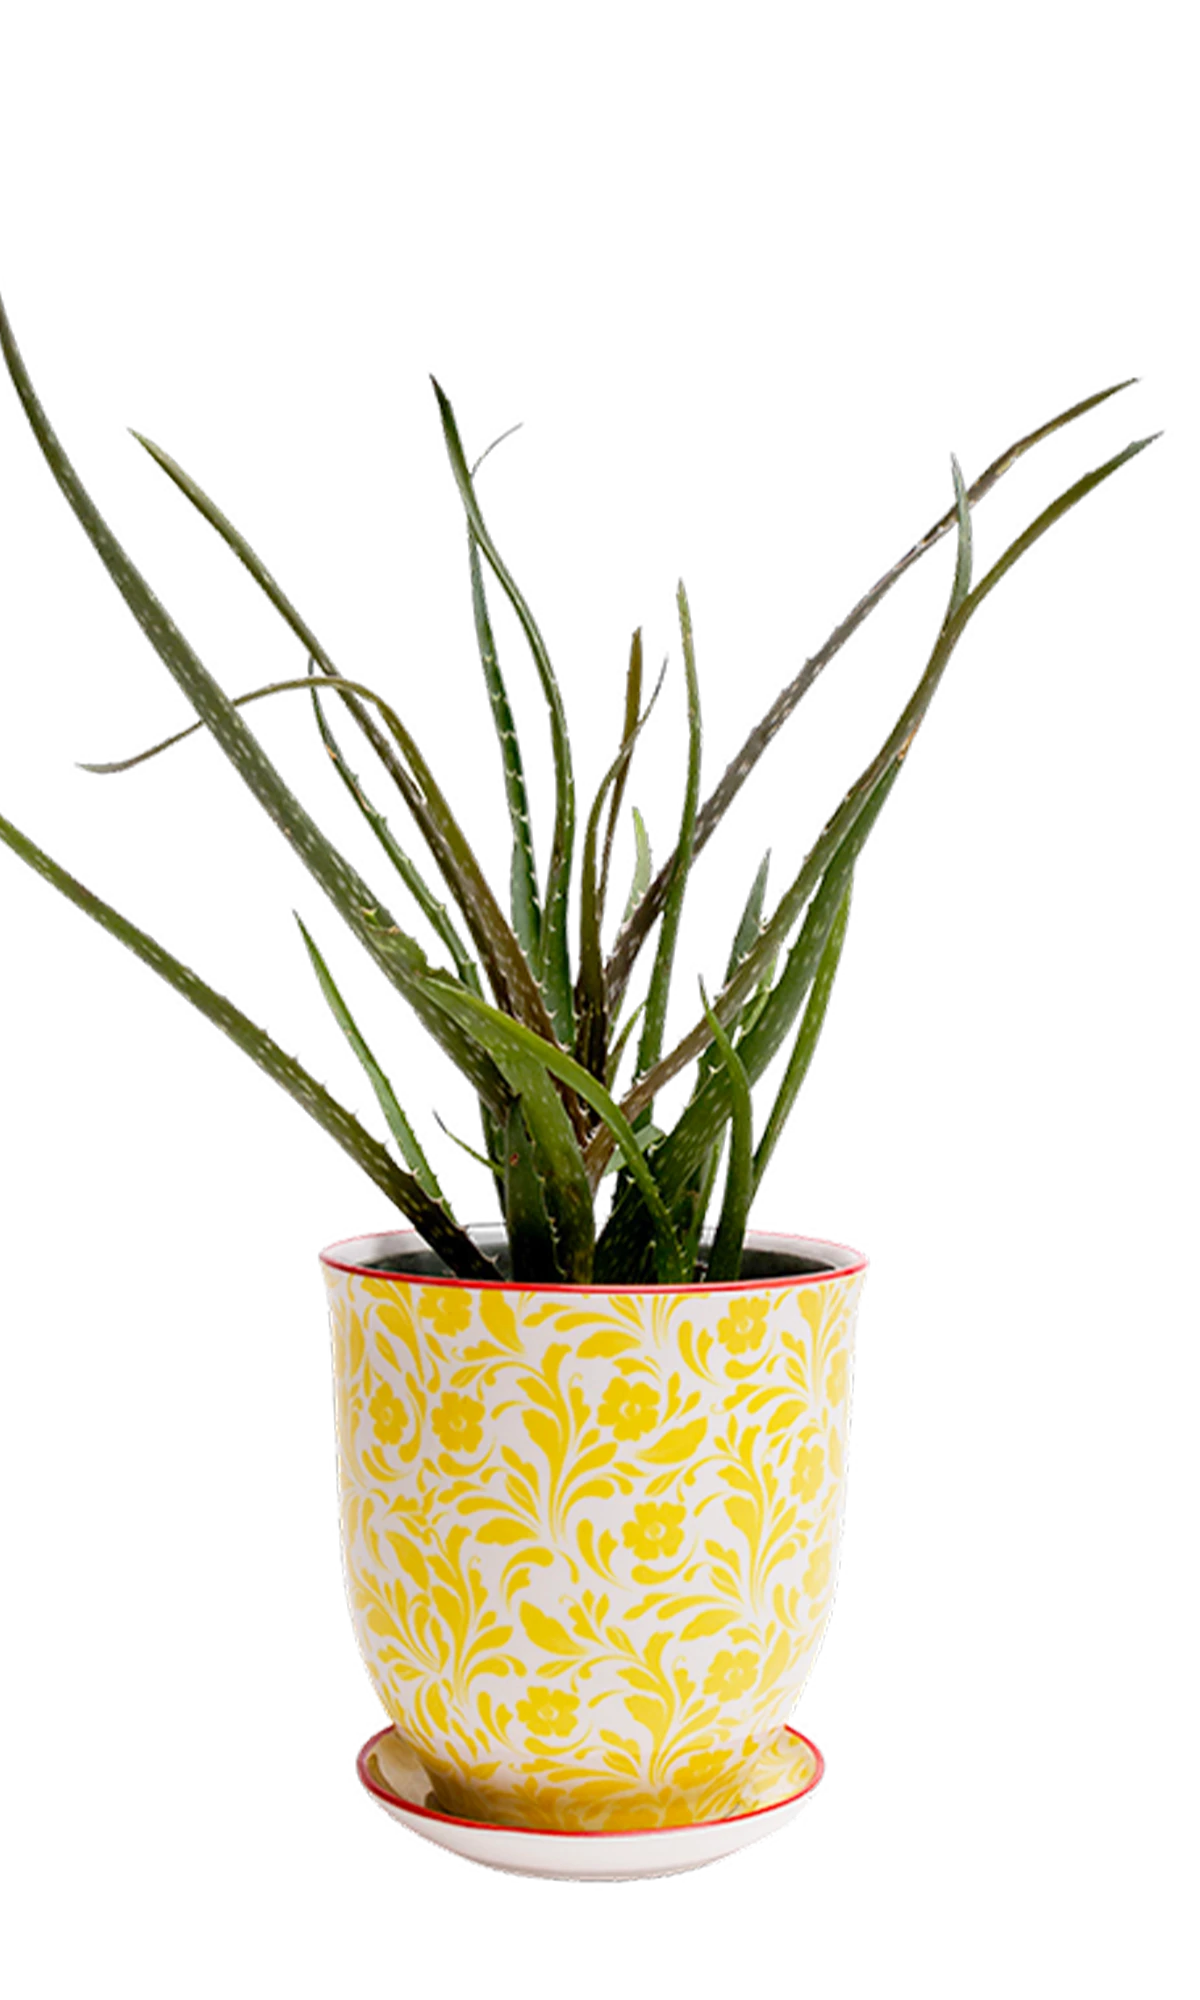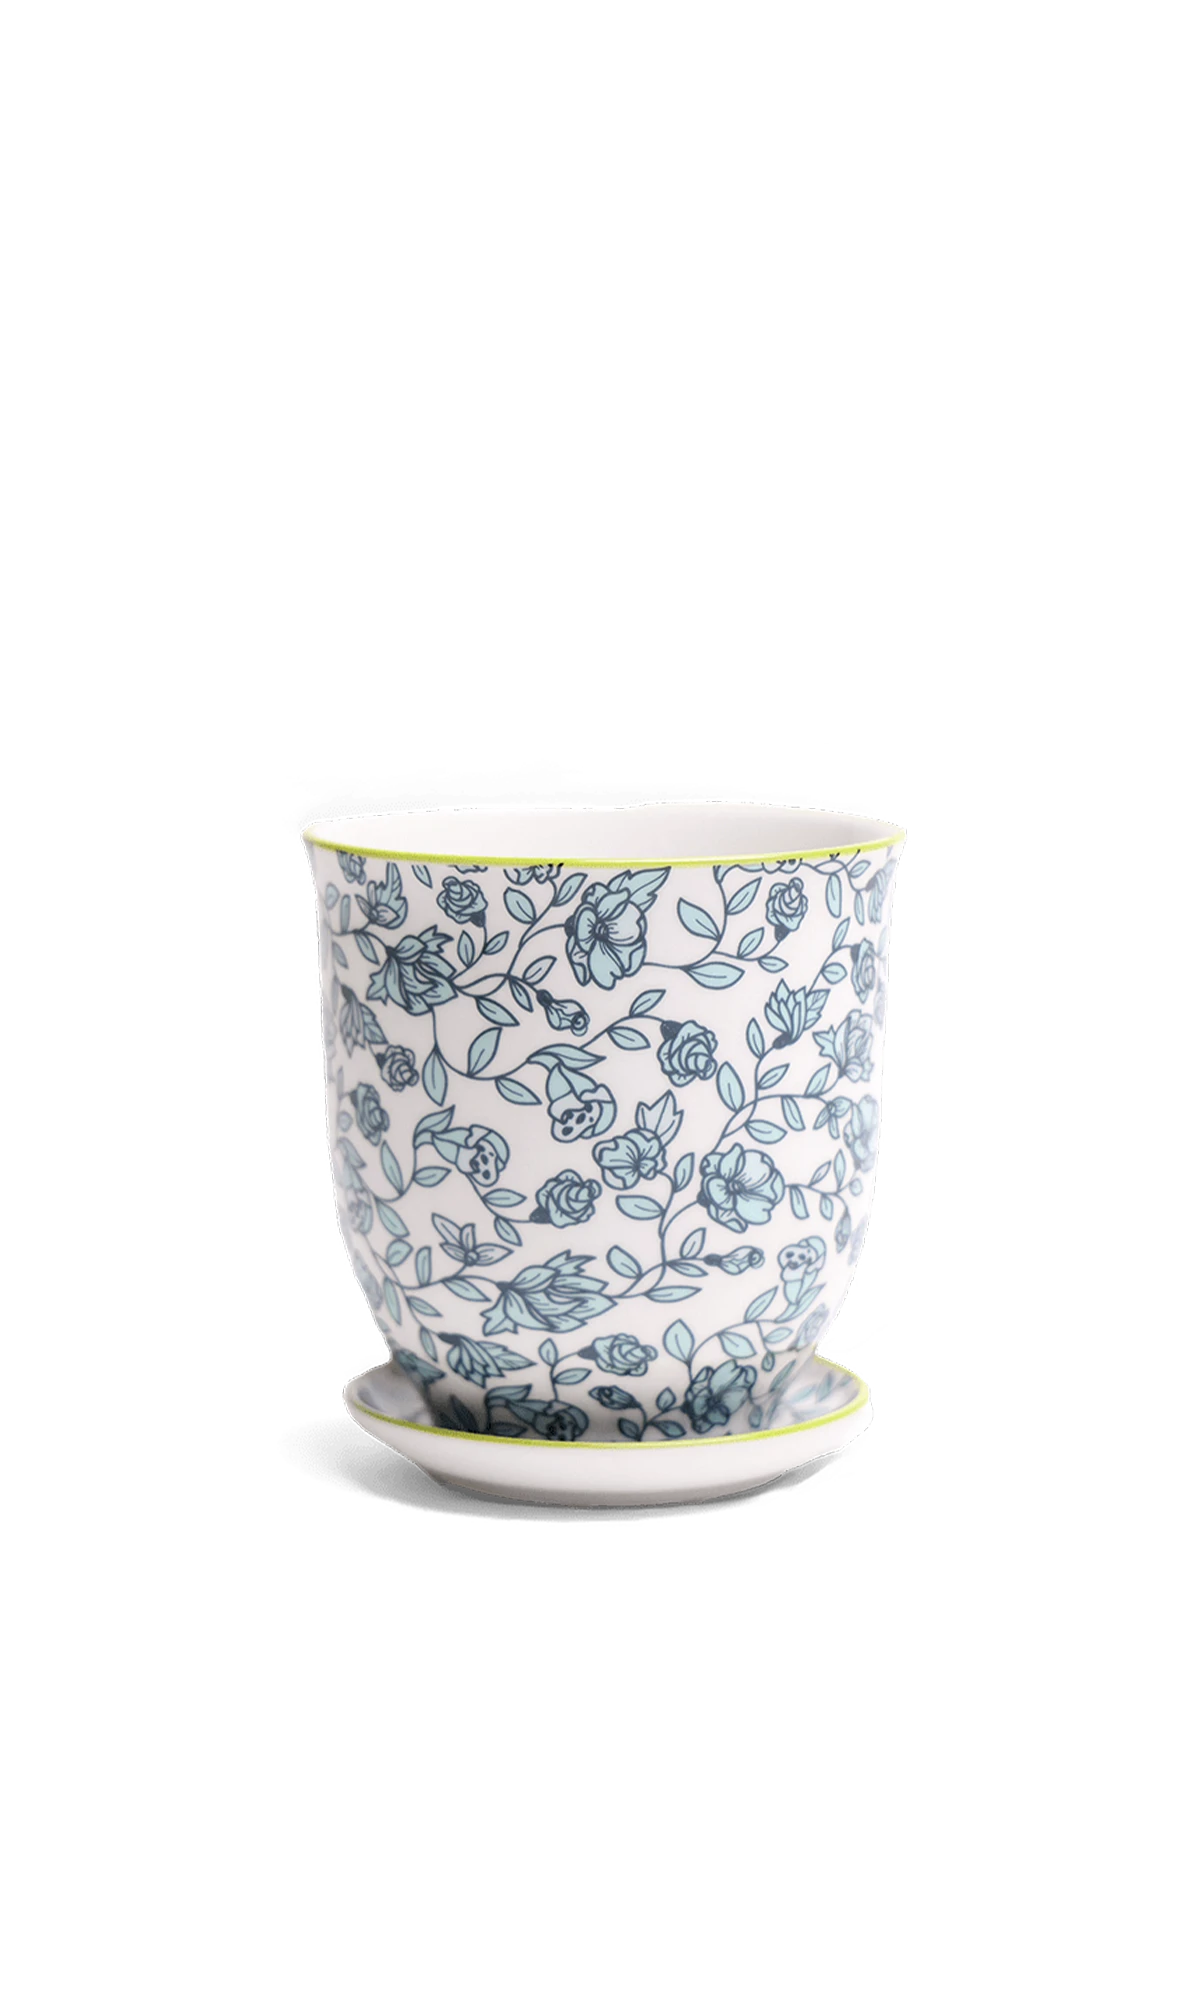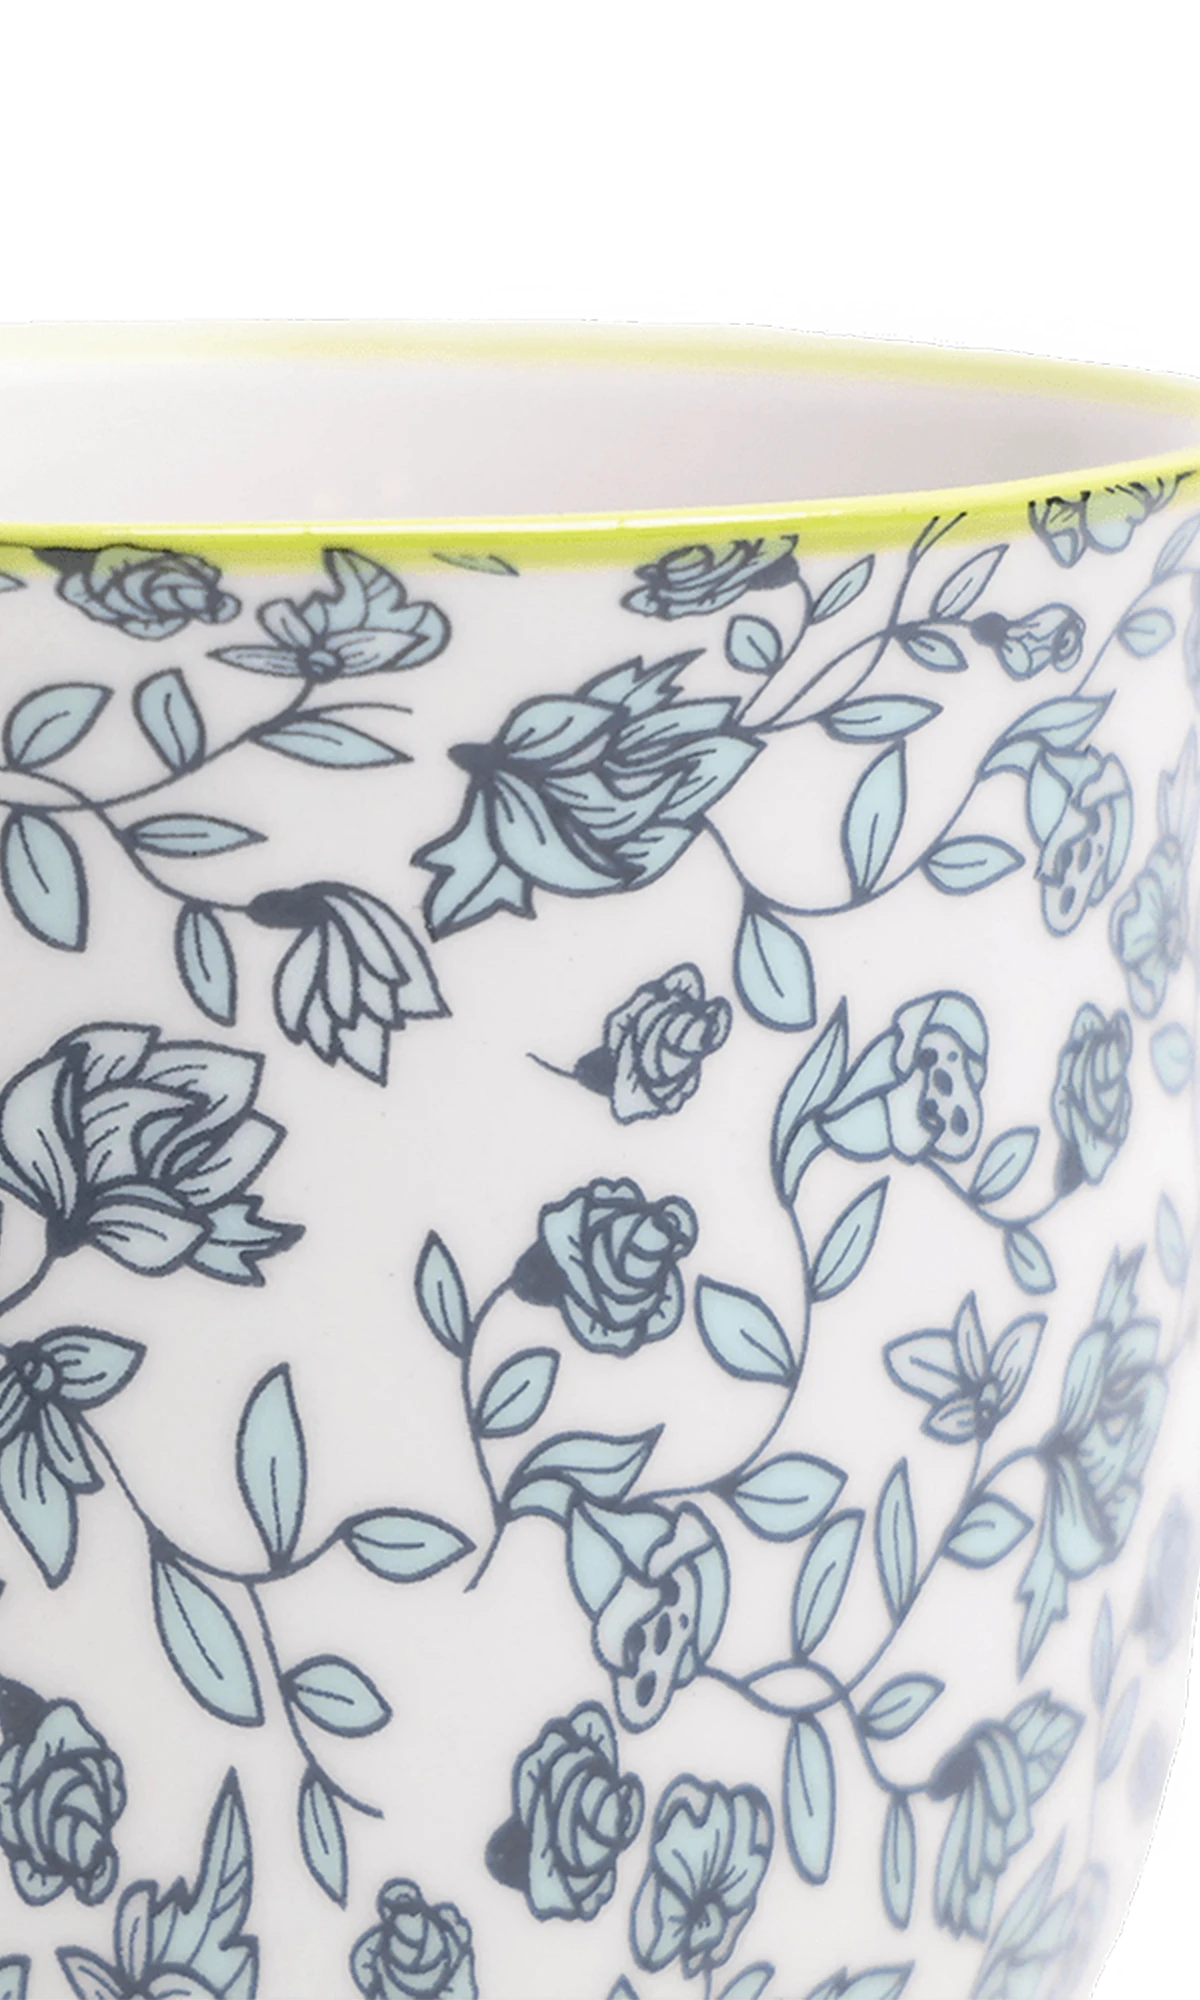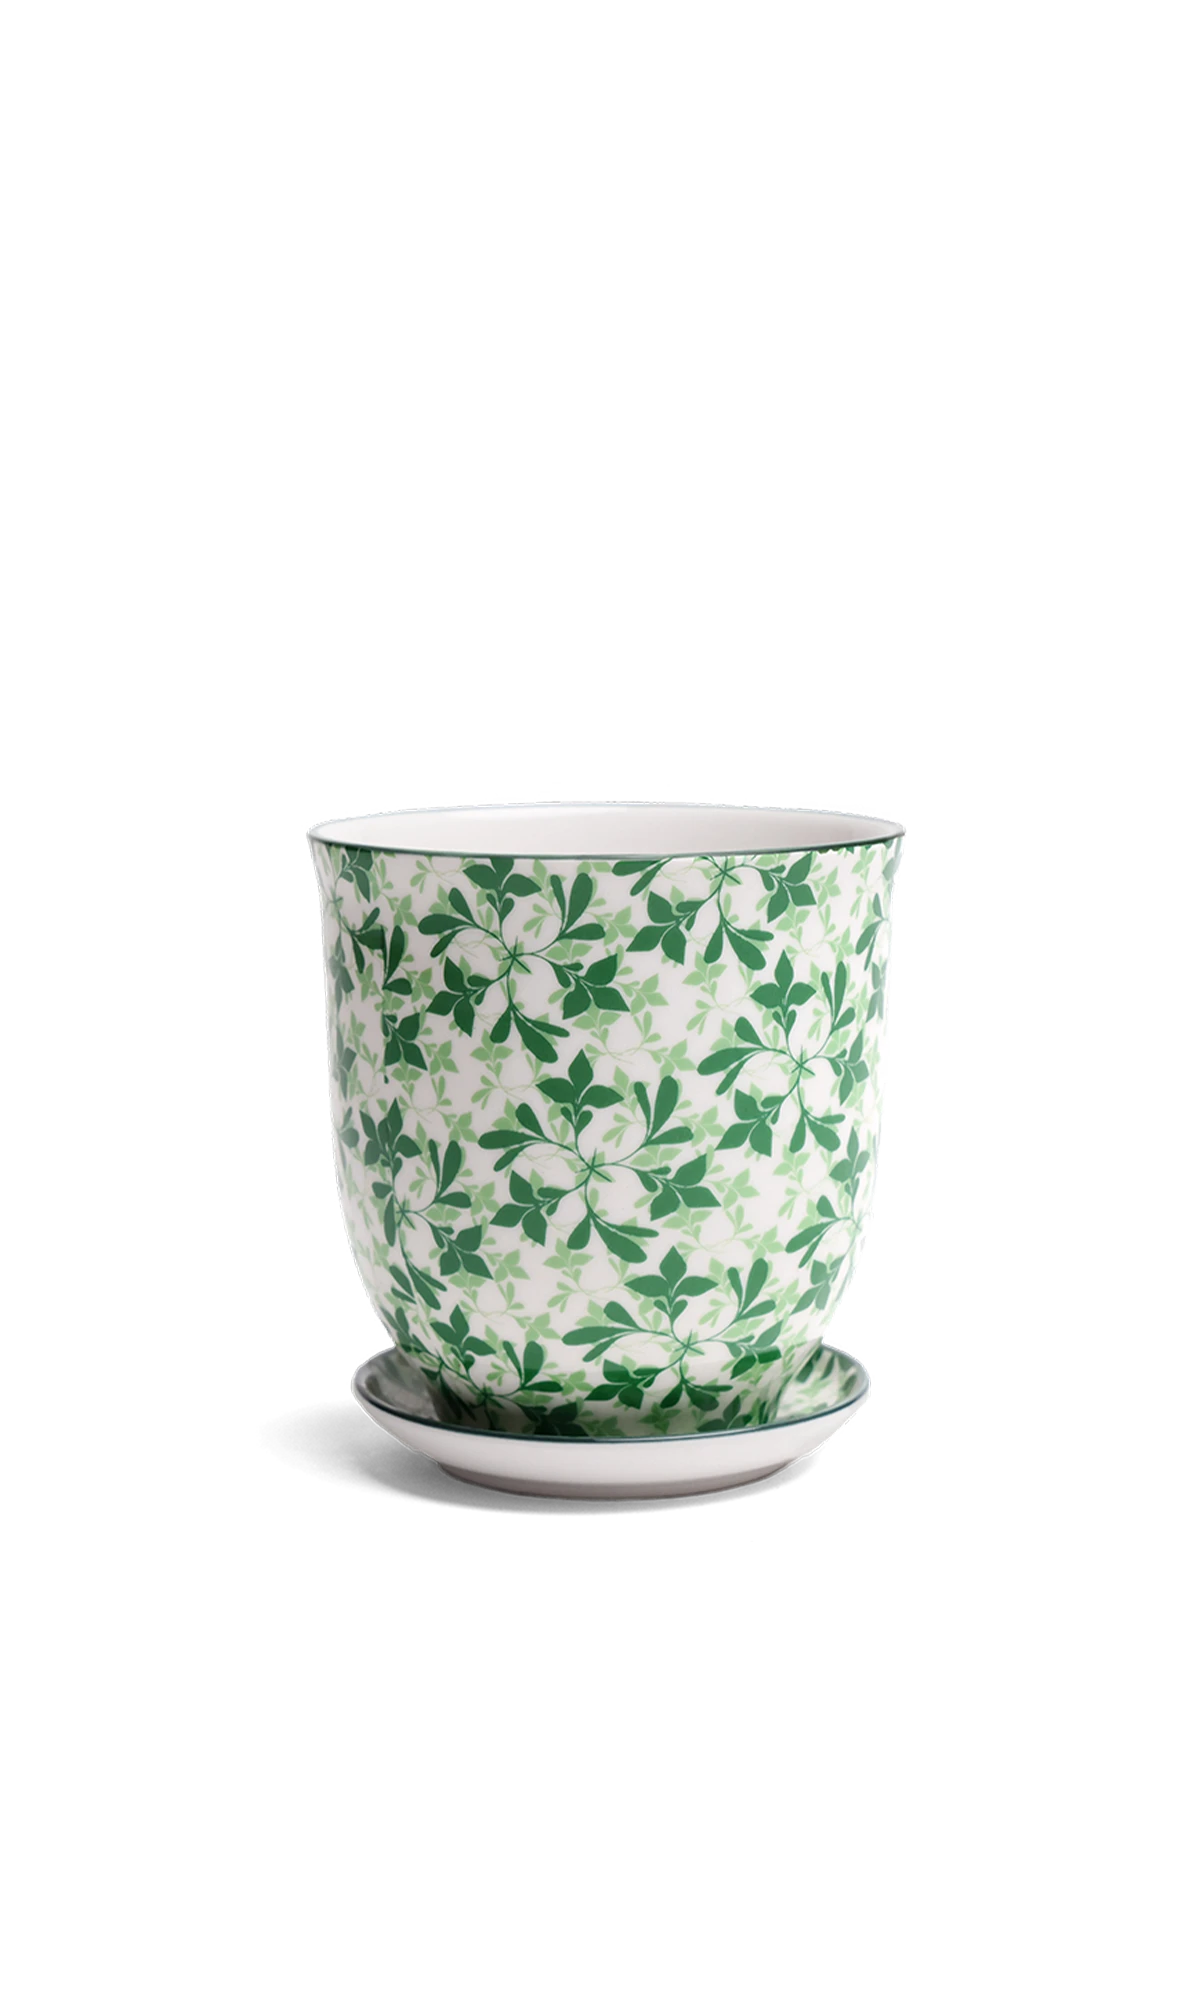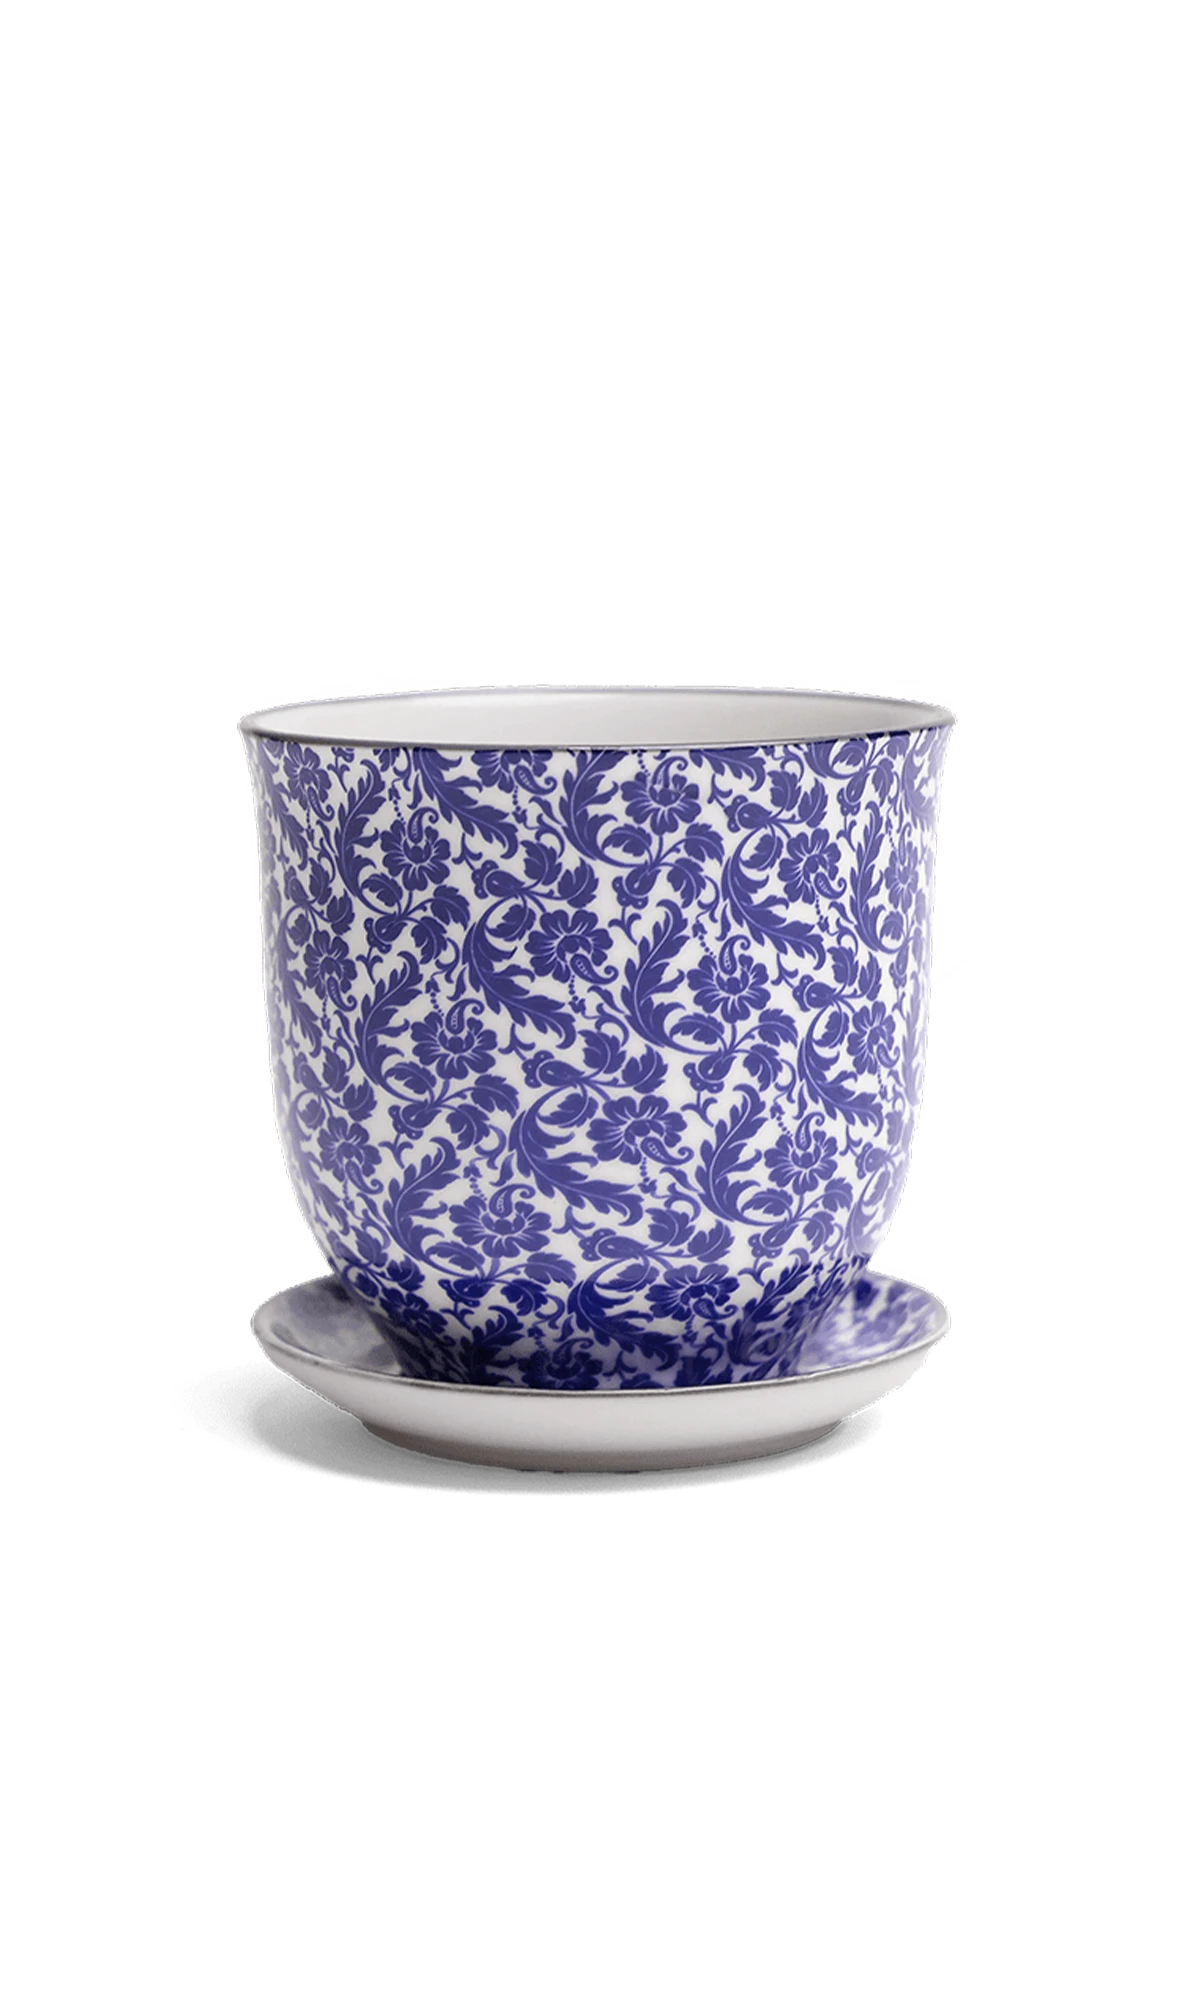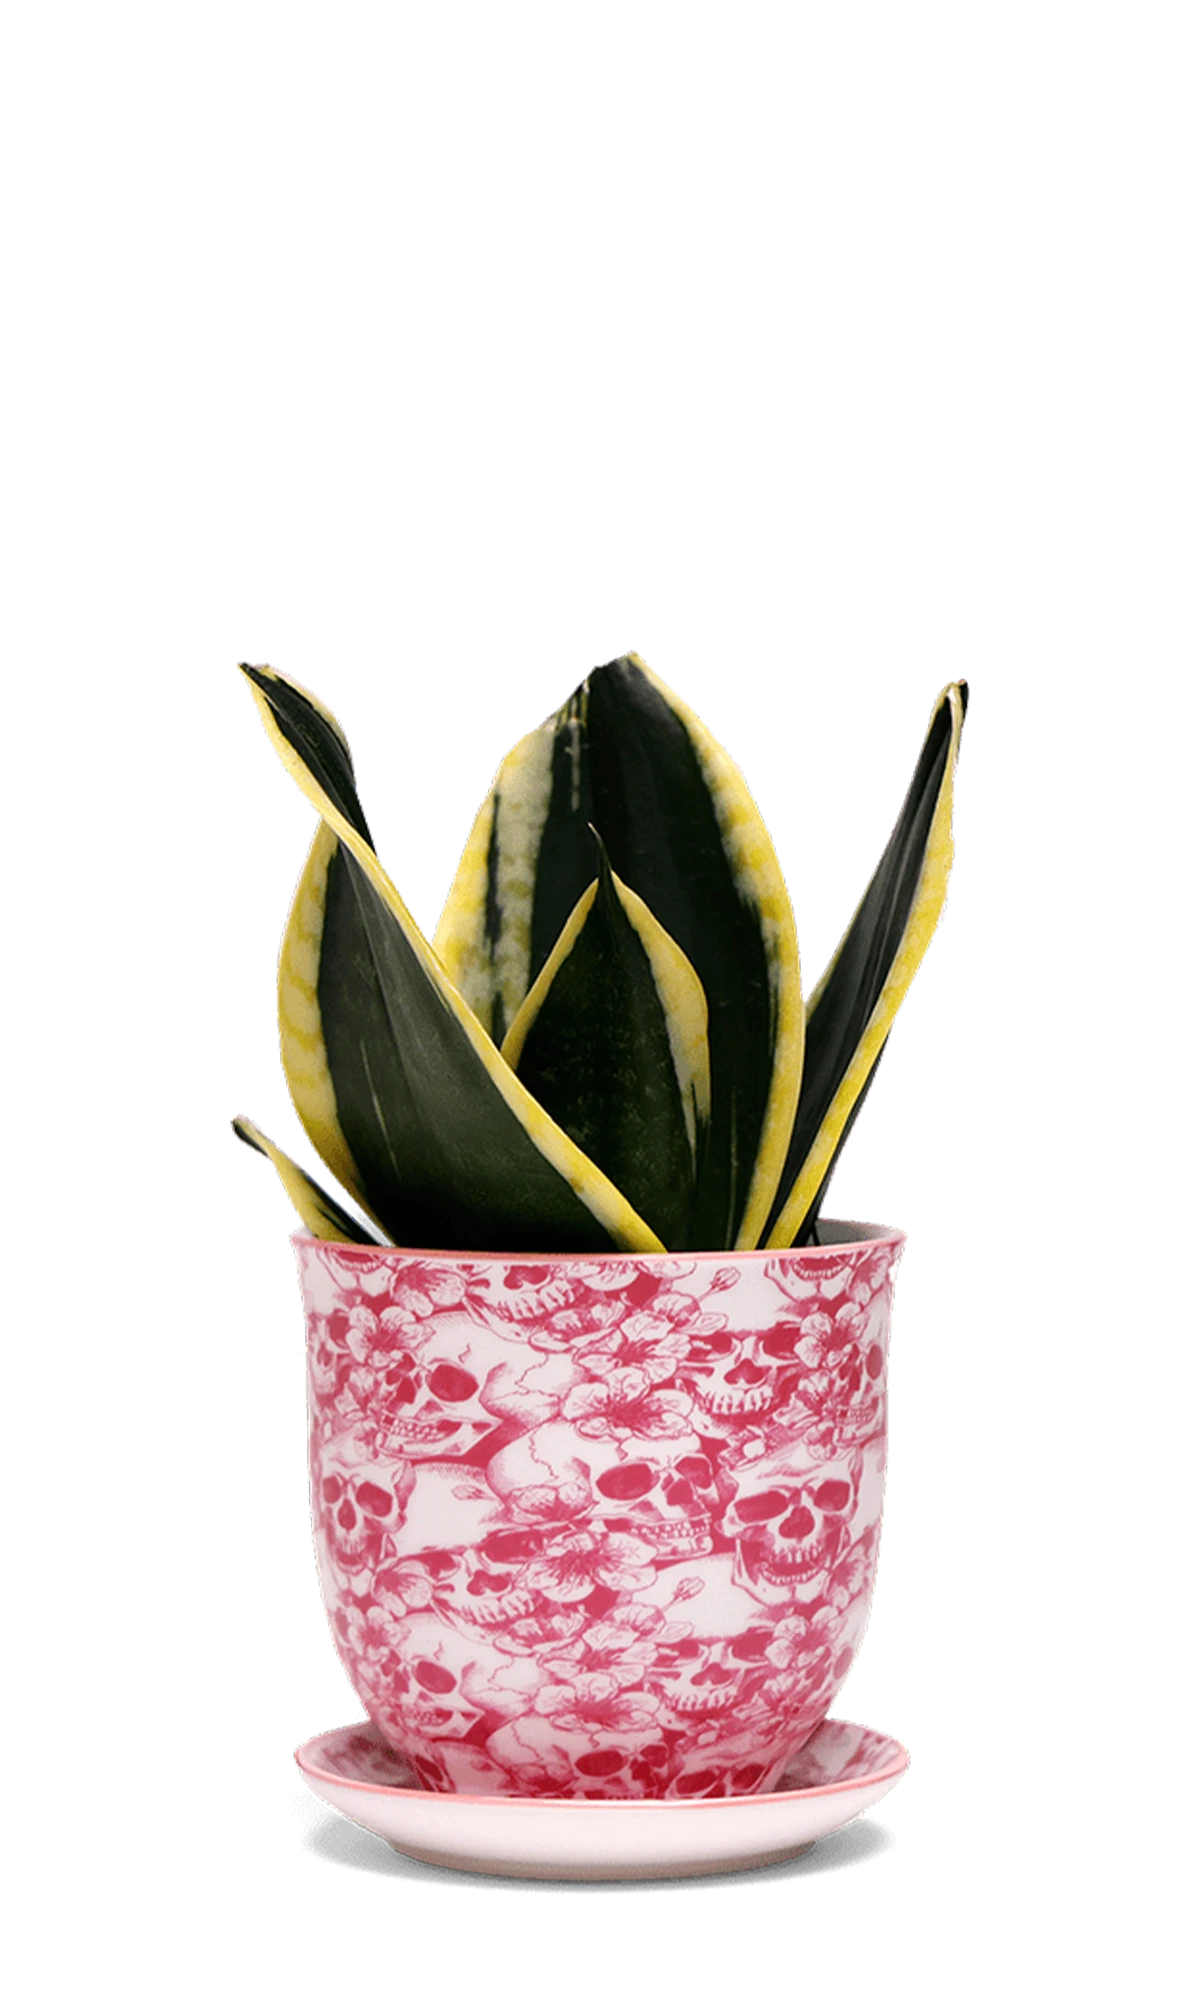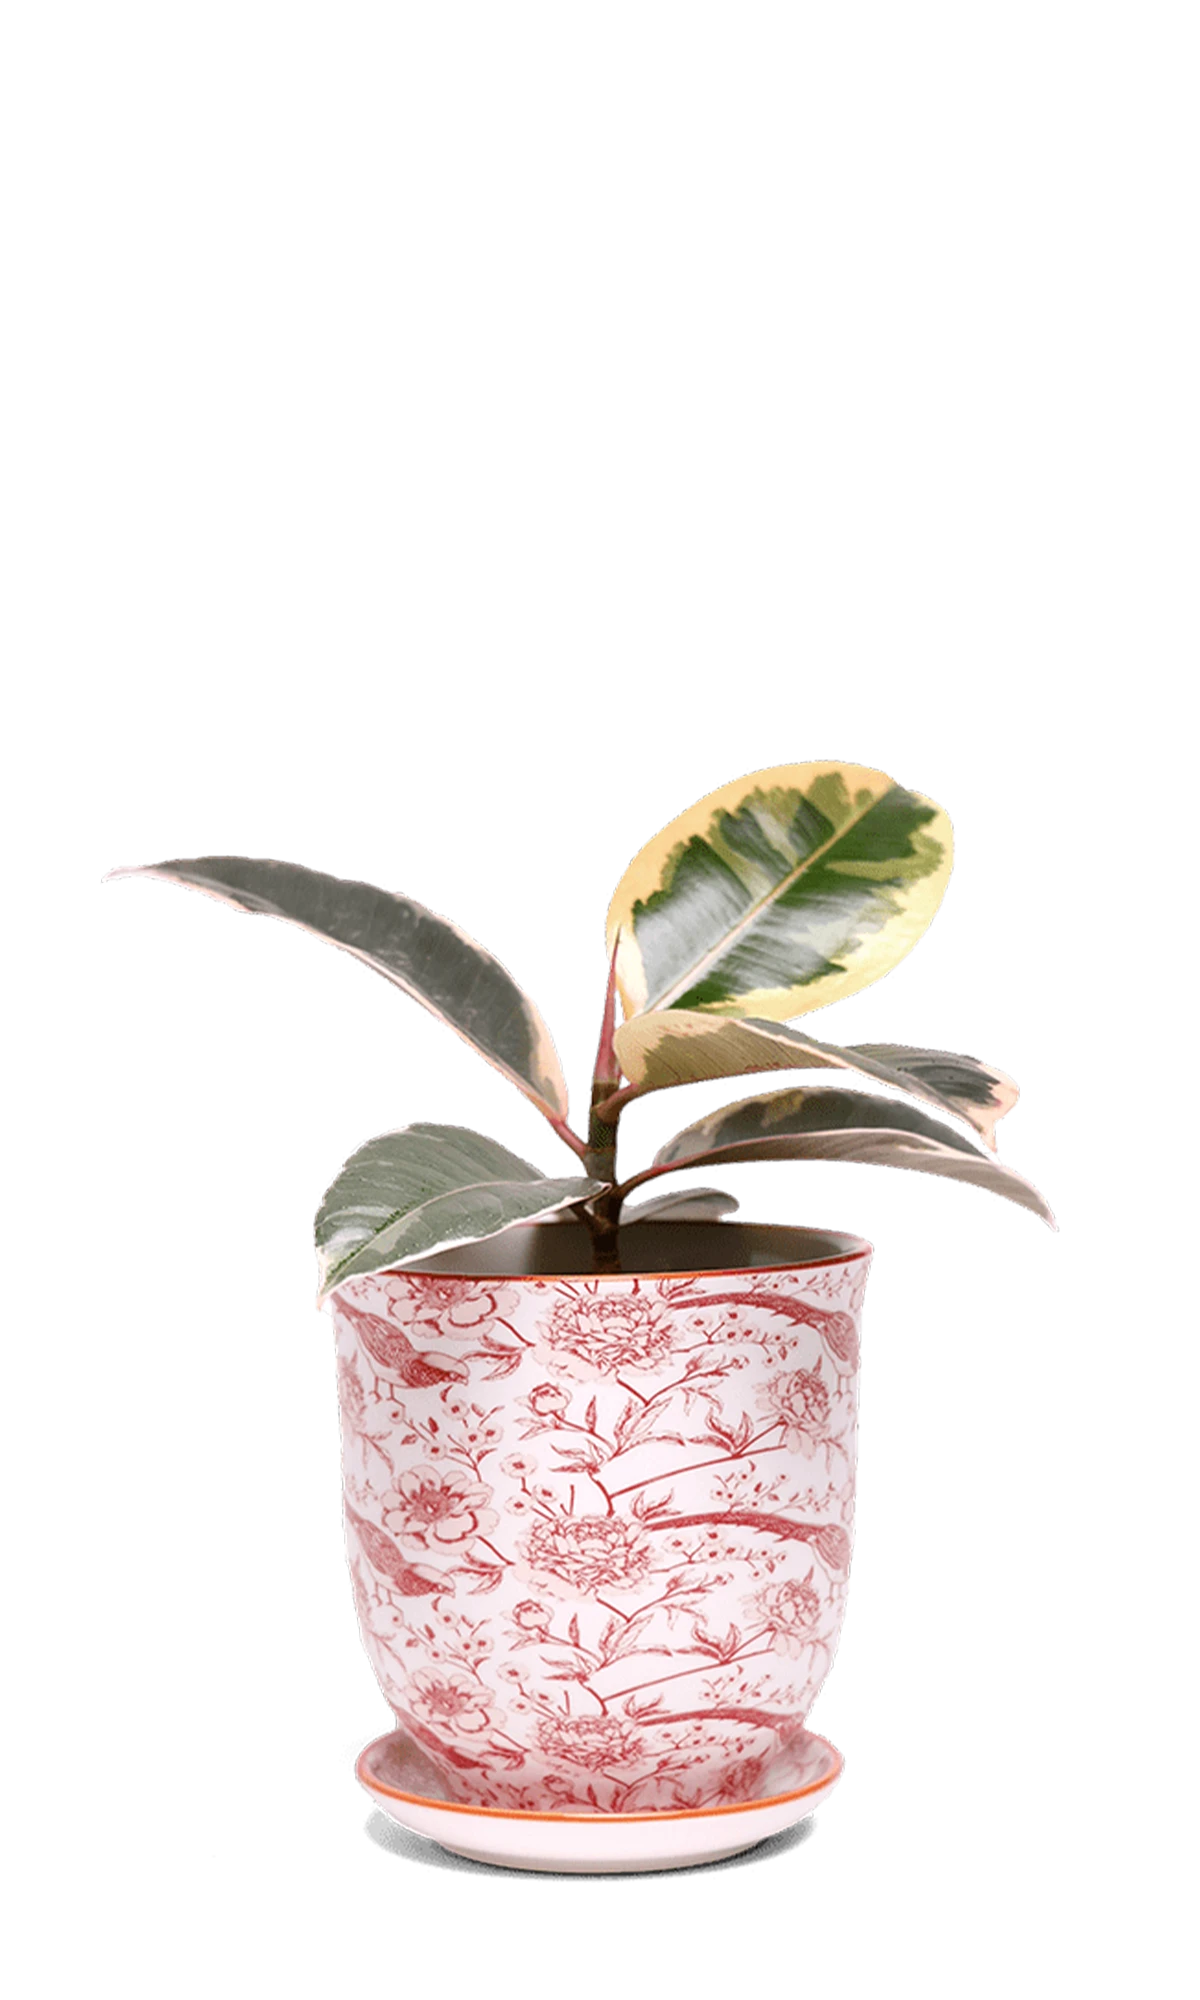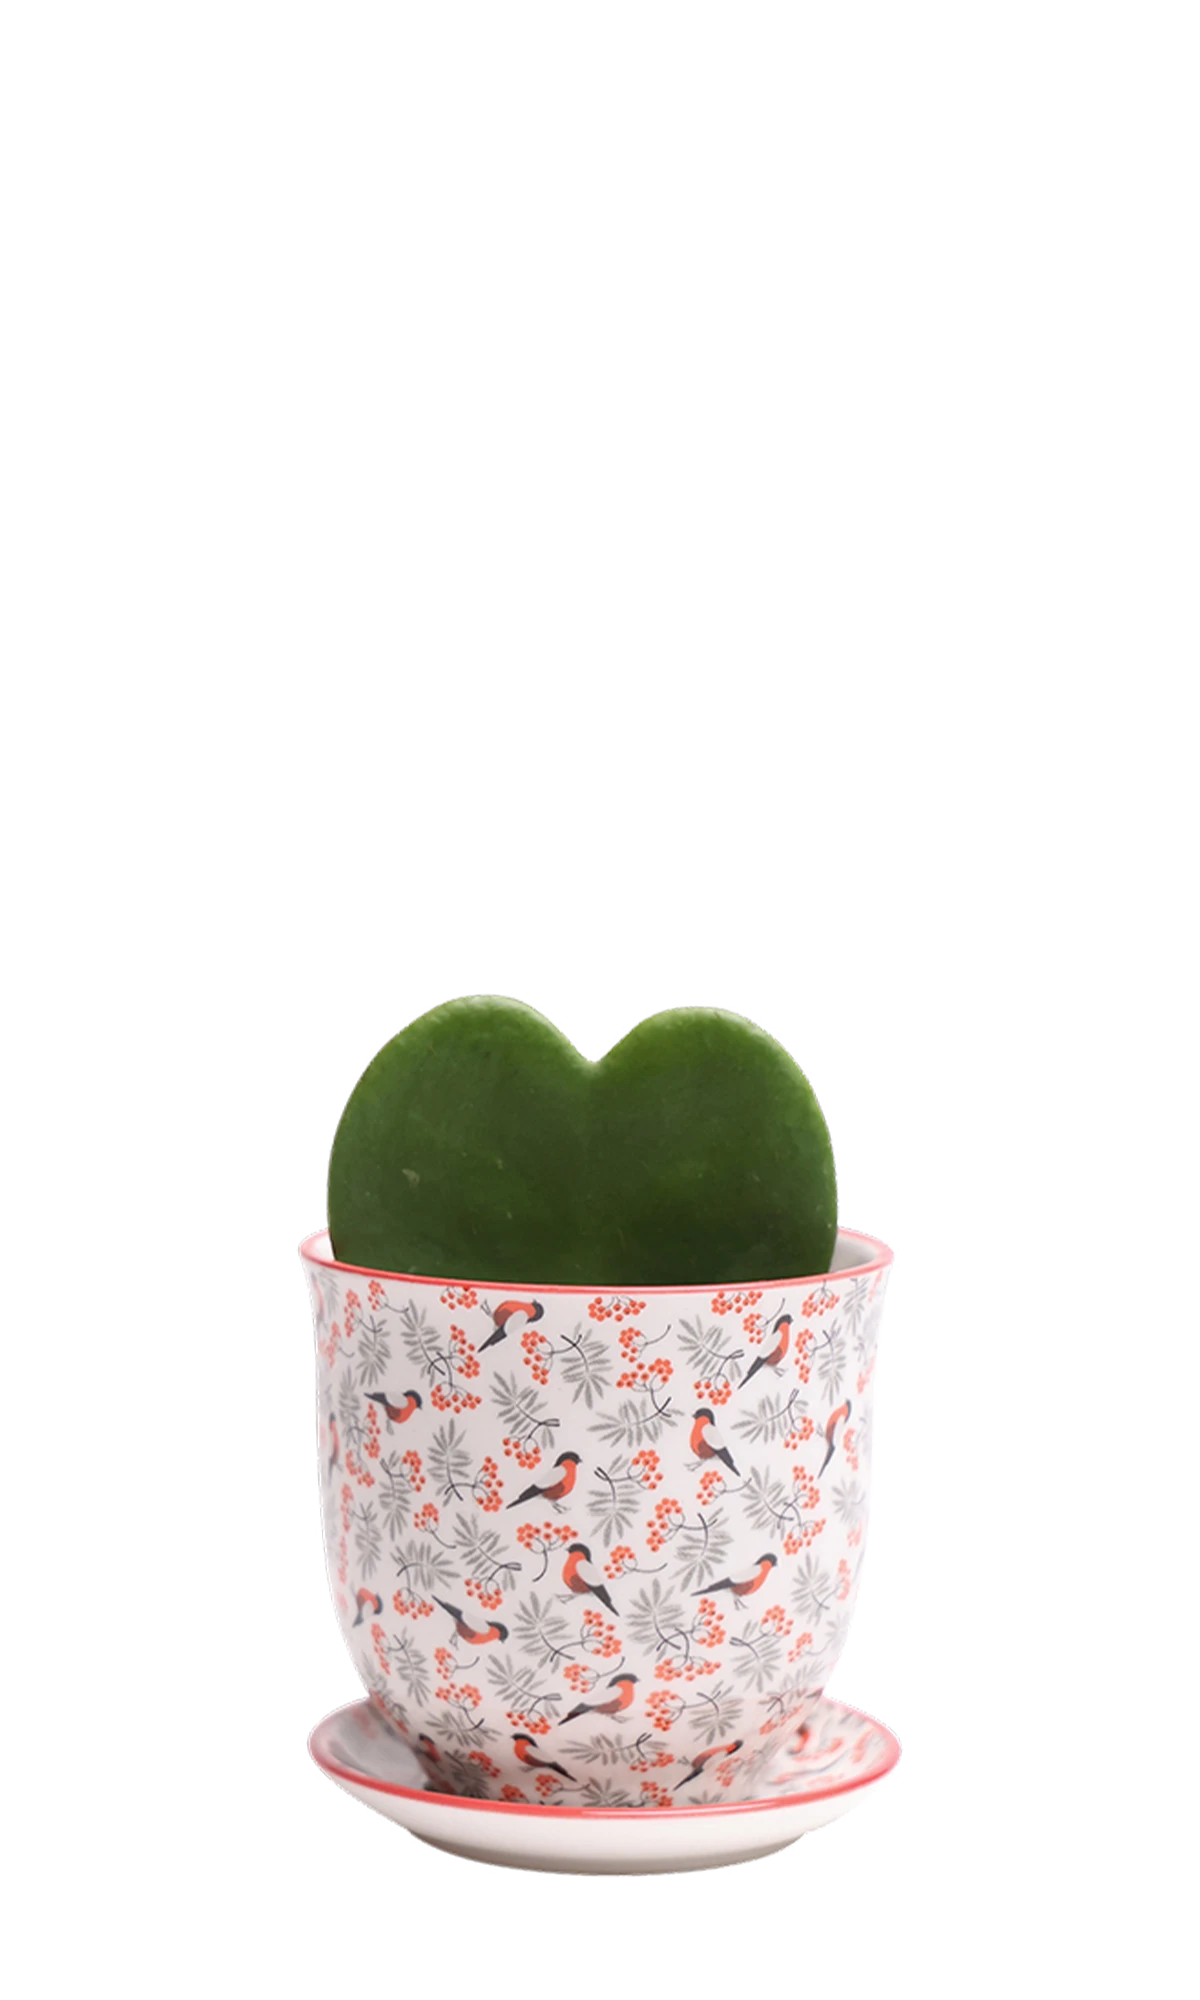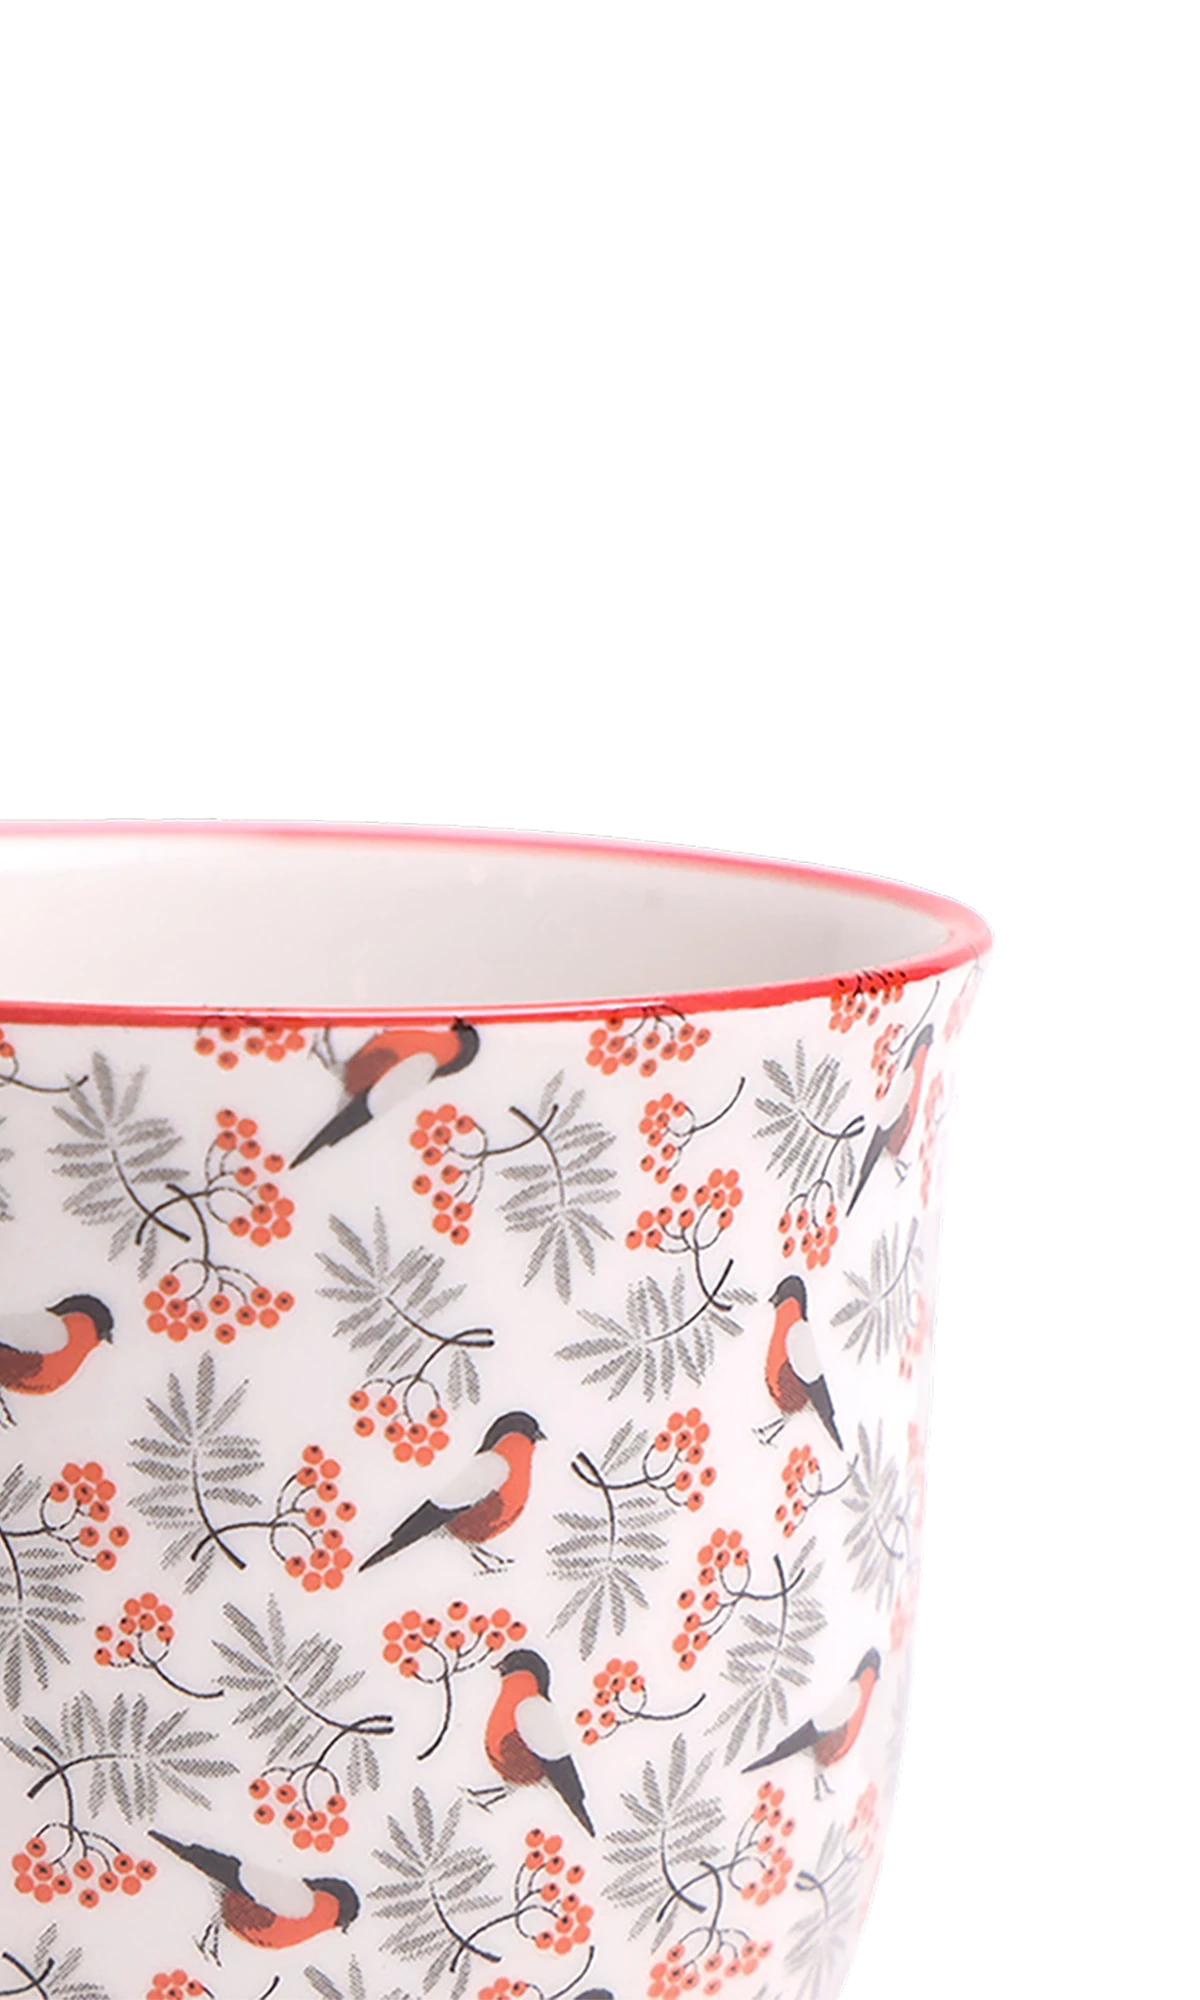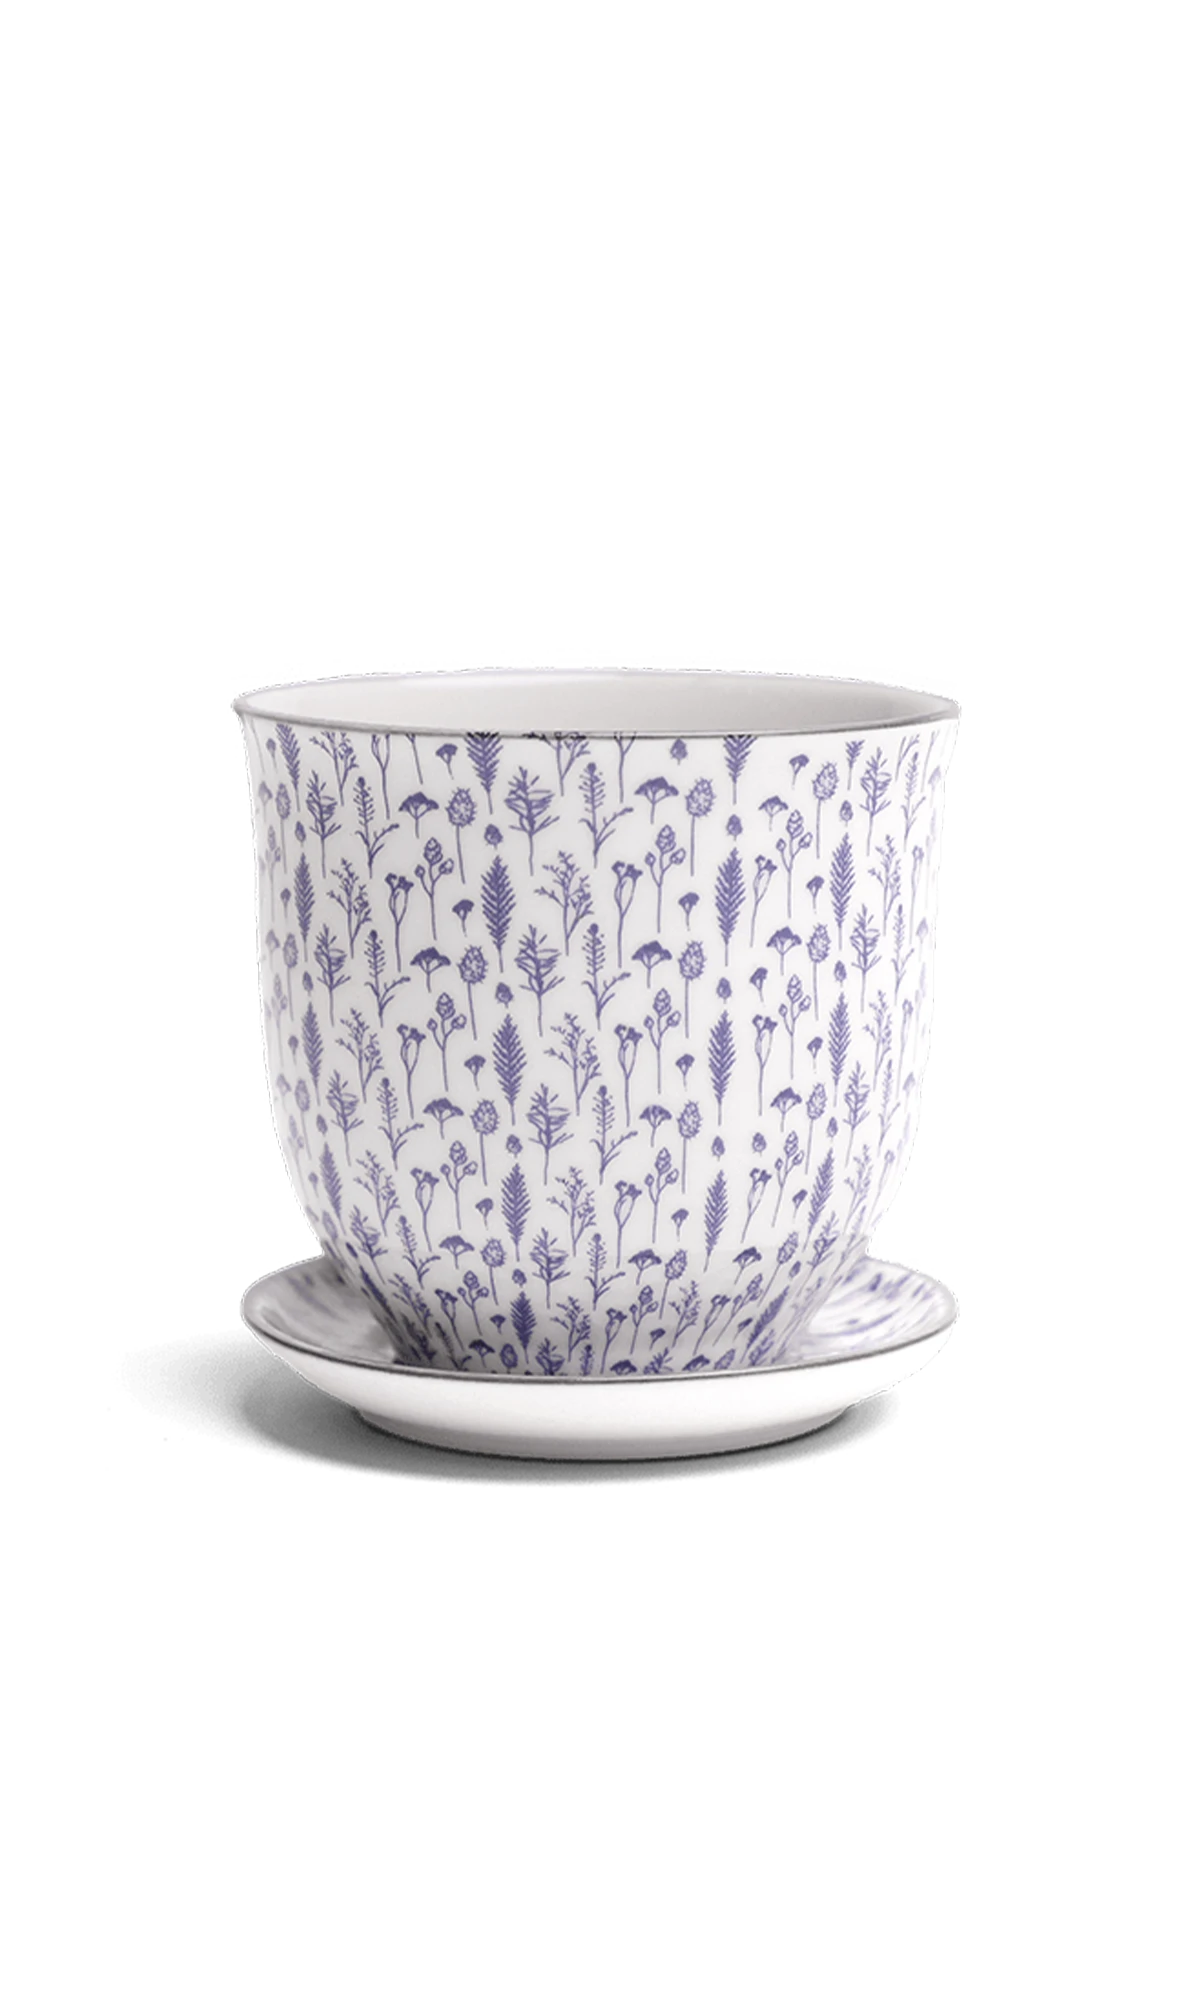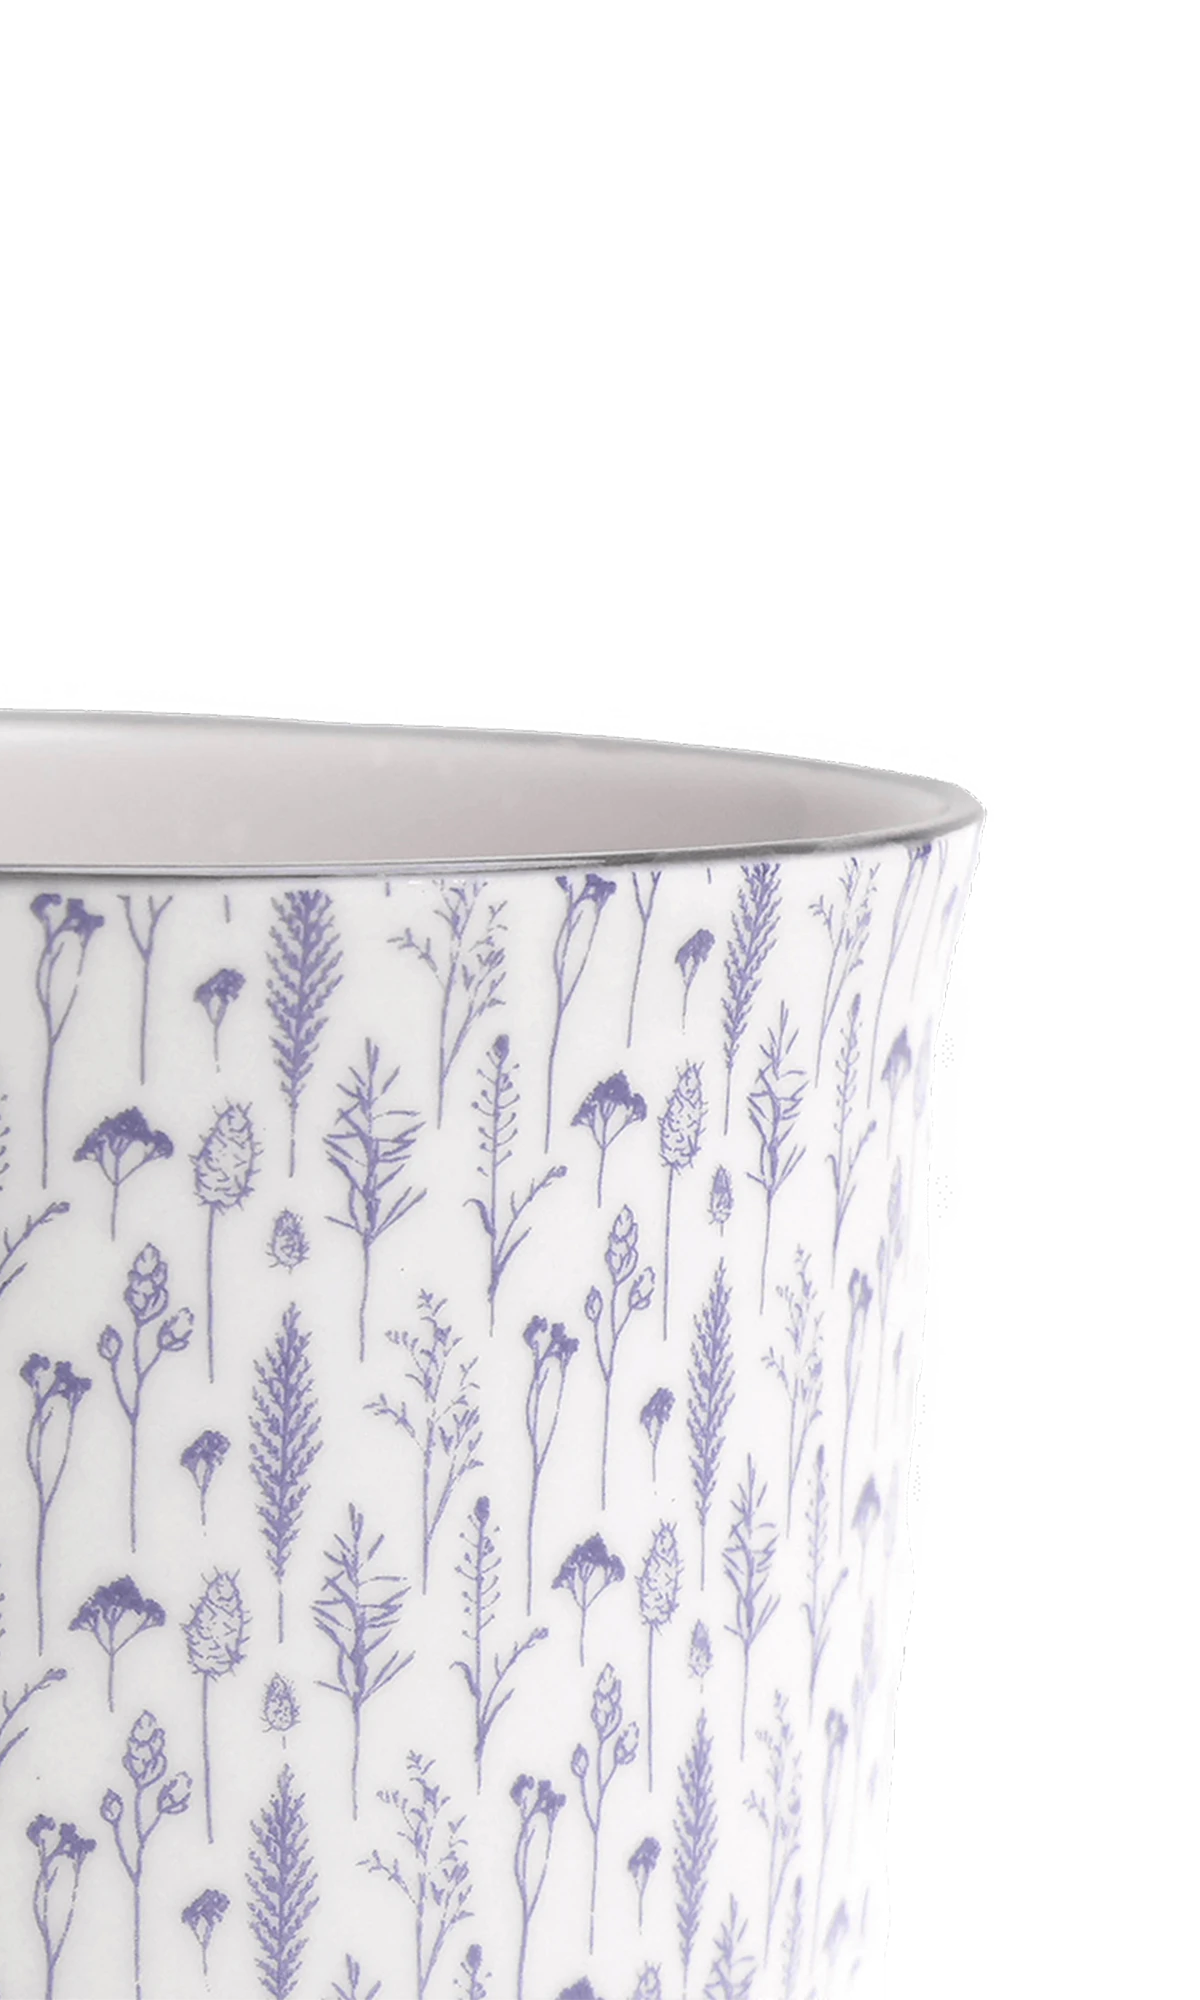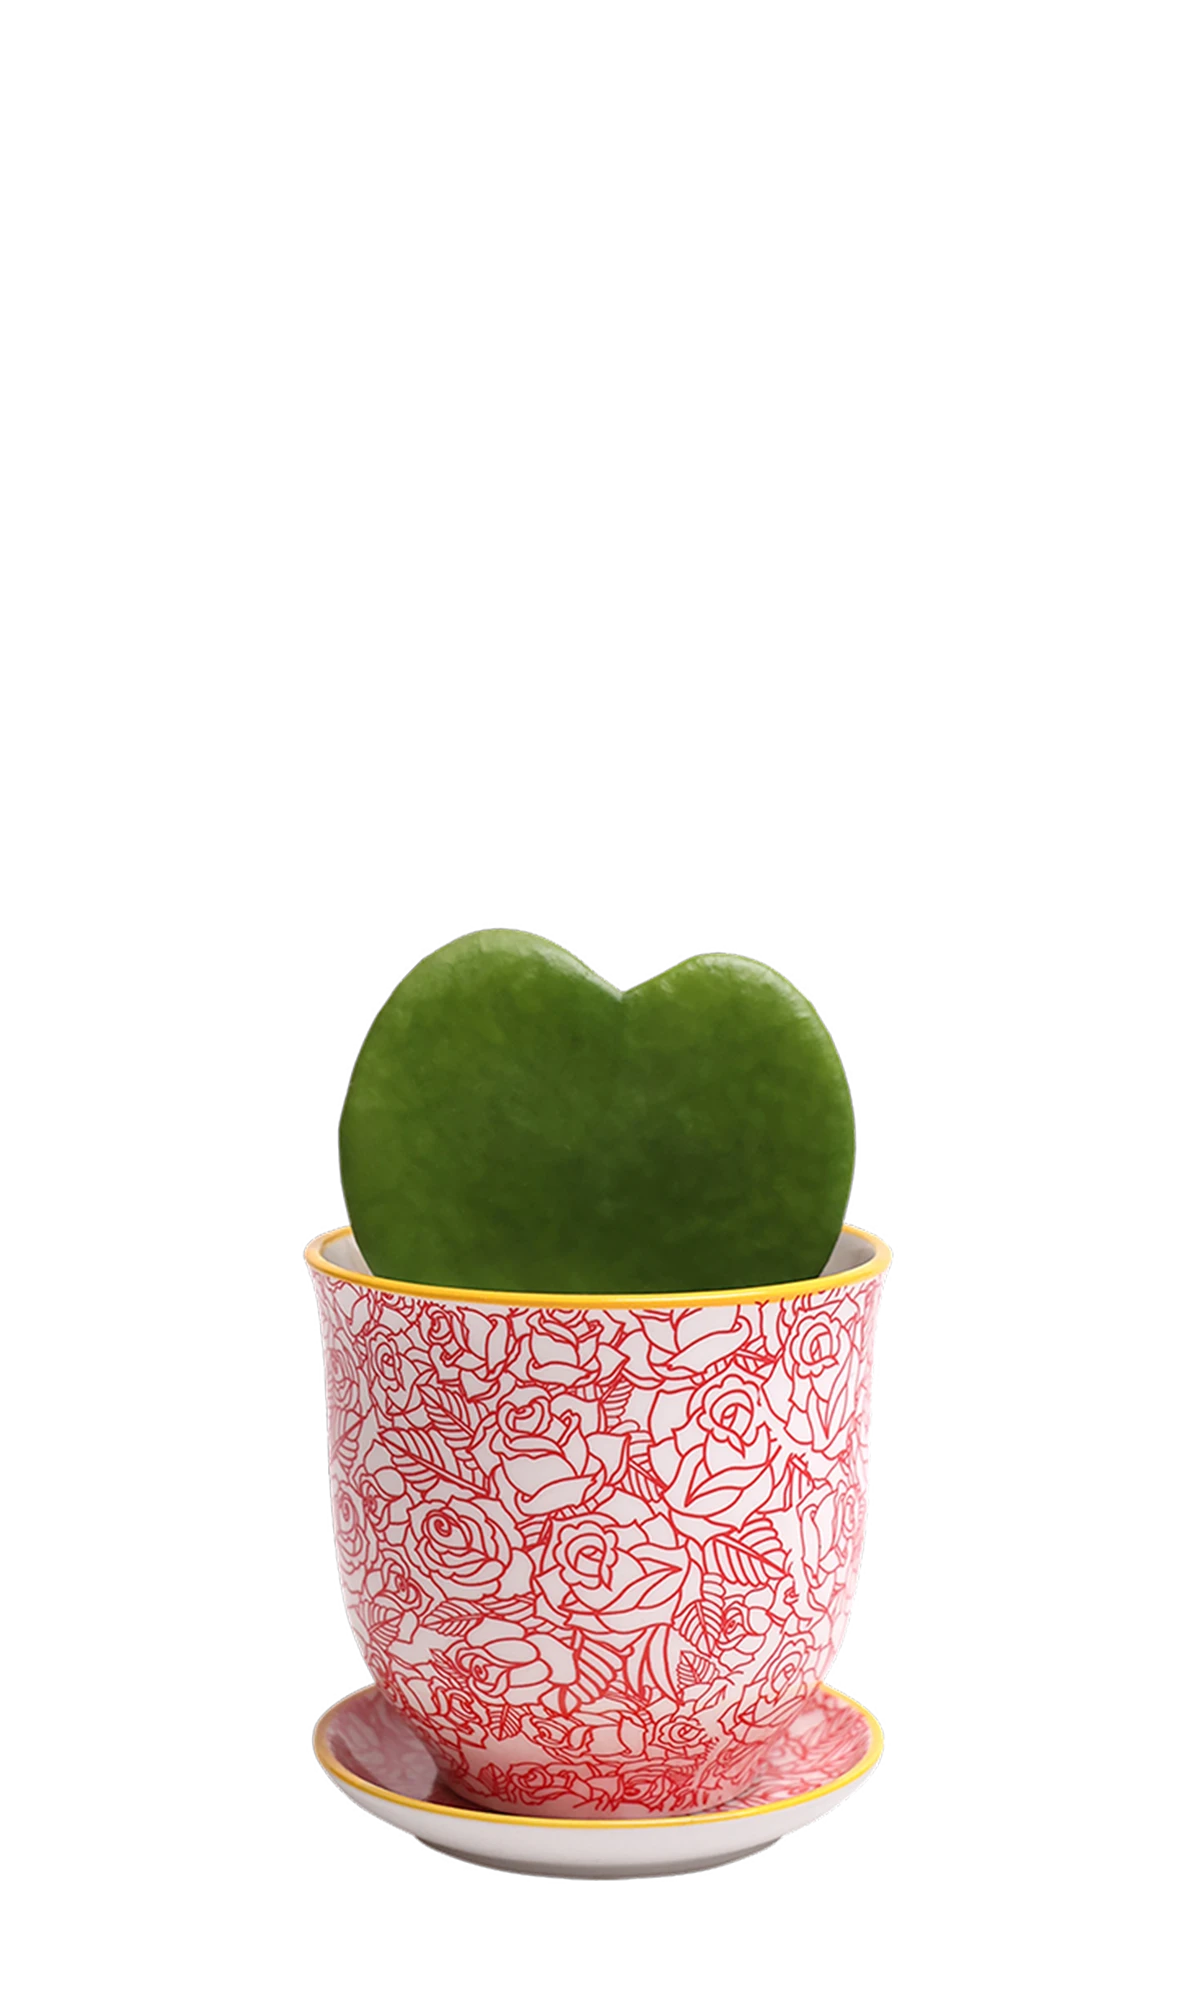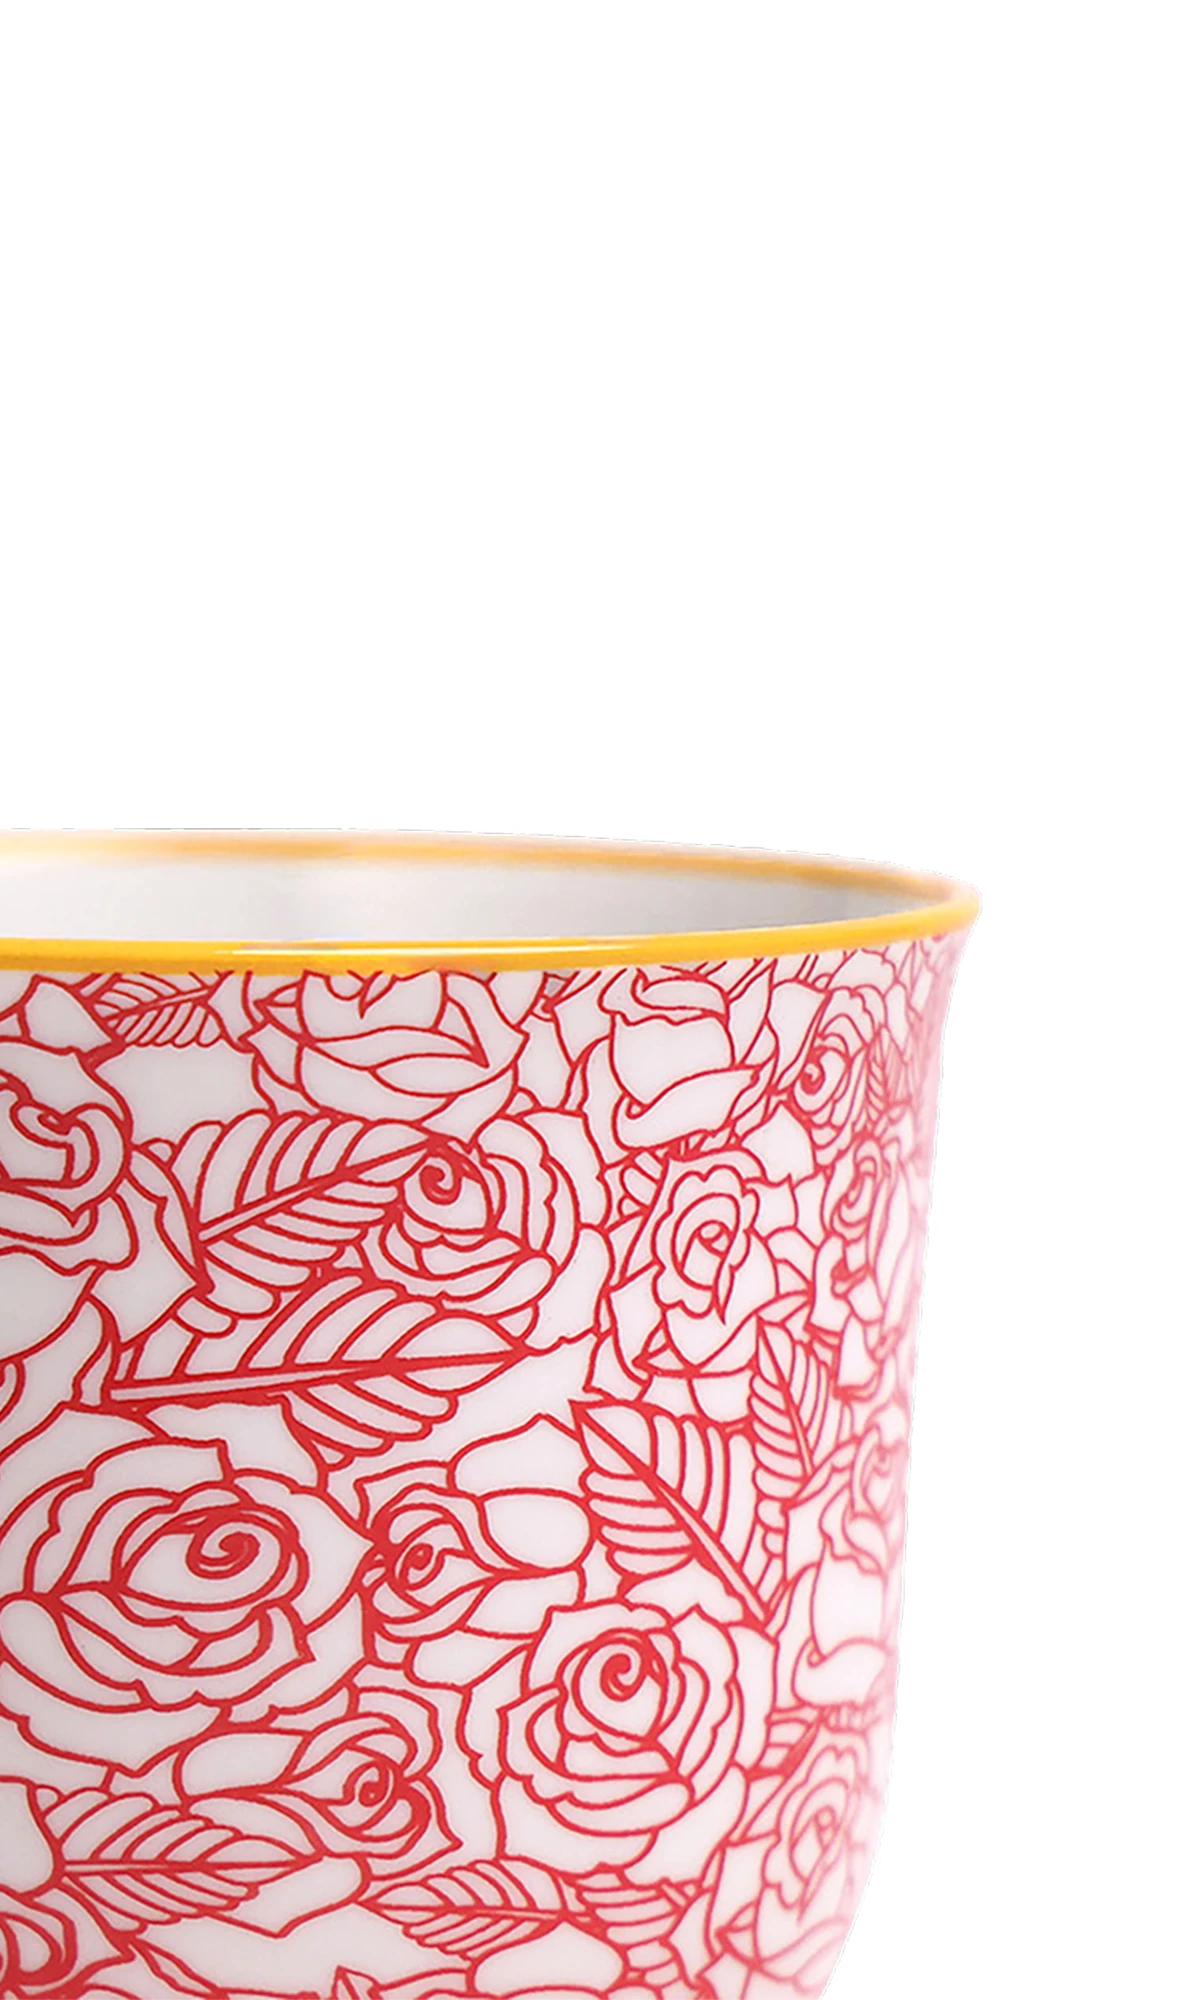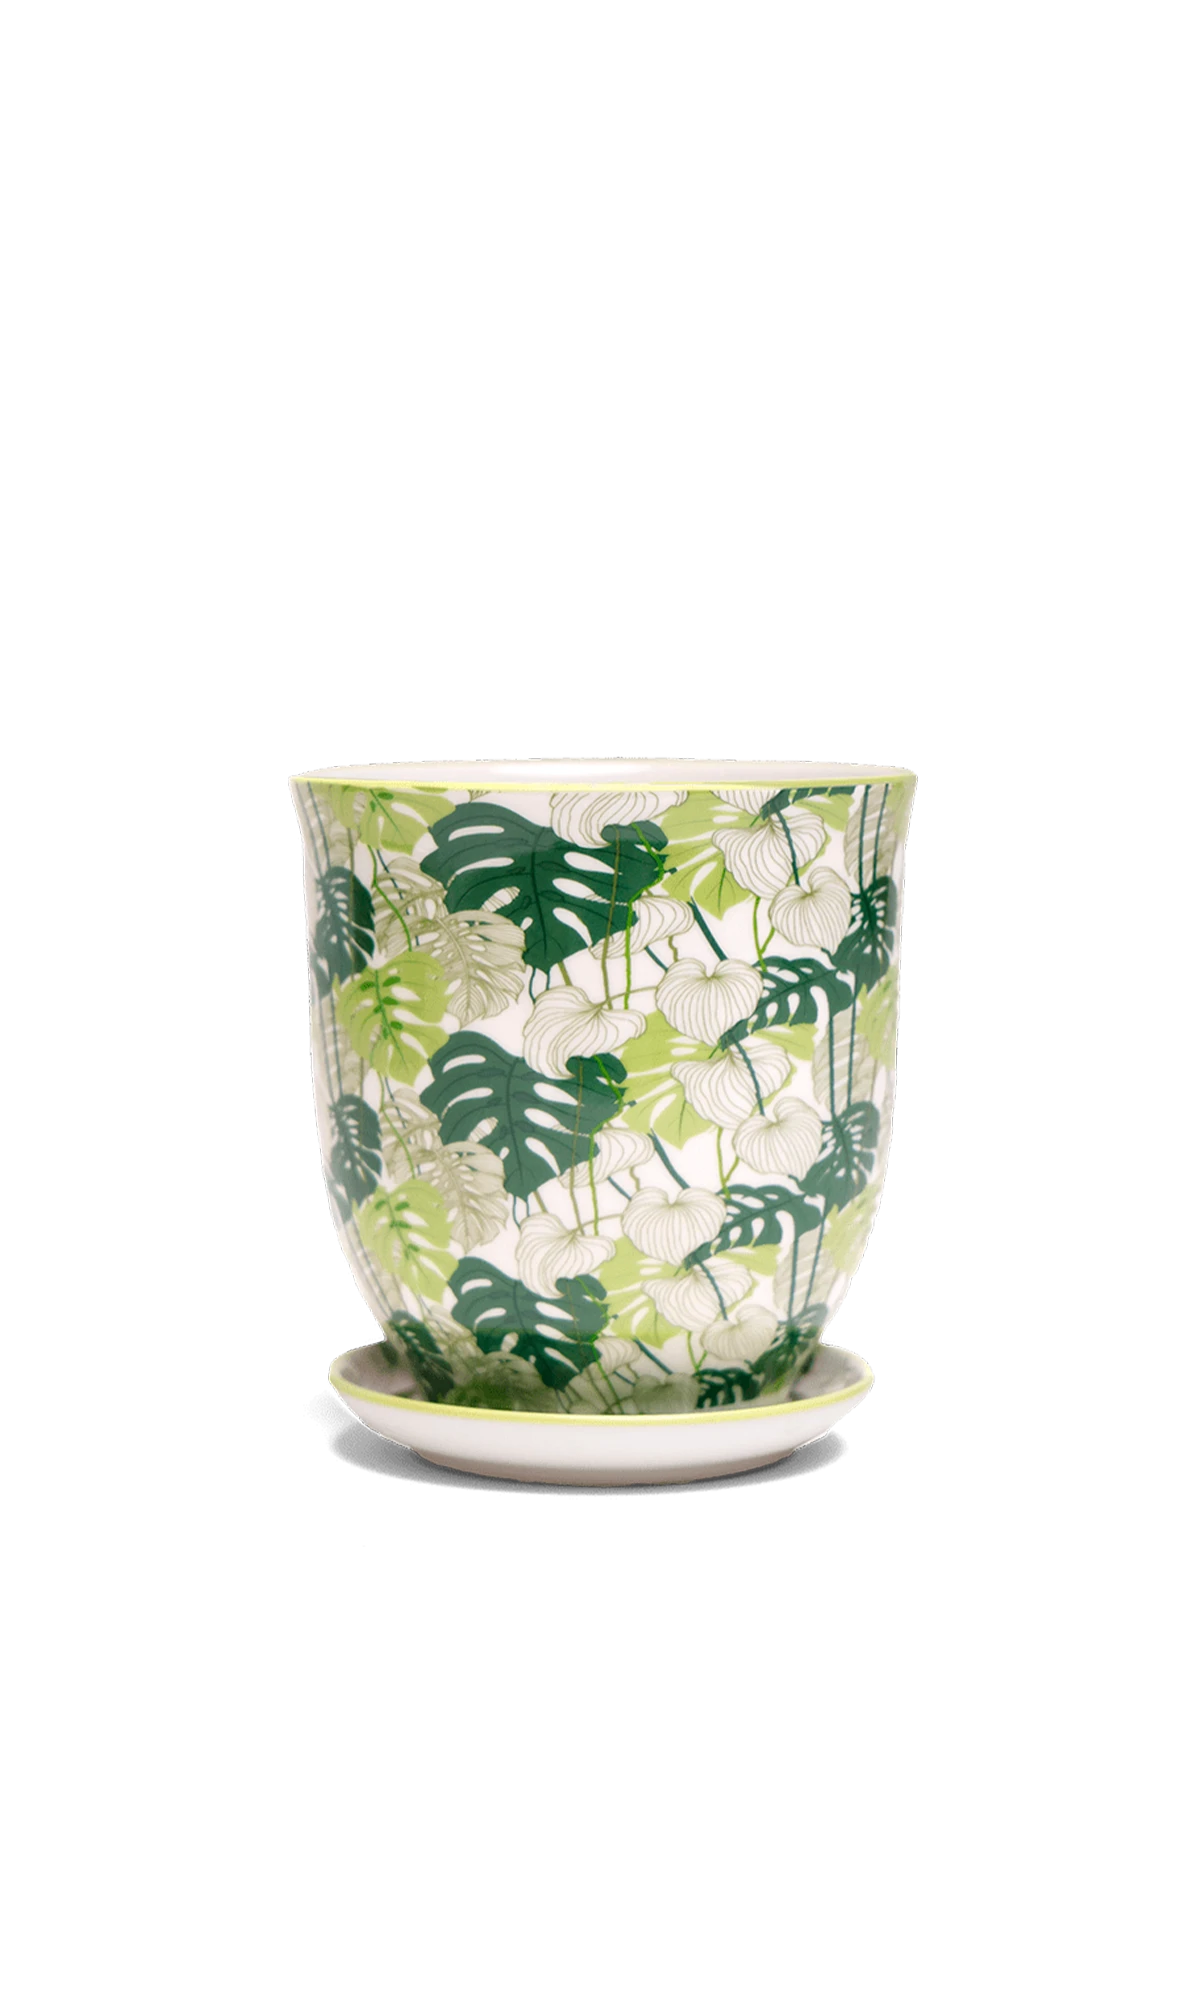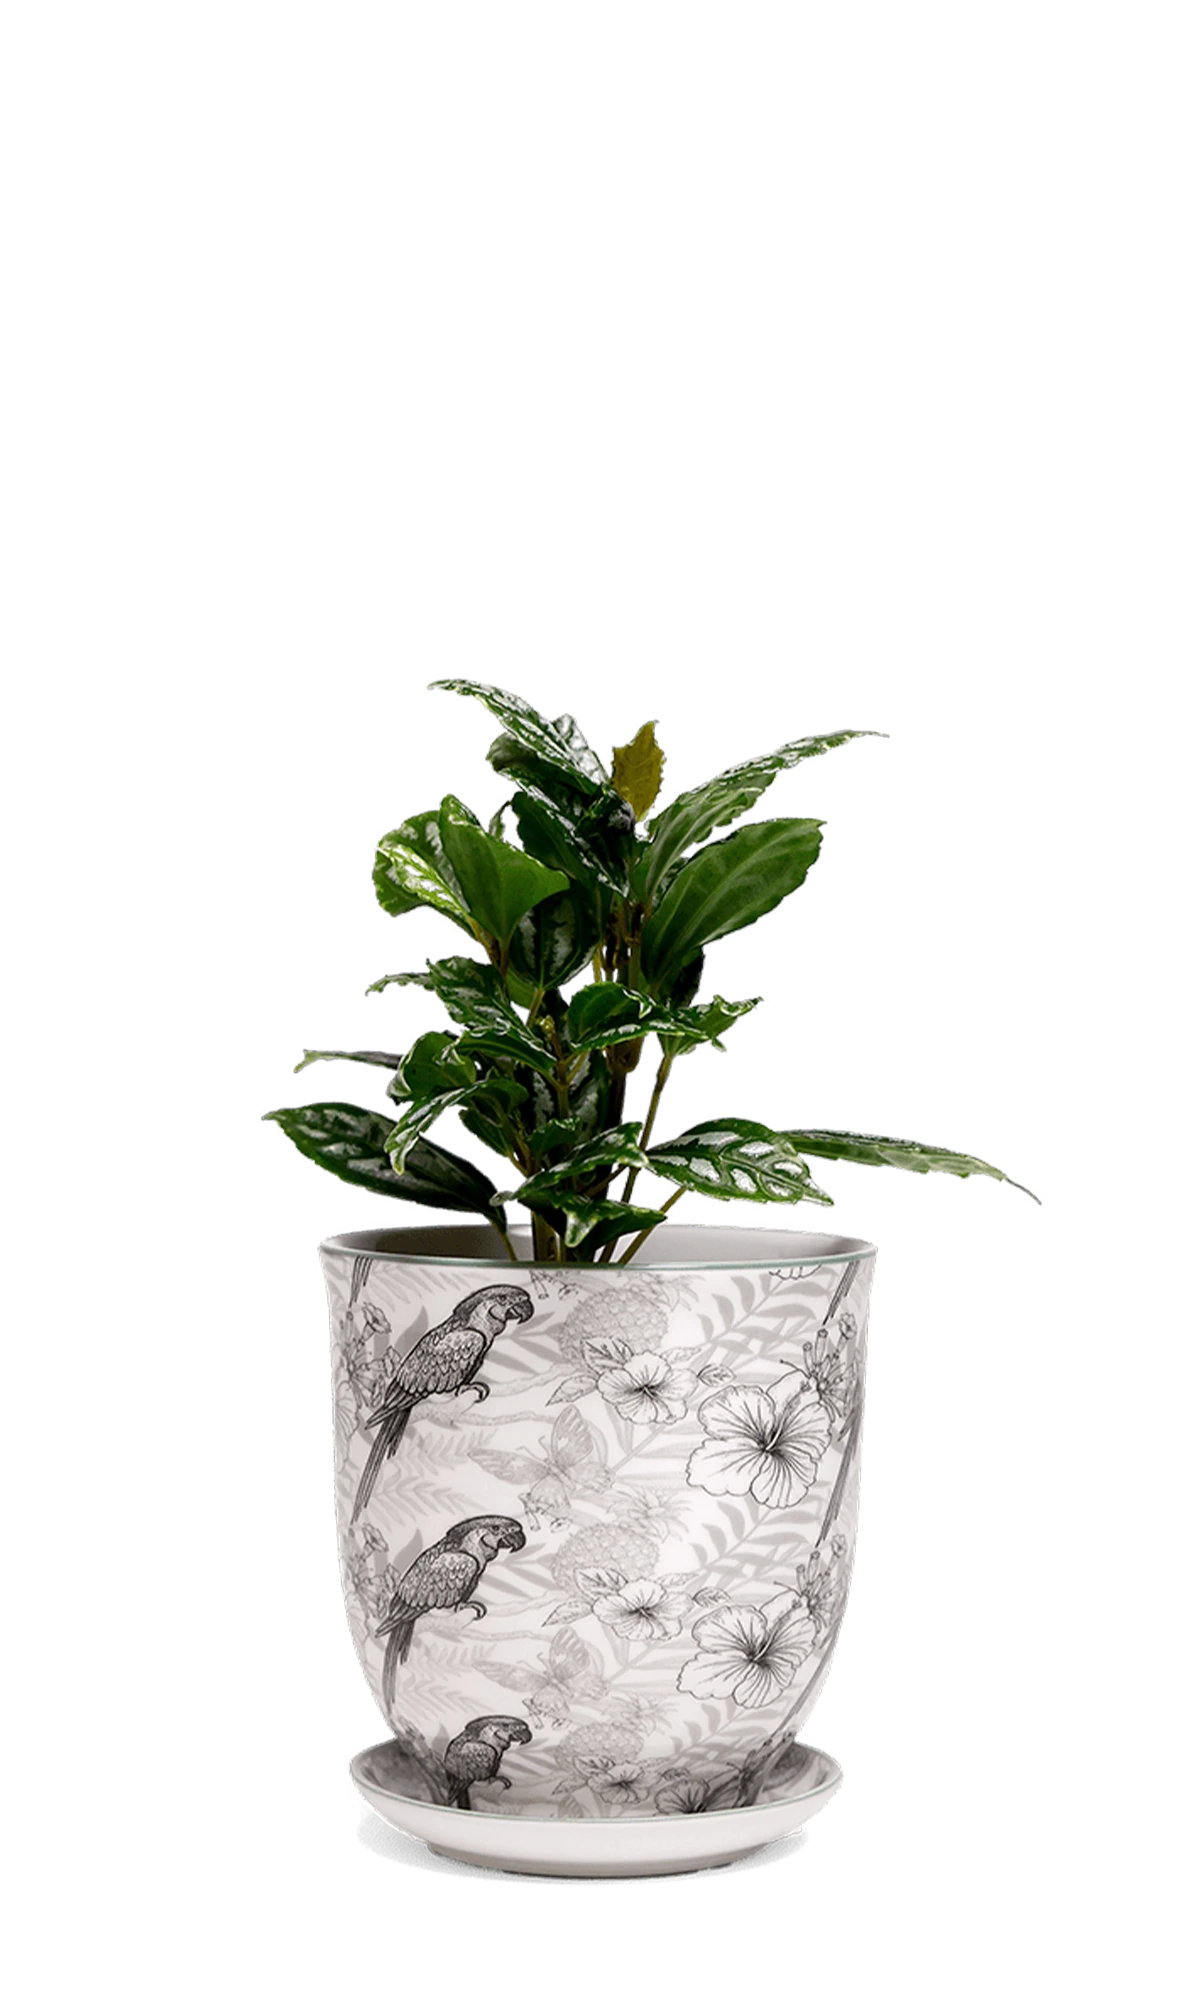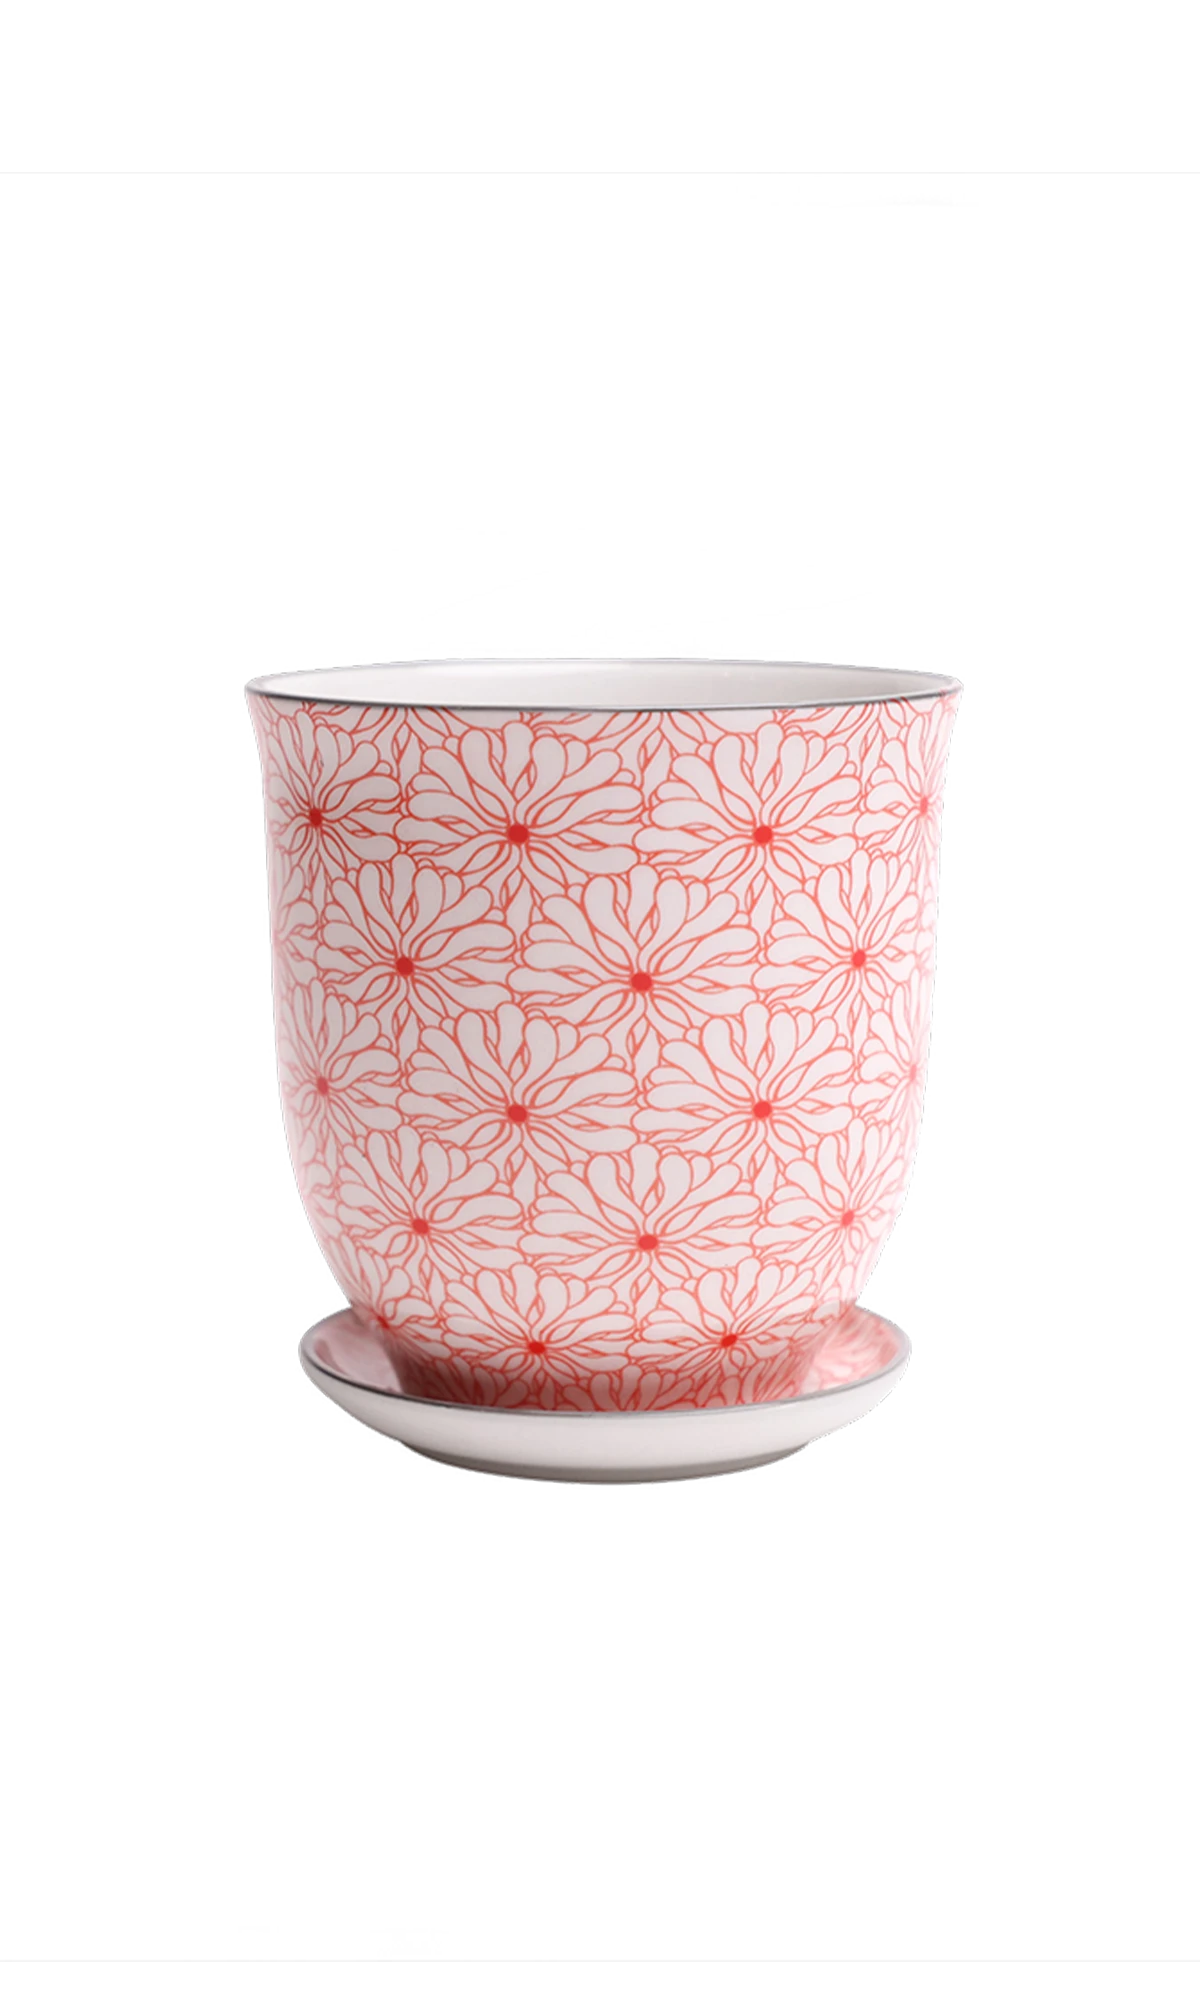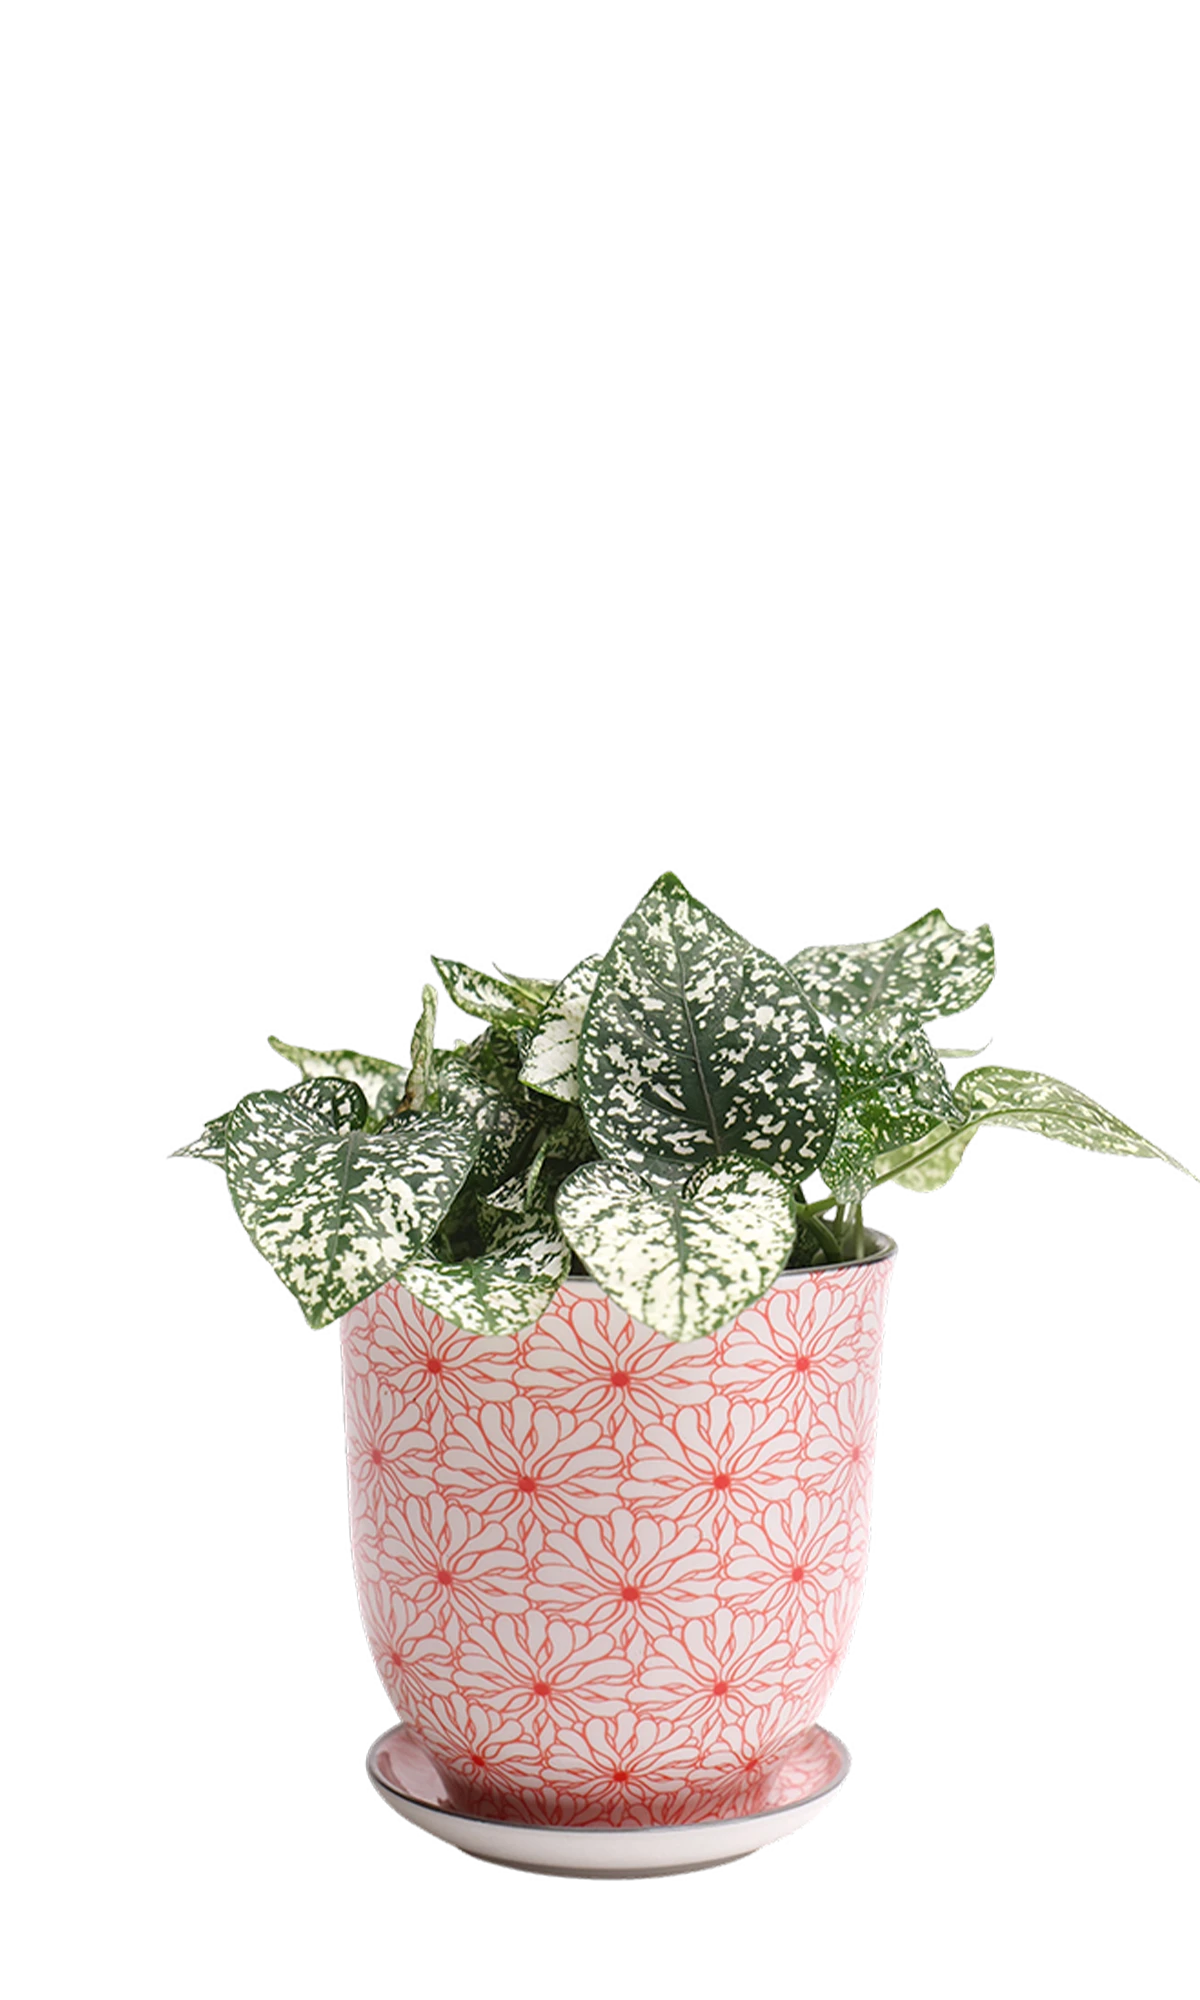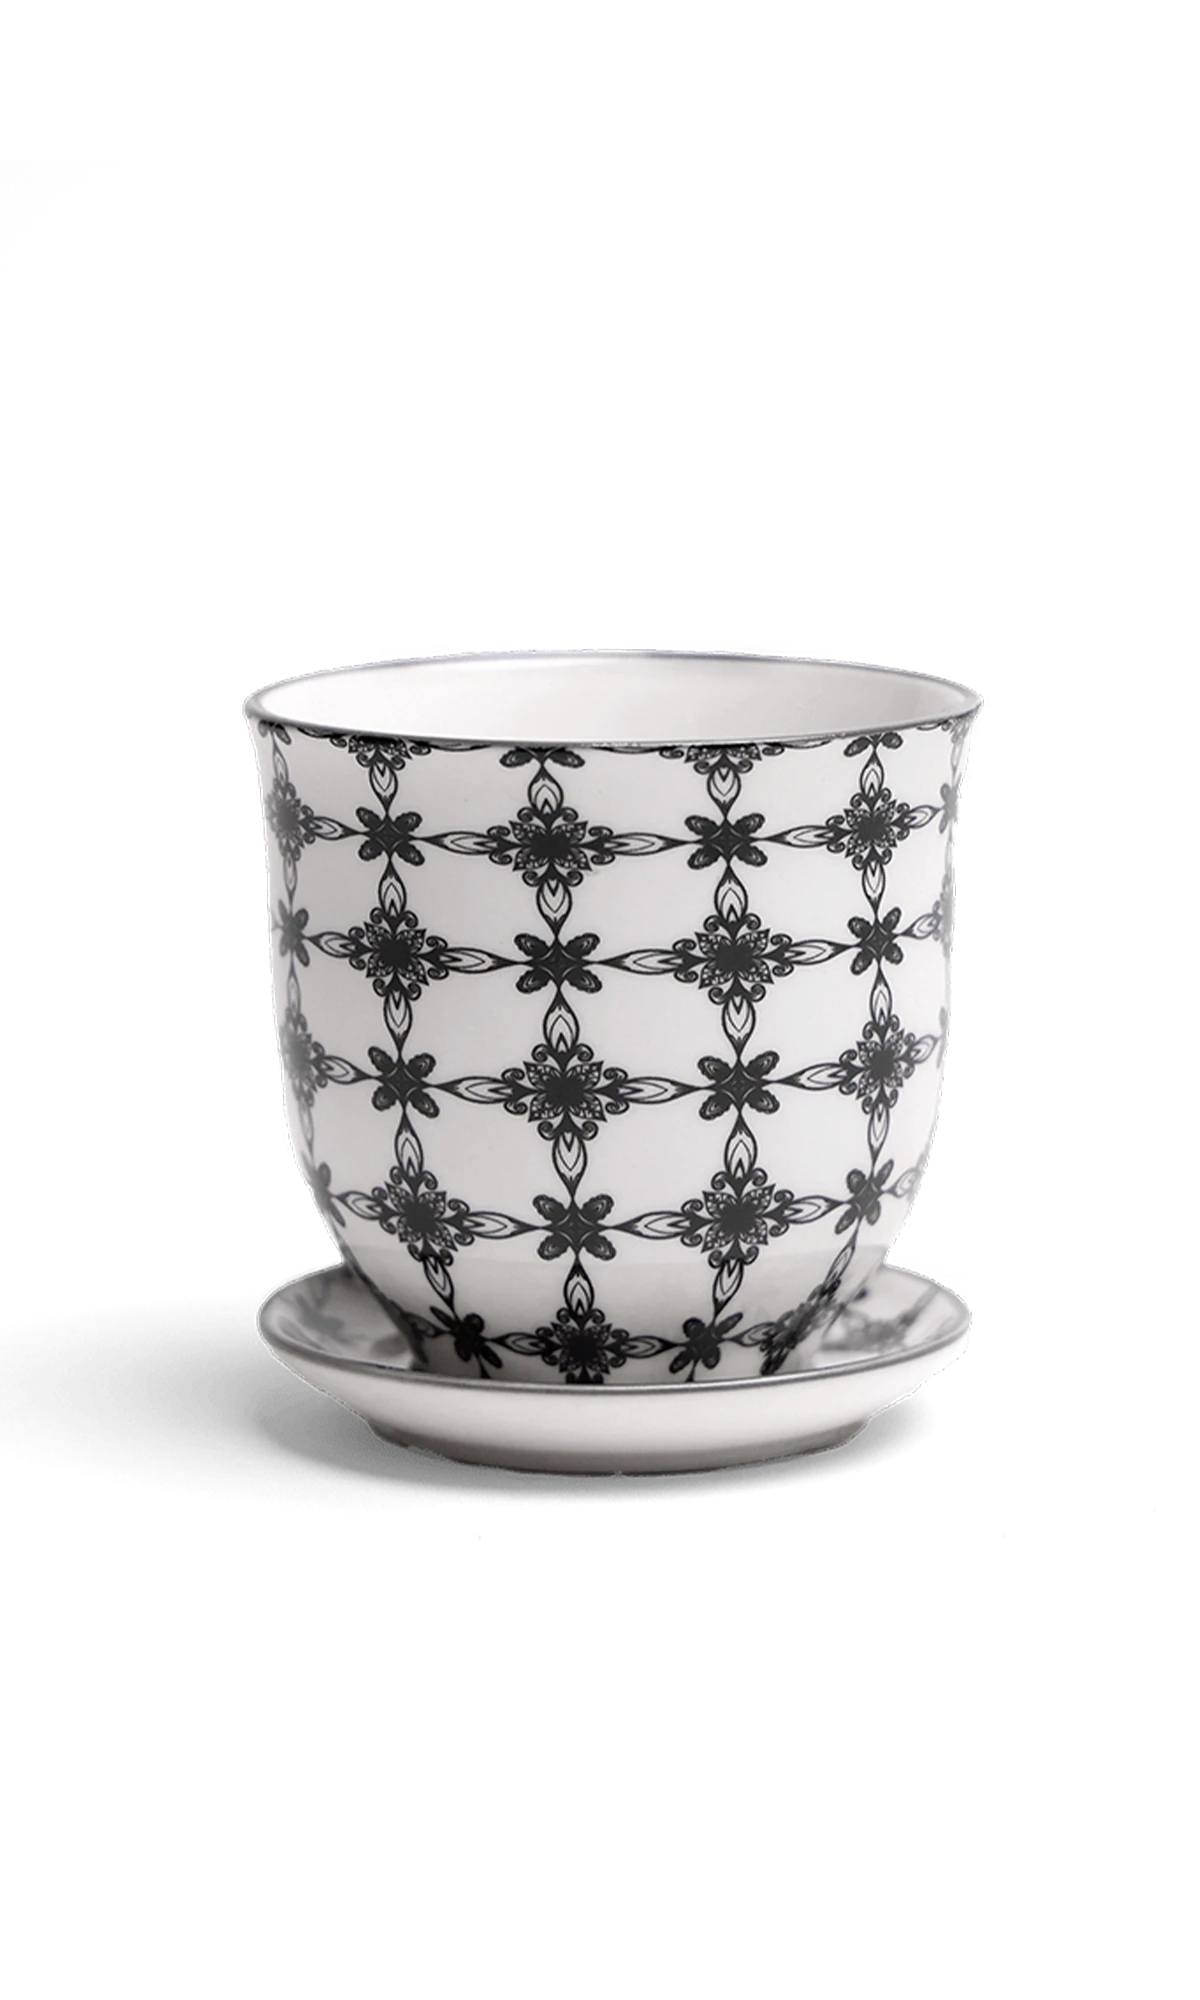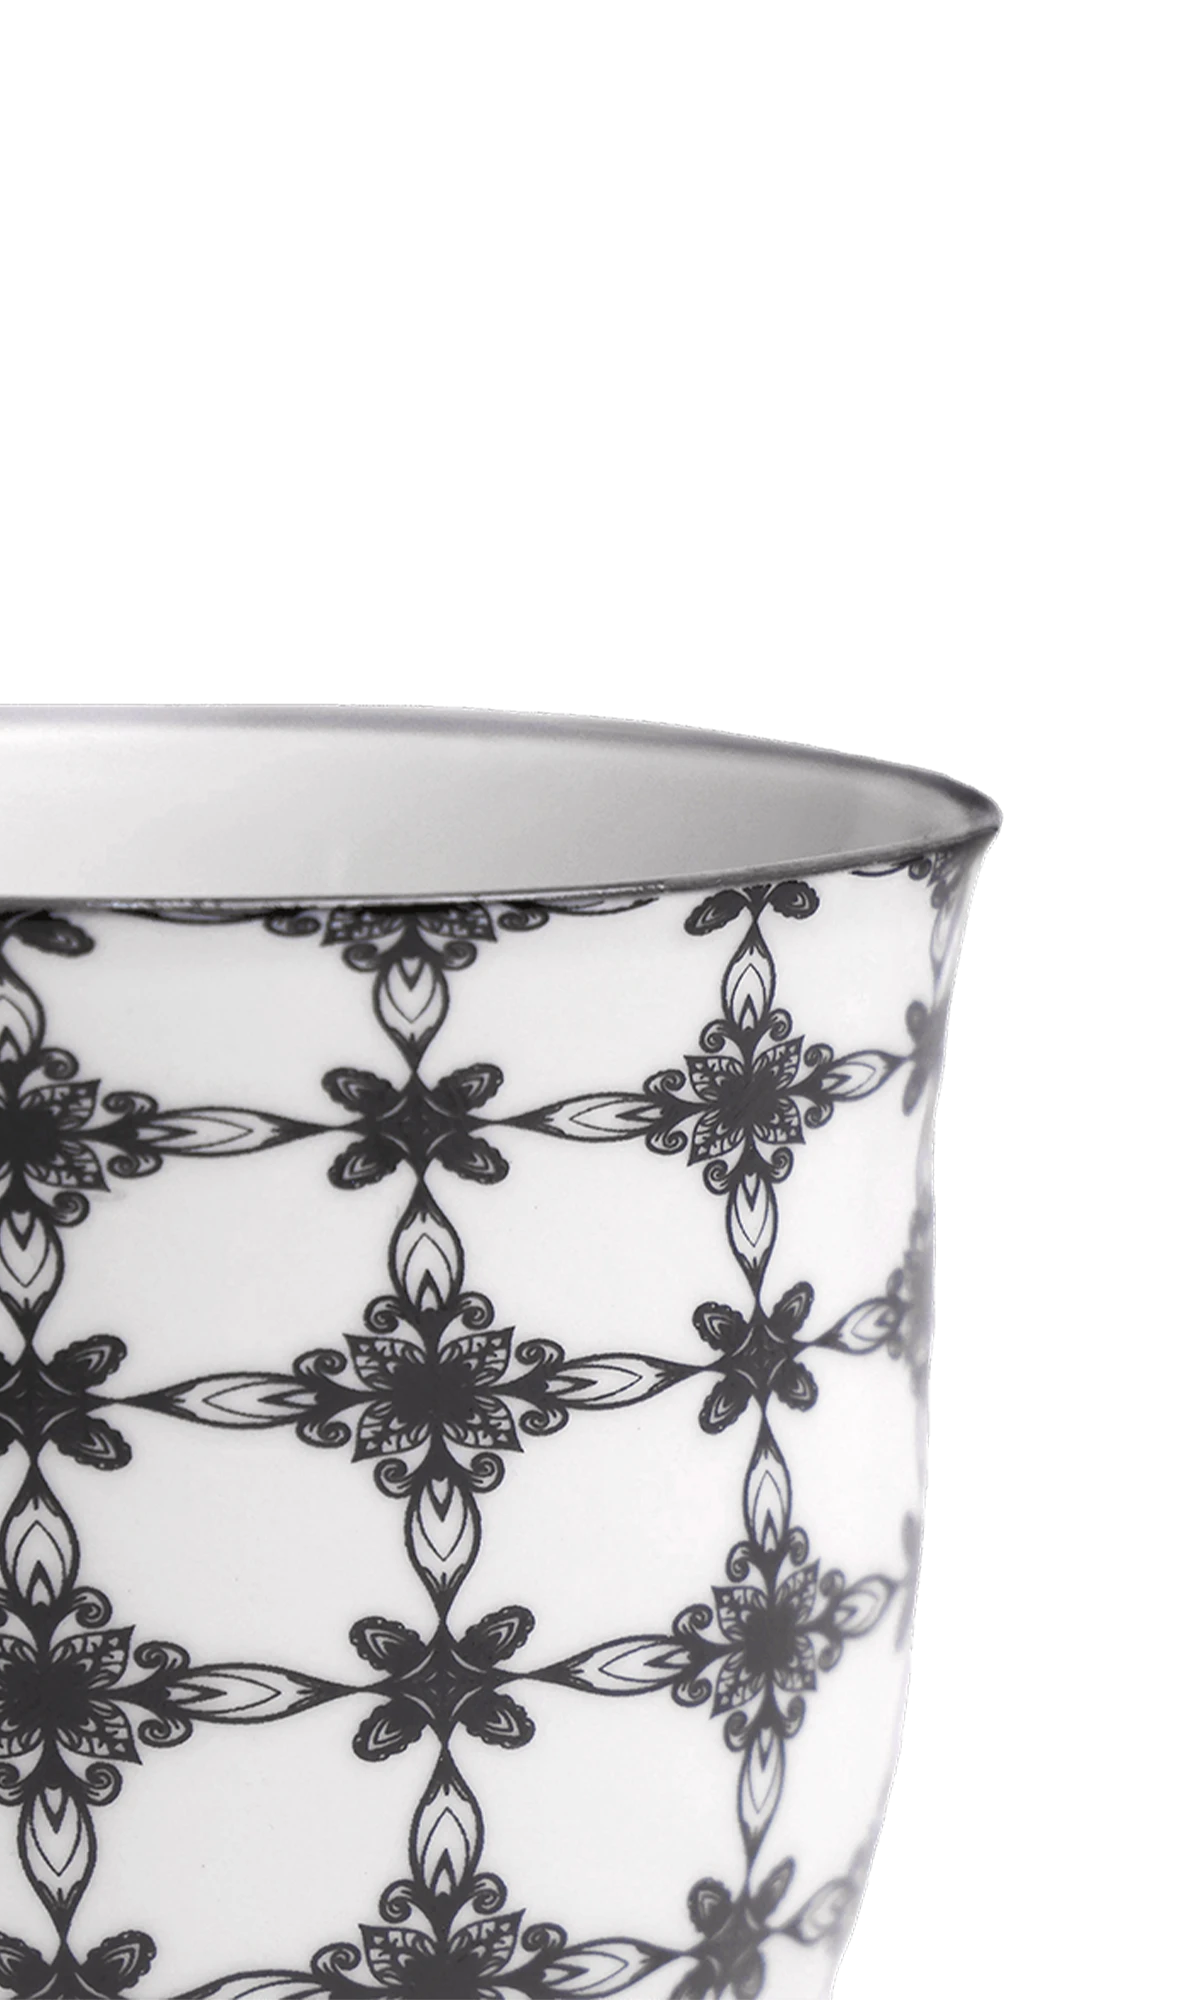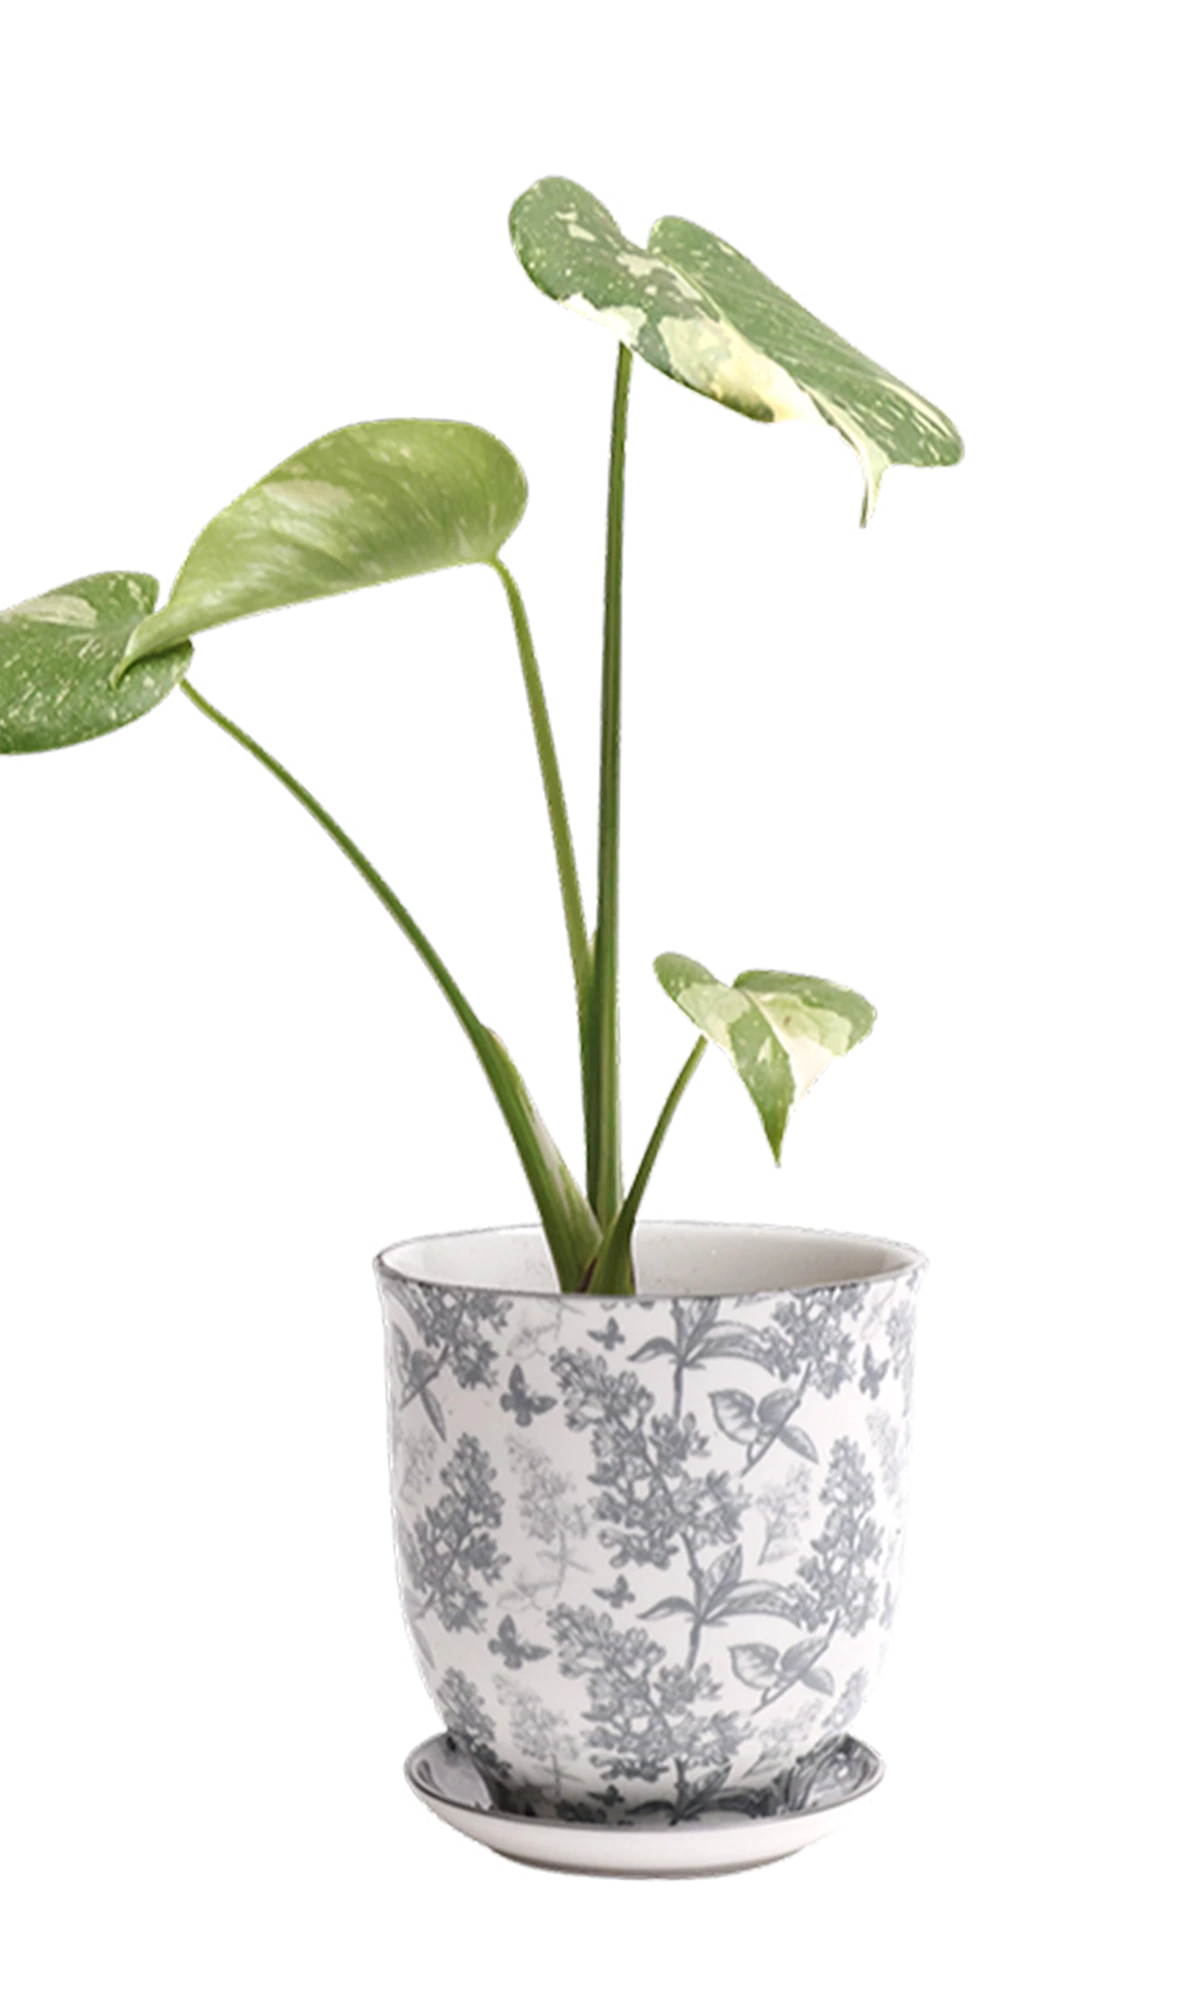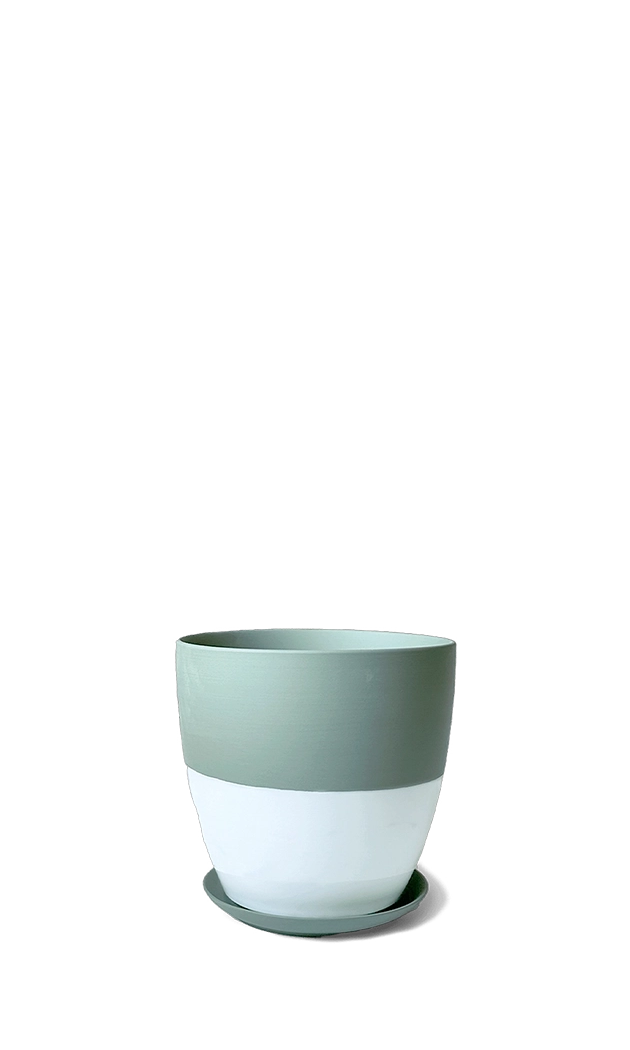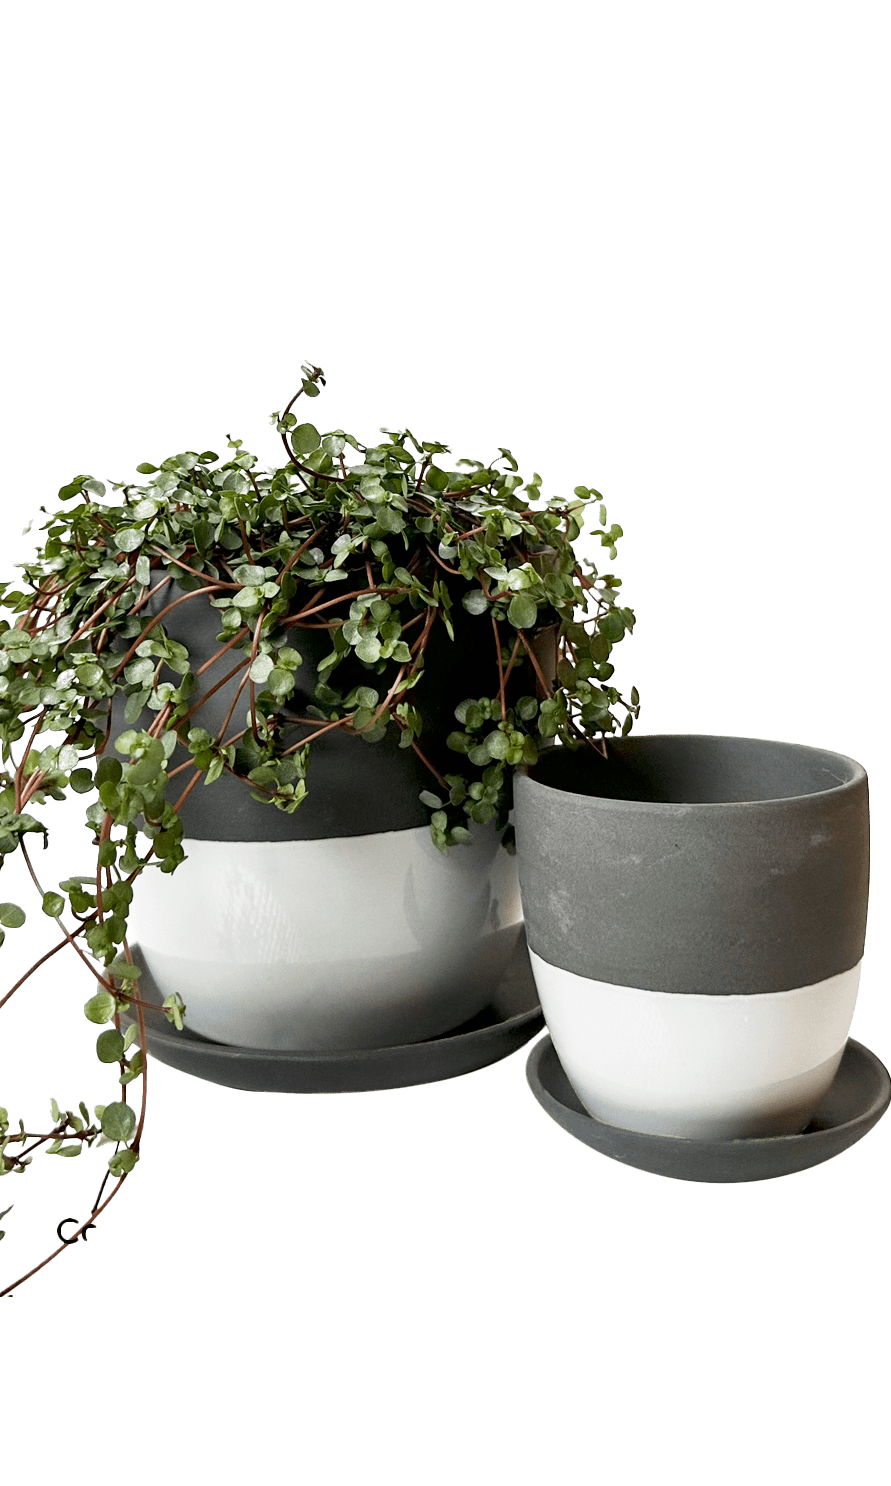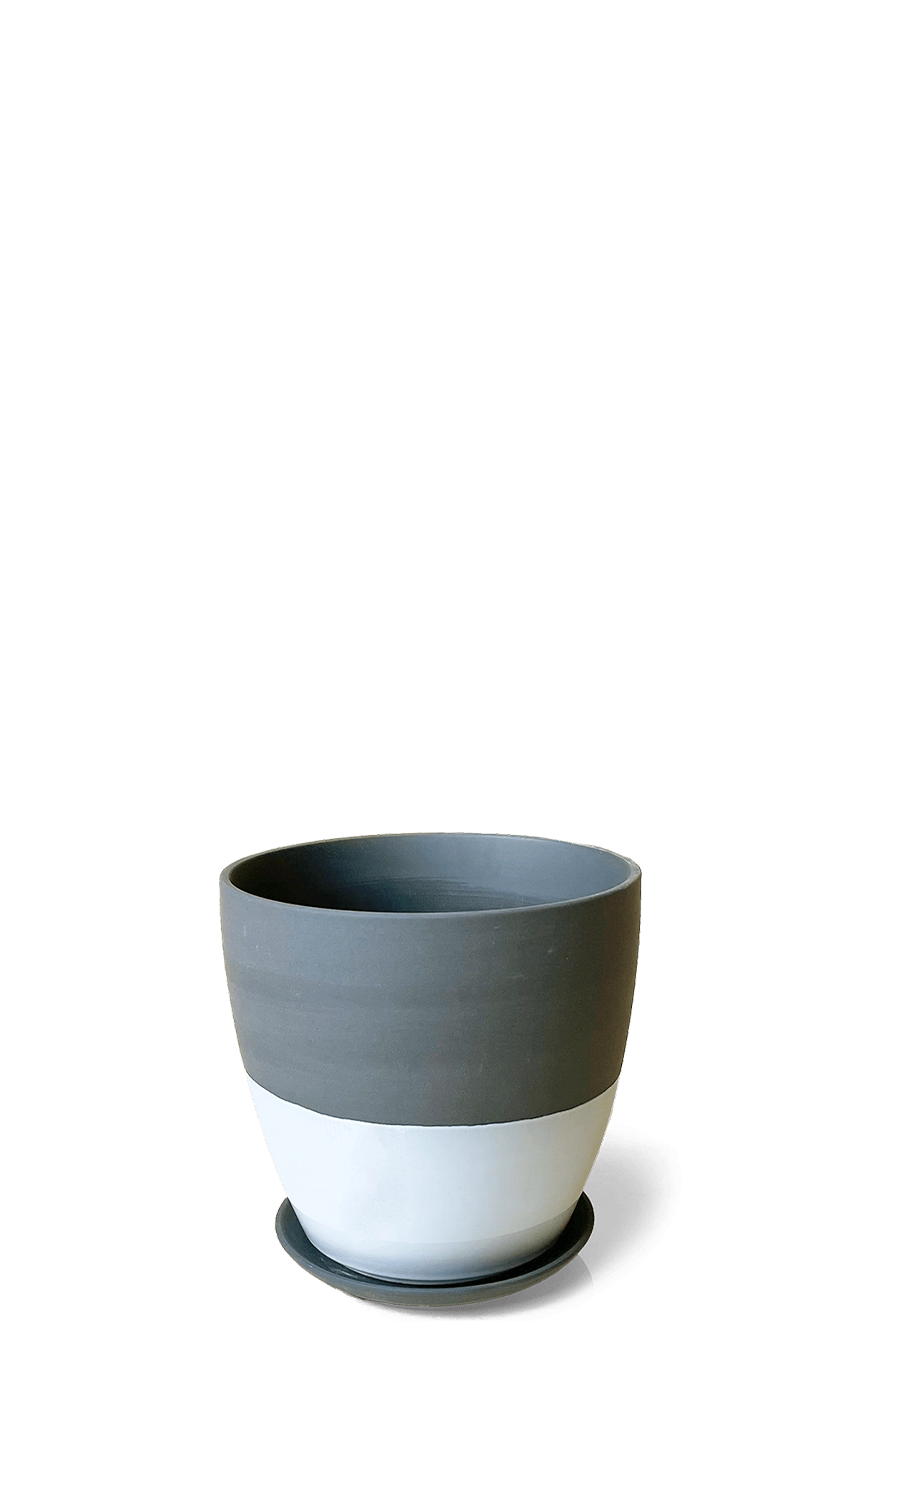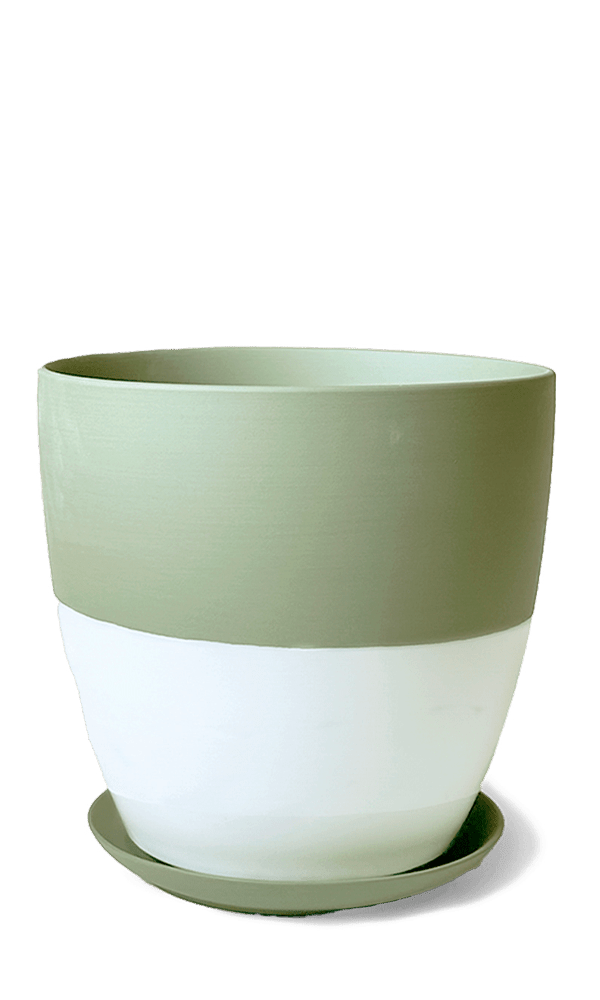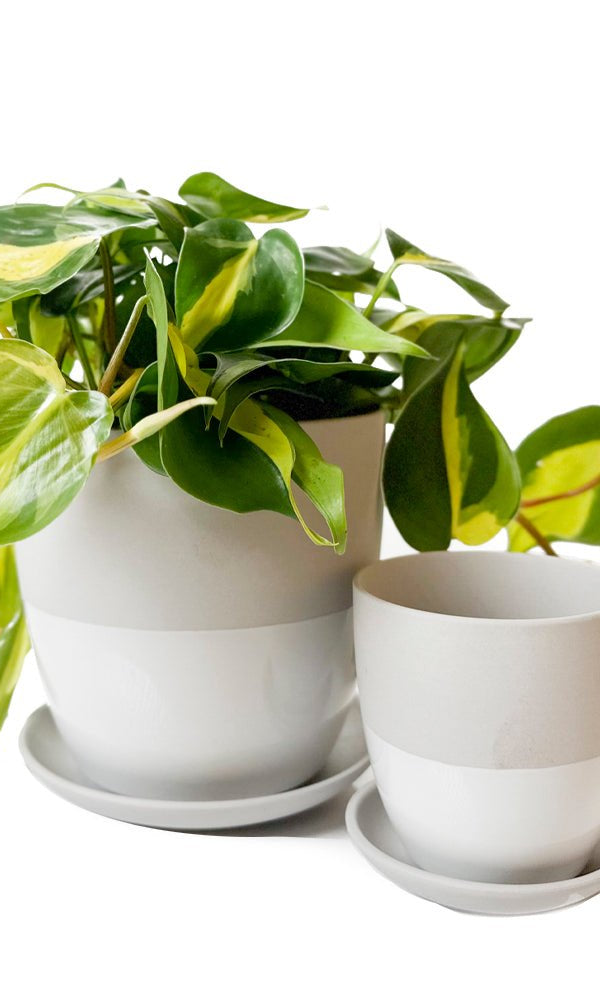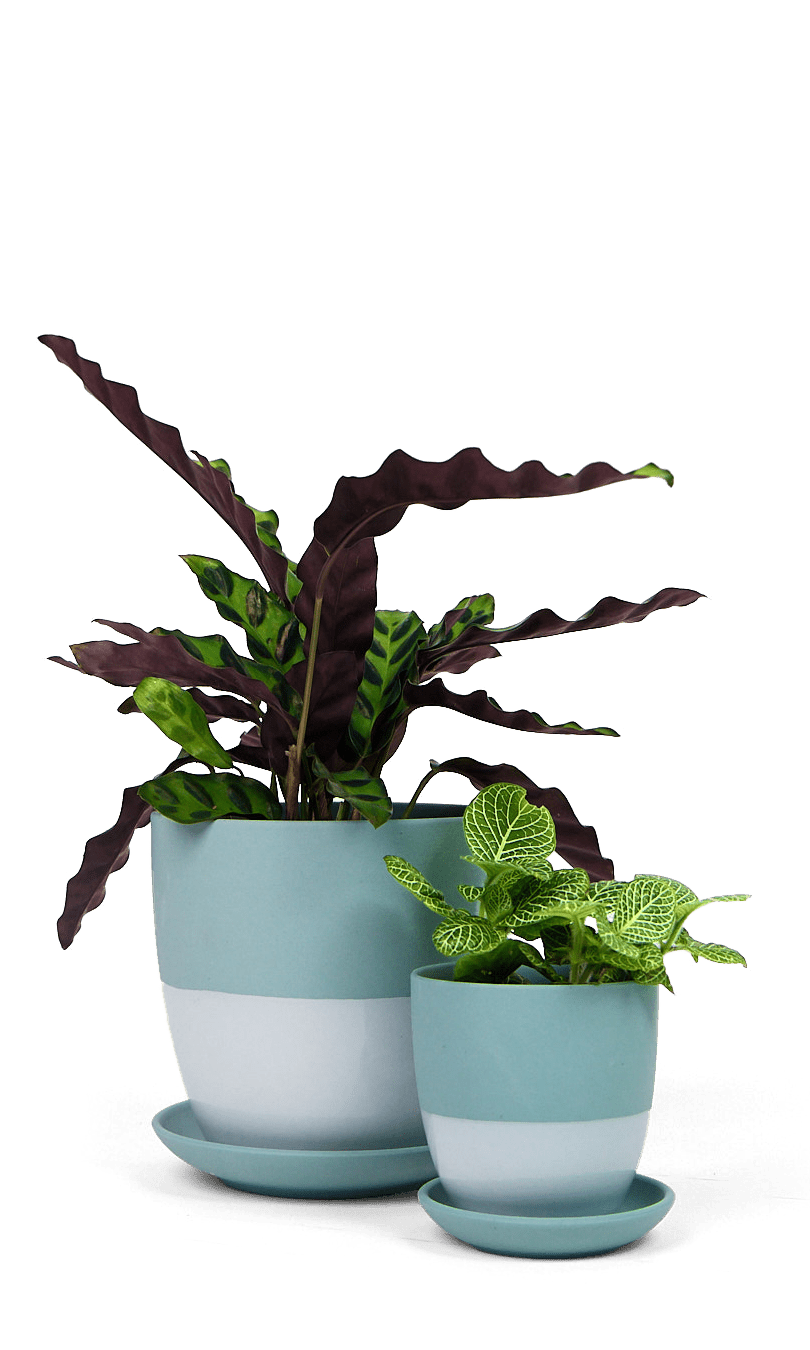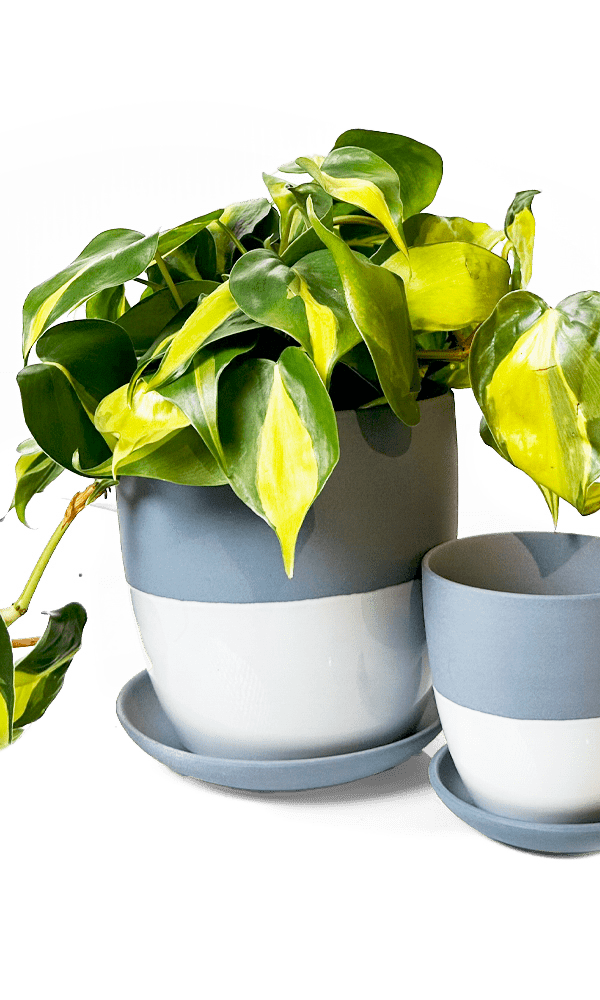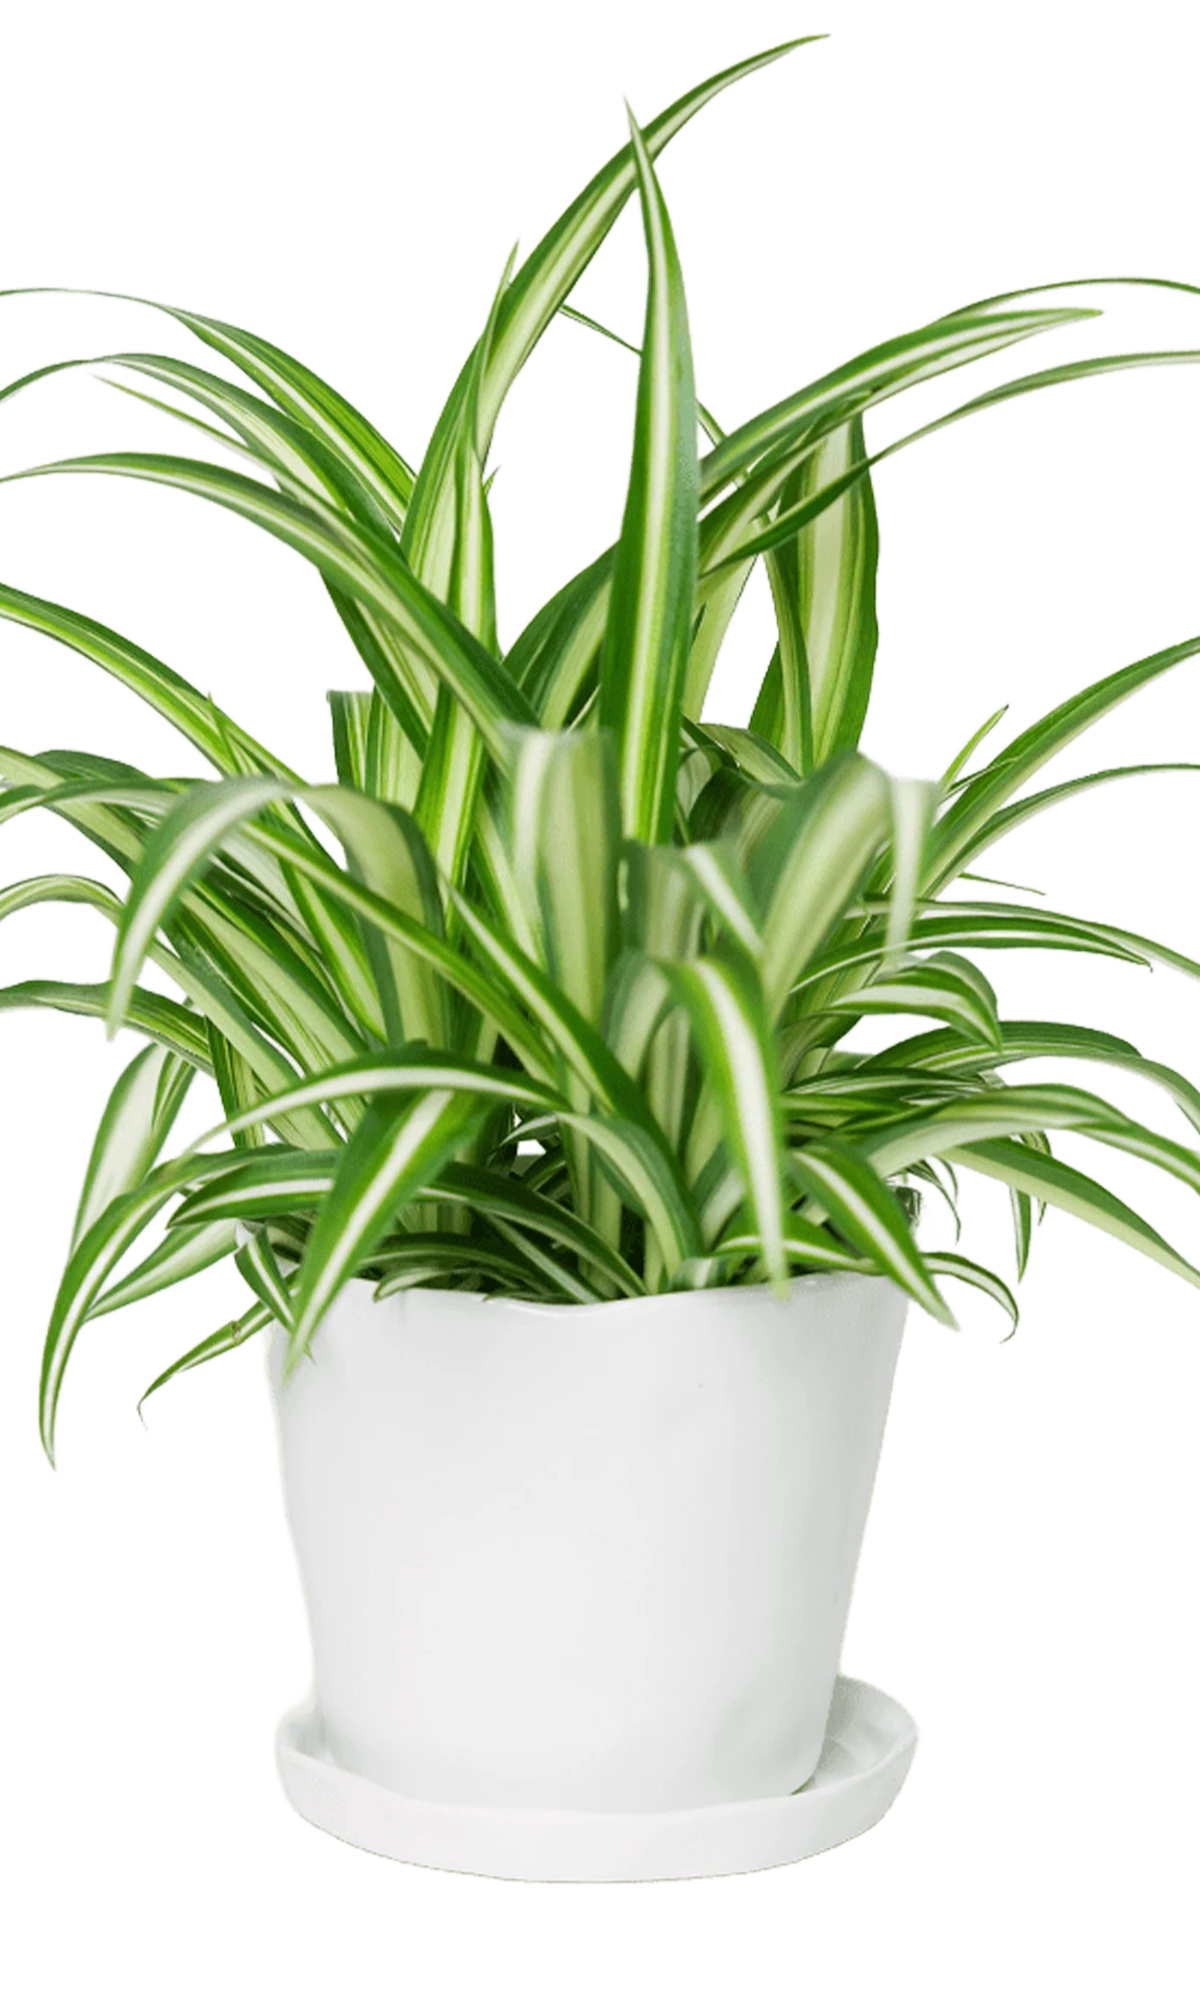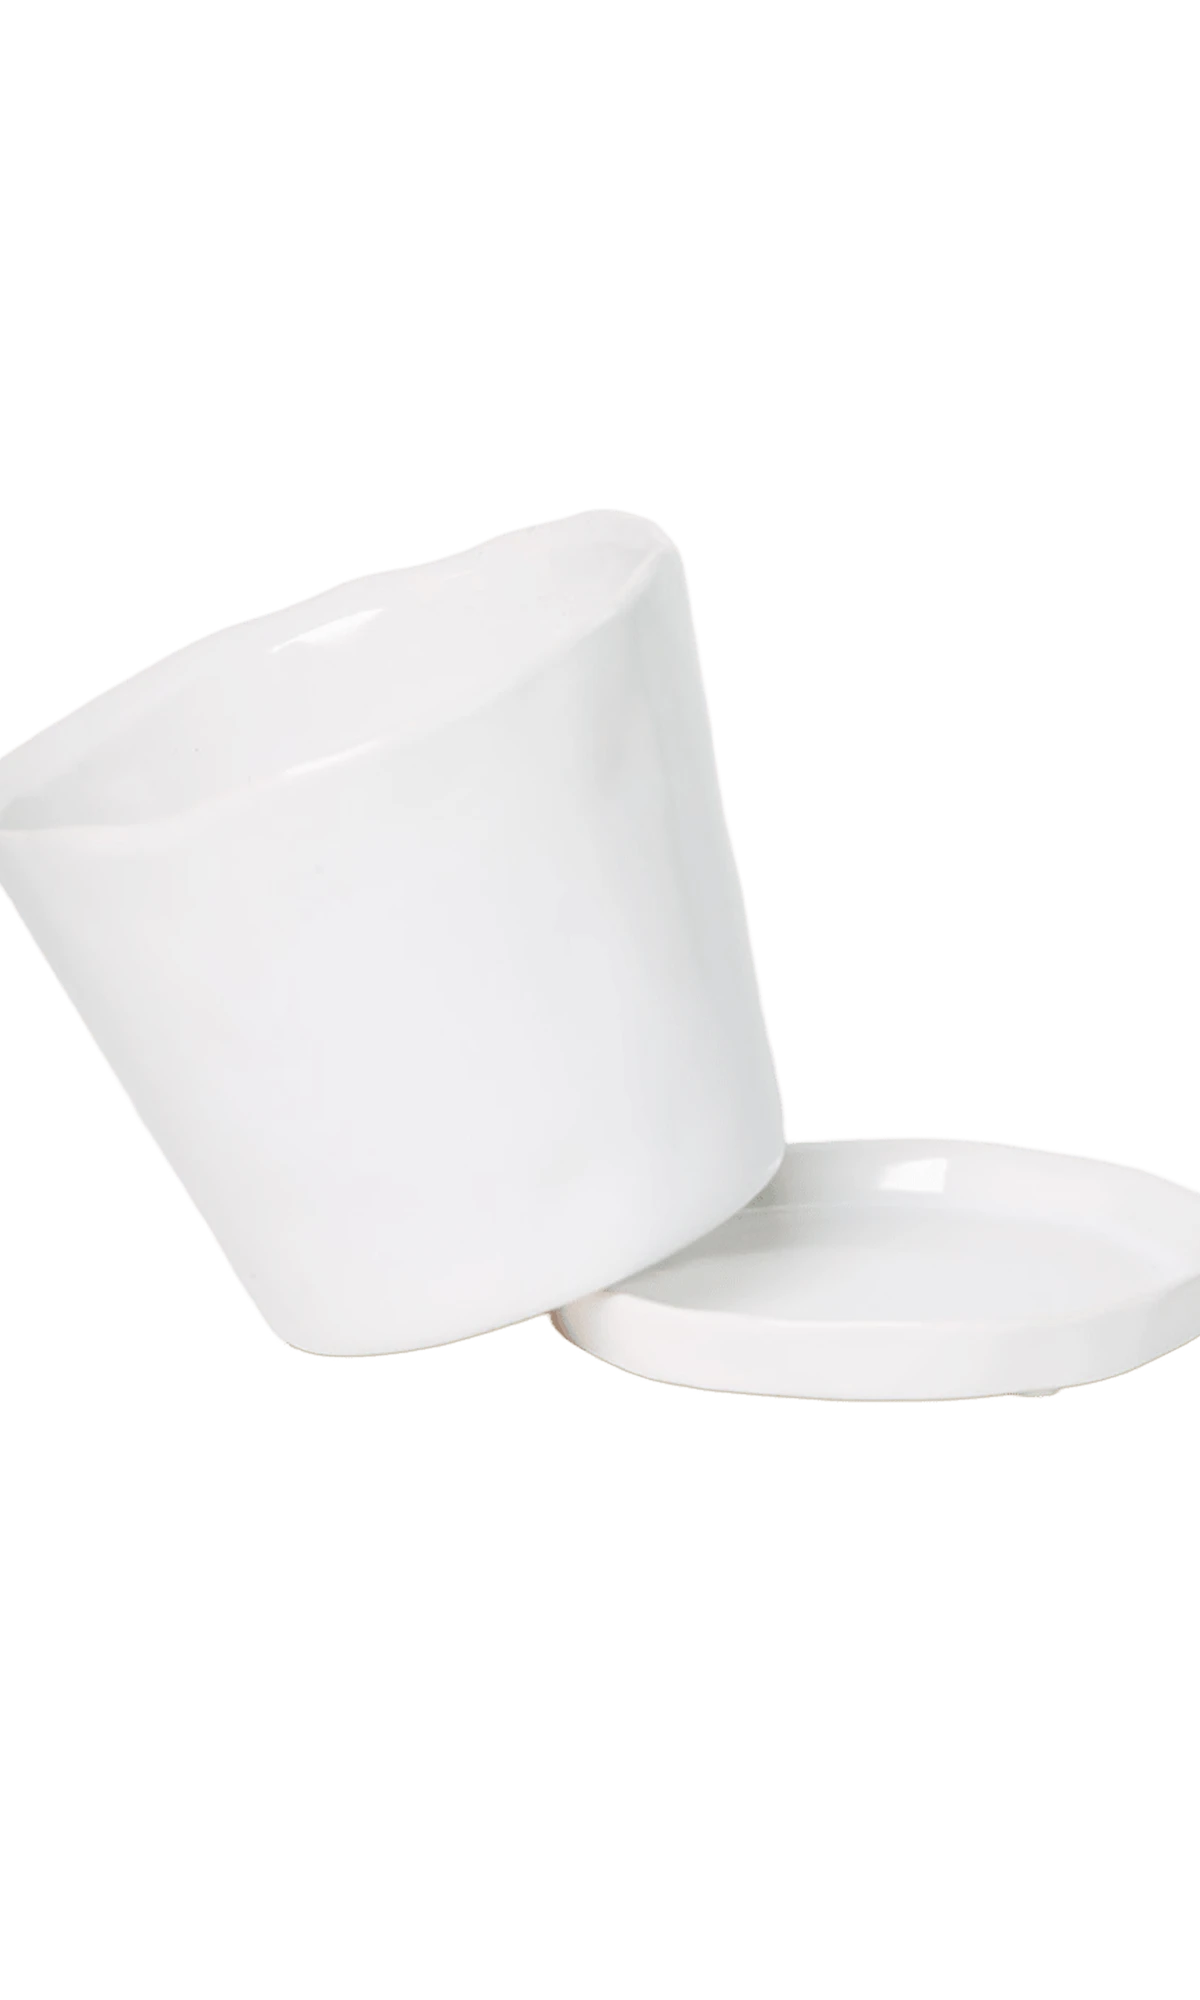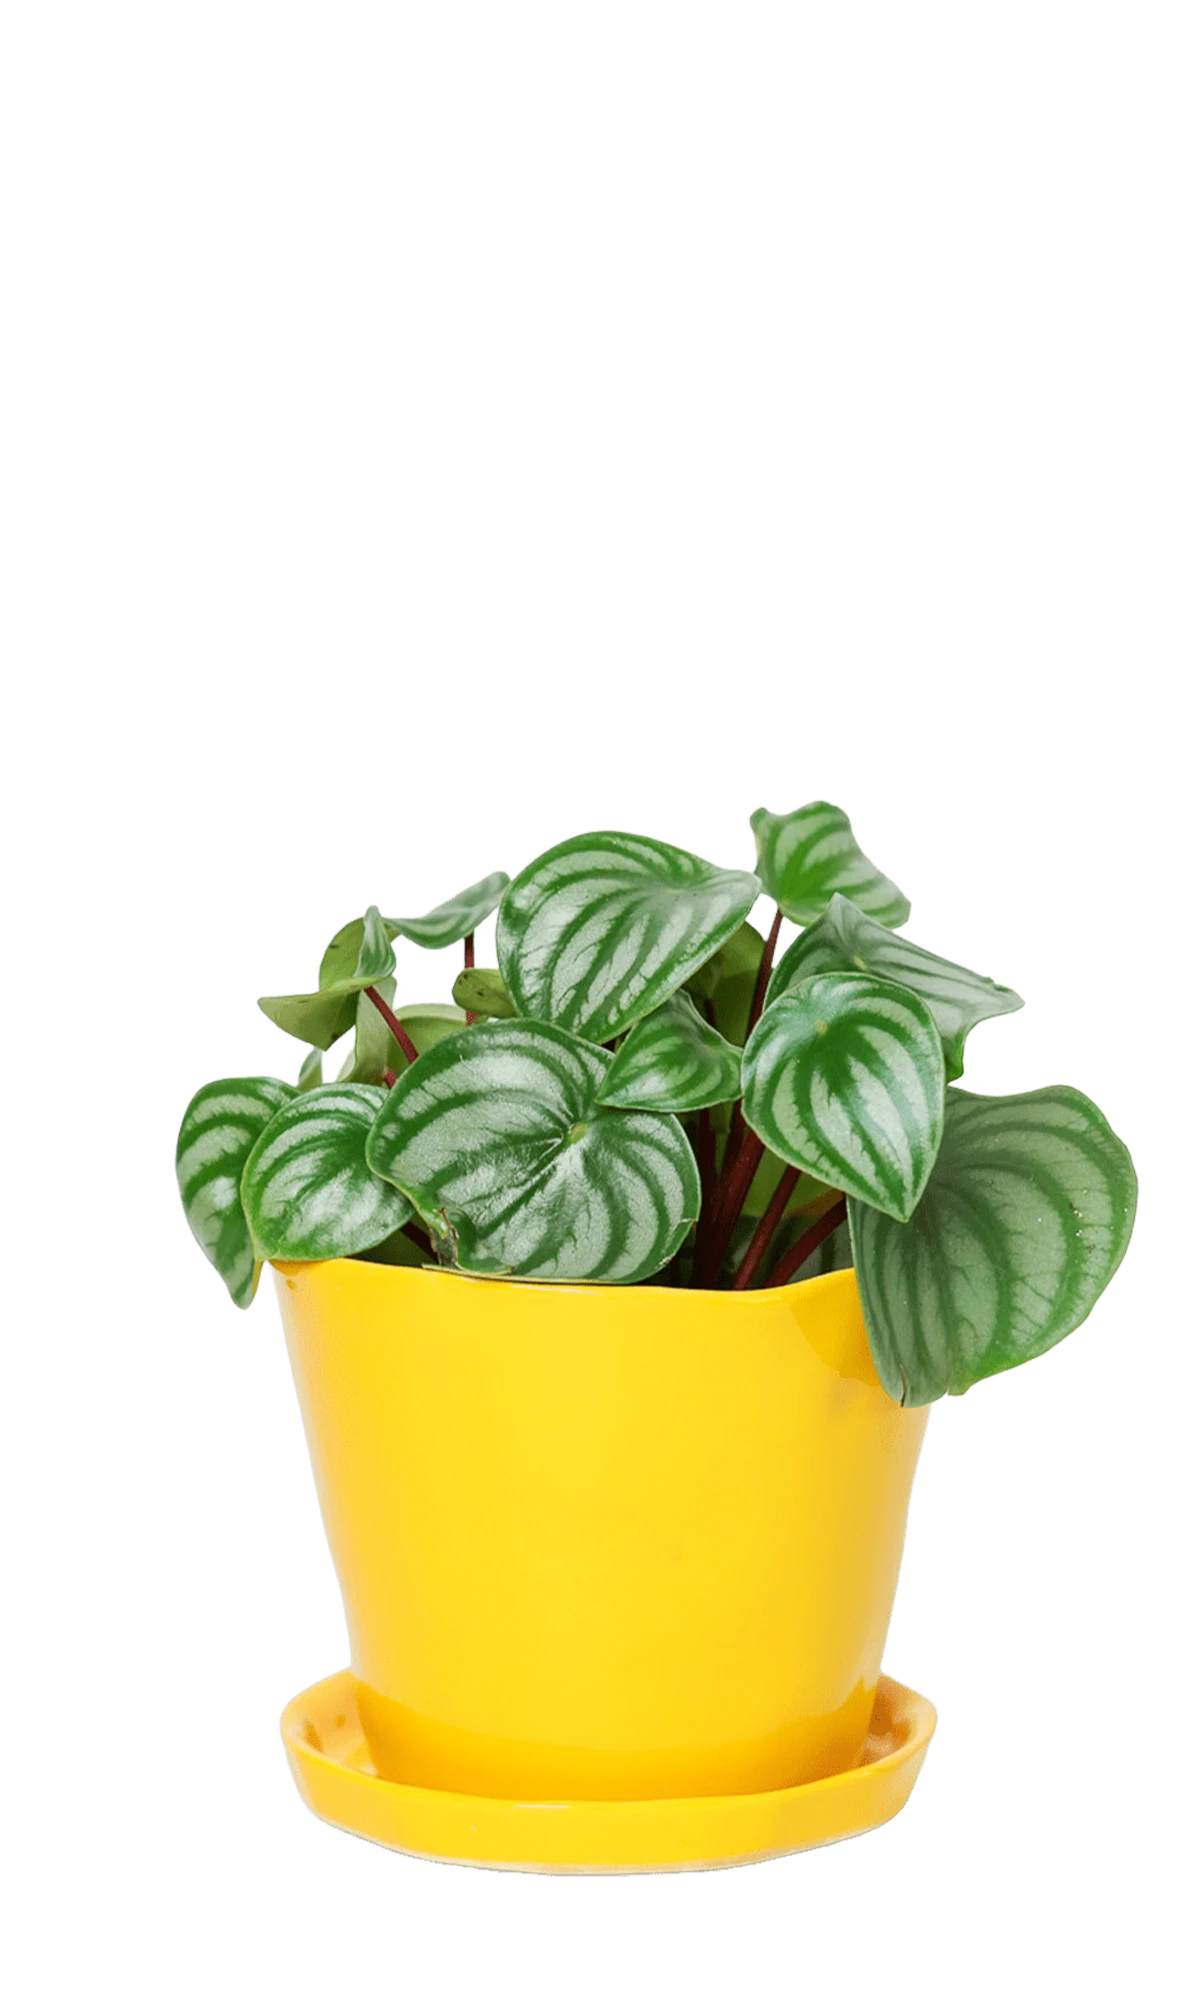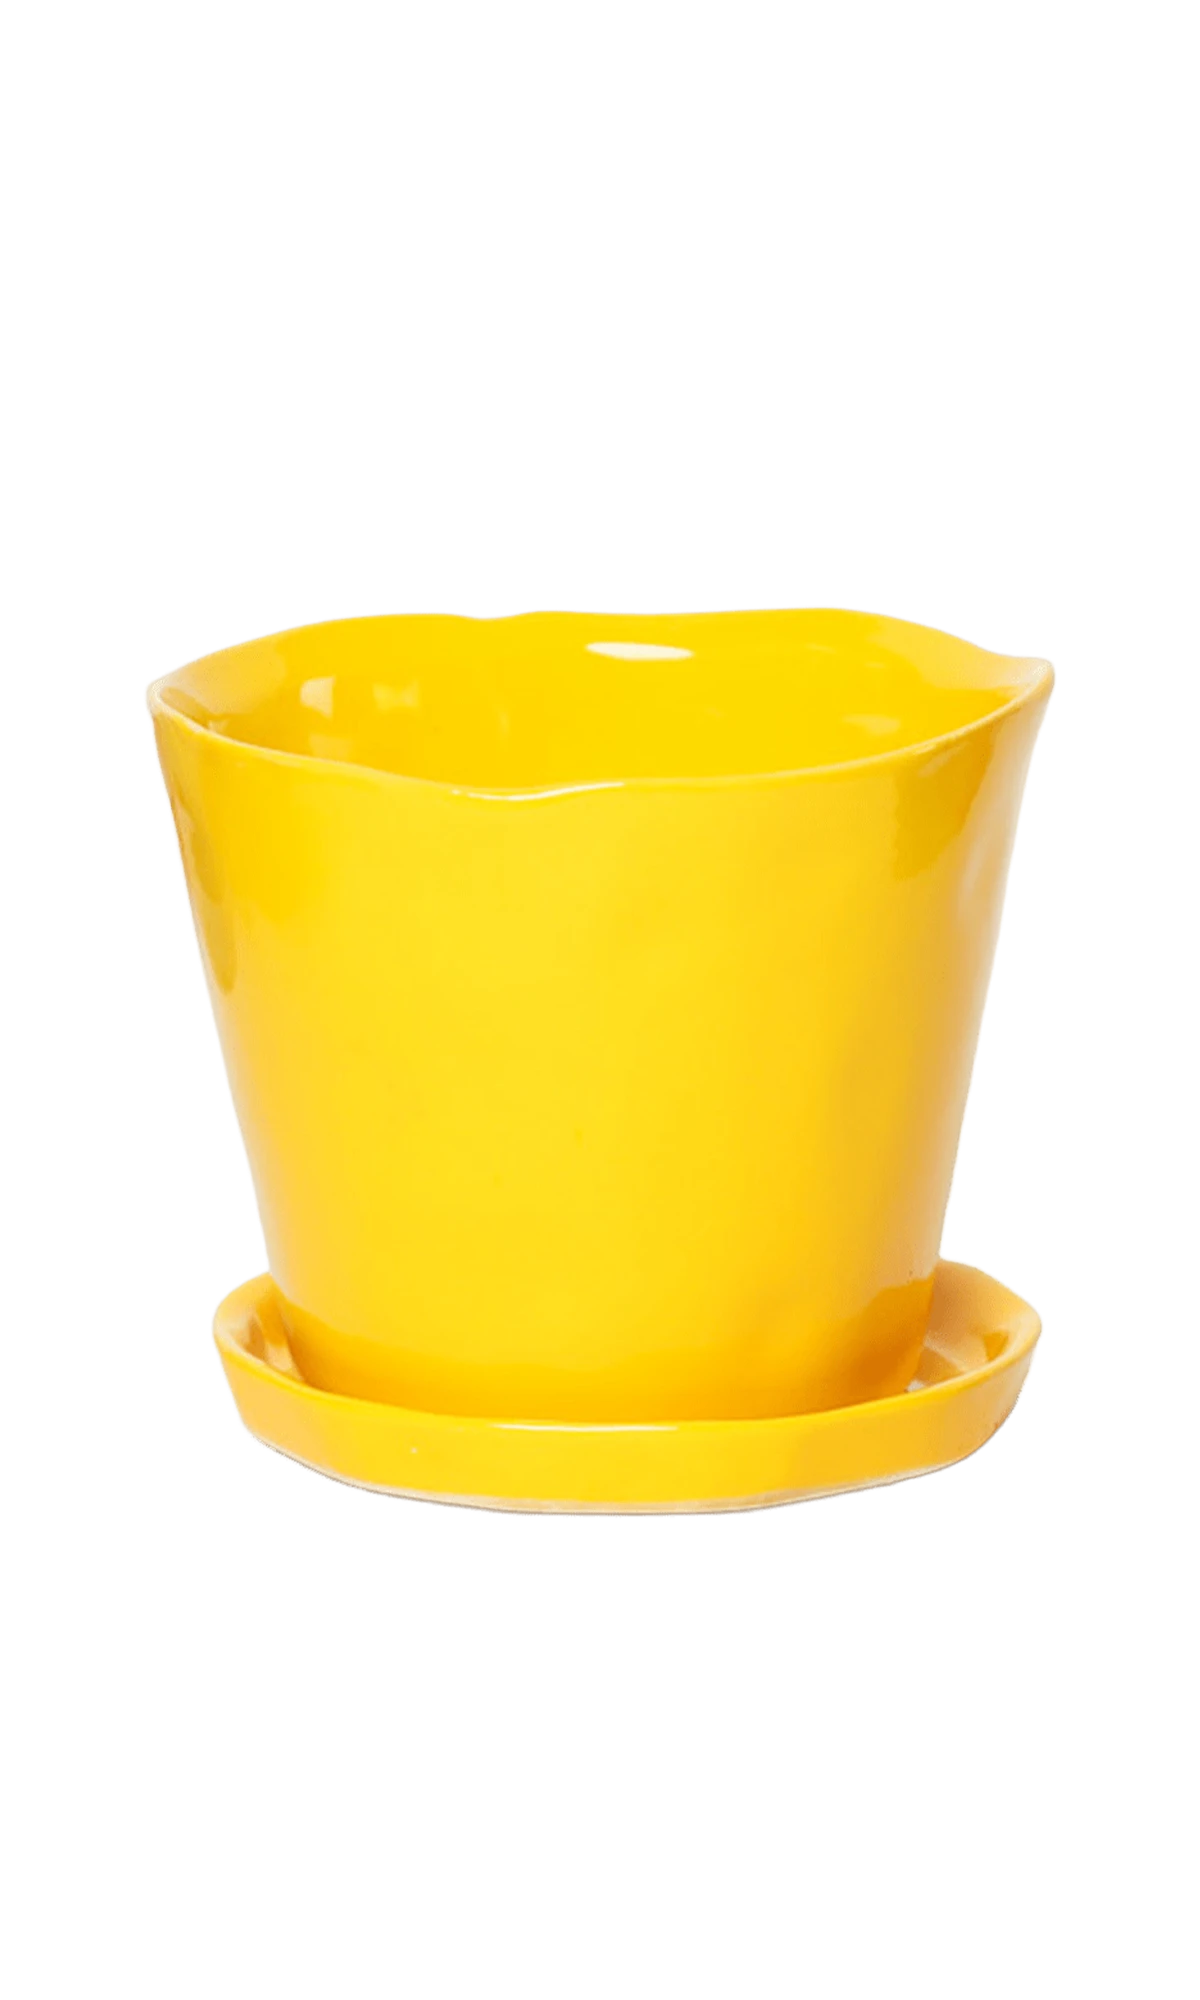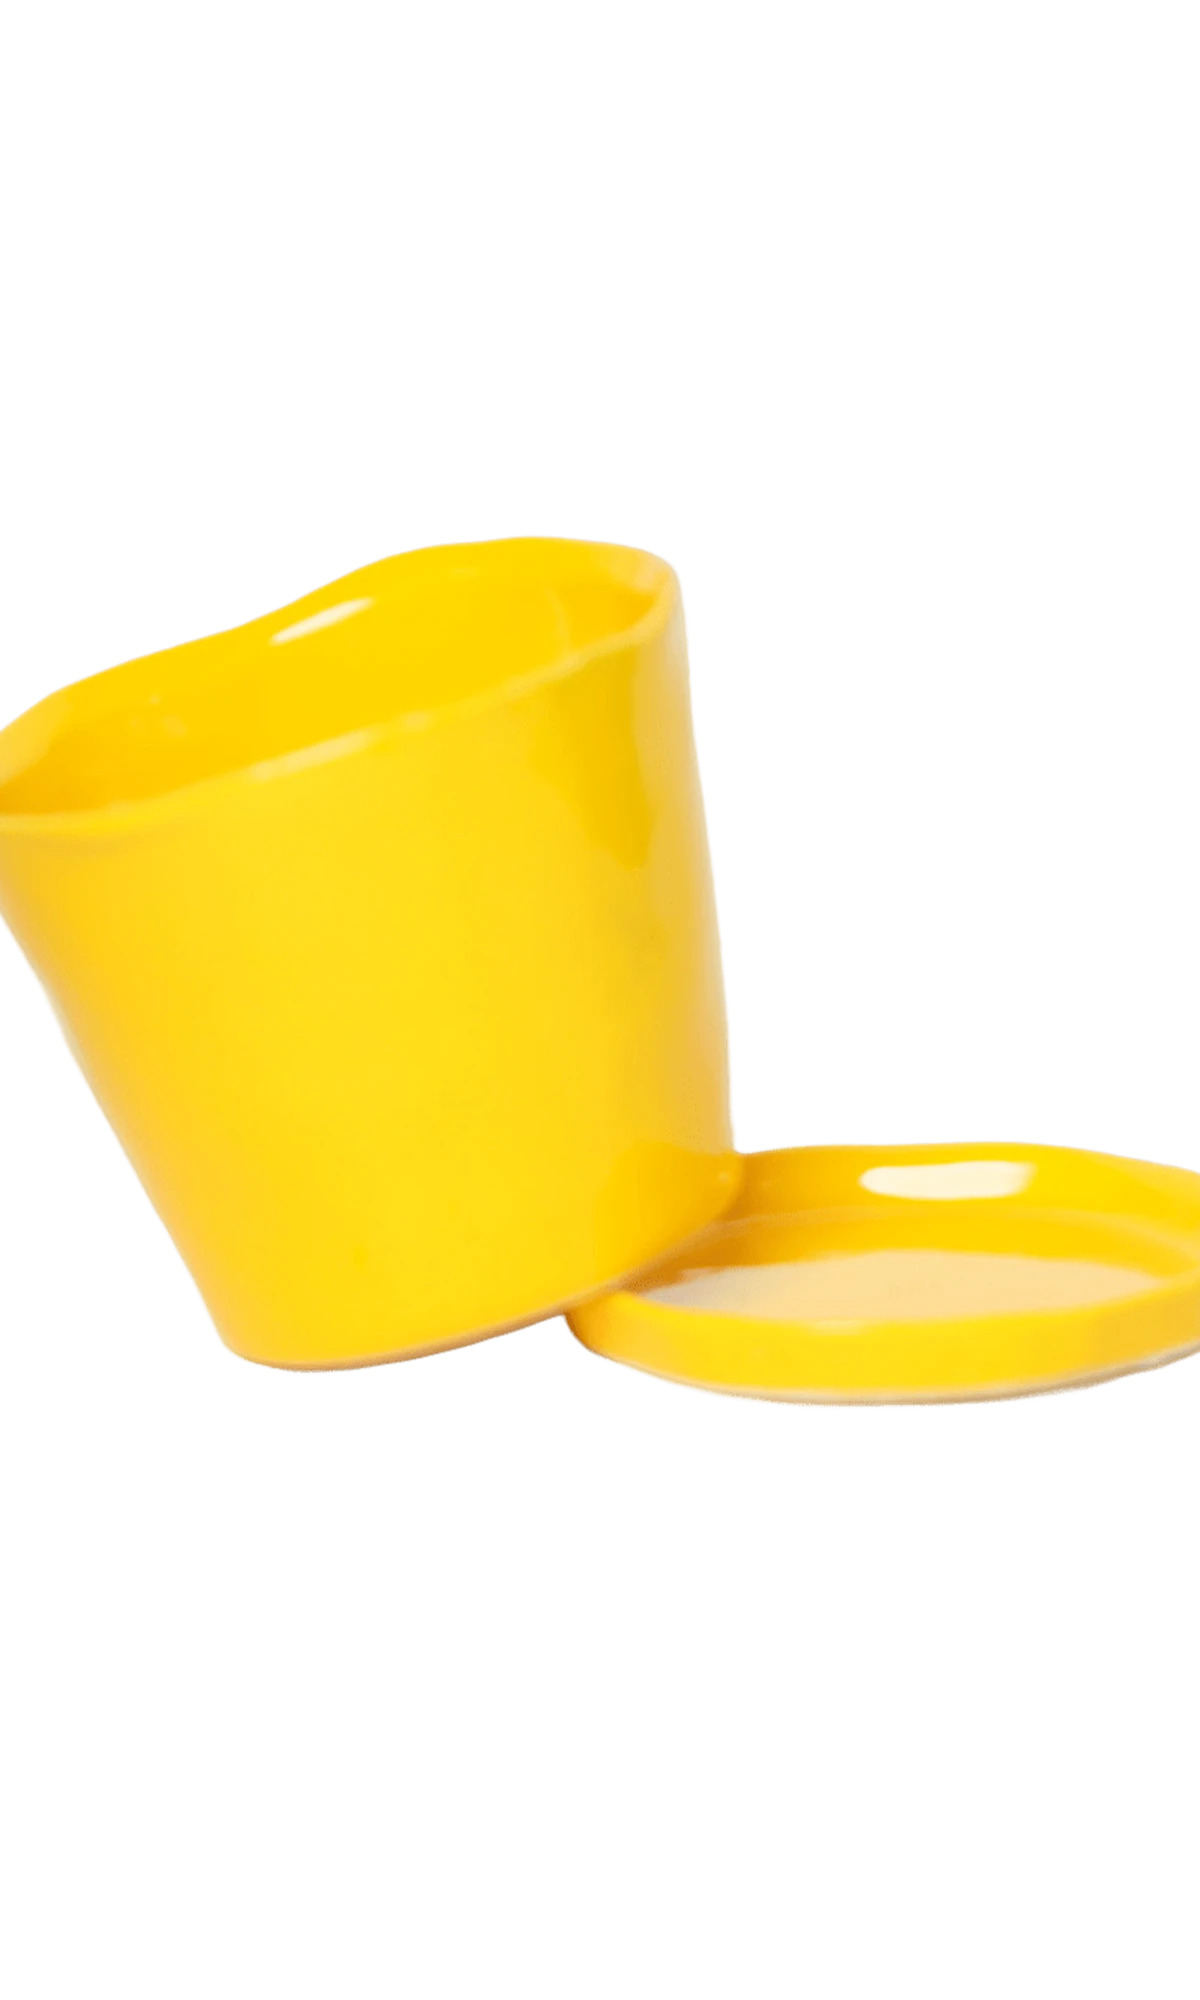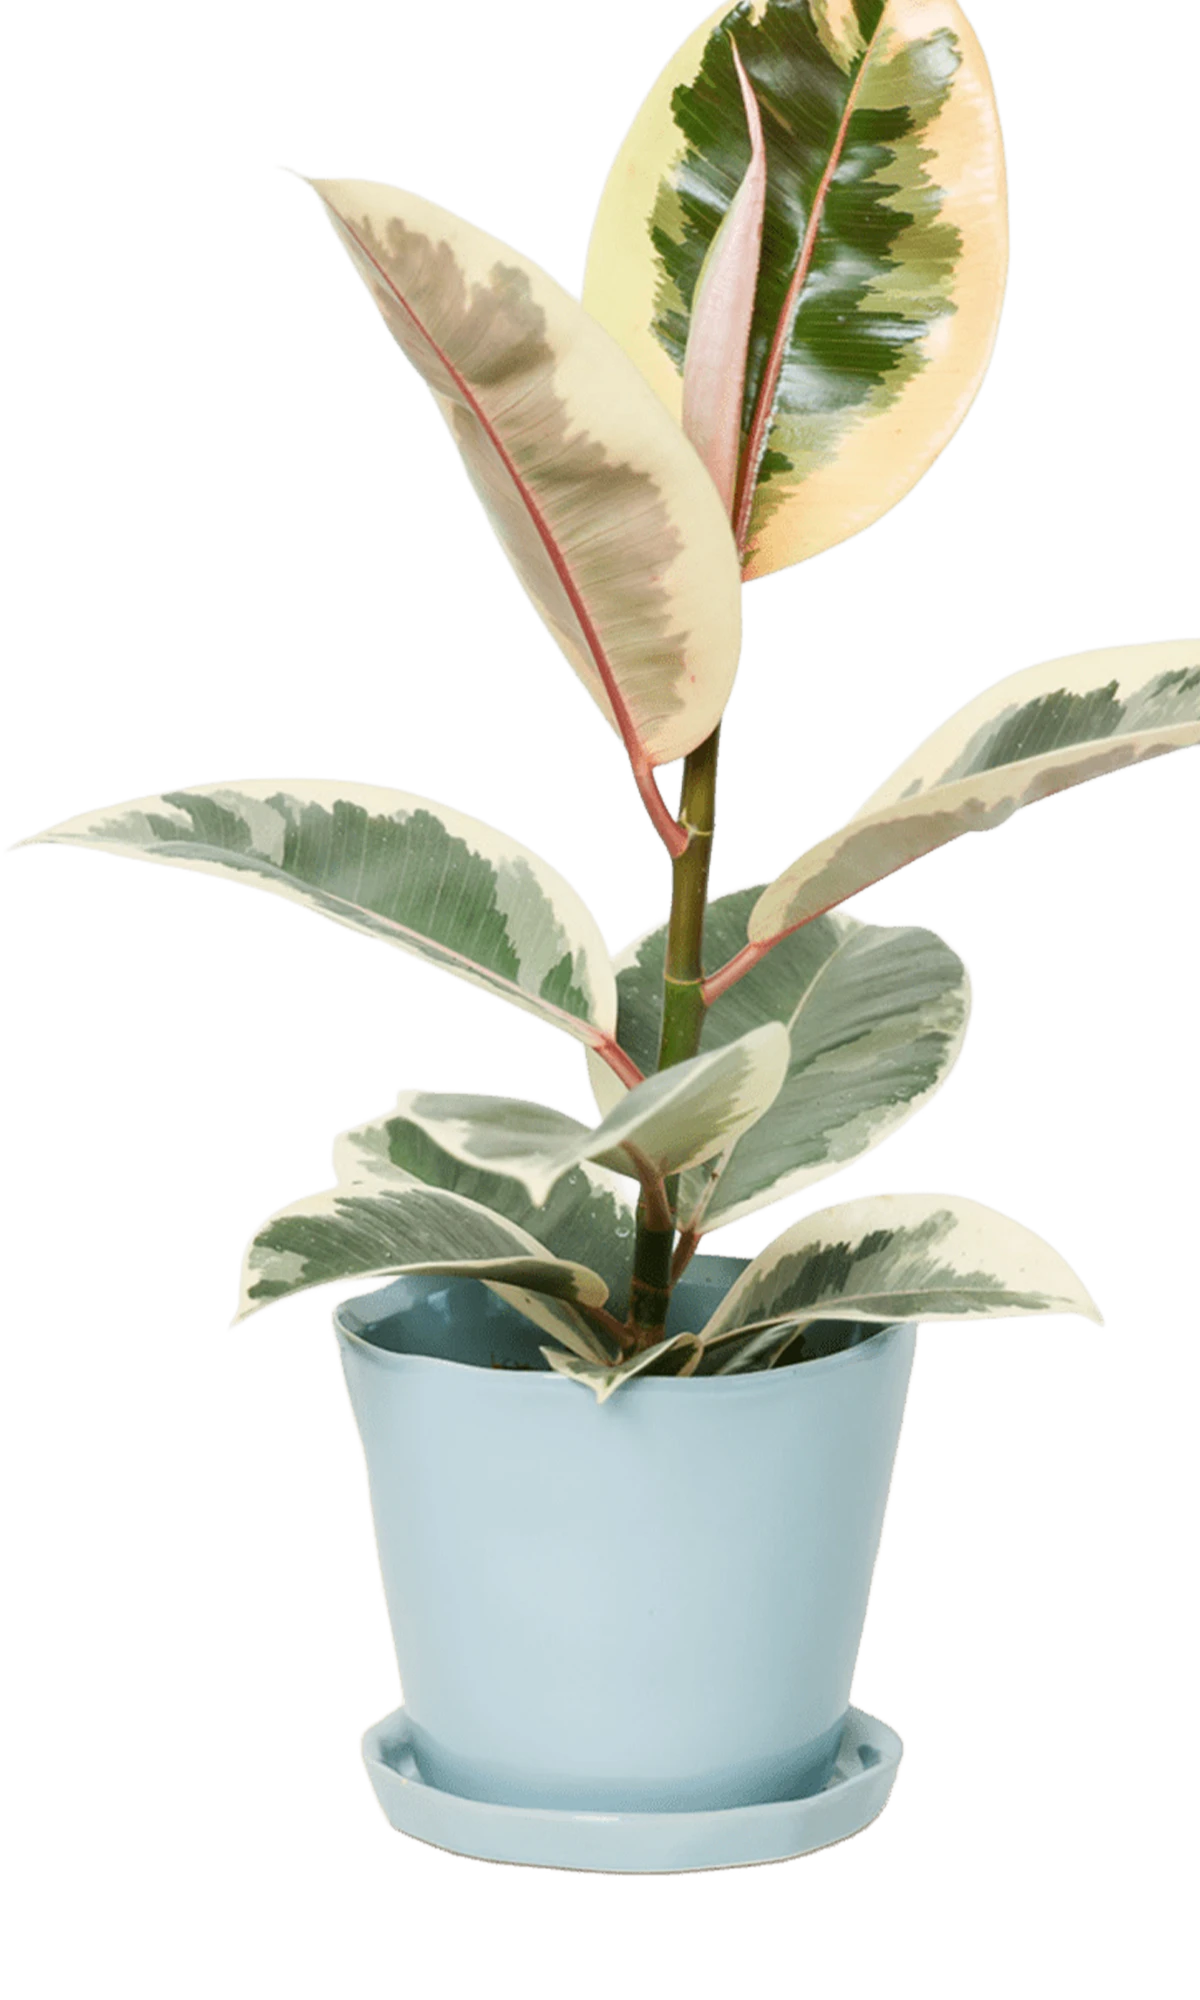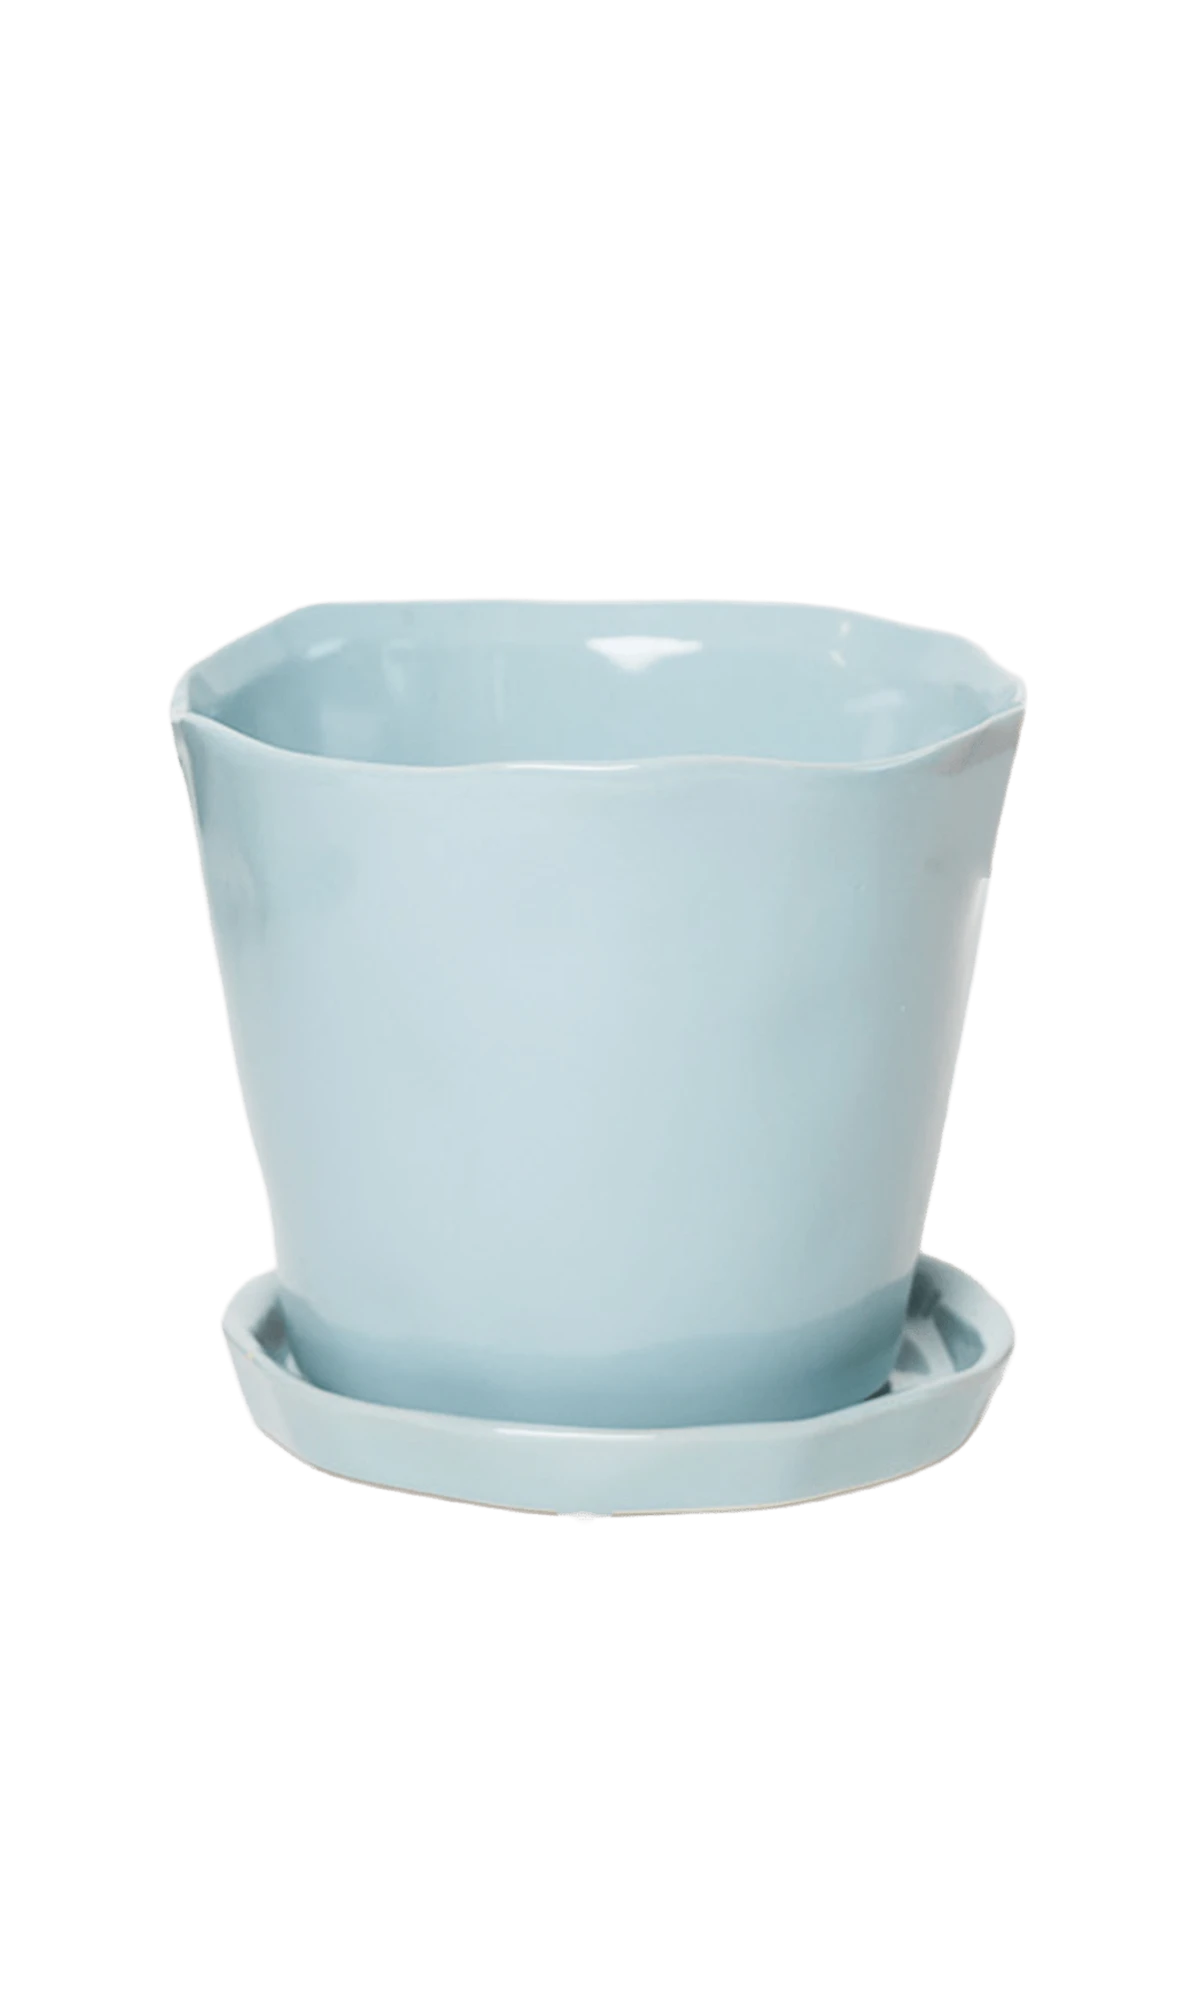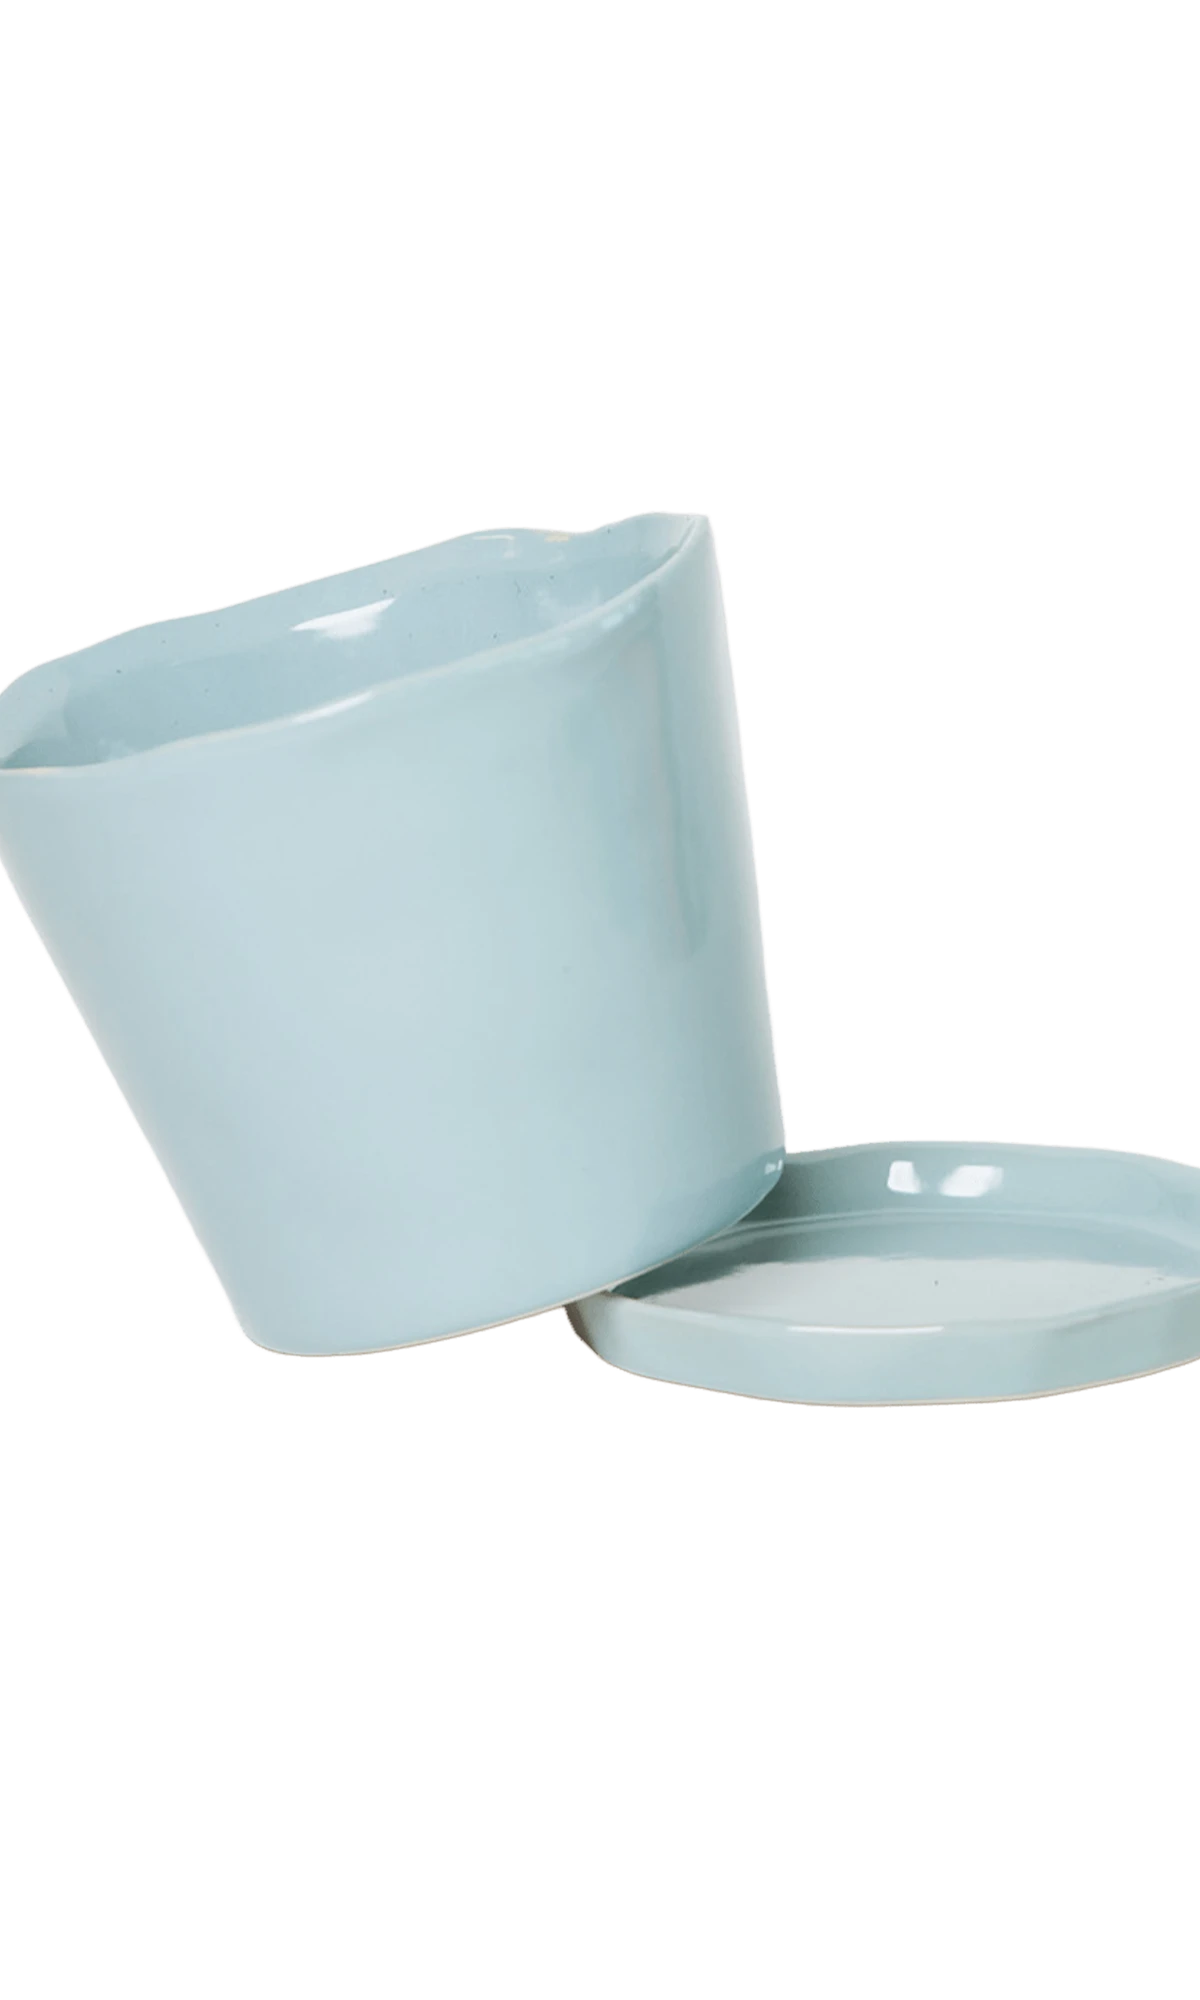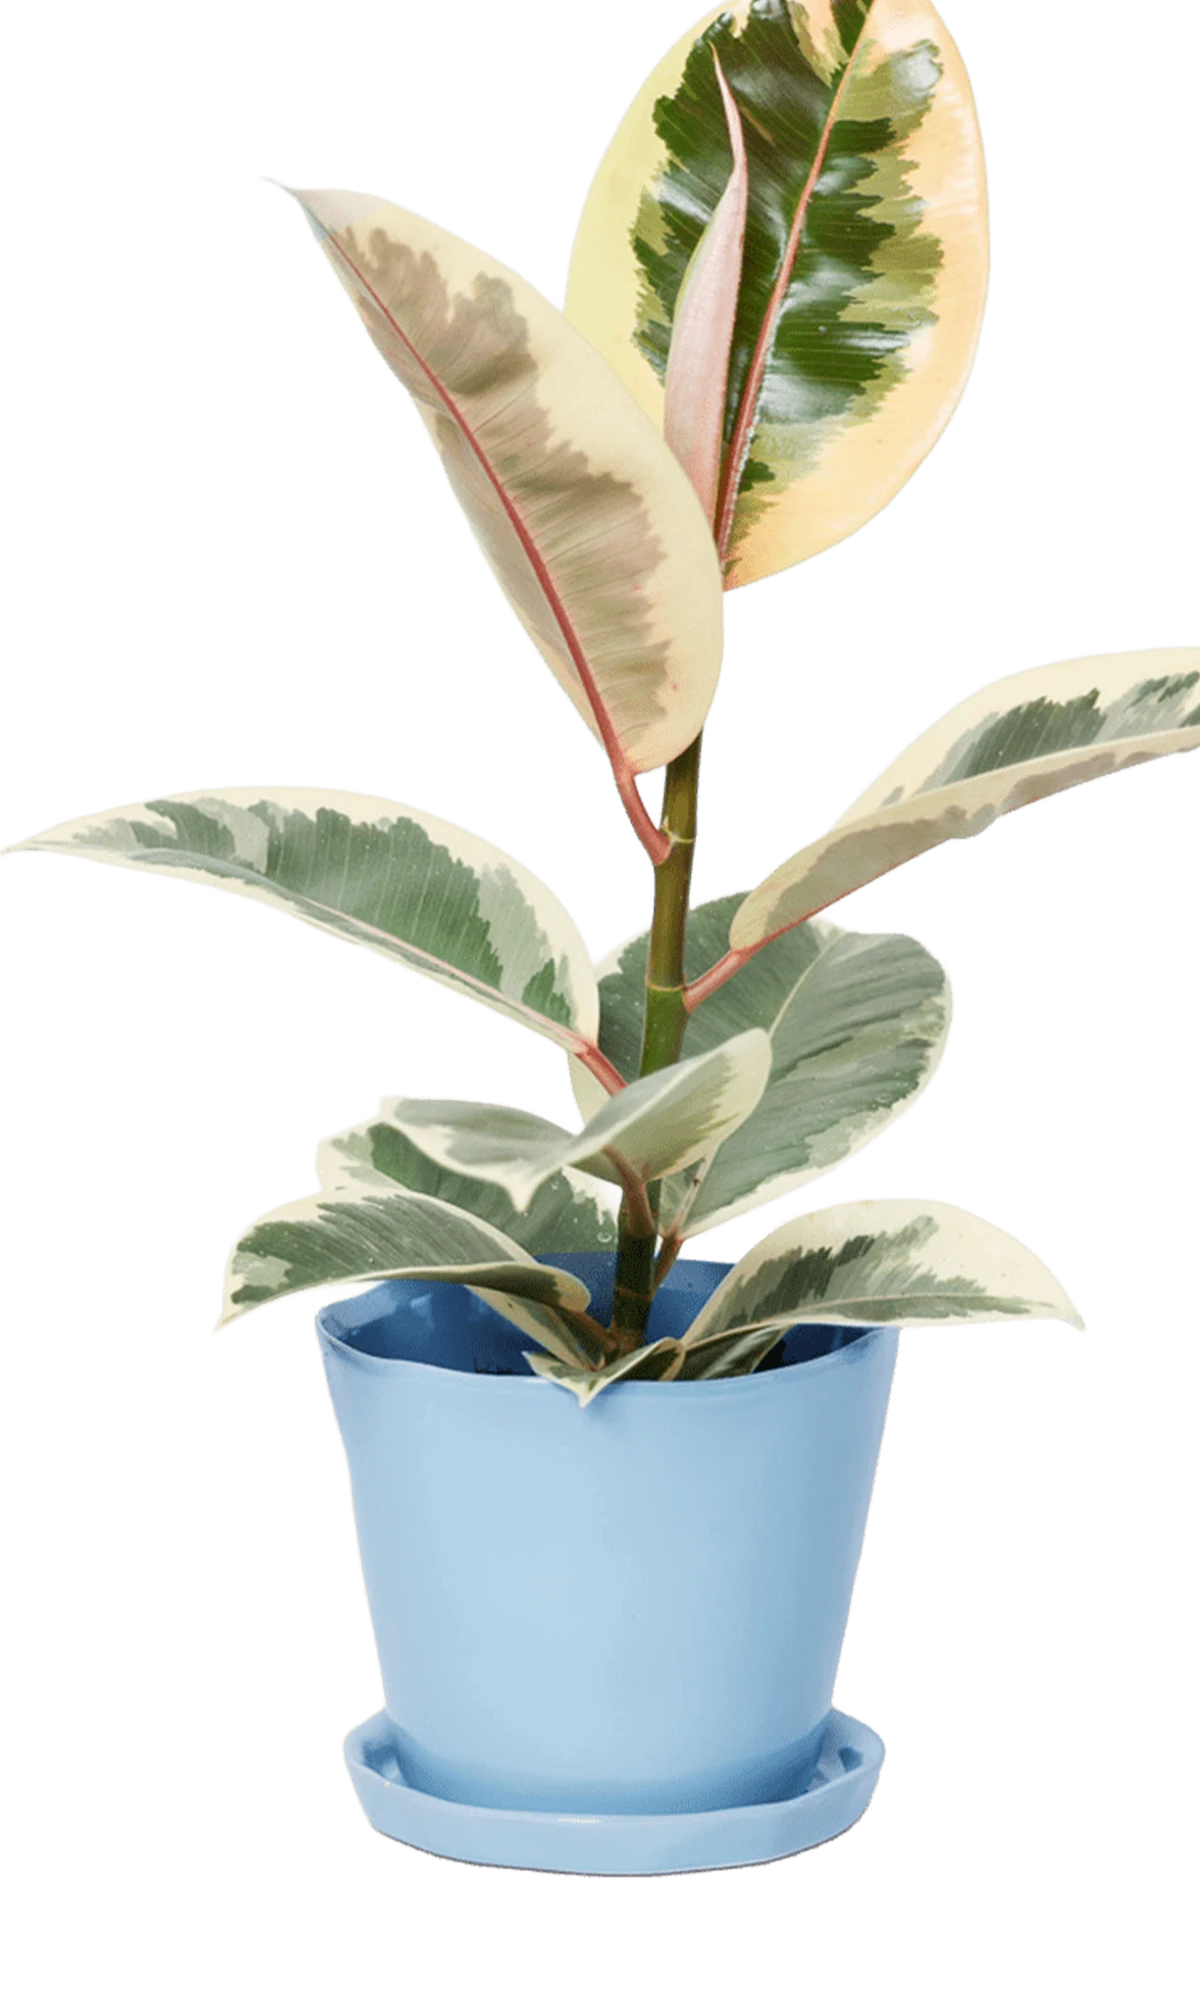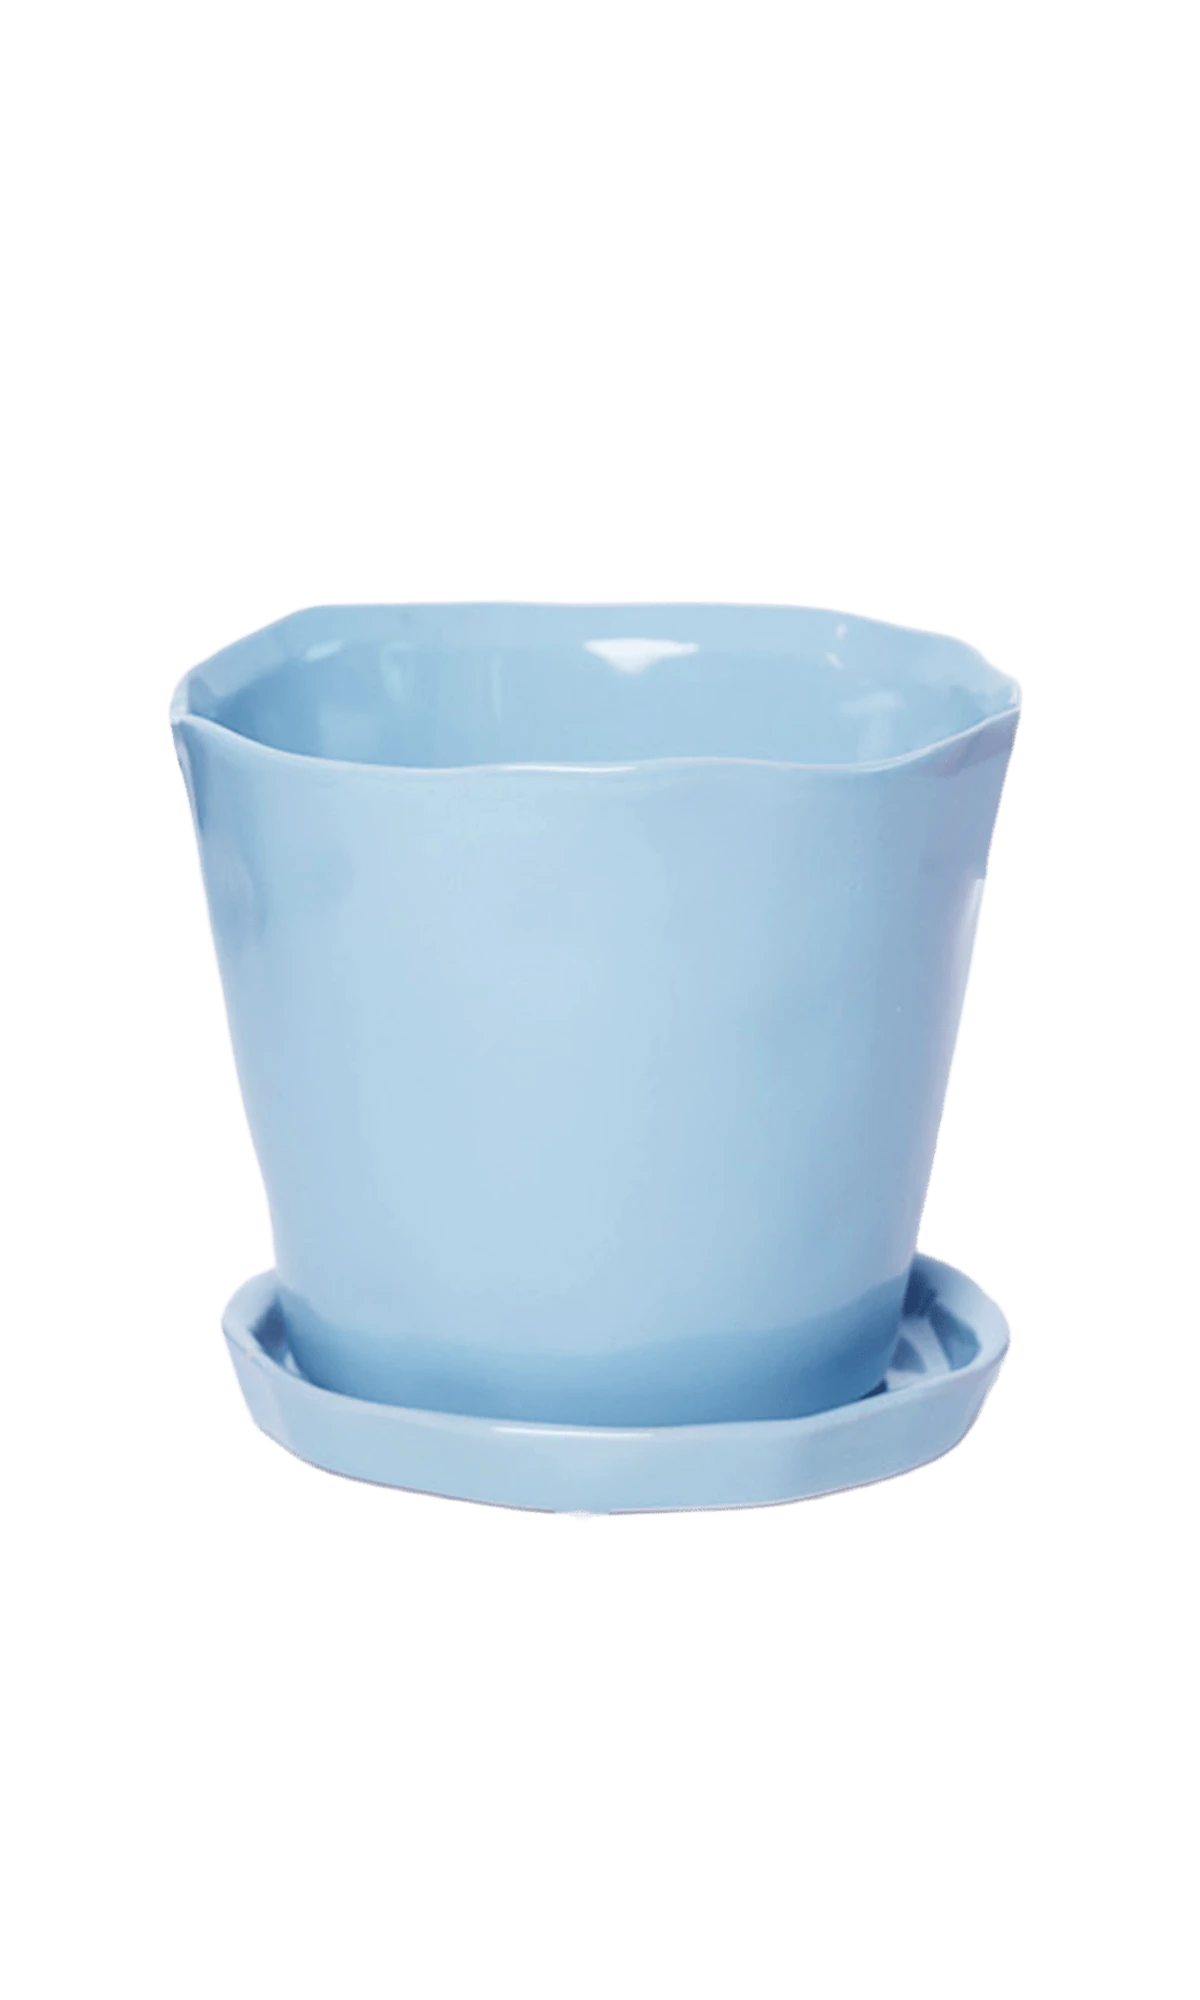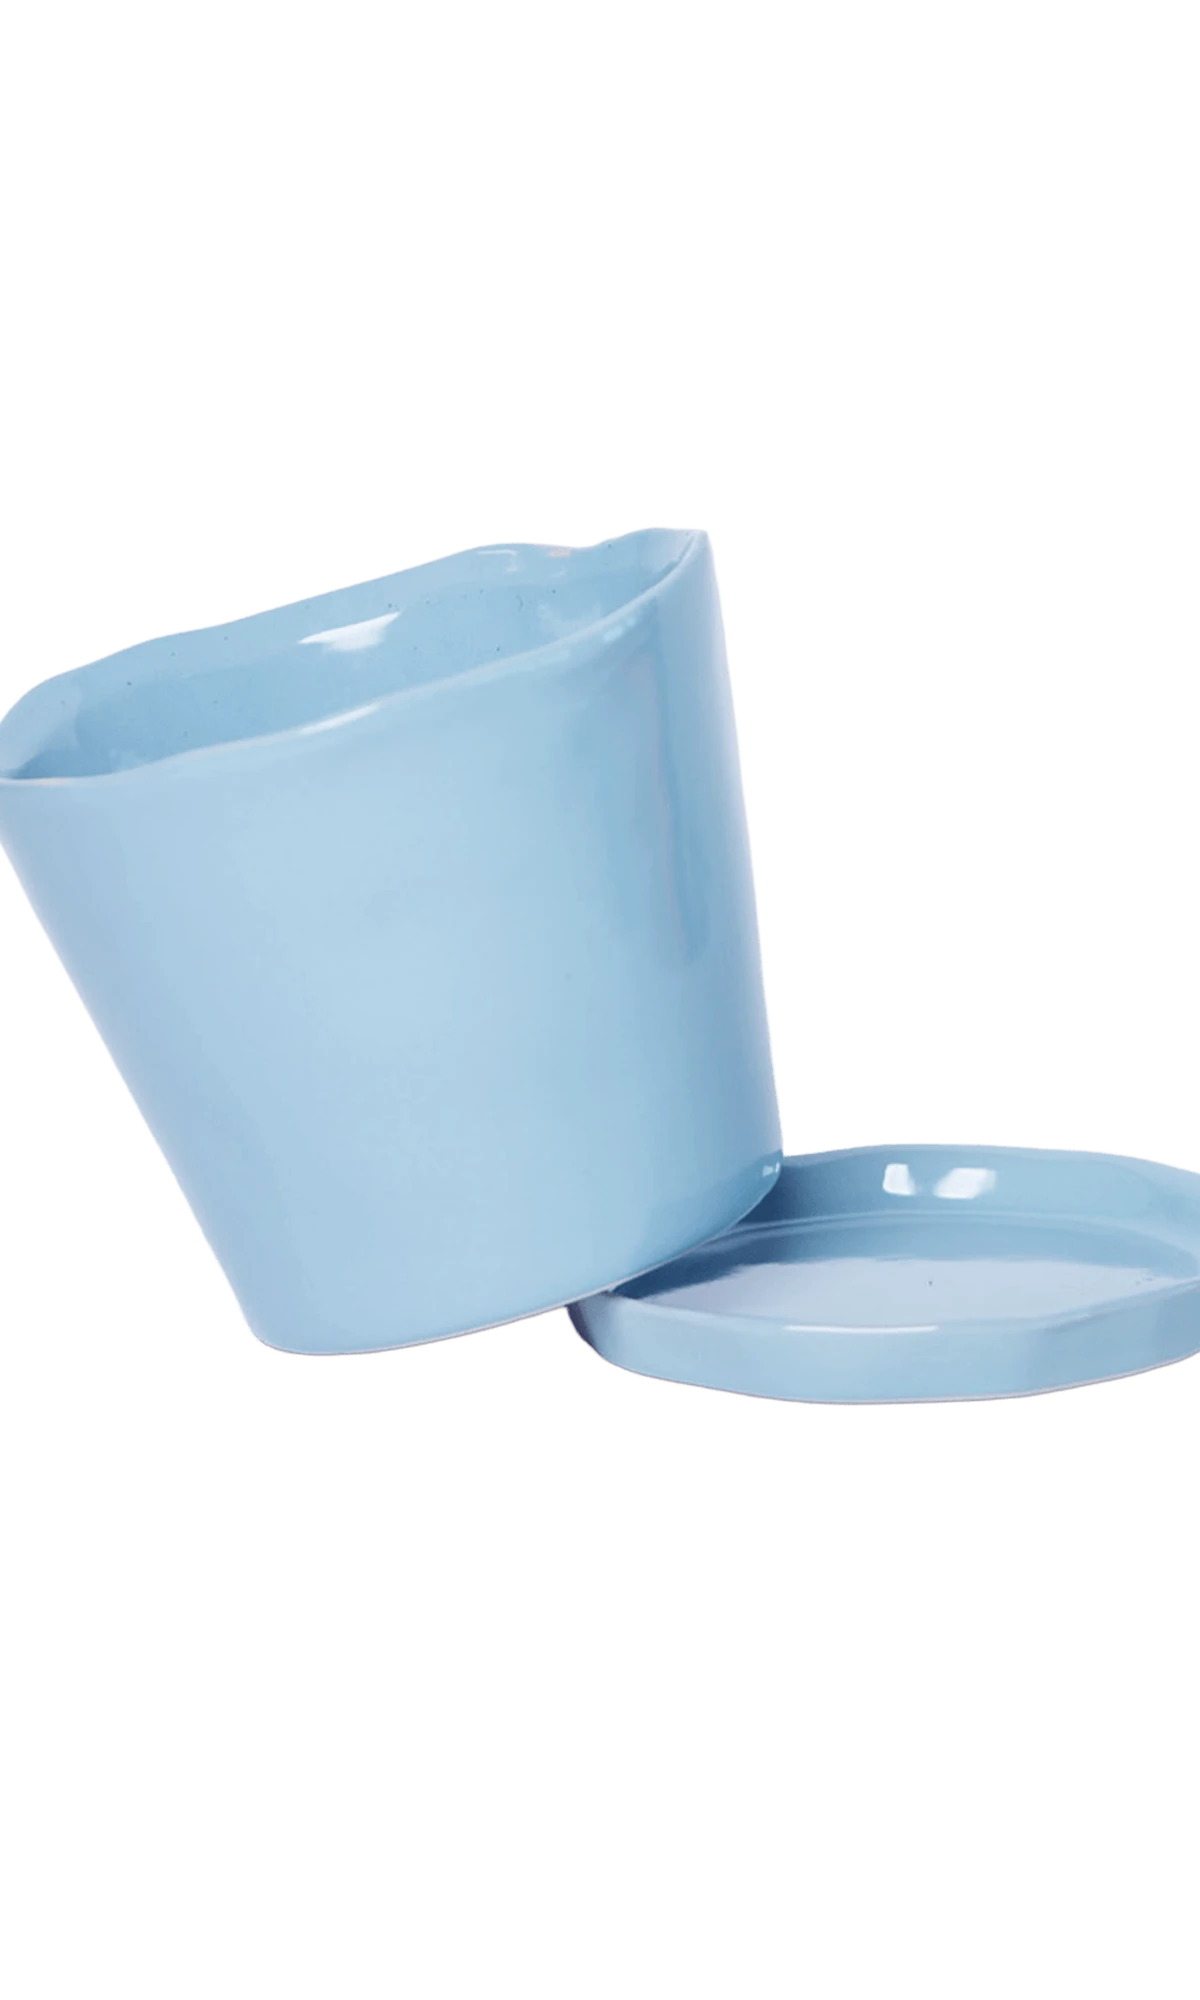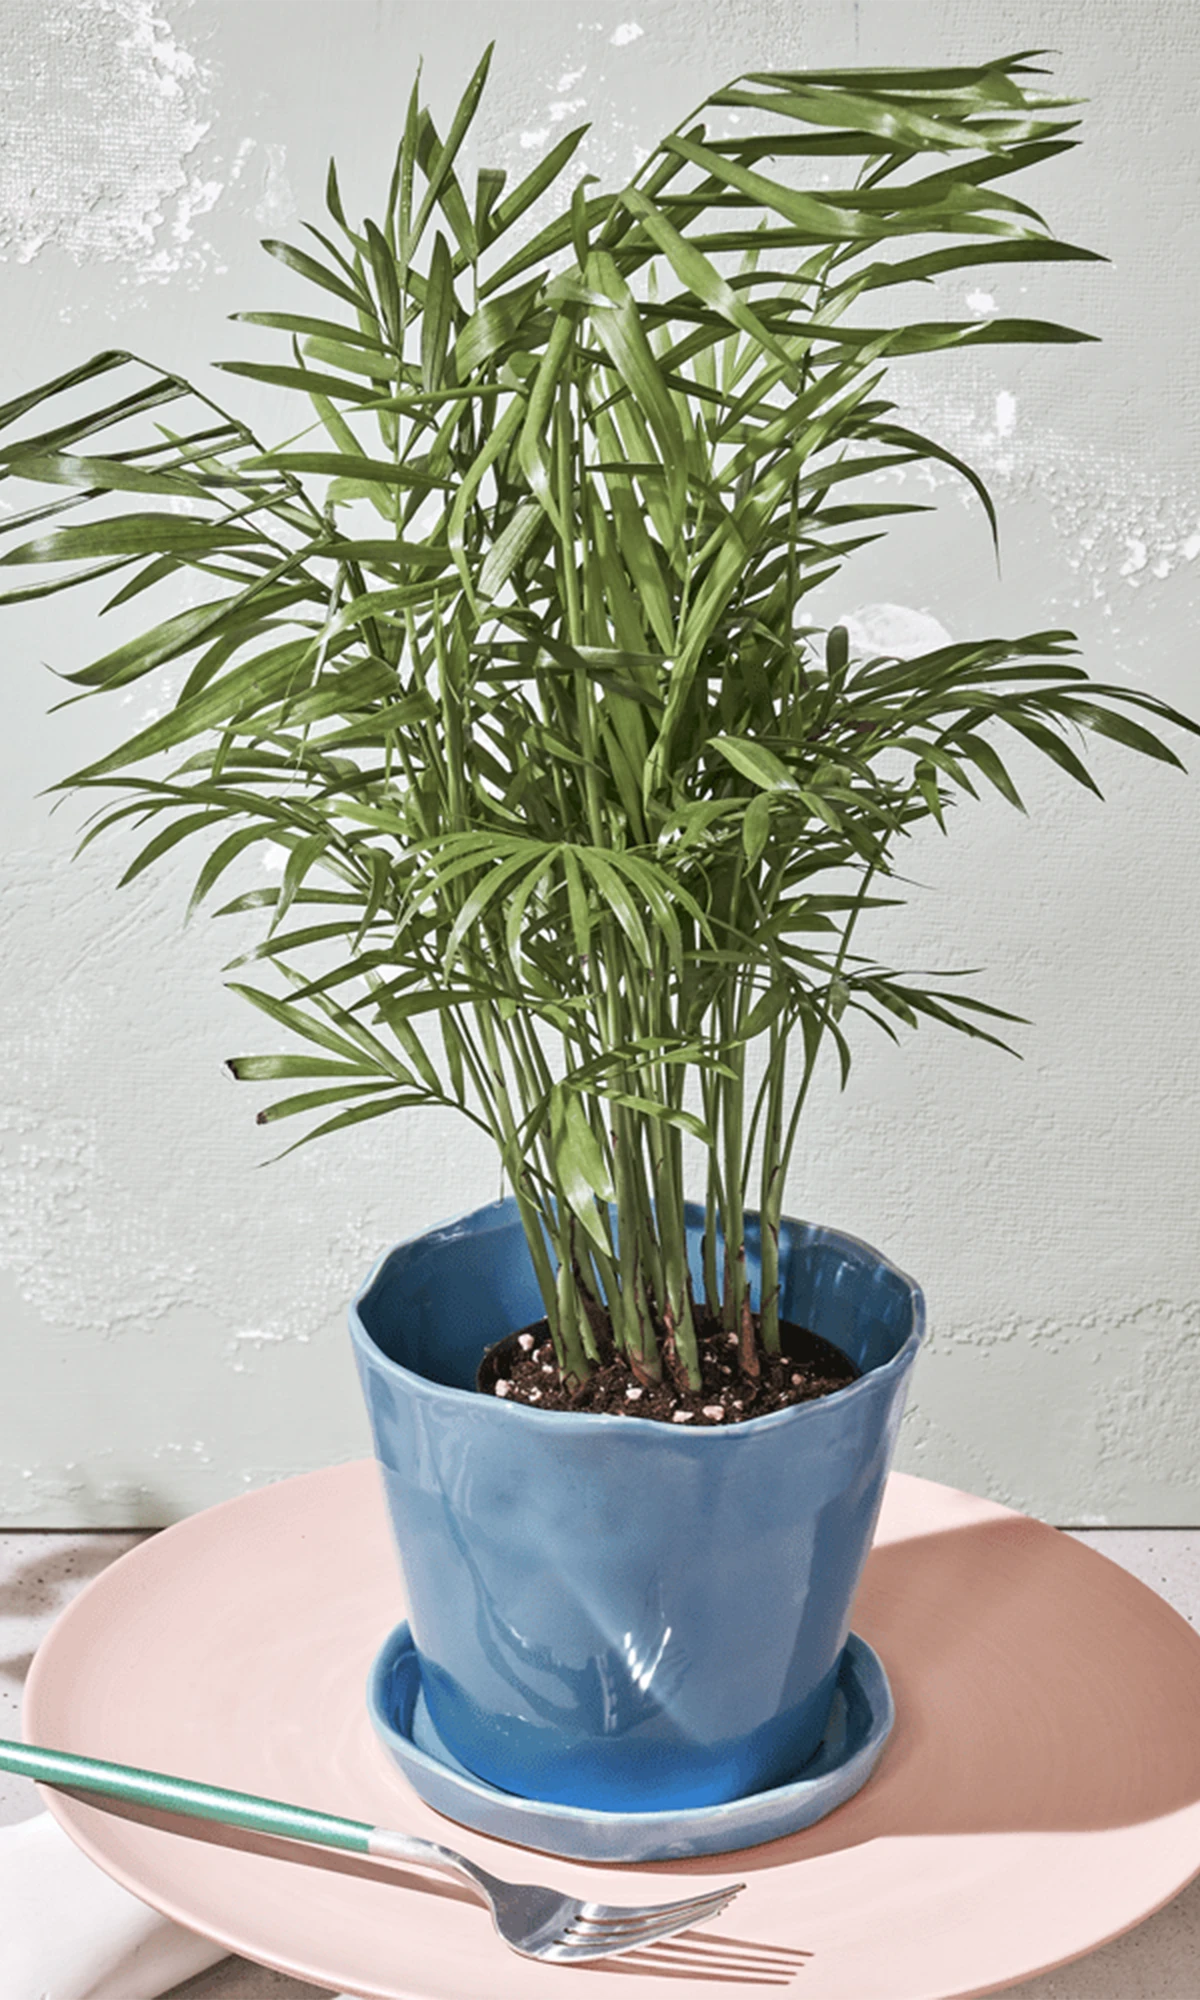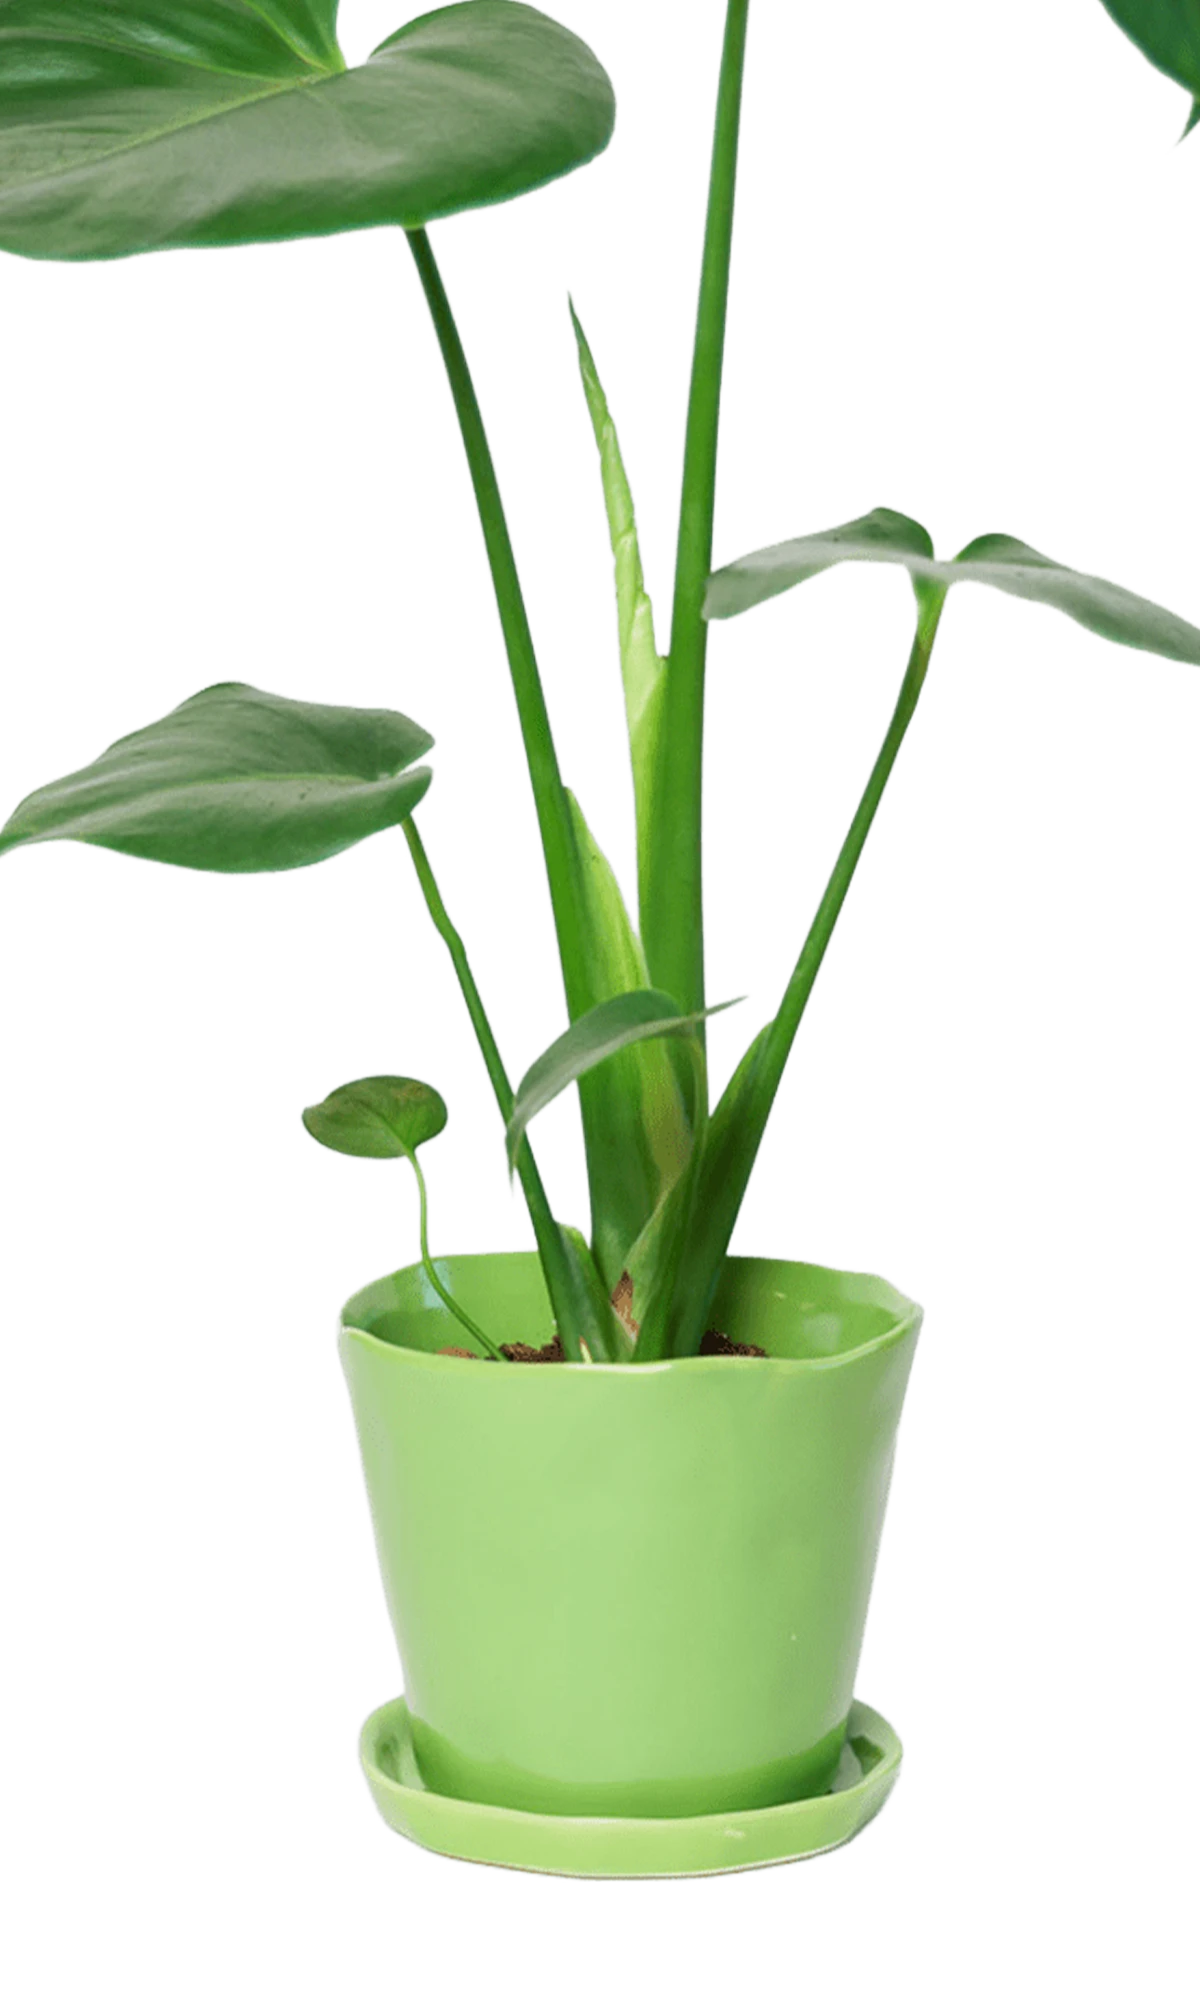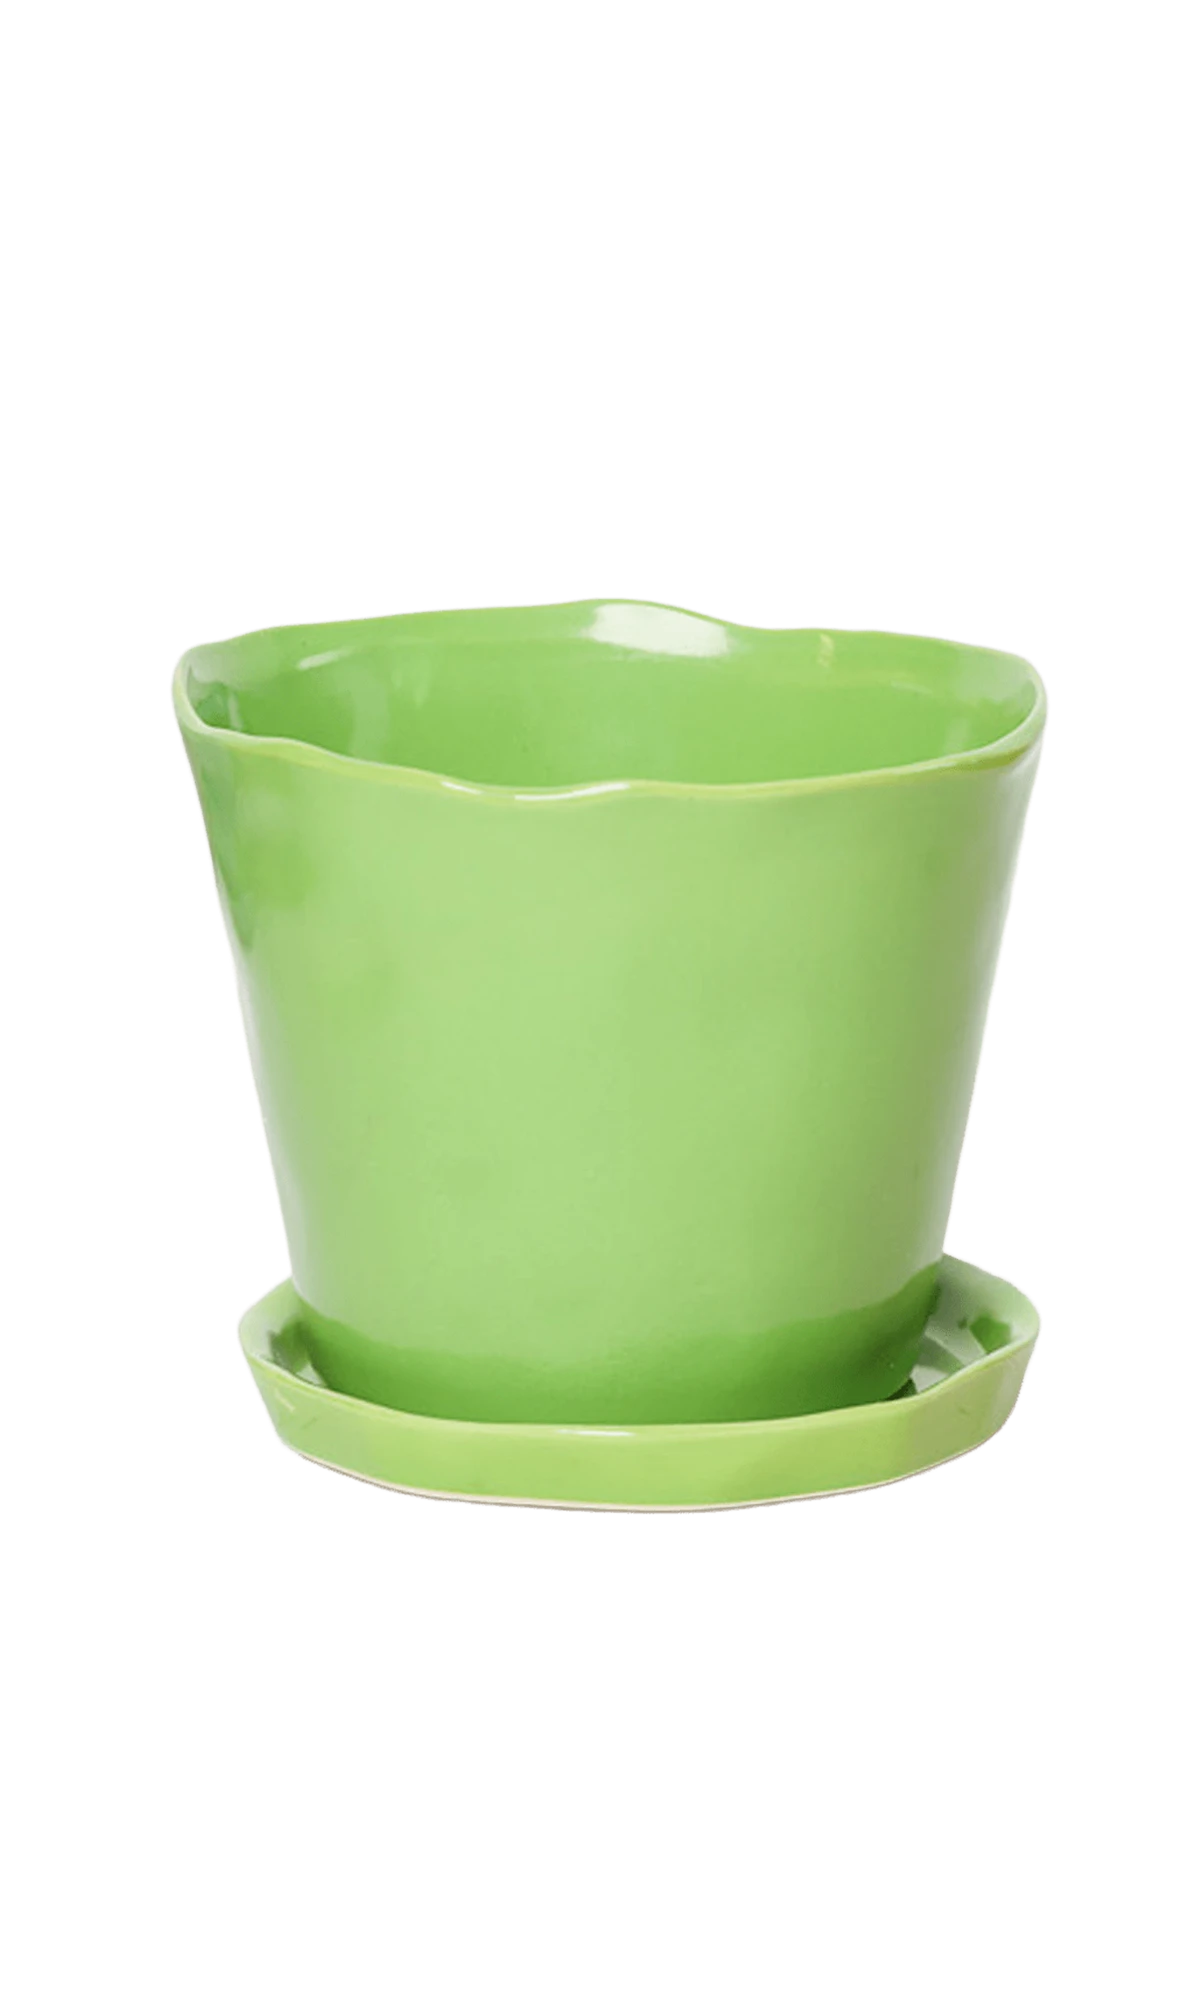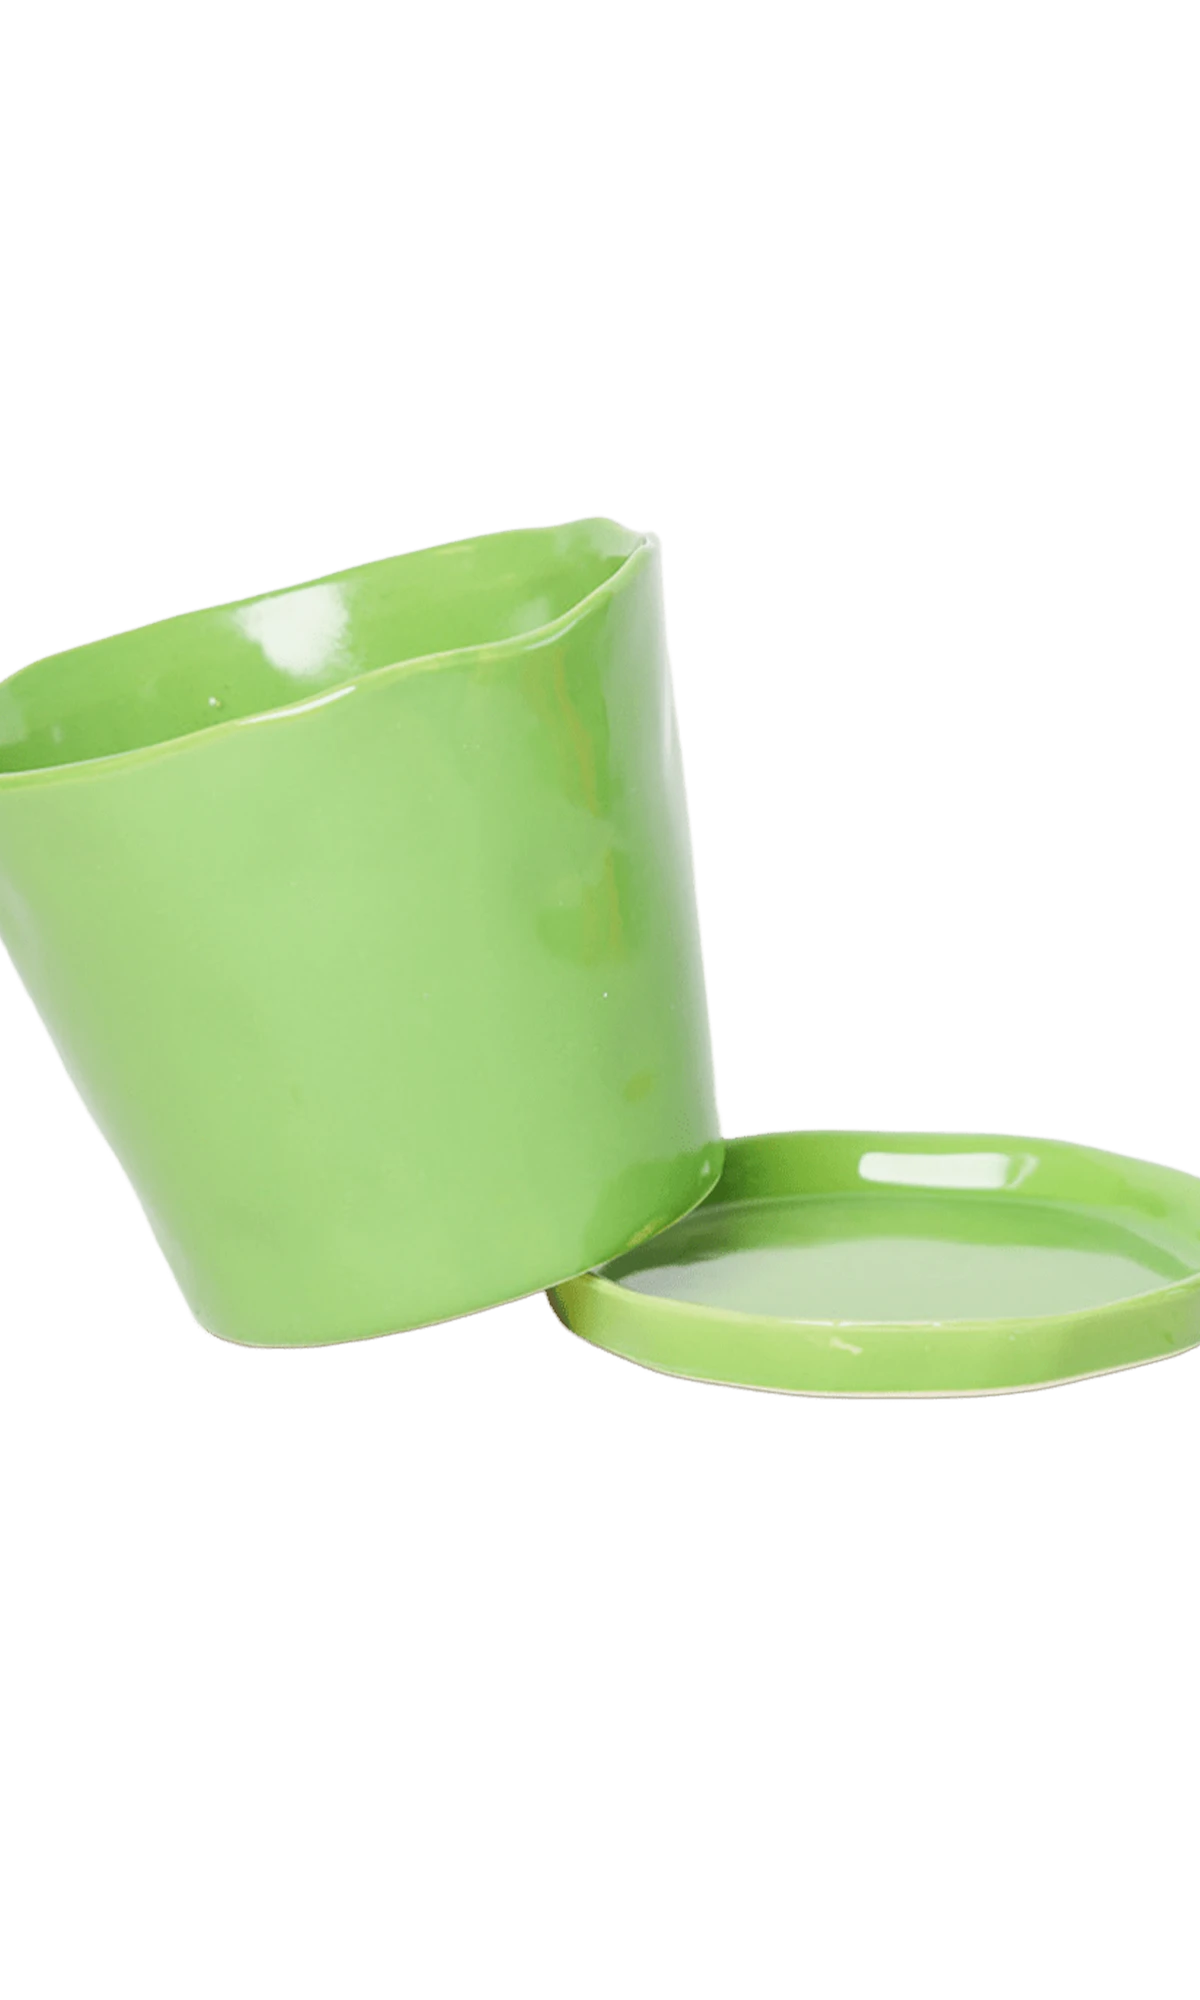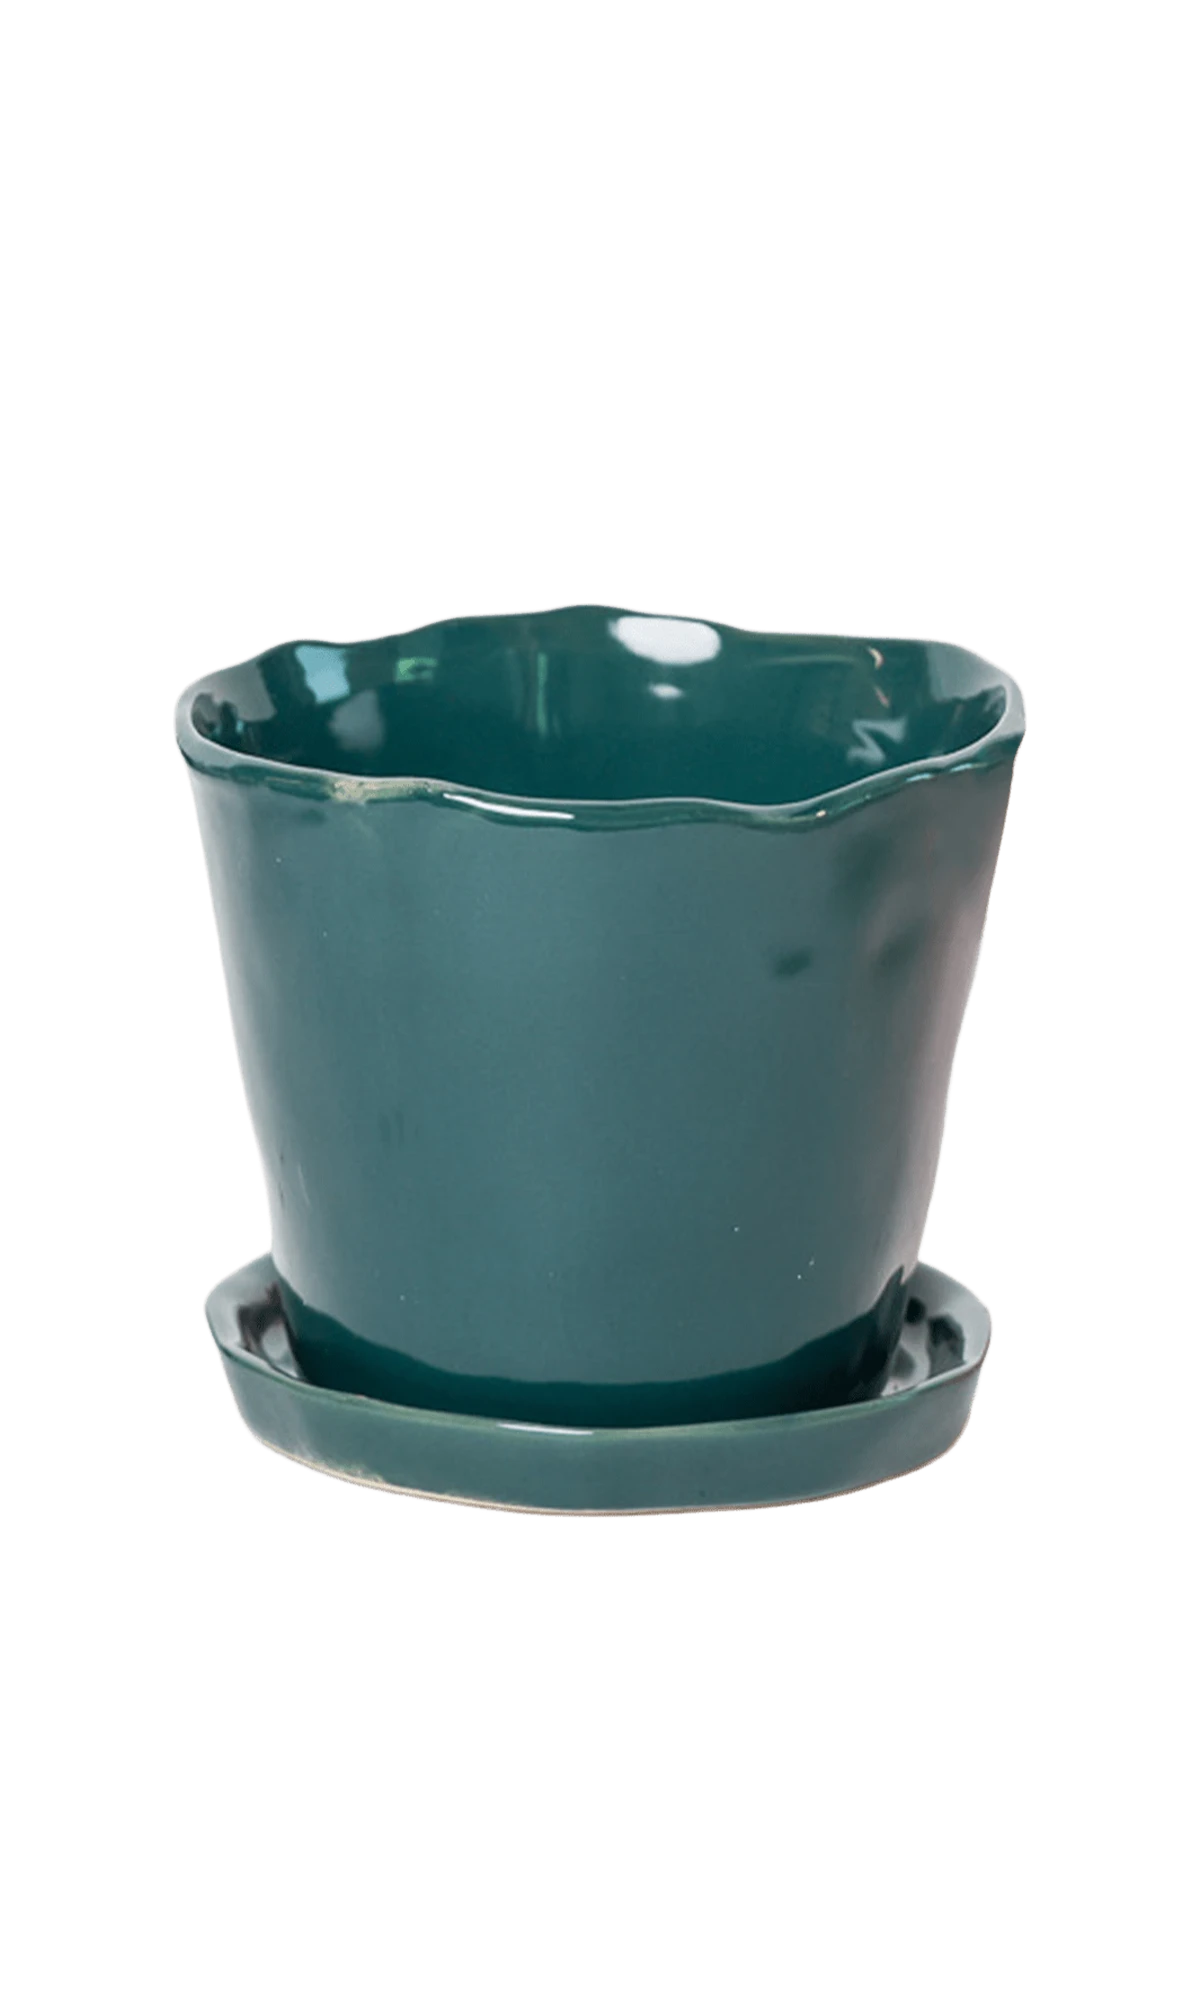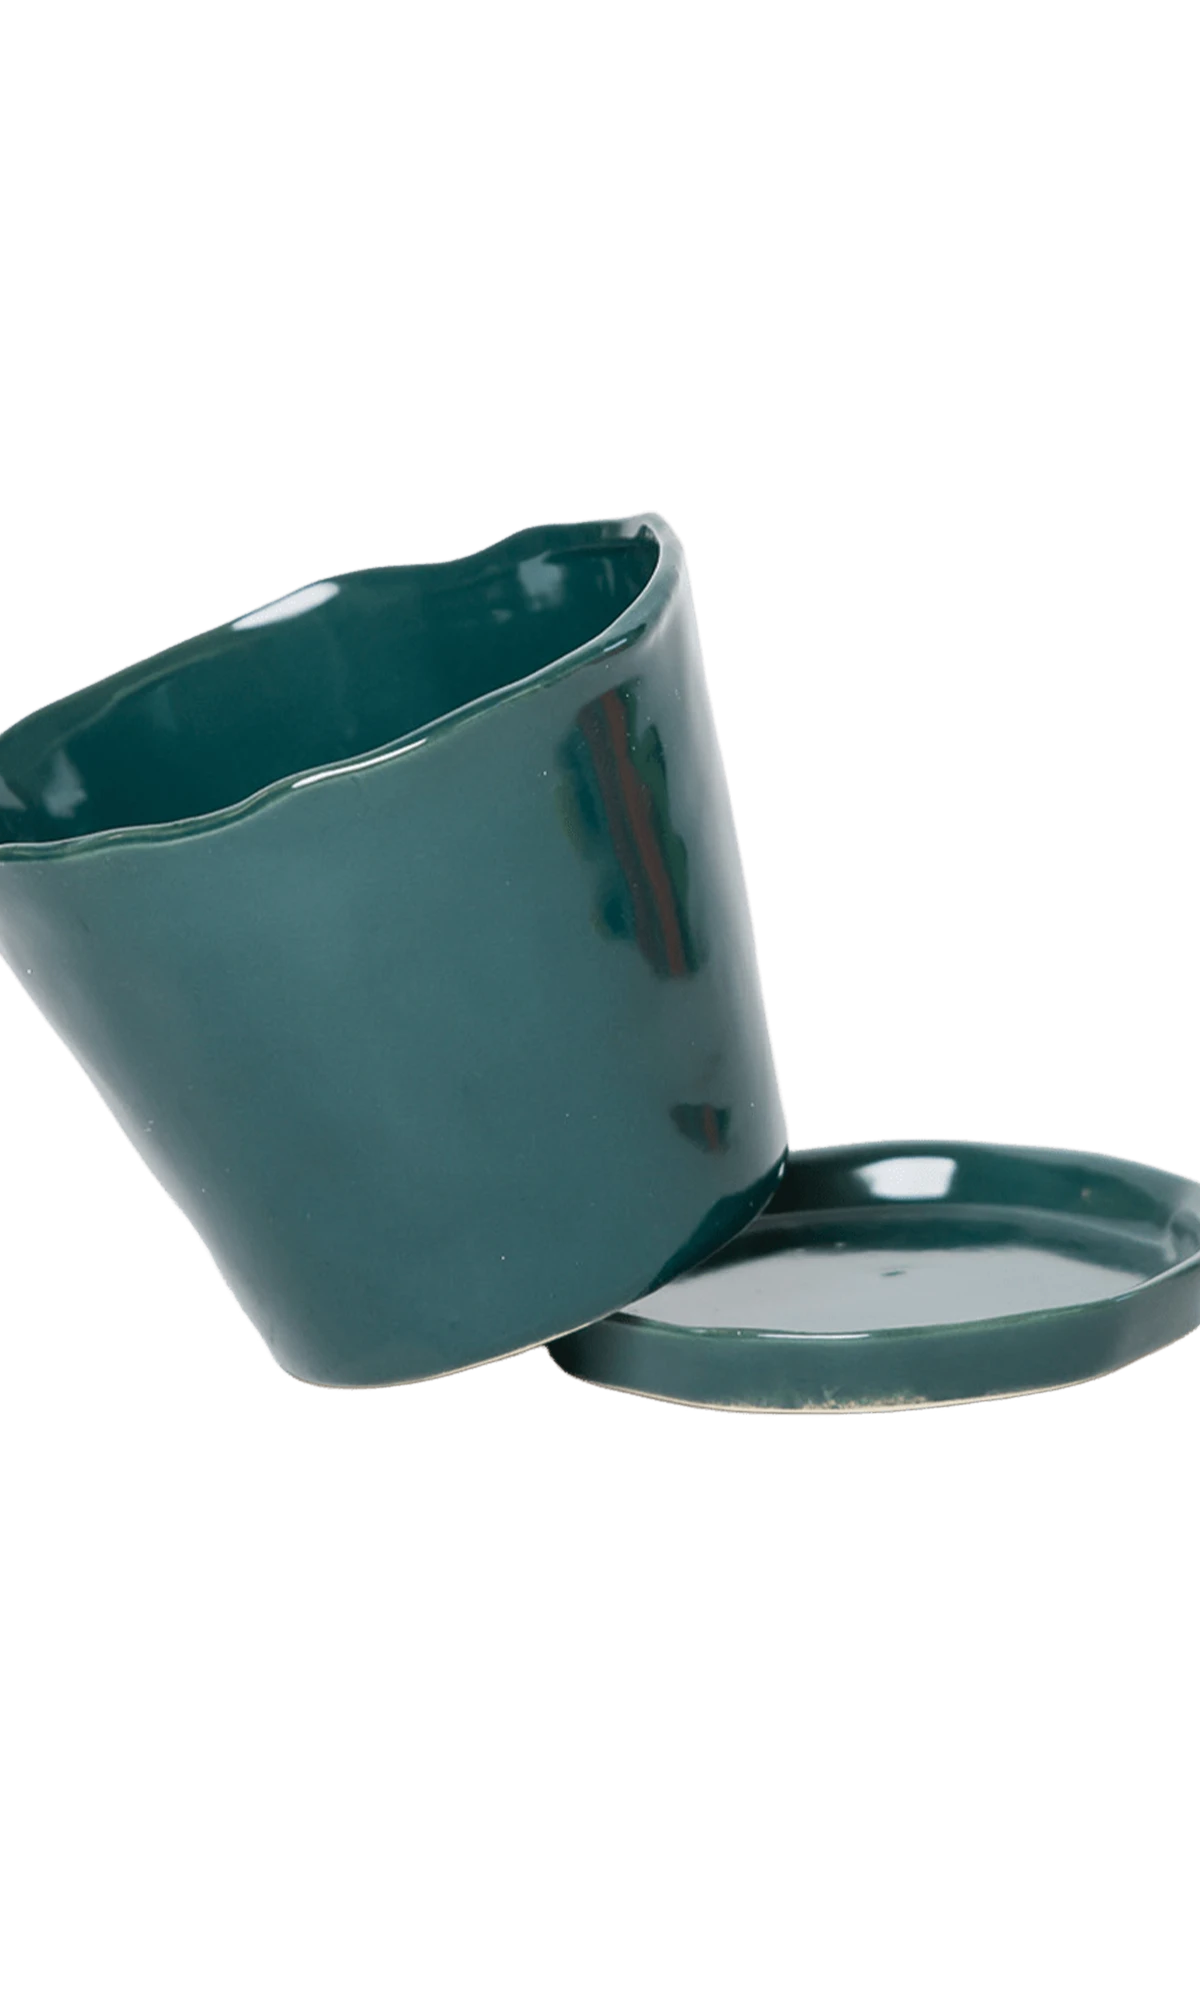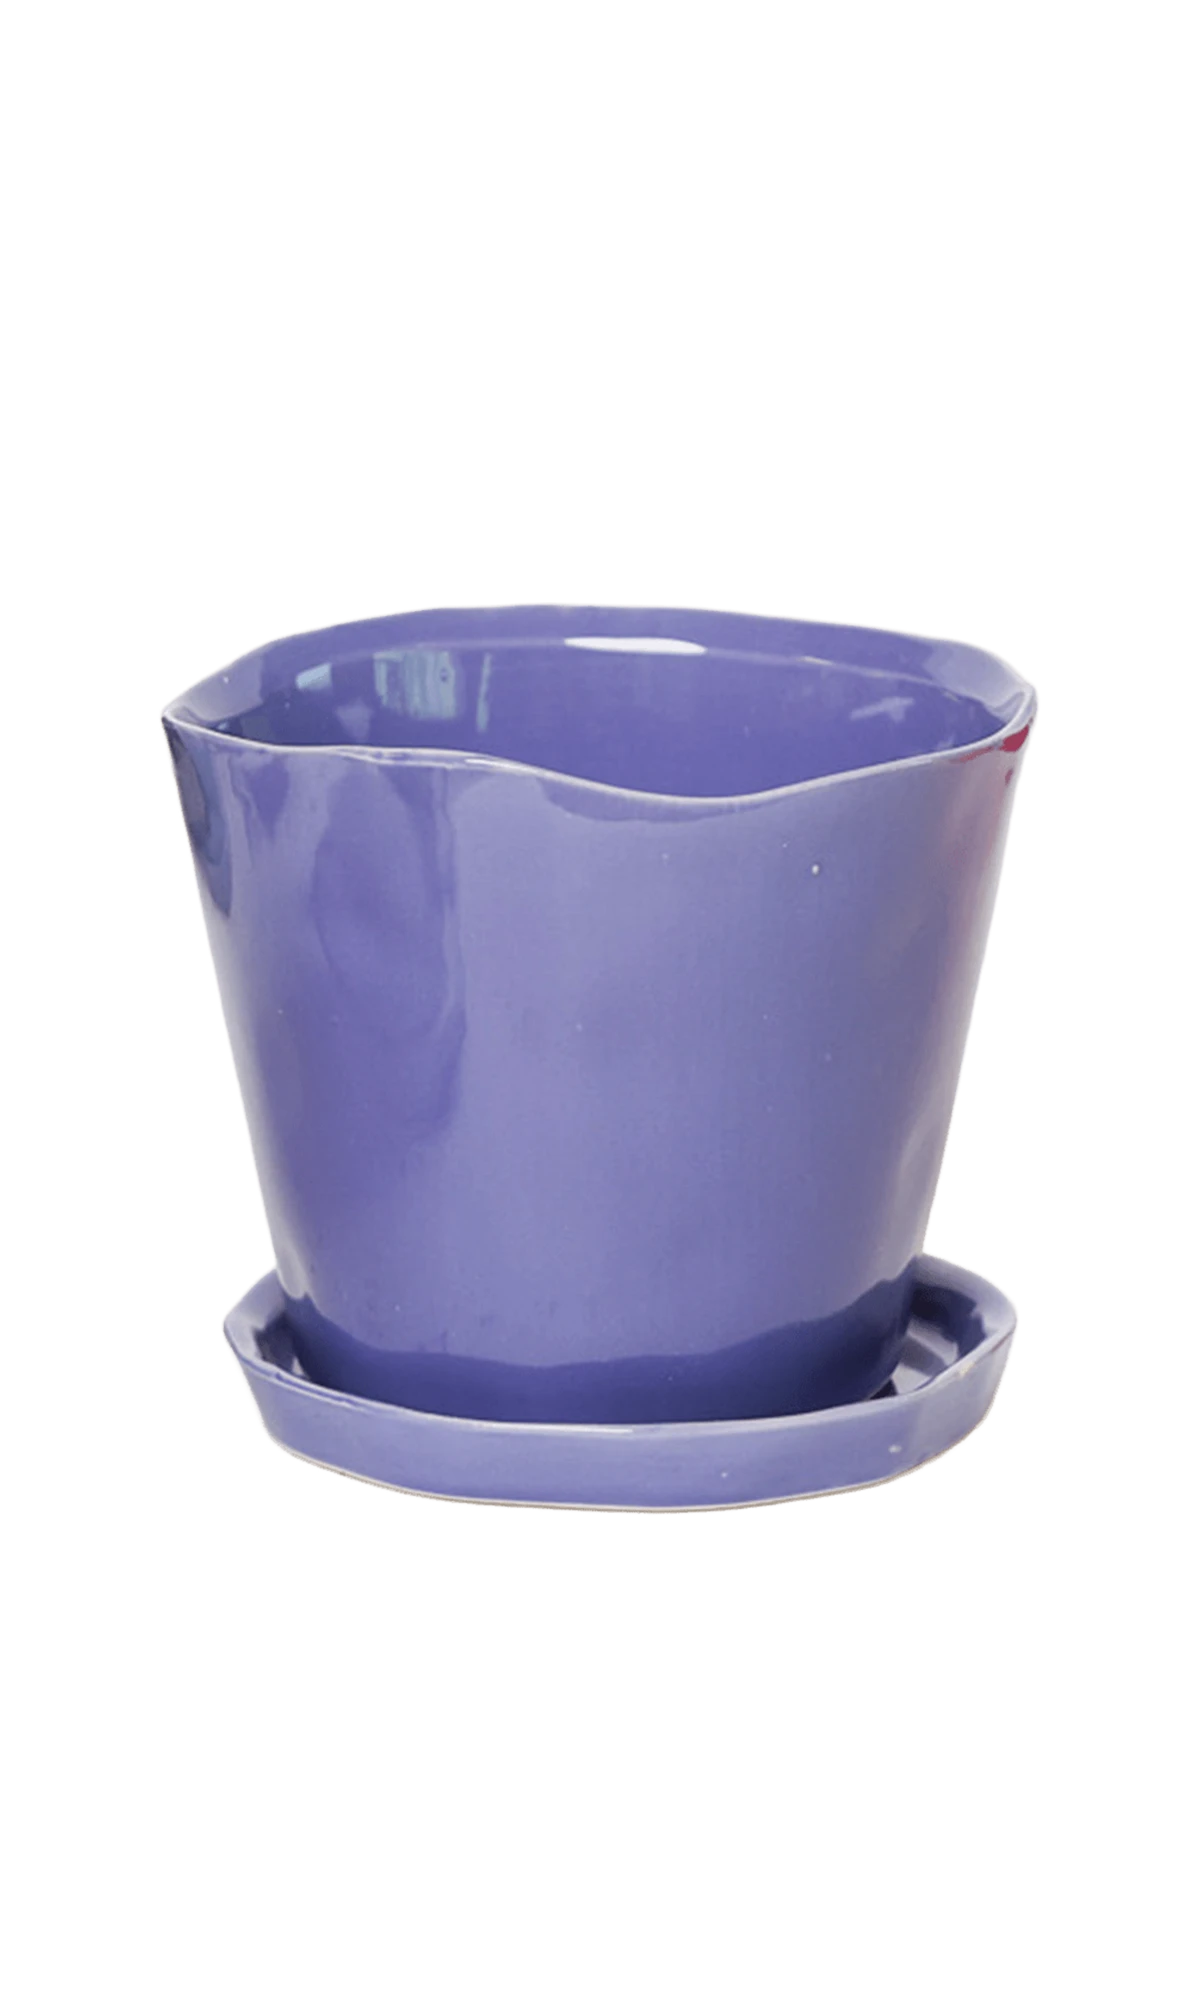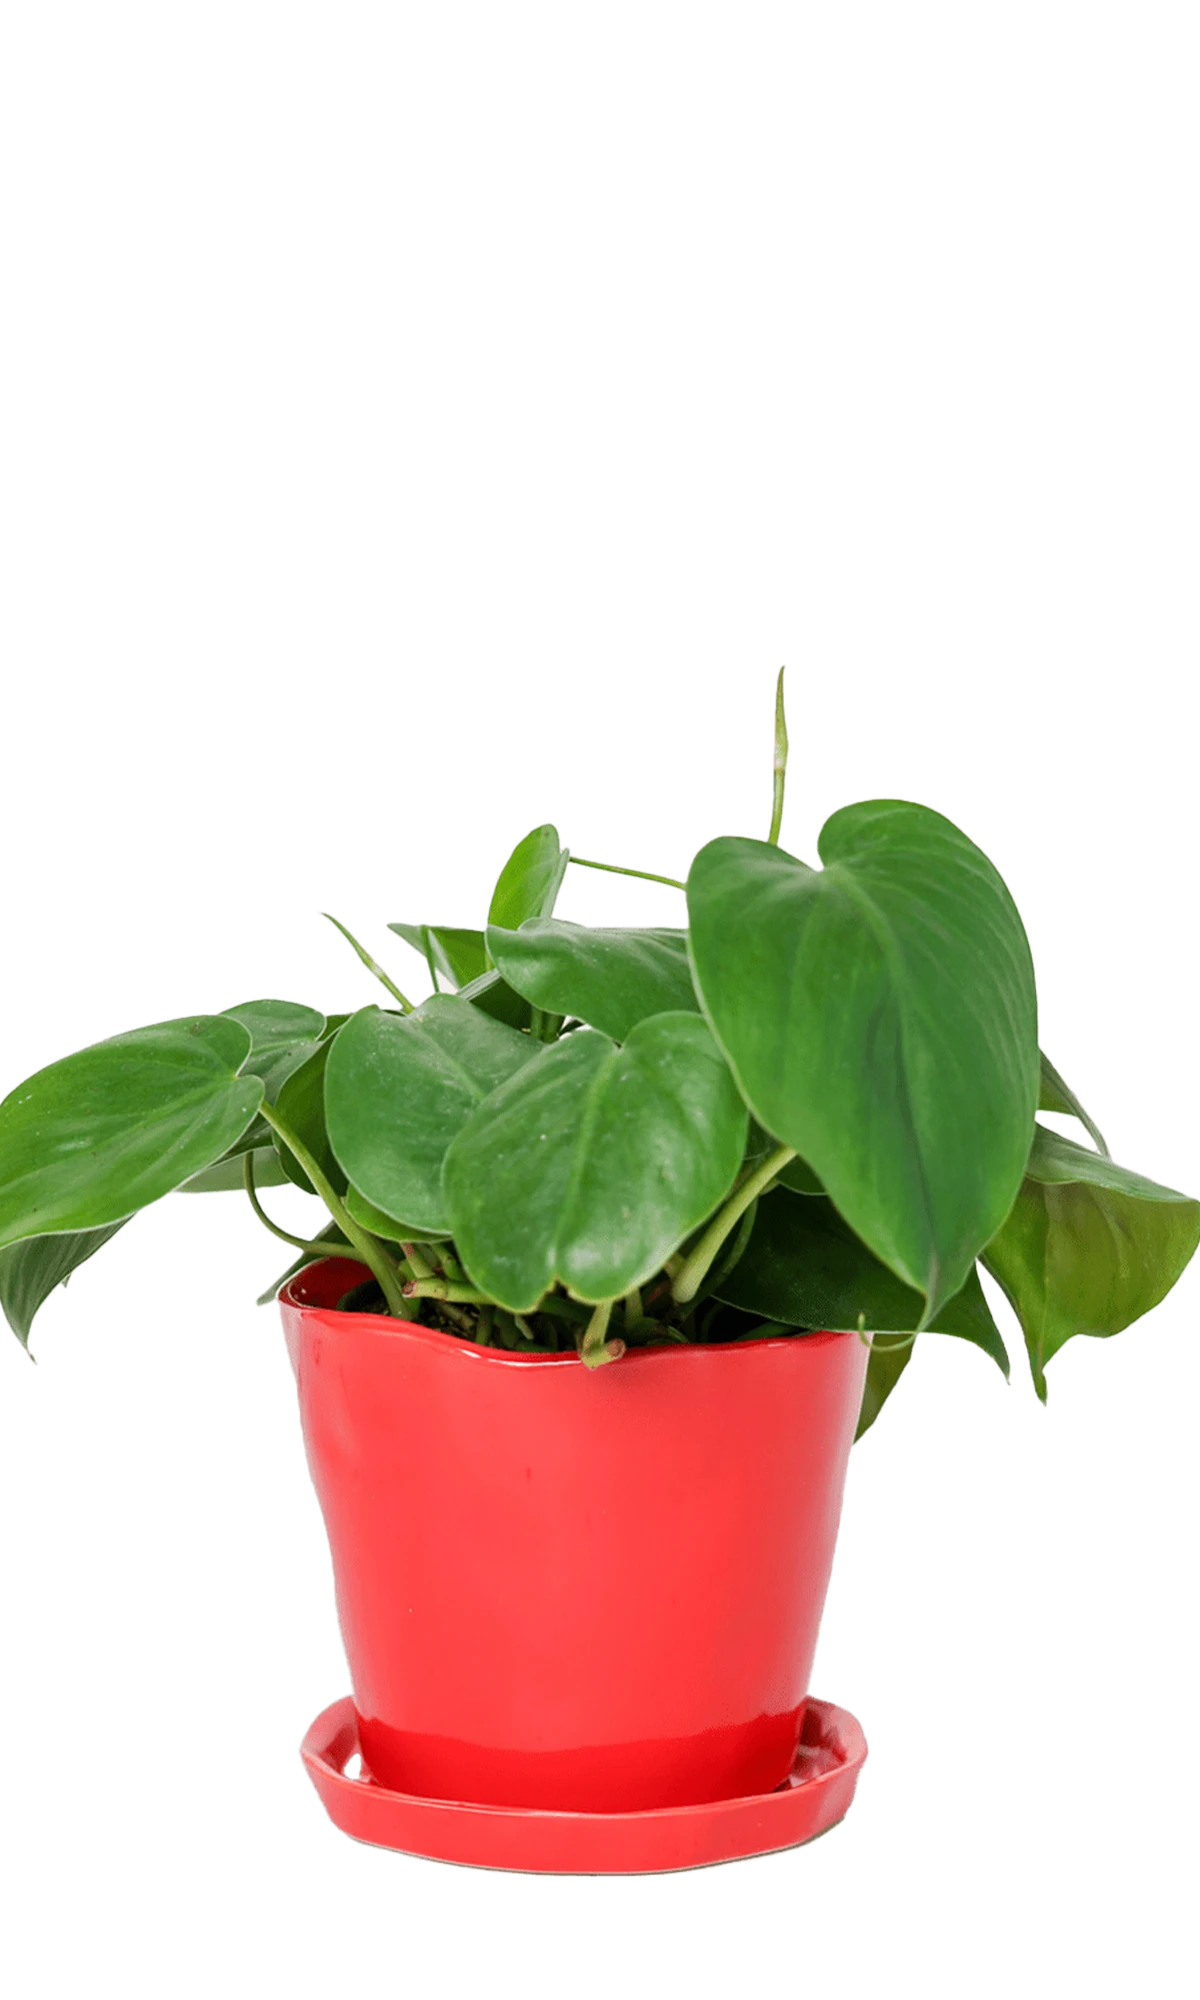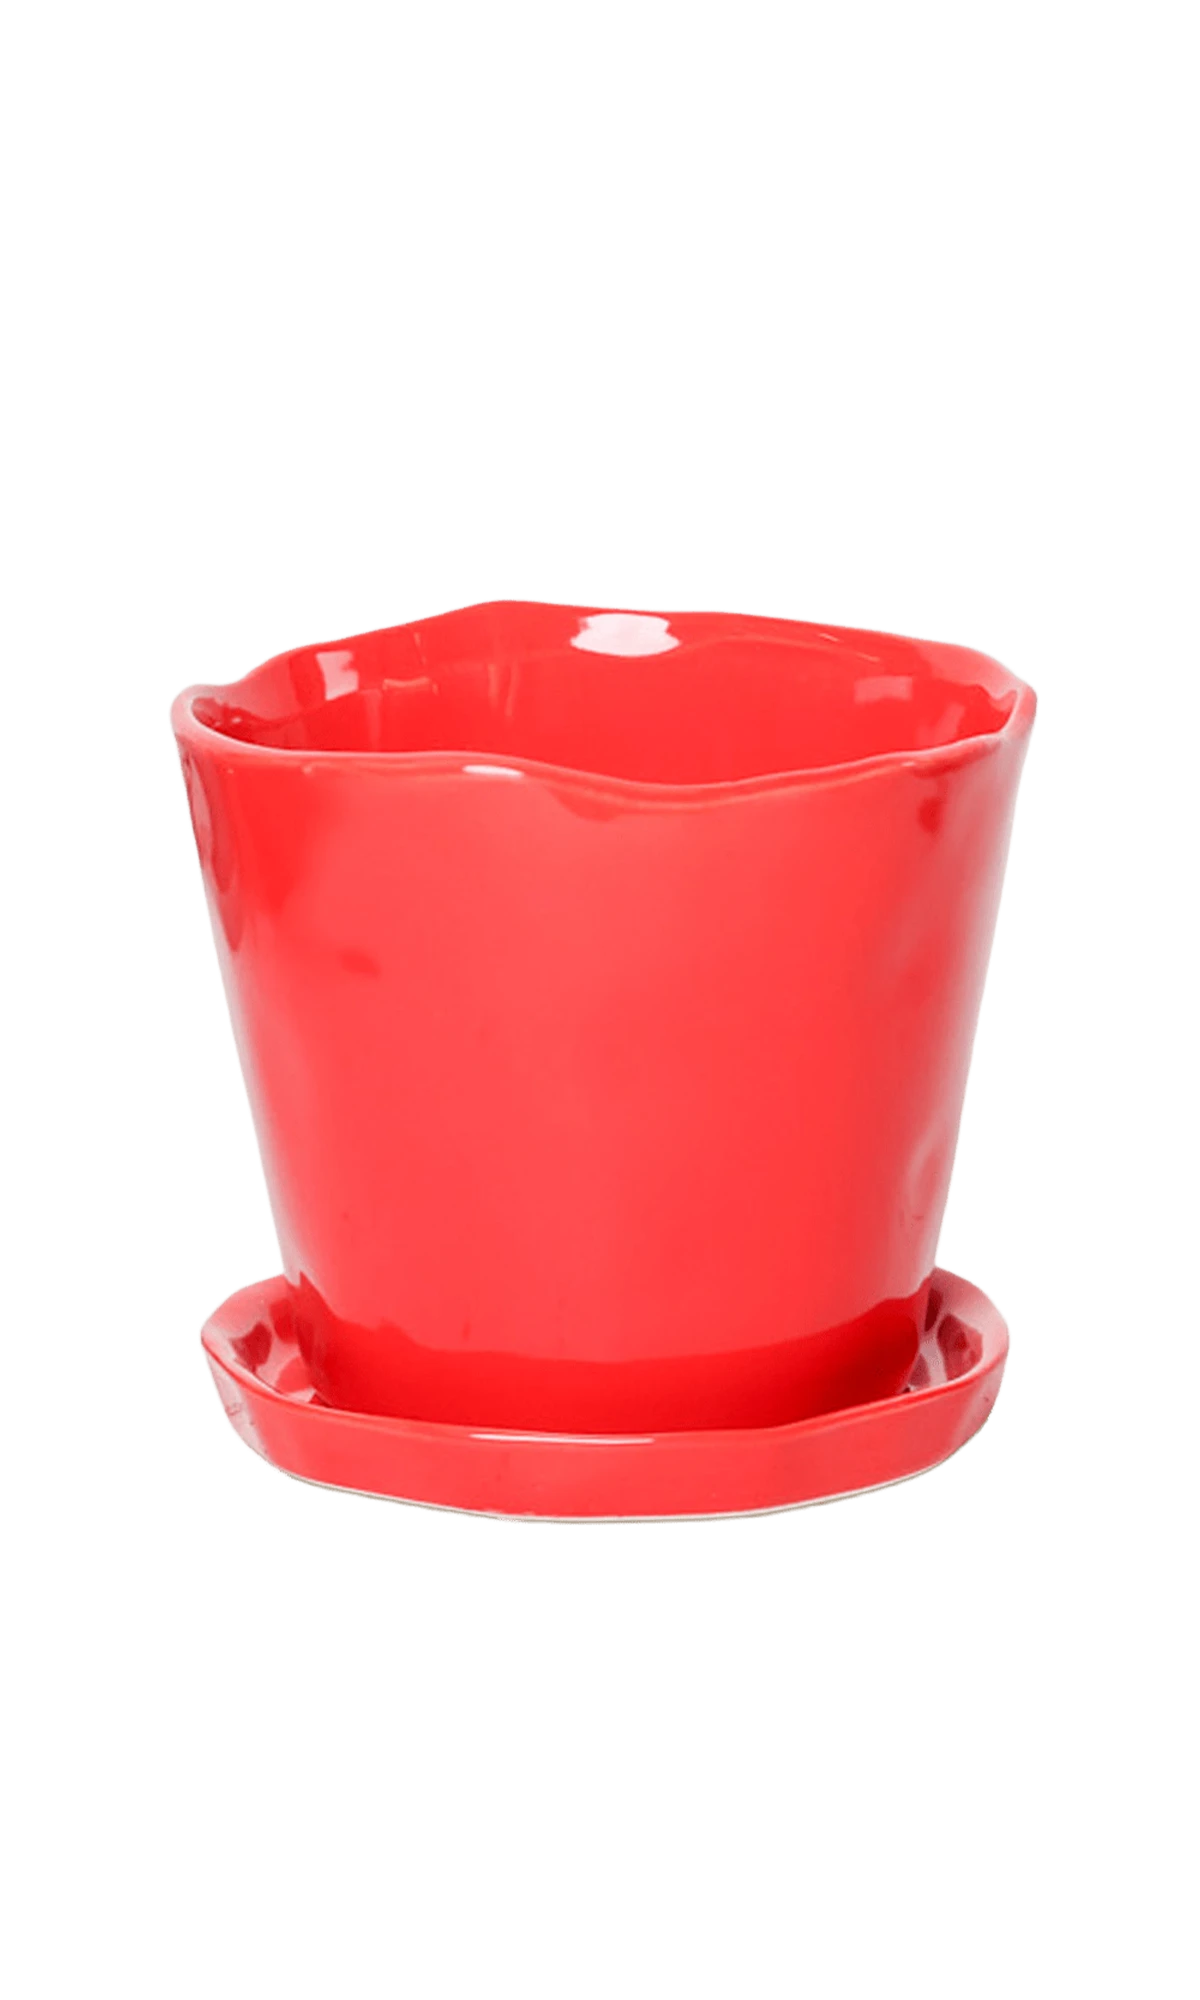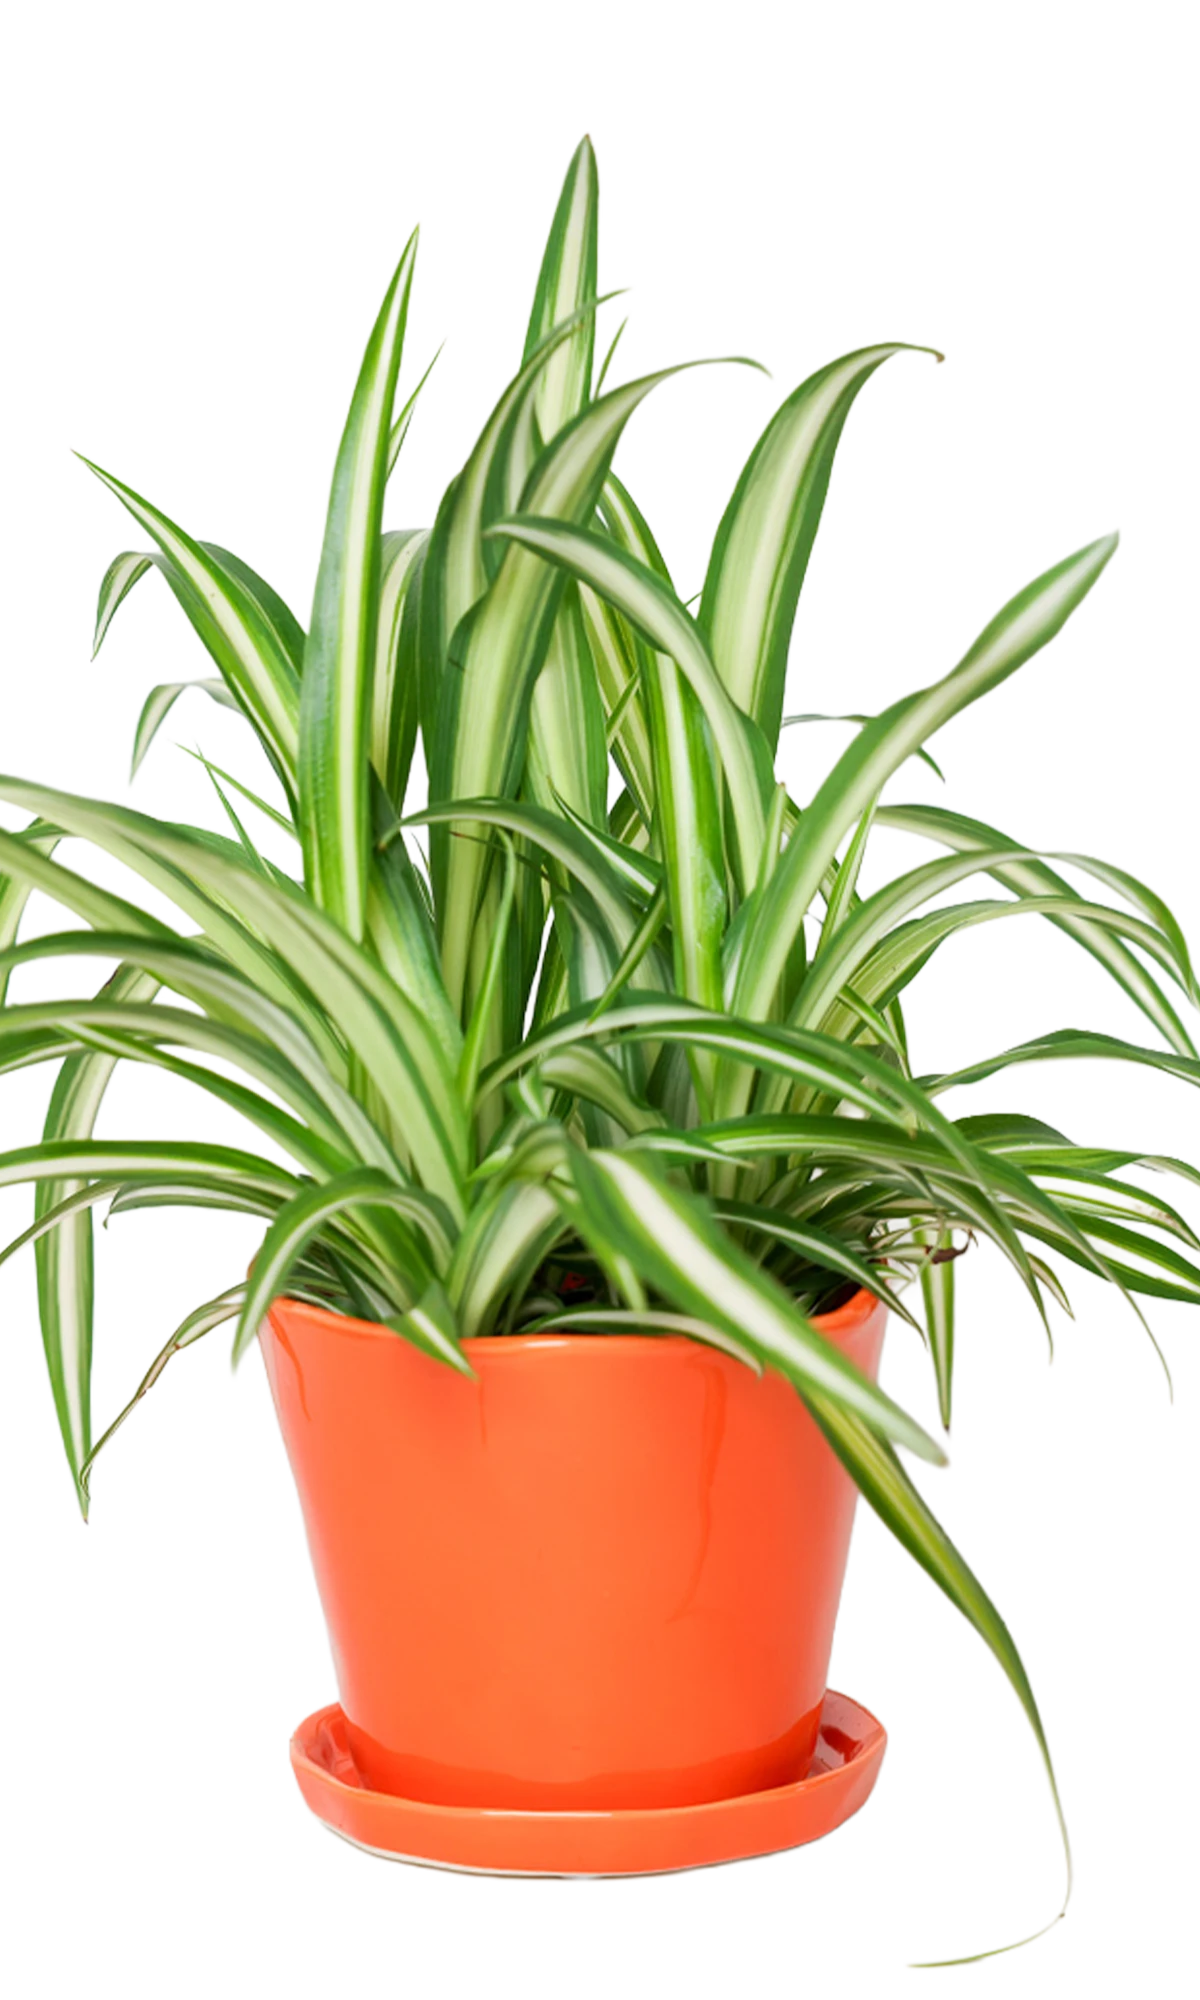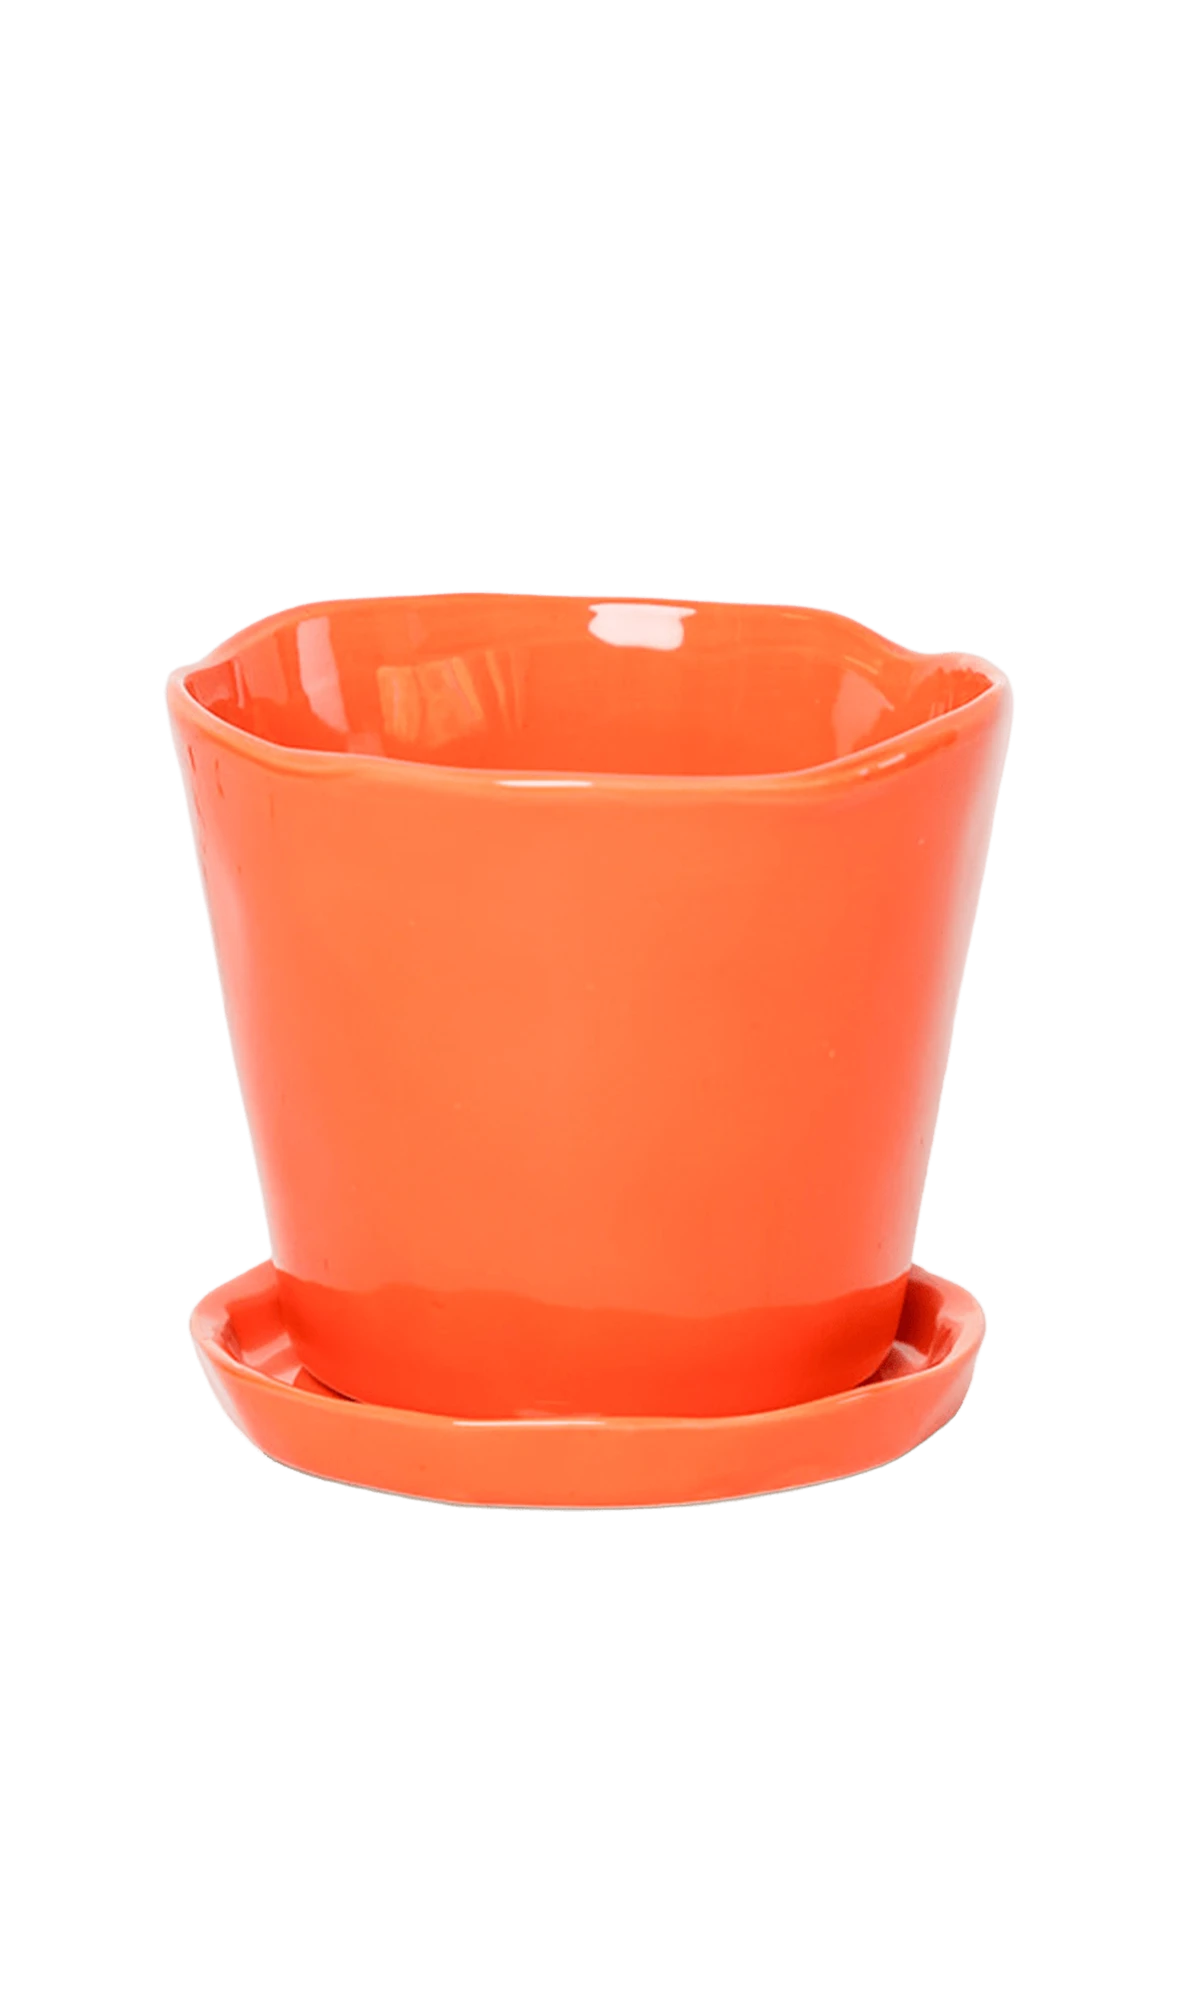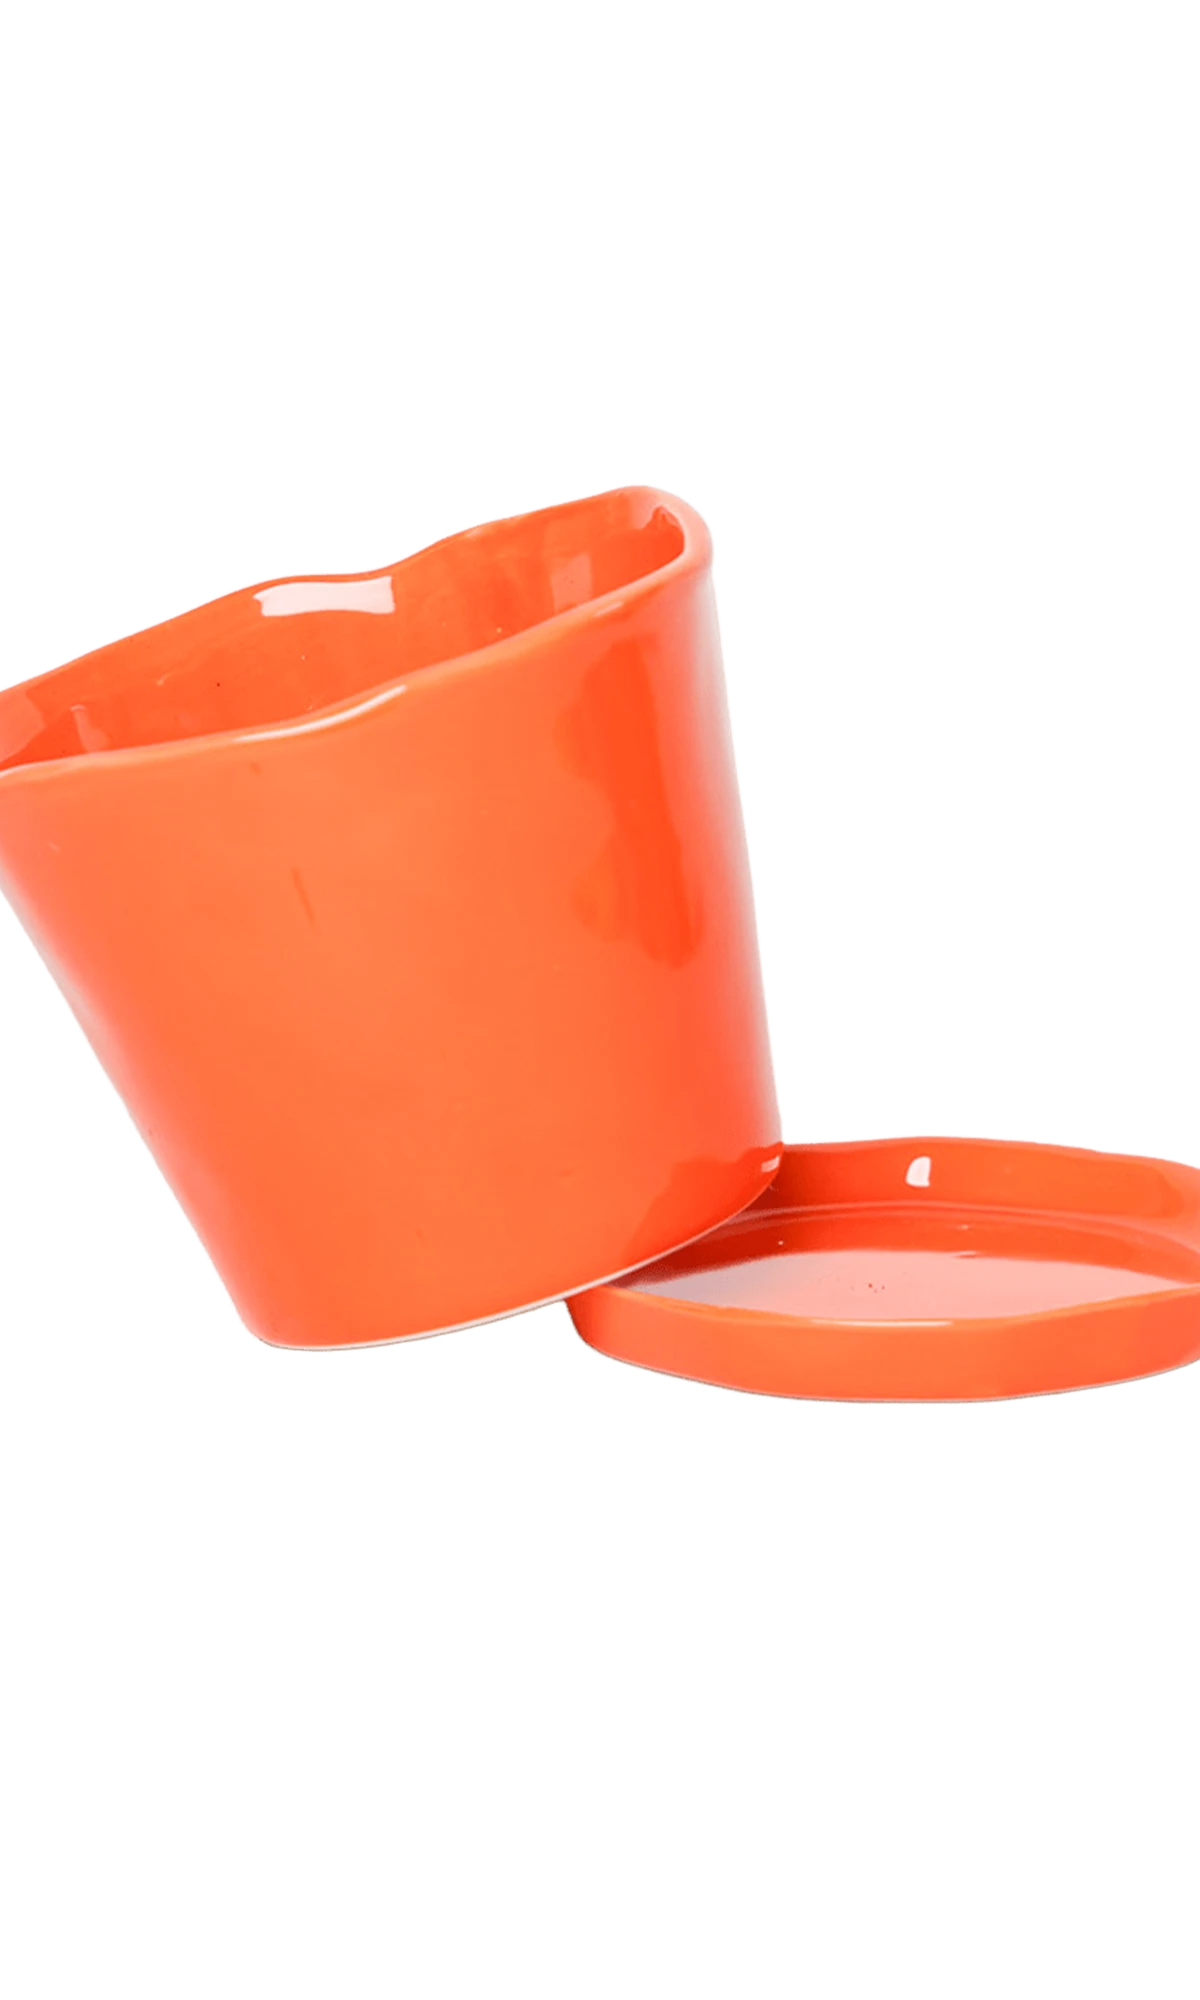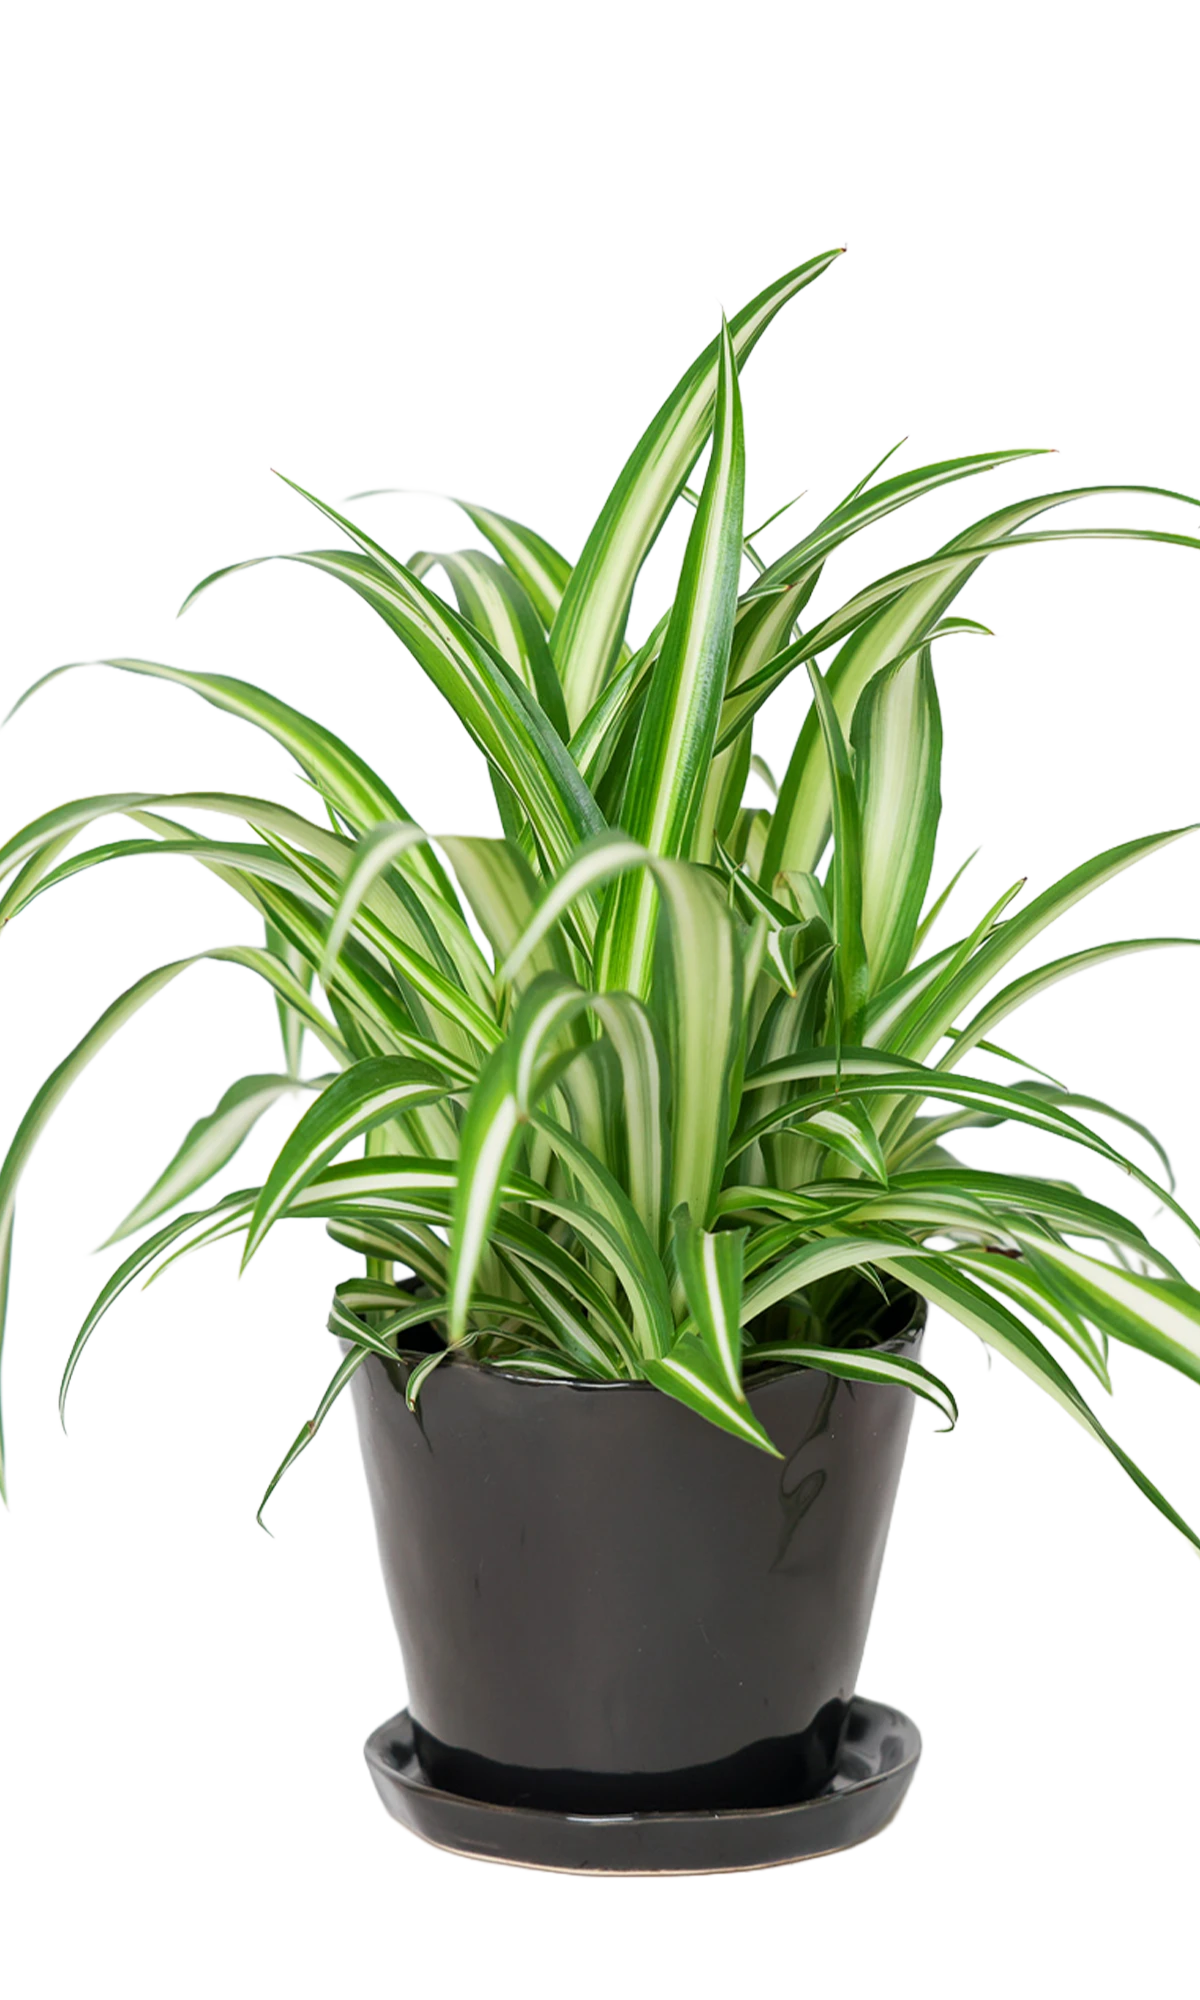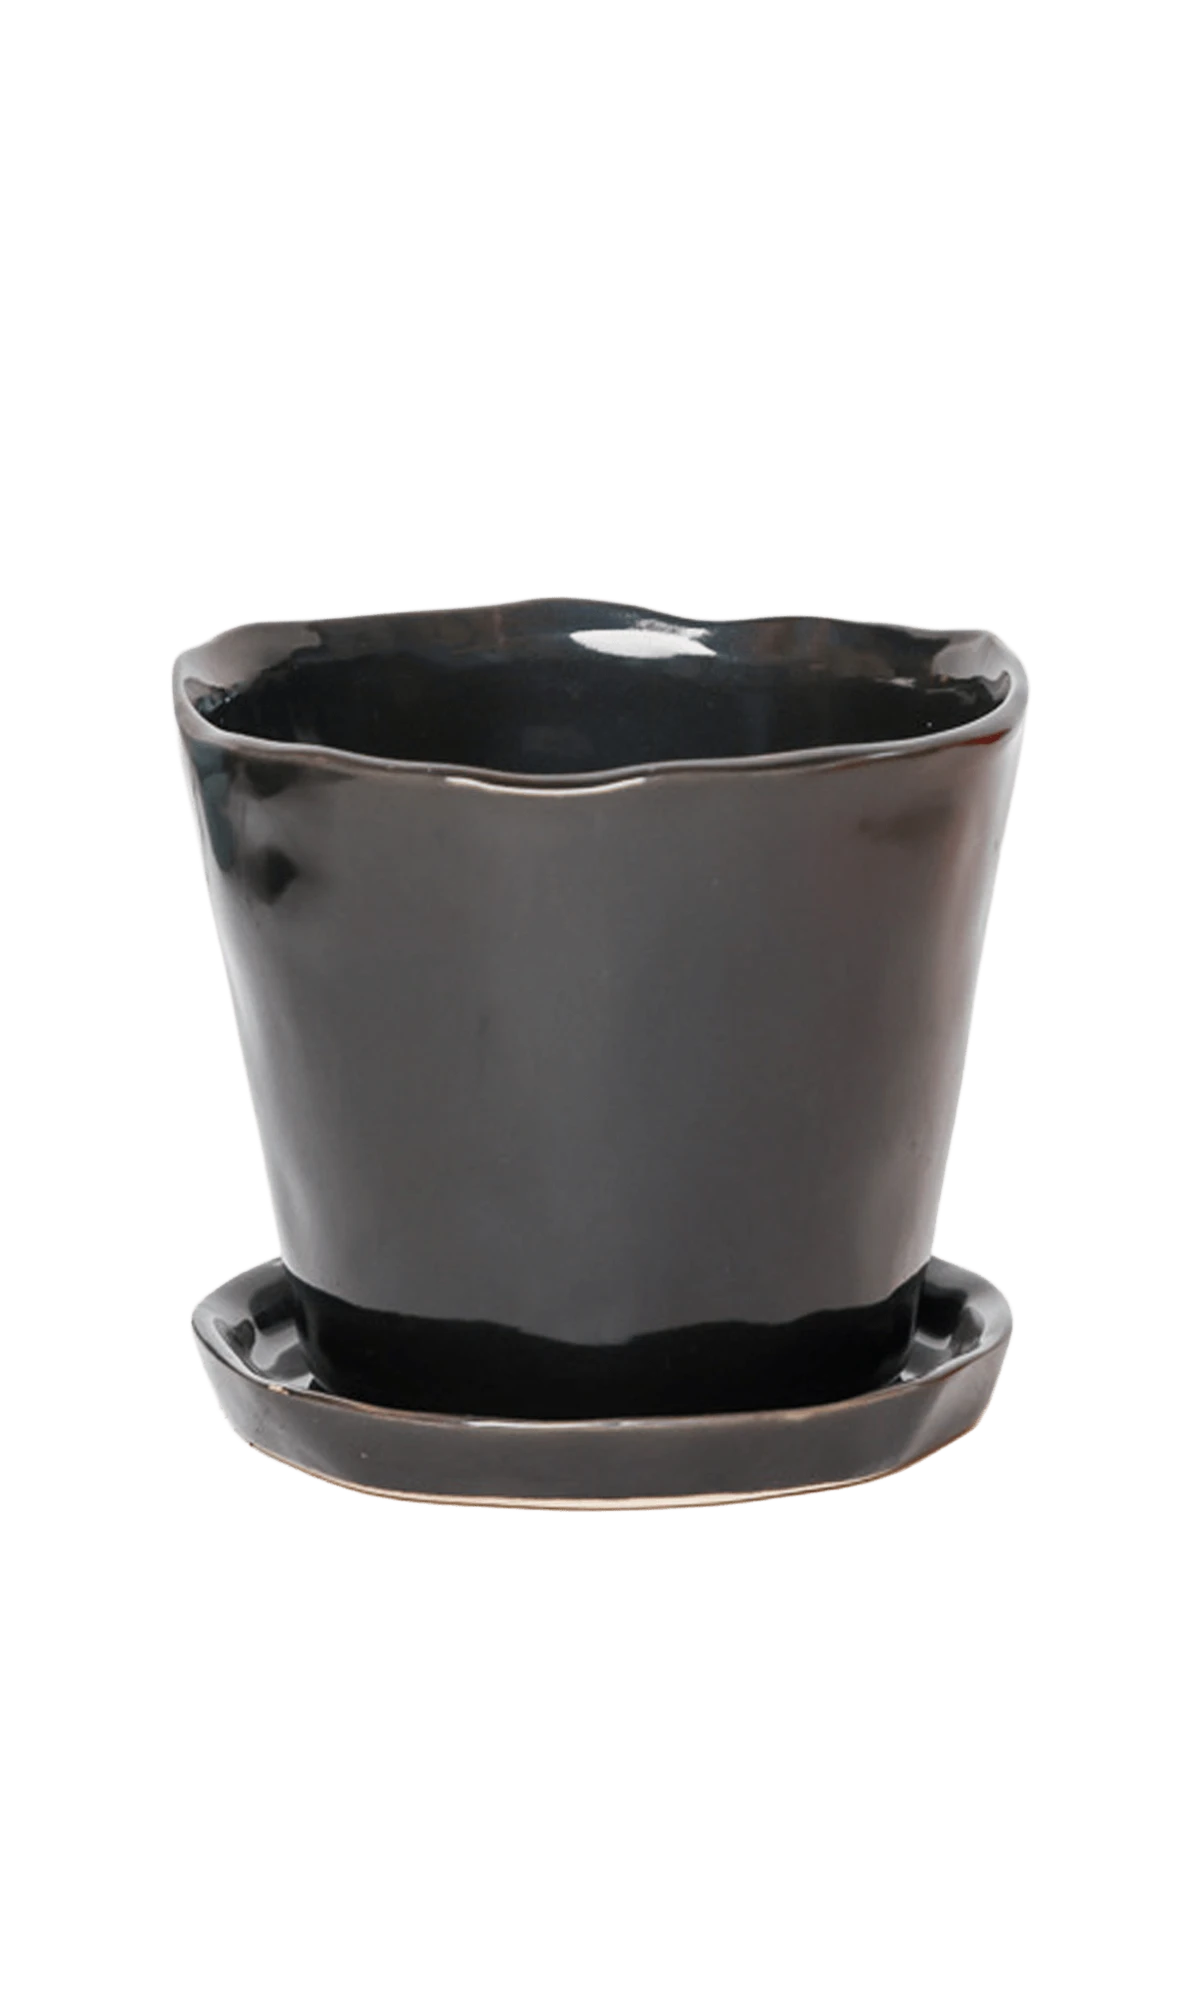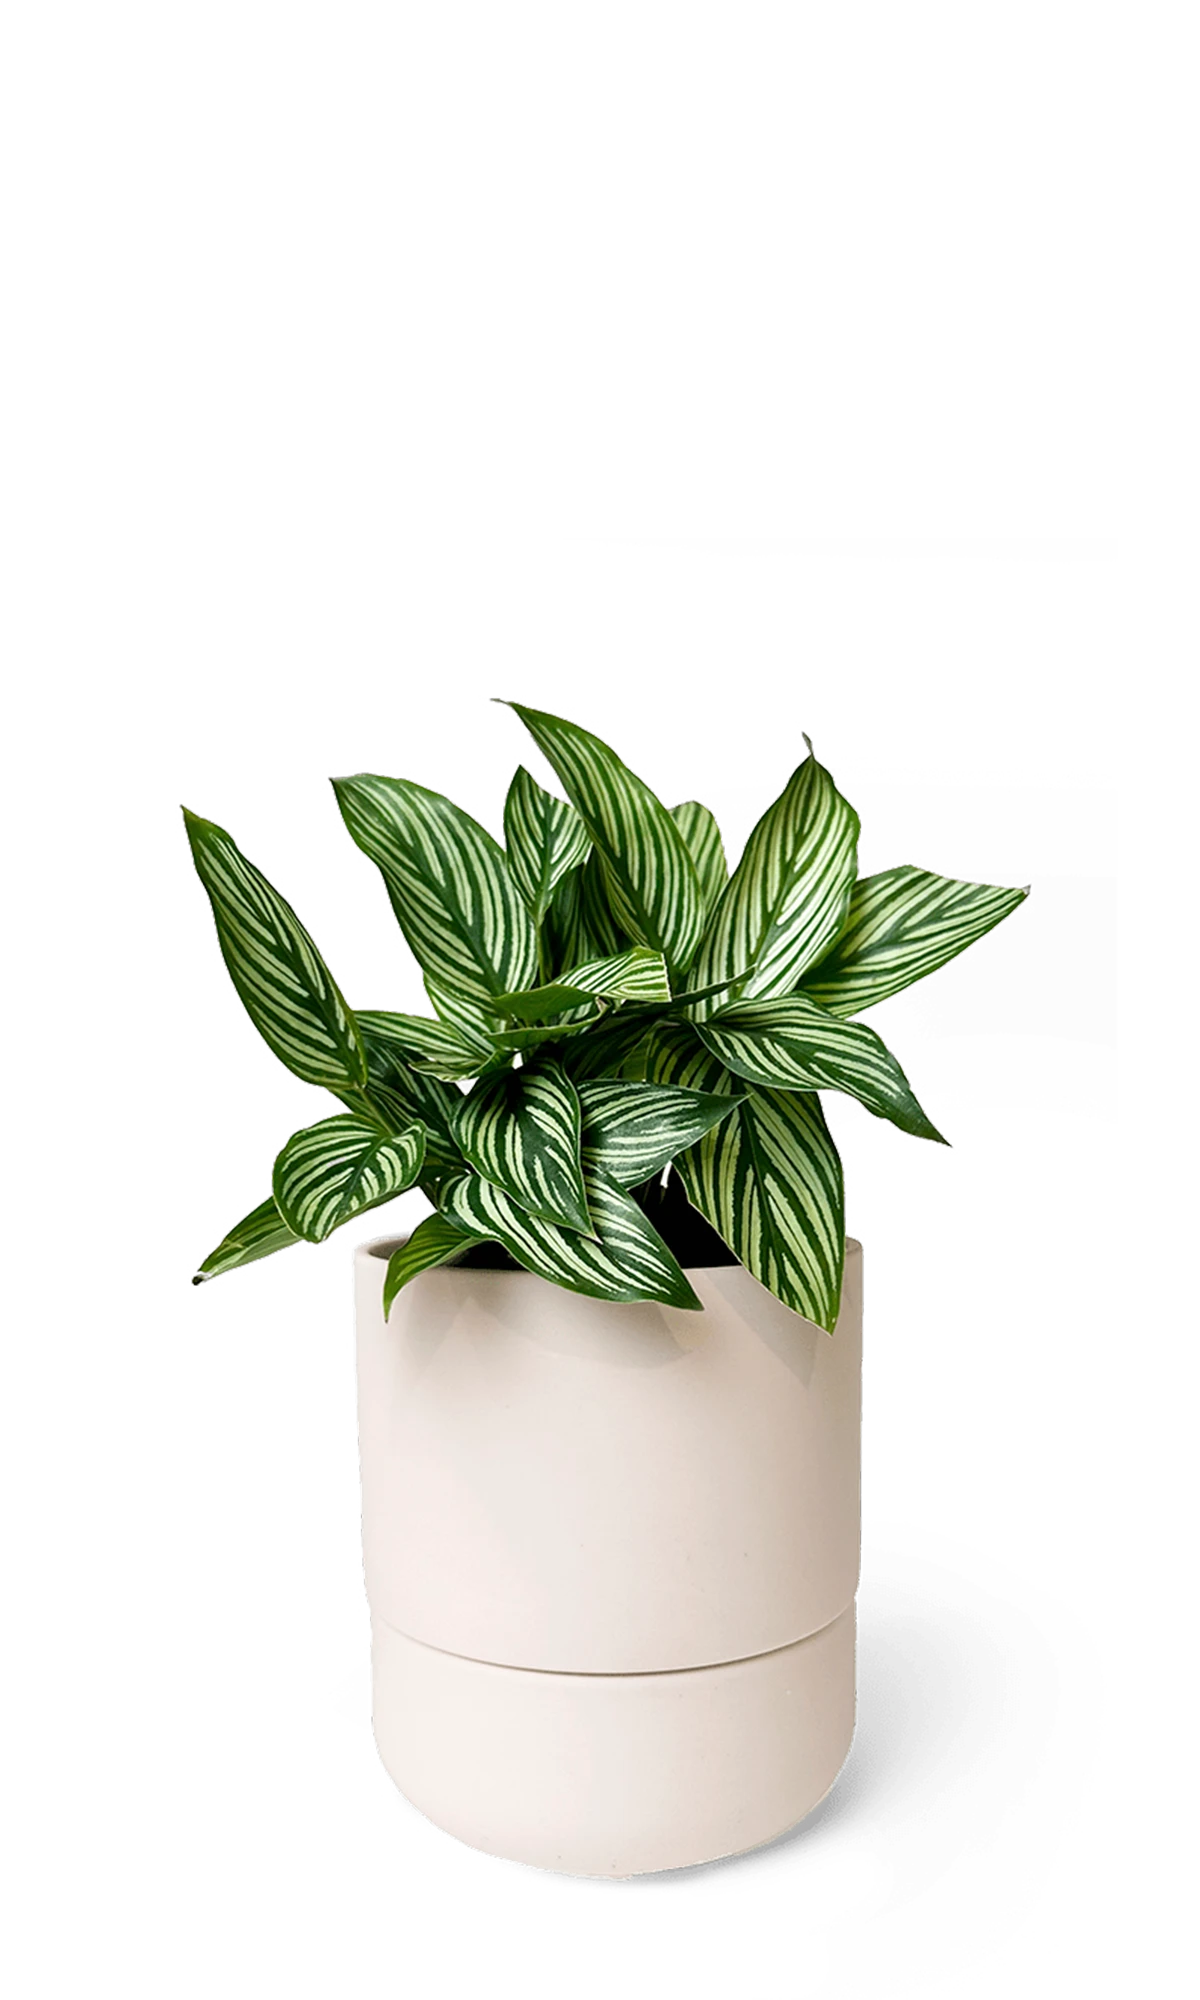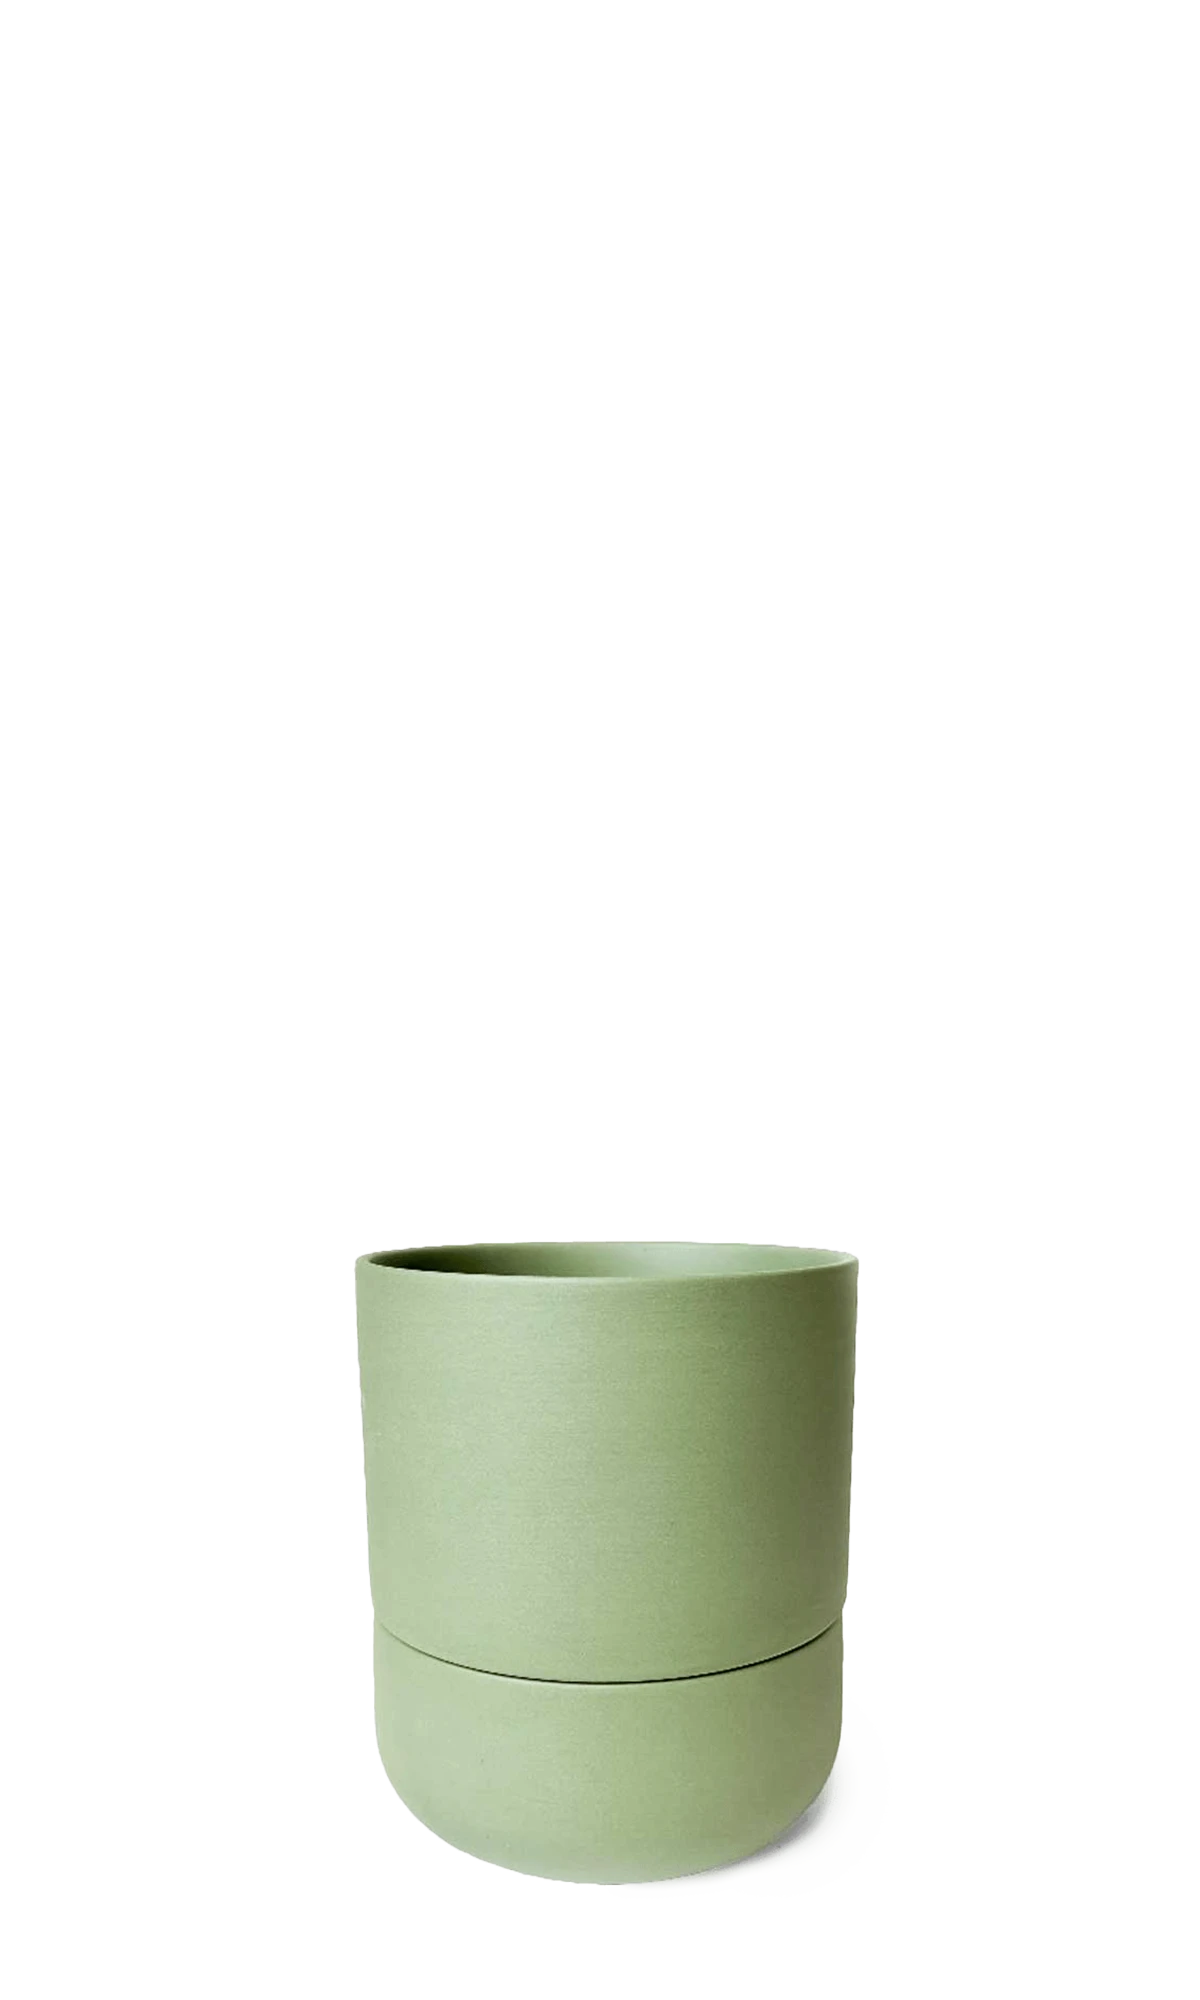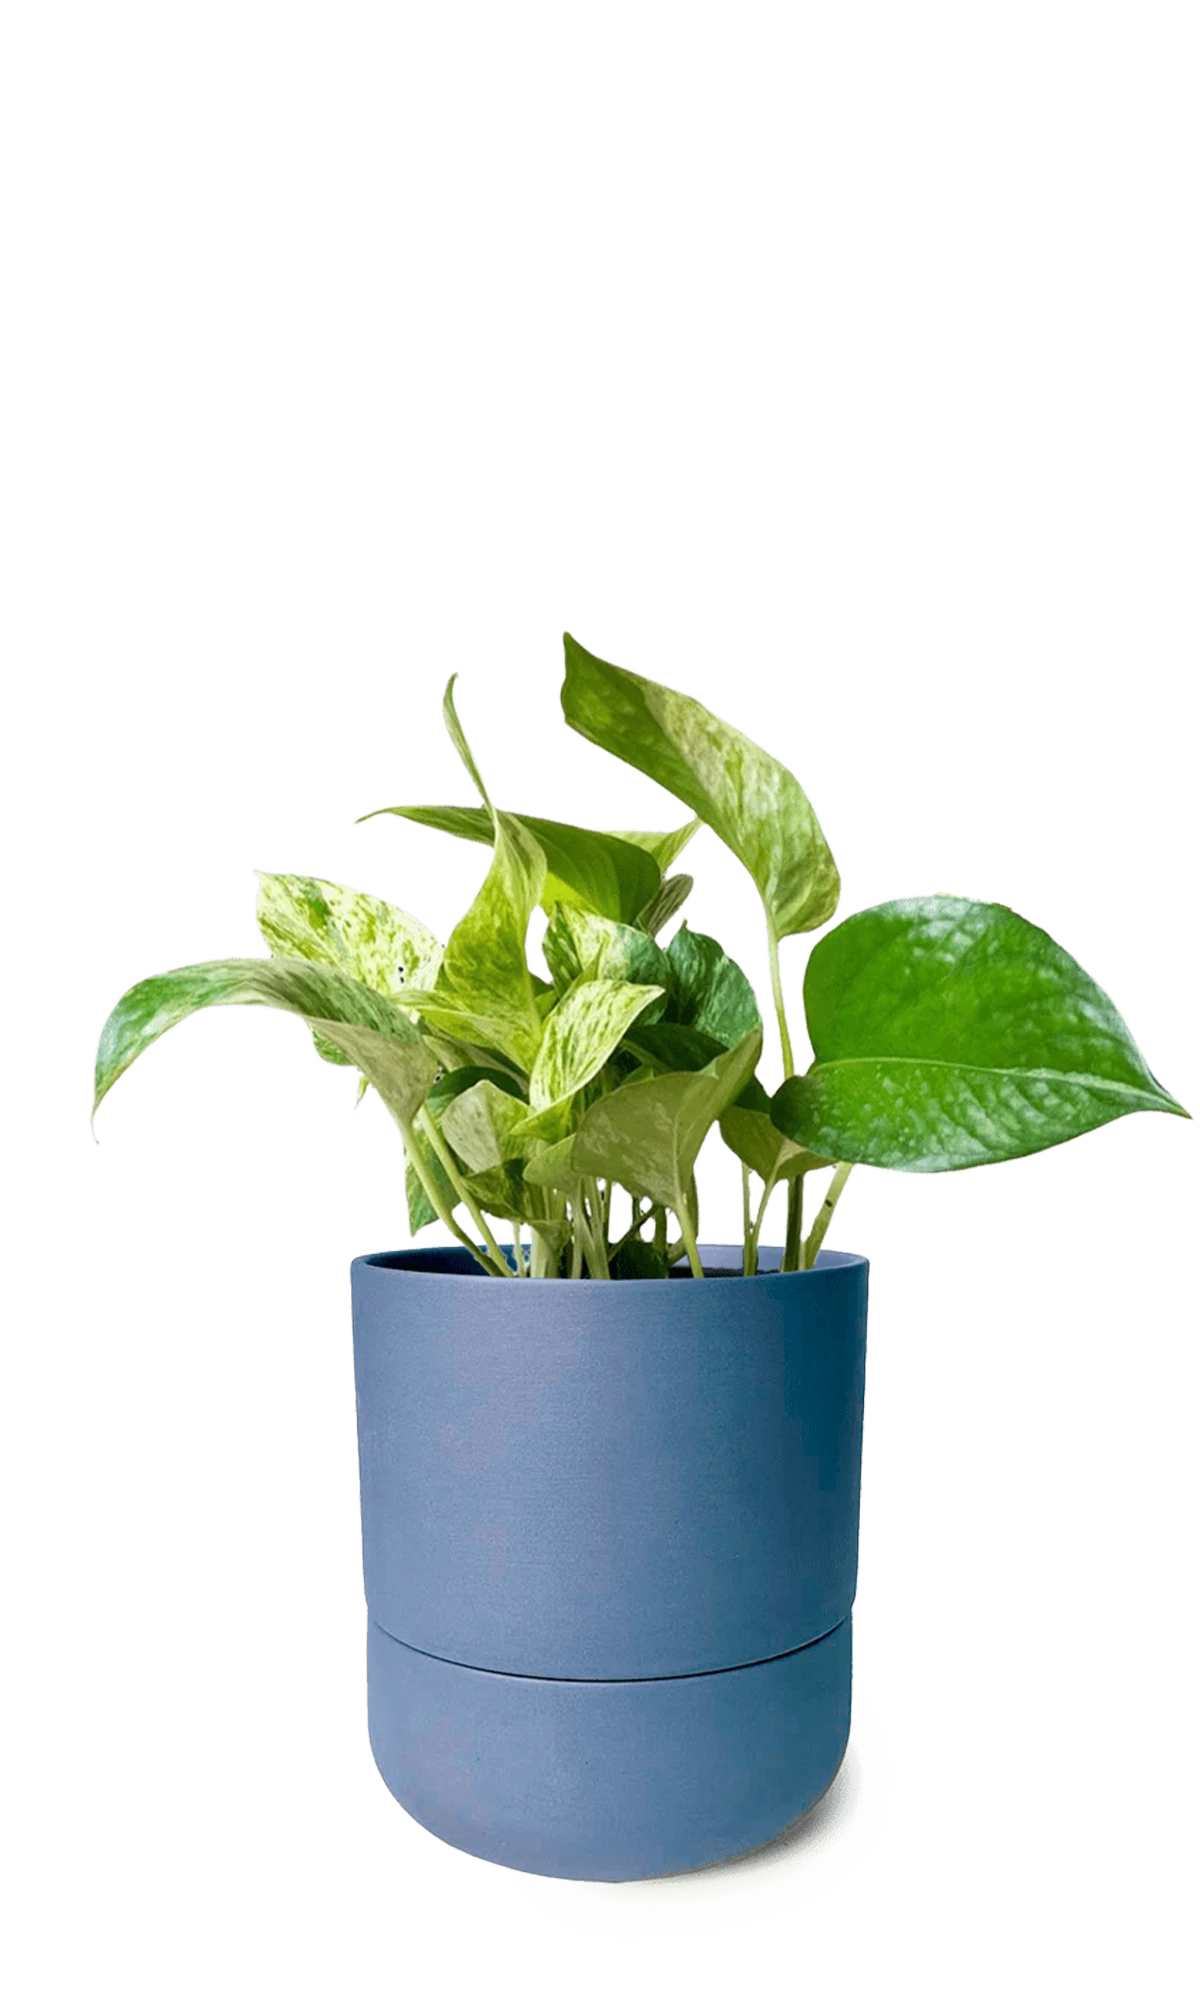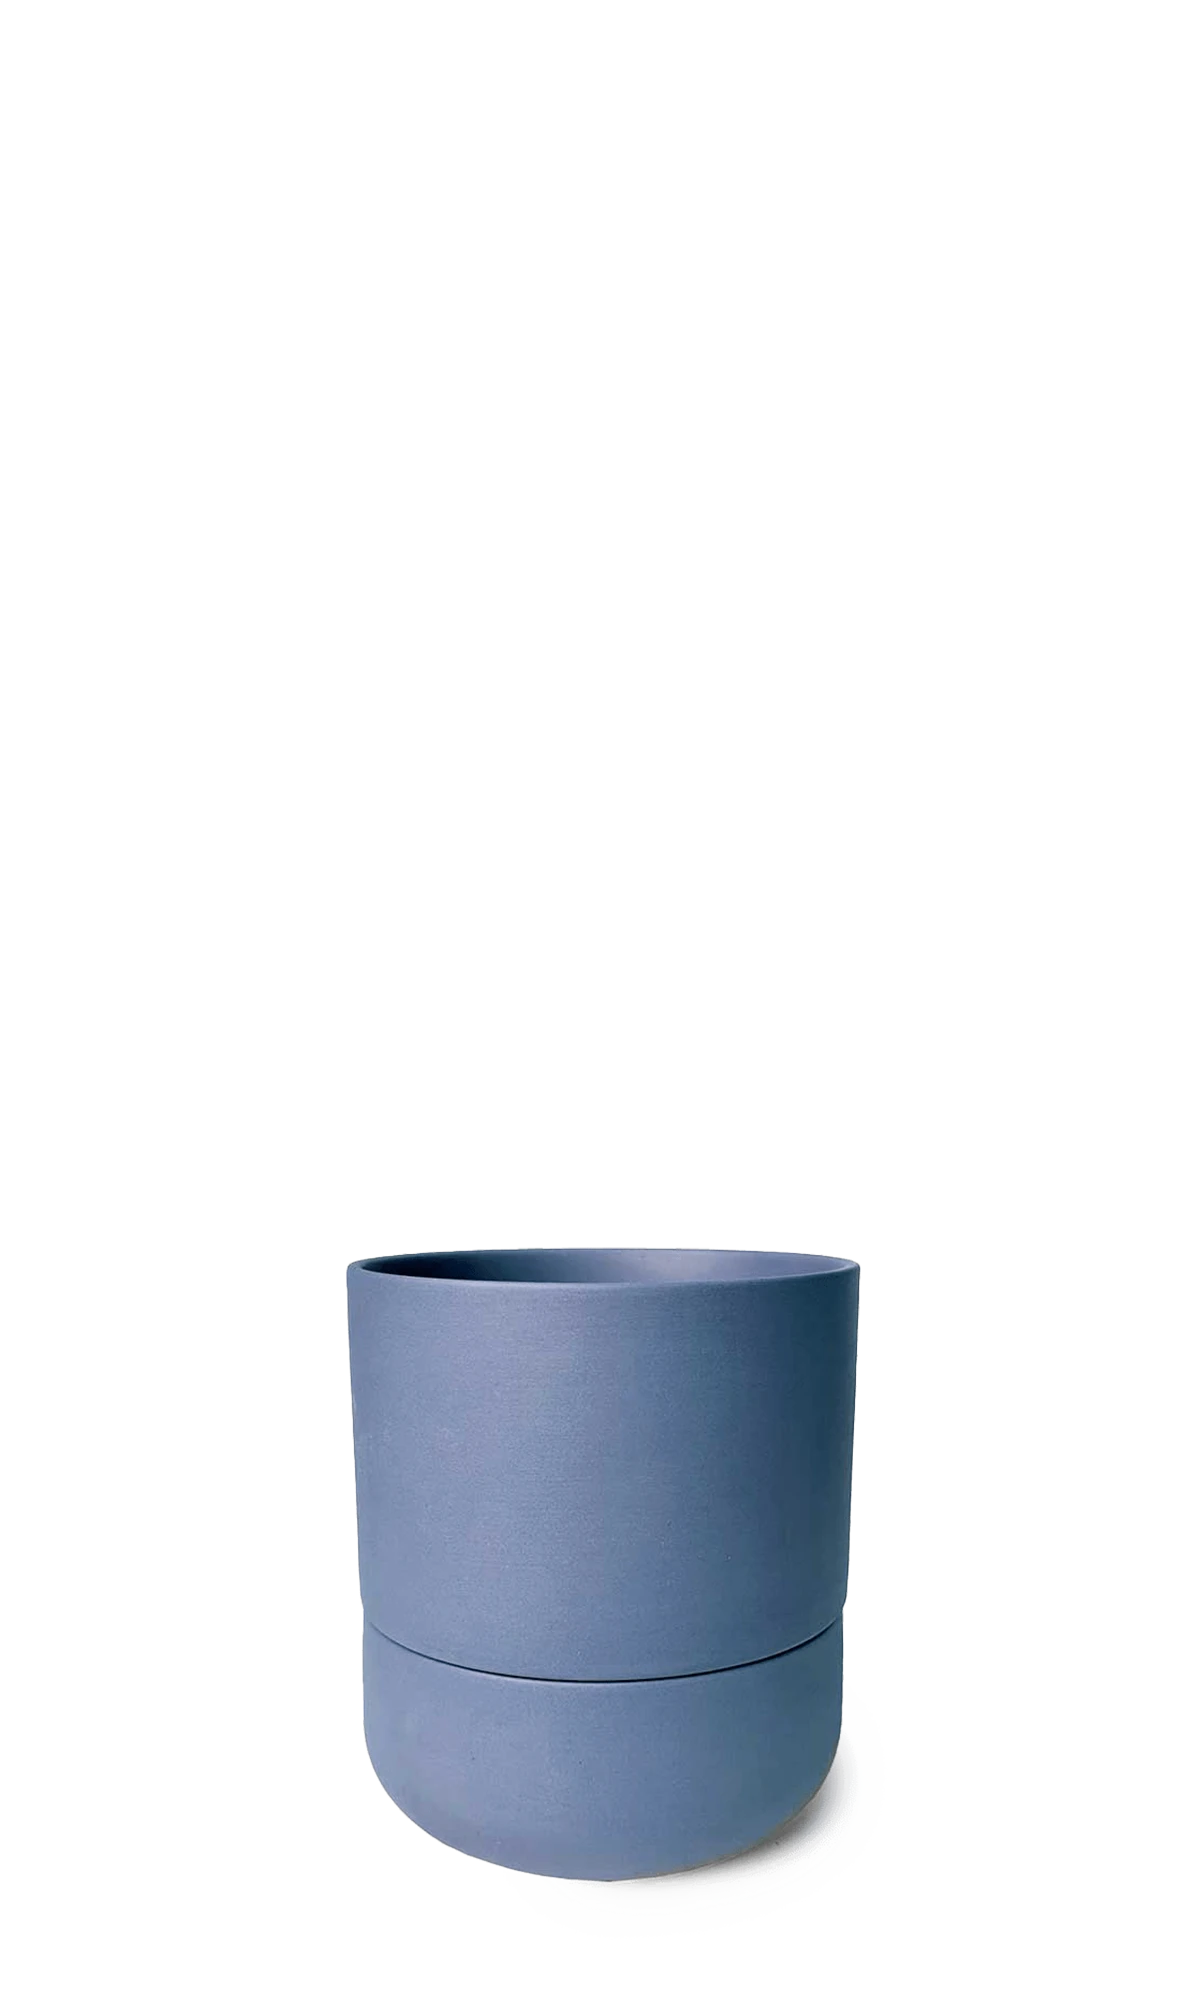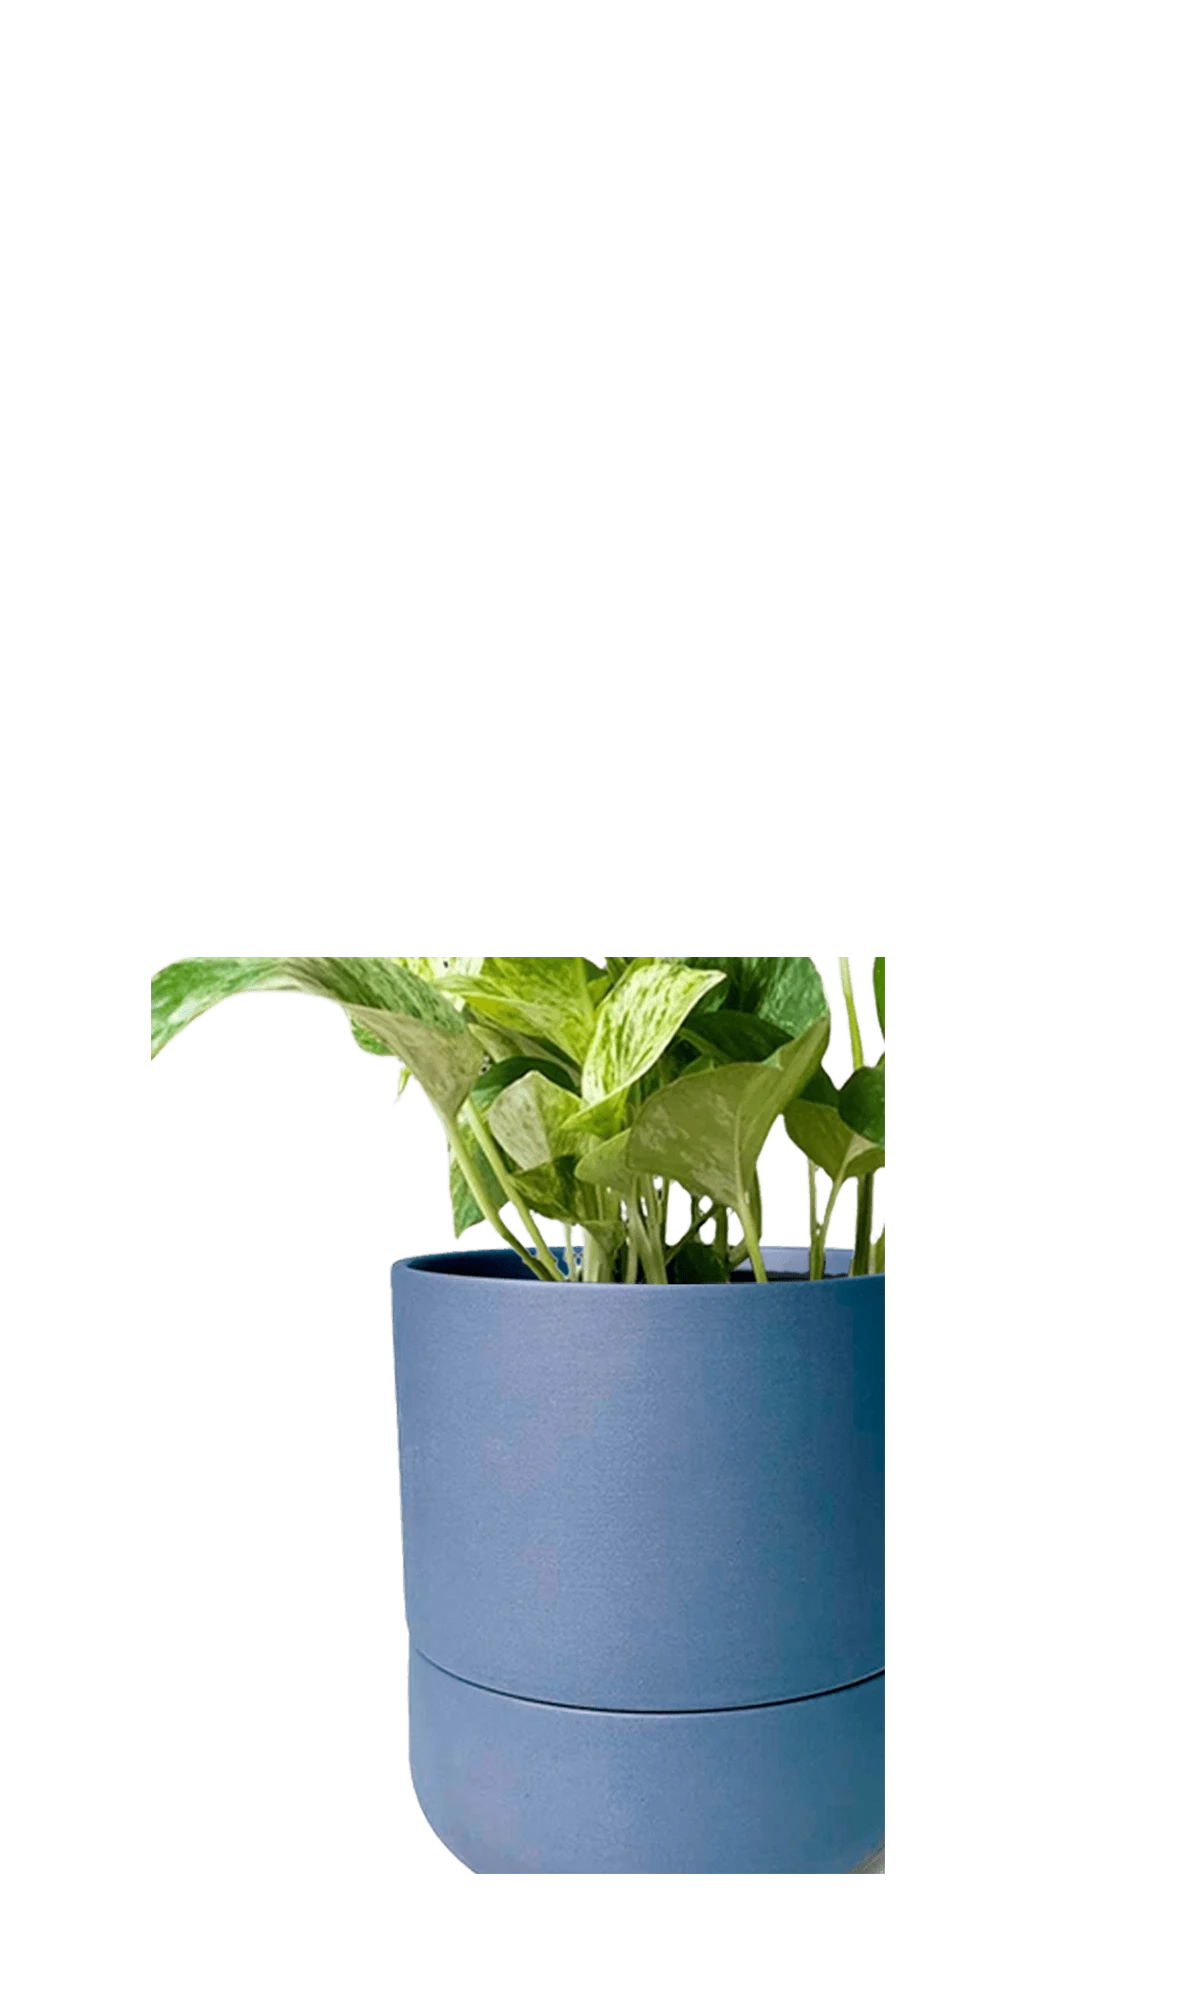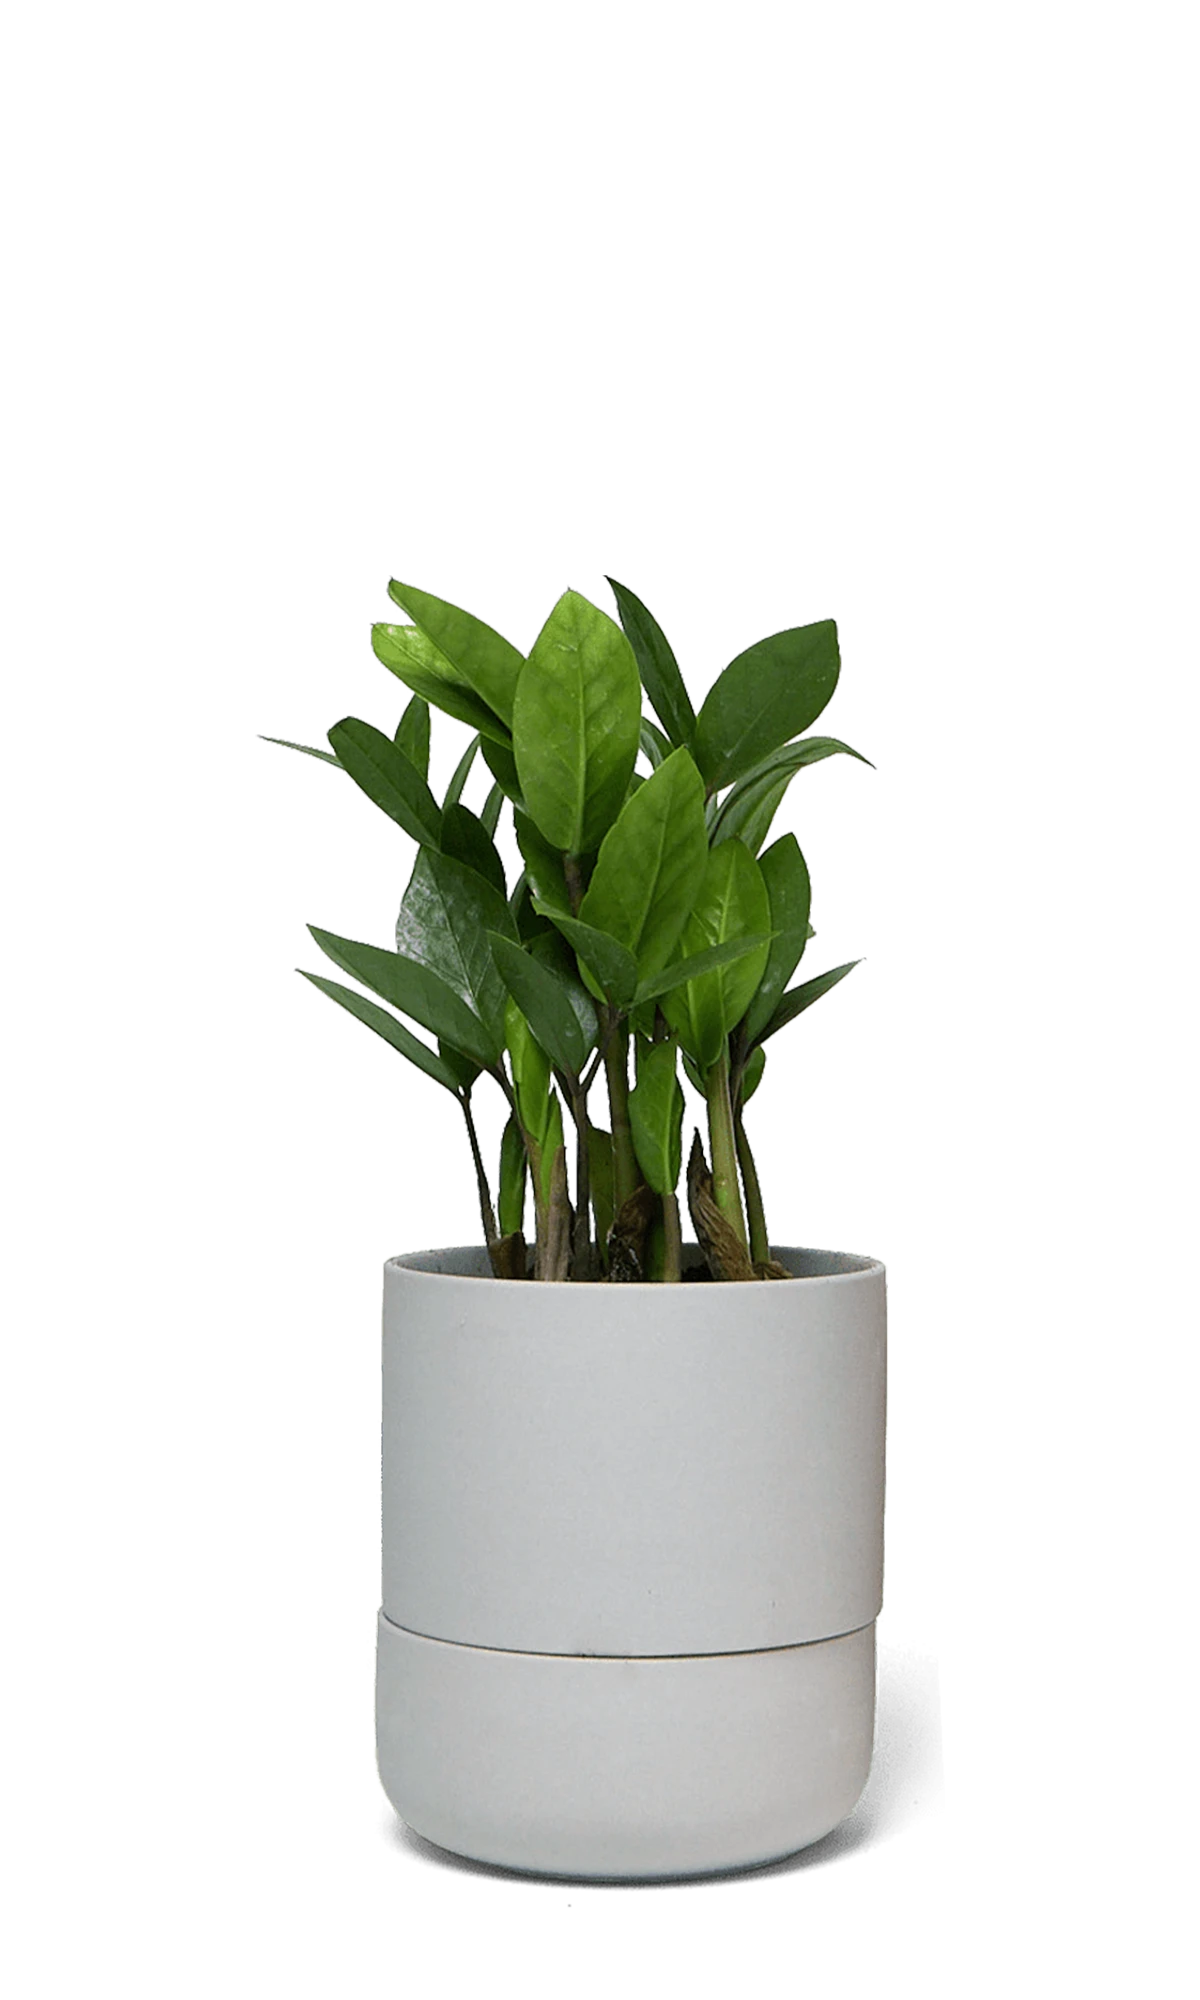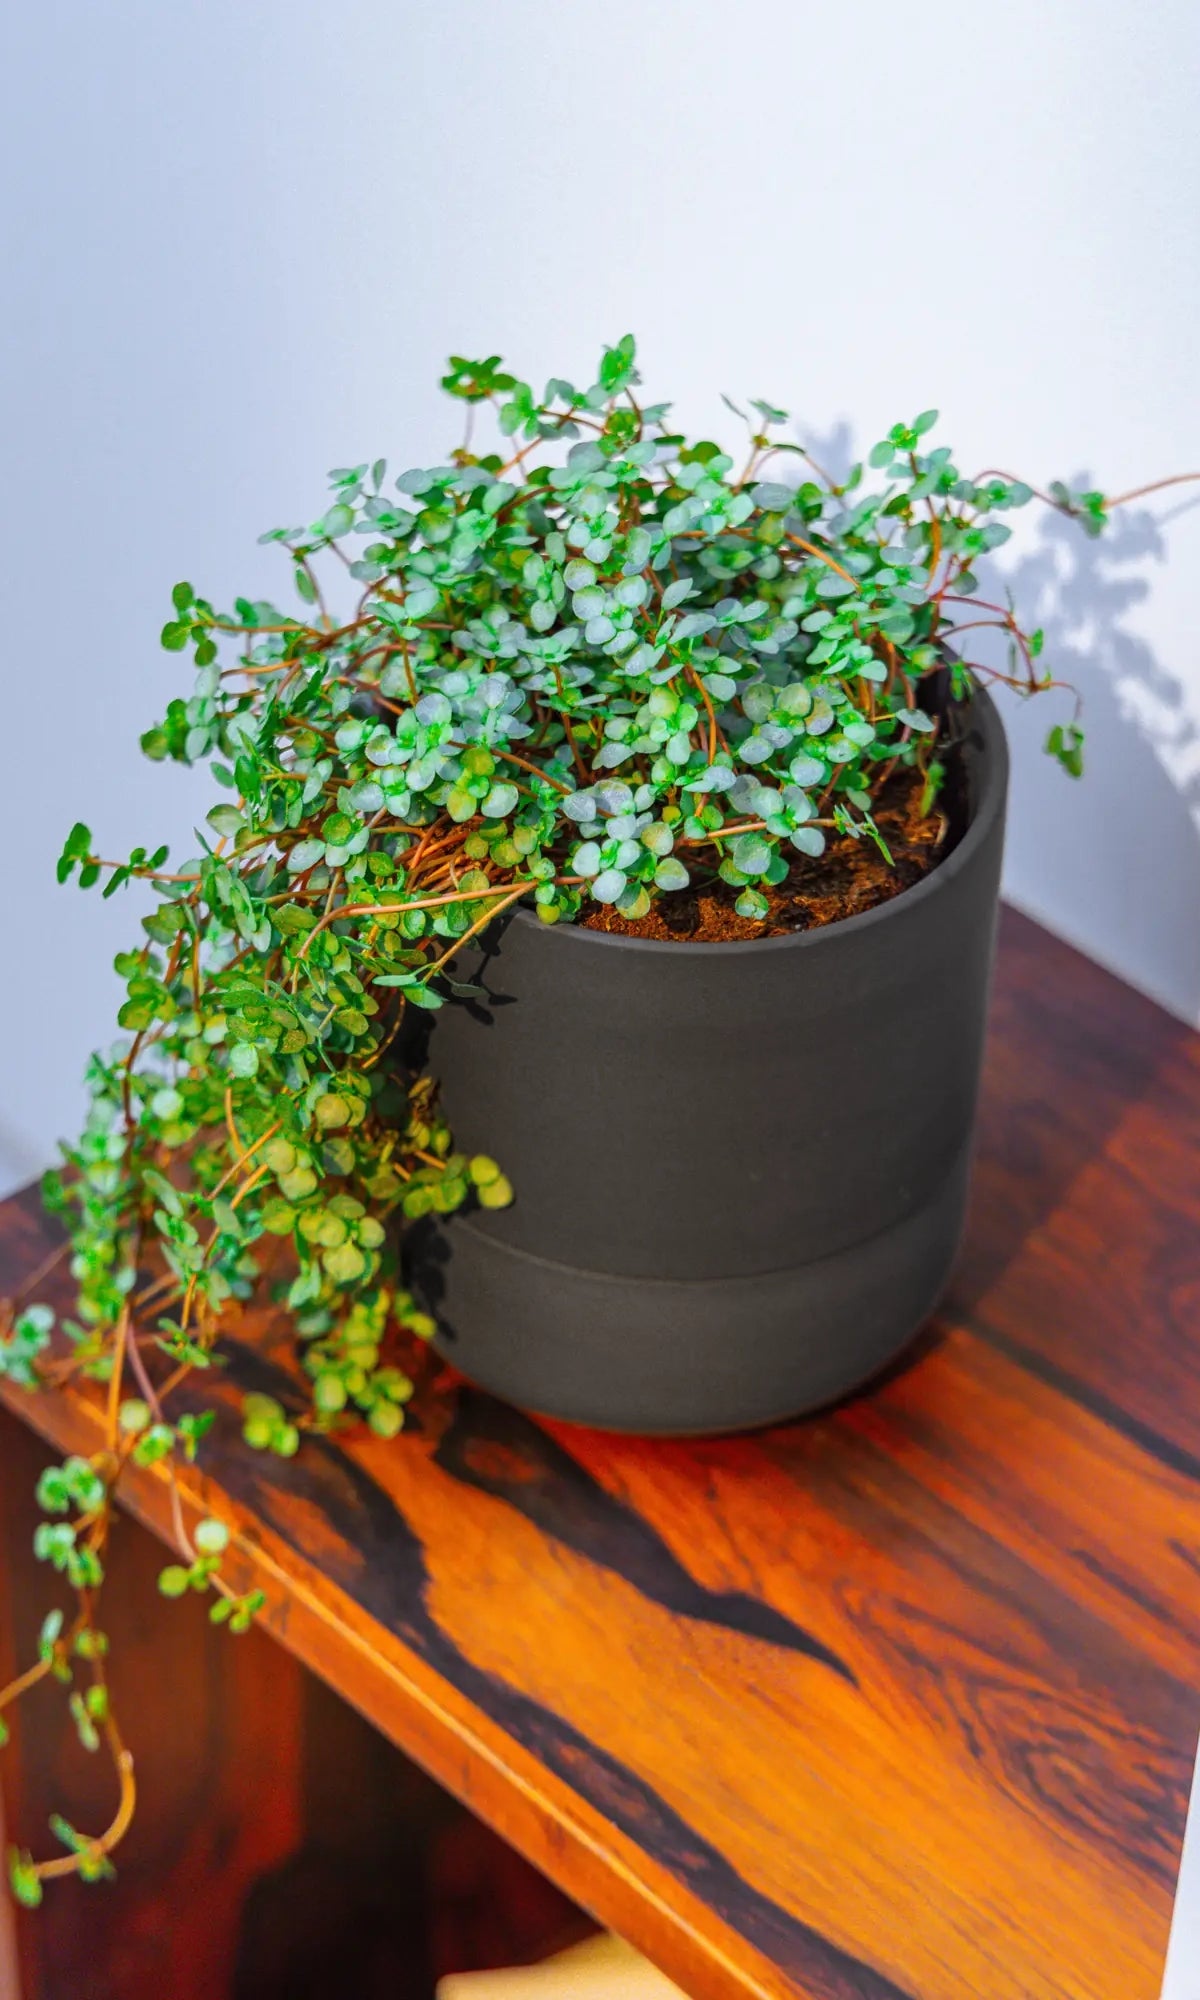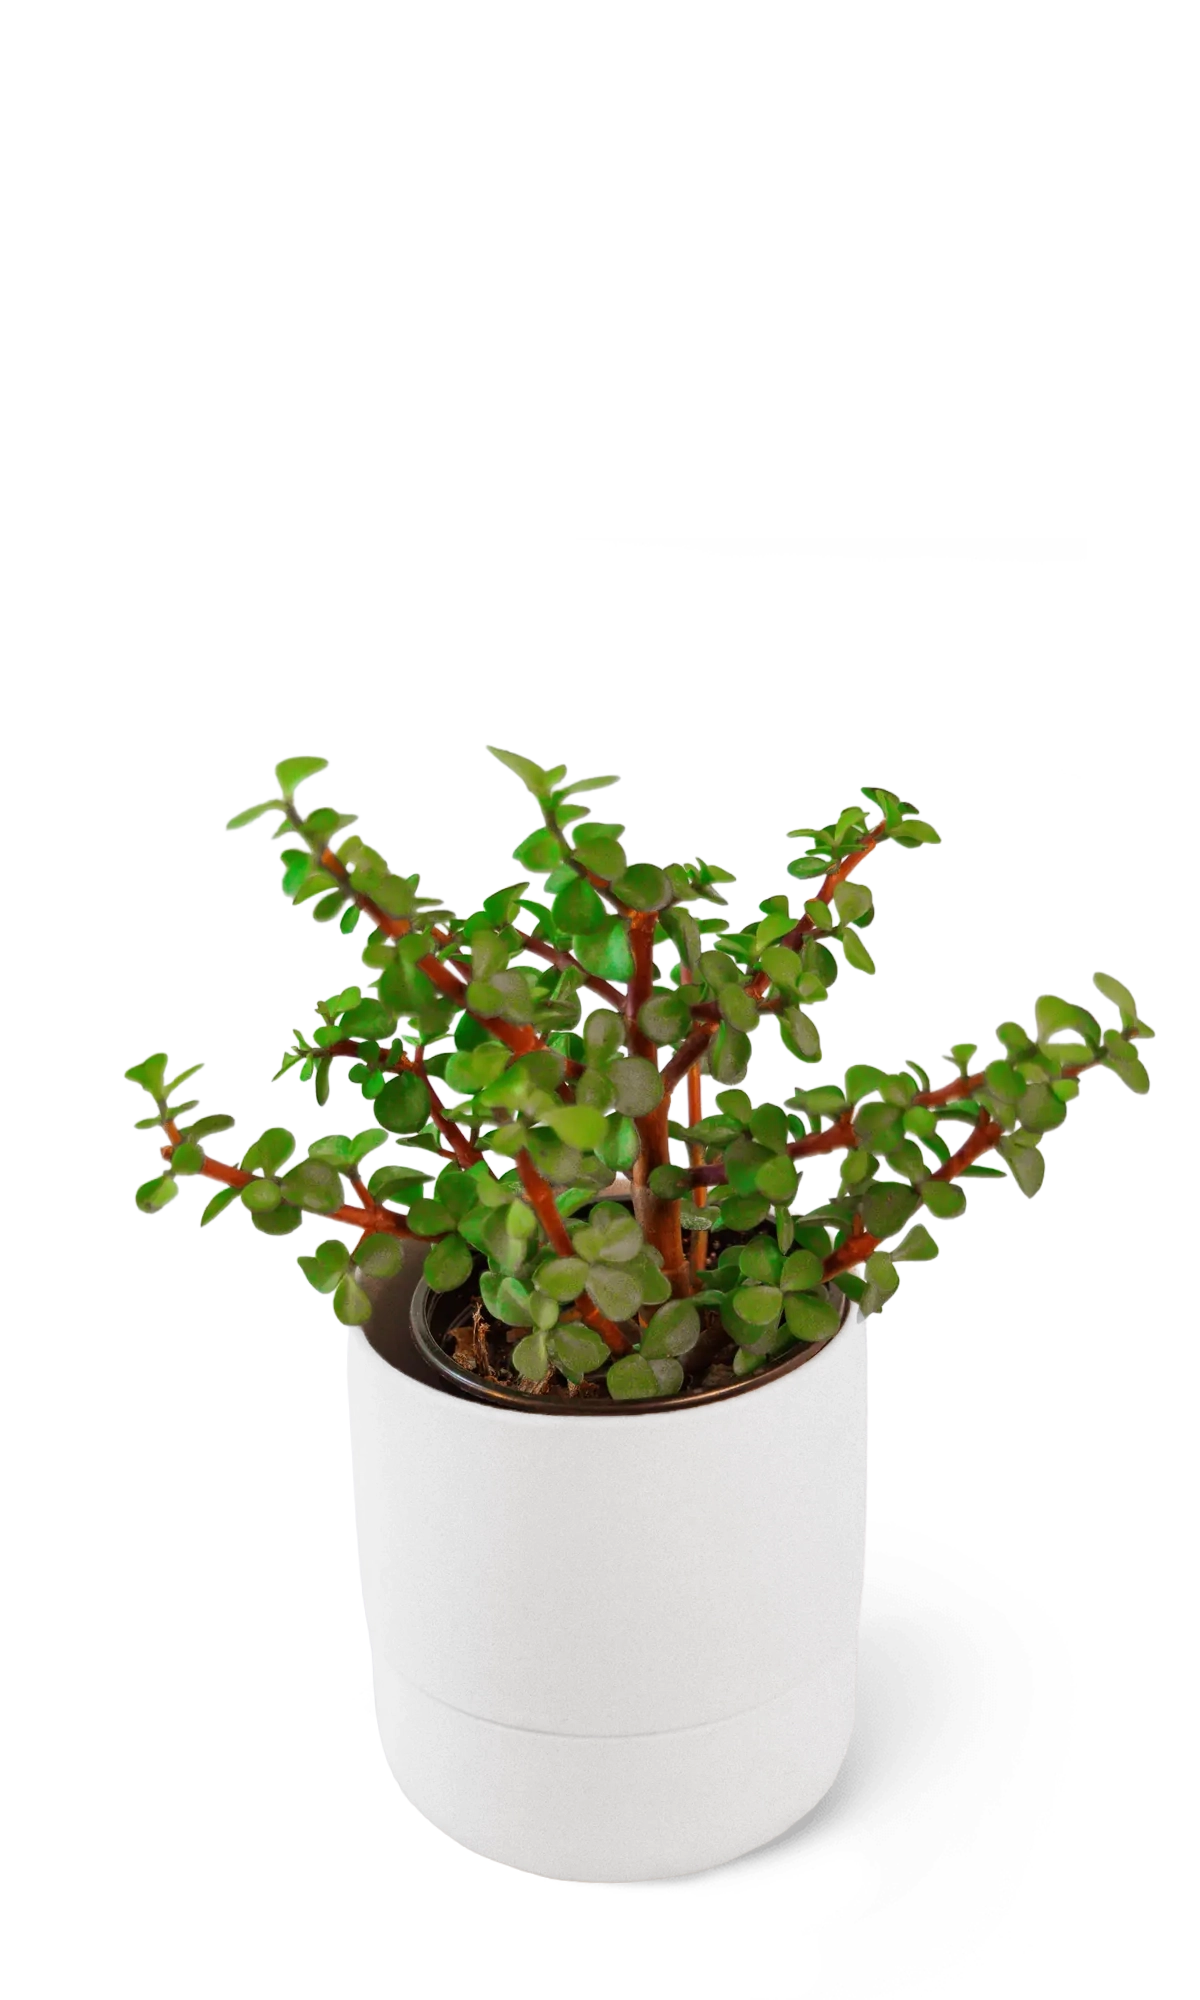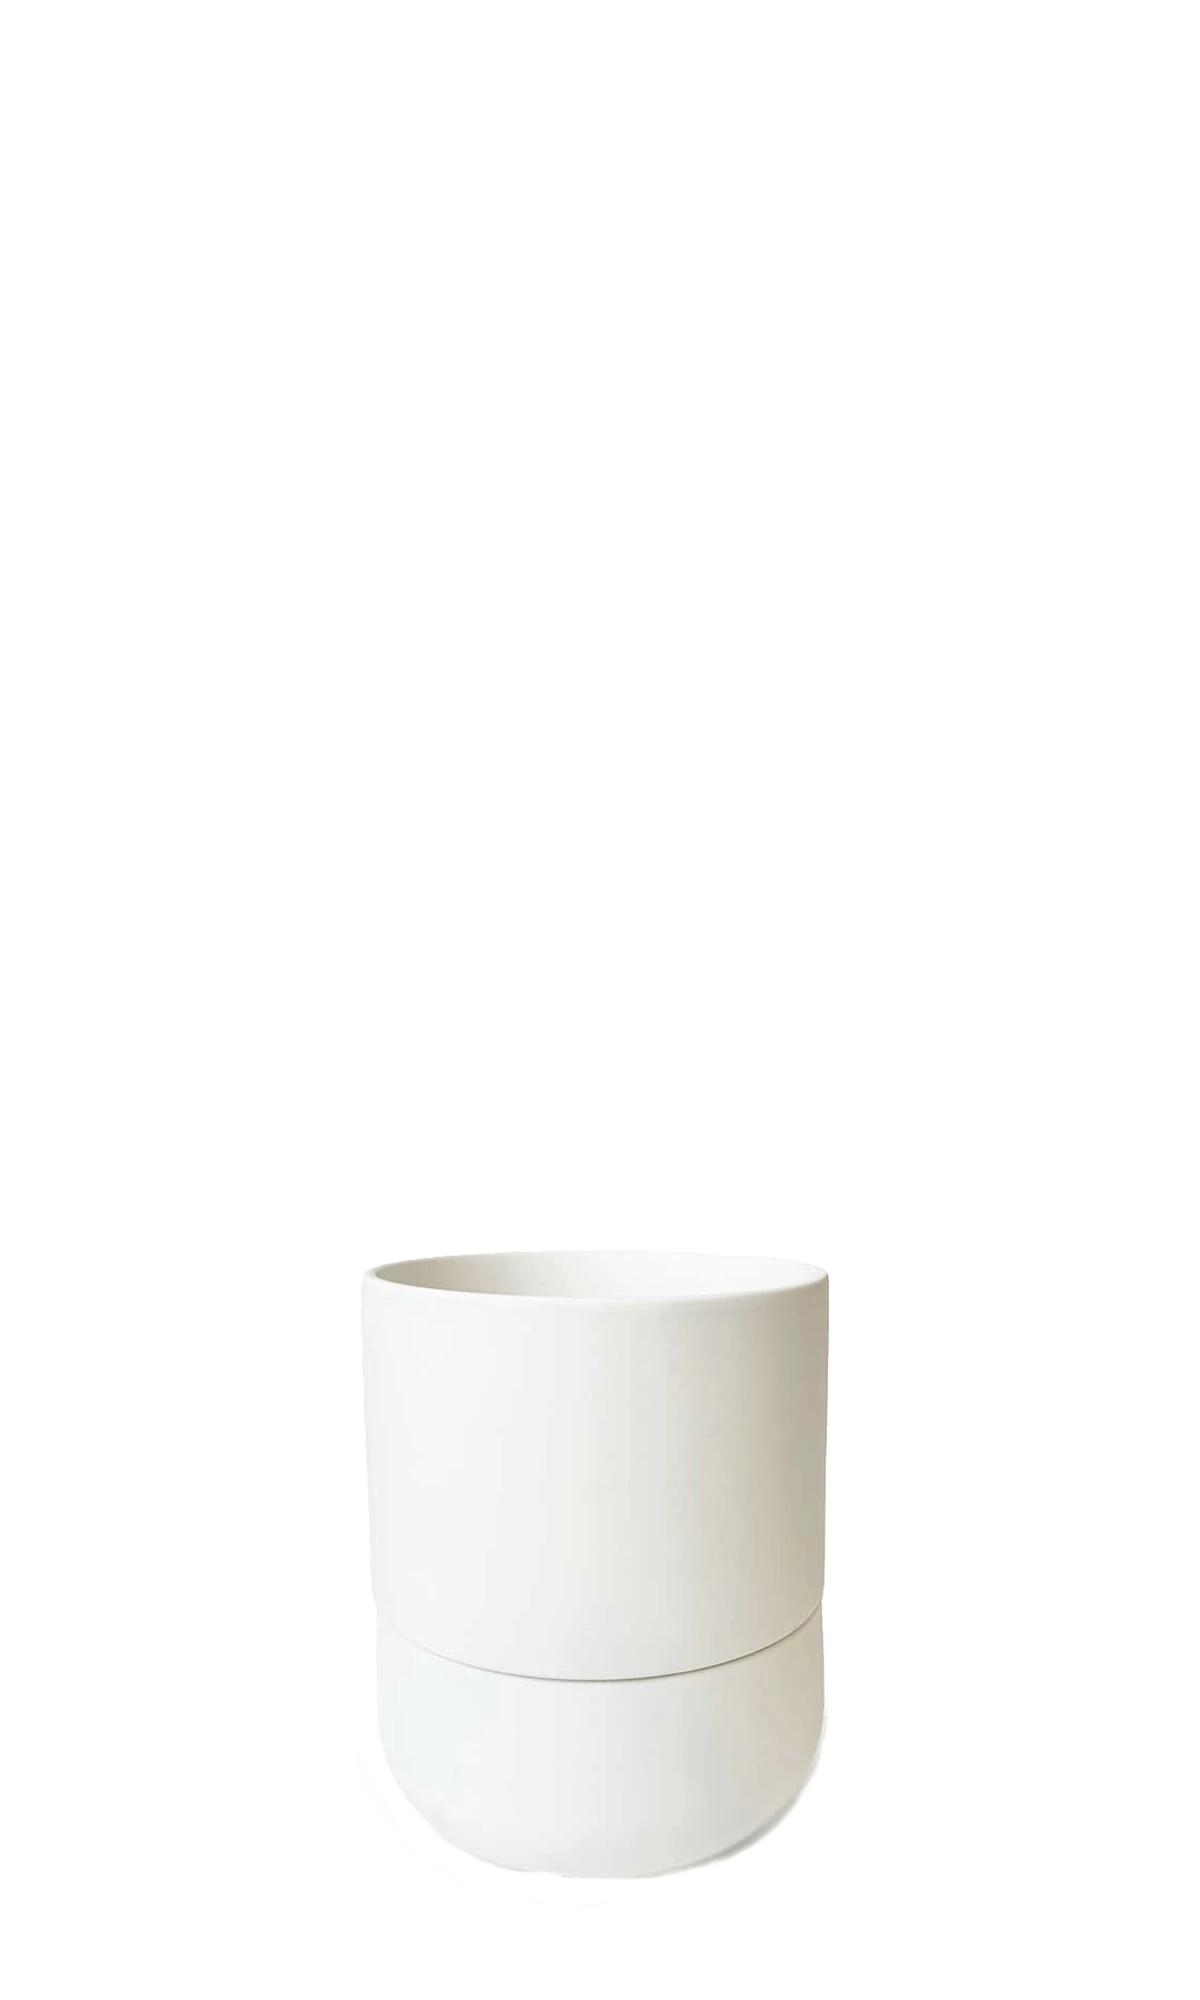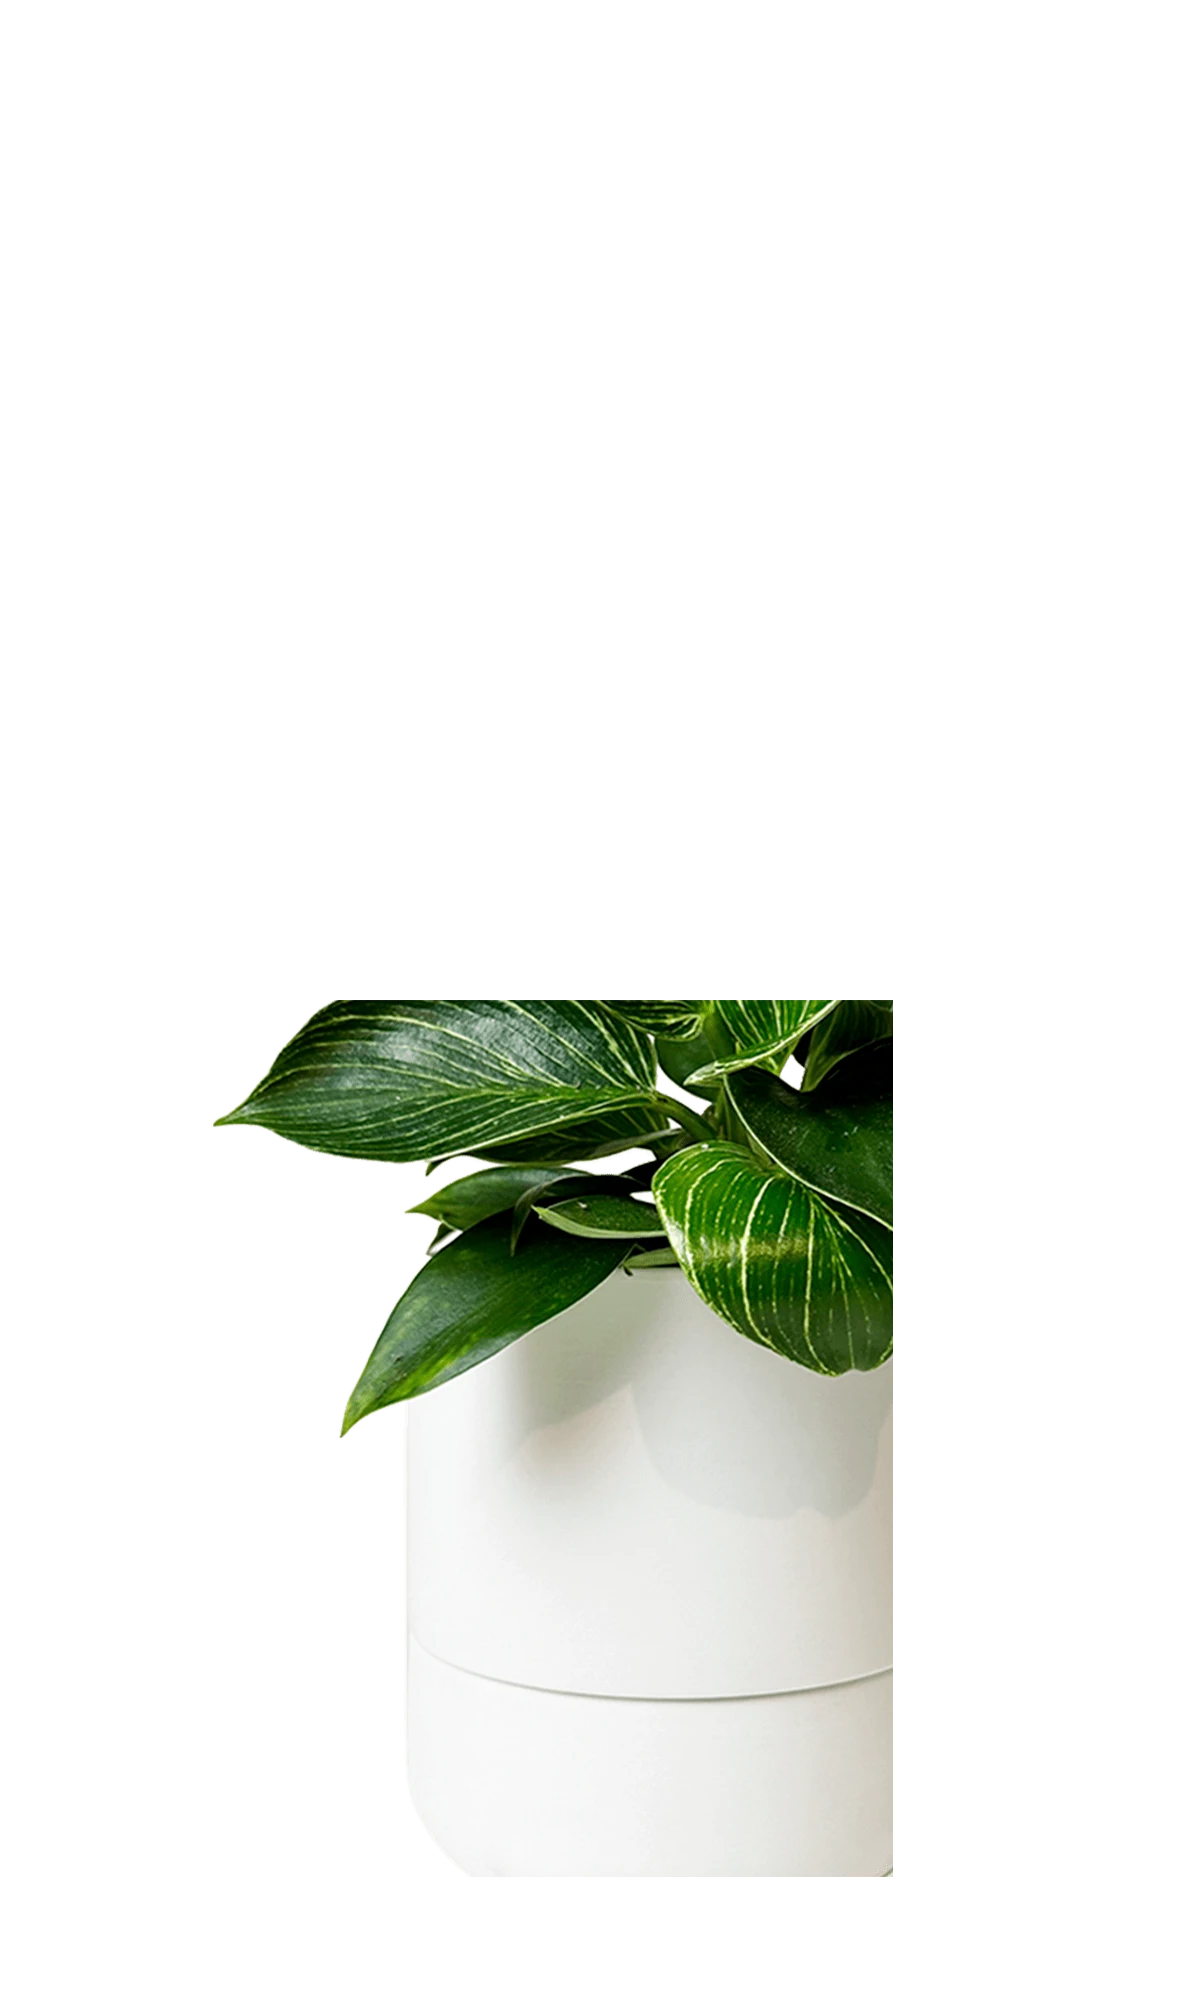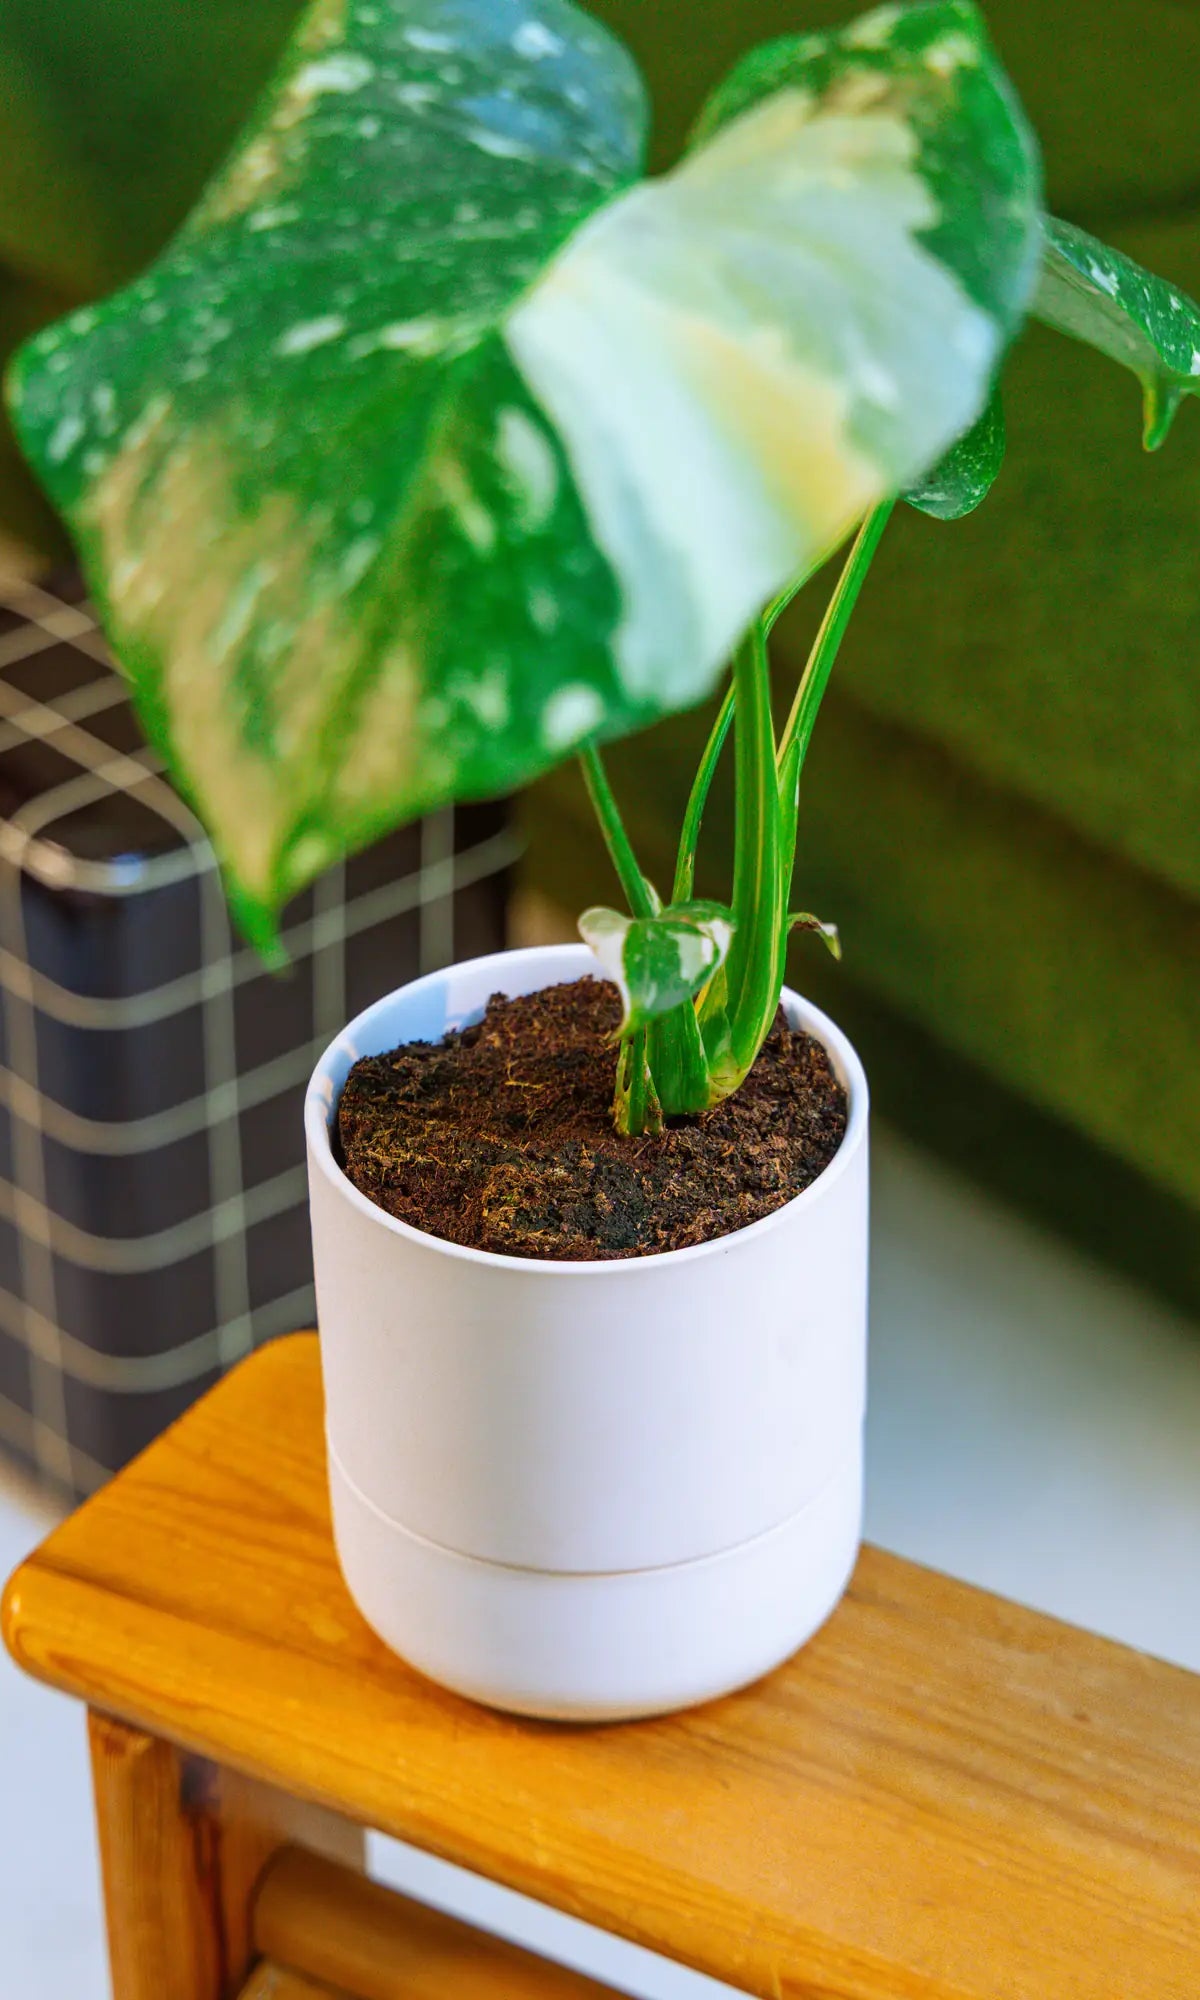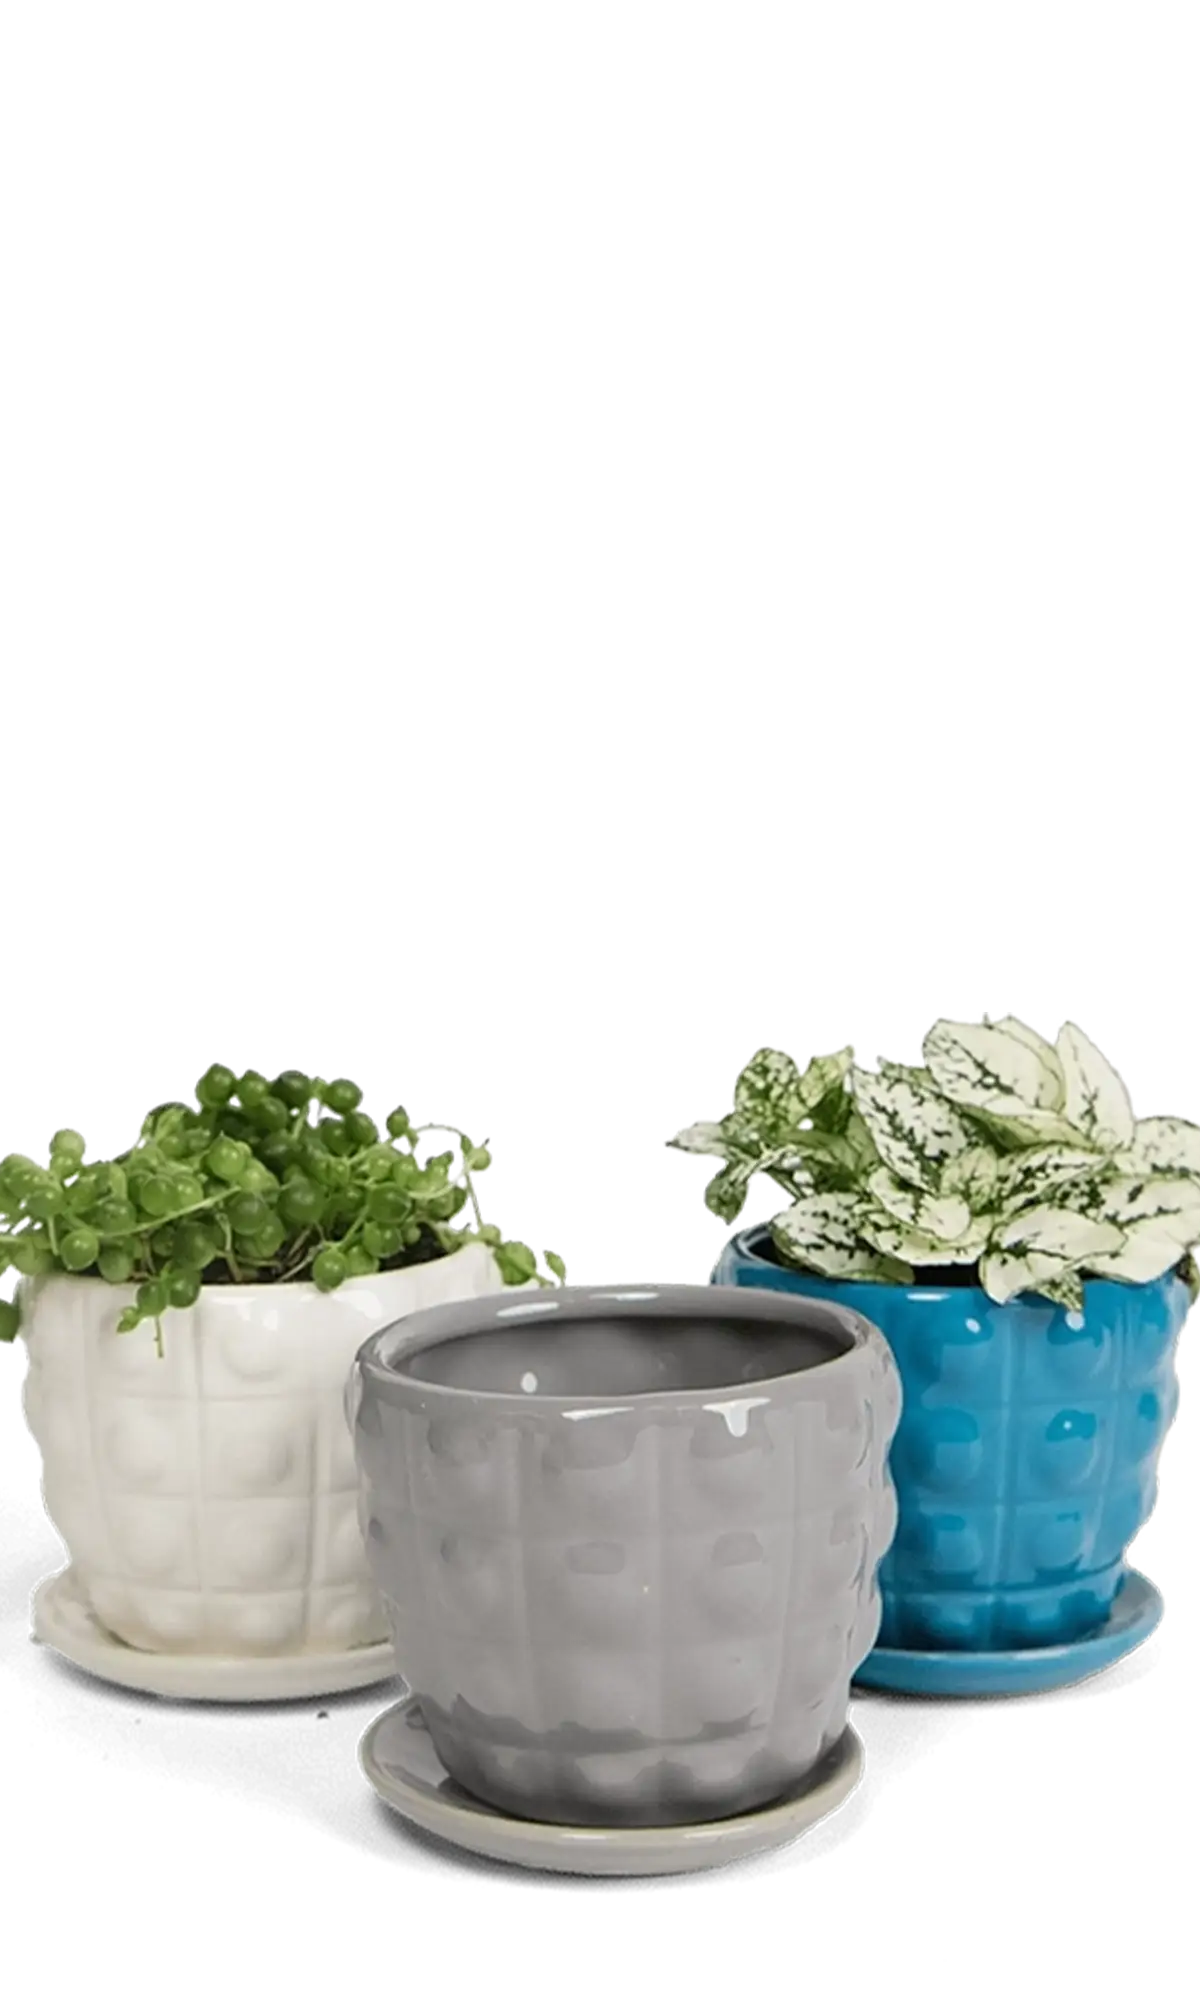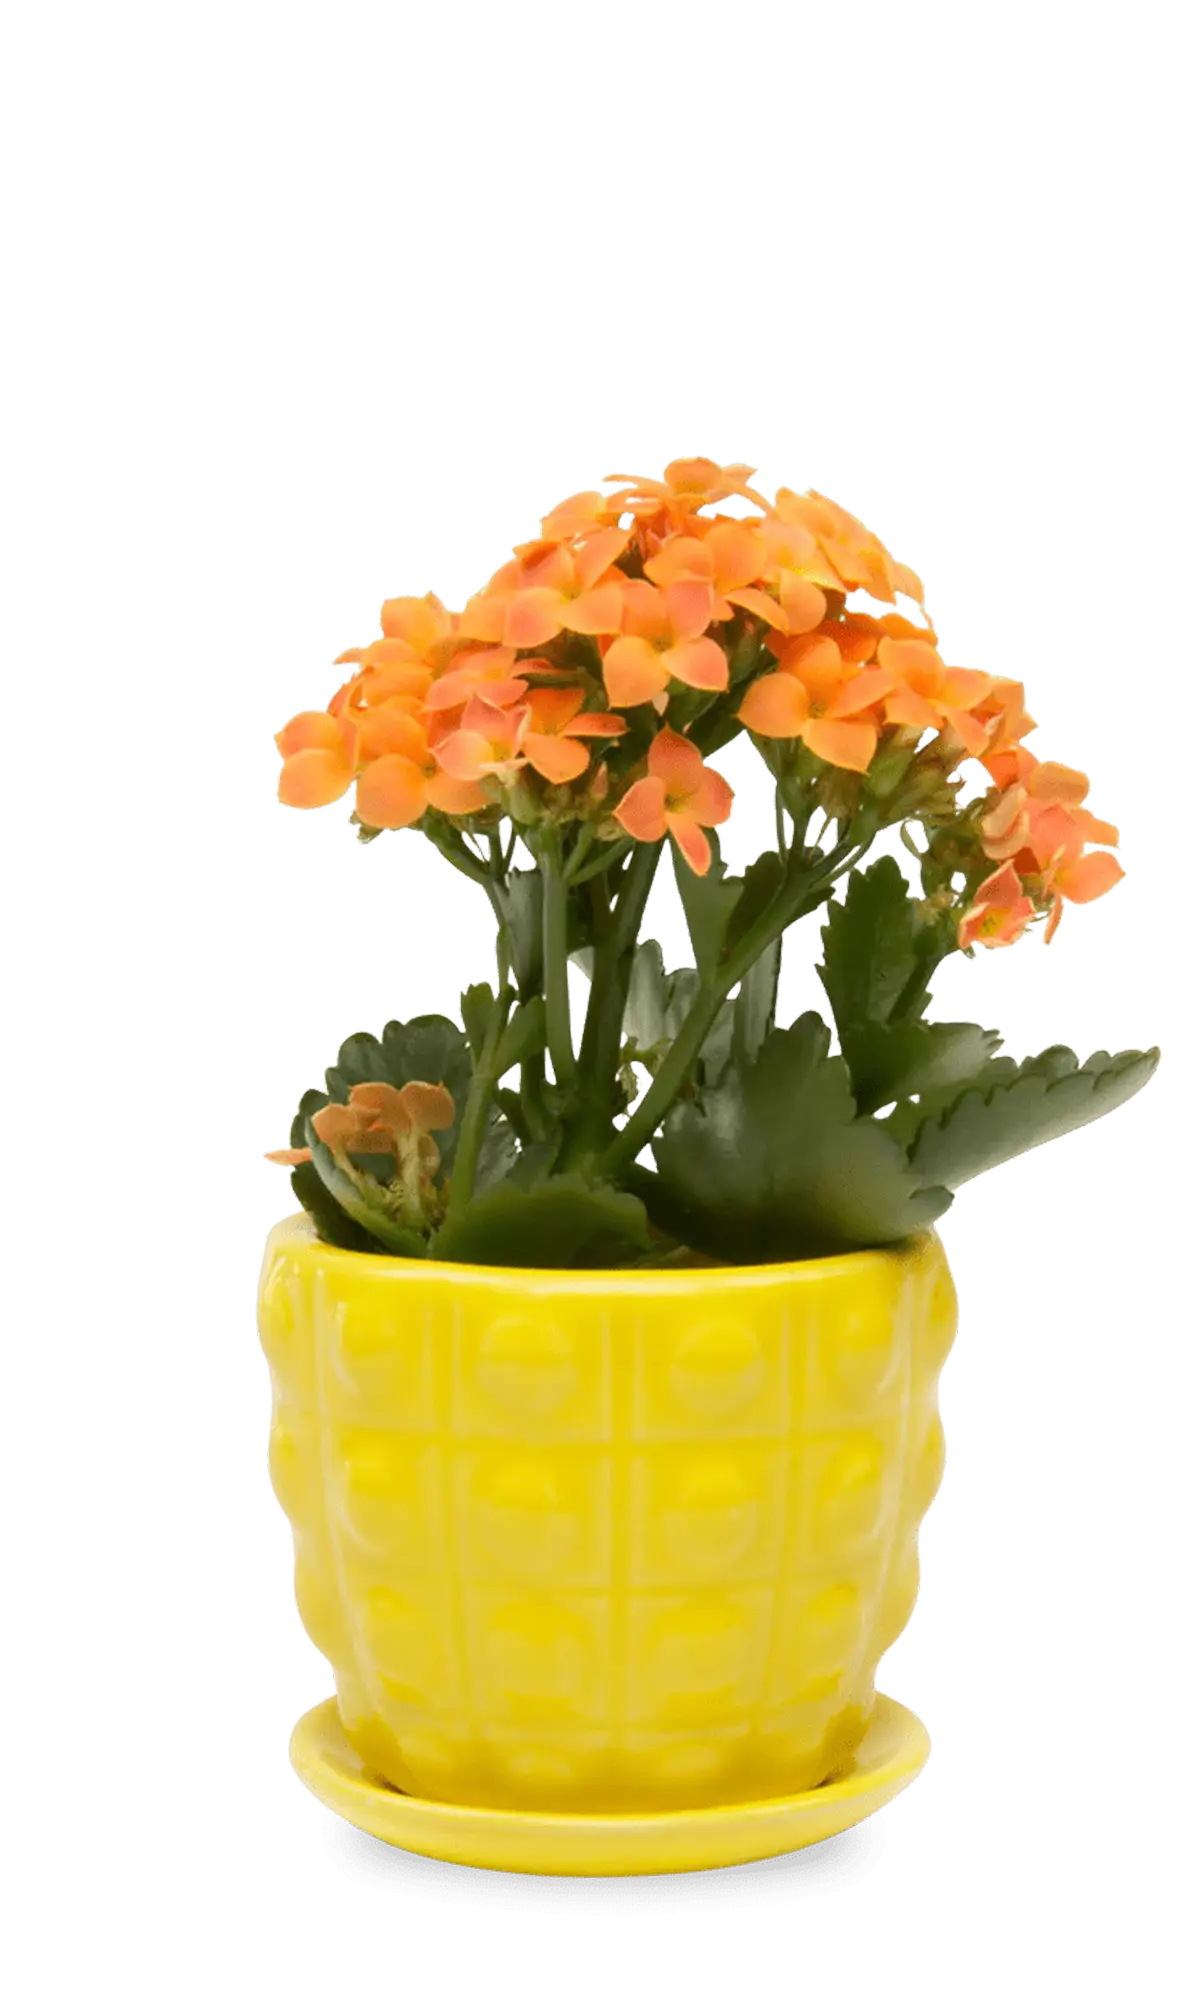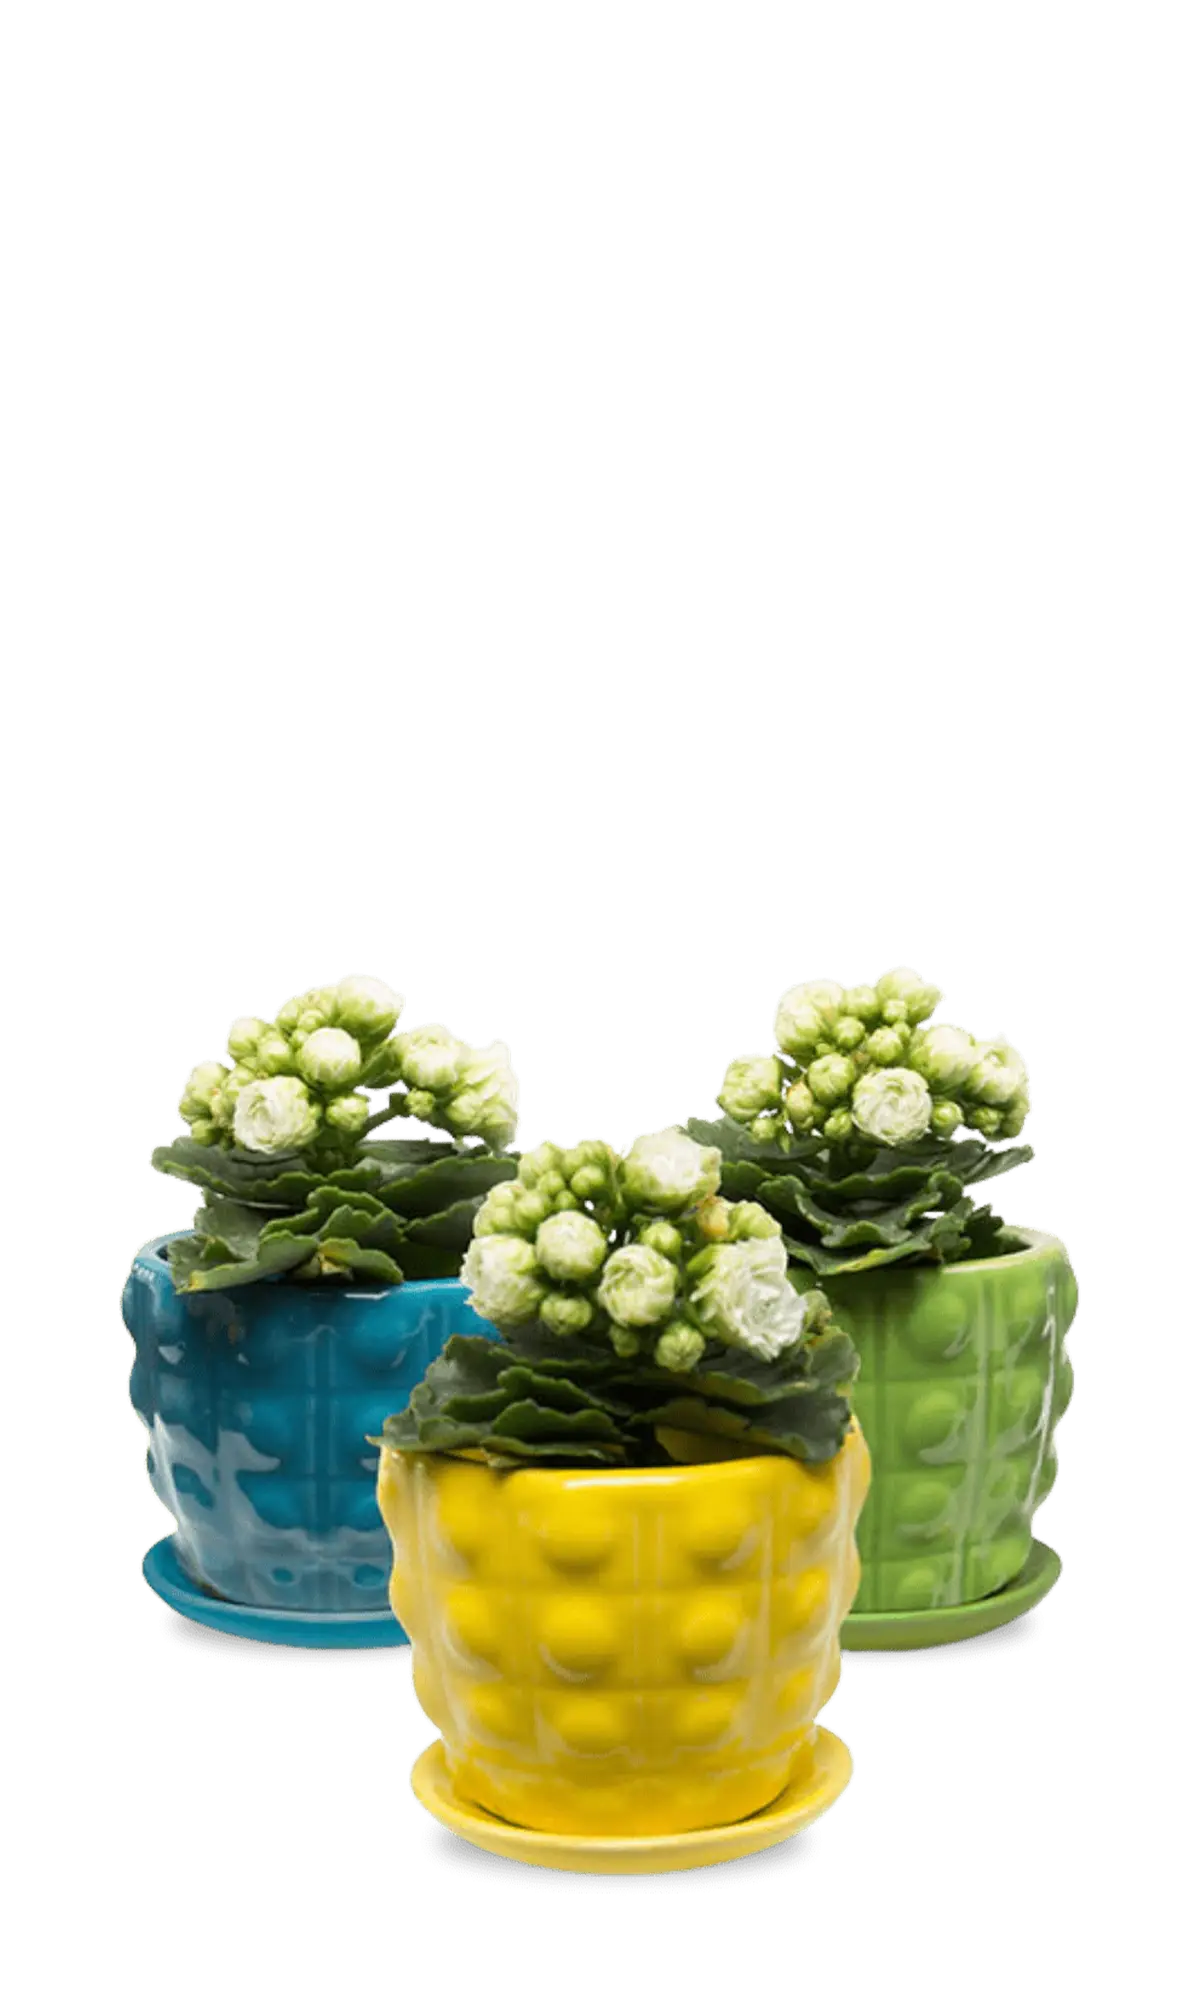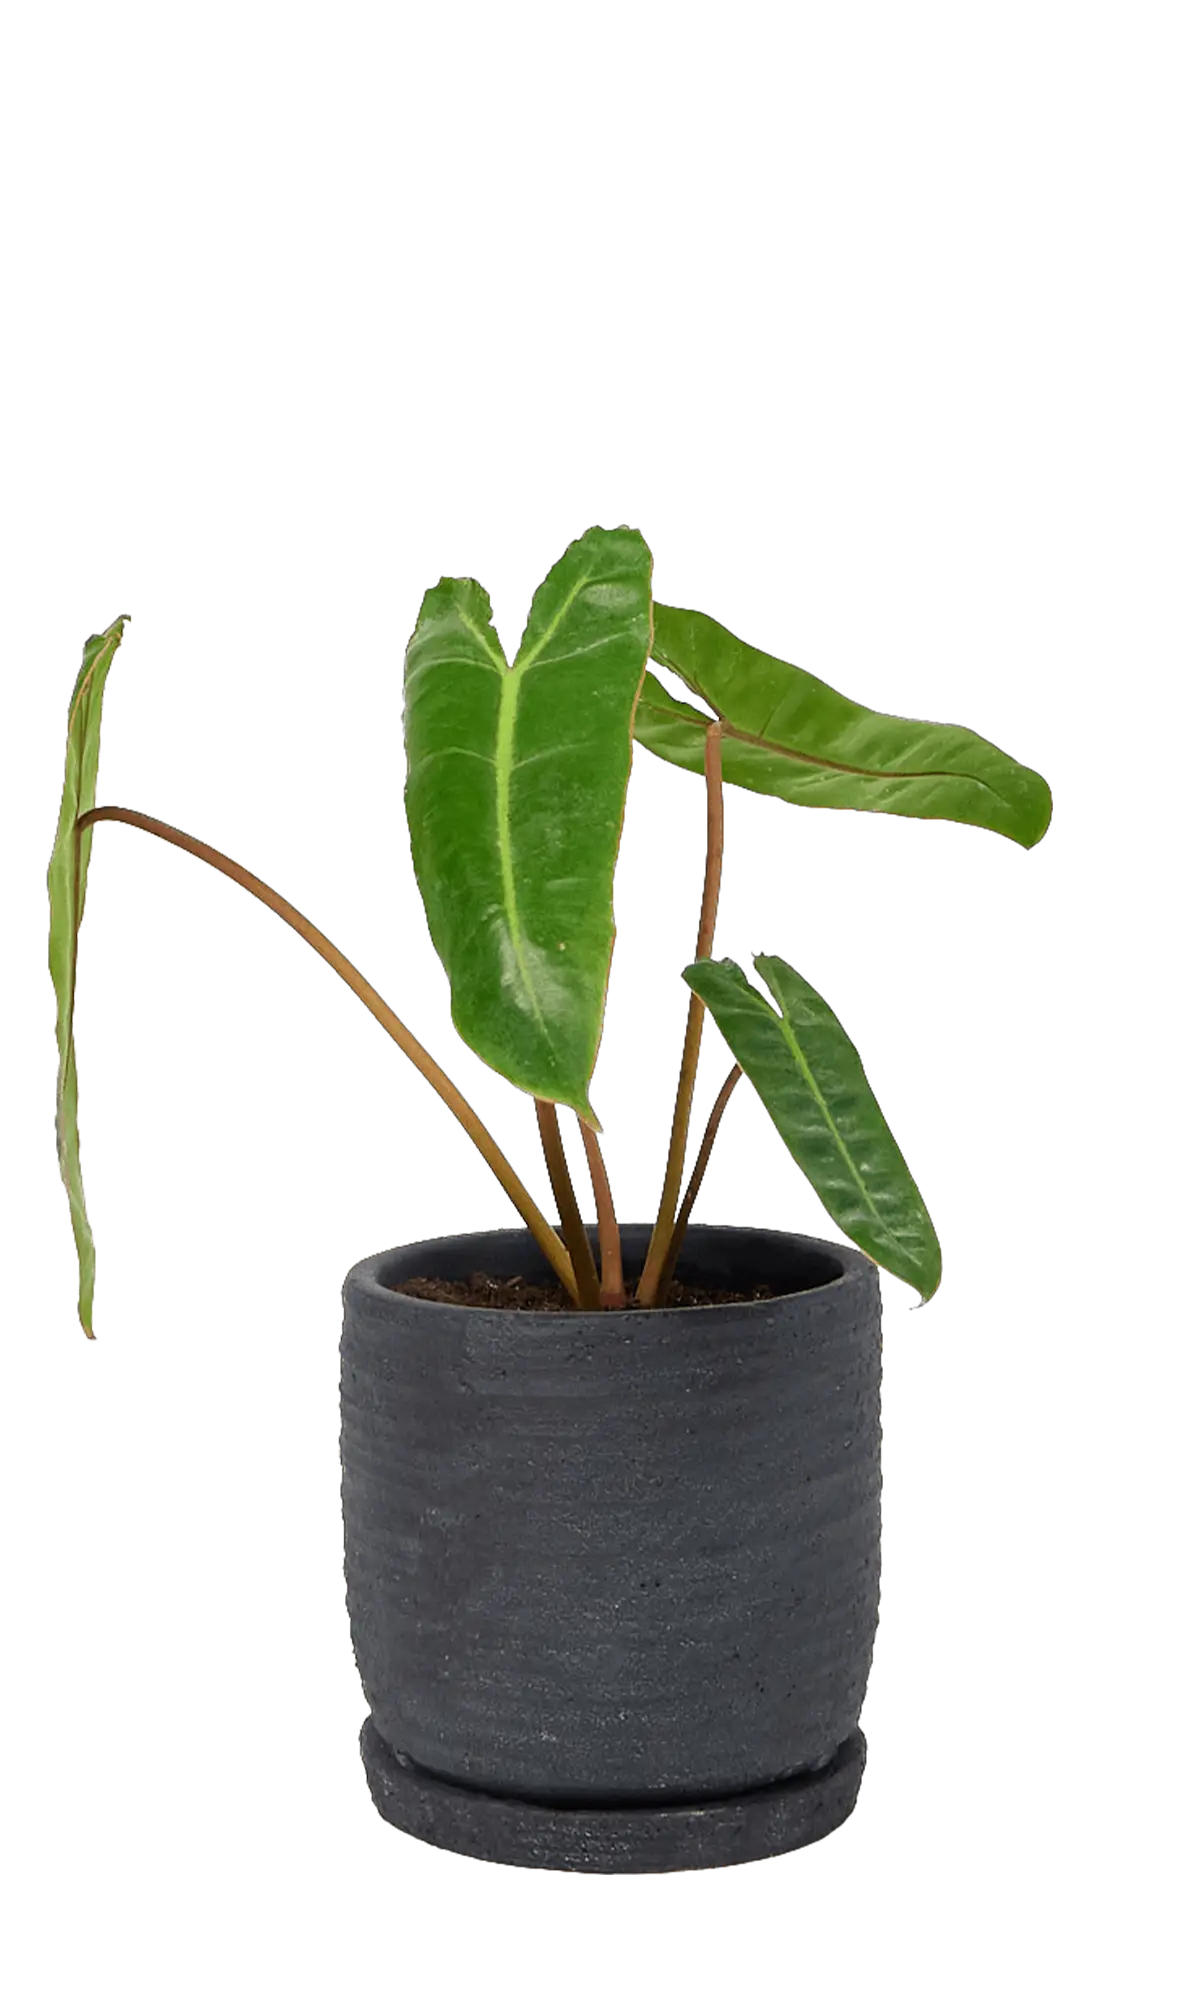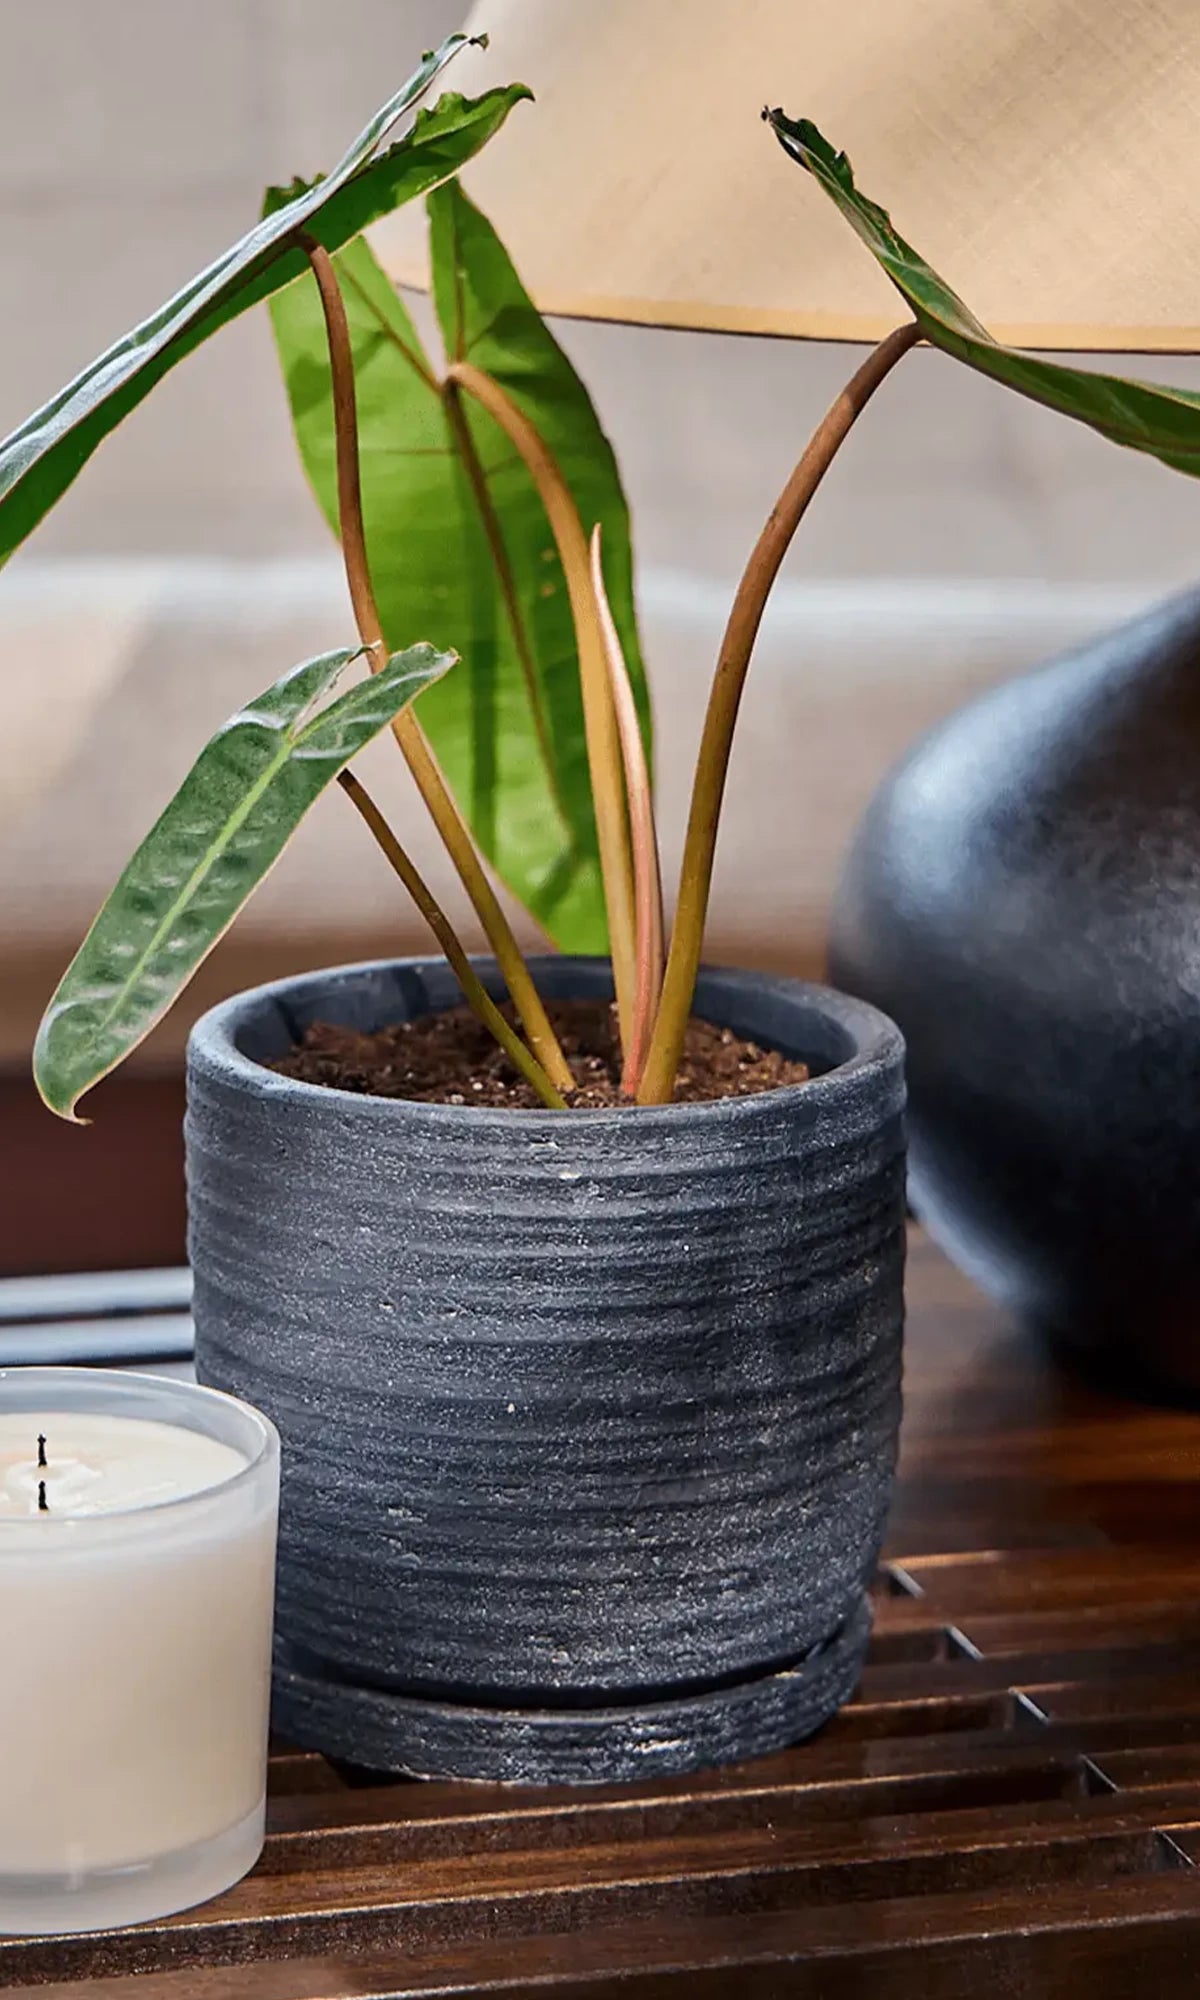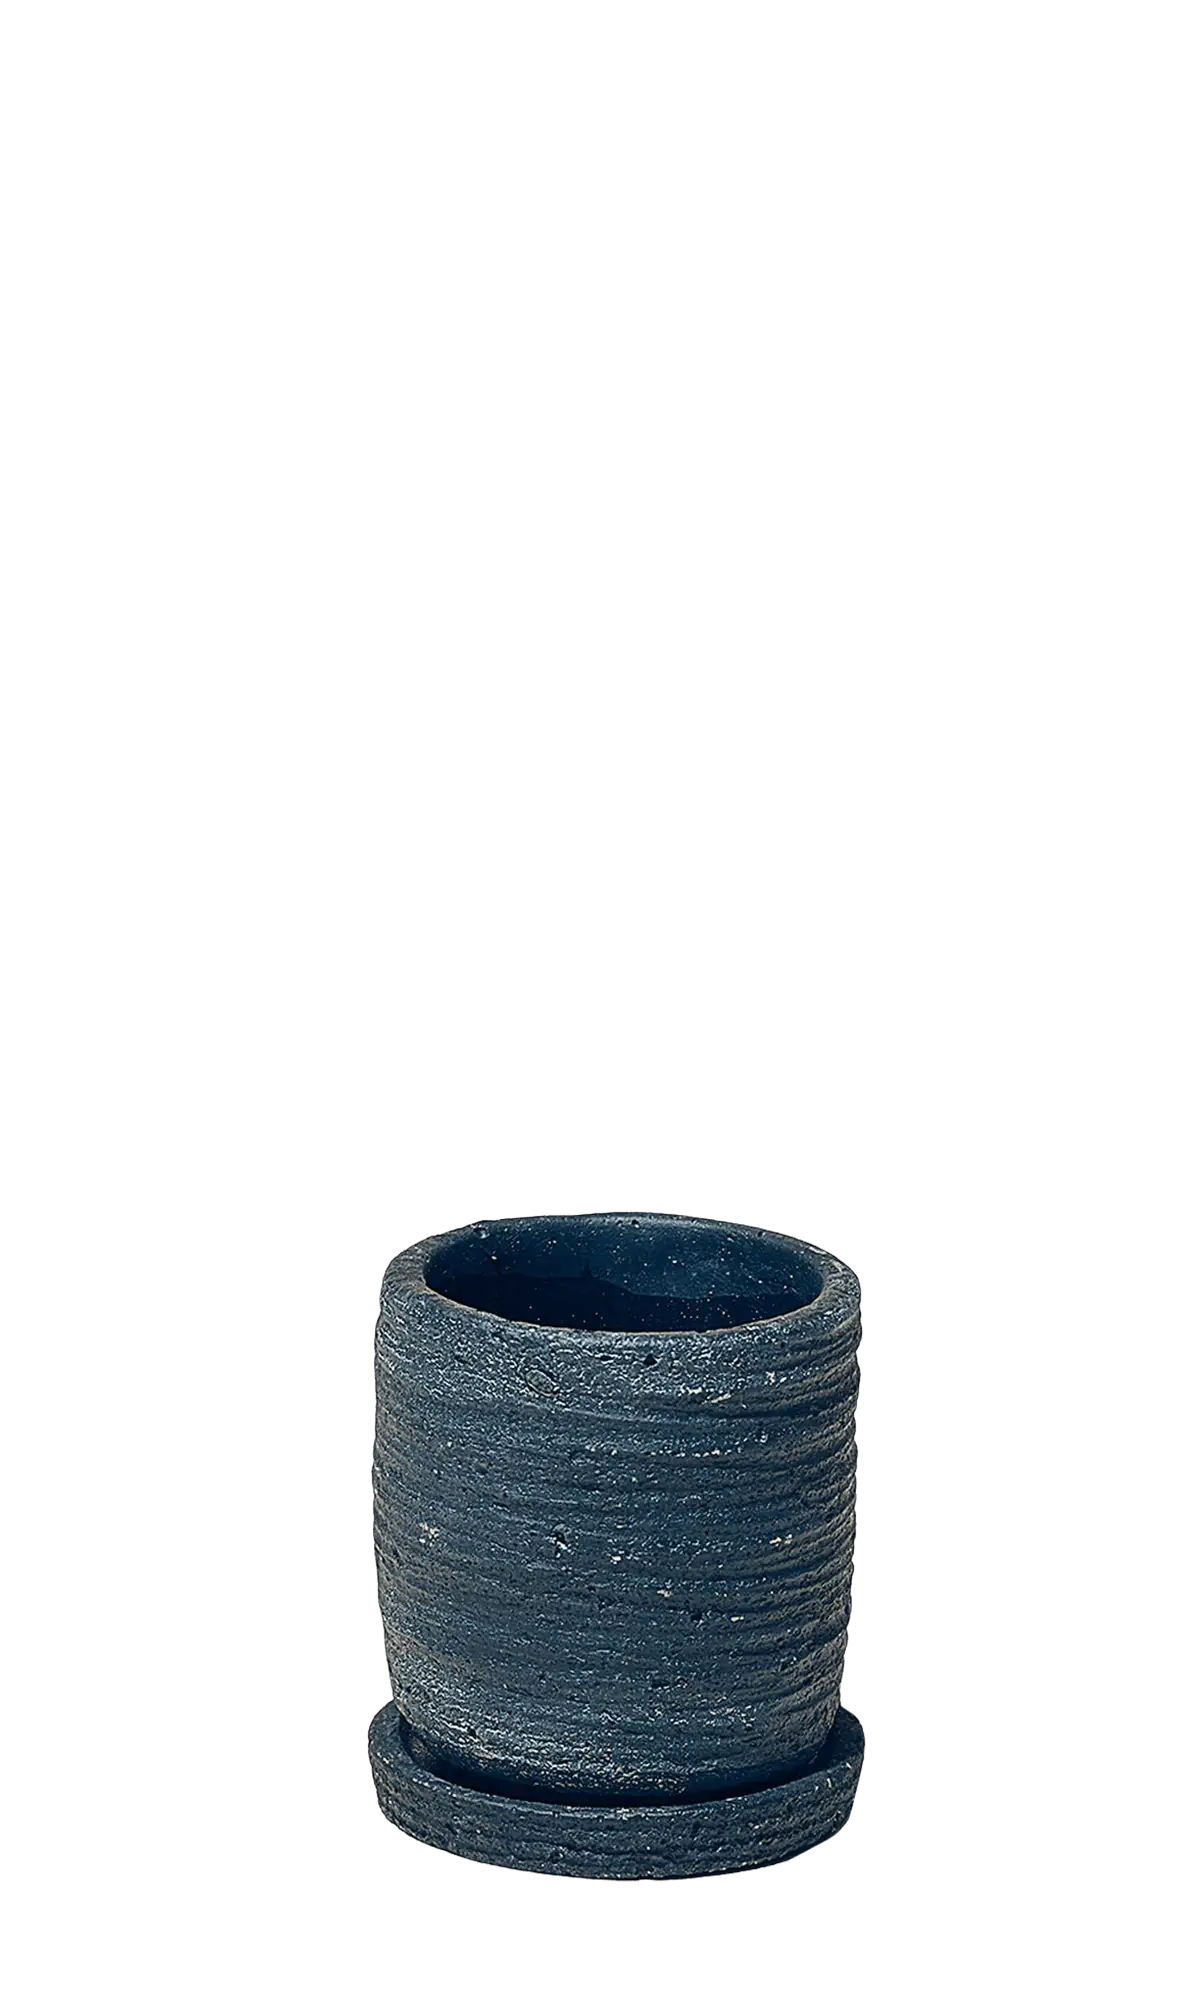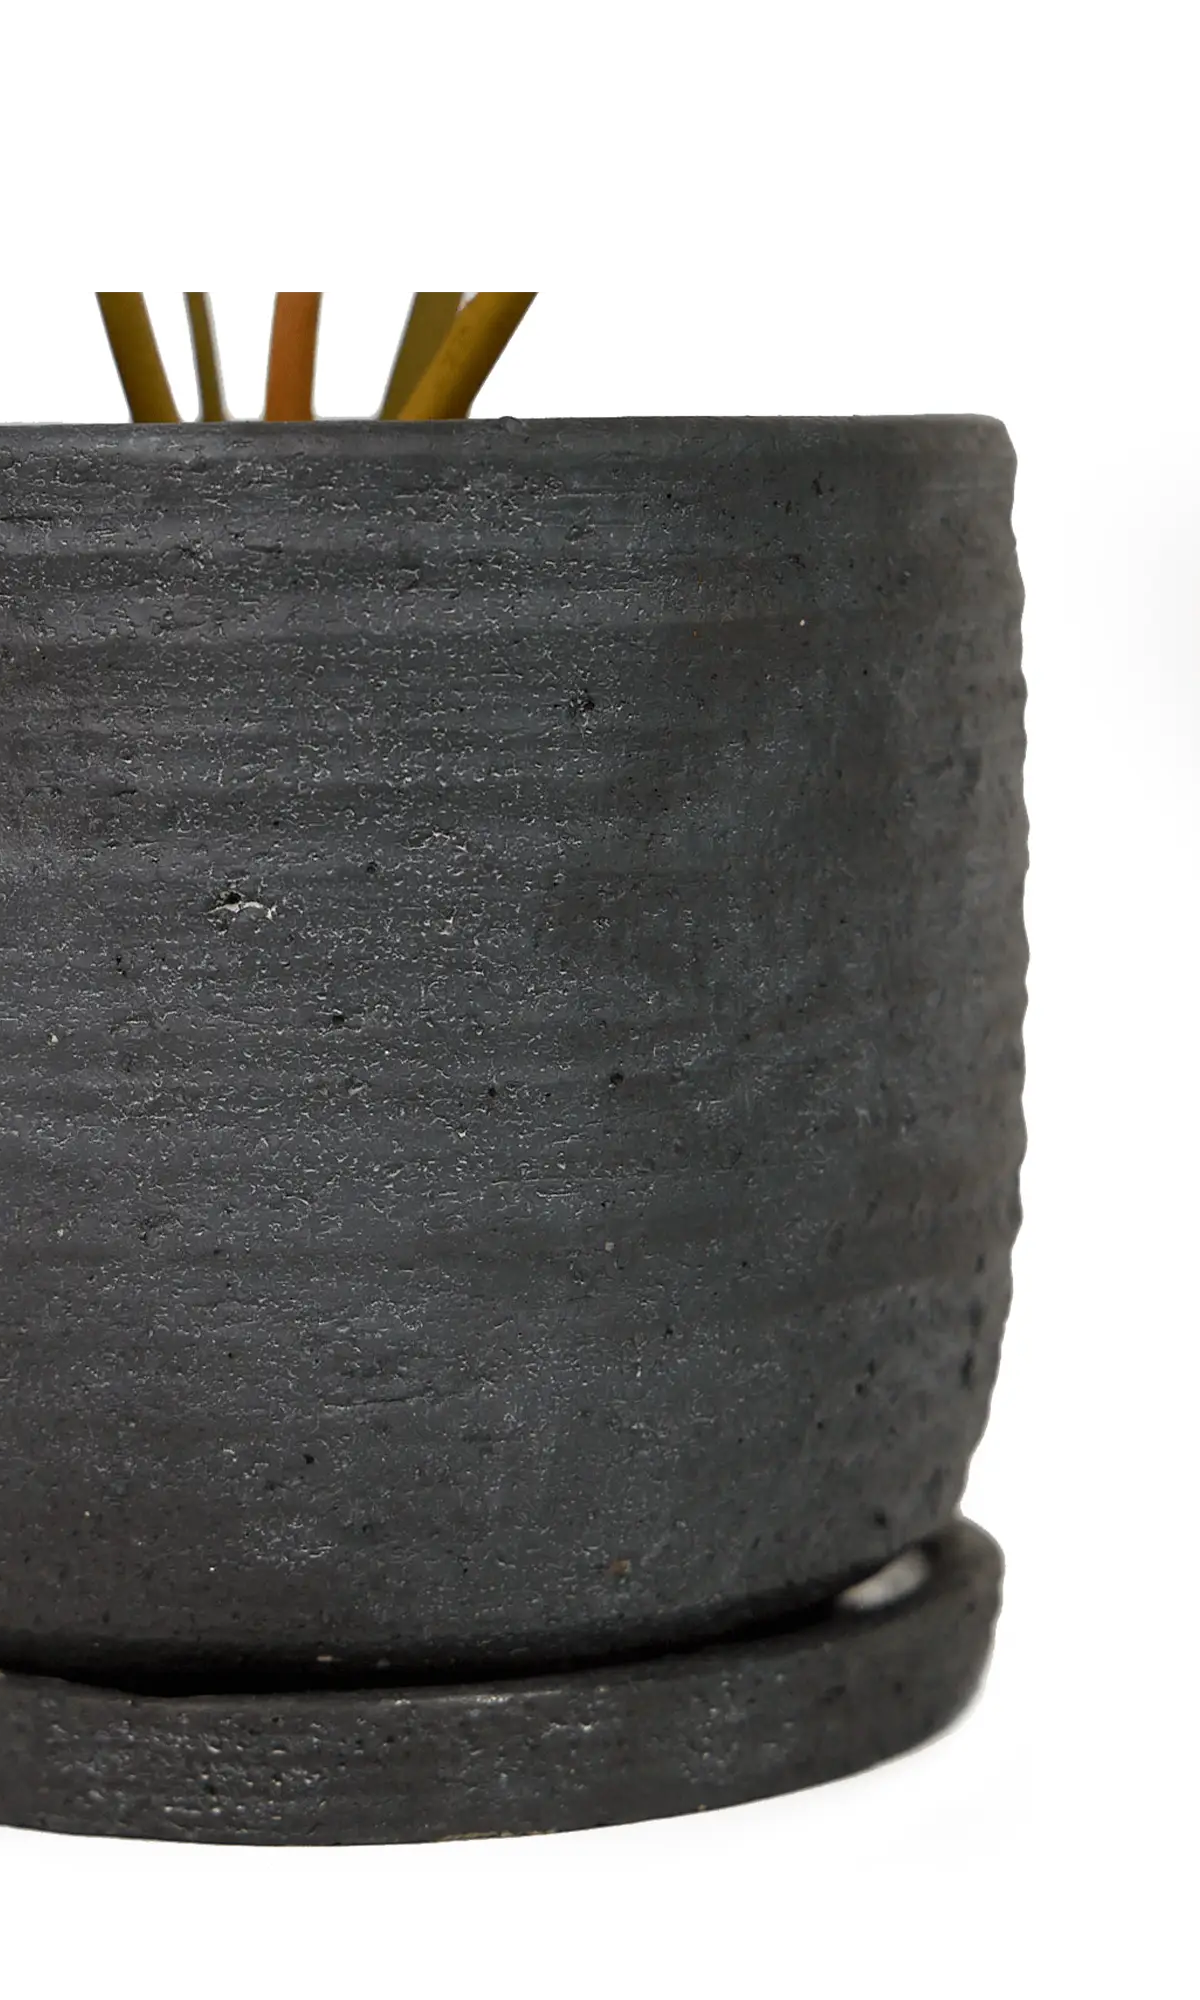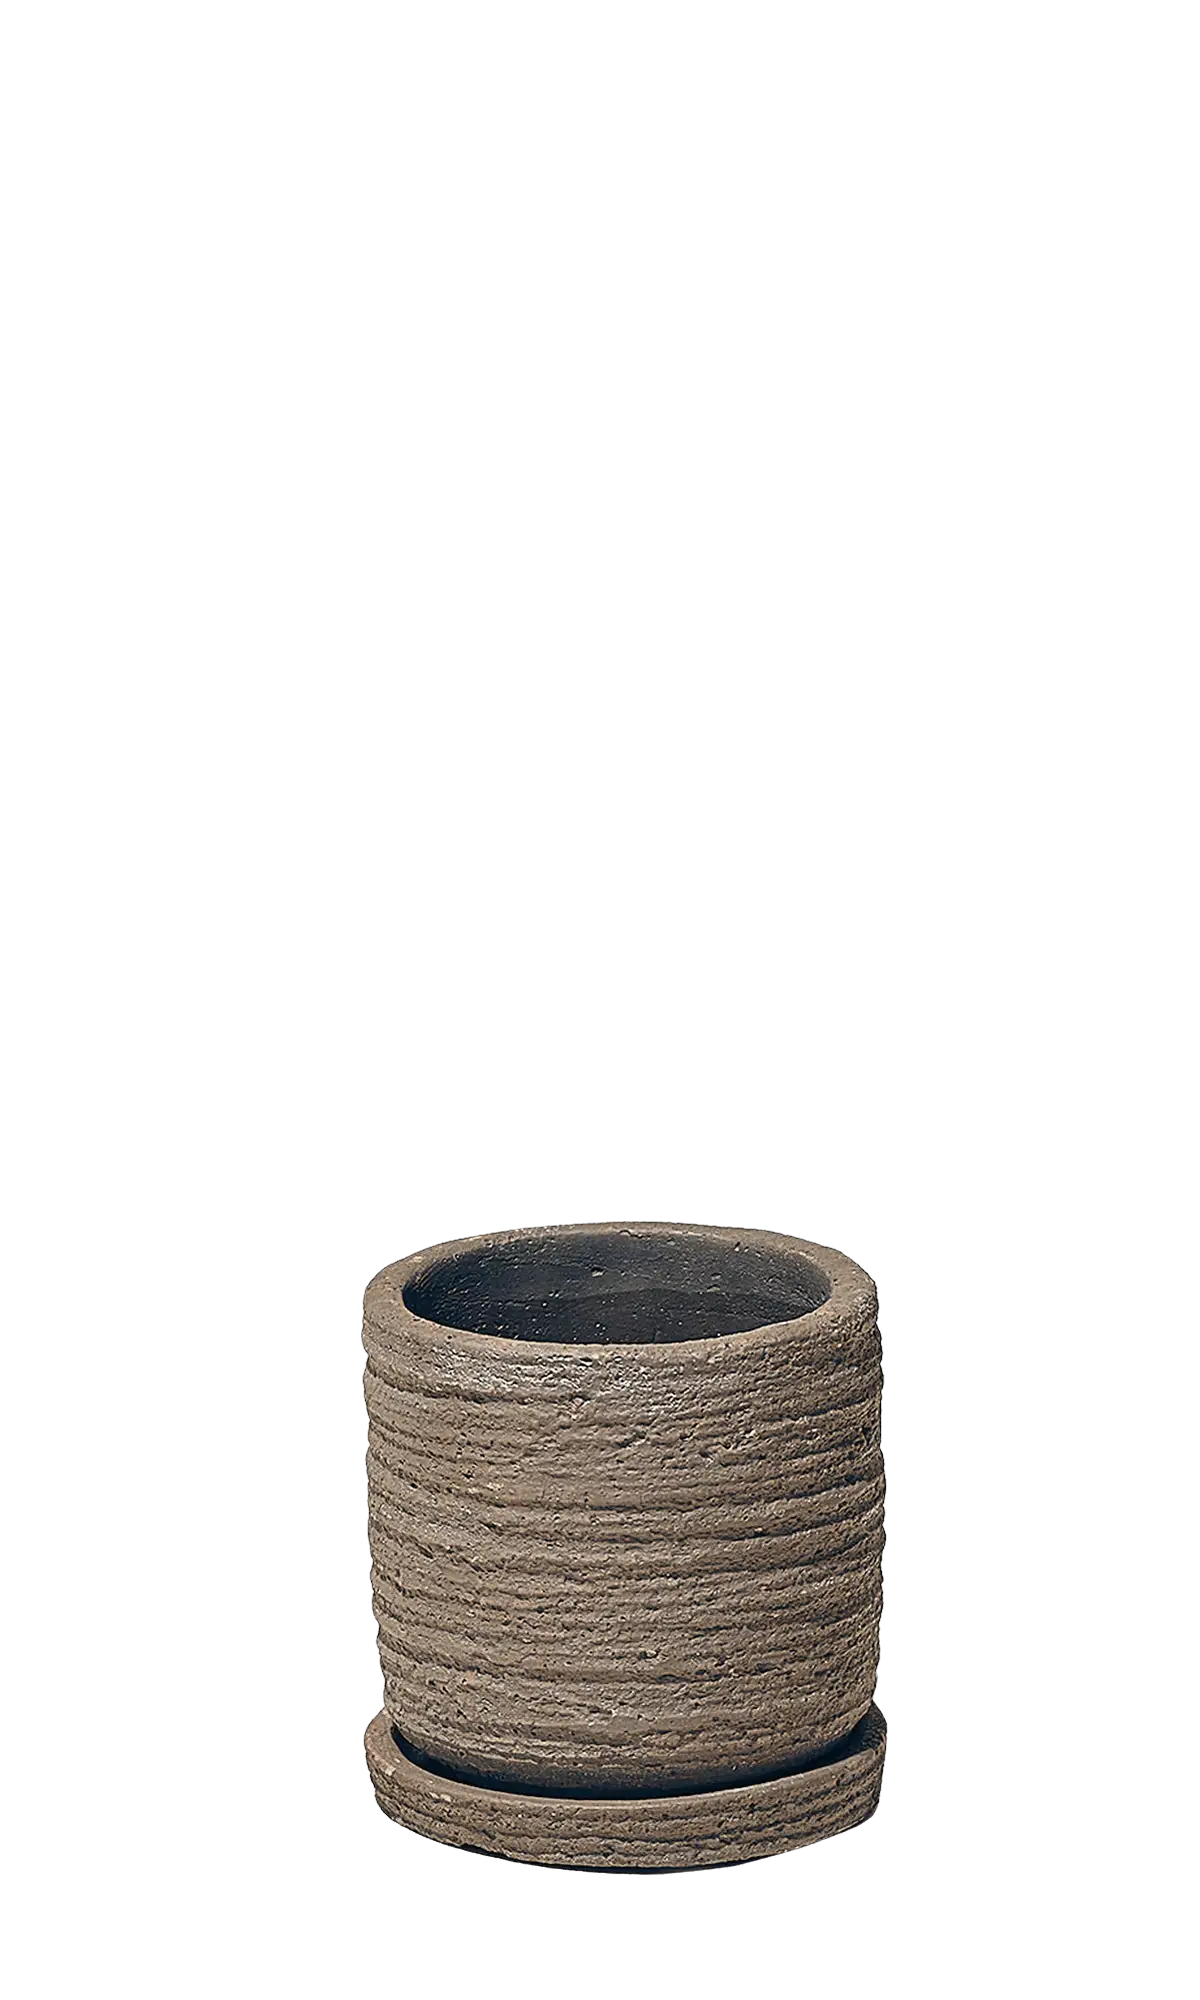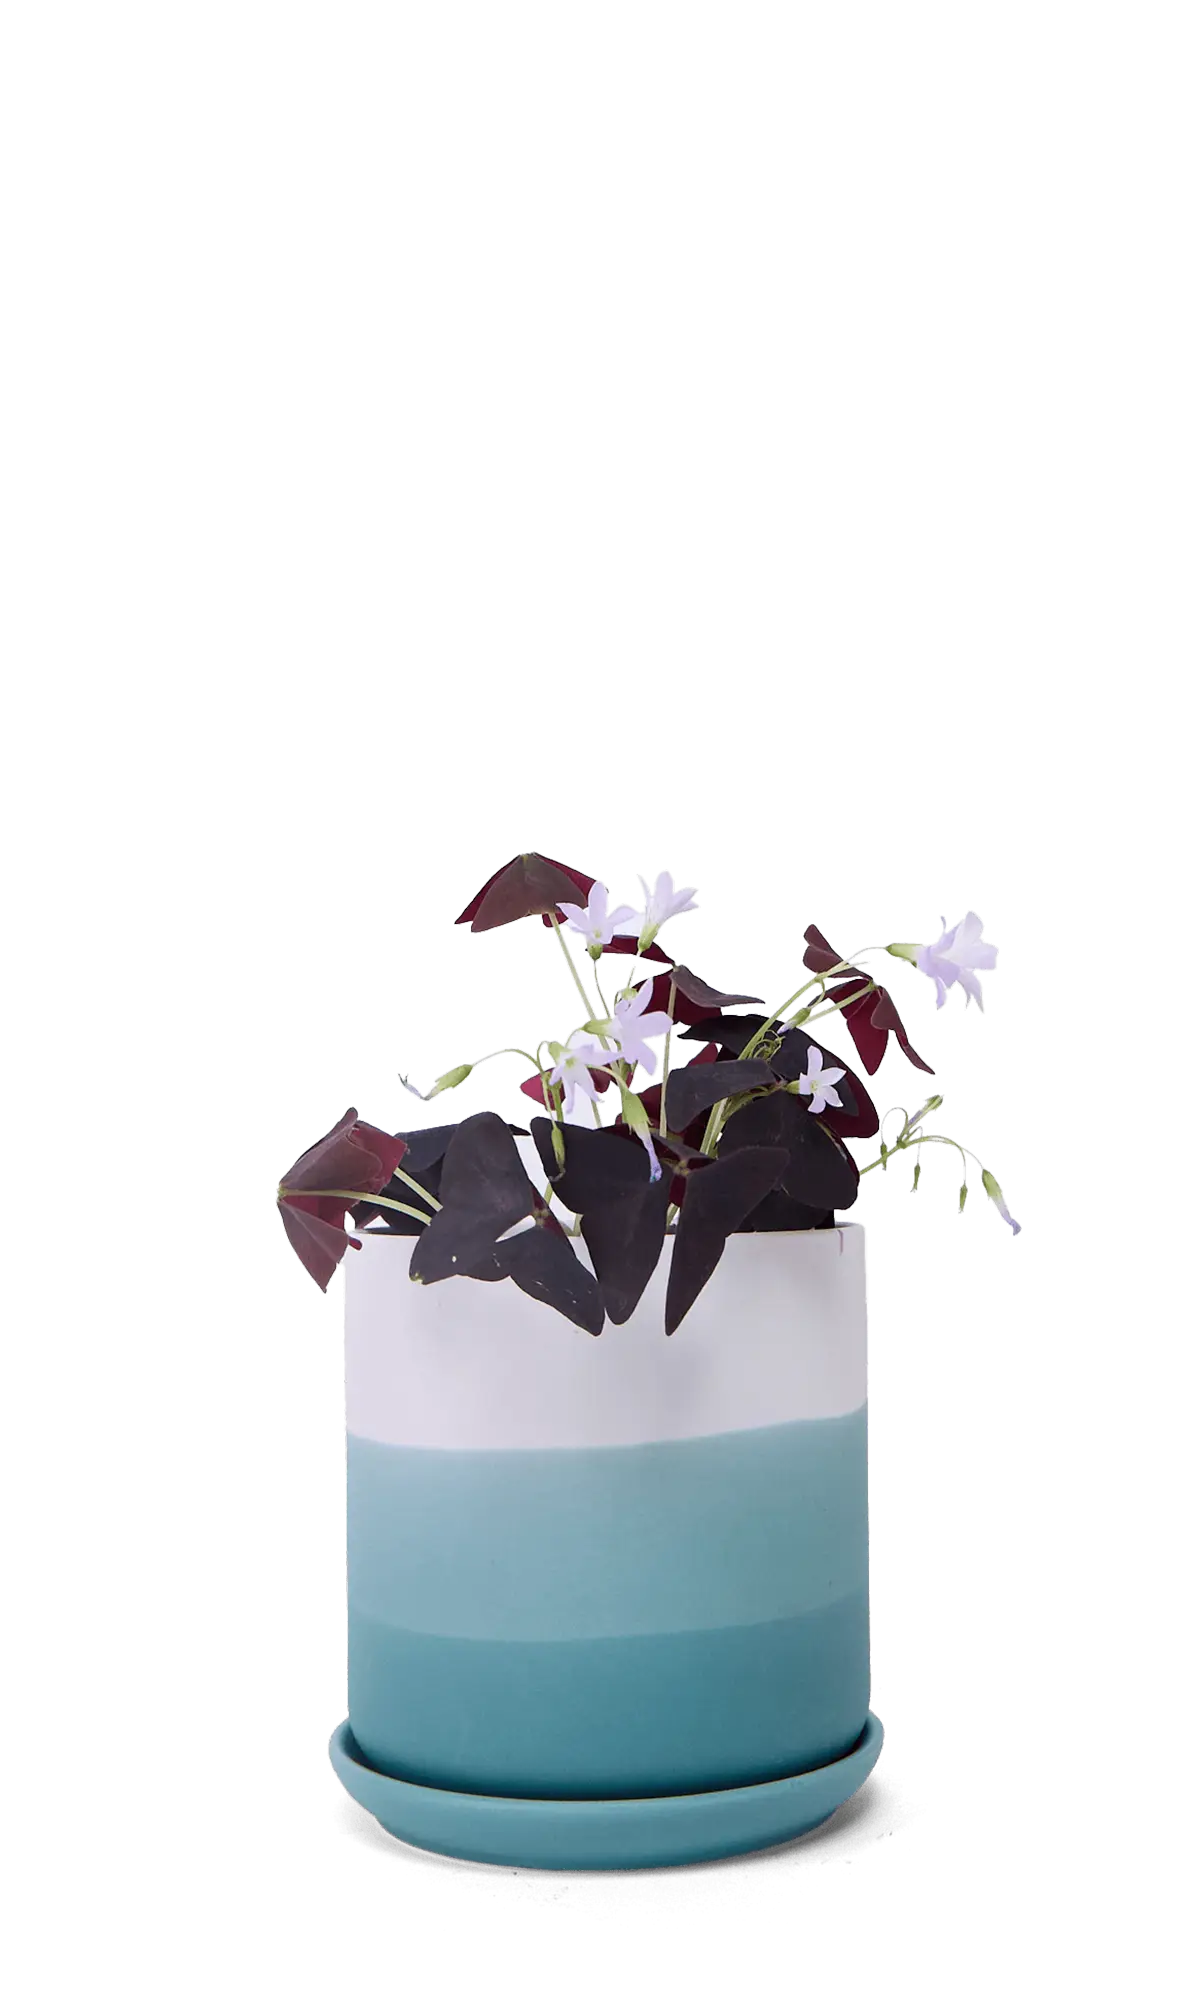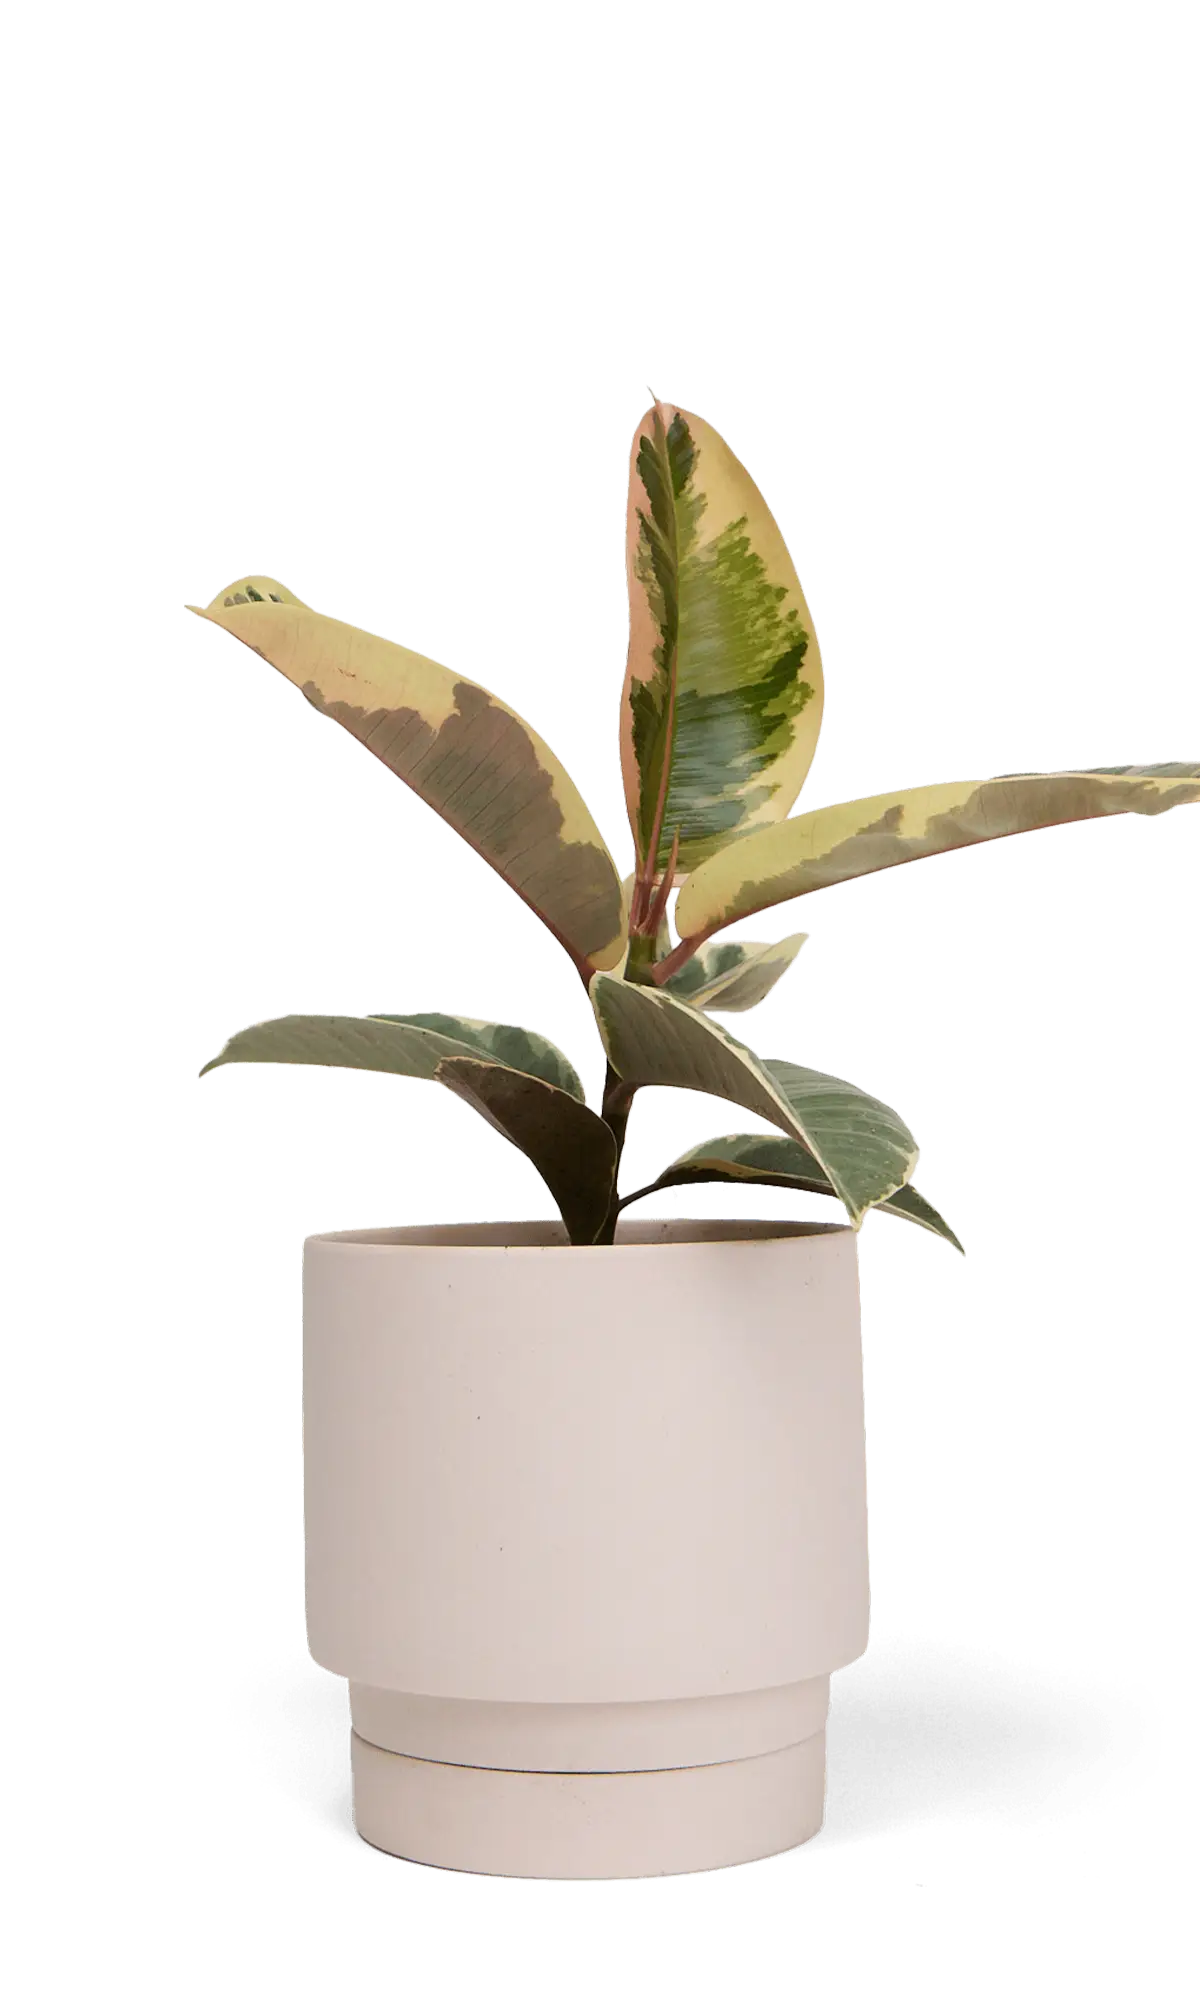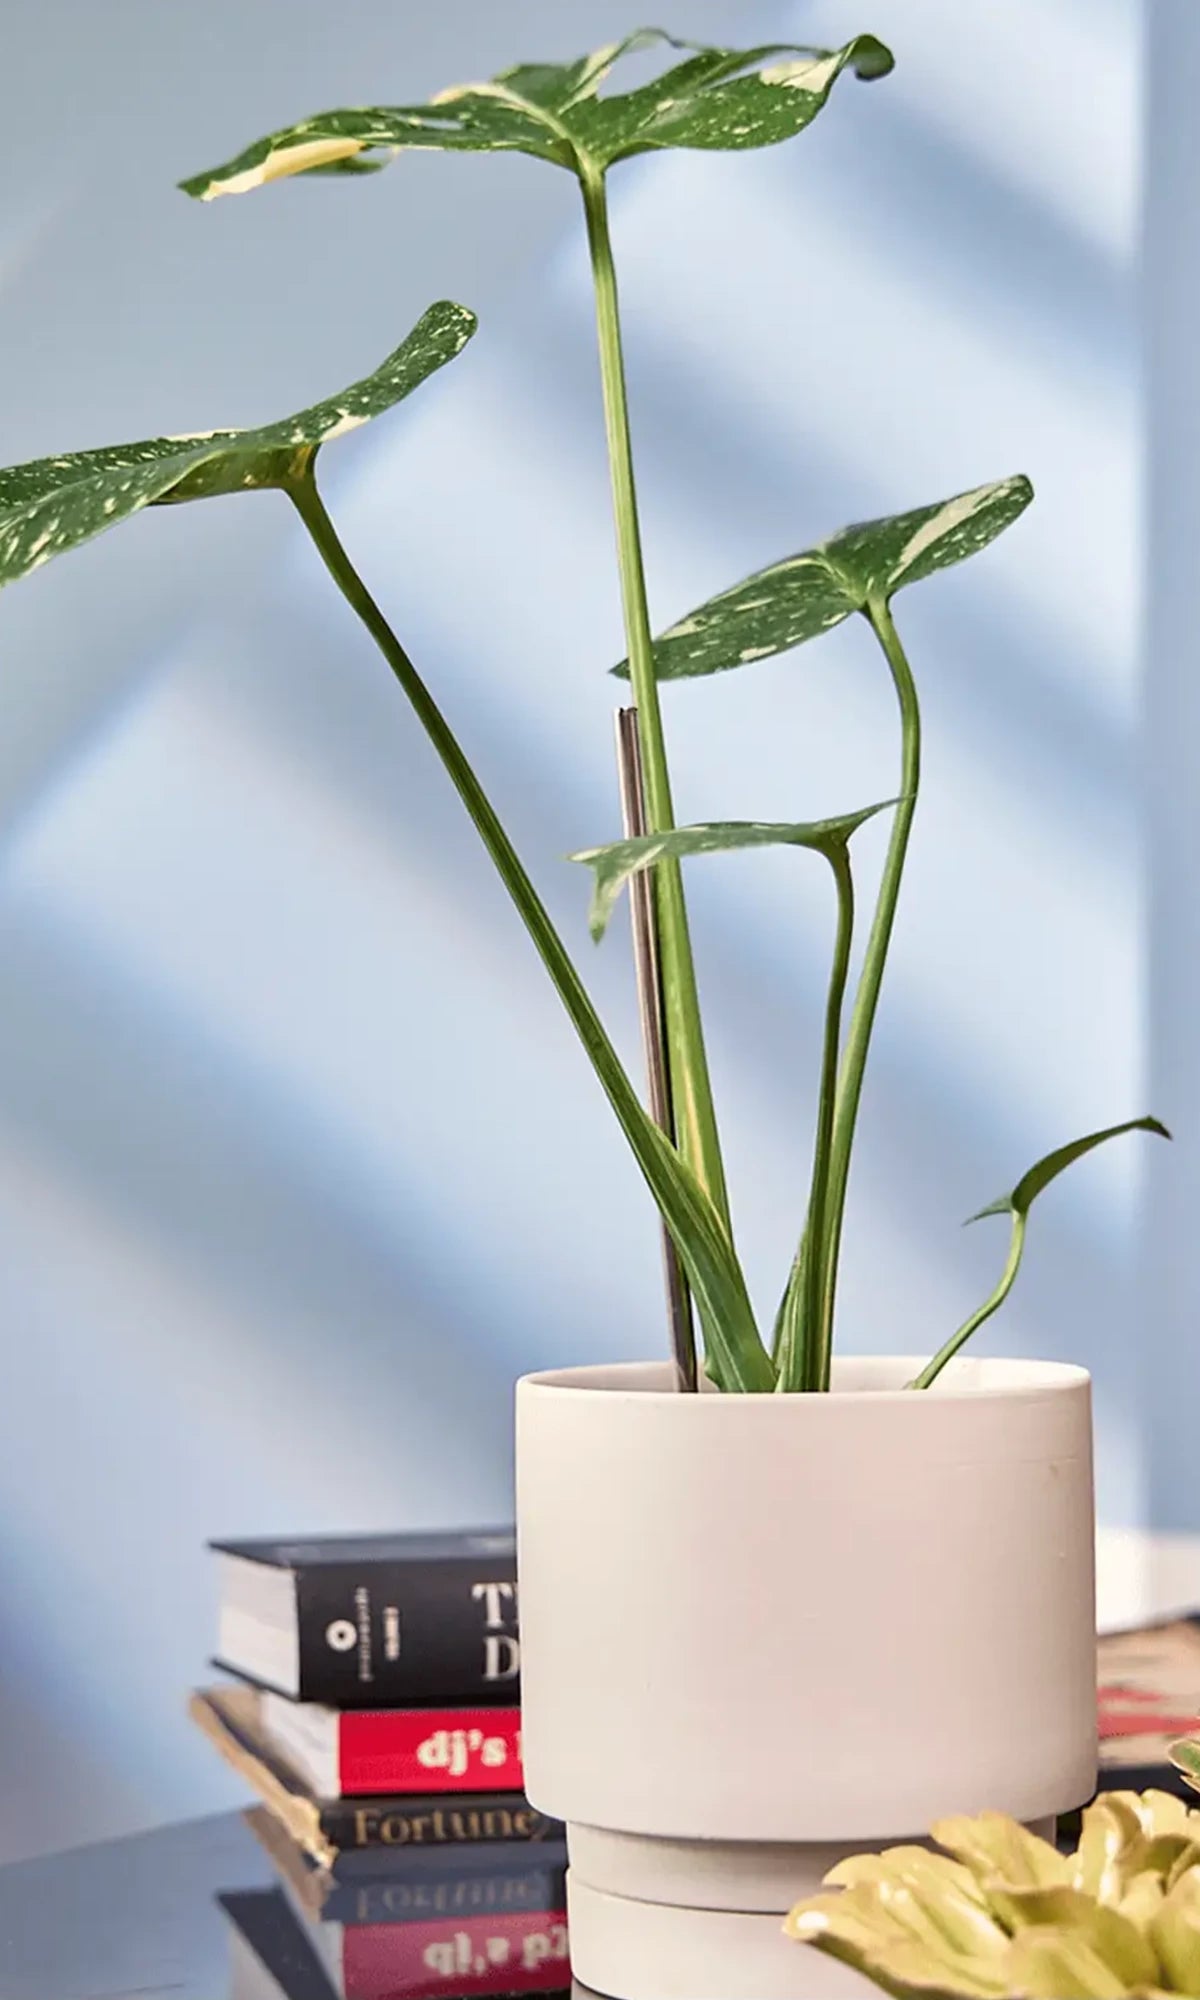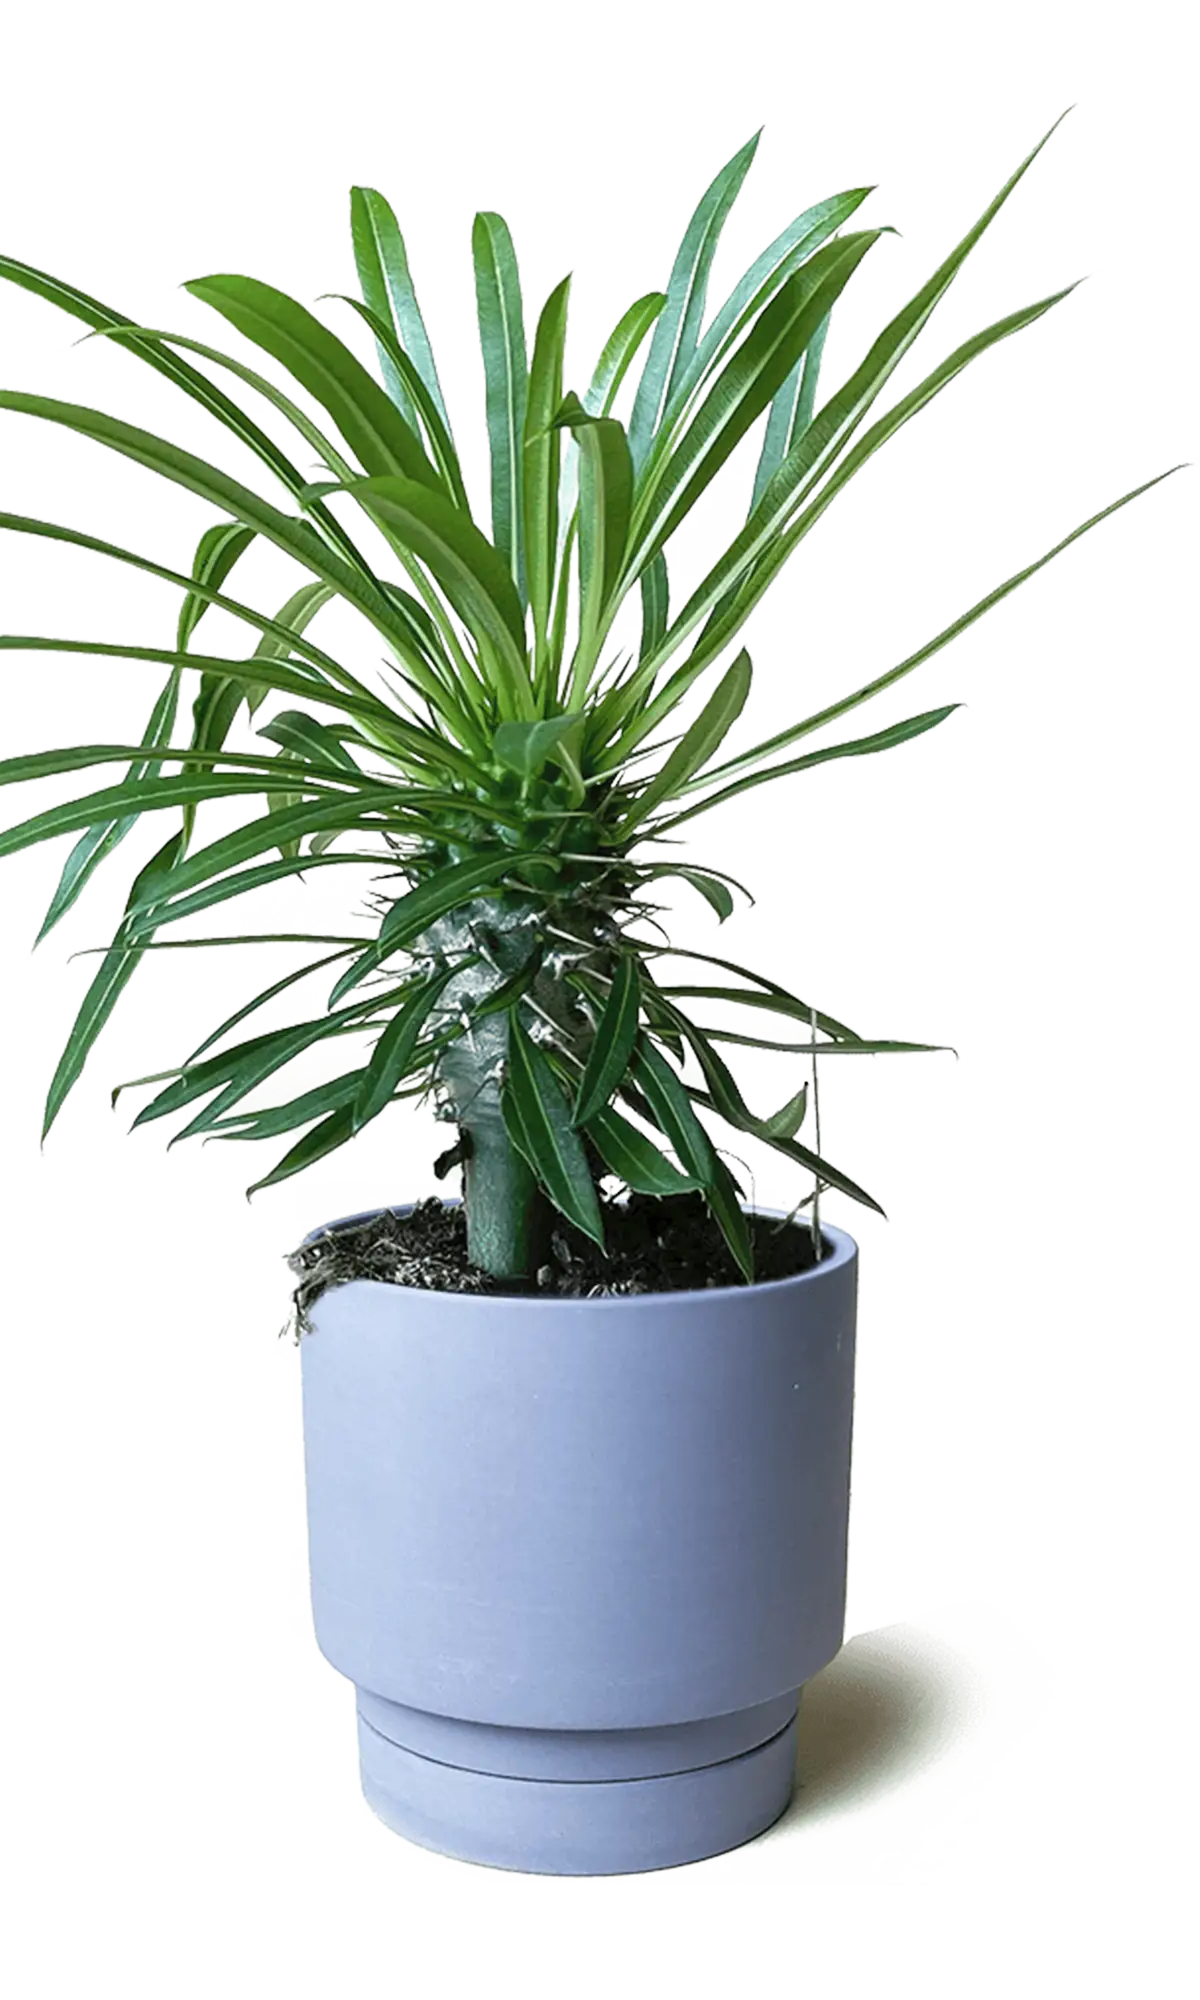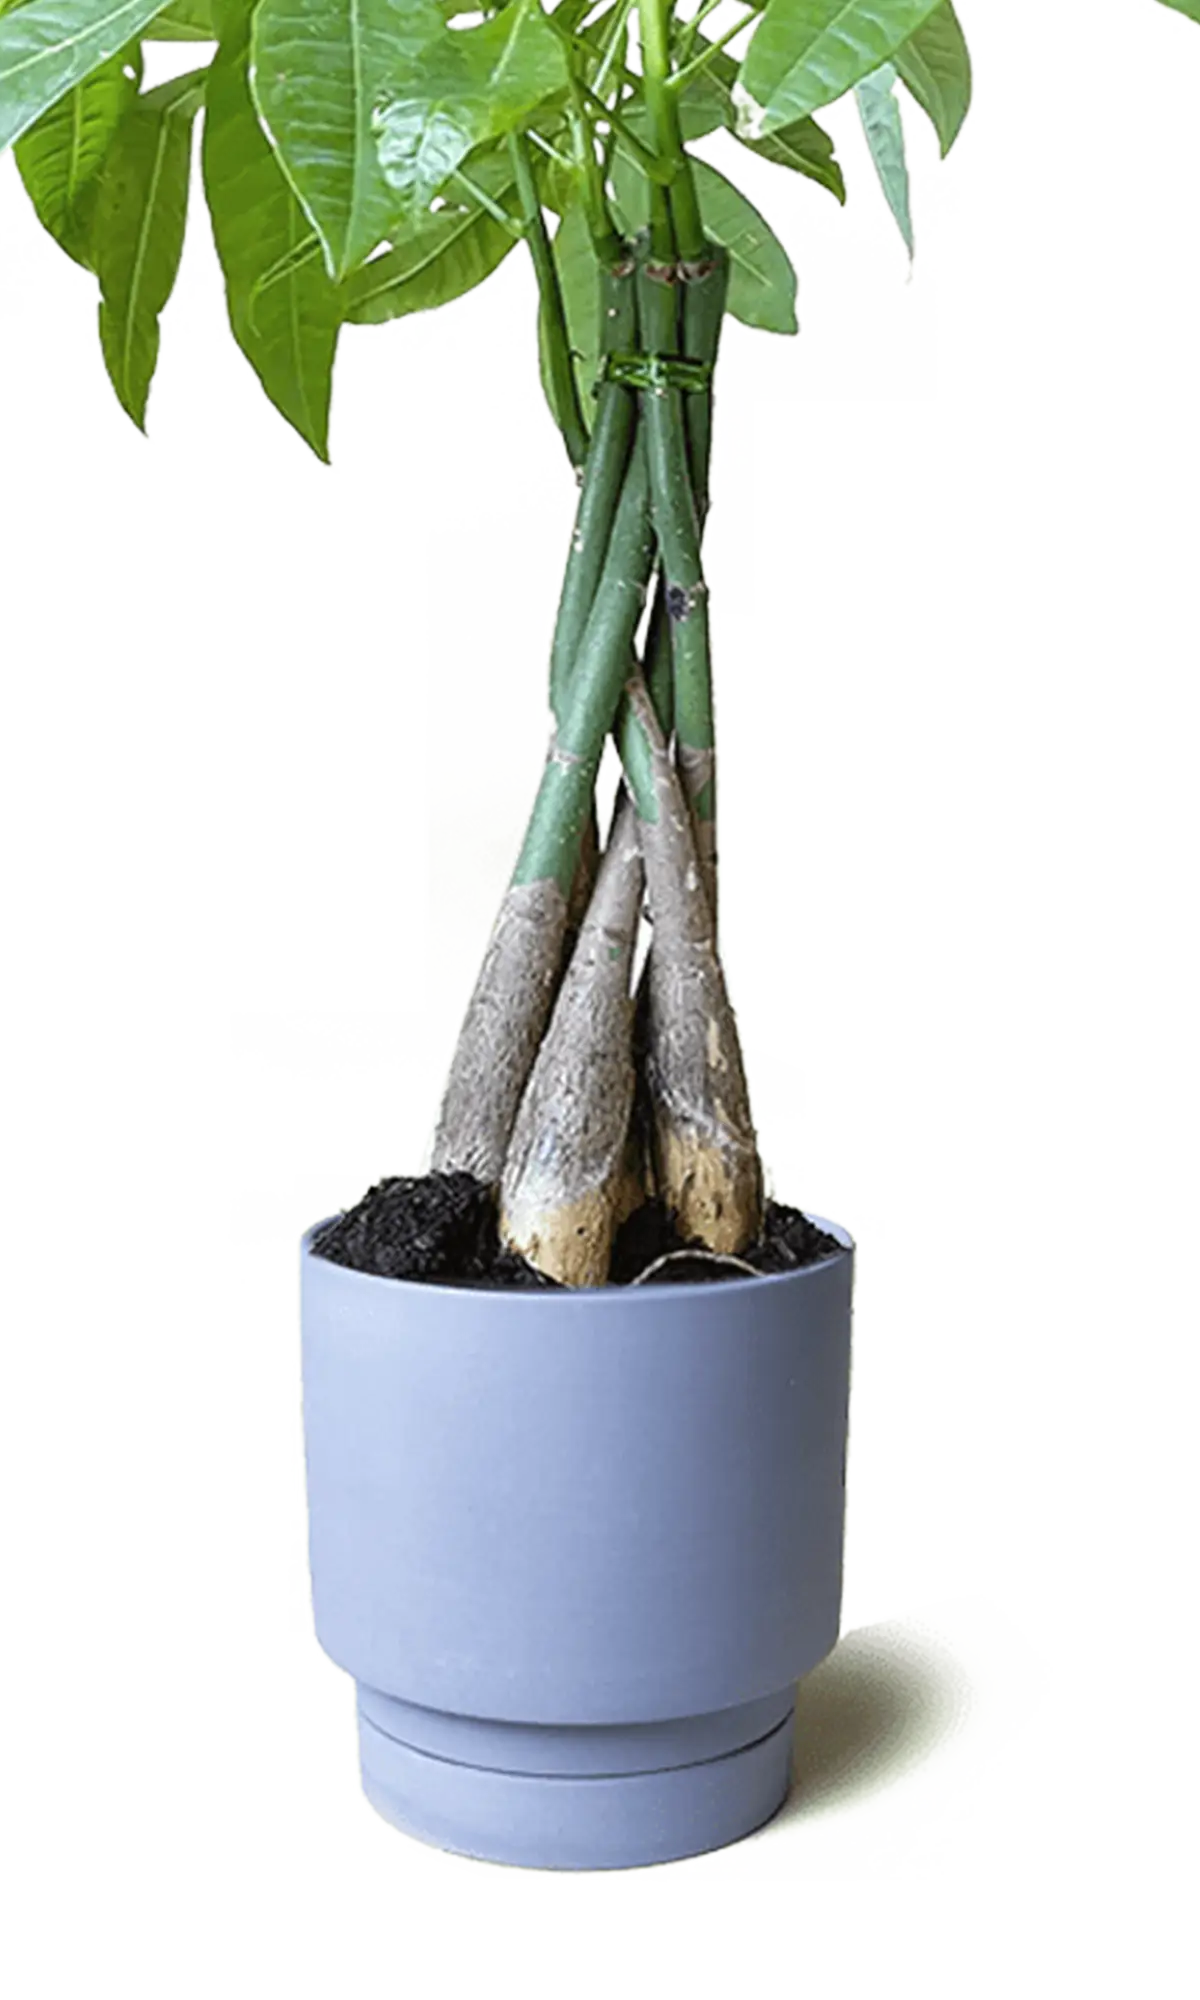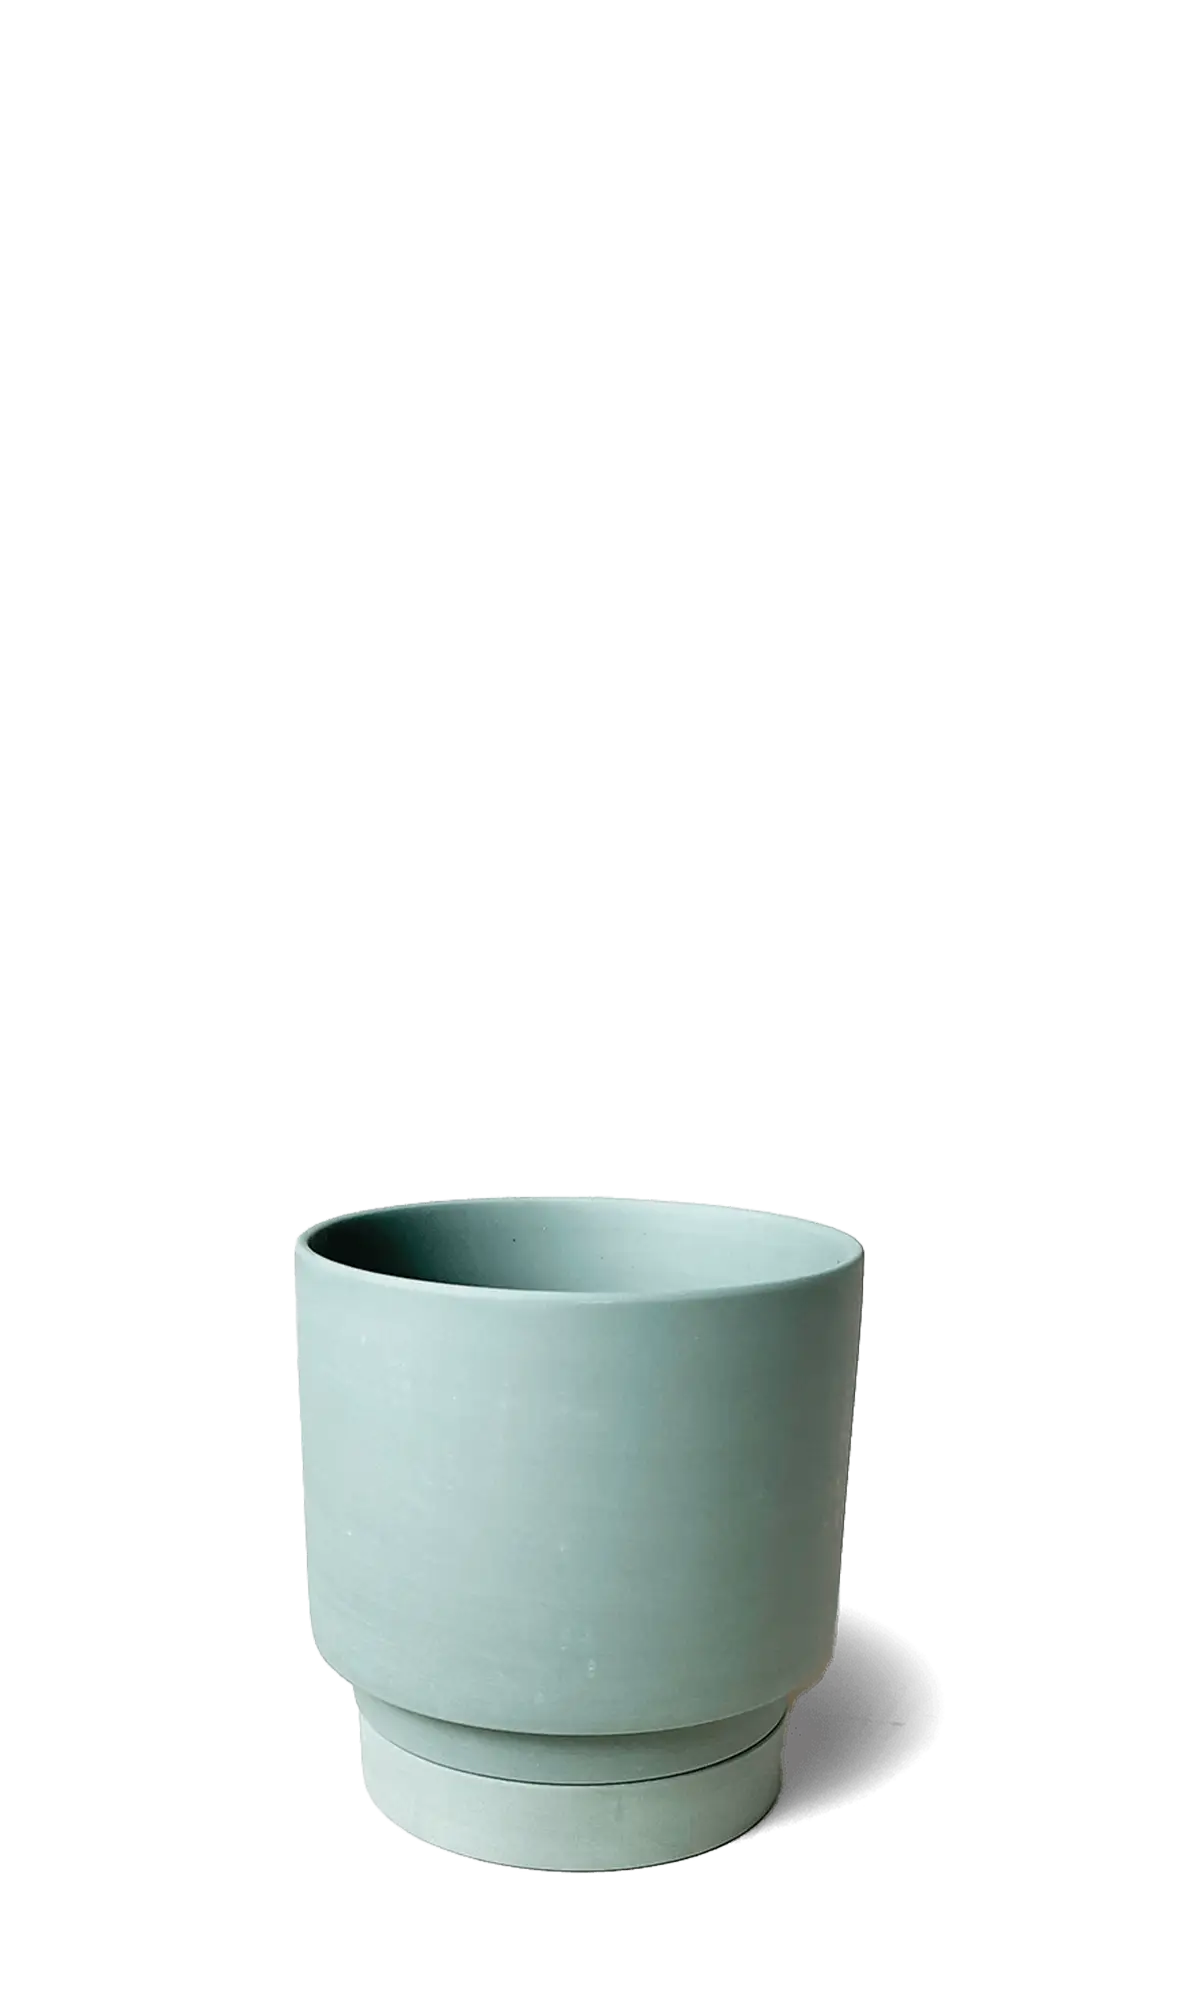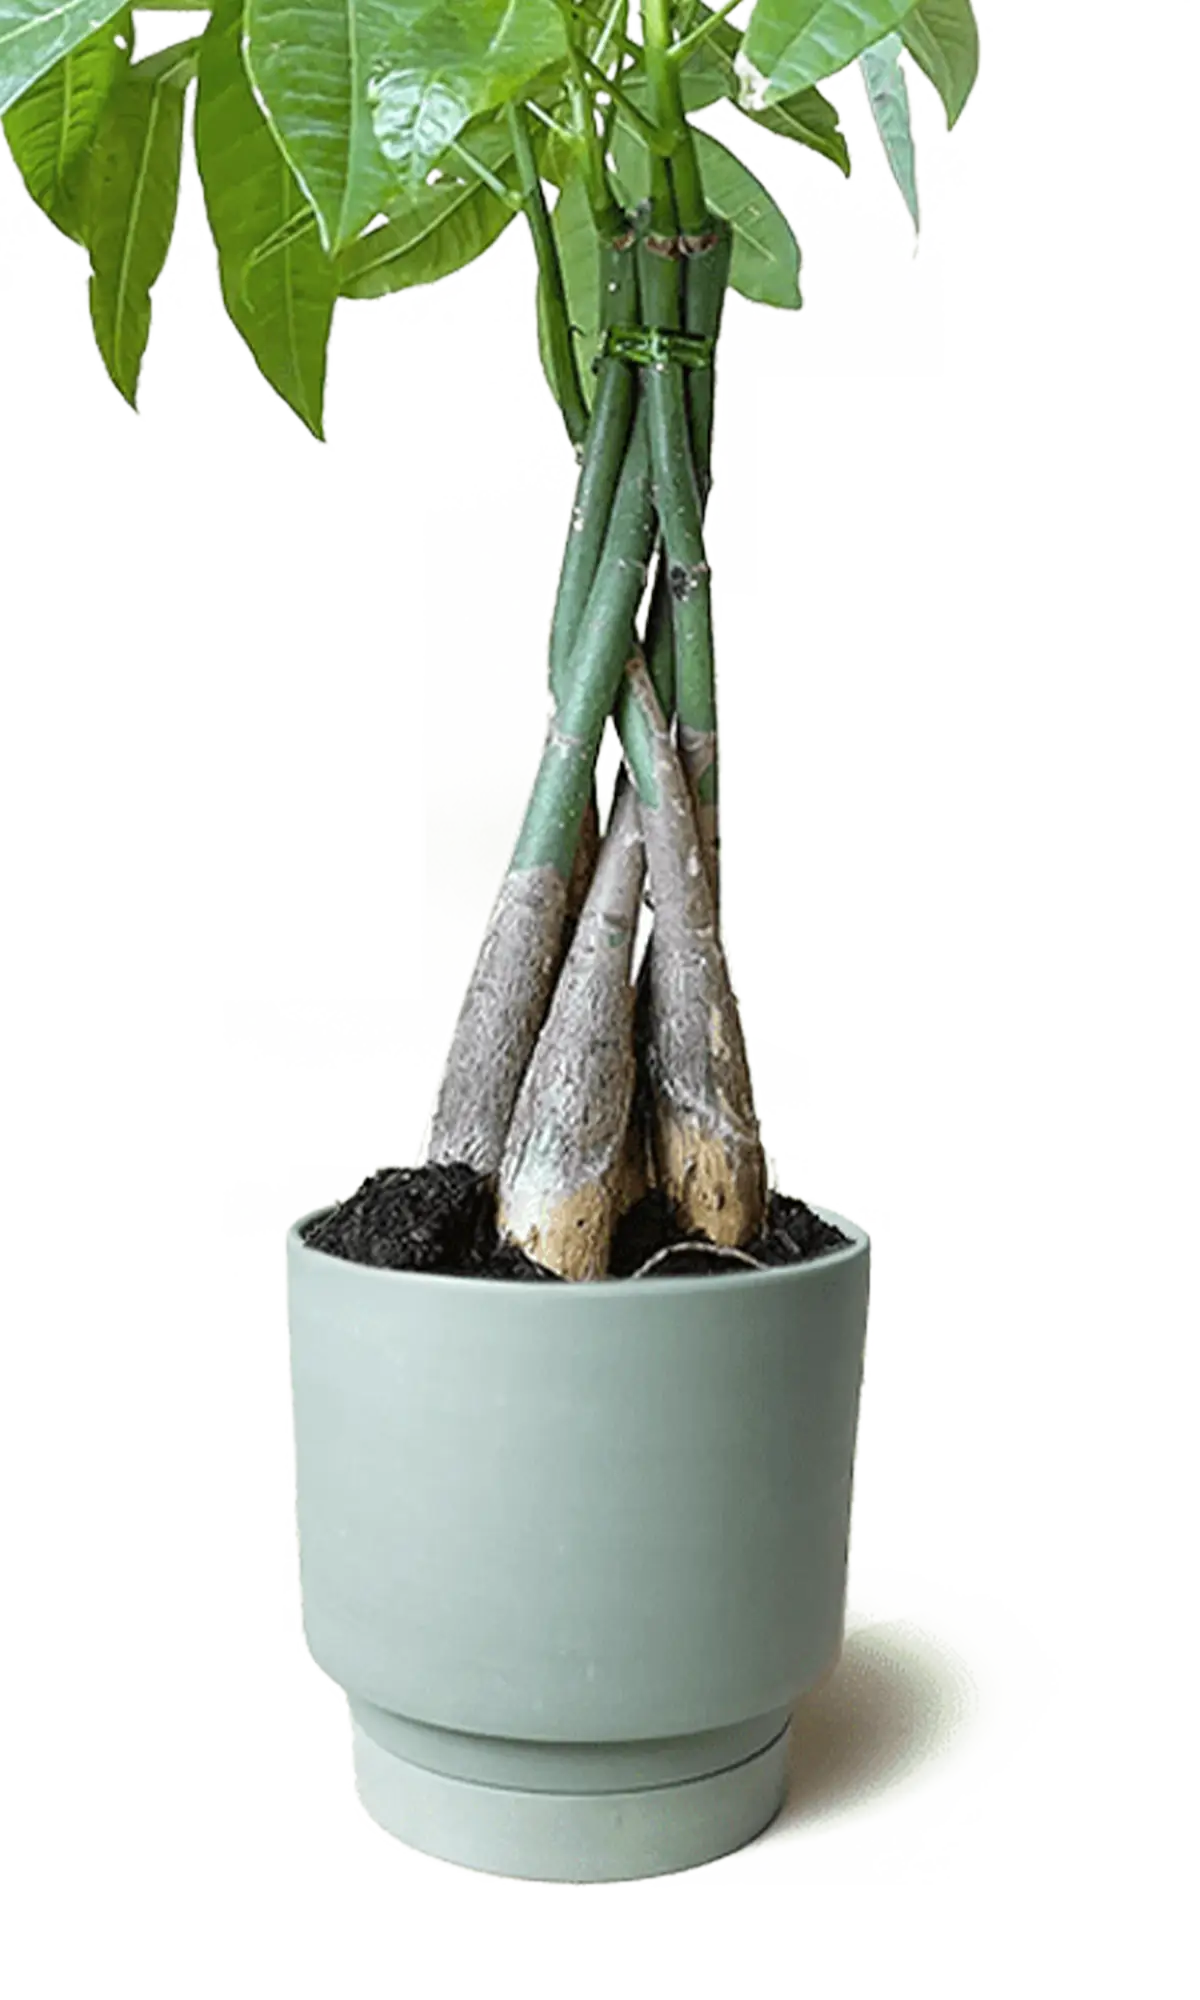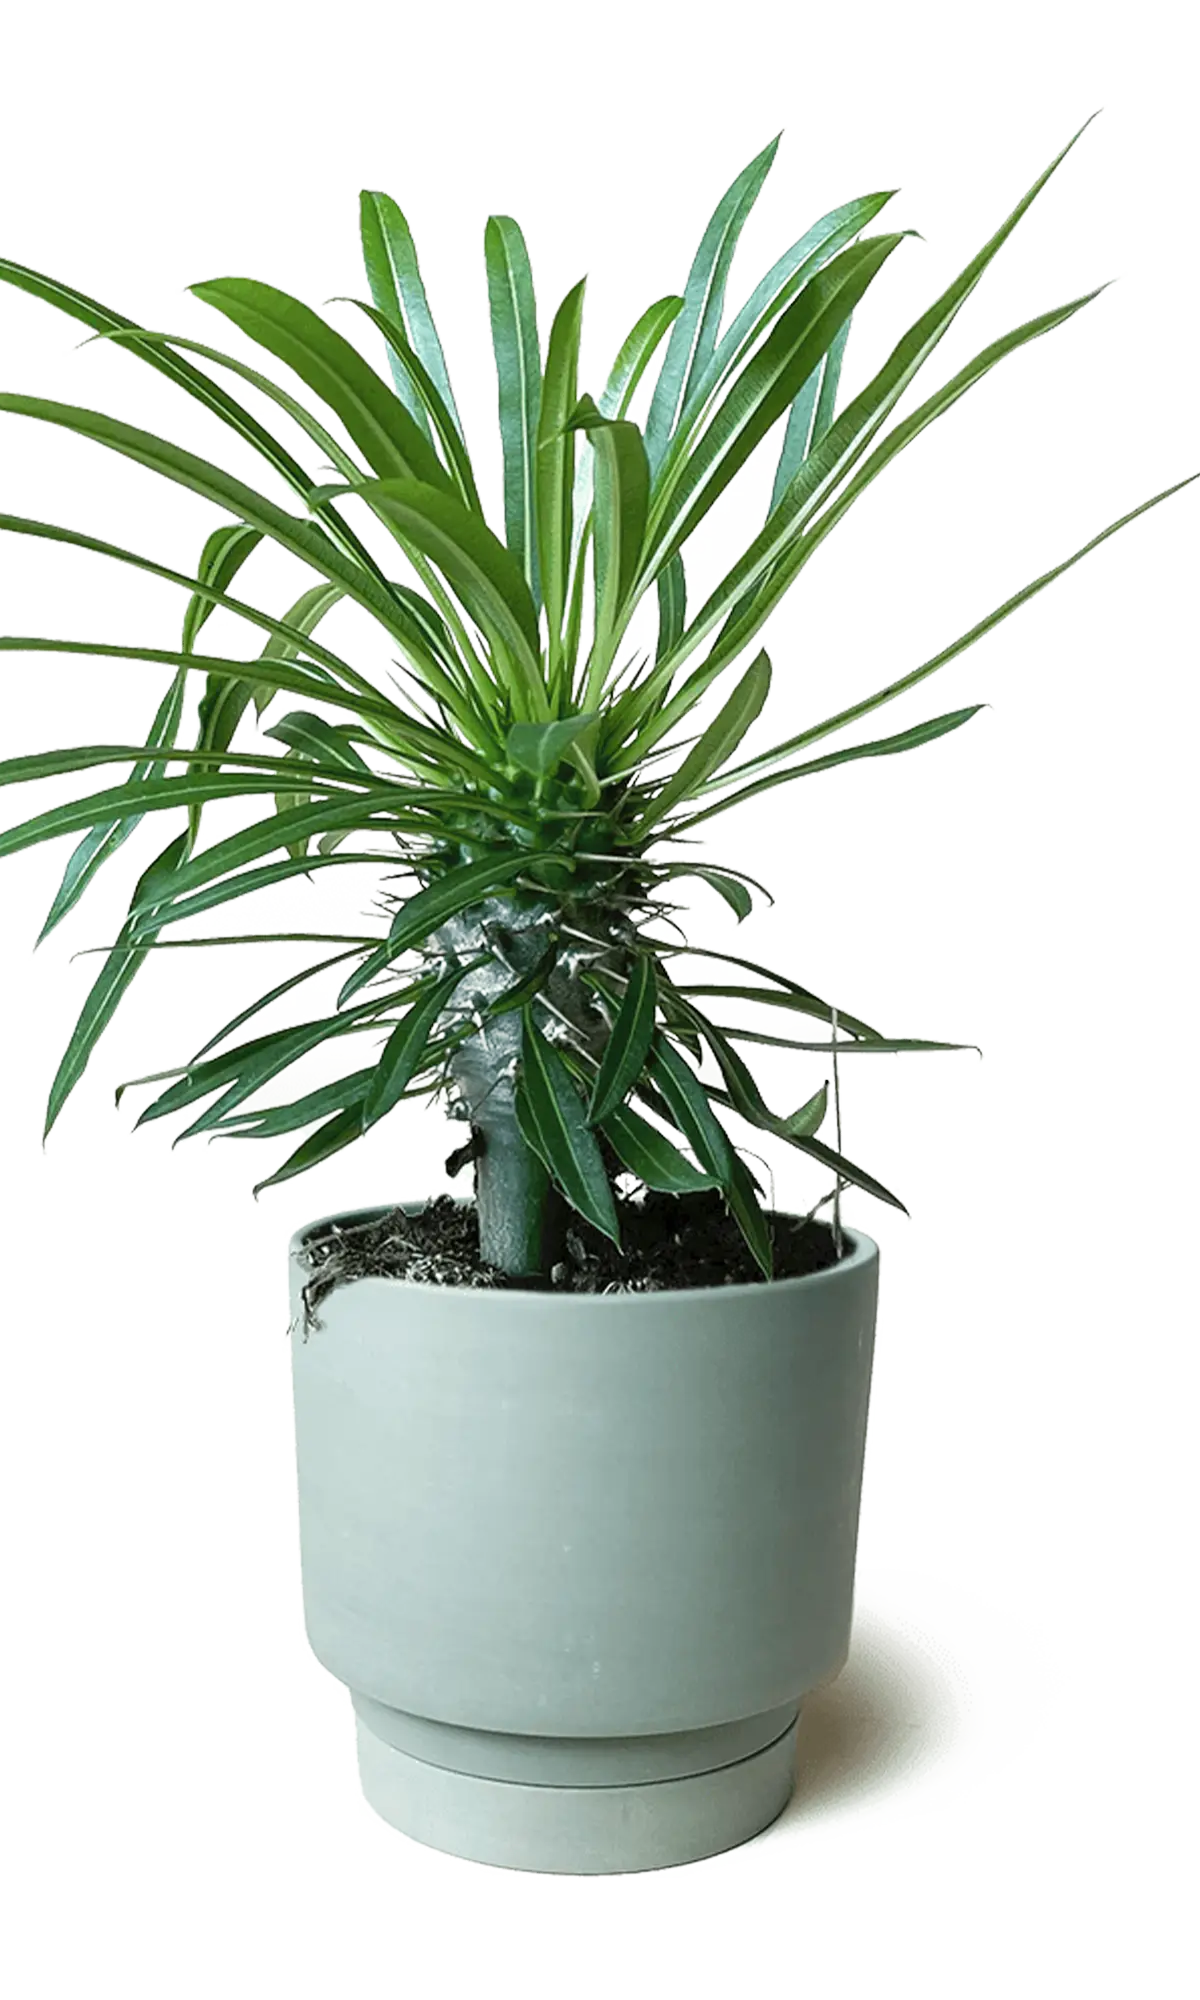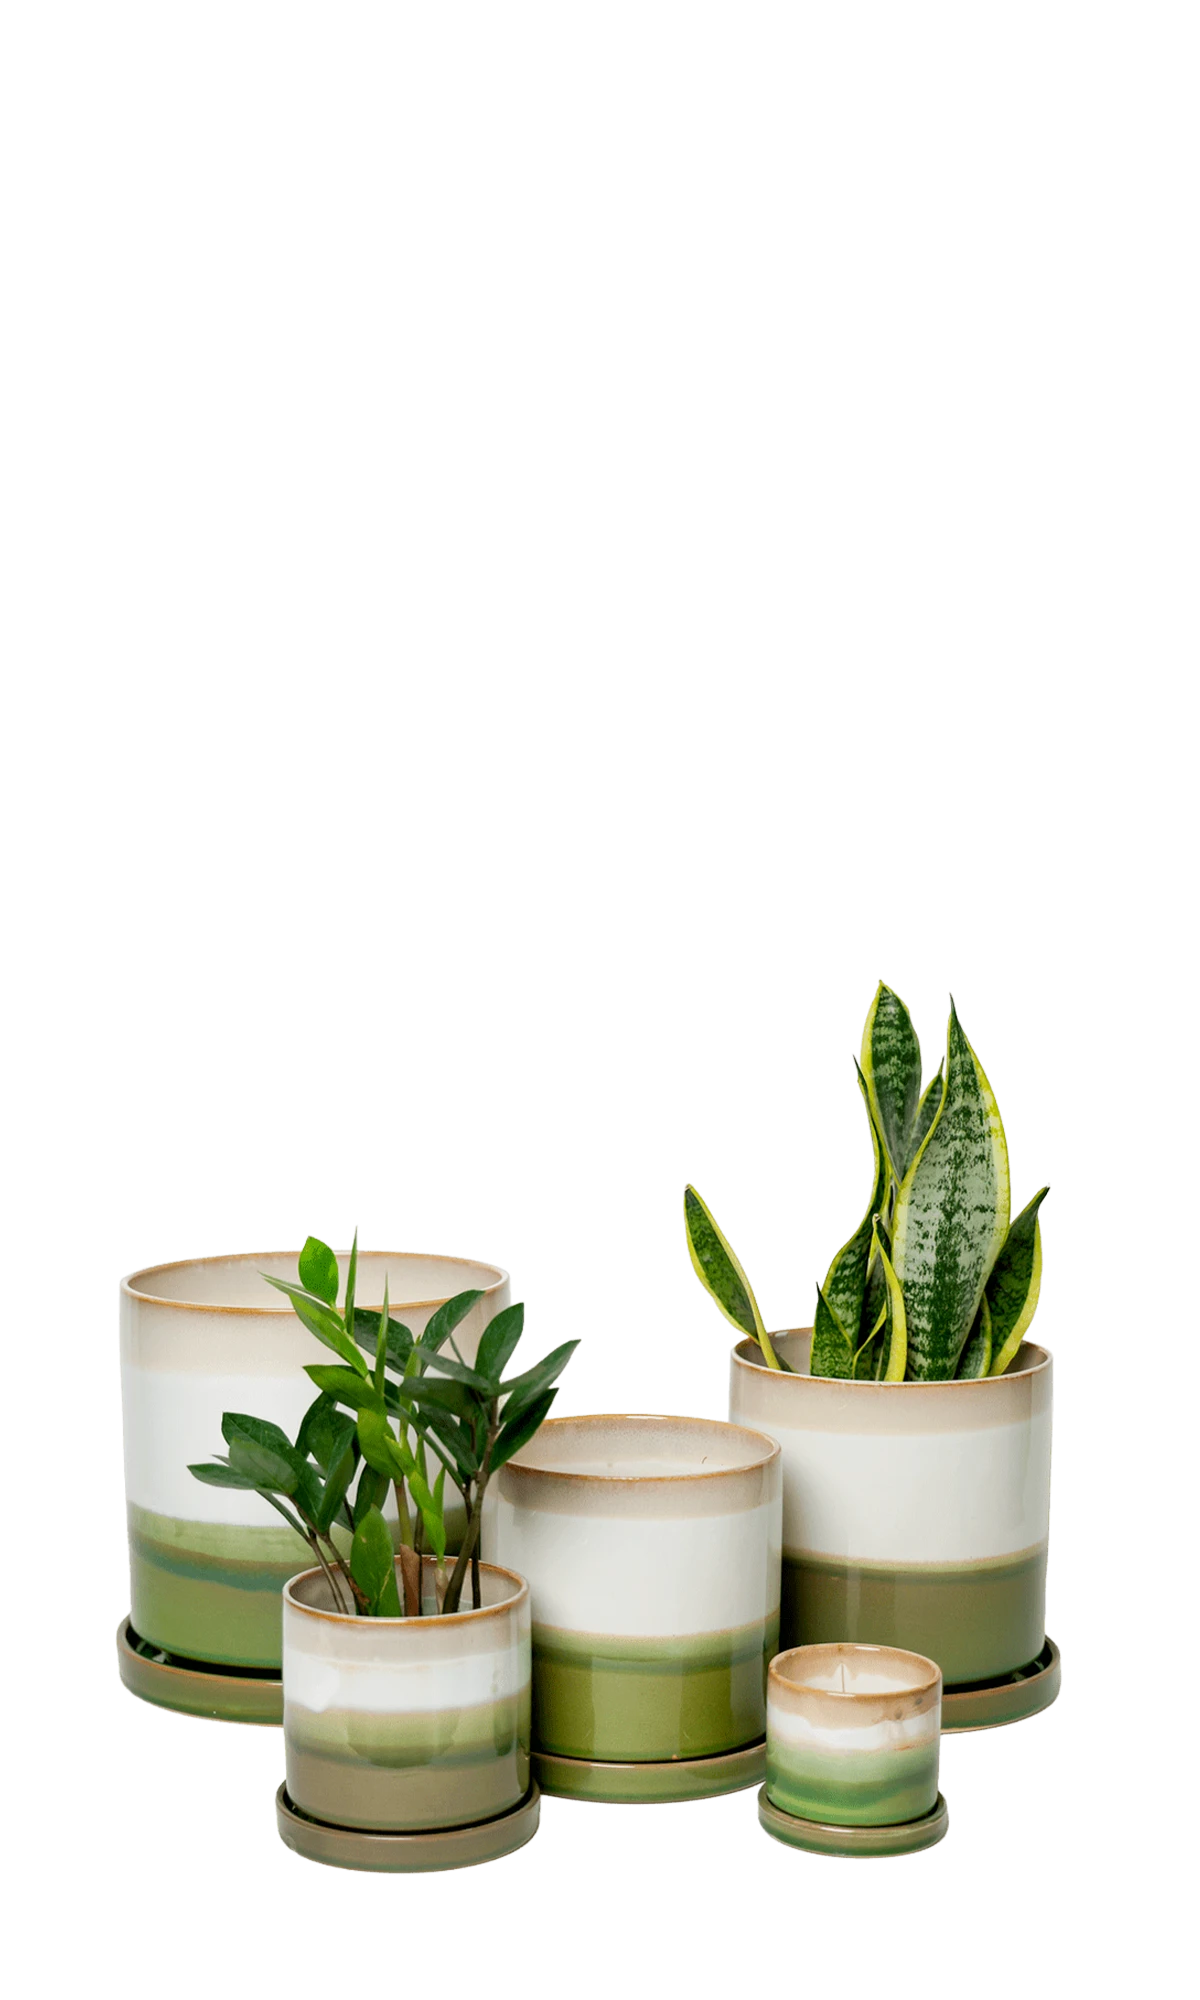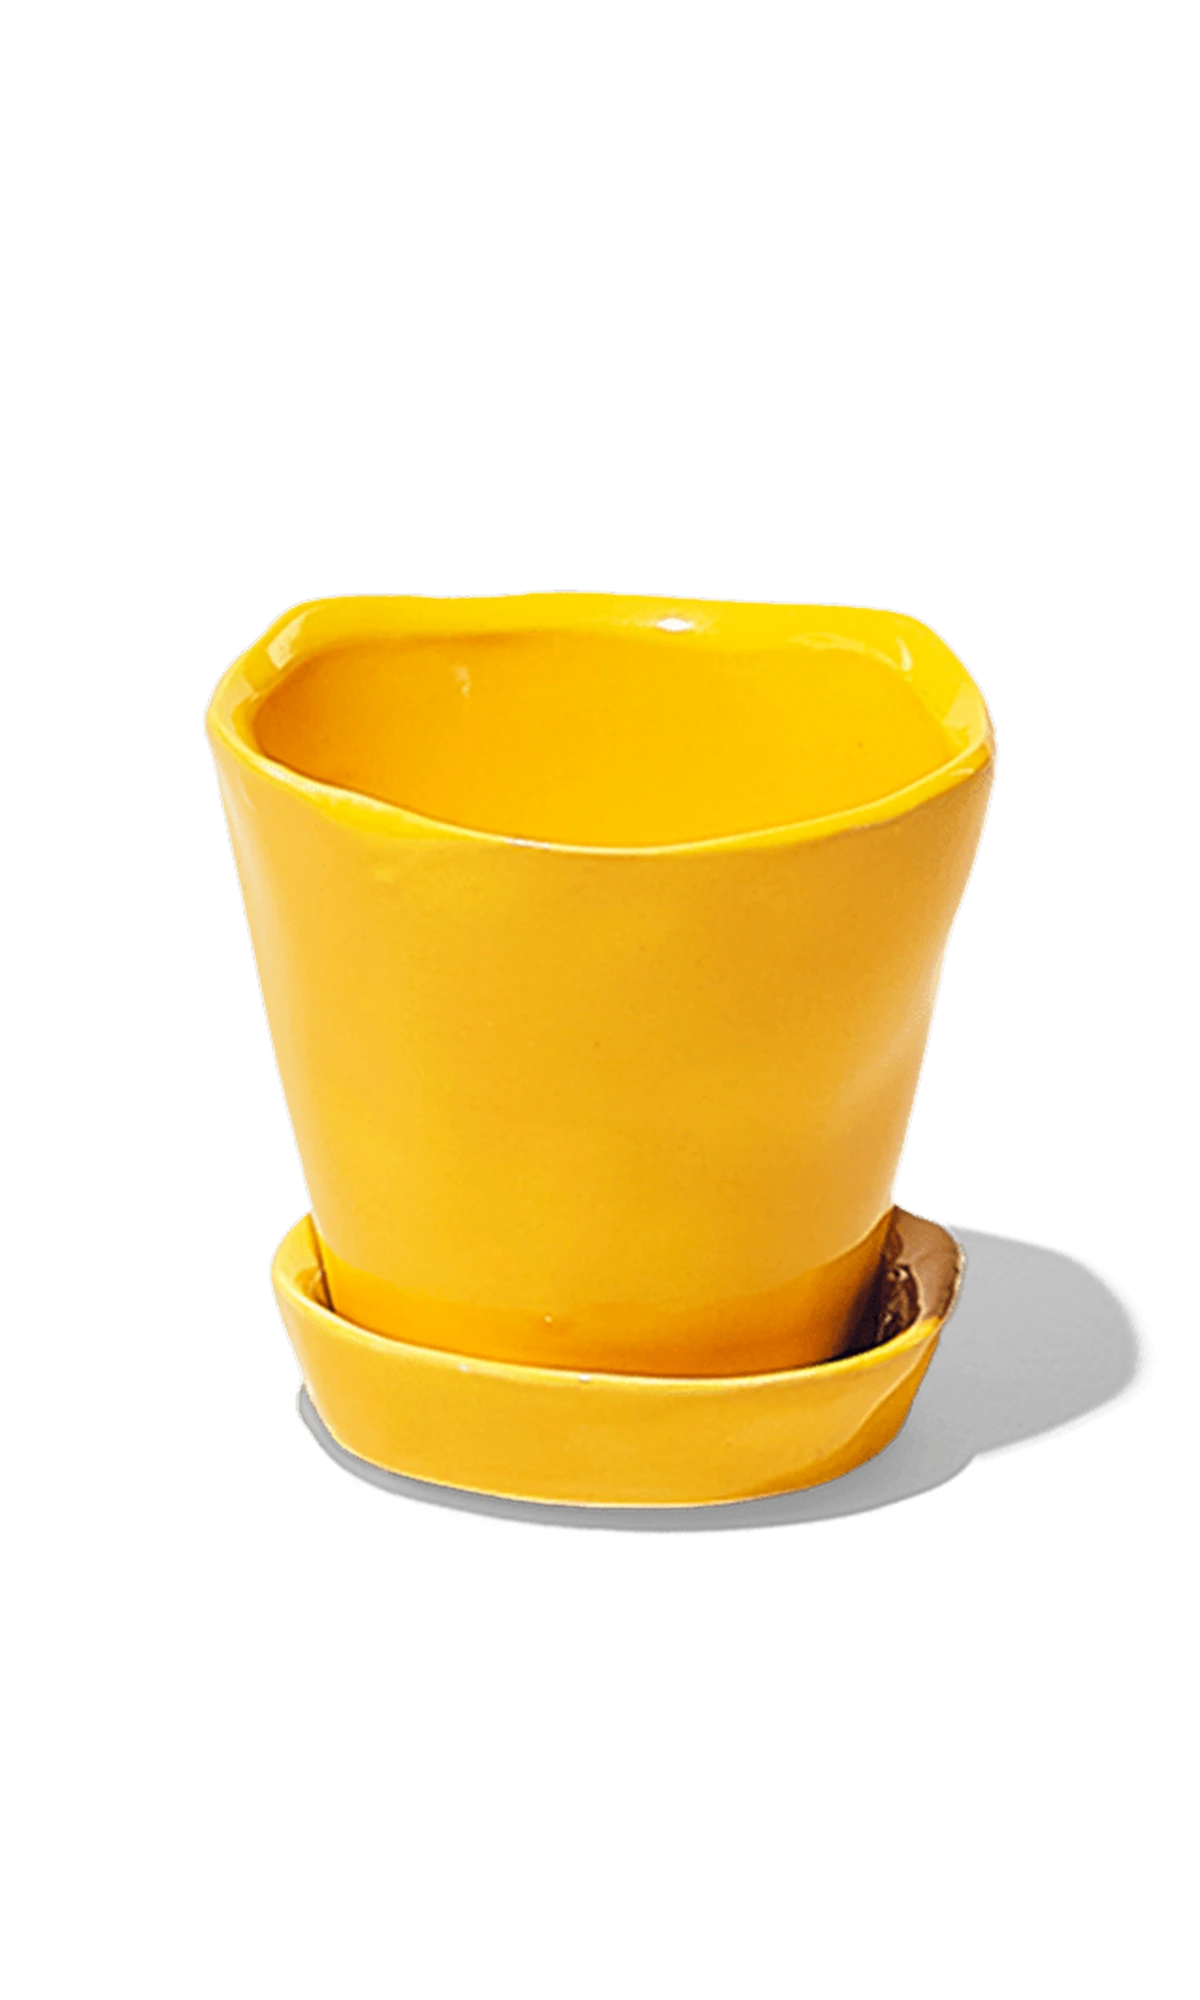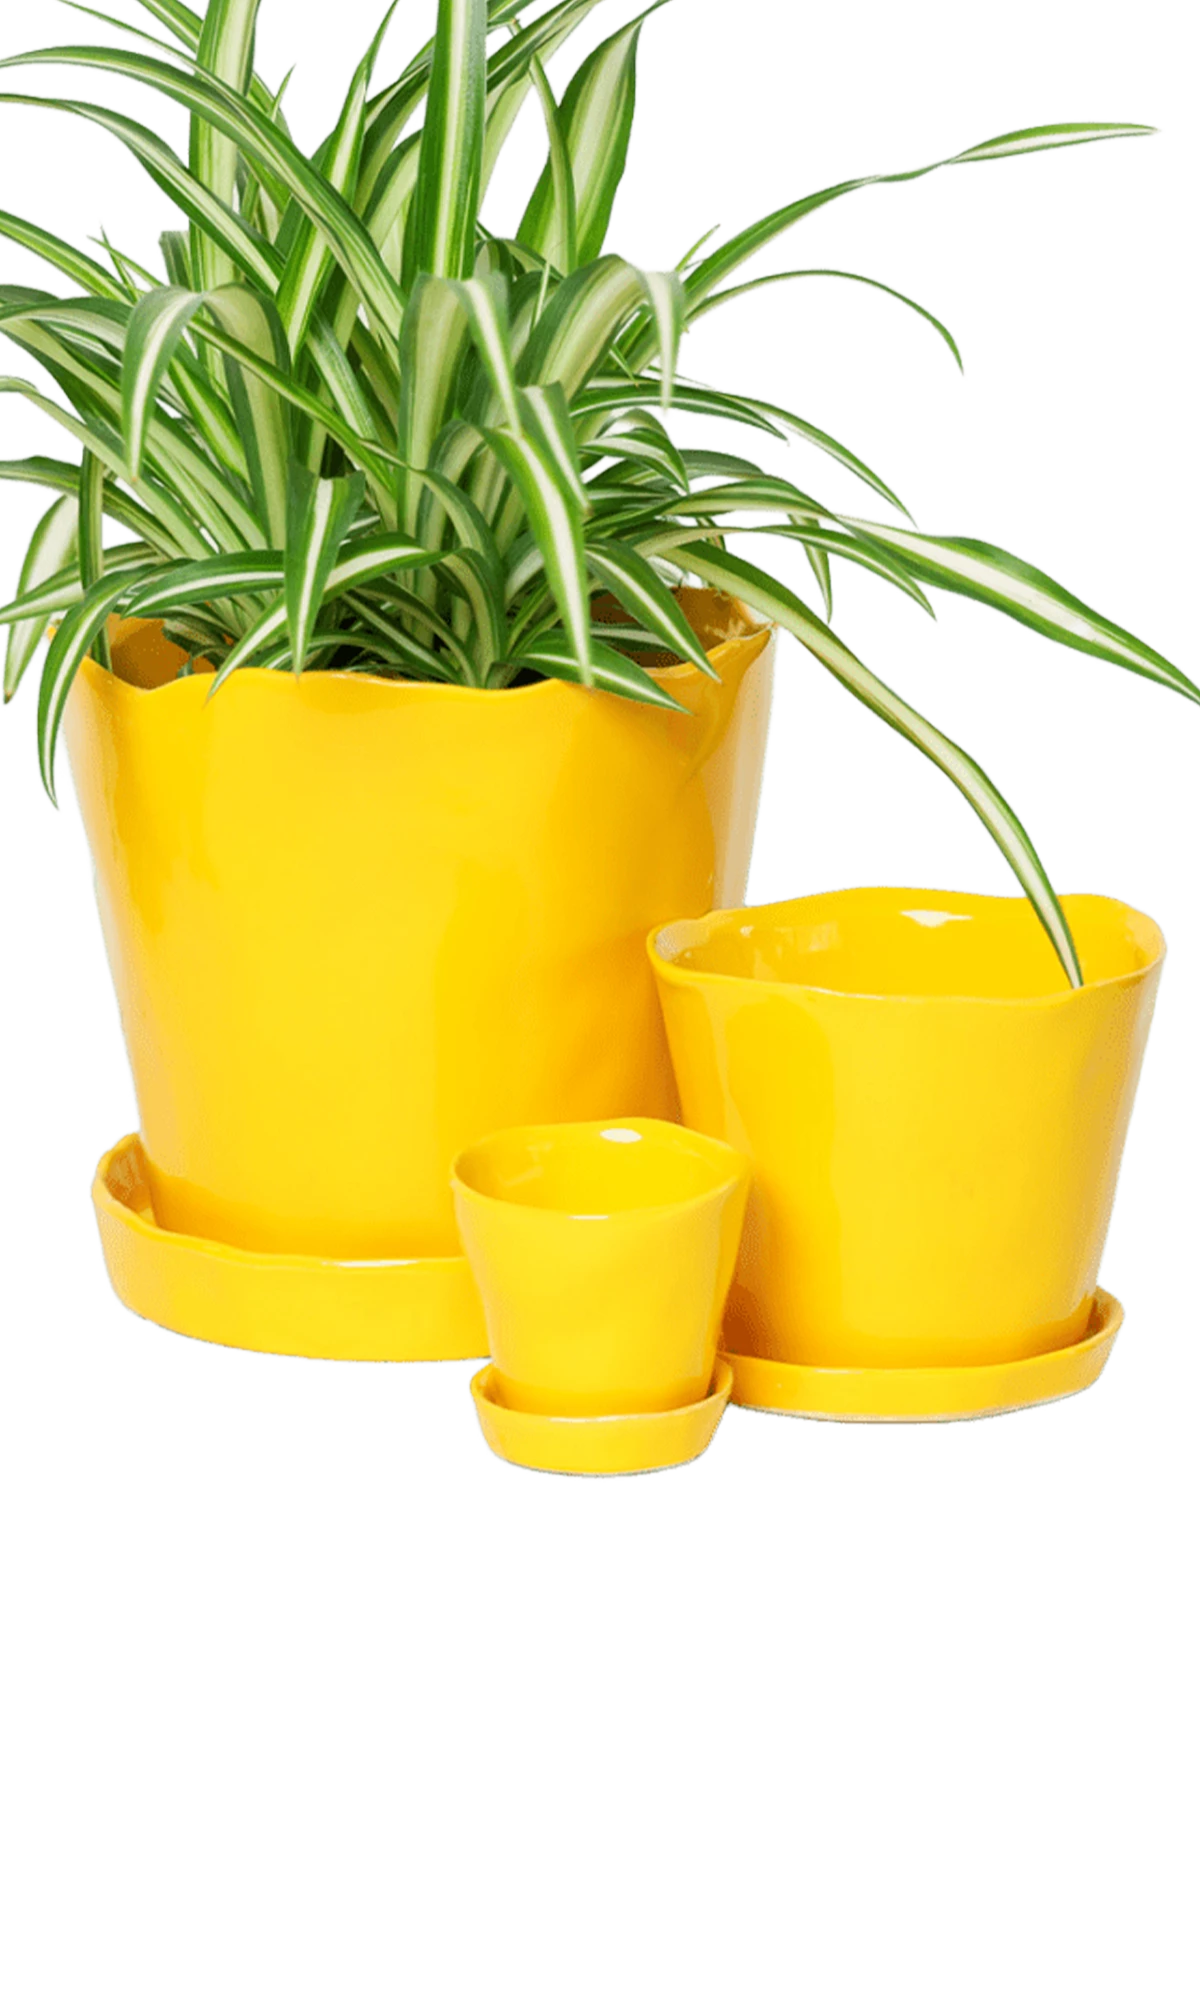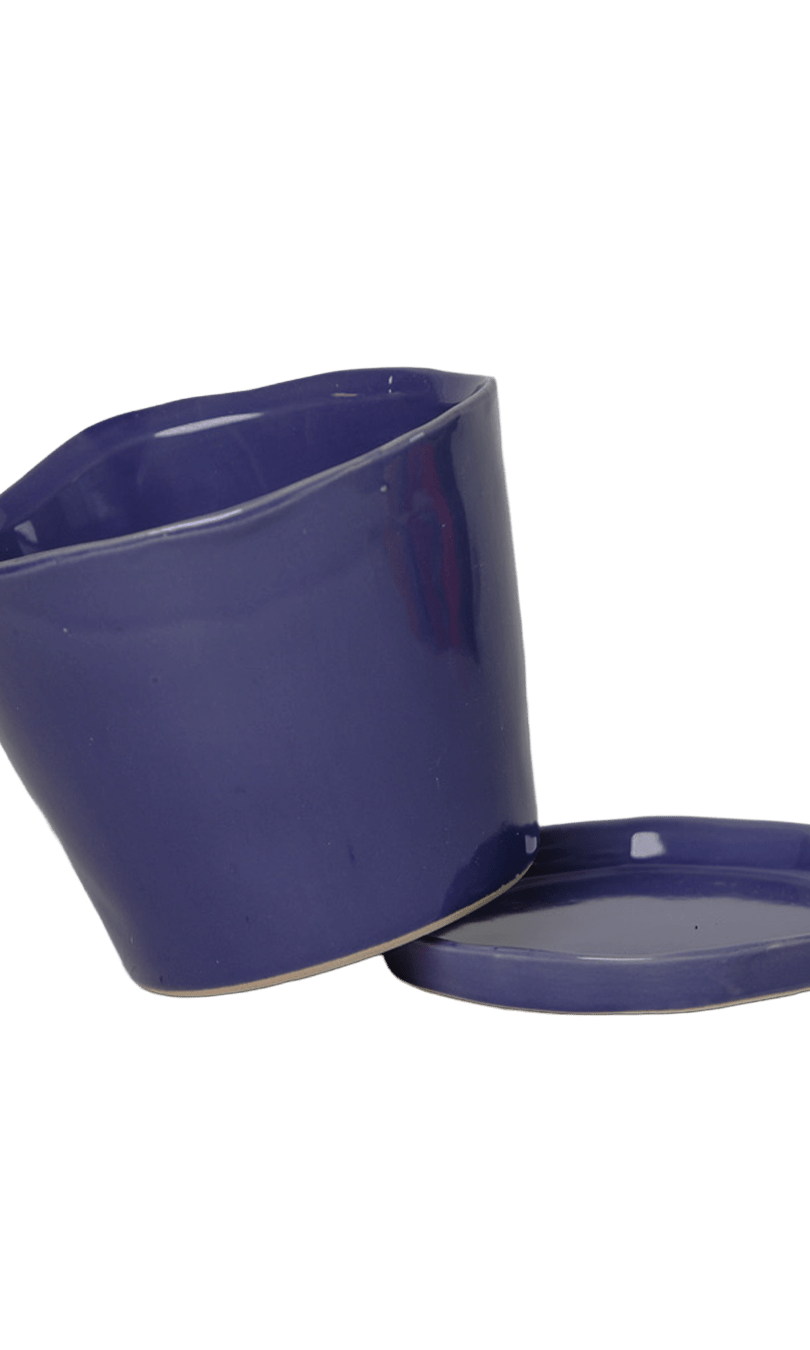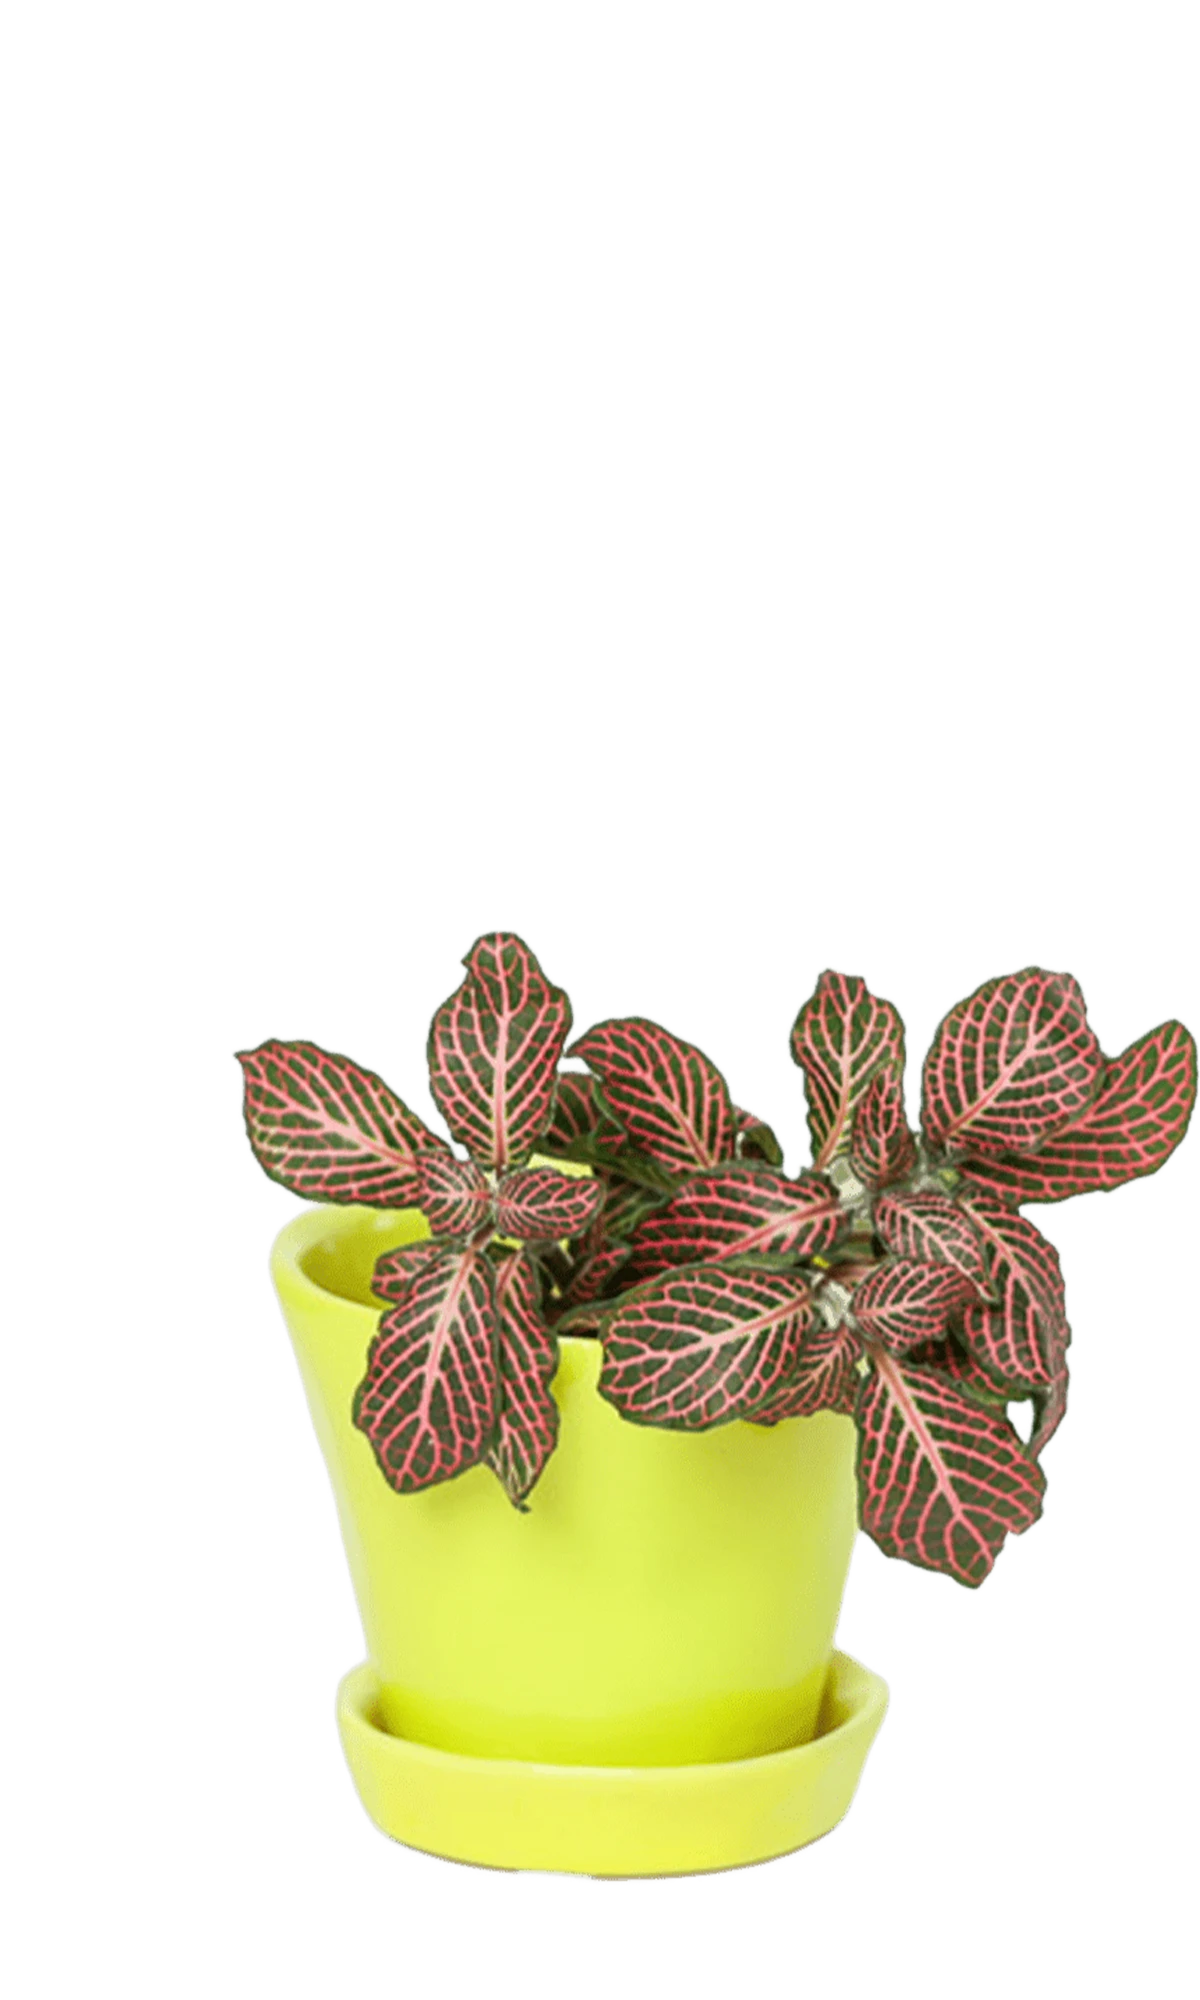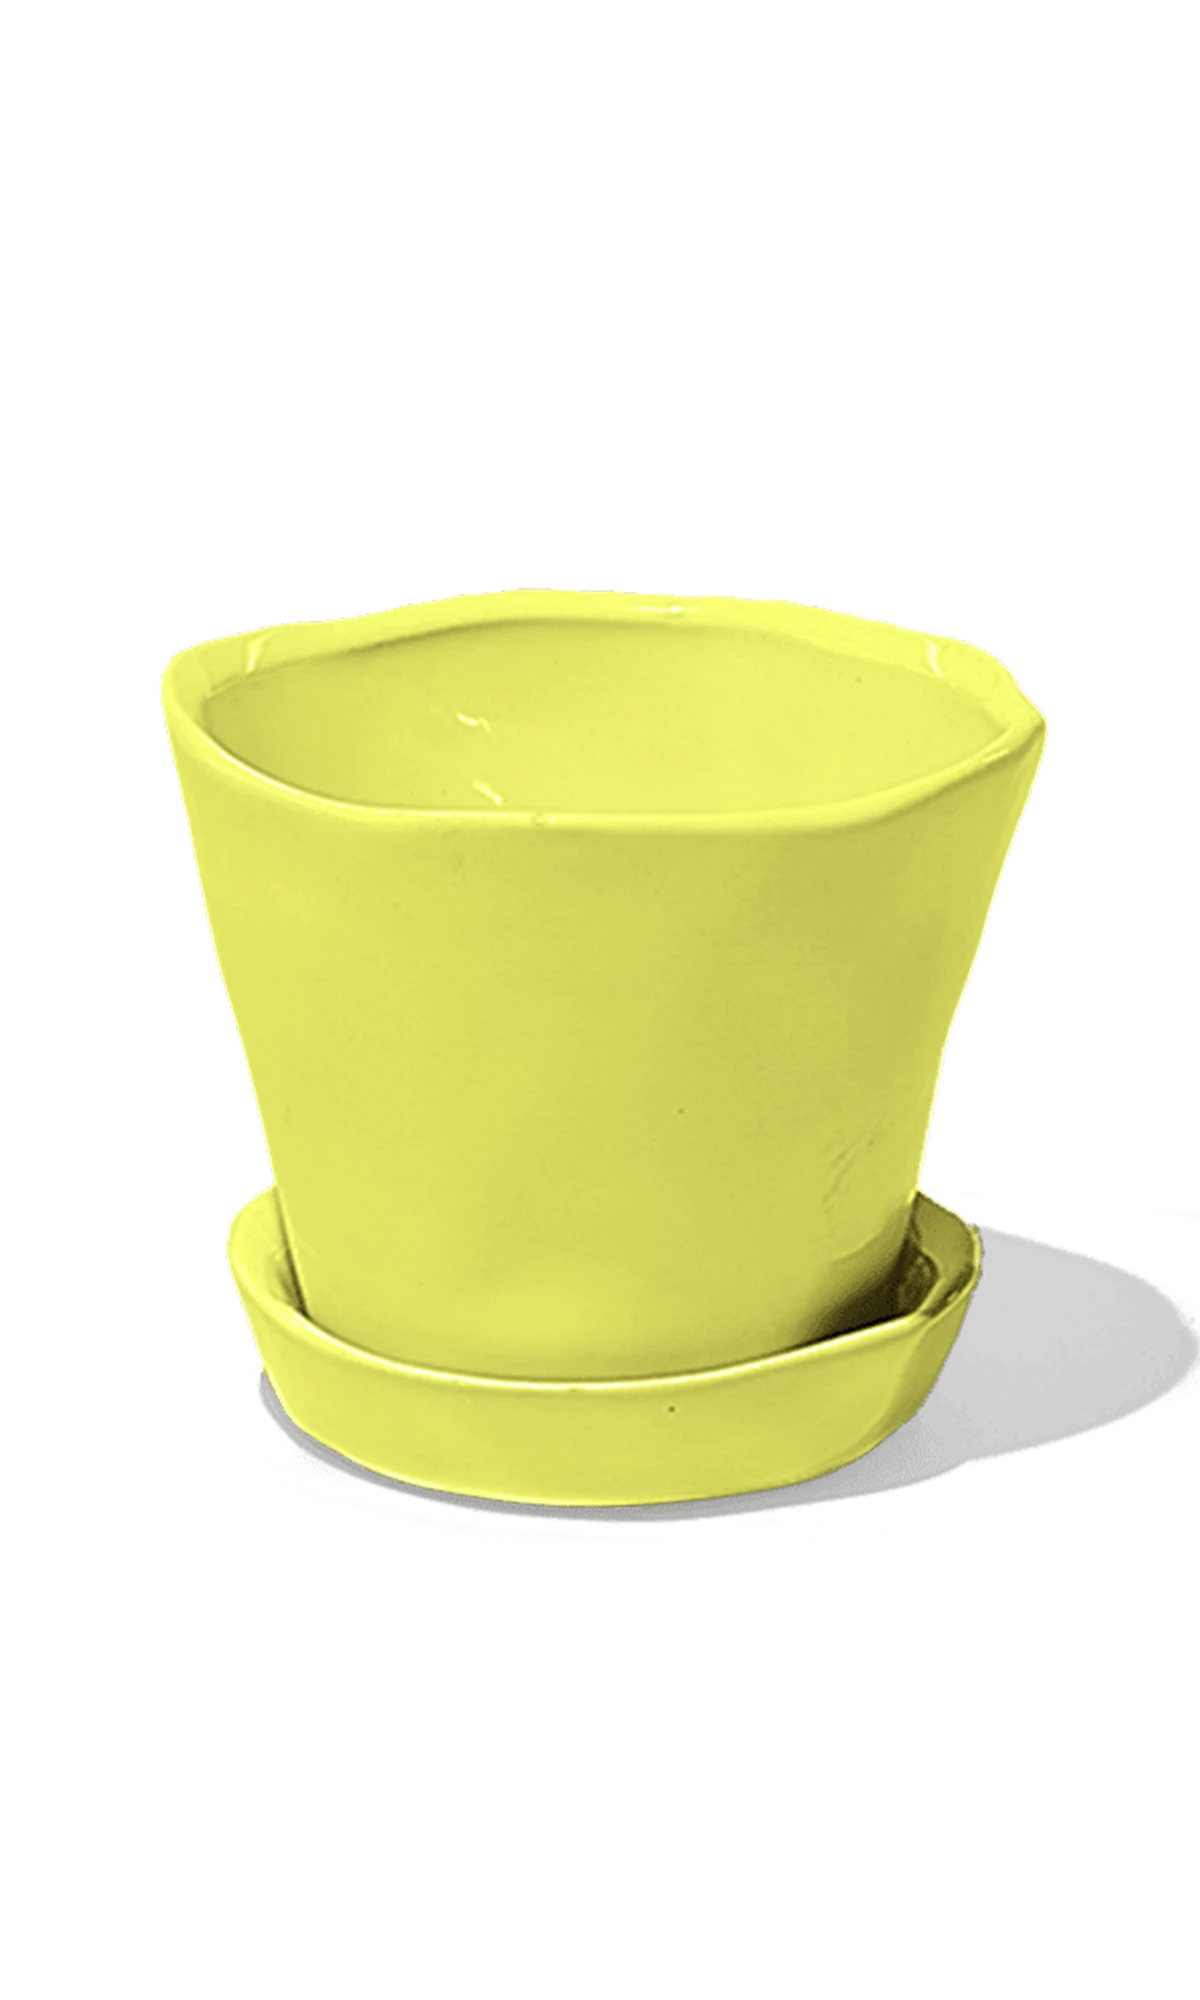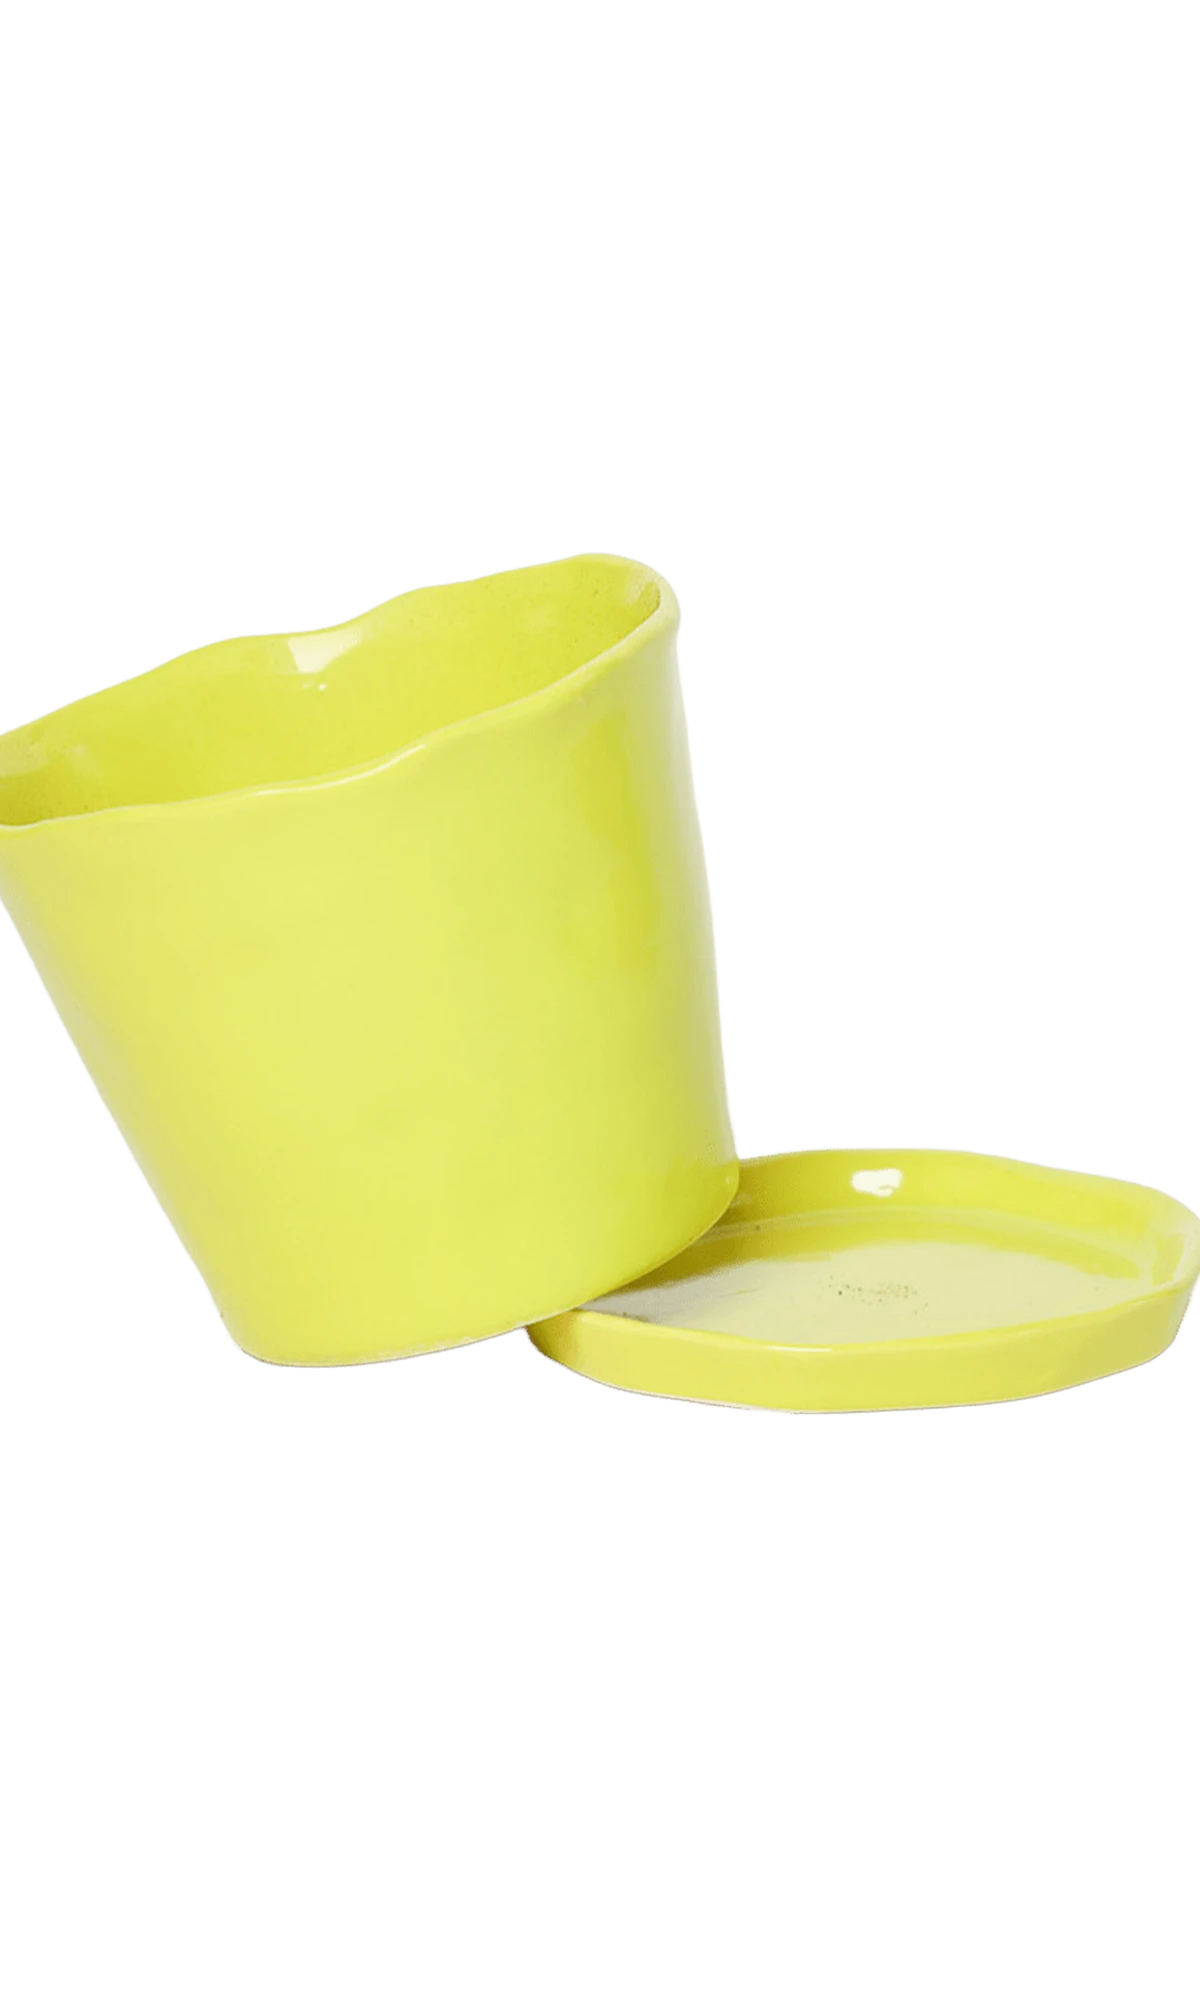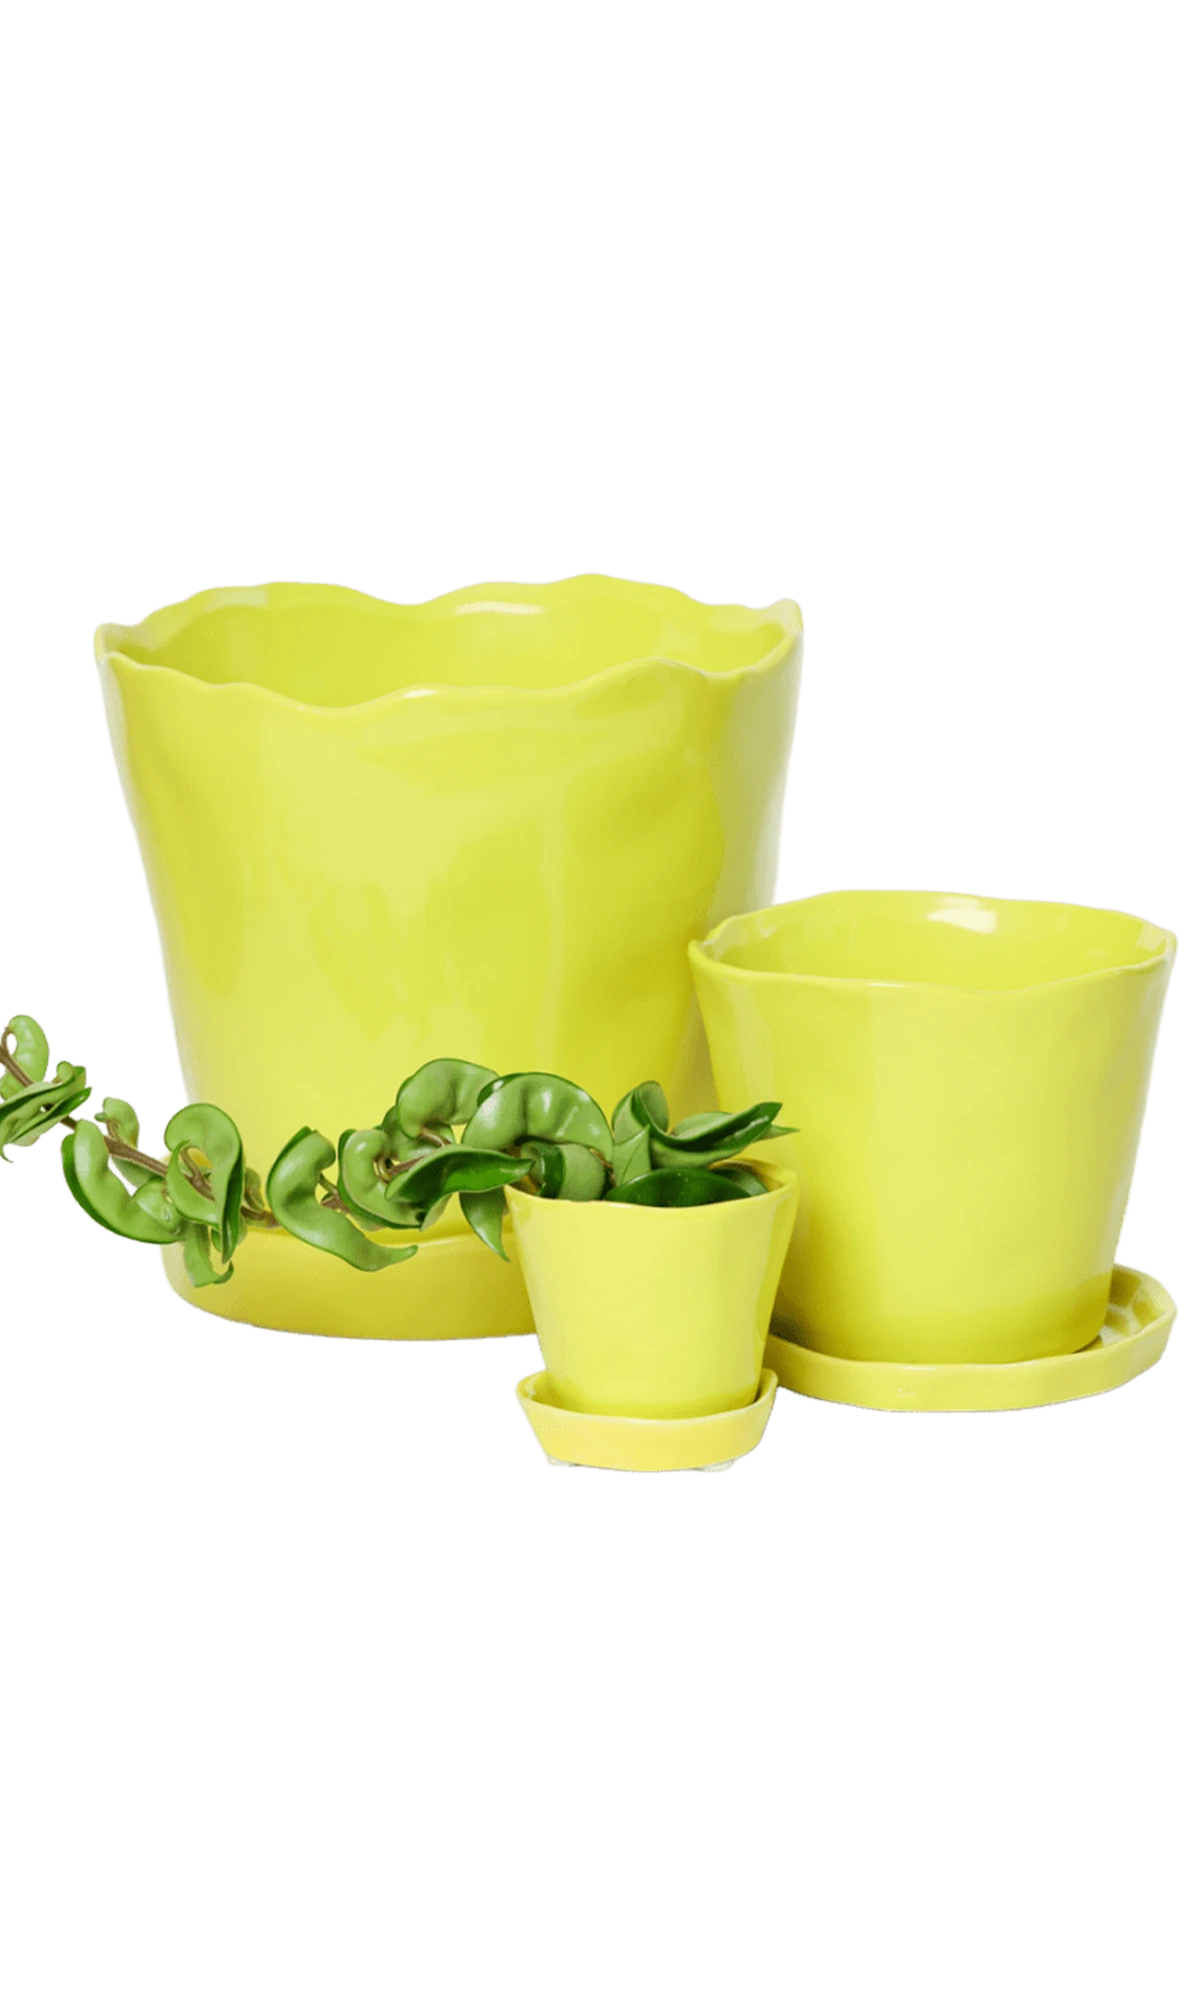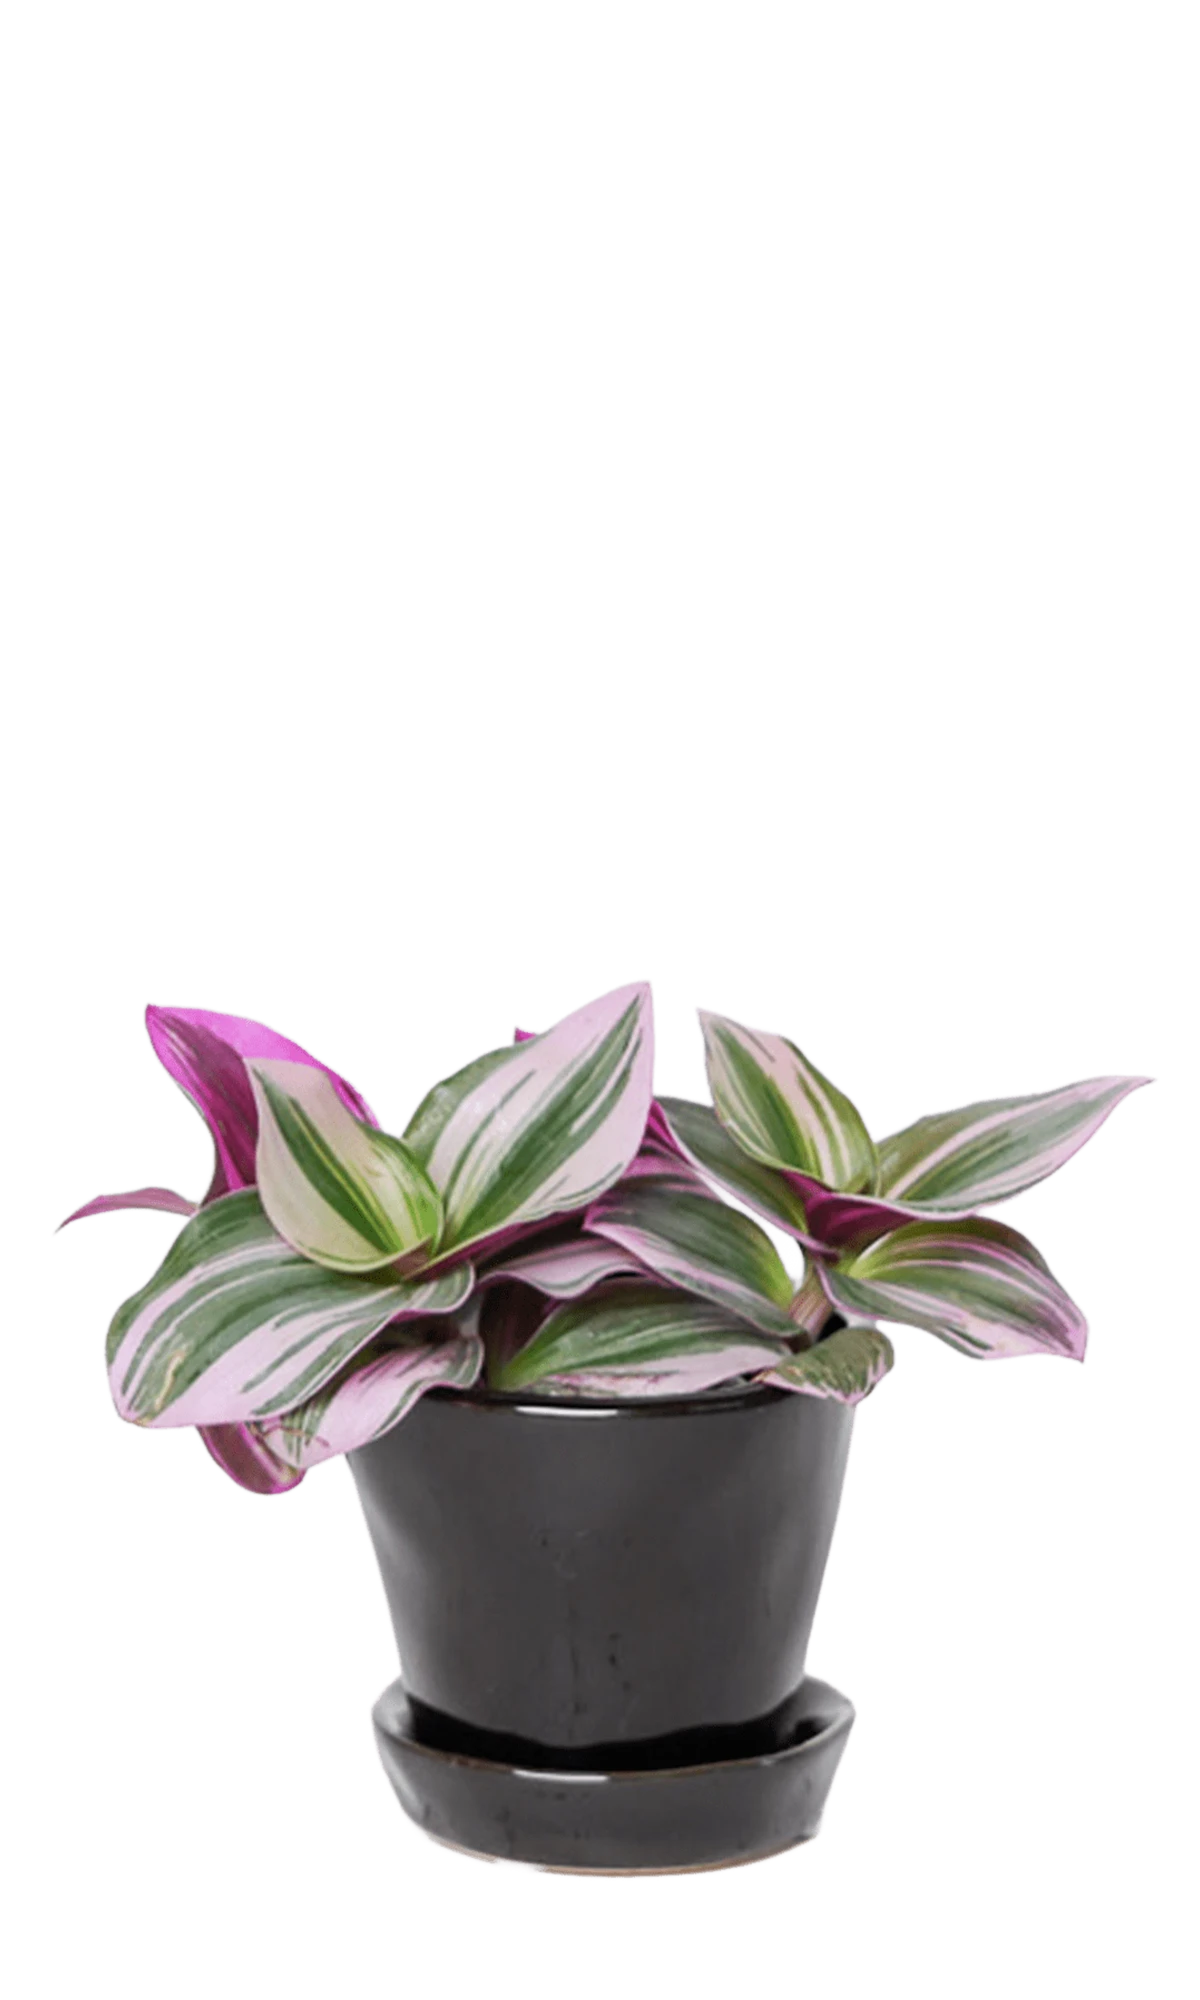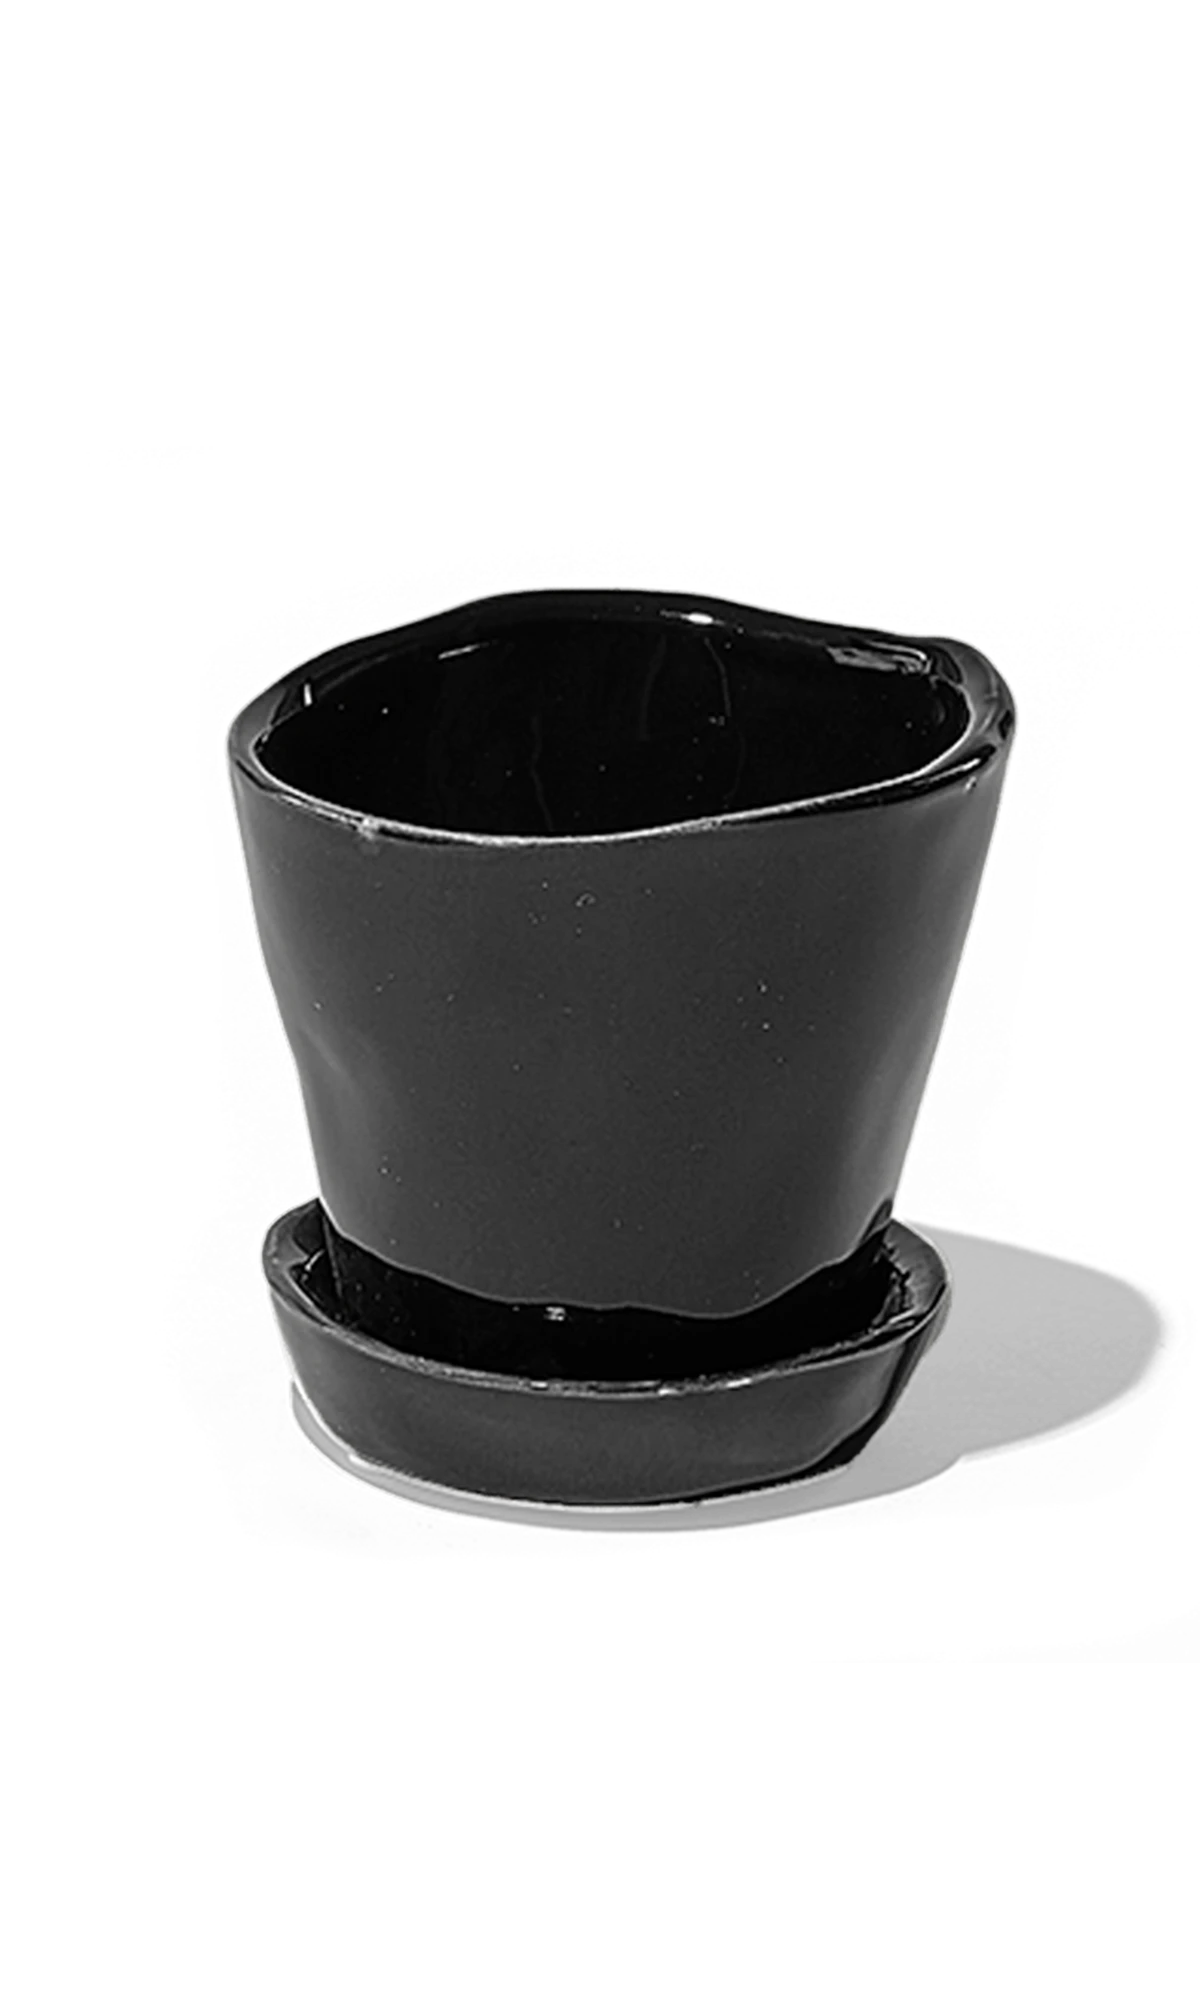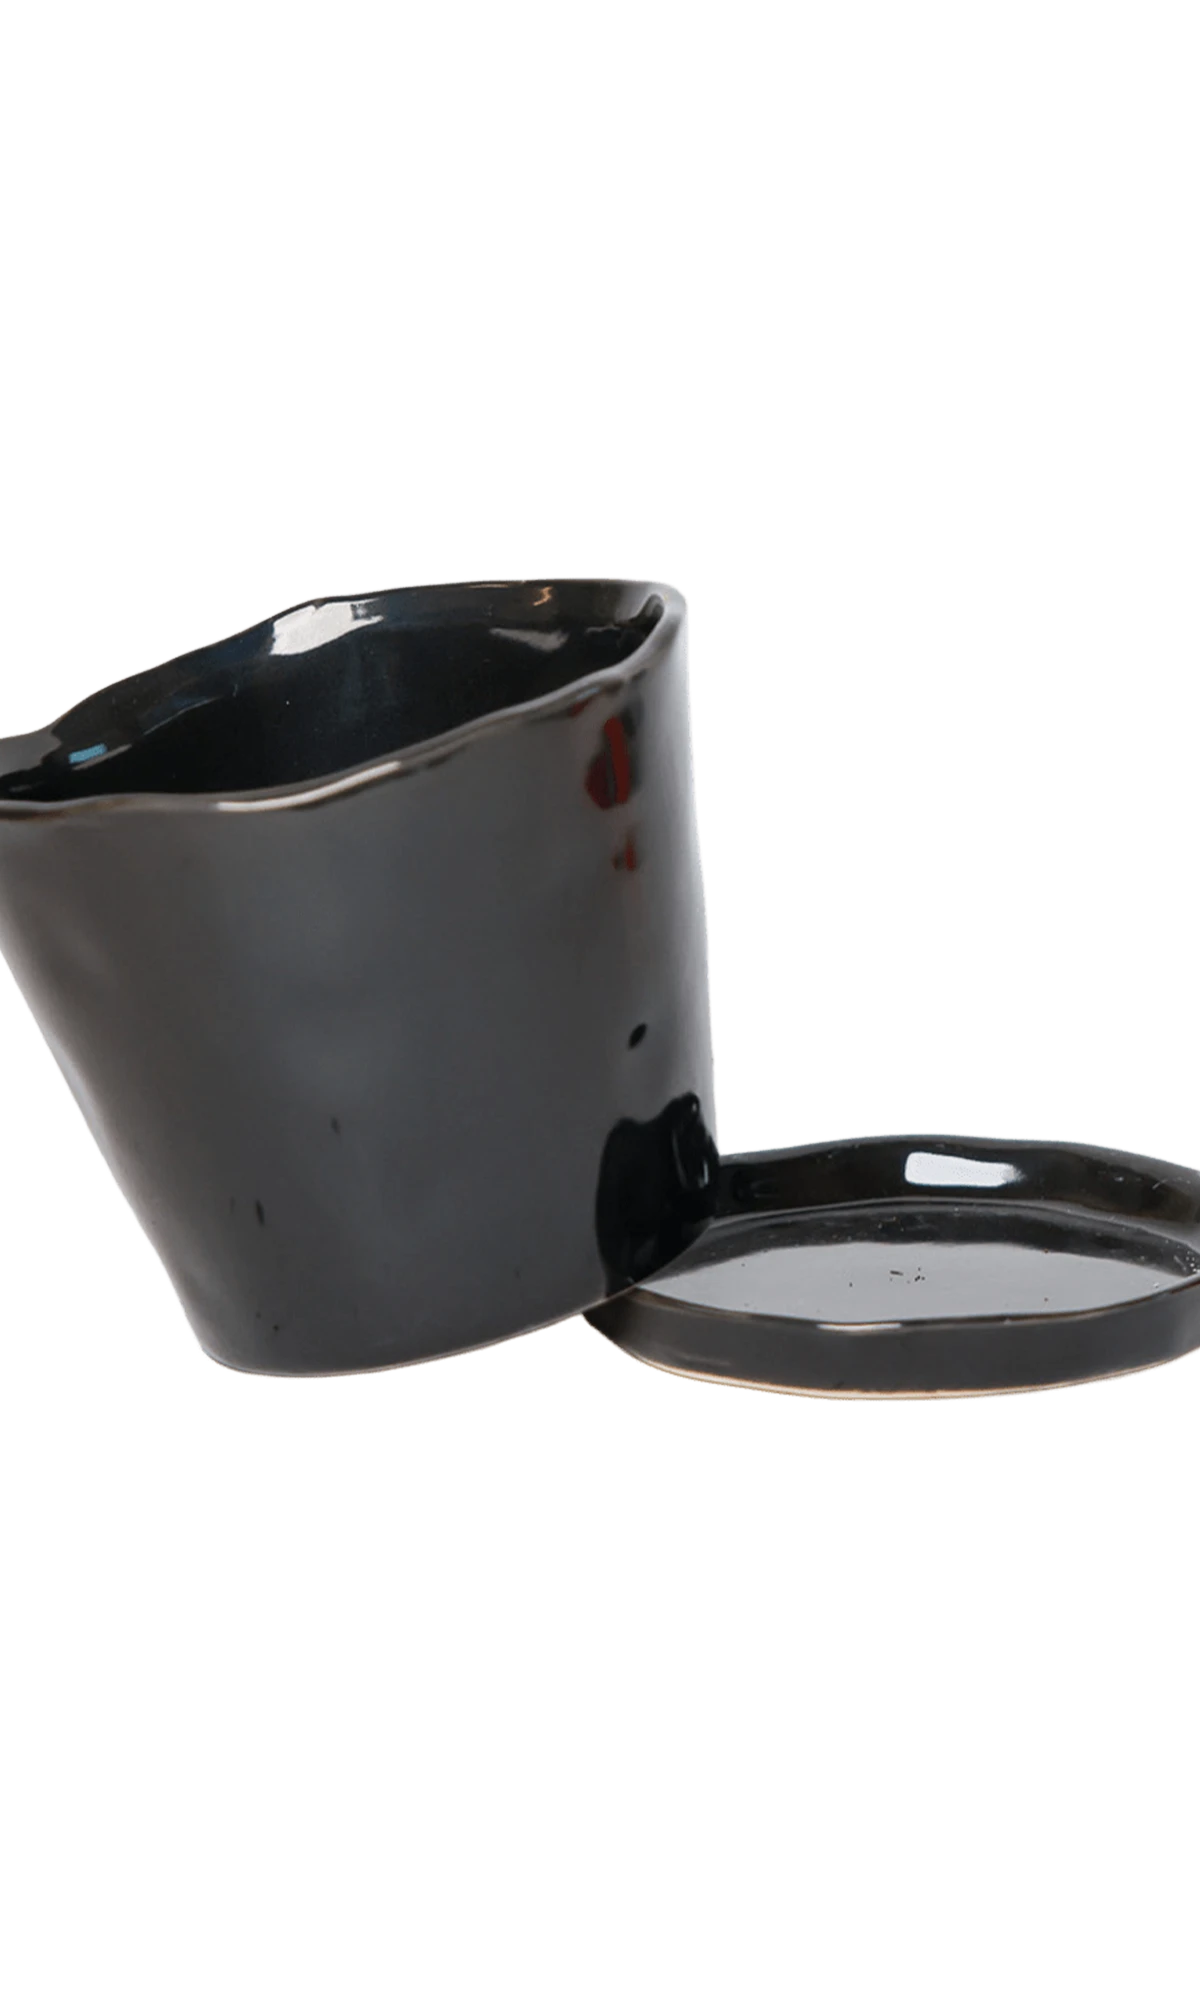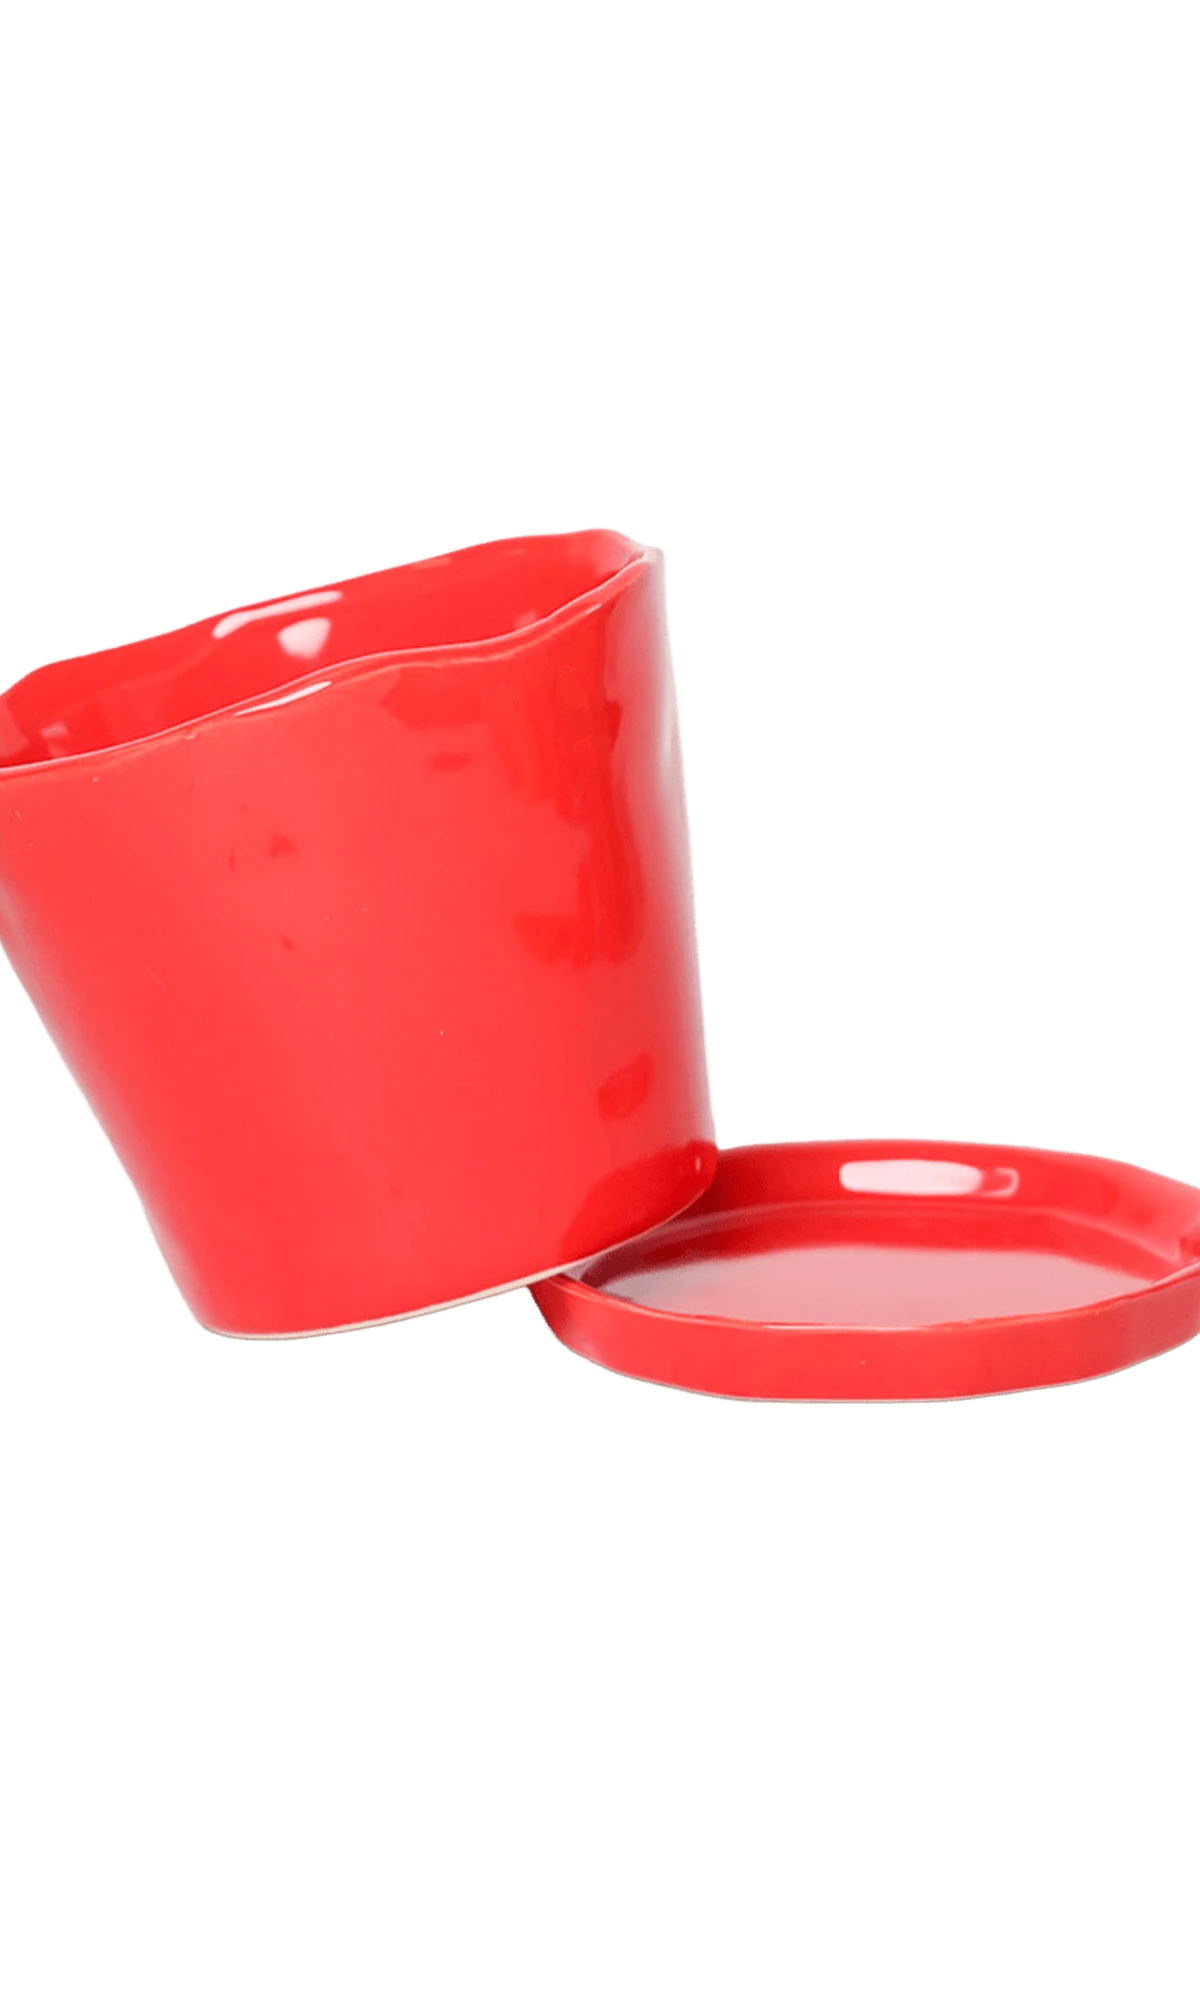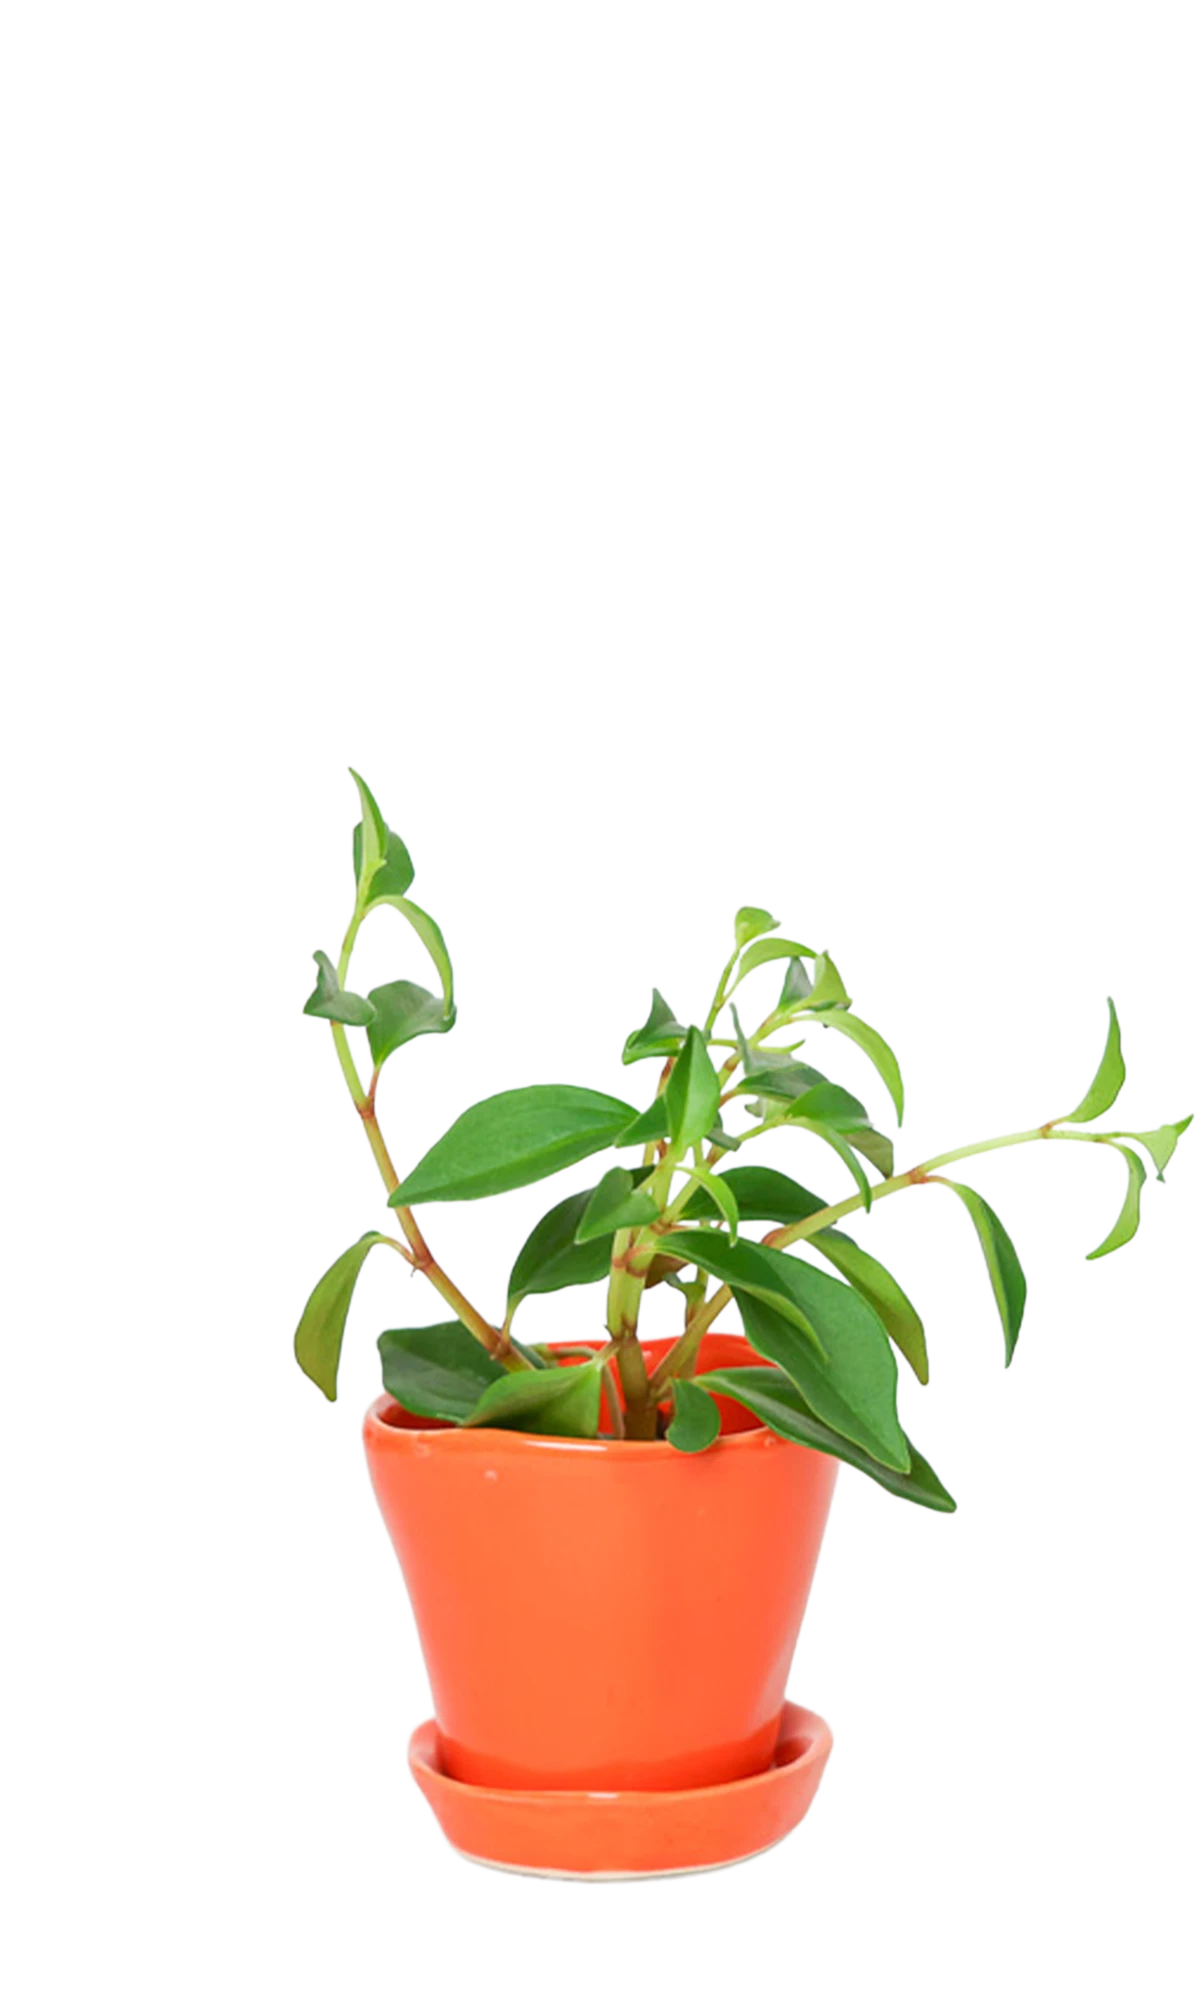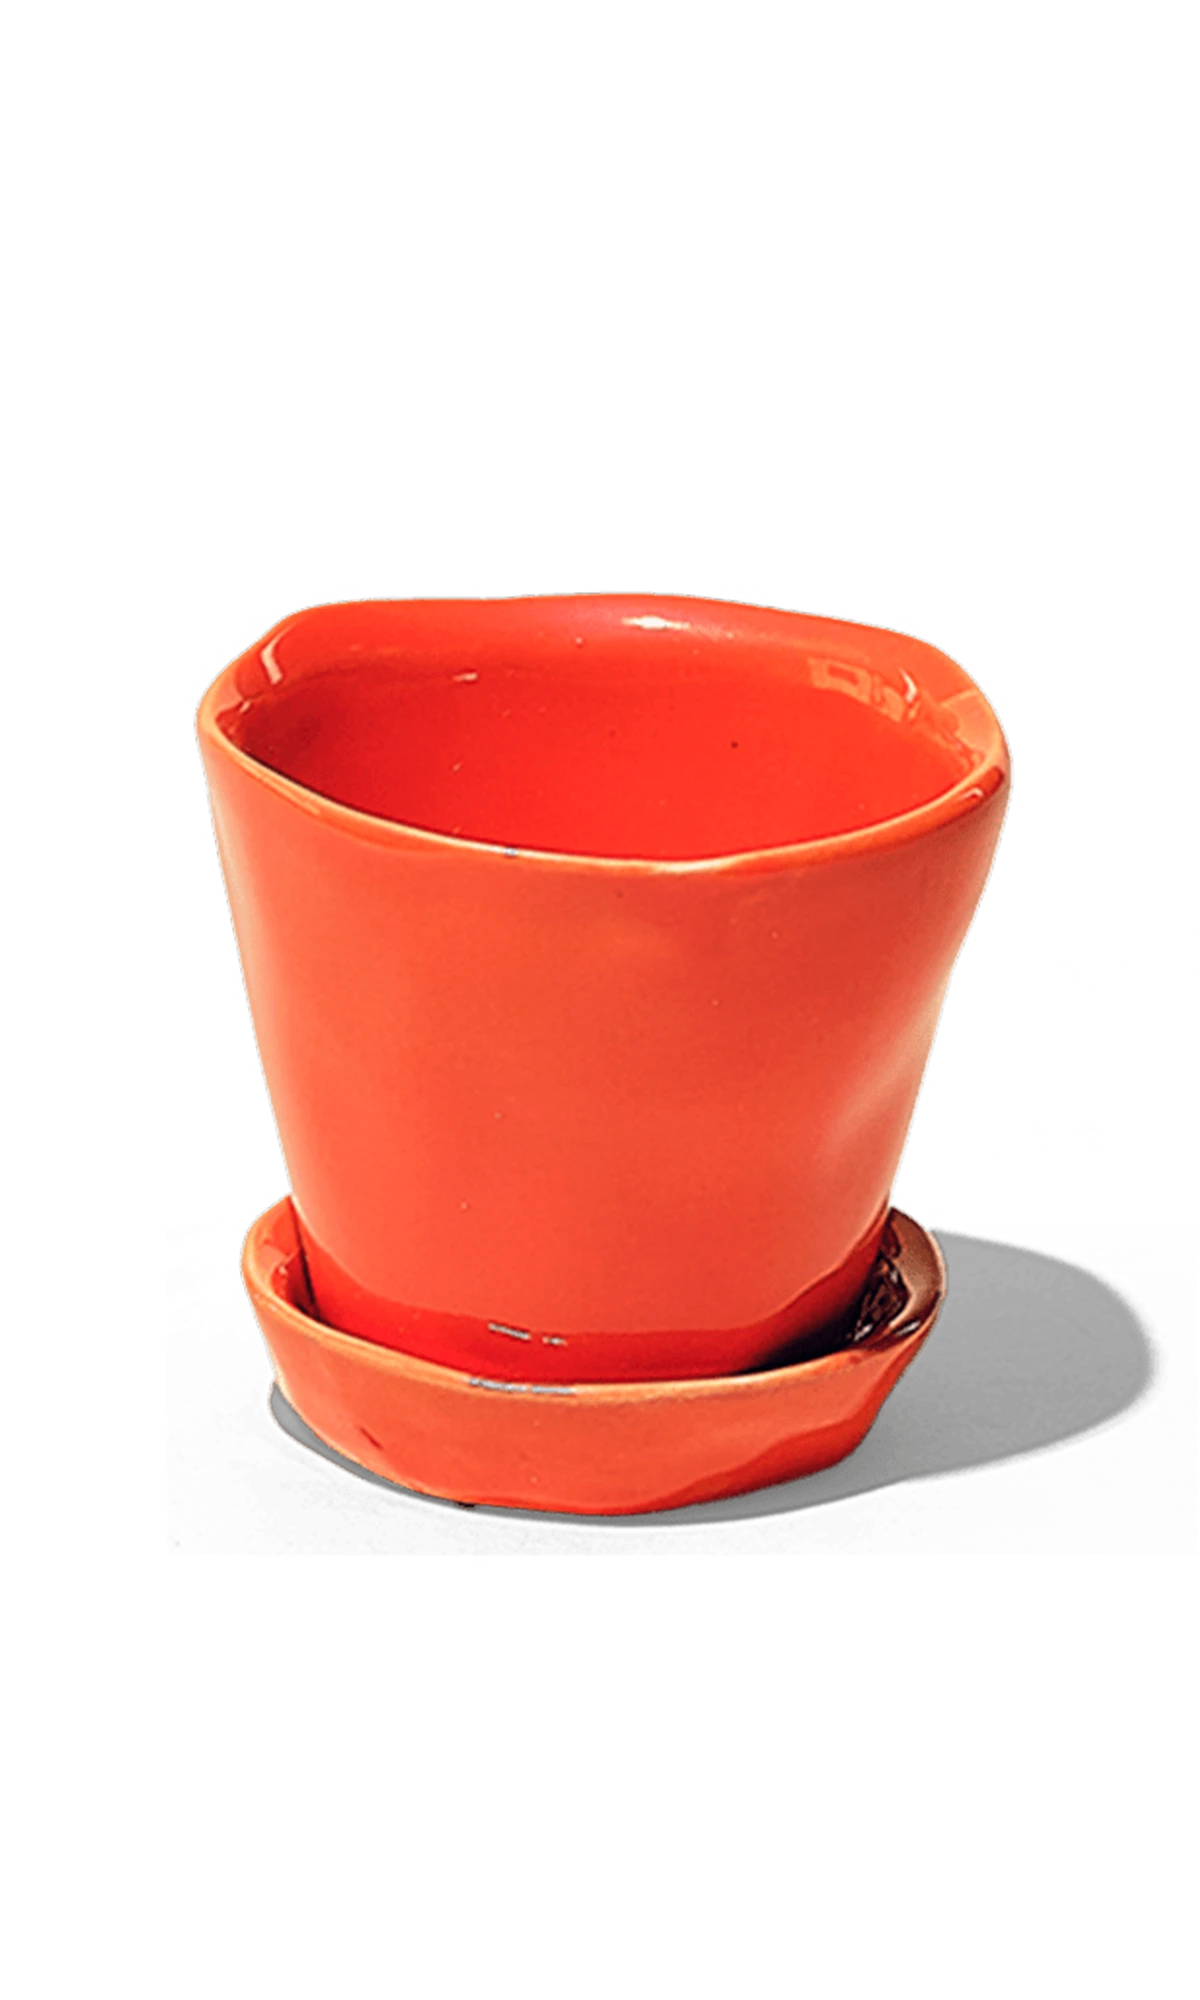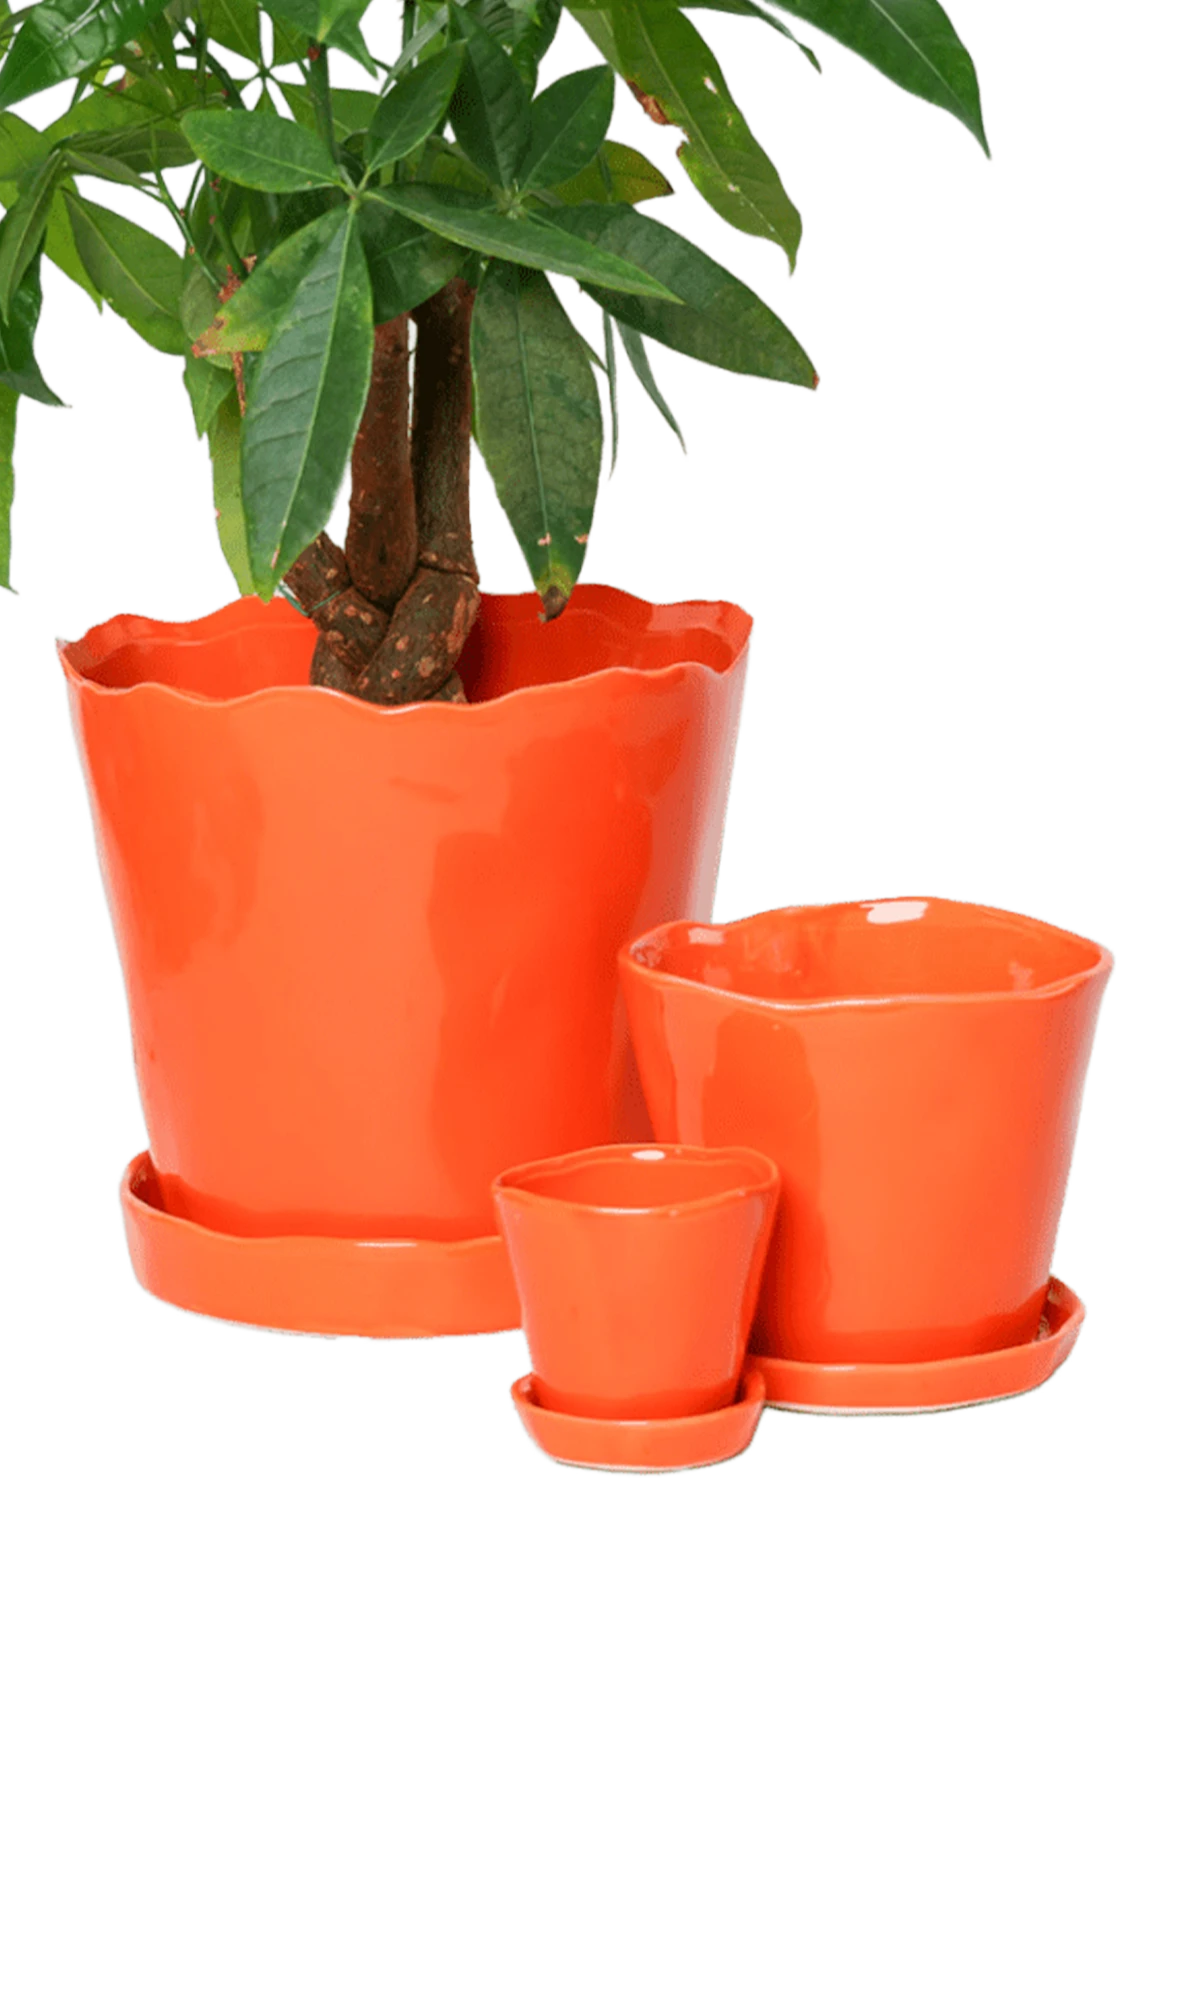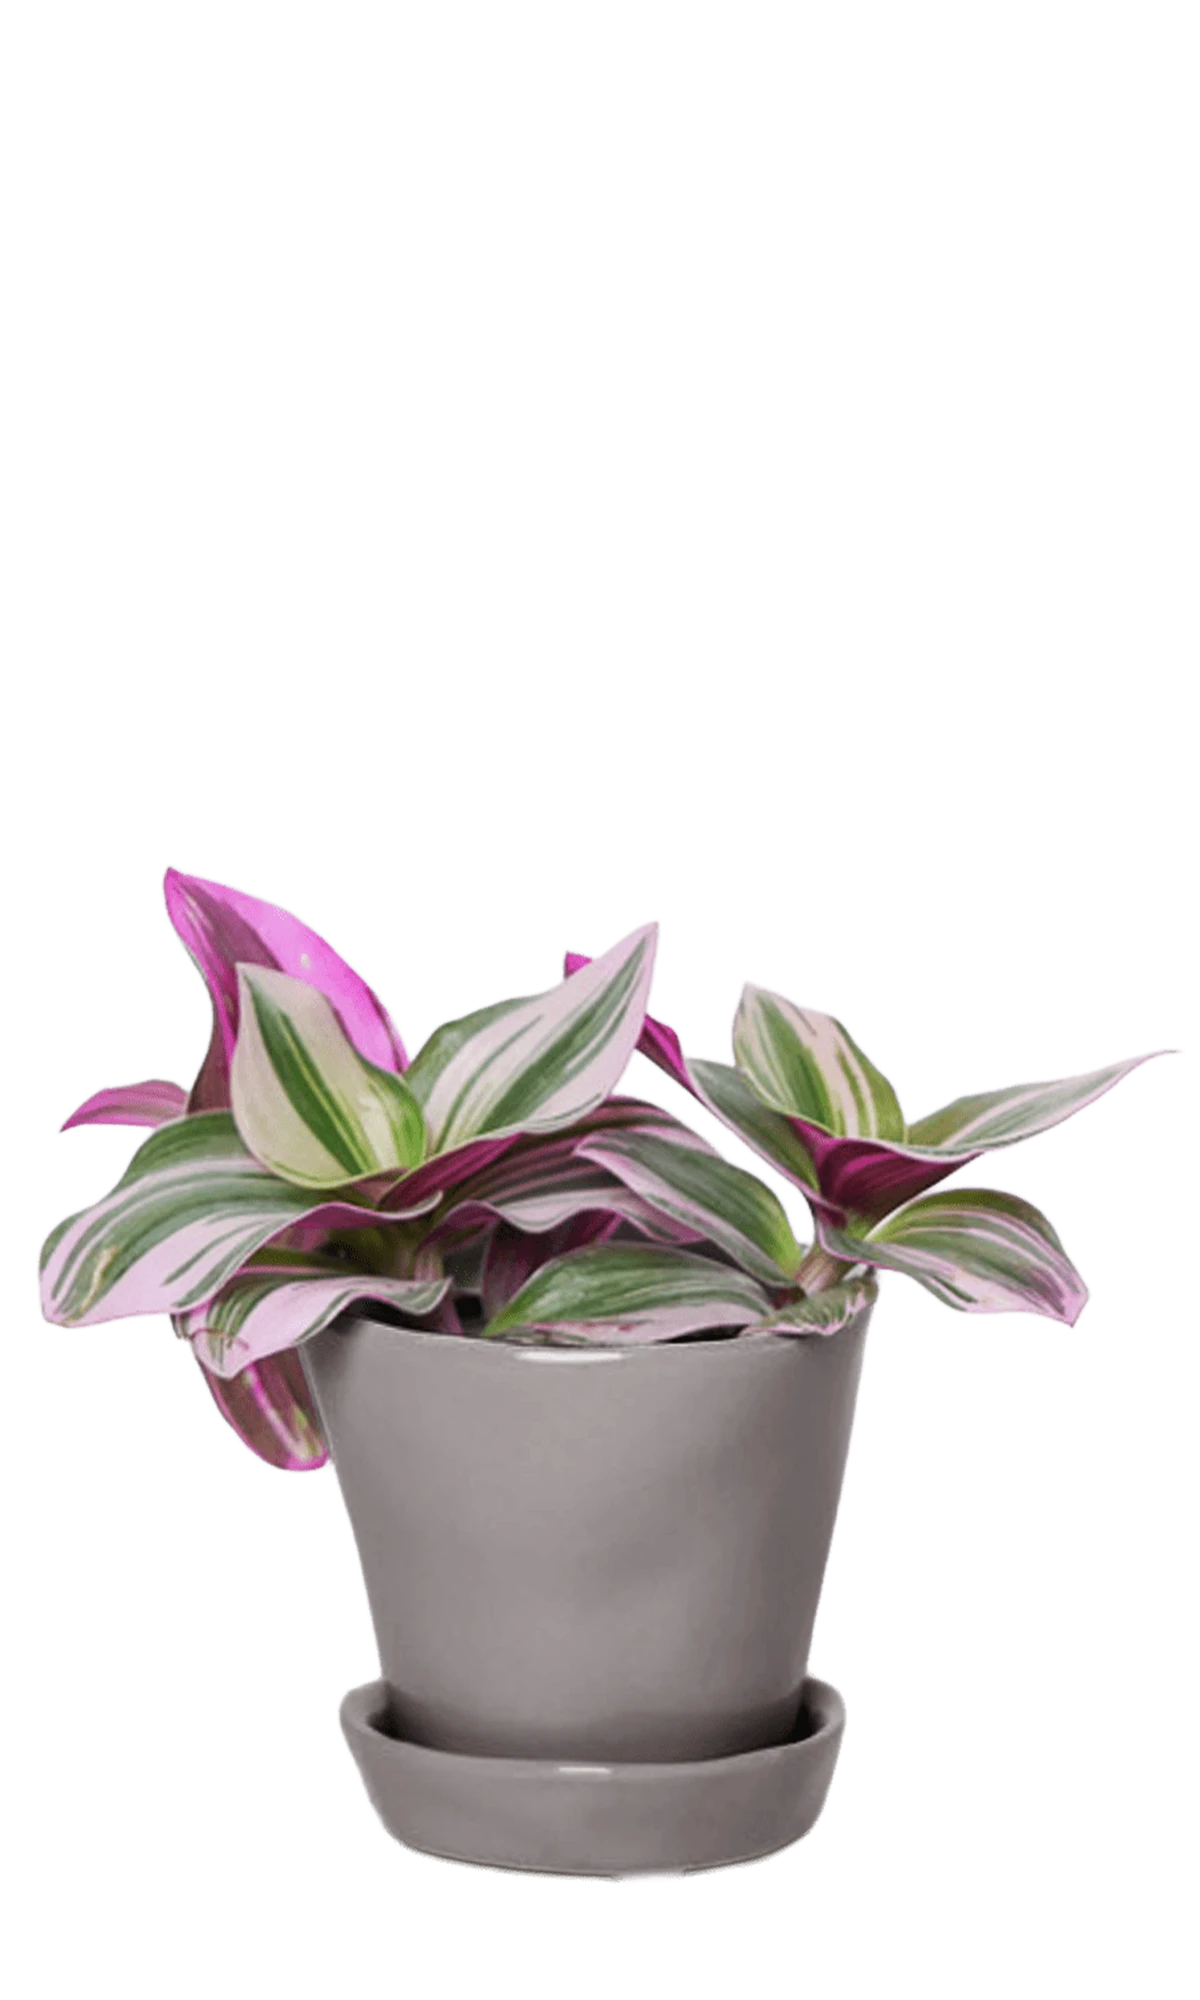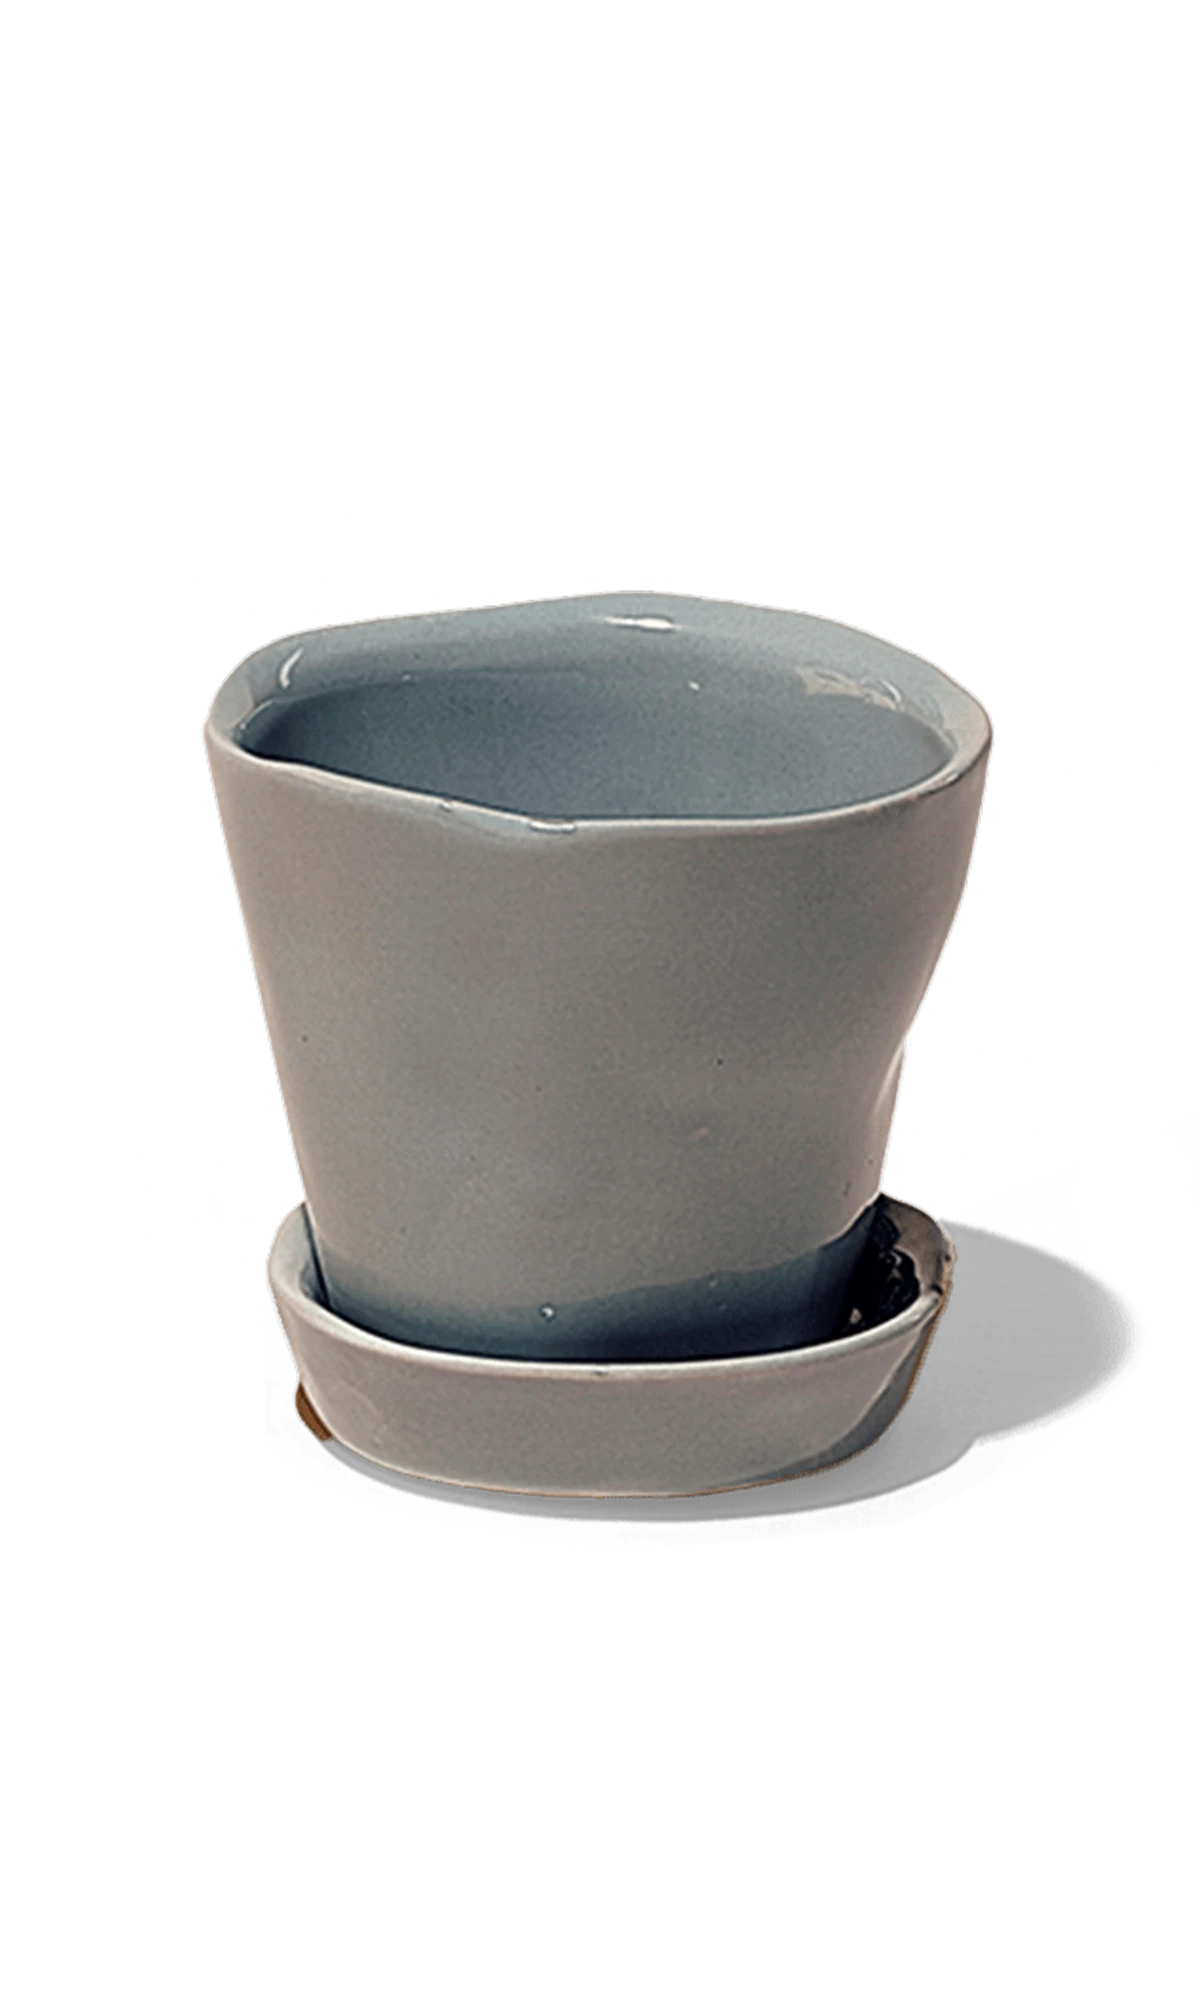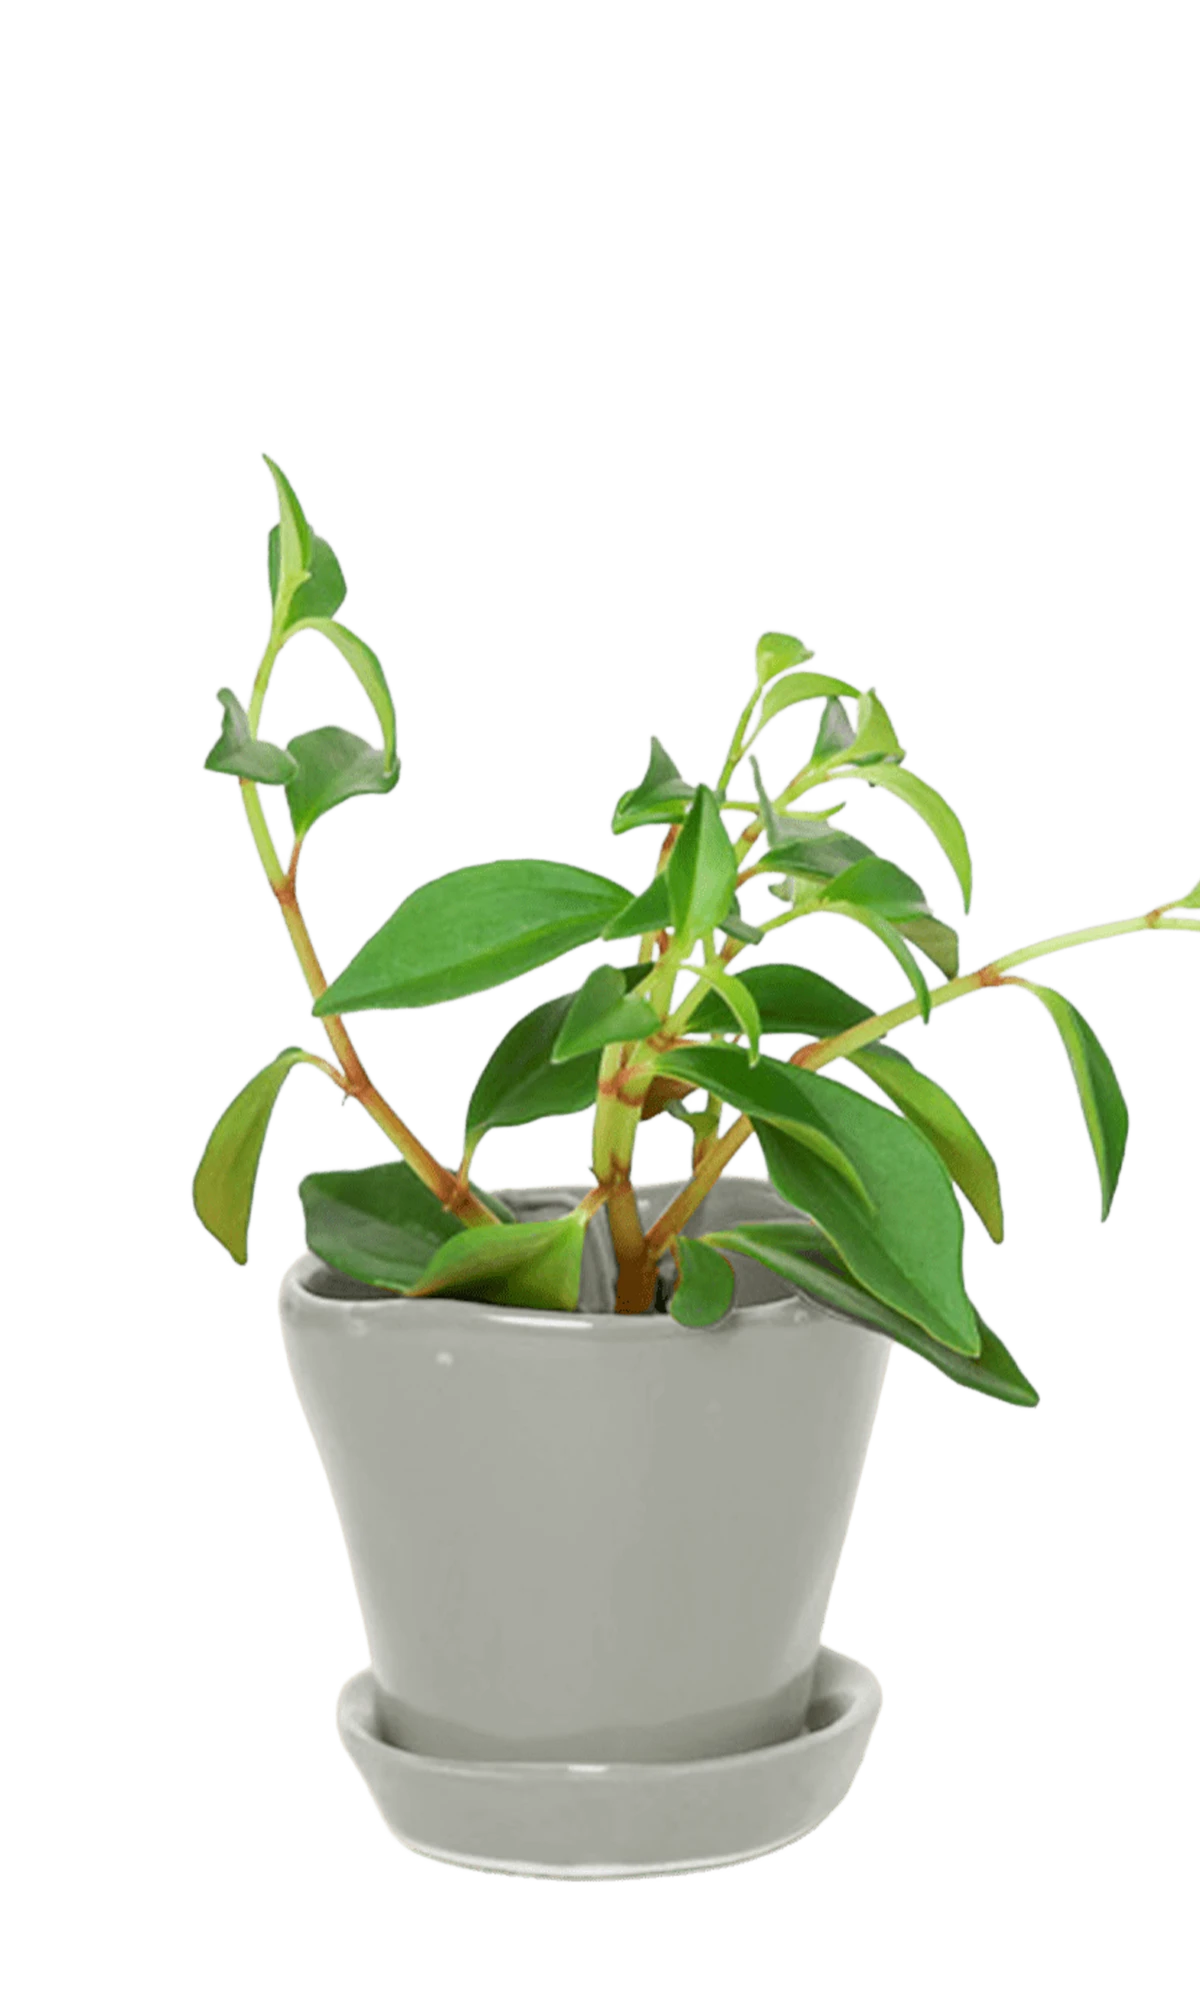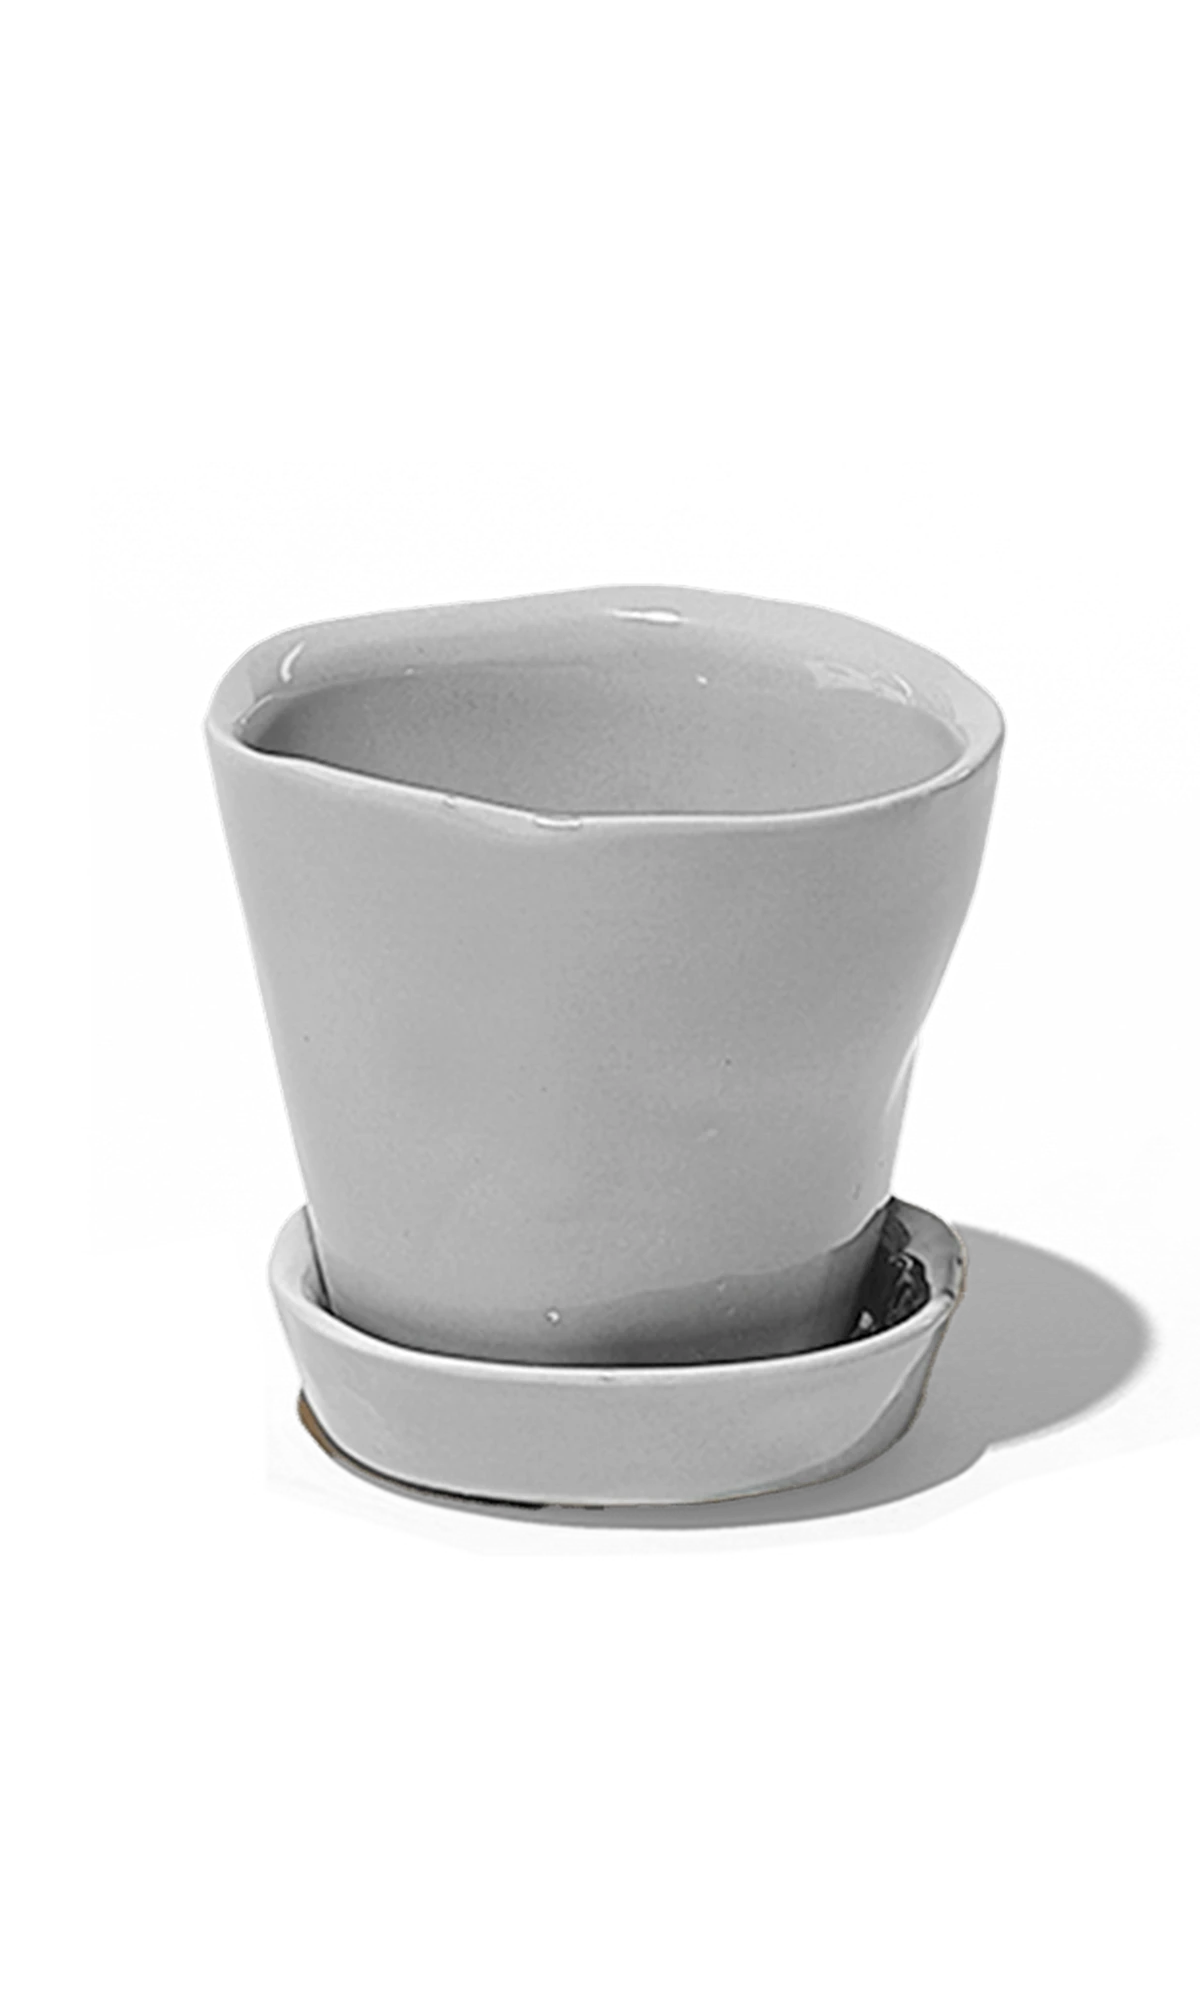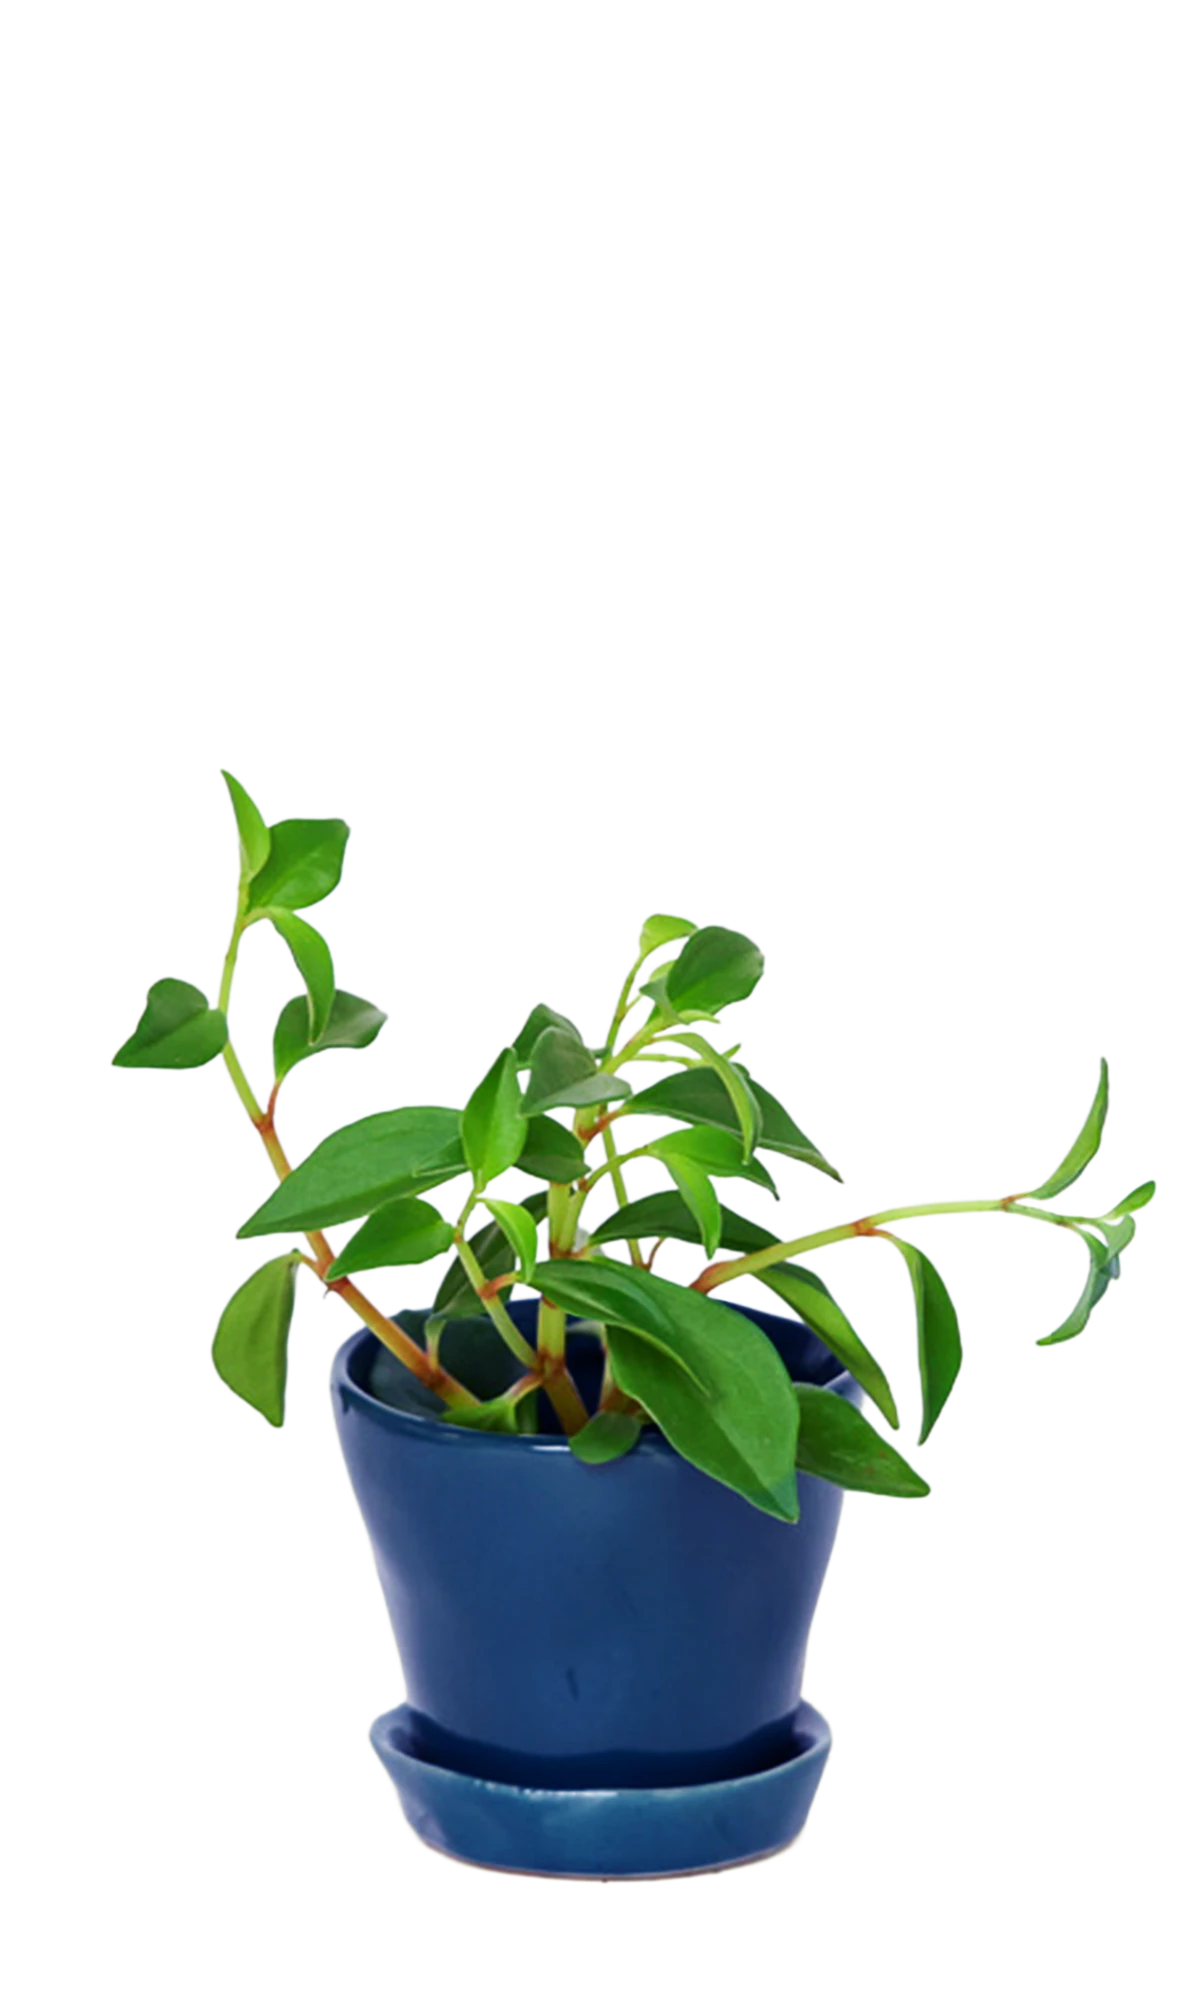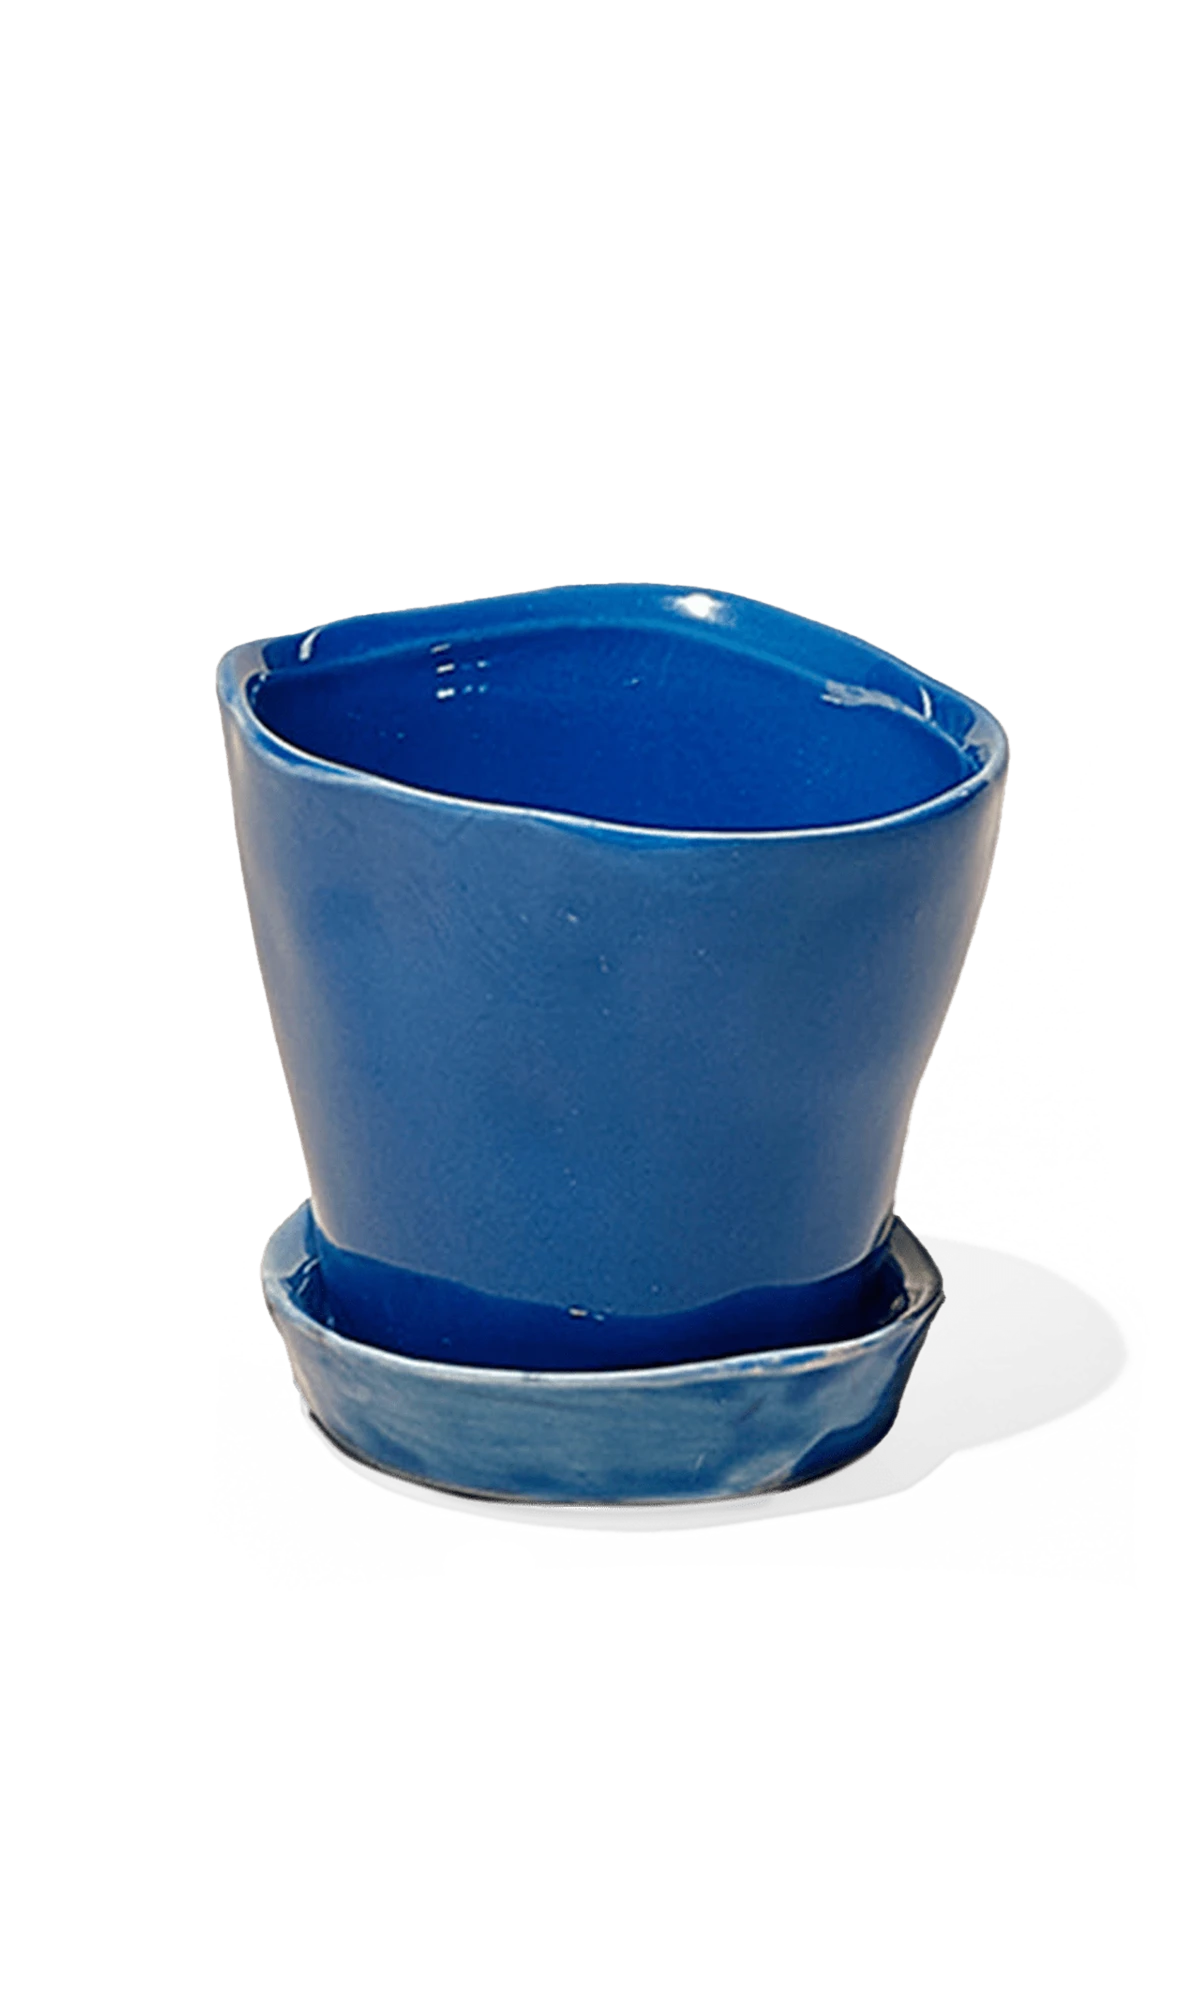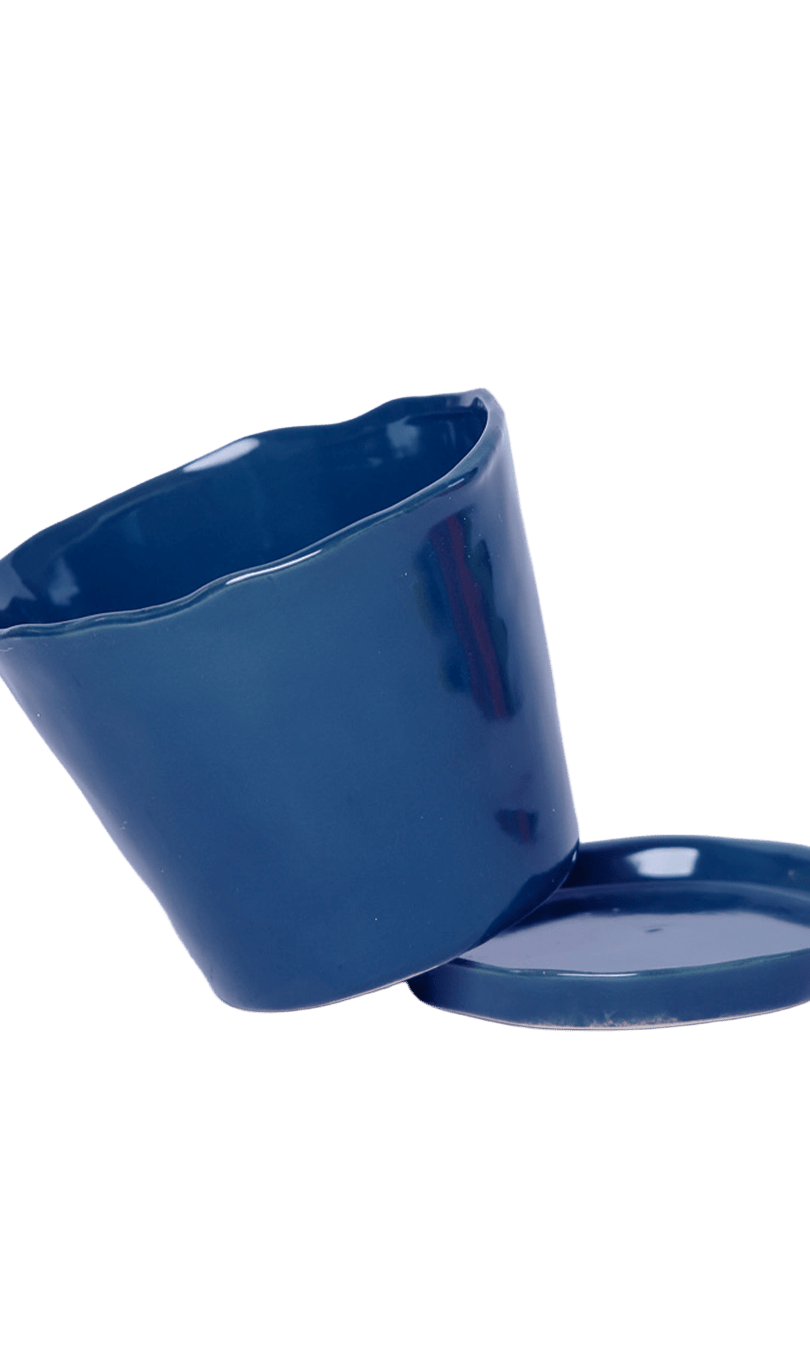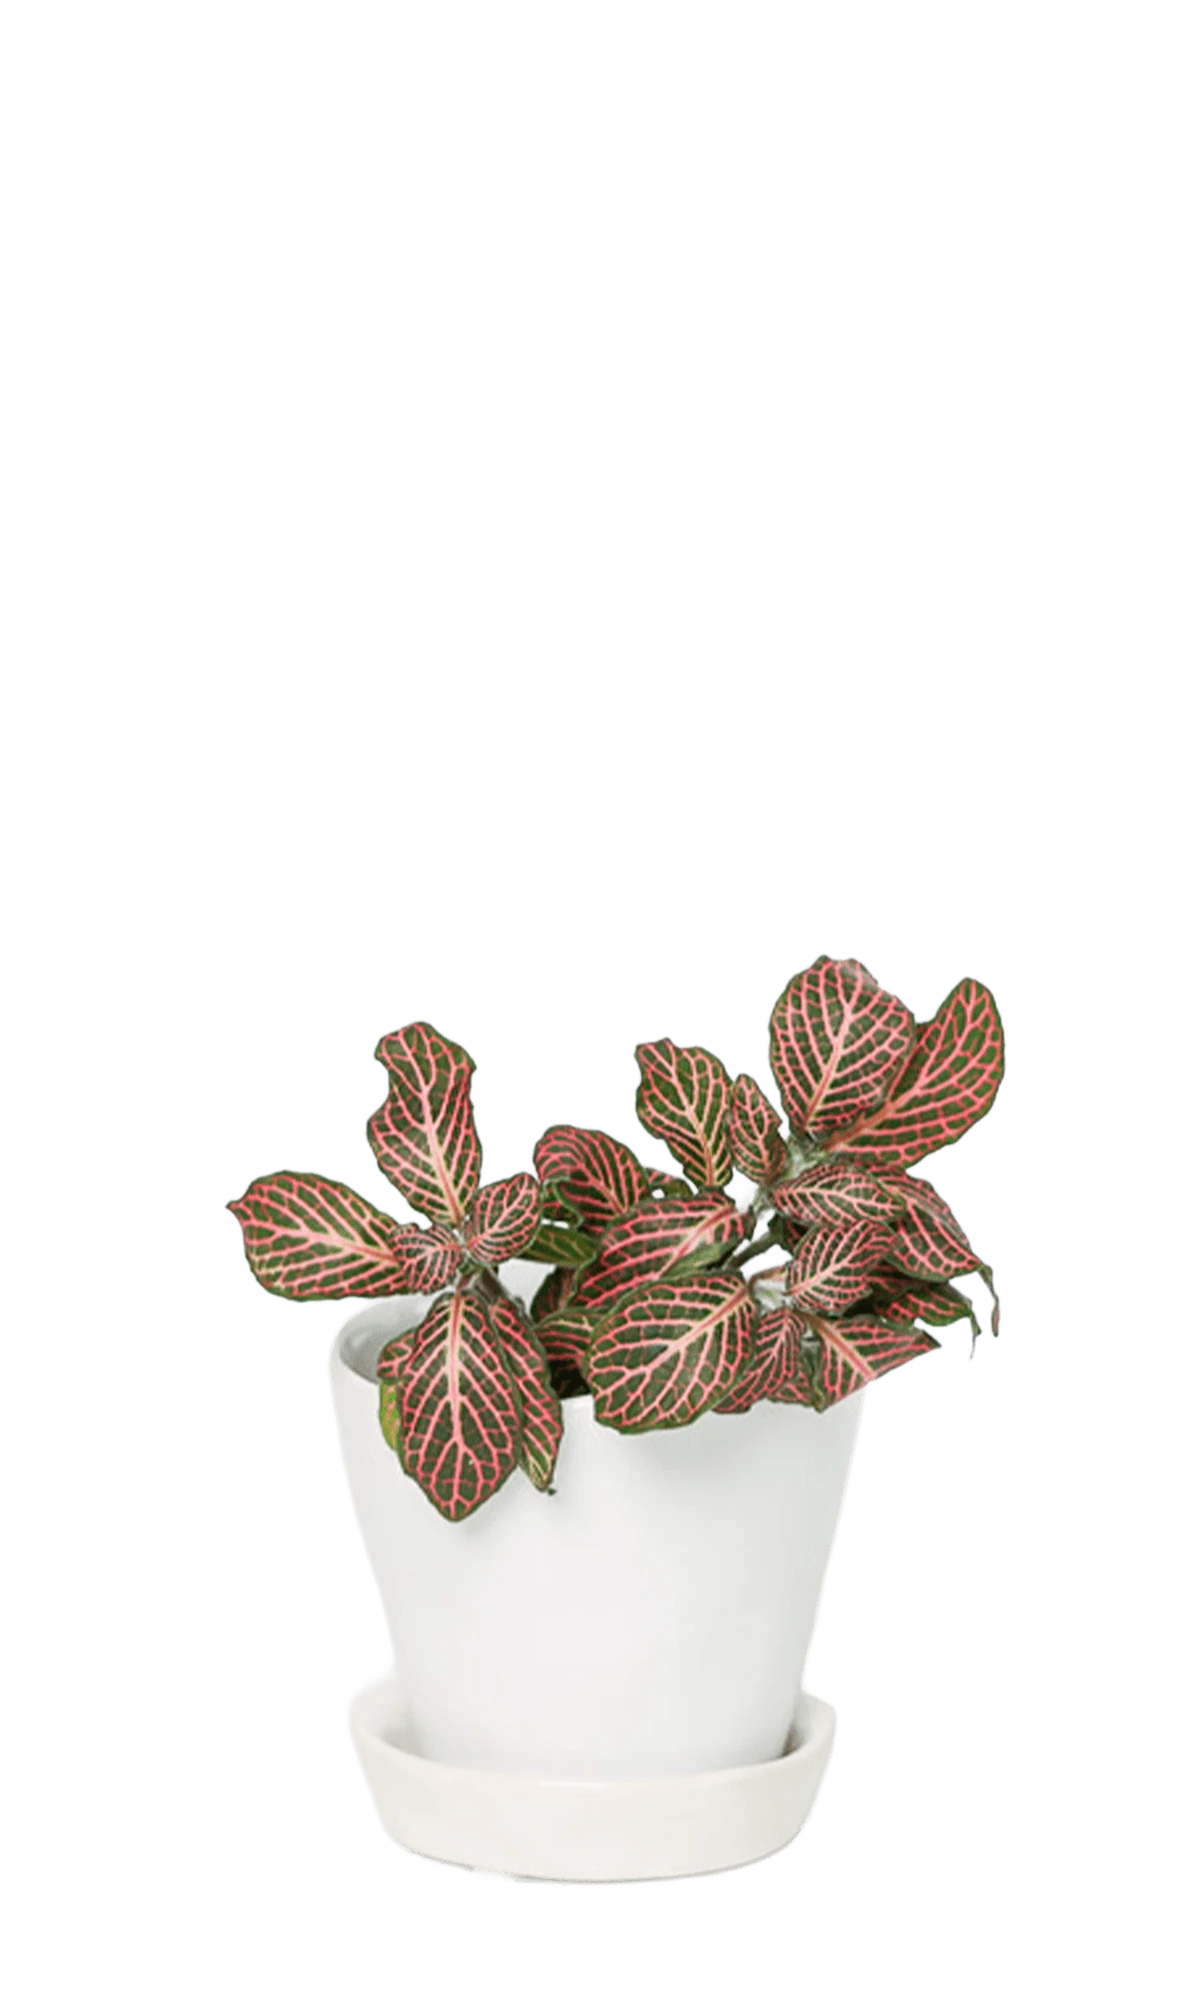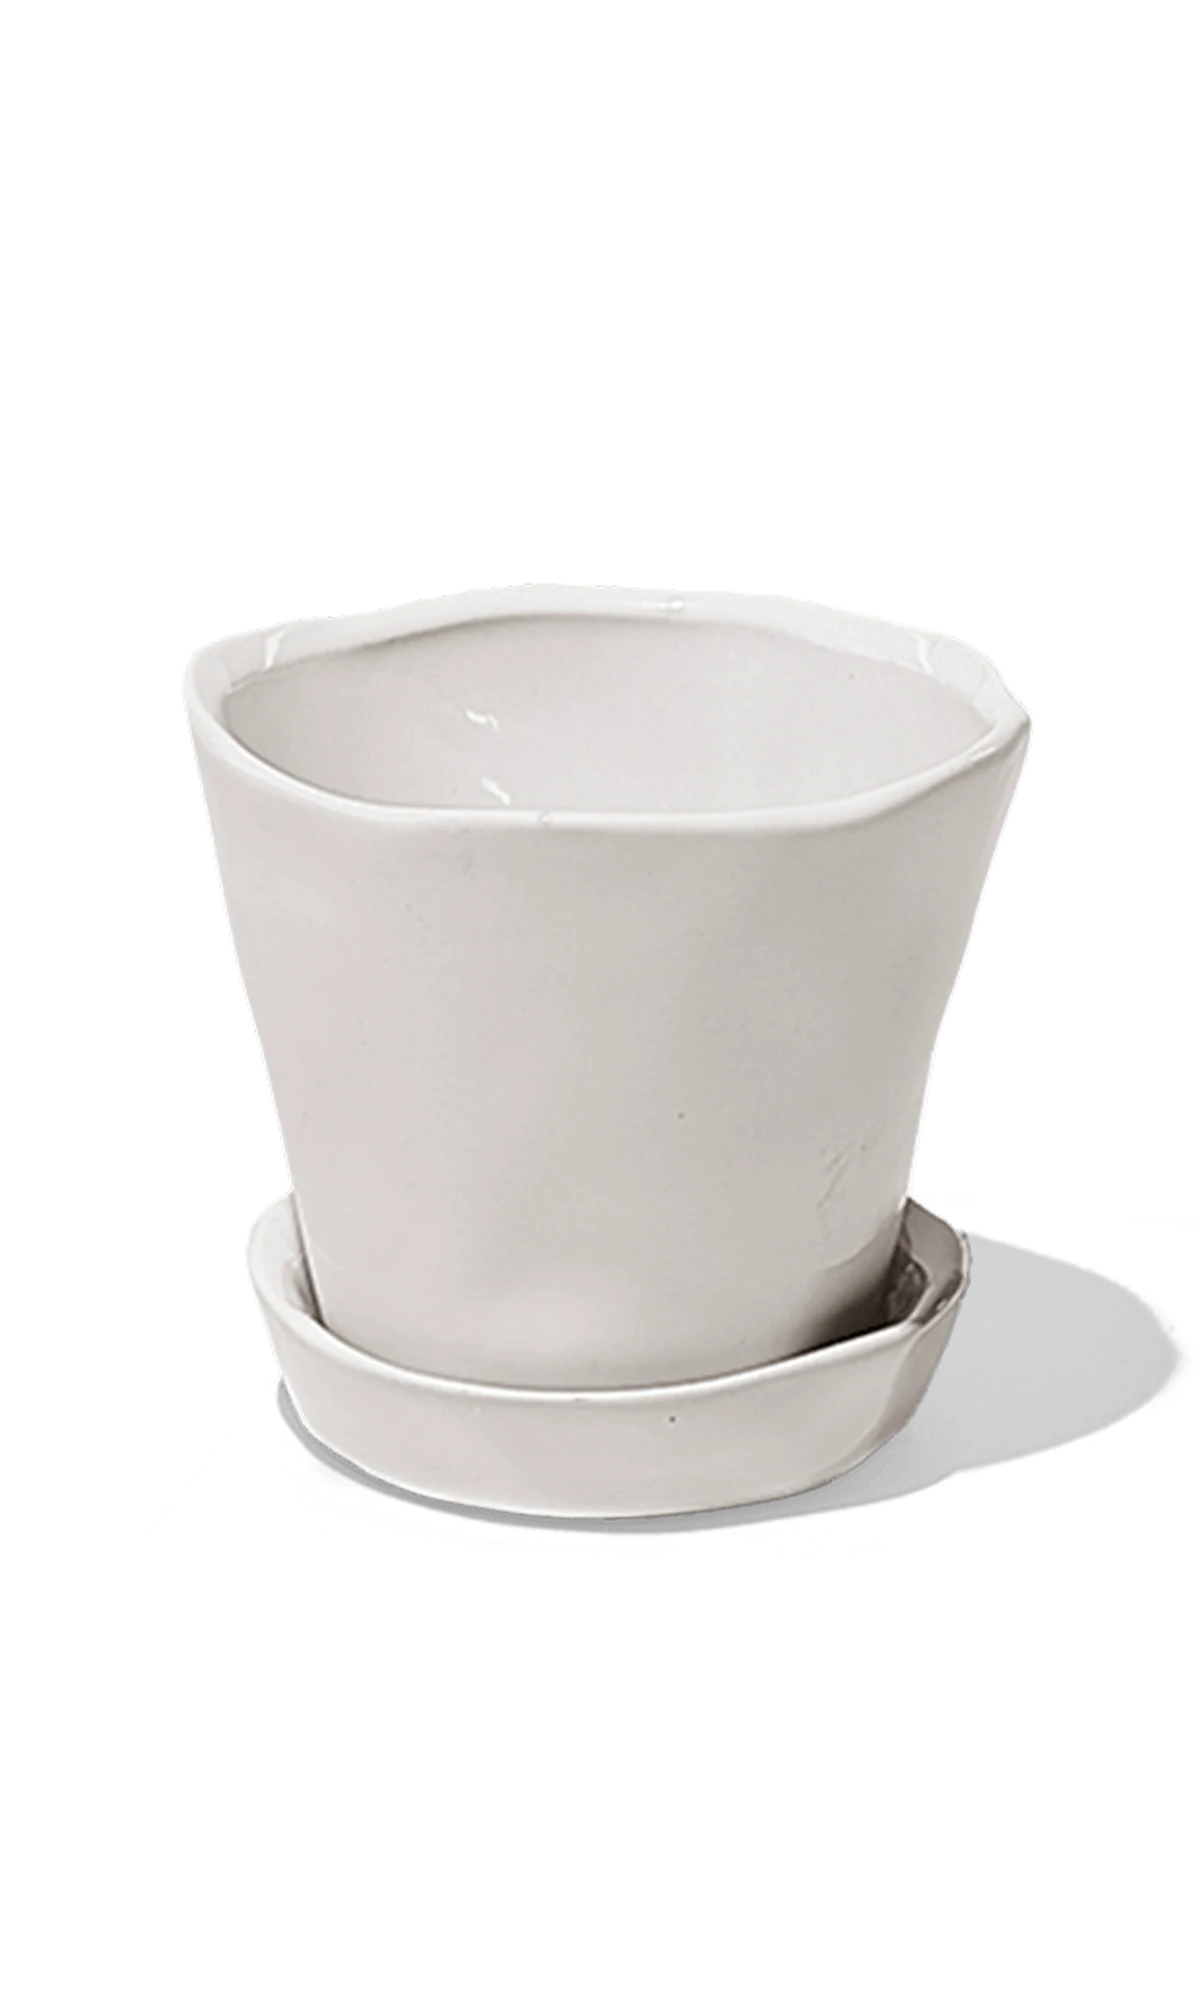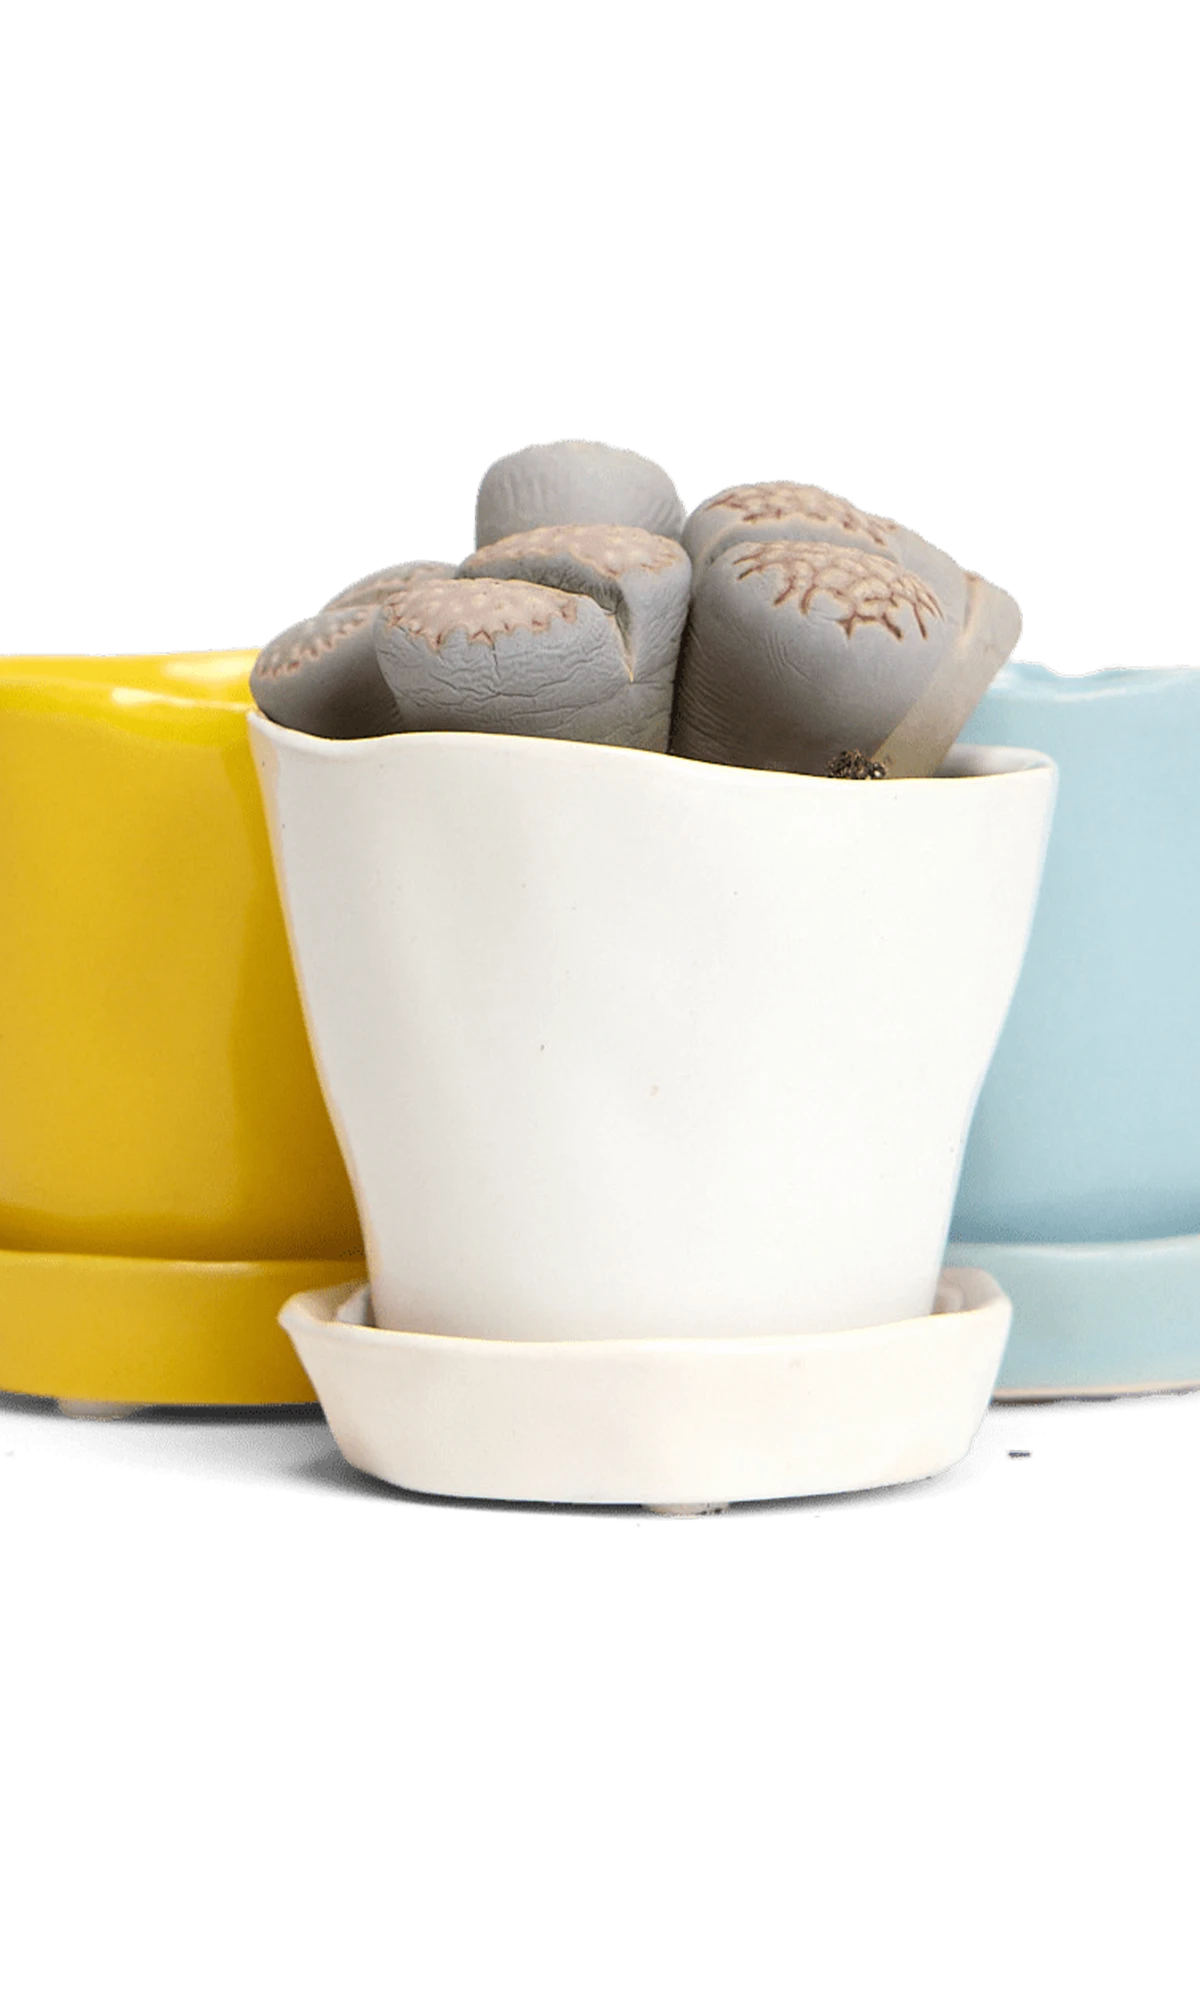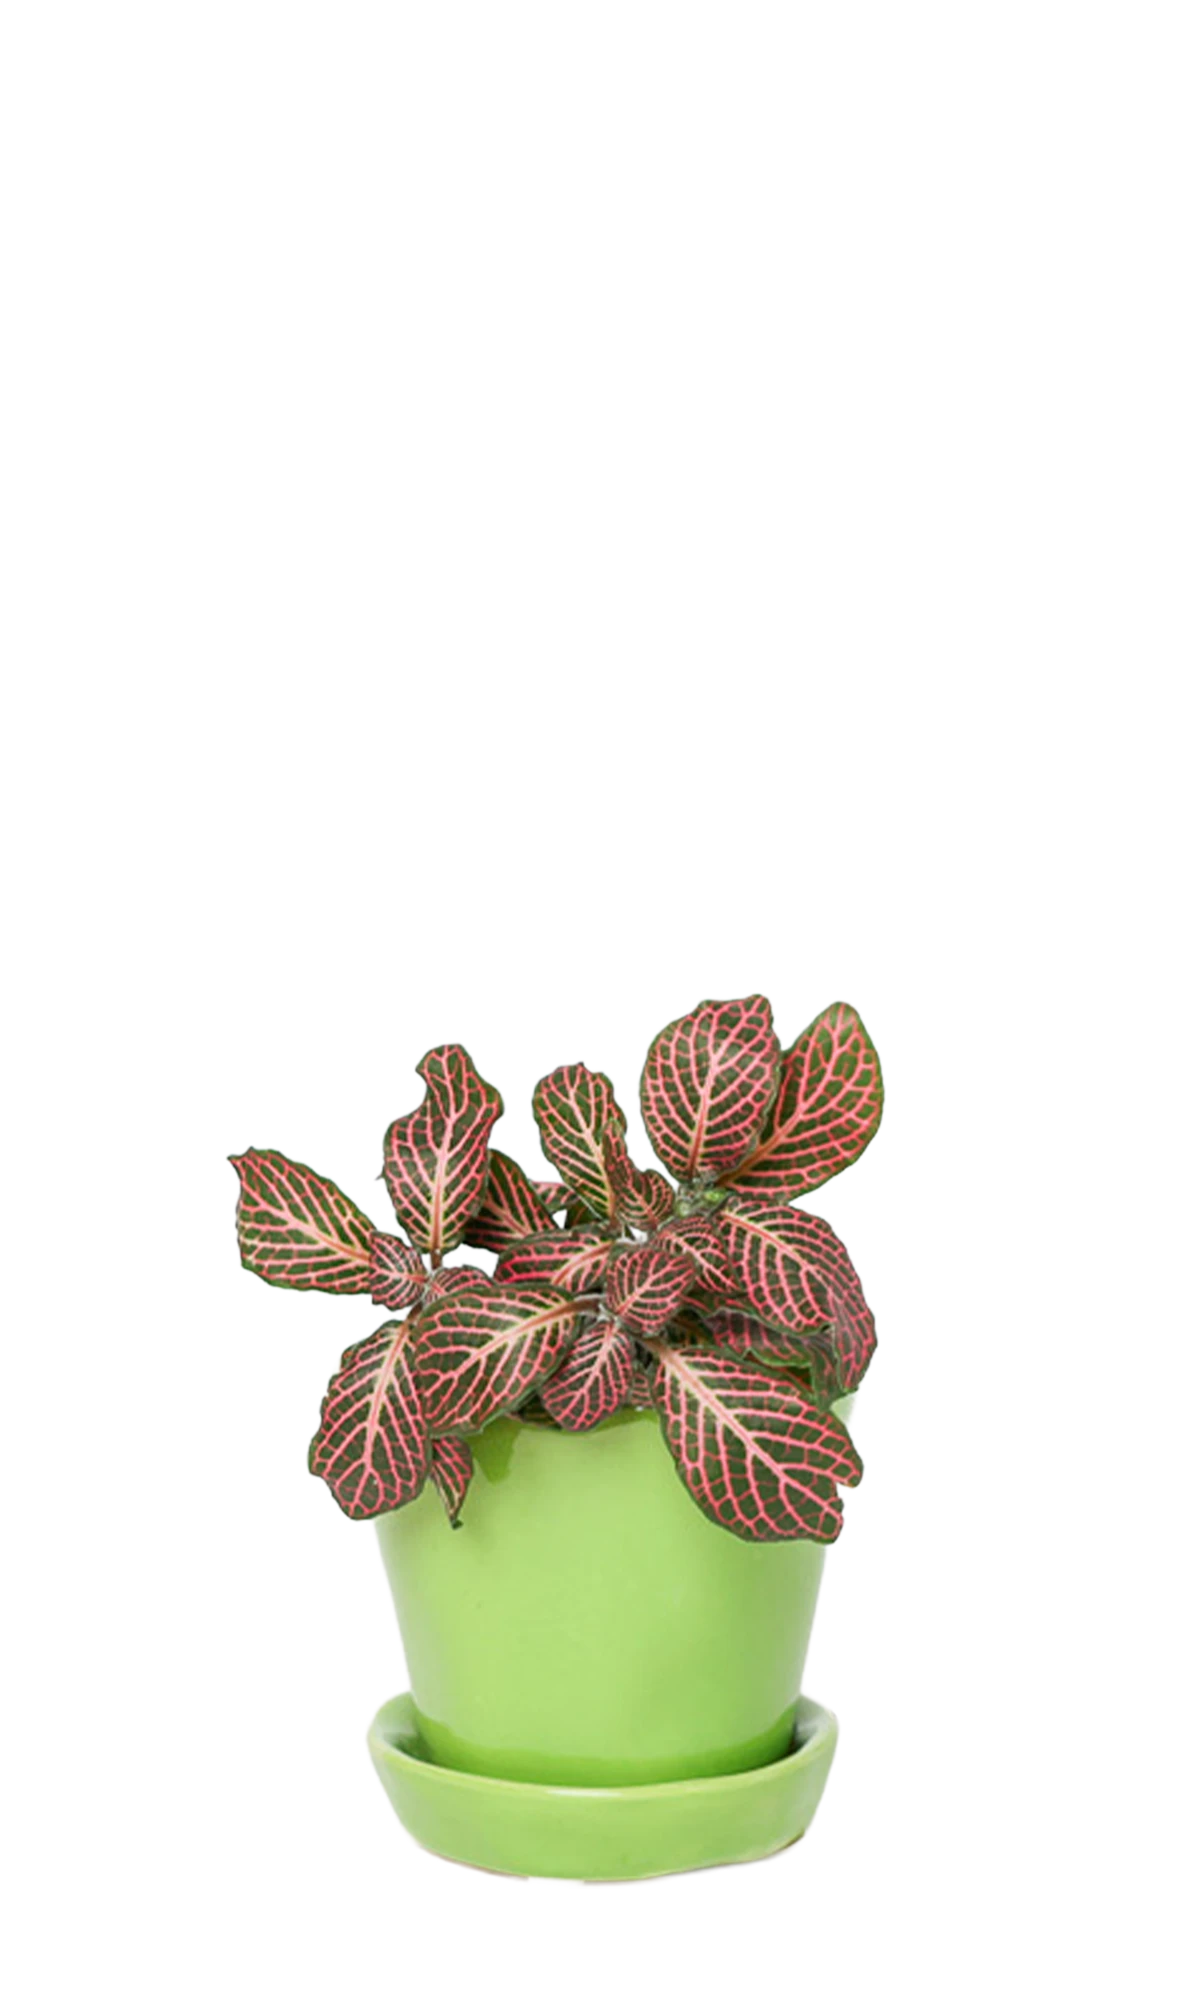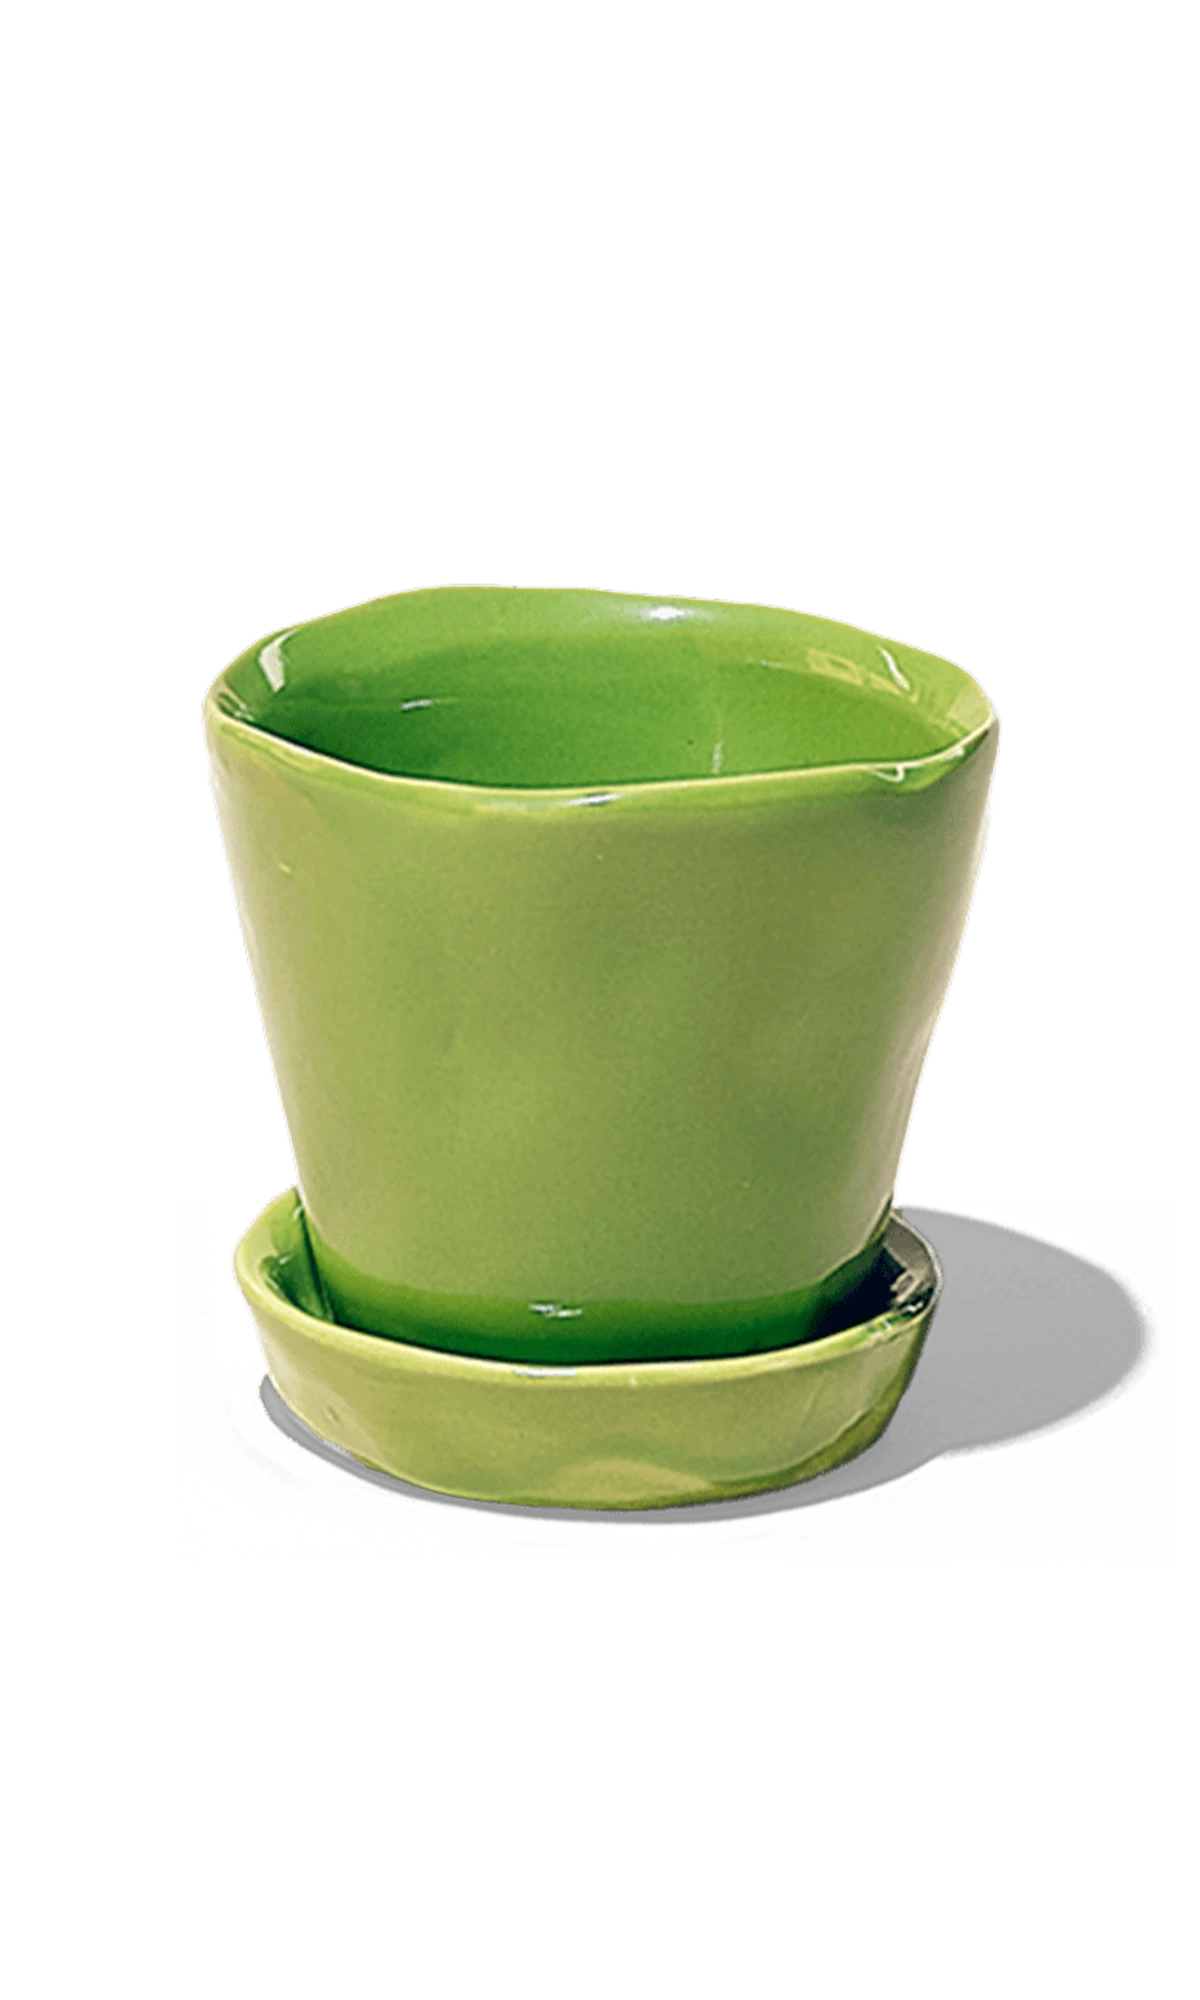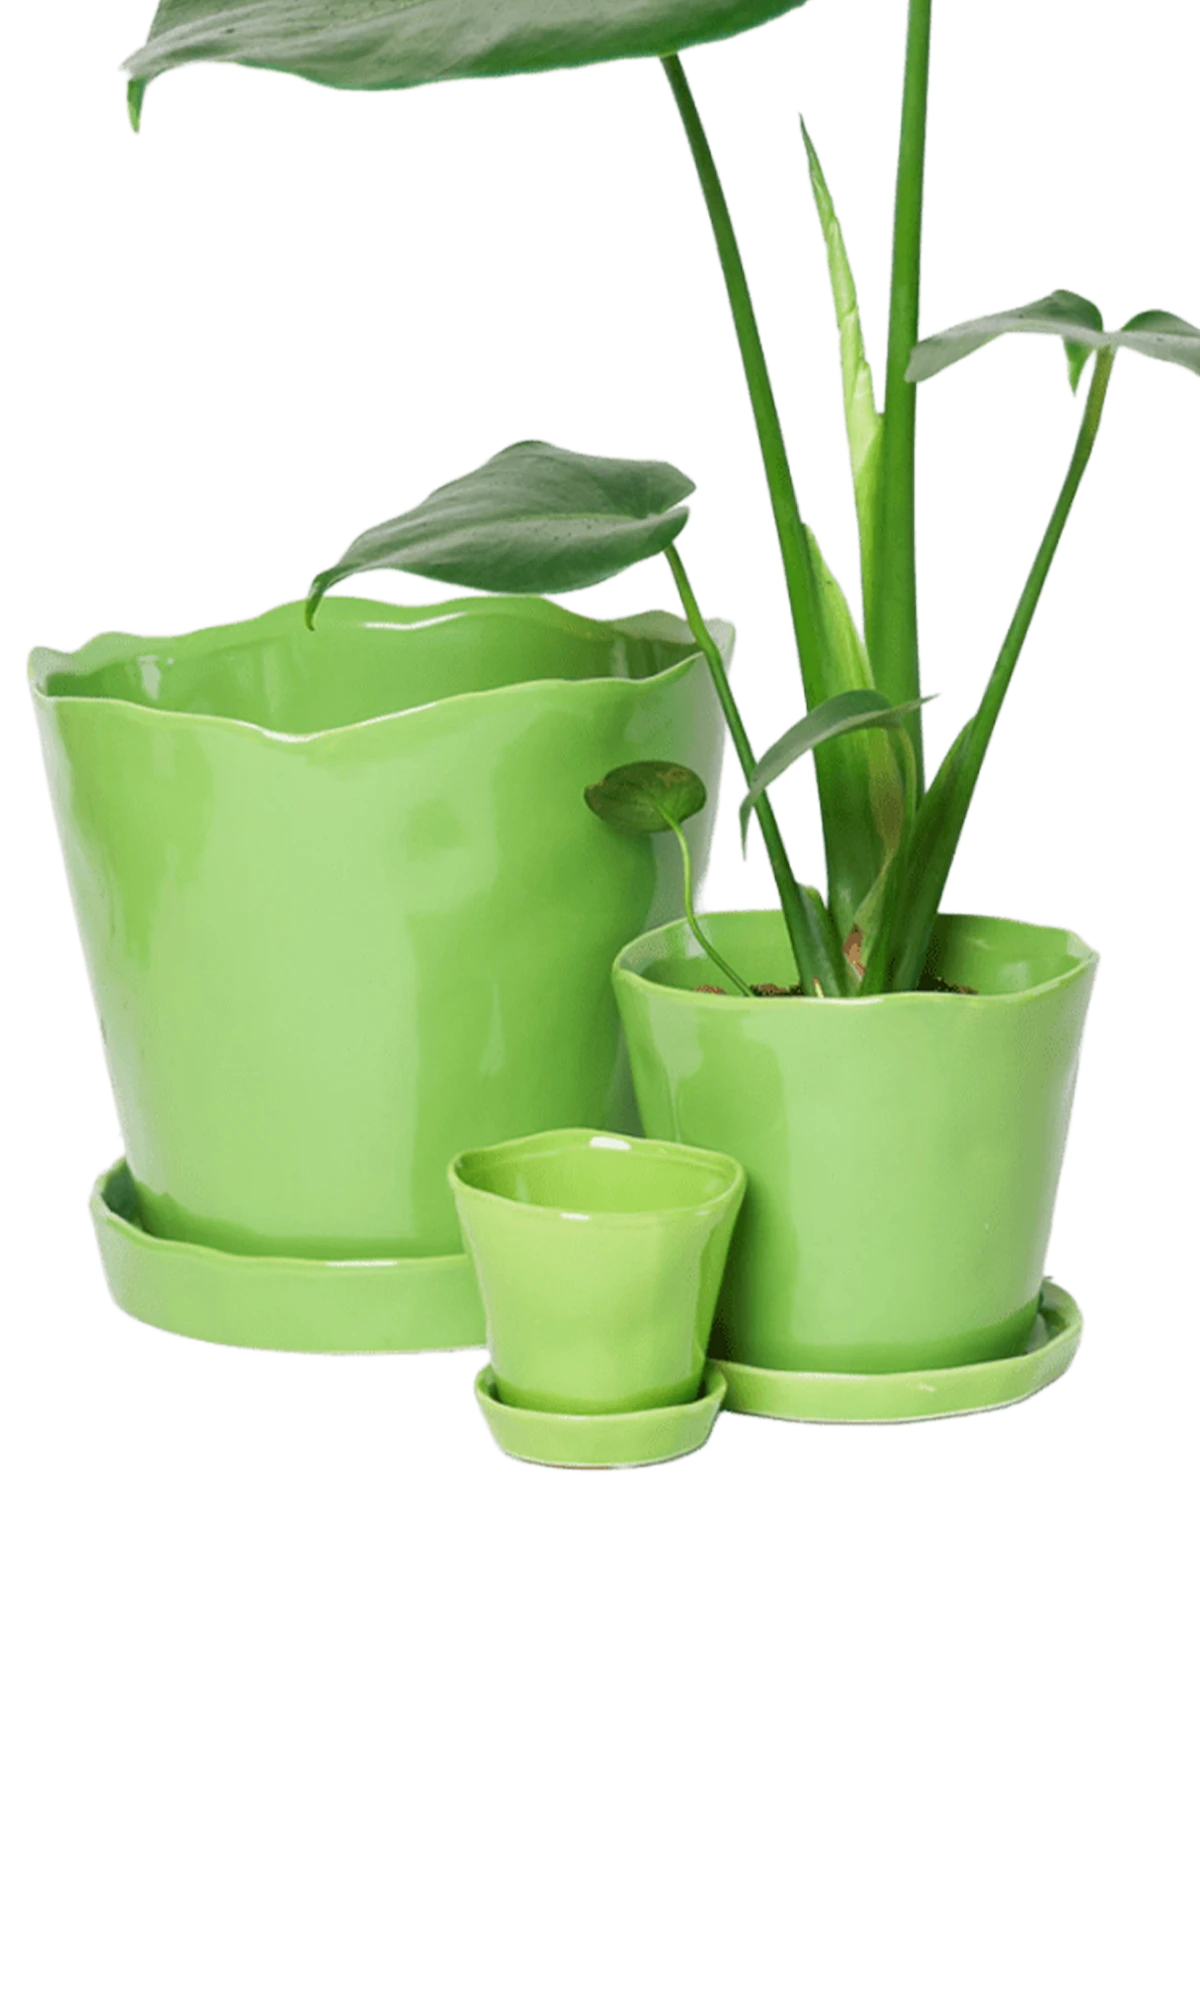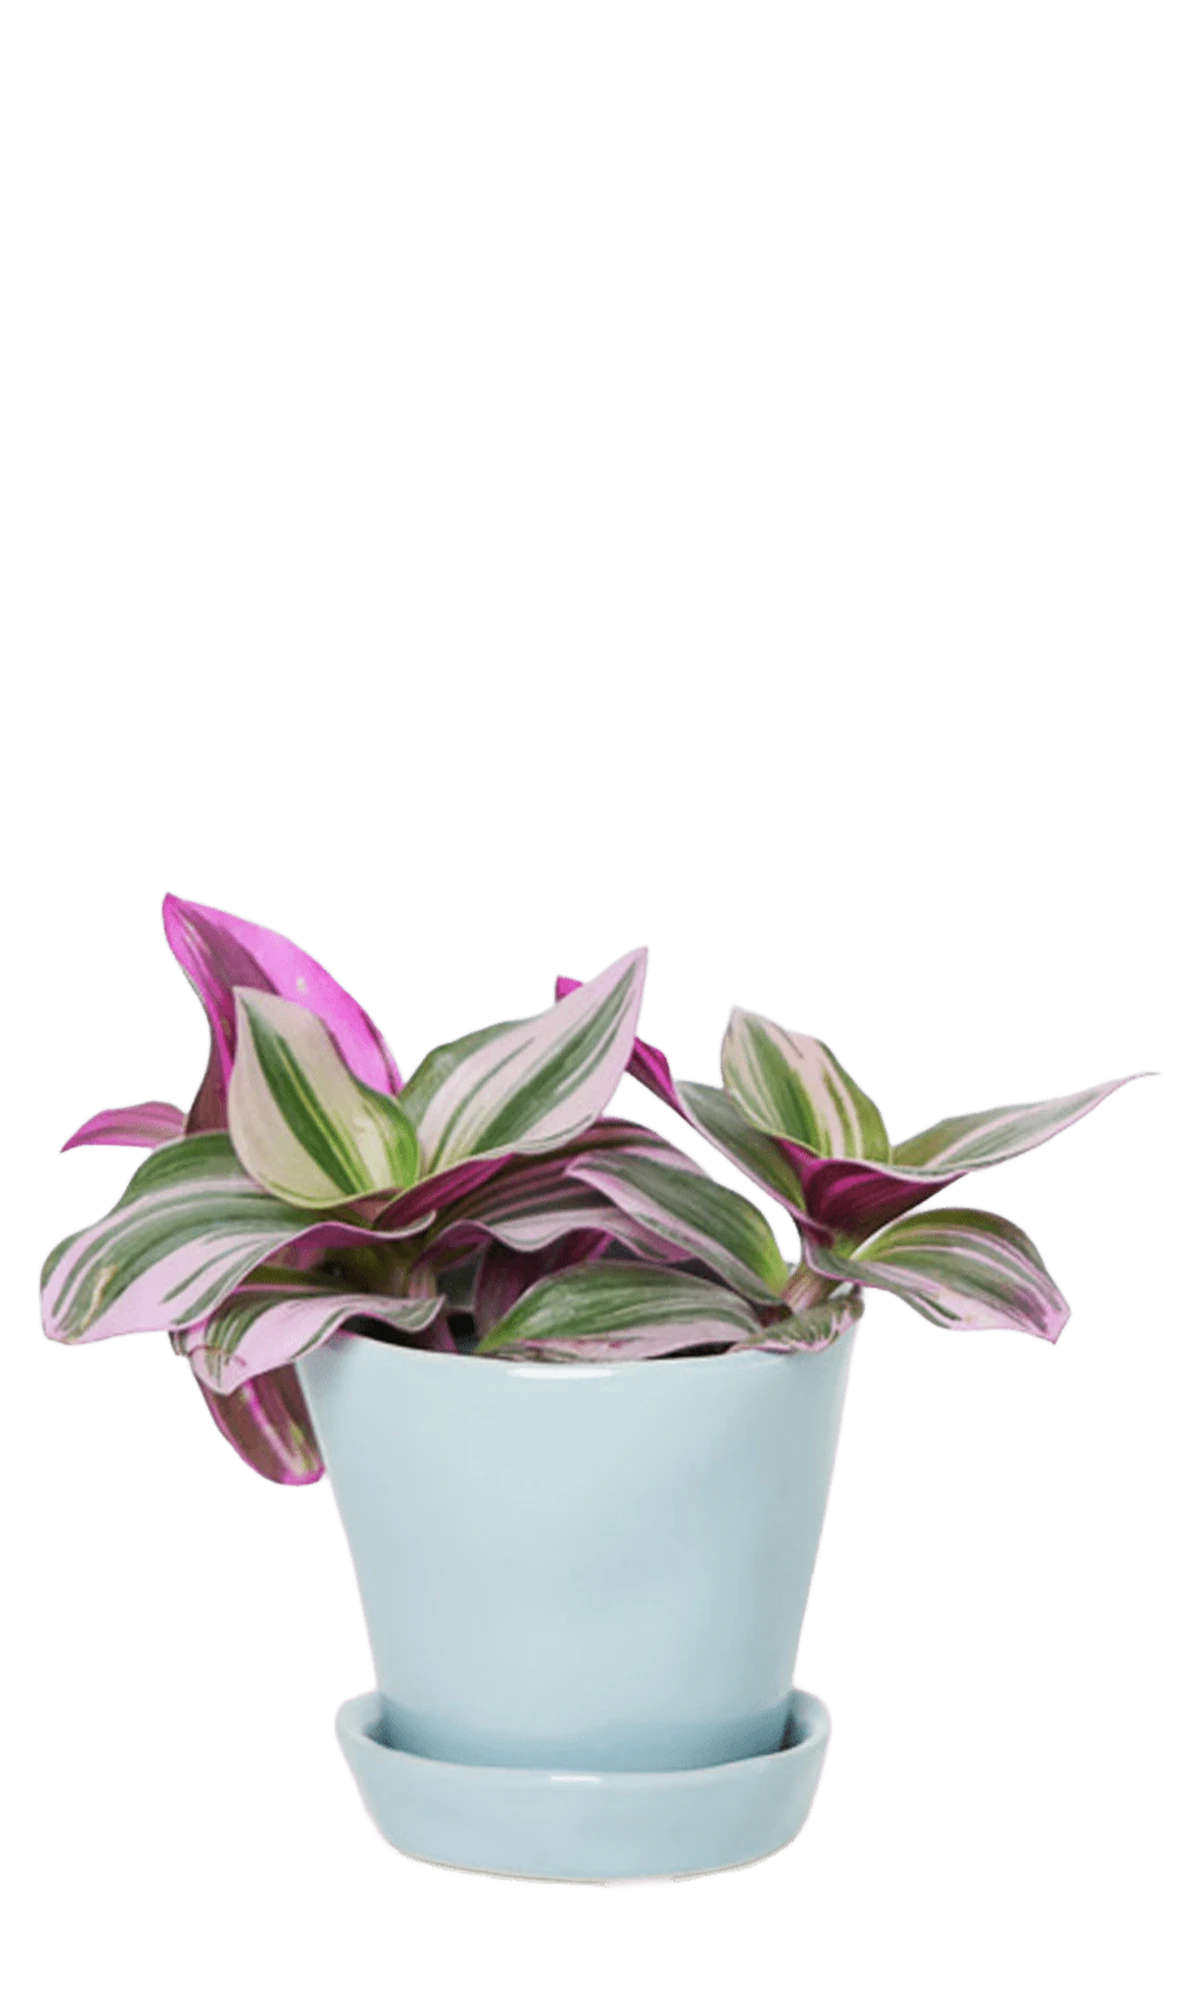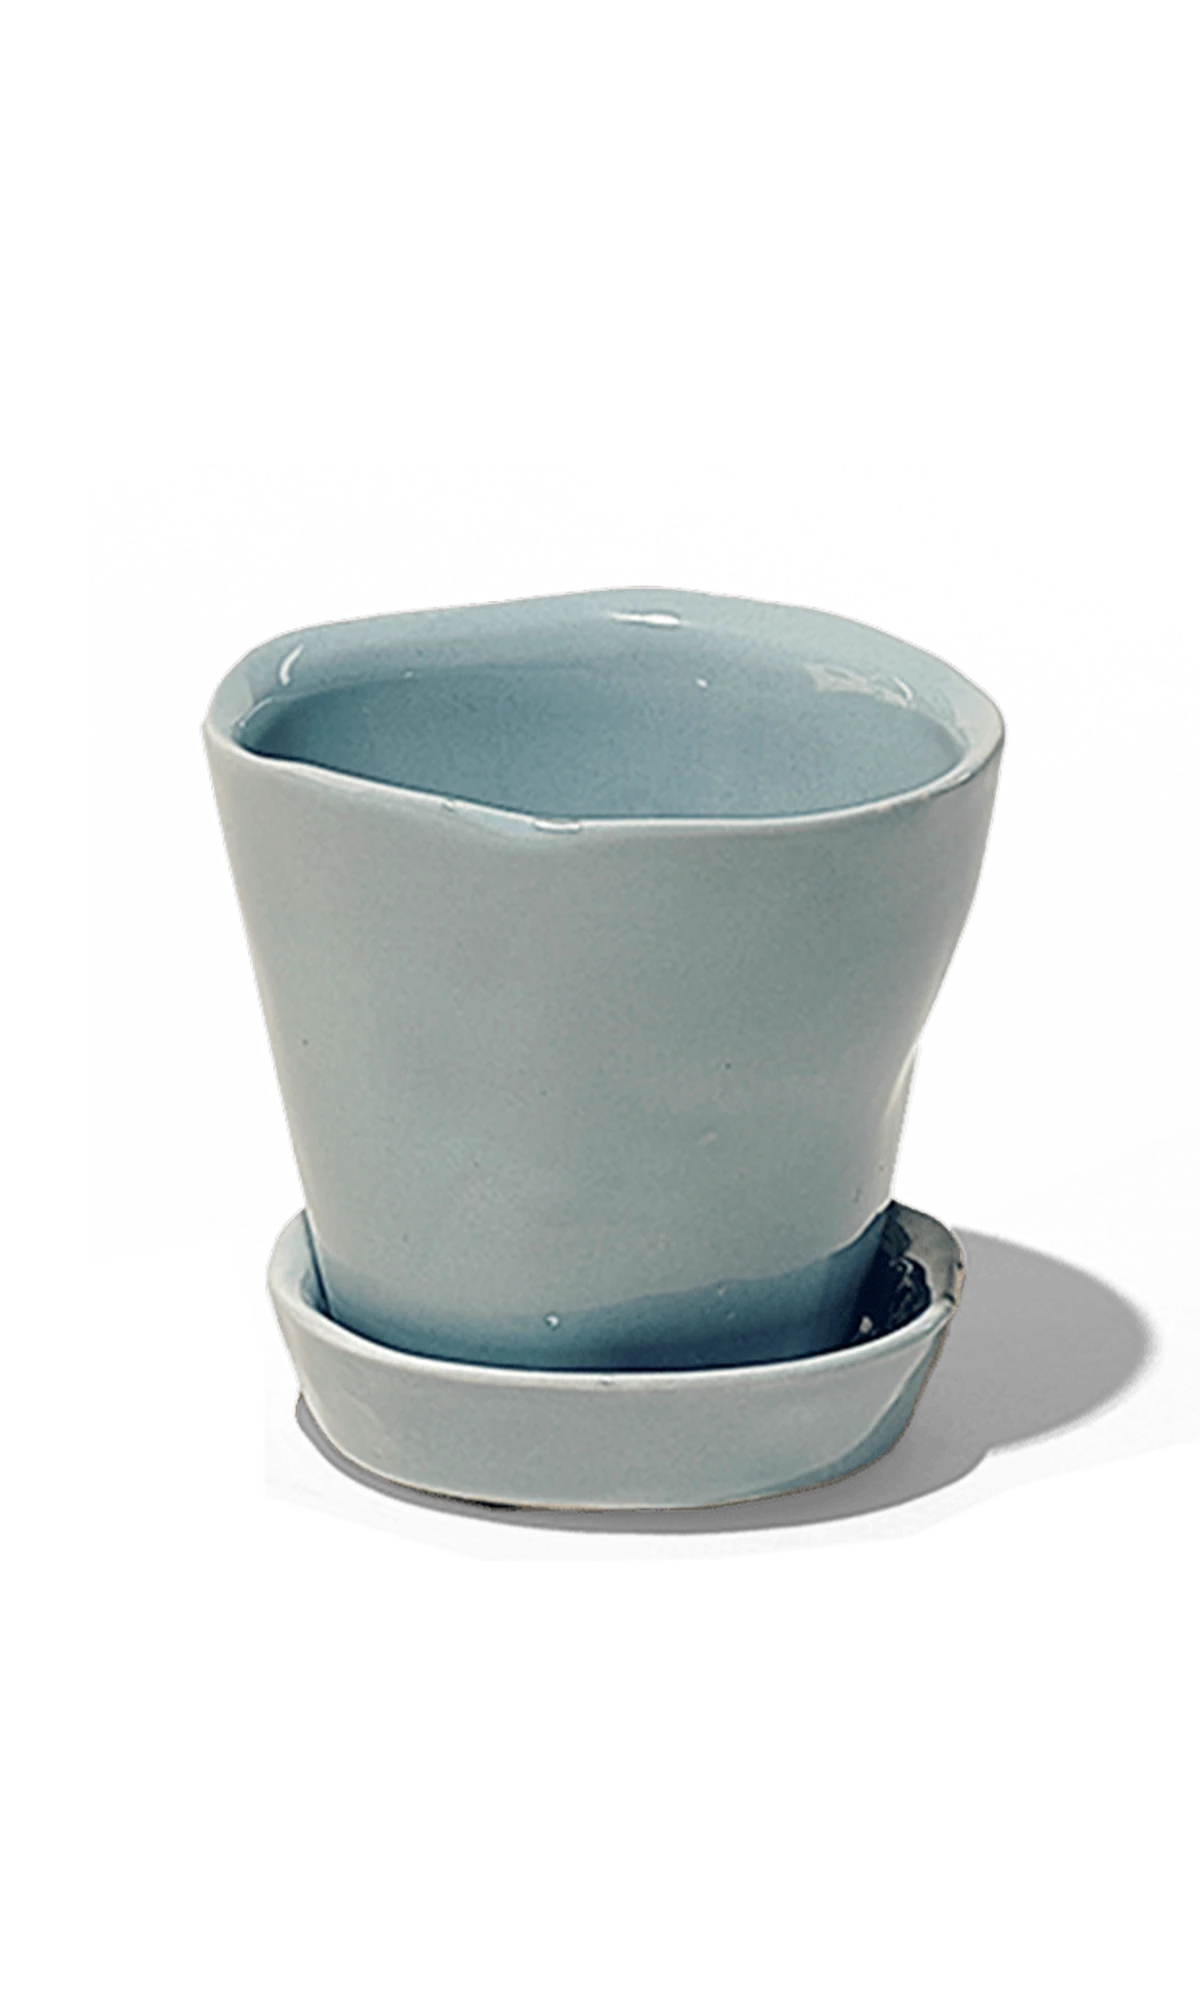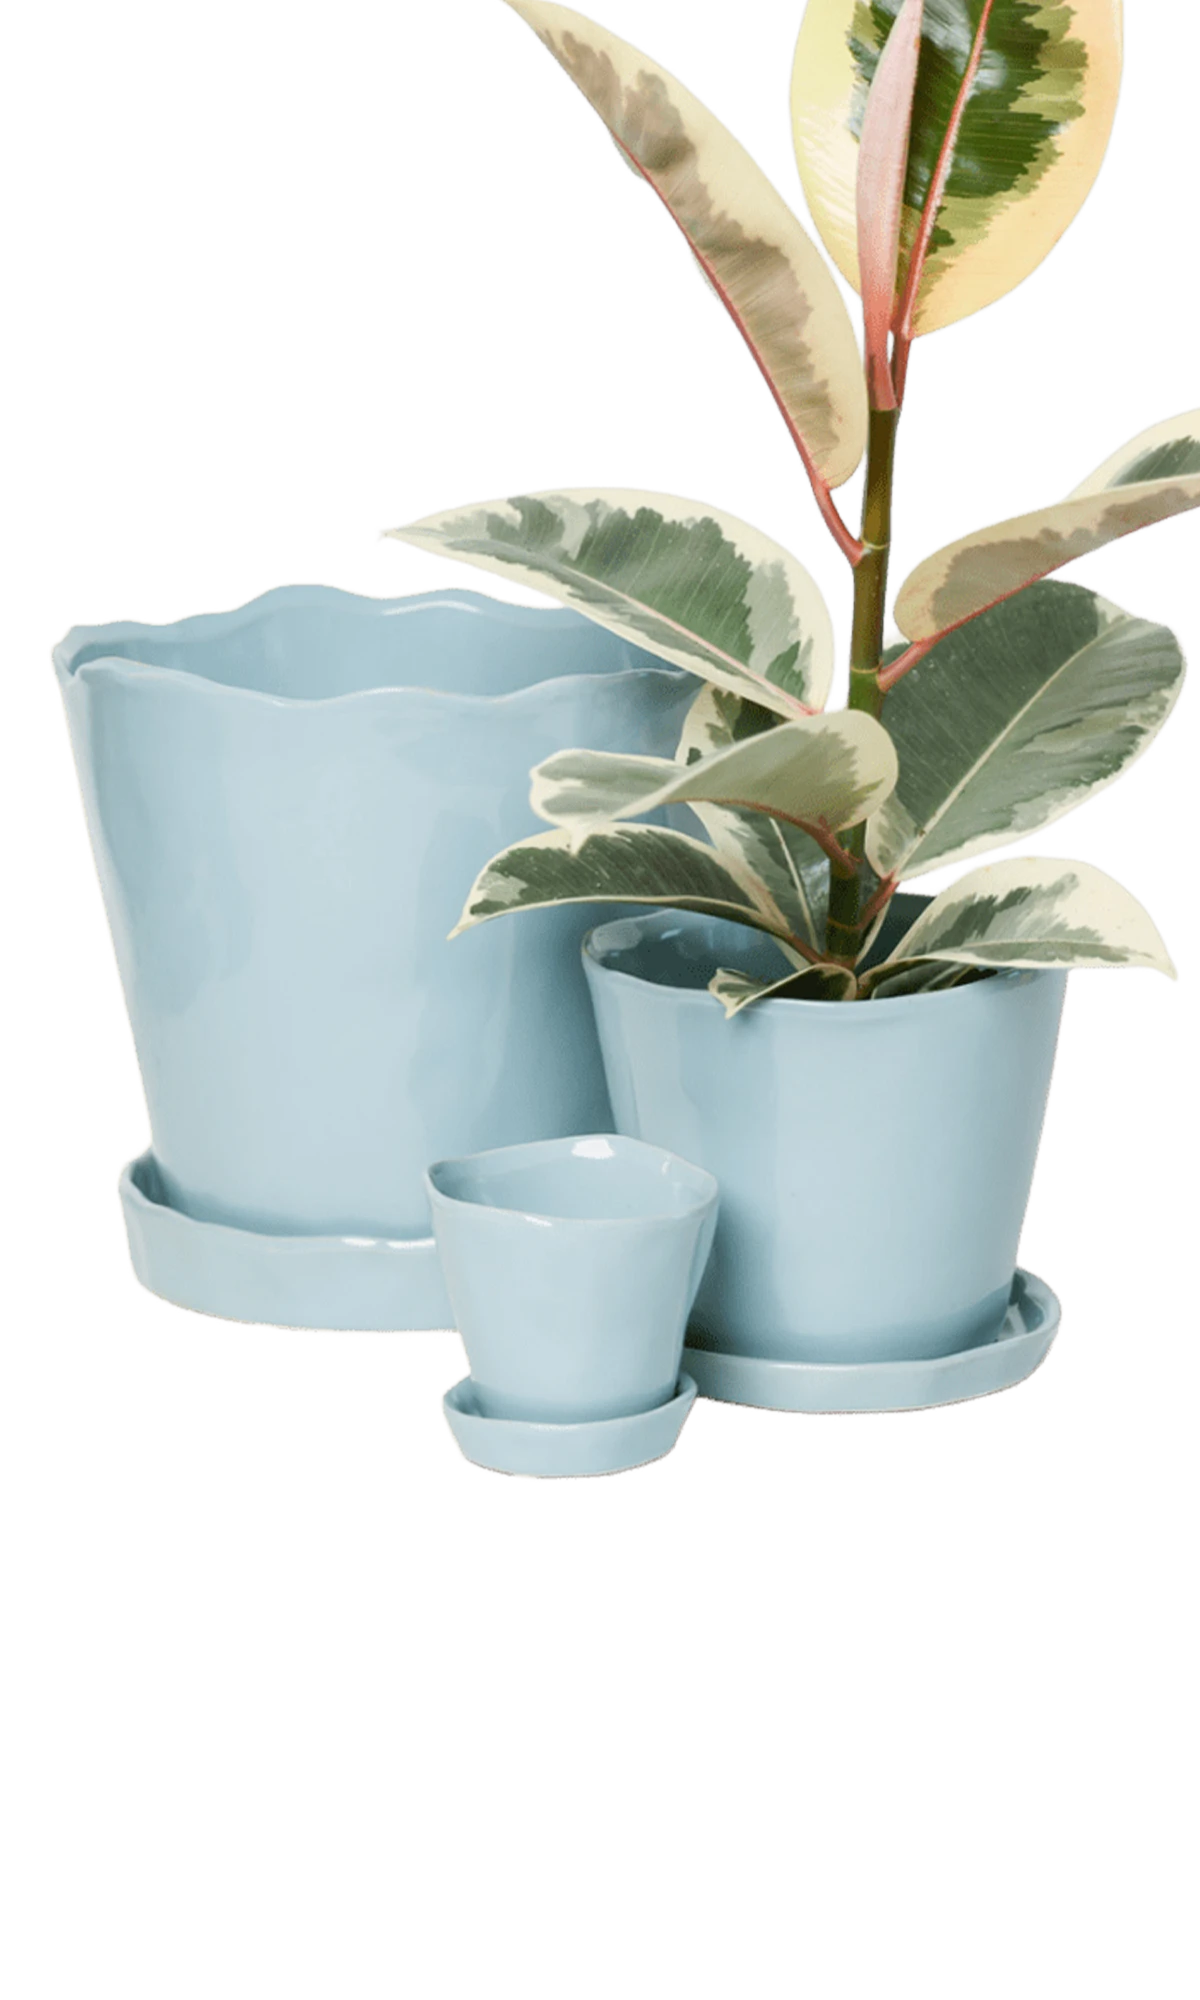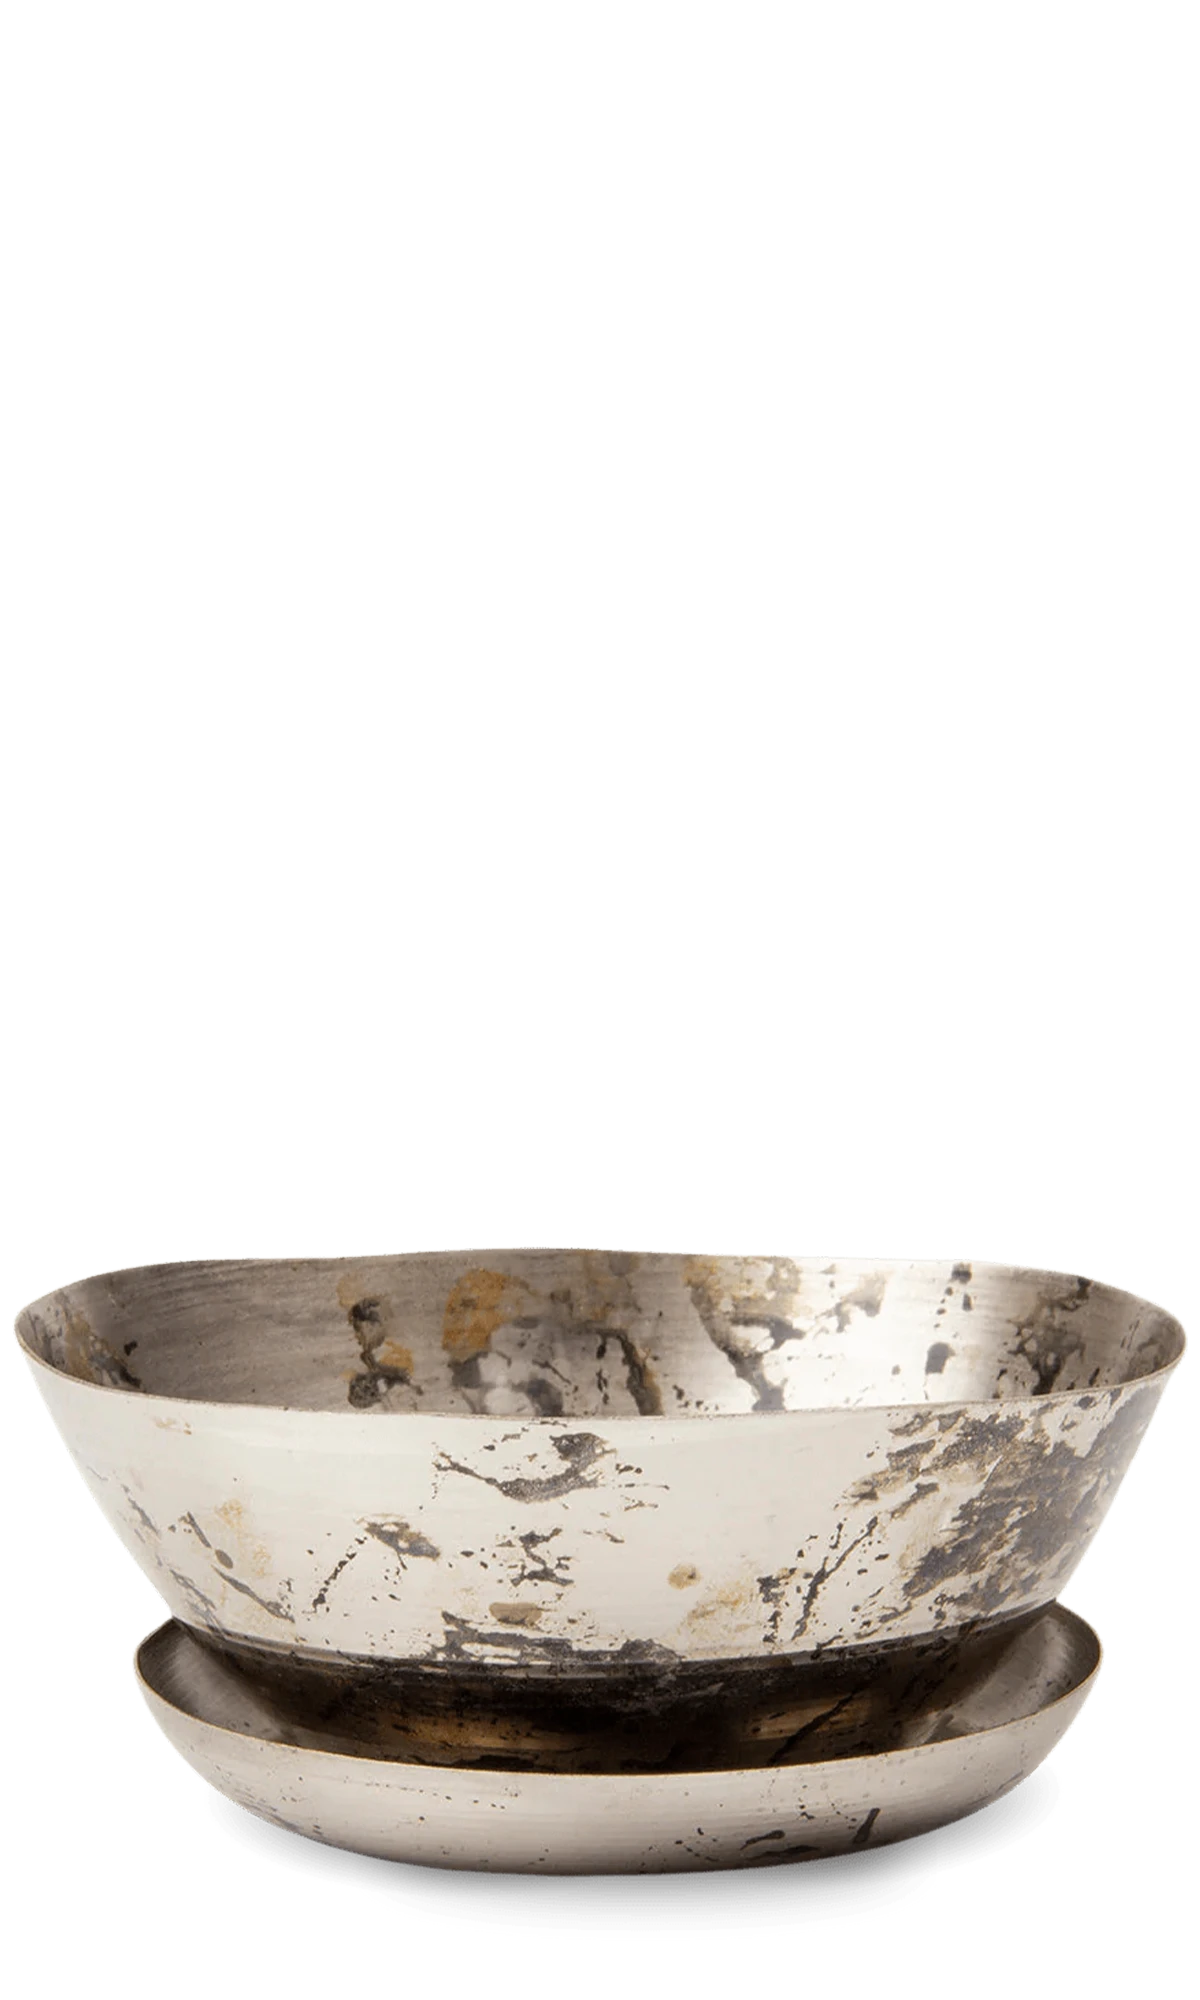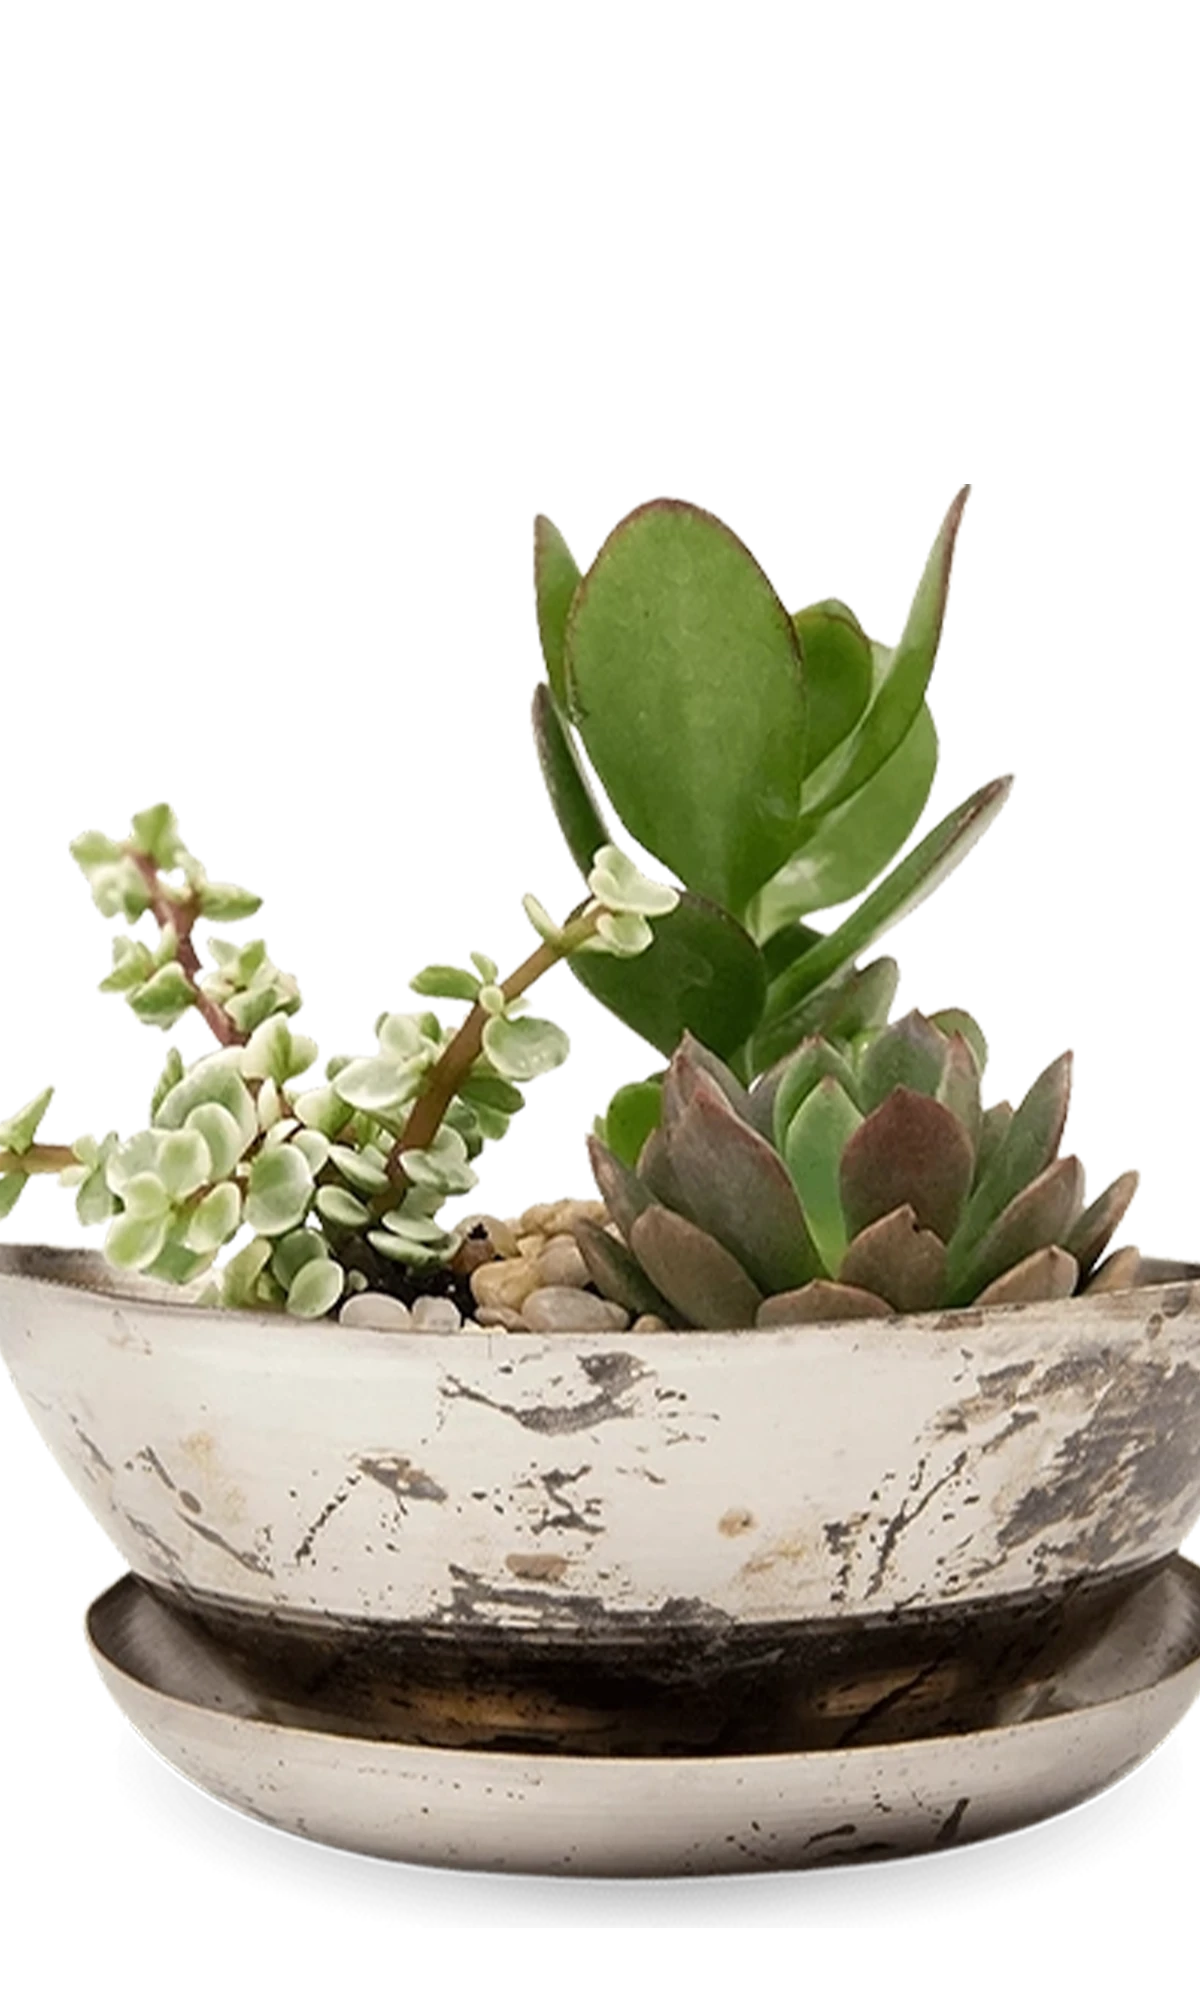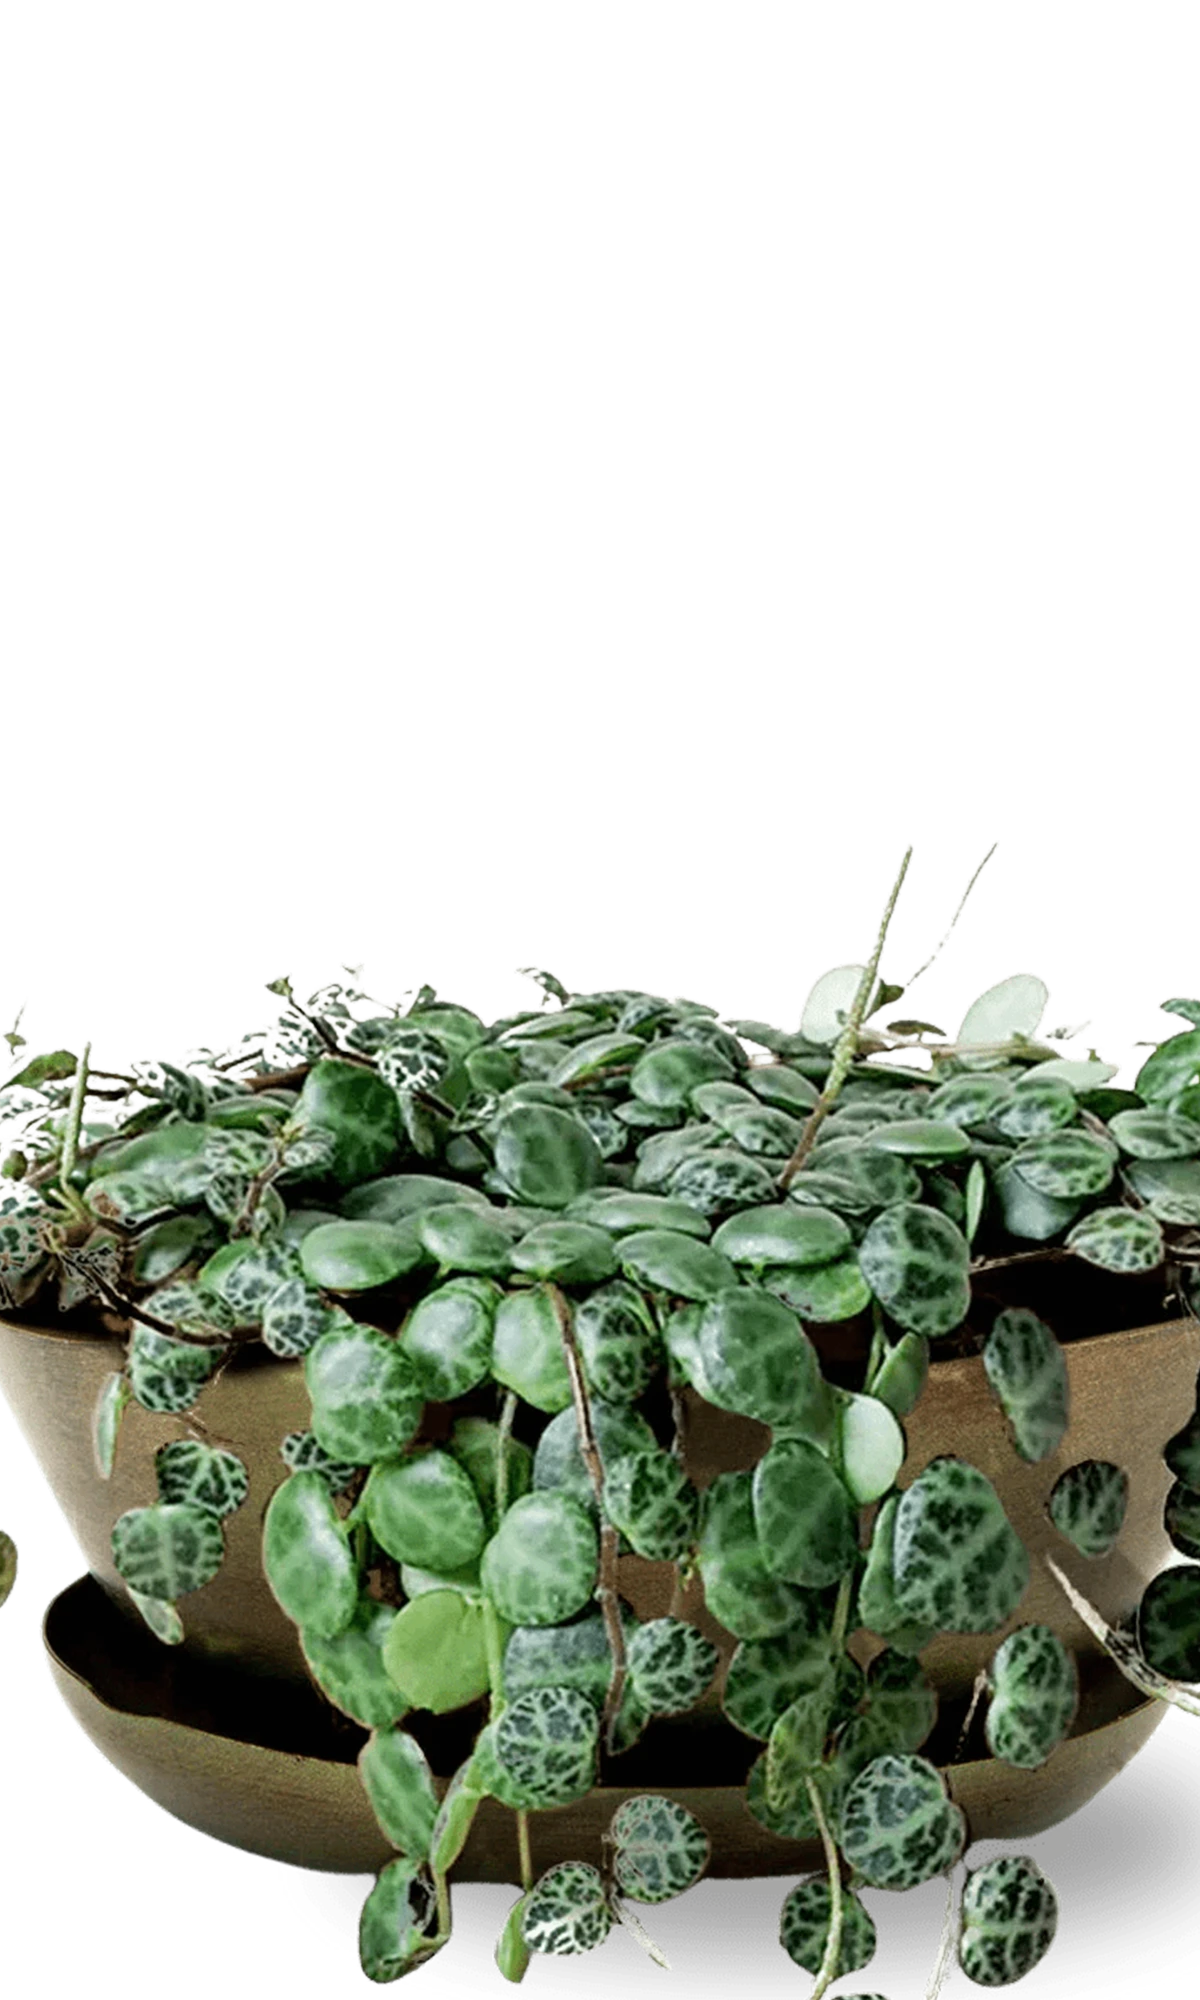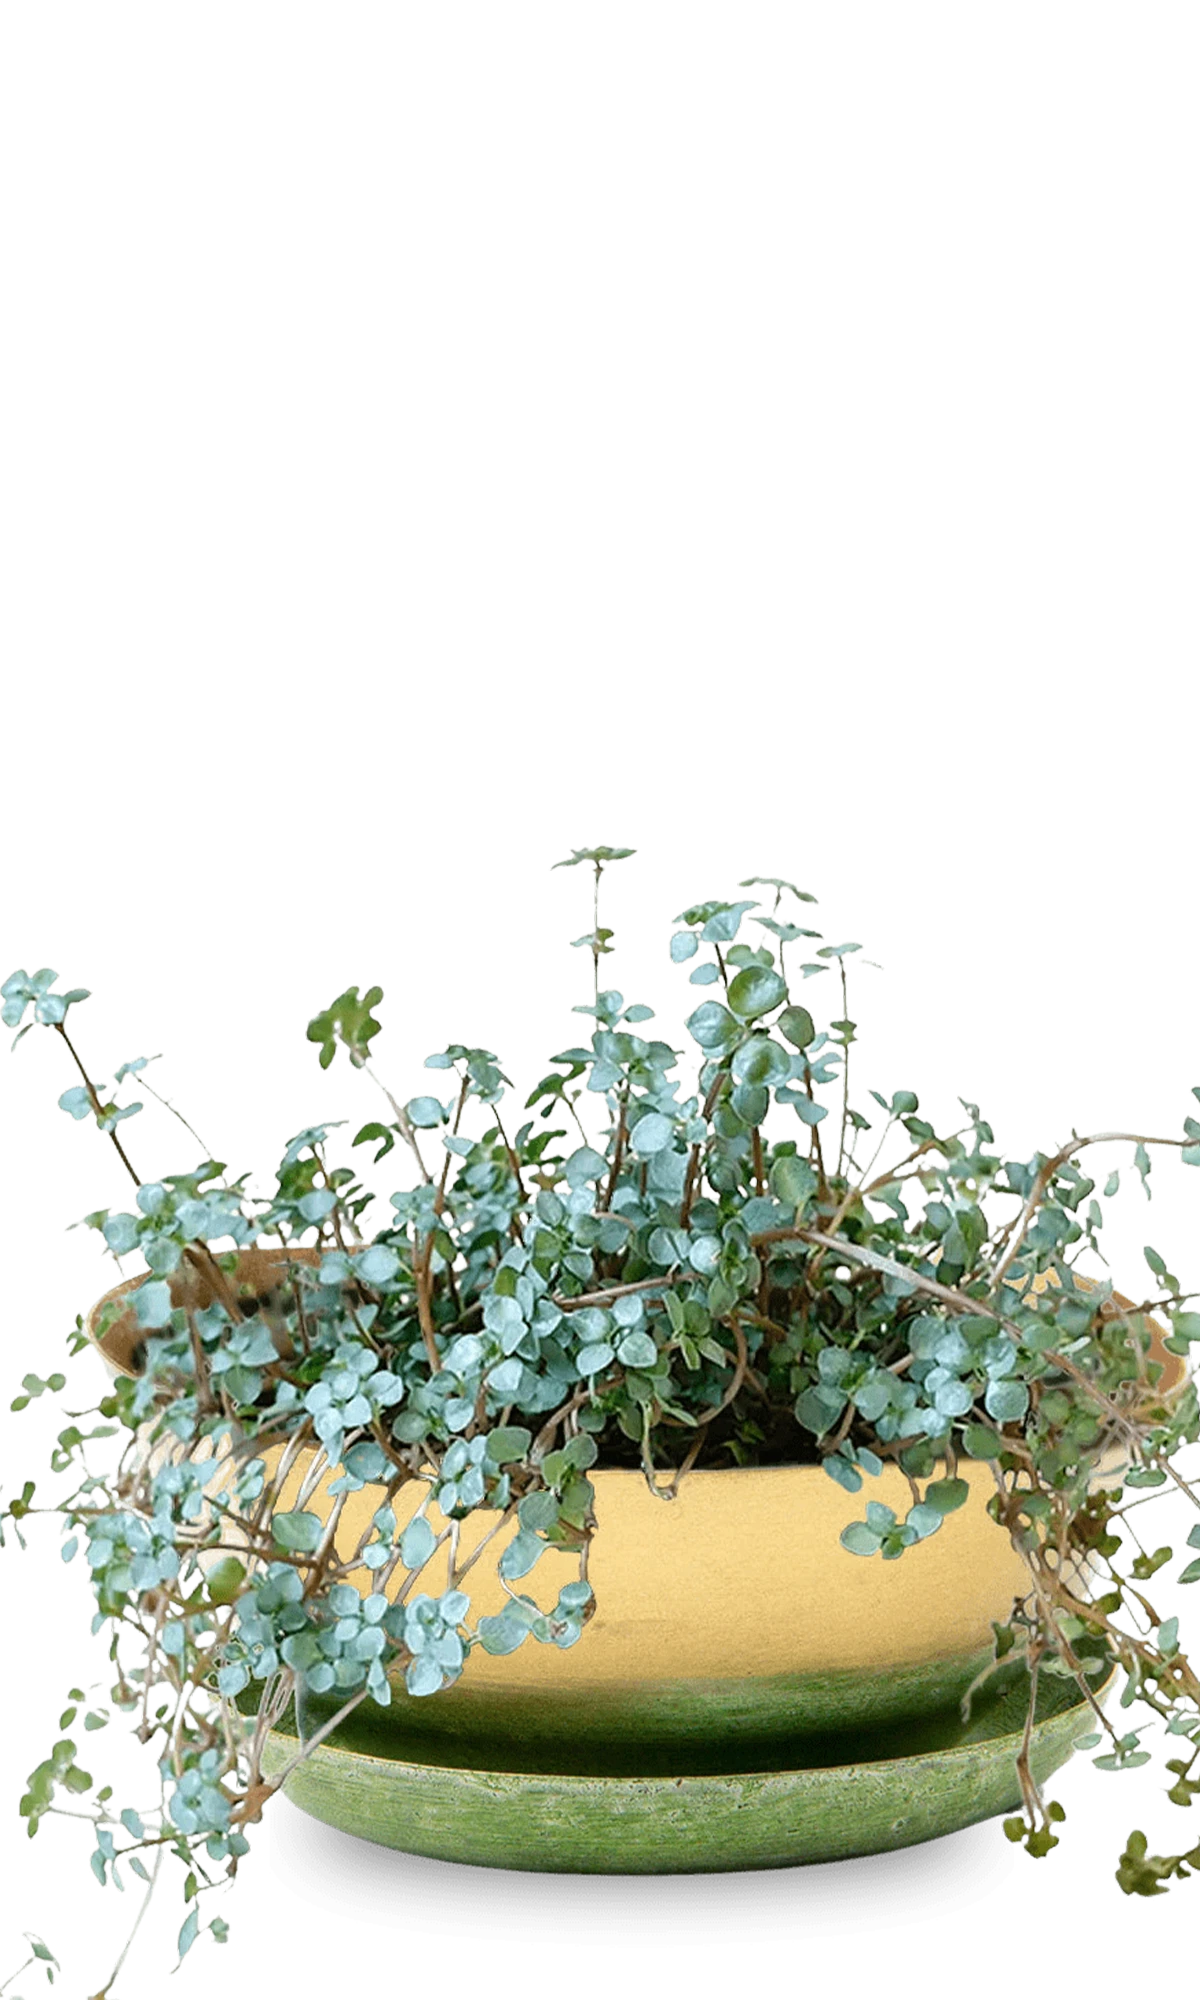


How to repot a plant: when roots appear from the drainage hole, at the soil surface, or water runs straight through without absorbing — it is time. Choose a pot two inches bigger than the current one, use potting soil, match the soil level from the old pot, and leave the plant alone for a few days after. Every Chive pot has a drainage hole and ships with a saucer. The Virago covers most plants from one to three-gallon nursery containers. The Minute handles smaller plants. The Ryan removes the overwatering variable entirely.
How to repot a plant is a question that sounds straightforward and mostly is, except for the parts that aren't, which are the parts involving the roots coming out of the bottom of the pot, the soil that is entirely roots and nothing else, and the neighbor in the white linen pants who appears every spring with a butter knife and an expression of quiet purpose that suggests he has been waiting for this moment since November.
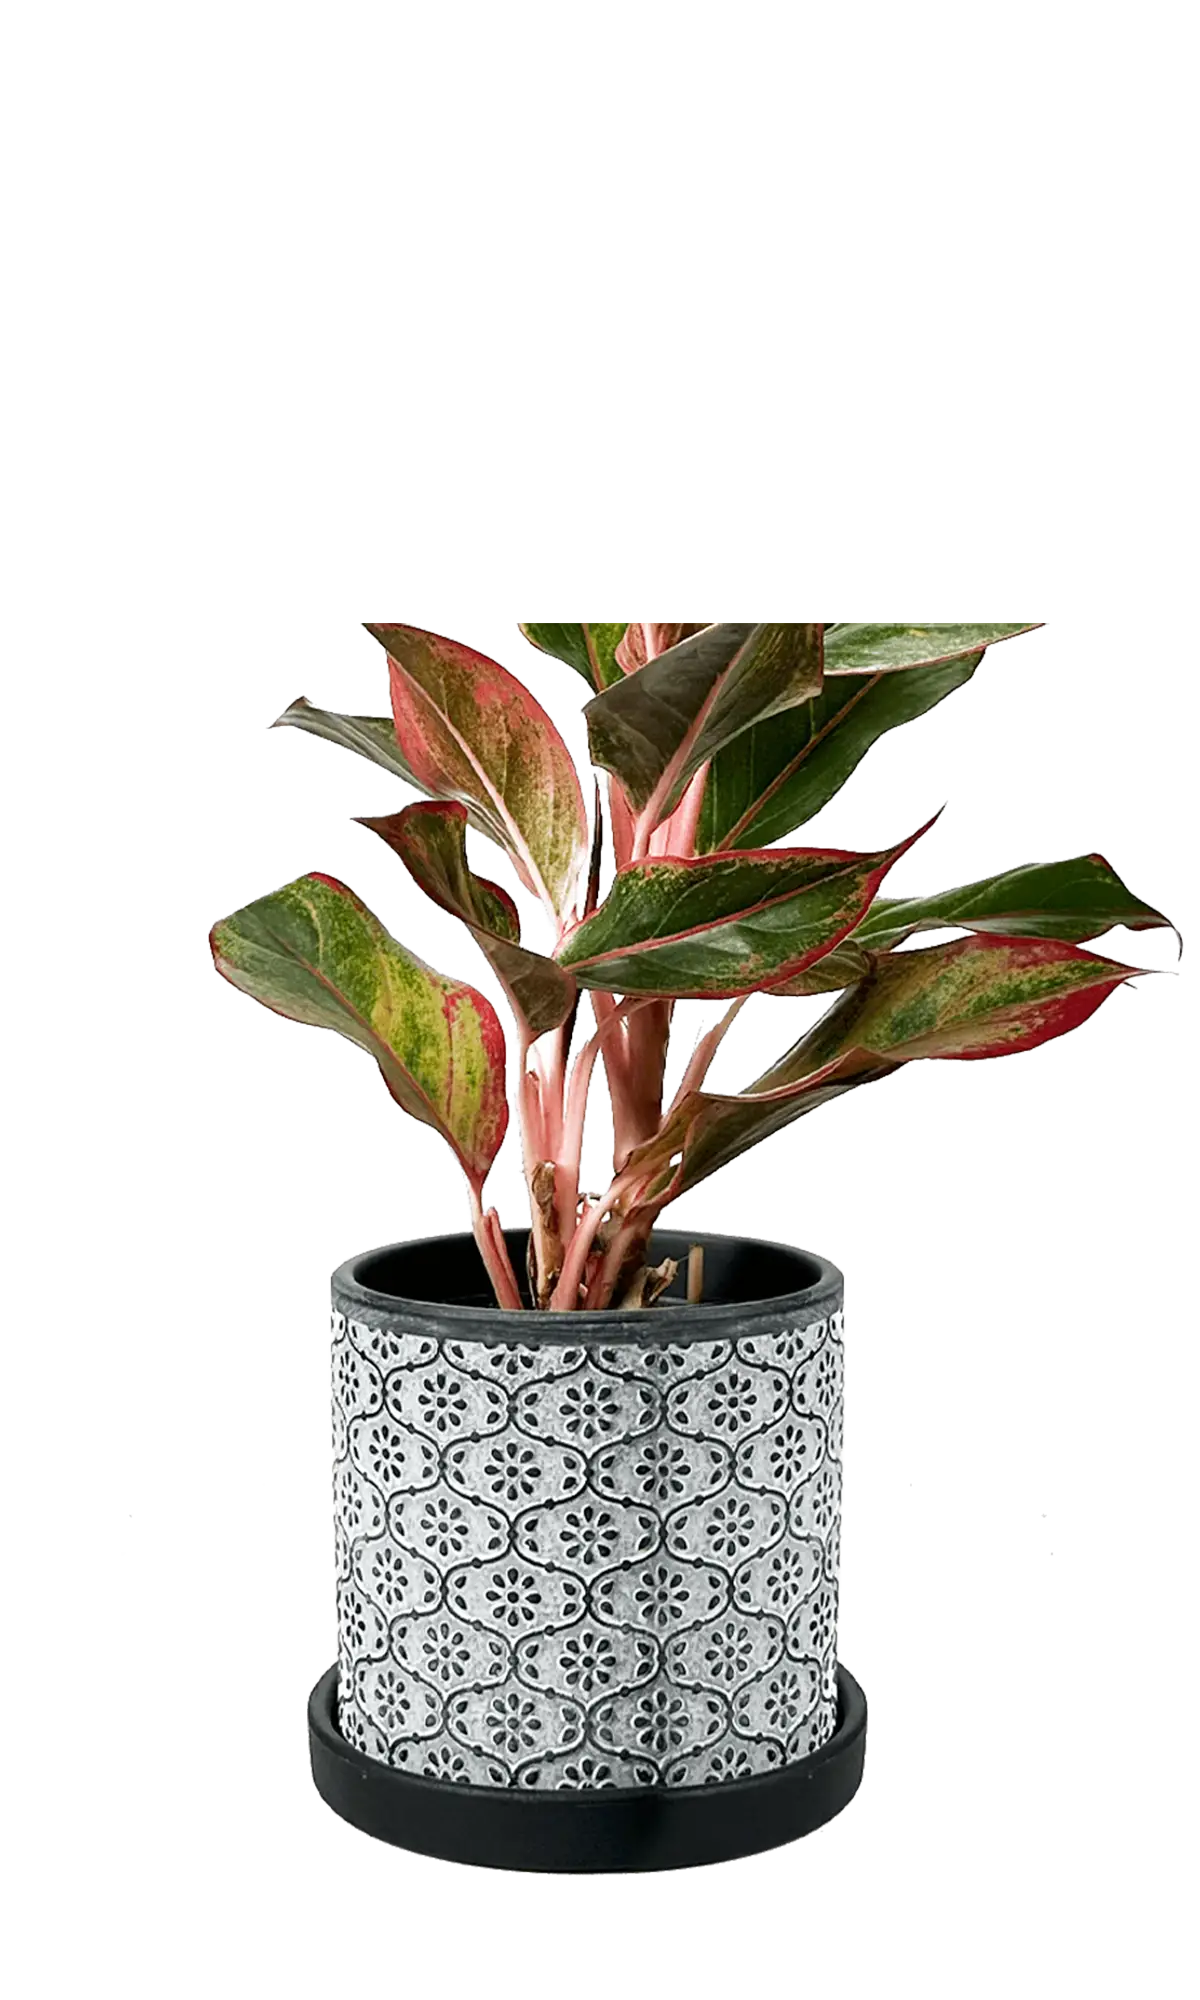
The roots coming out the bottom of the pot are the plant's way of telling you something it has been trying to say for several months and has finally decided to say with its body. This is not a gradual suggestion. This is a plant that has run out of room, run out of patience, and is now making its case in the only language available to it. You have seen this look before. It was on your face in the third year of an apartment you should have left in the second.
We have been making ceramic plant pots since 2004. We have had this conversation more times than we can count. The conversation always starts the same way. Someone has a plant. The plant has been in the same pot for longer than either of them would like to admit. Something is about to happen.

Three signs your plant needs repotting
The first sign is roots coming out of the drainage hole. This is the clearest signal a plant can give you short of writing it down. The roots have run out of room in every direction except down and out, which is not a direction the pot offers, and so they have taken the only exit available.
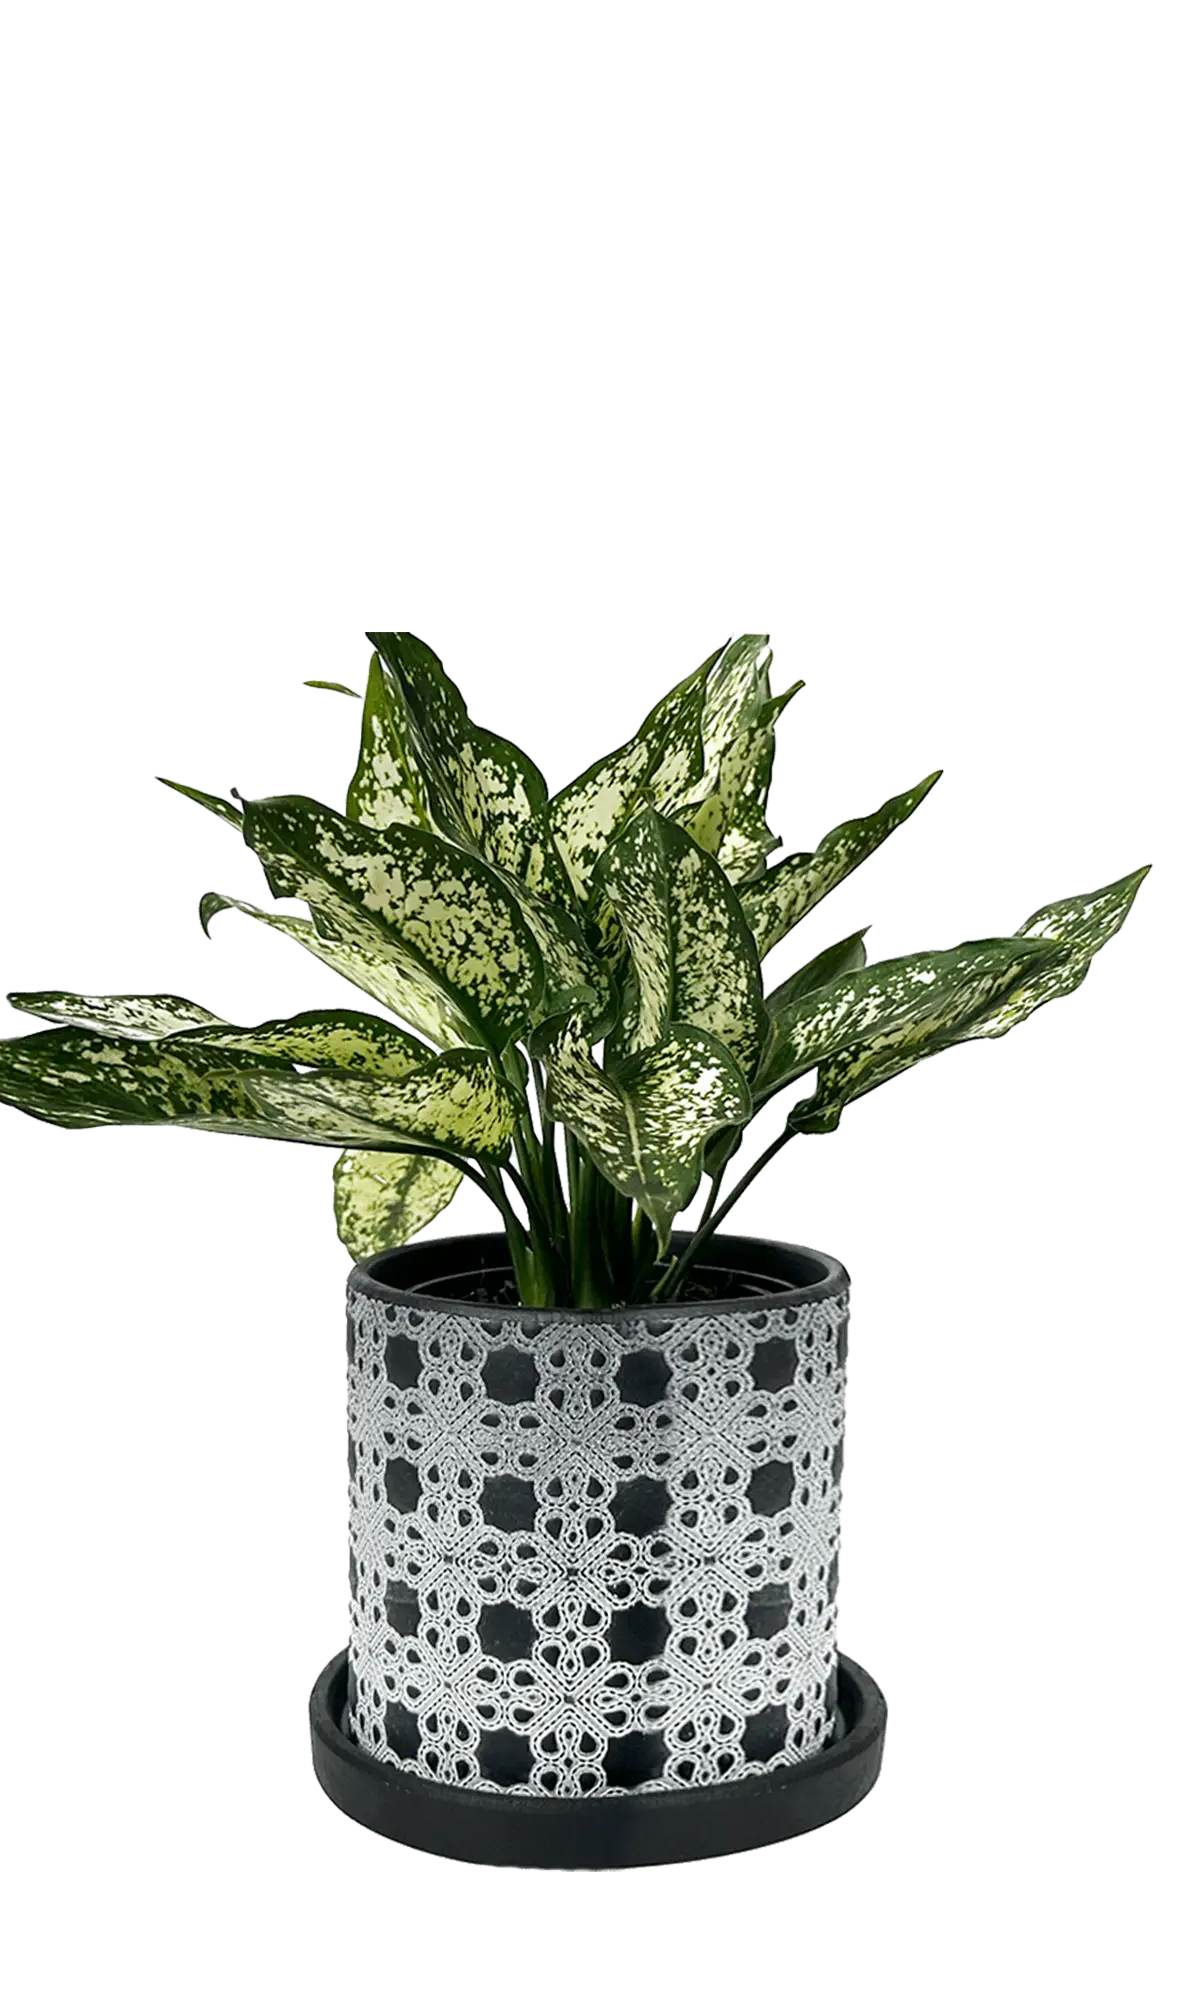
The second sign is roots crowding the surface — tangling over each other, taking up every available inch of the top layer. The aunt you see at the Shriners dinner every year, the one who has been at the table since before anyone else arrived and has quietly expanded into every available chair and conversation. You love her. There is simply no more room at the table, and something has to be done.
The third sign is water running straight through the pot without pausing, without being absorbed, without doing any of the things water is supposed to do on its way down. What you have in that pot is roots, almost entirely roots, a tight and determined network that has consumed everything and is now simply waiting for you to notice. We explain this one more than we should have to. We explain it every week. We have accepted that we will continue to explain it.
Spring is when most people repot, not because spring is the only correct time but because something happens in spring that makes a person look at their plants and their pots and their life and decide that today is the day things are going to be different. The neighbor in the white linen pants knows this. He is already outside with the butter knife. He has been ready for weeks. Autumn works too, before the plant goes dormant. Any time the plant gives you one of the three signs above, that is the correct time.

The single most important rule: two inches bigger
When you repot, do not go more than two inches bigger. This is the rule and it is not negotiable. A pot that is too large holds too much soil, too much soil holds too much water, and too much water is how we got into this situation in the first place. If you want to understand why plant pots need drainage holes, this is the same answer arriving from a different direction.
Think of it like buying a shirt. You do not buy the shirt in the size you are planning to become. You buy the shirt in the size you are, right now, today, and you let the plant, like the shirt, tell you when it's time to go up.
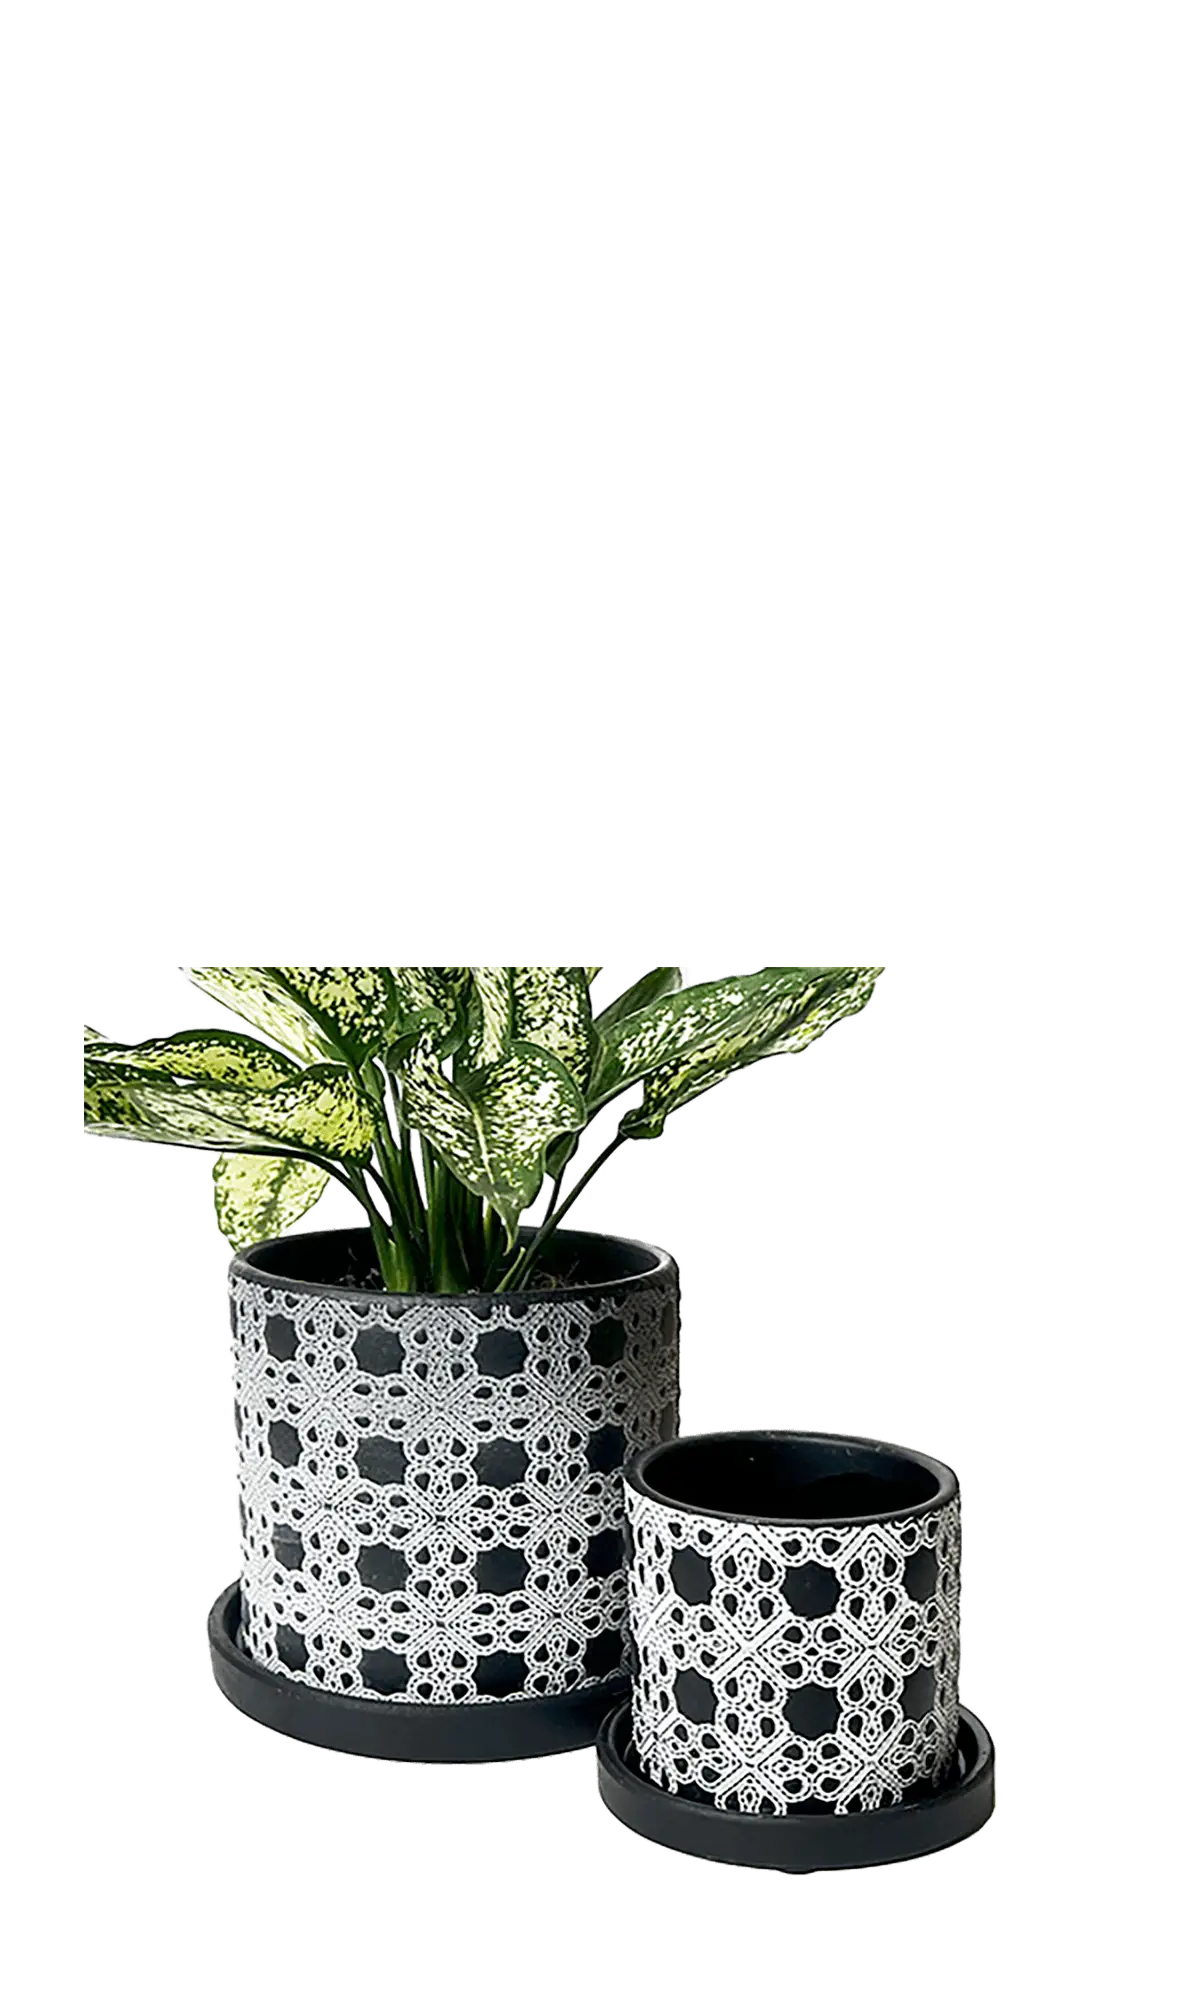
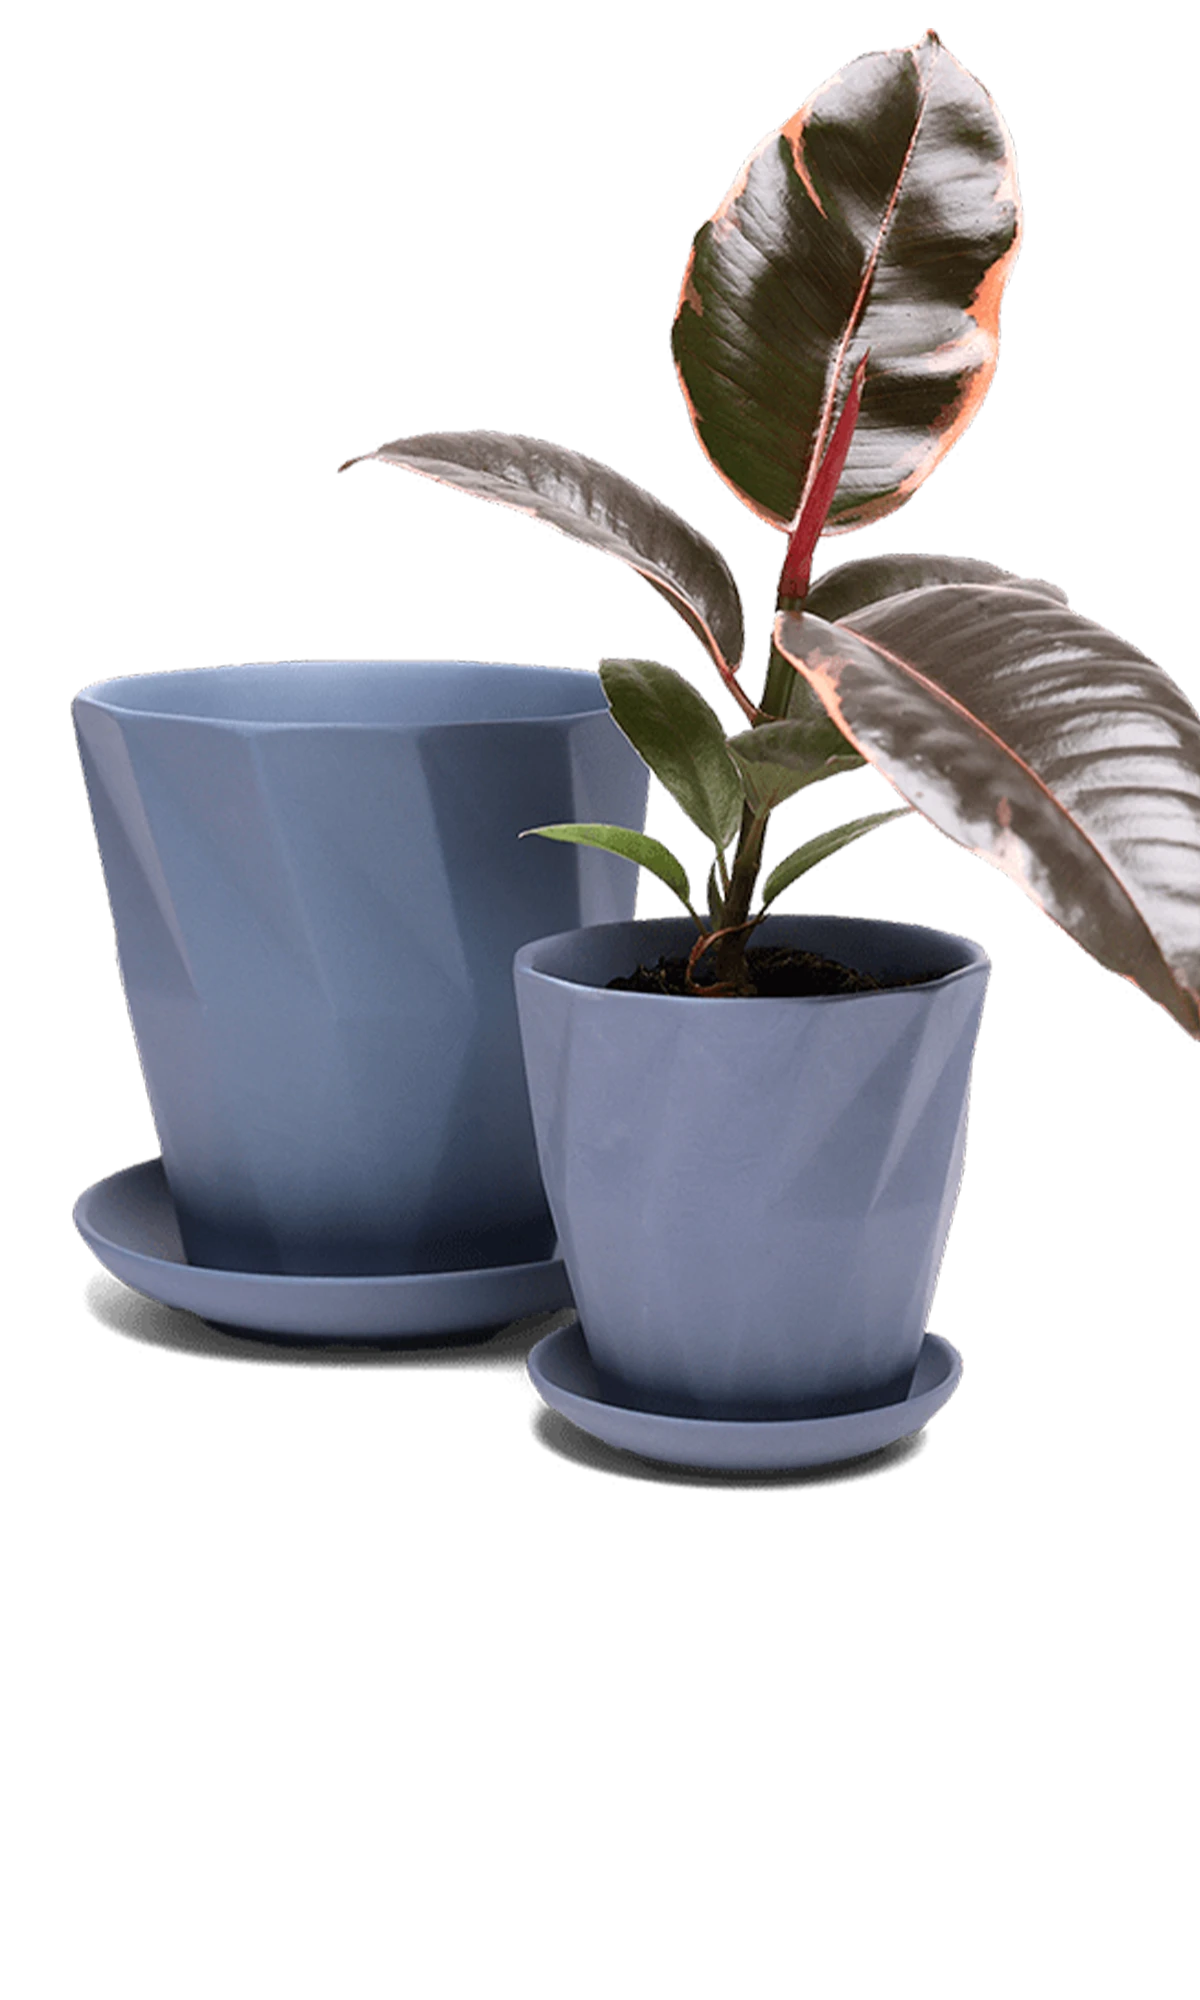
The right size pot is not the biggest pot you own, not the pot that matches the shelf, not the pot that was on sale and seemed like it might be useful someday. The right size pot is two inches bigger than the one the plant just outgrew. That is the entire sizing system. It has never been more complicated than that. We have watched people make it more complicated than that and the plant's position on the matter has not changed.
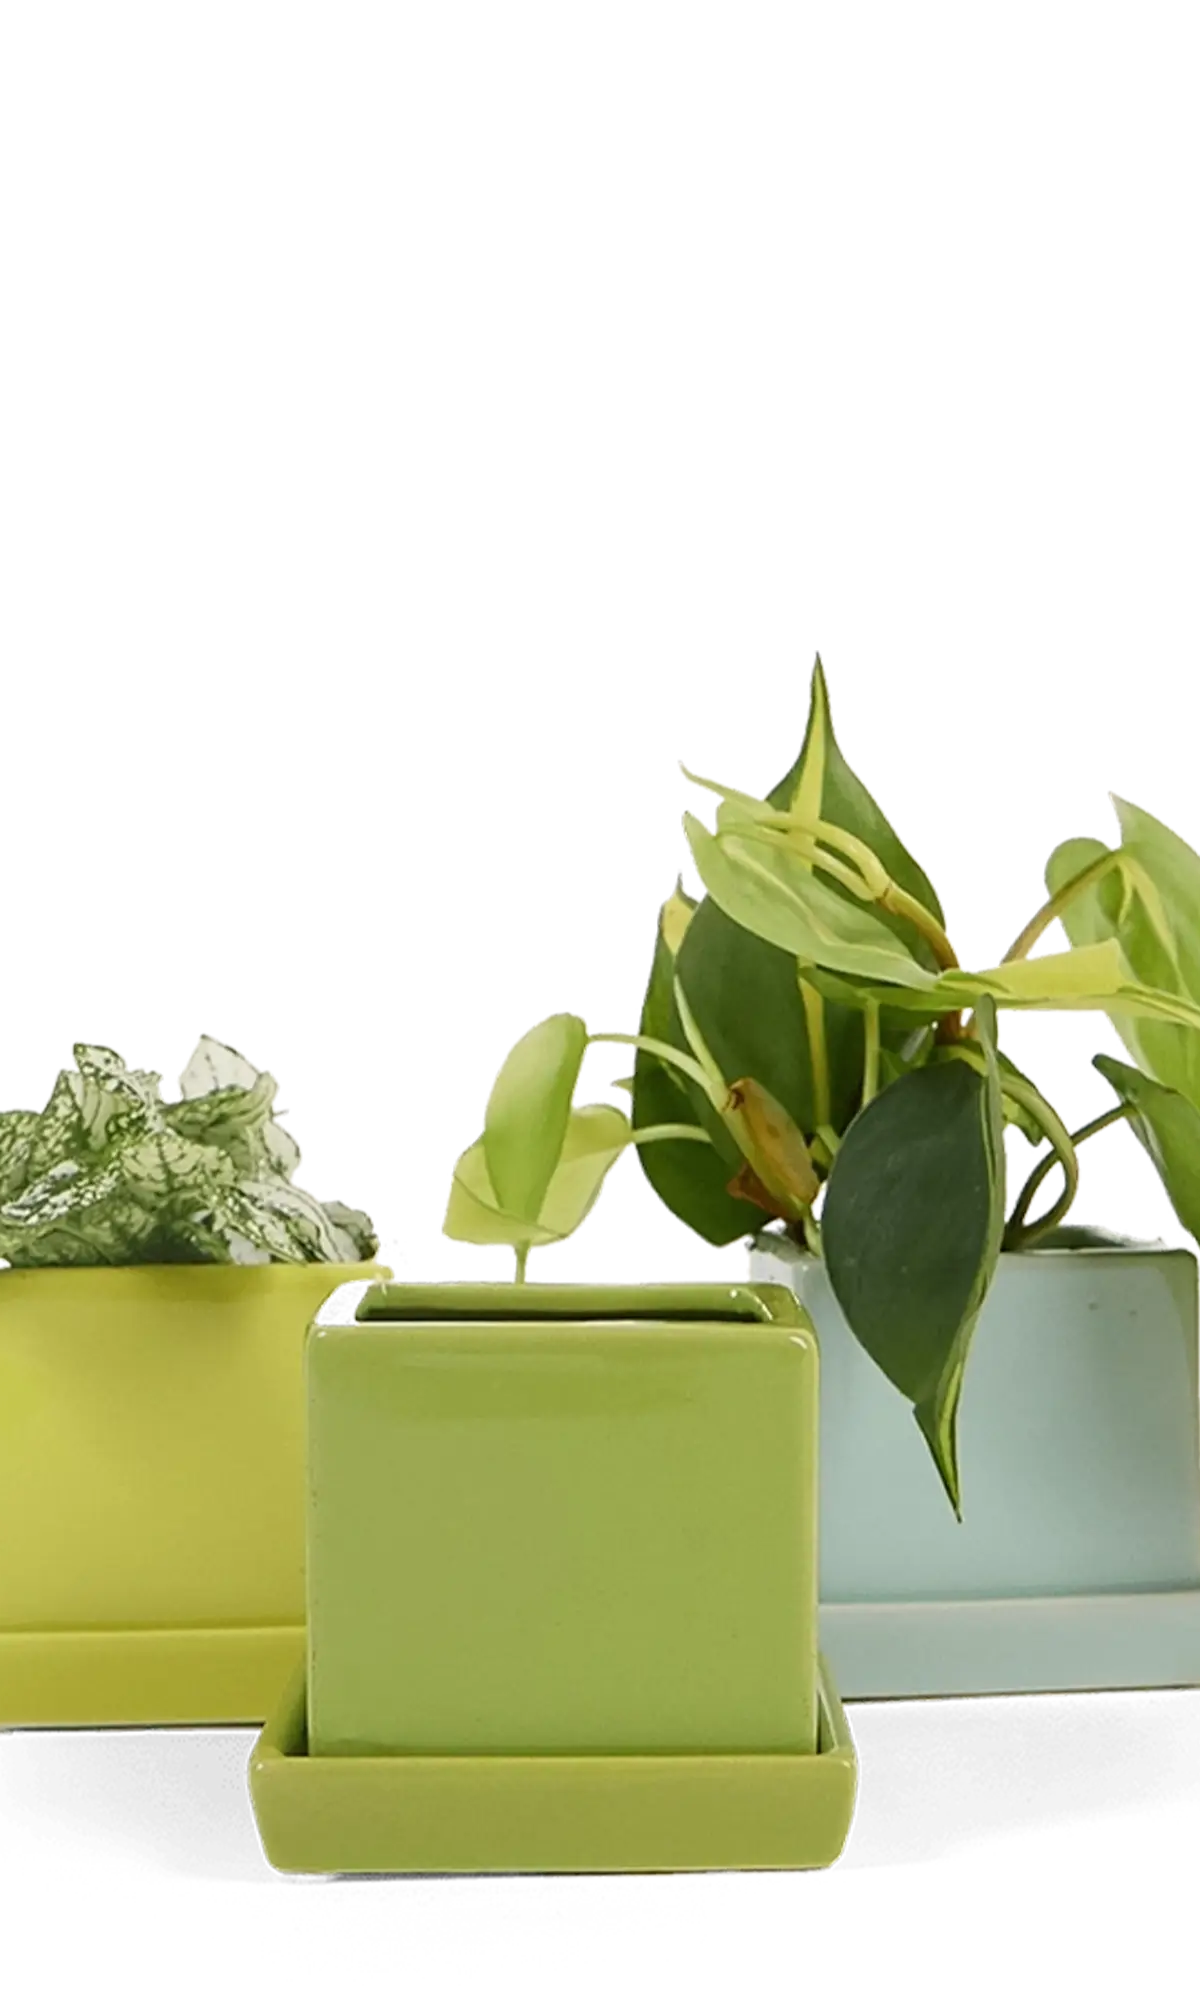
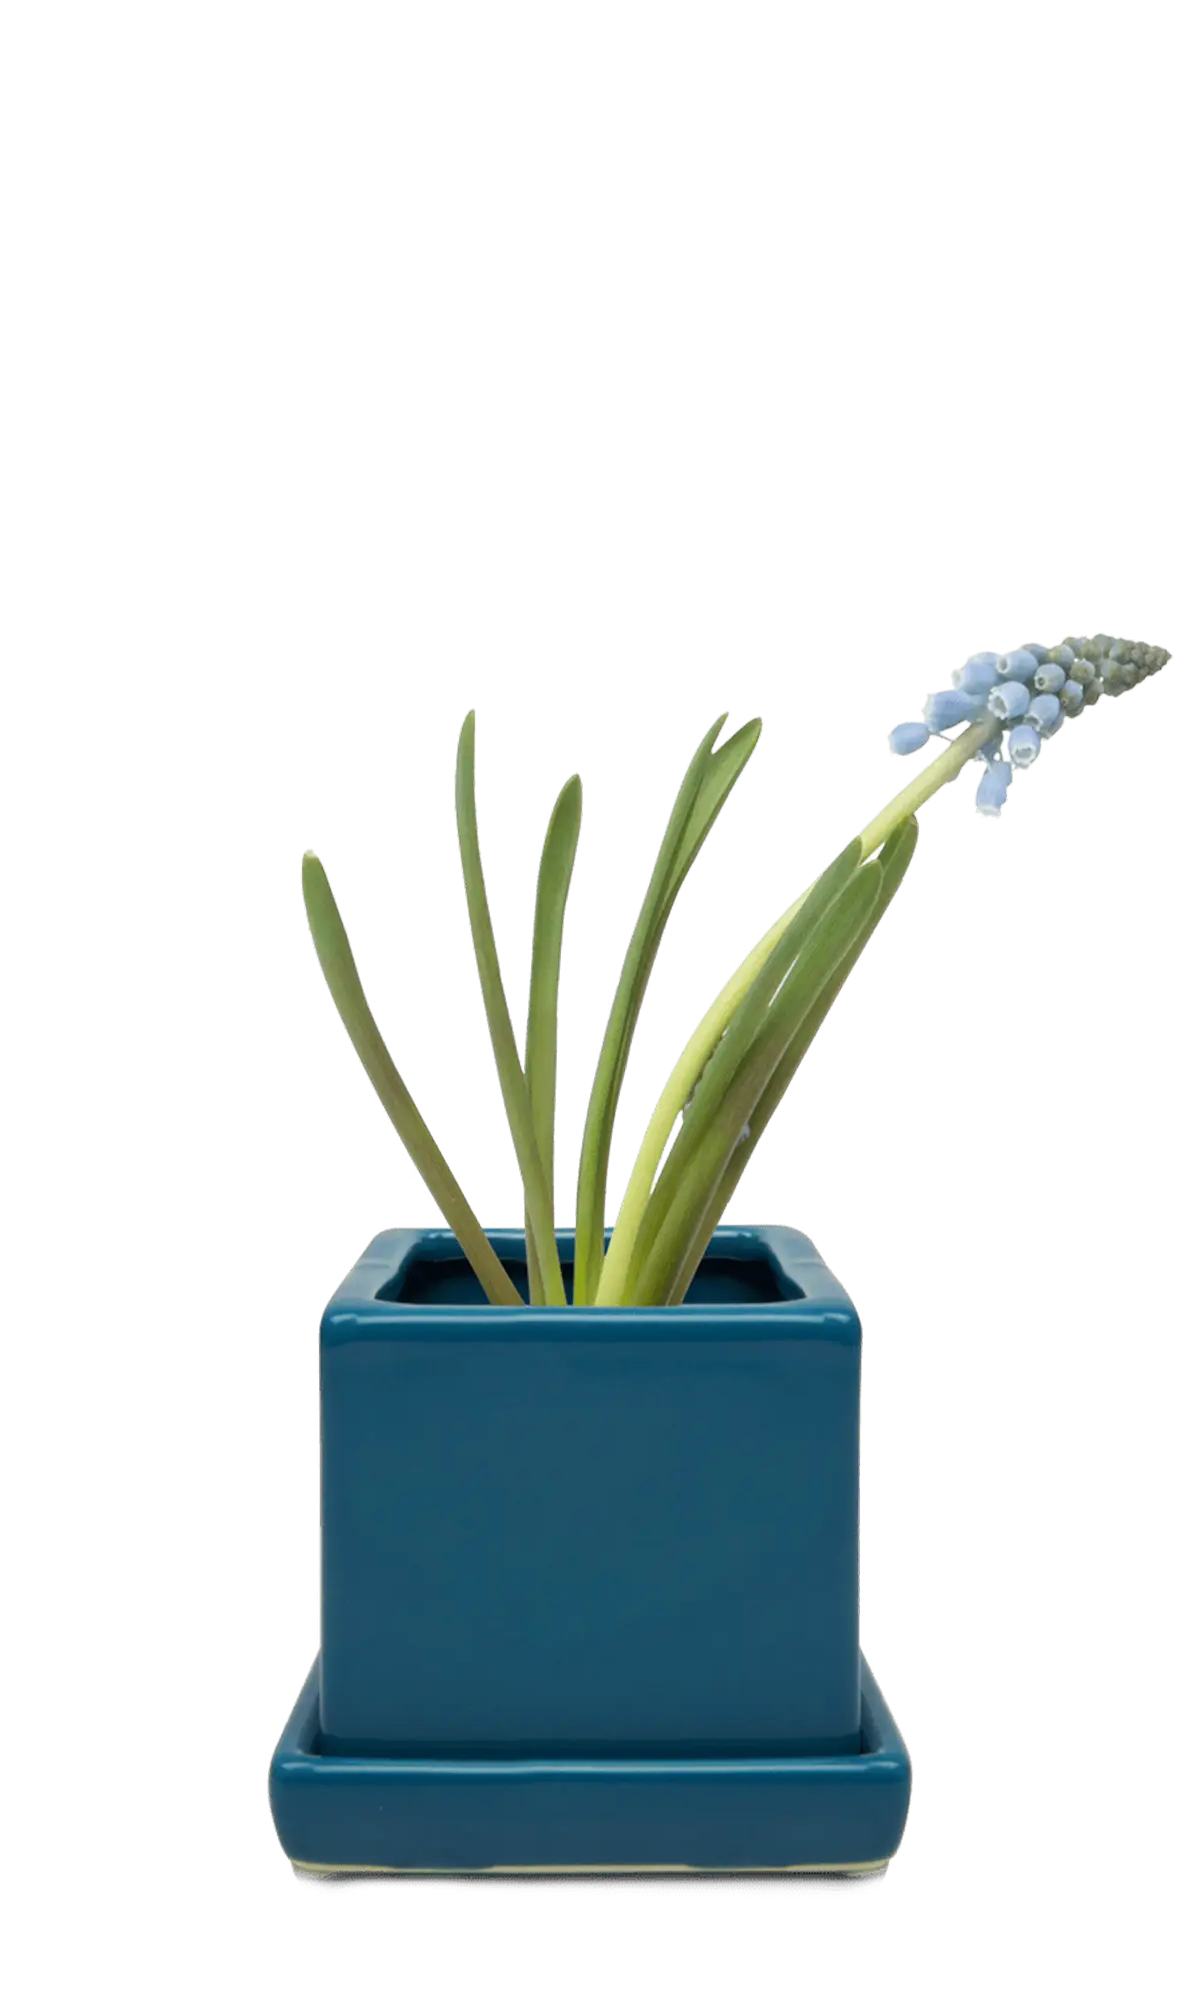
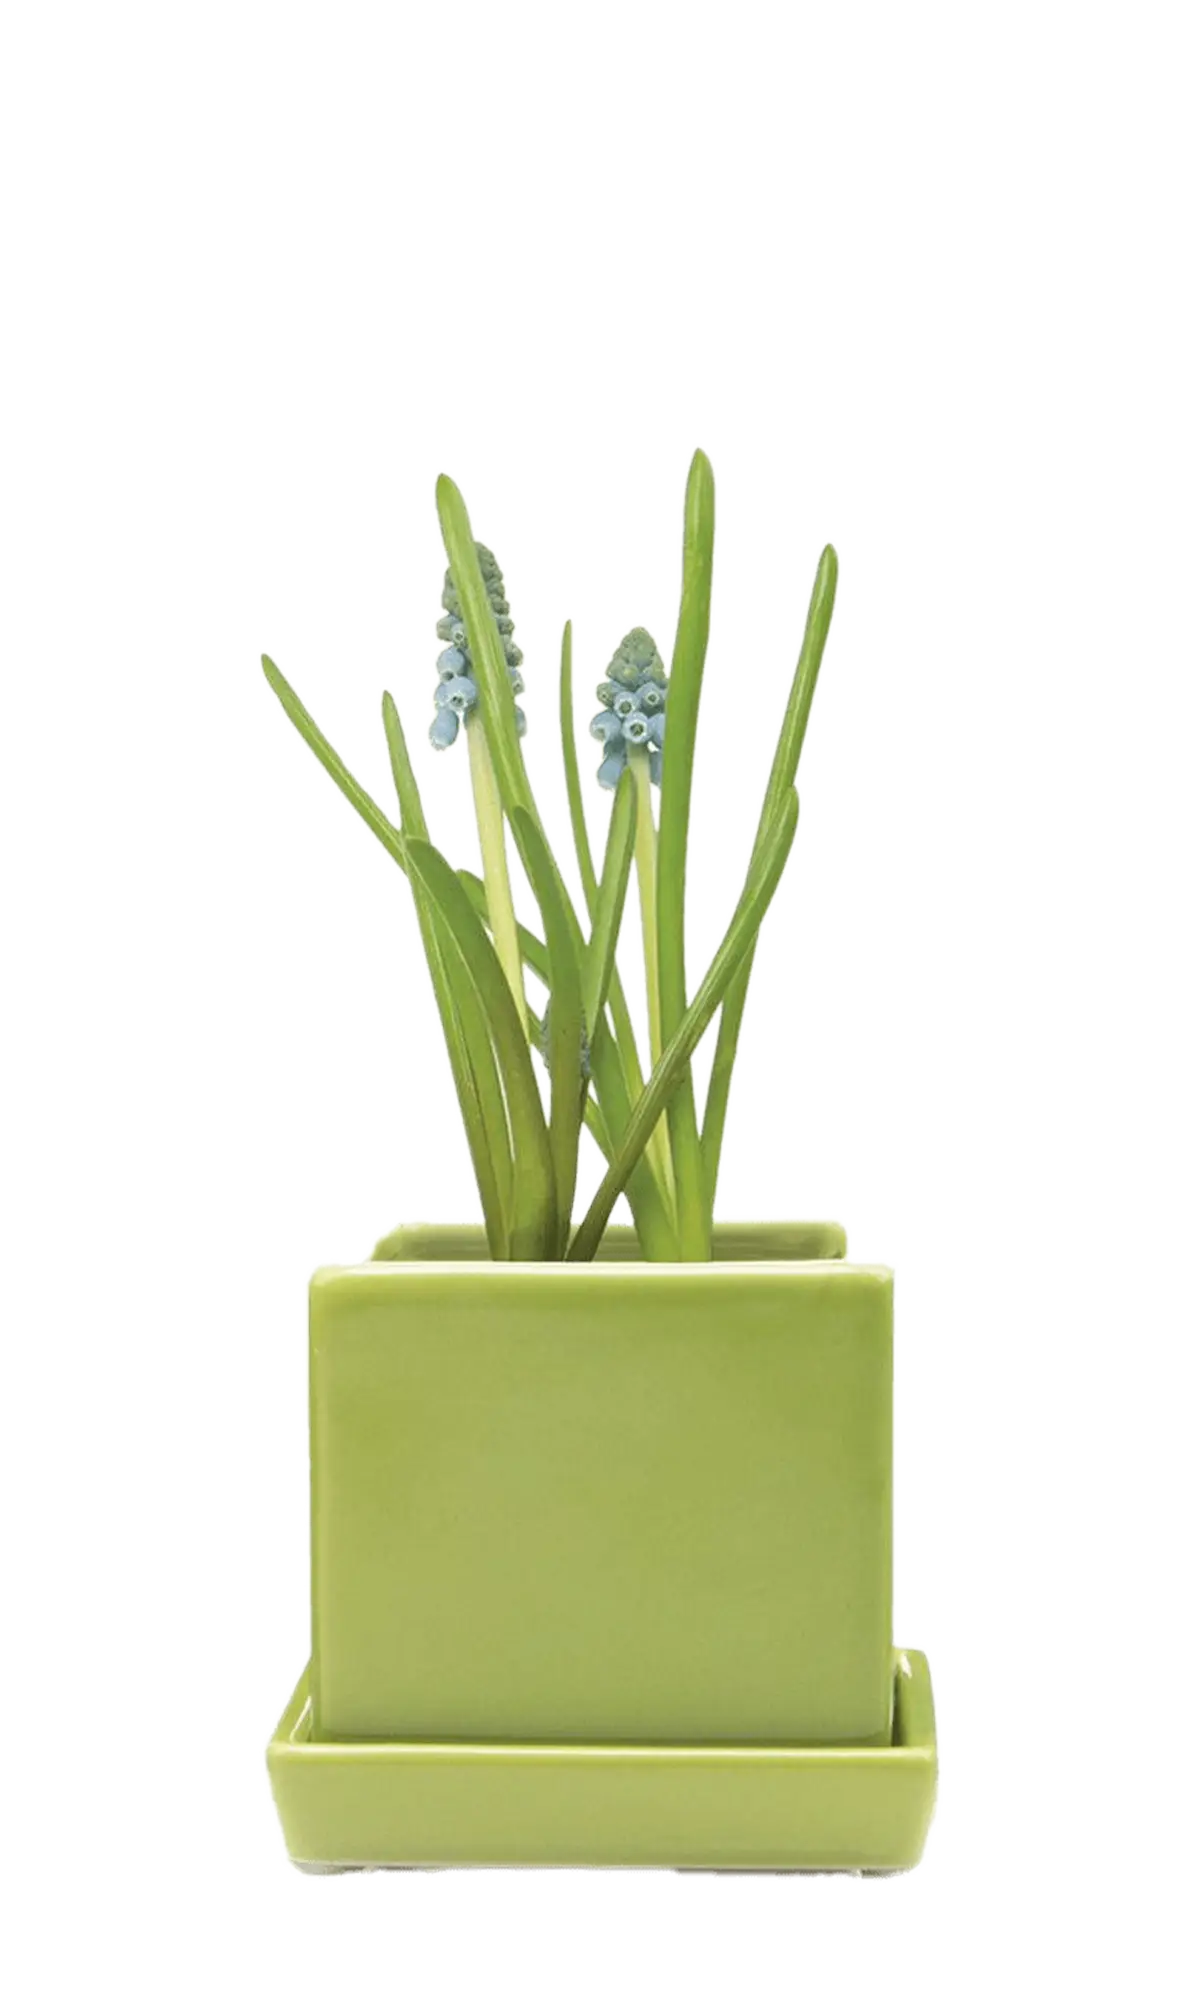
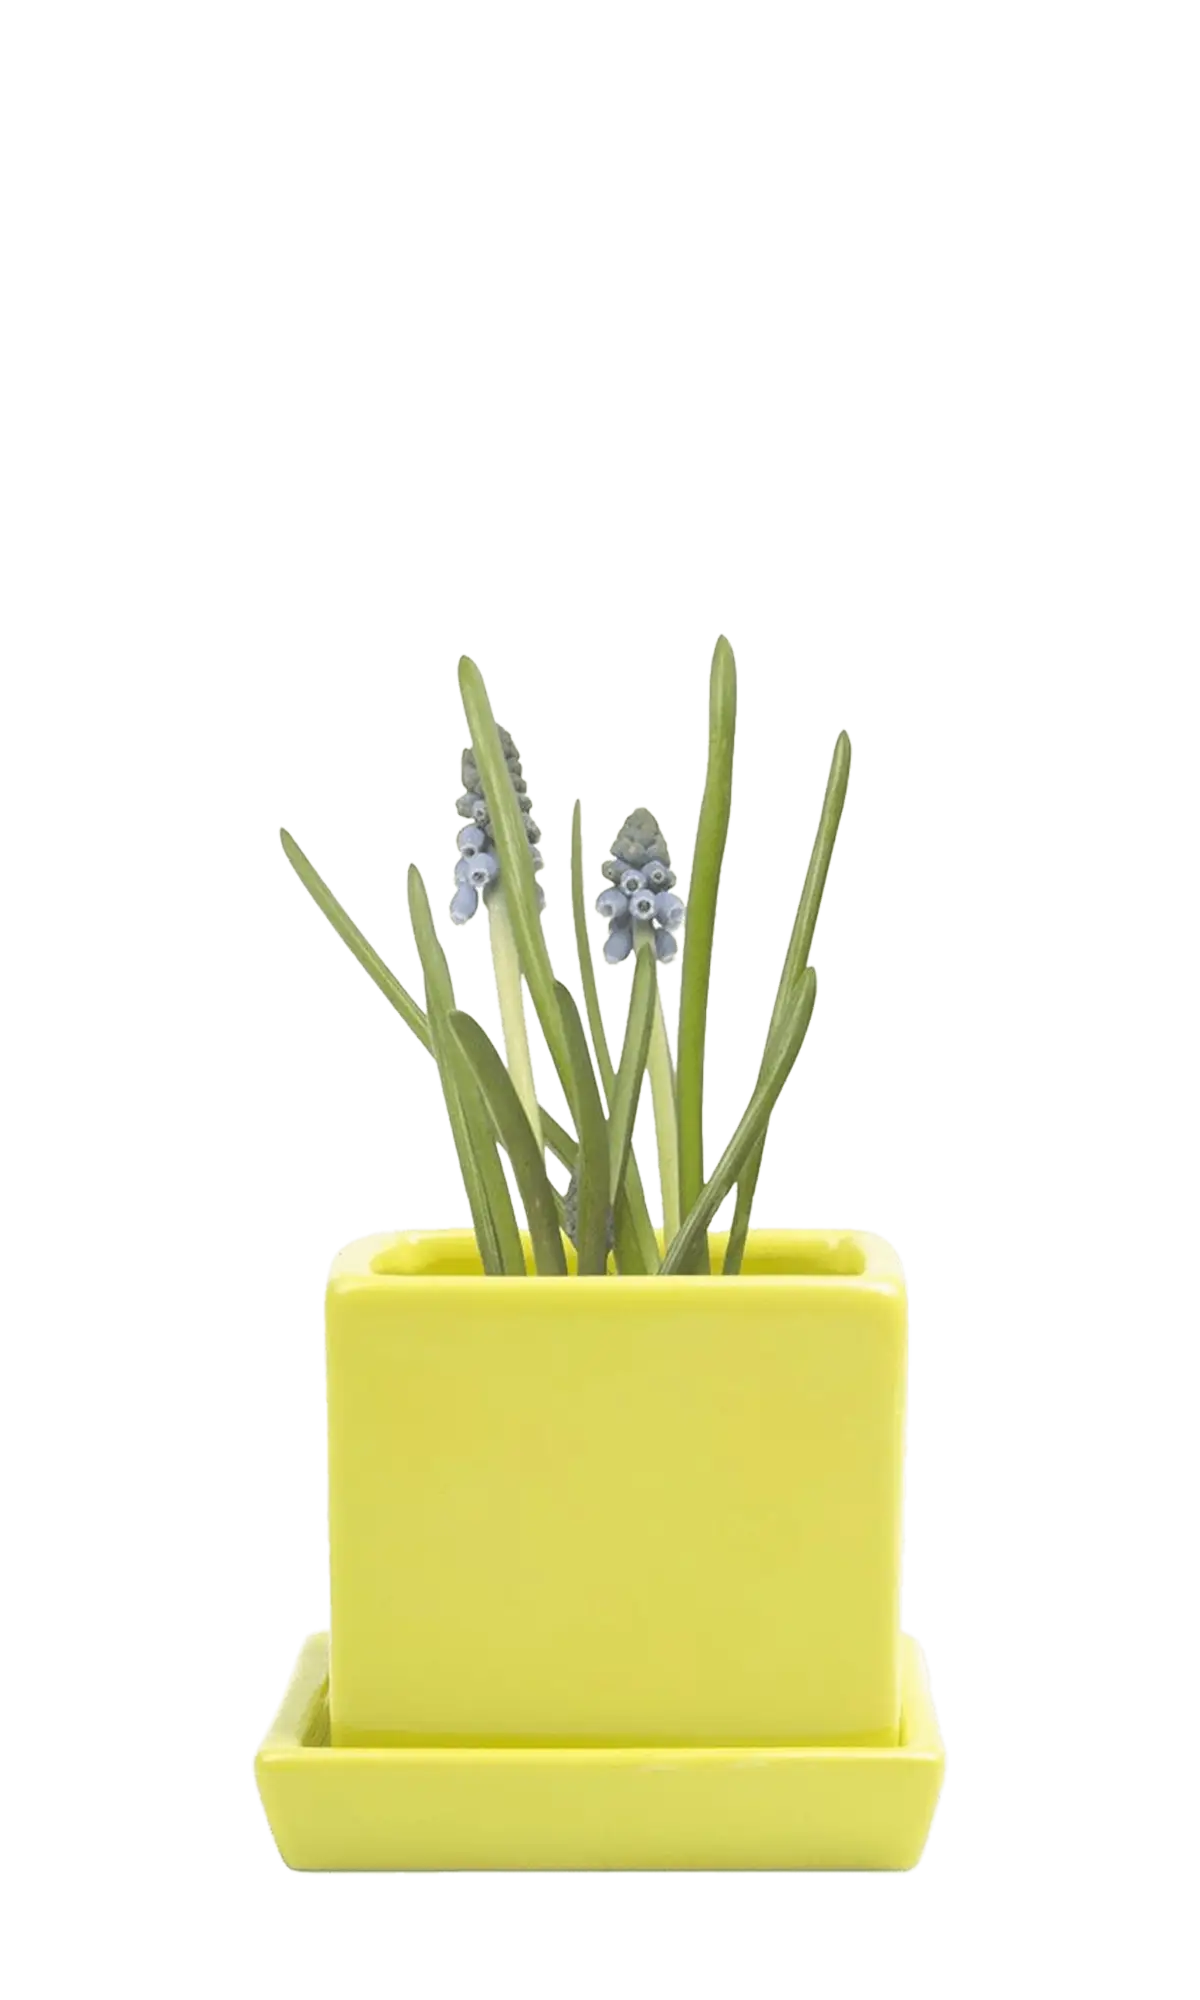
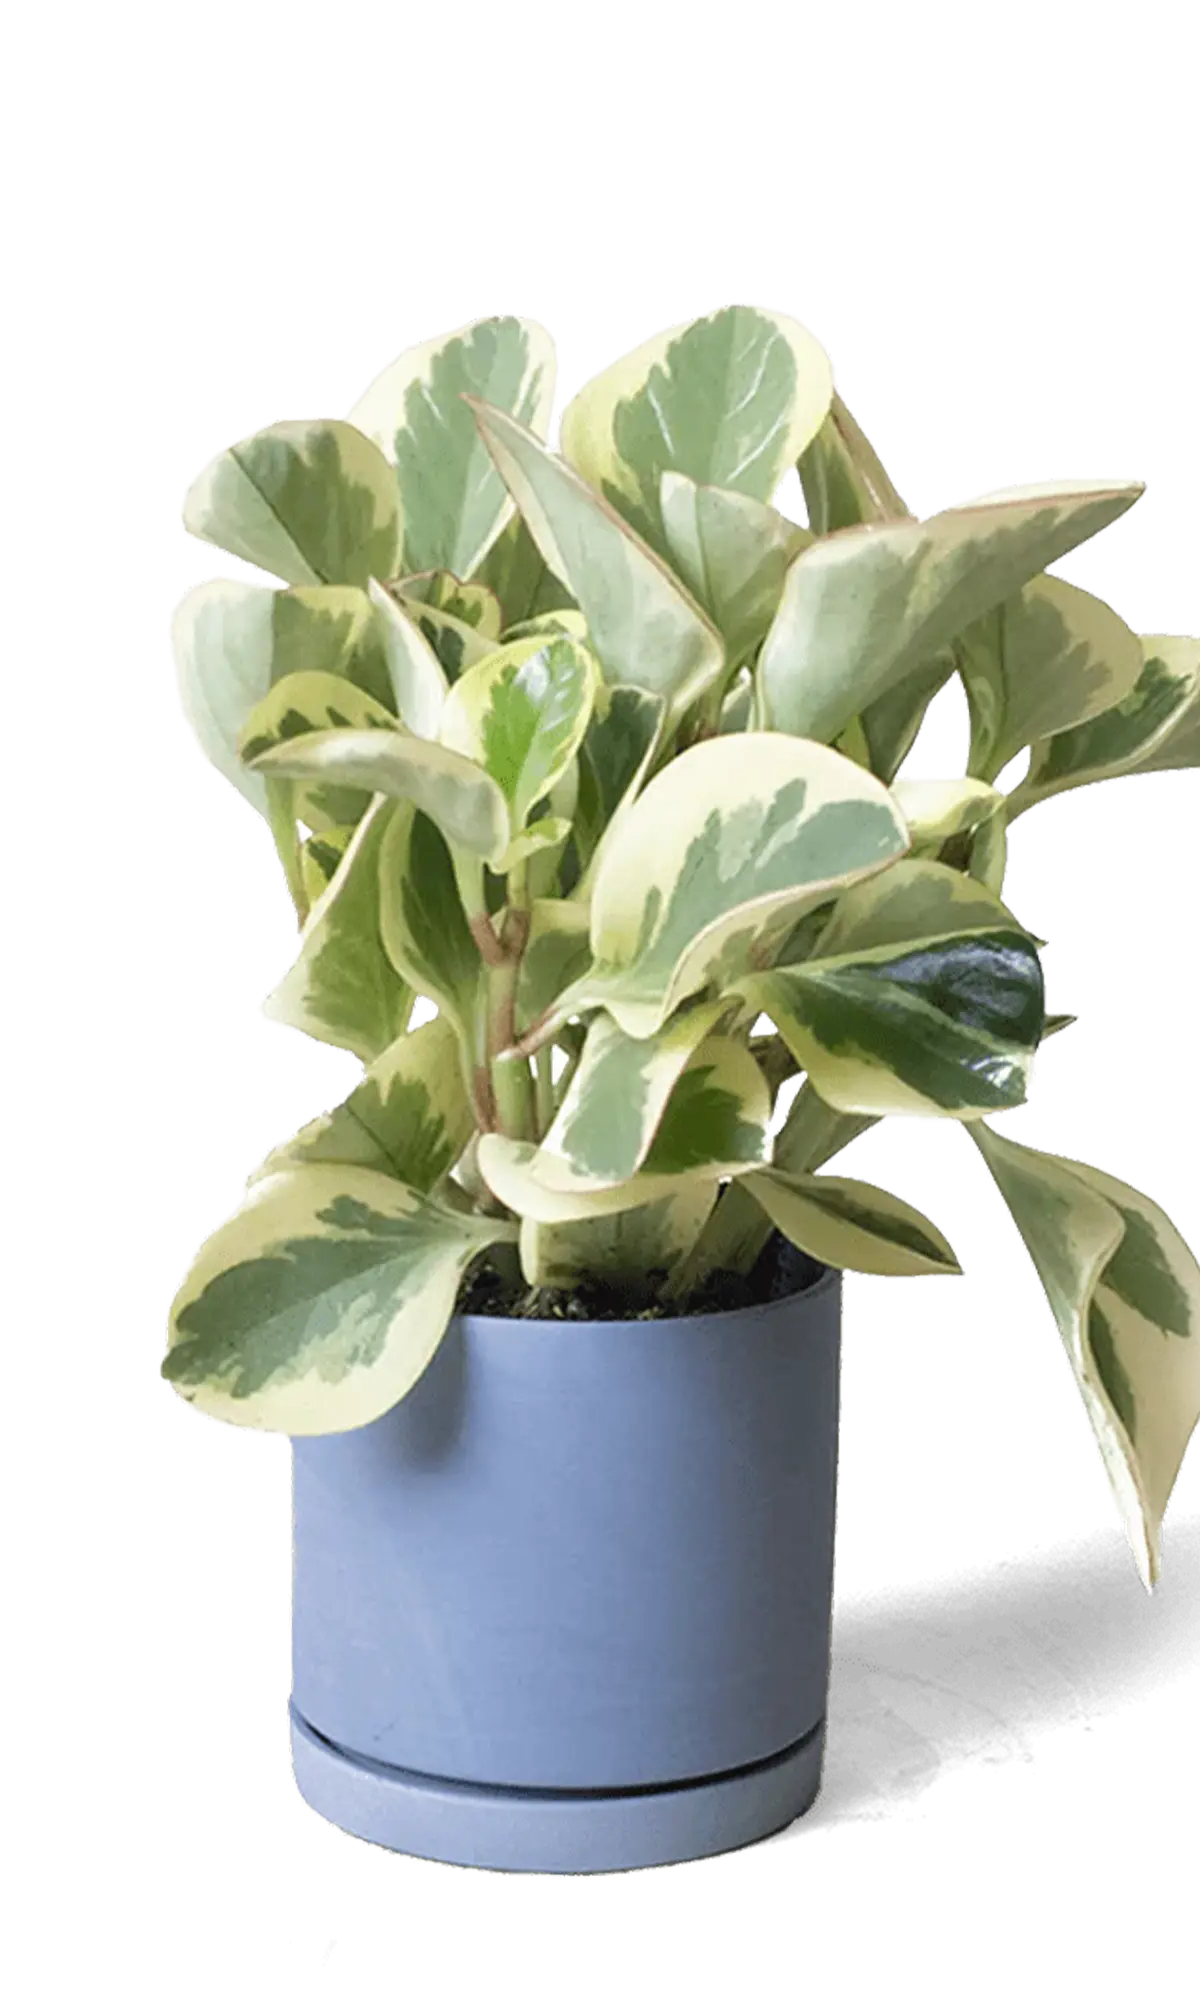
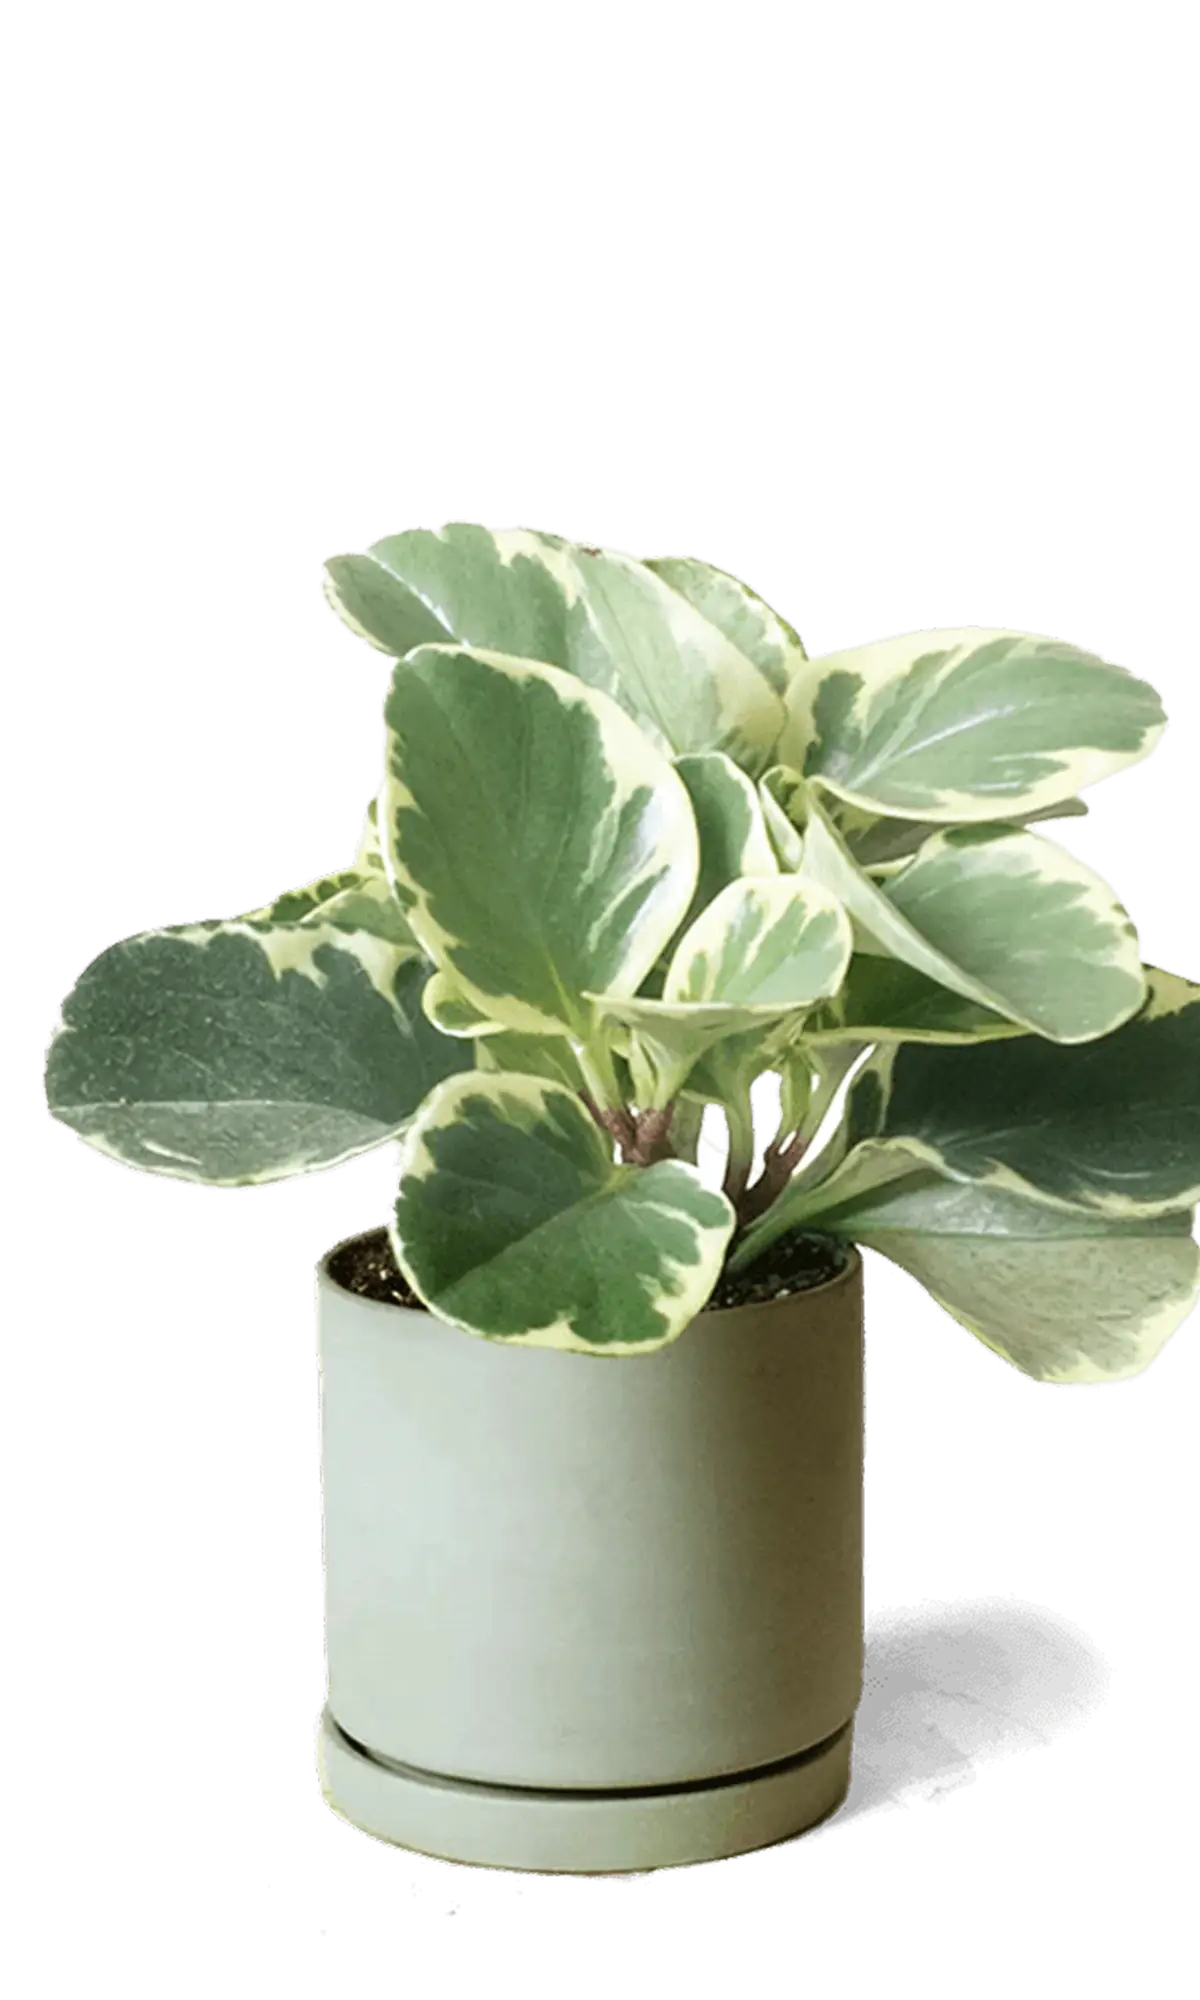
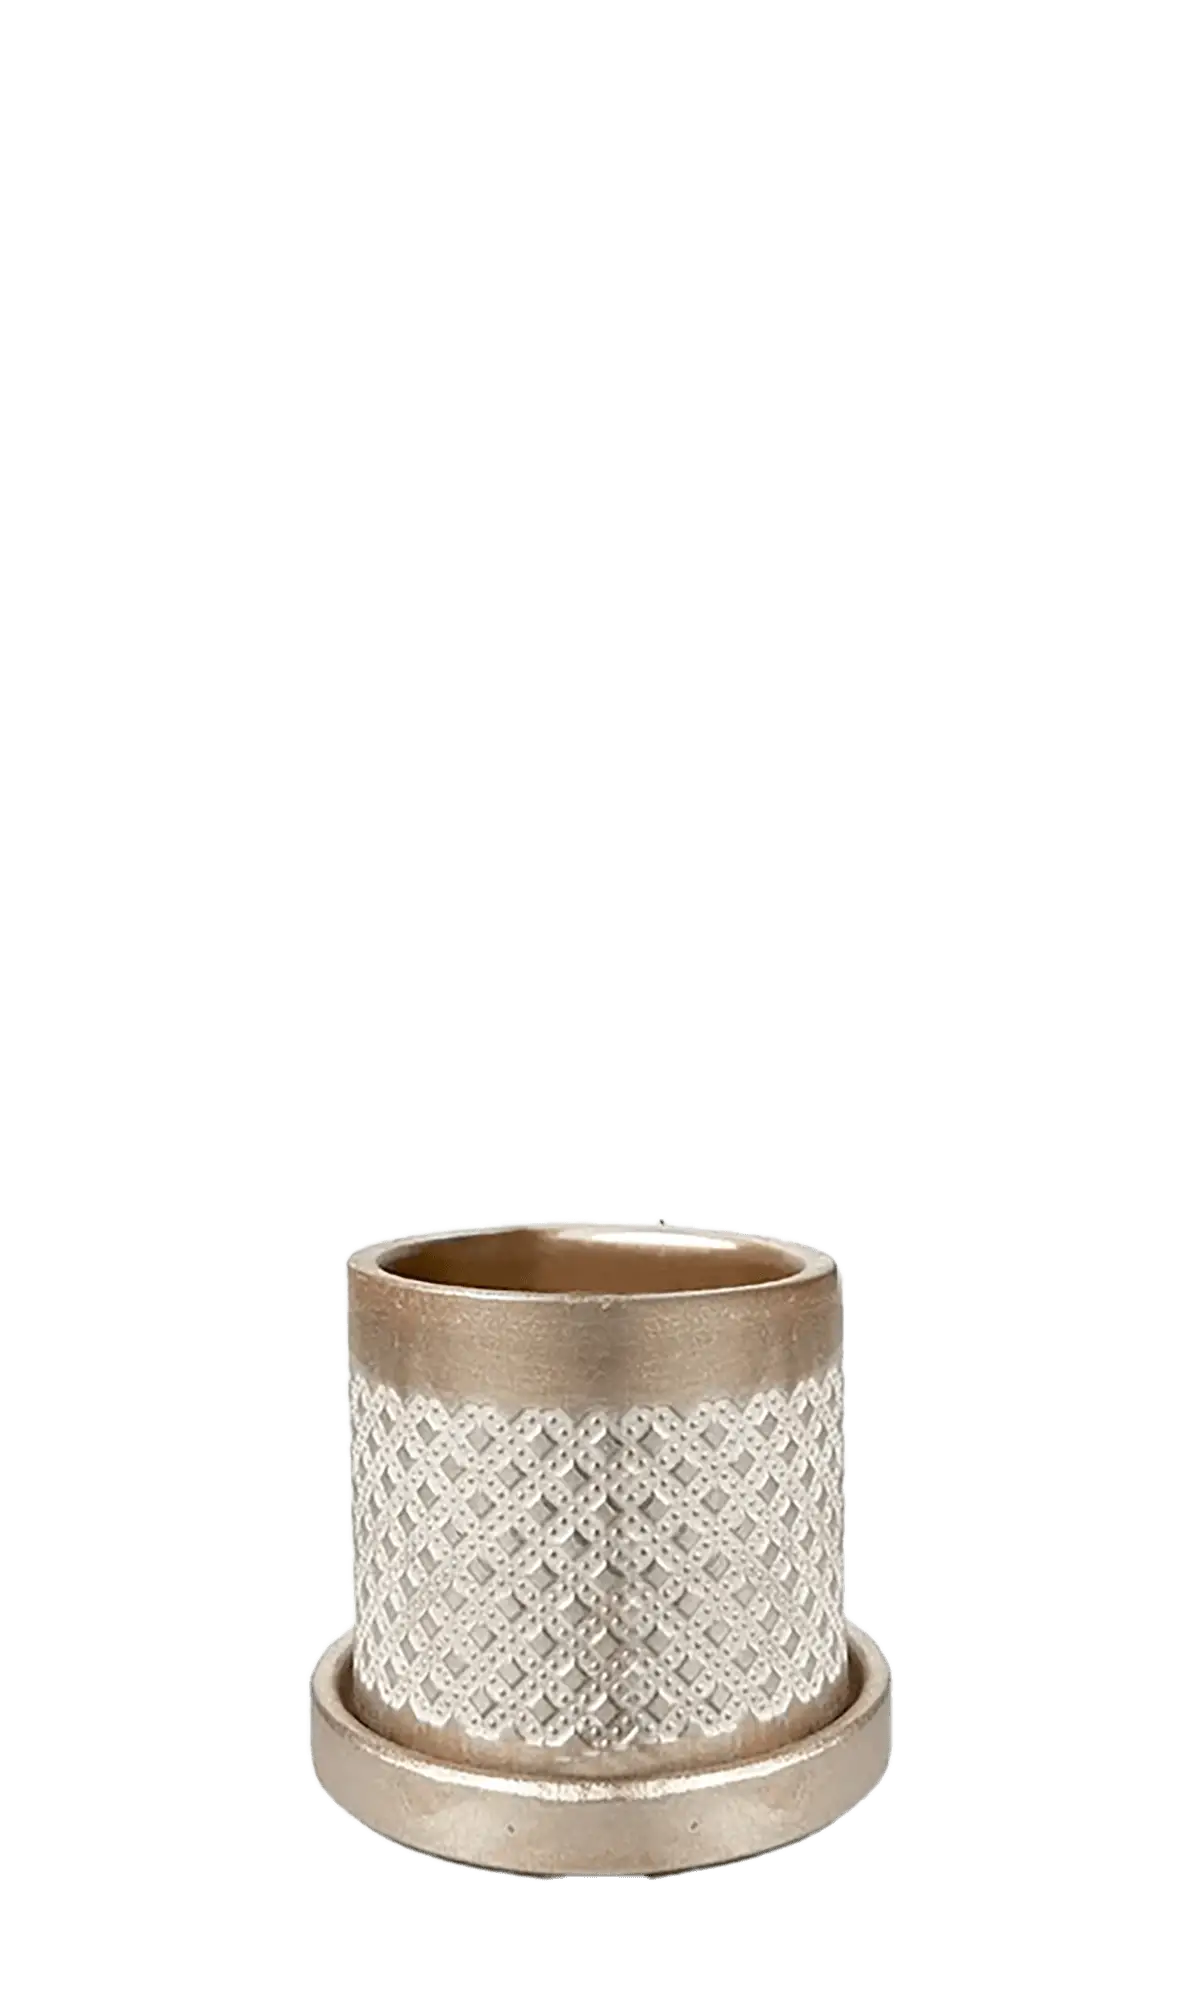
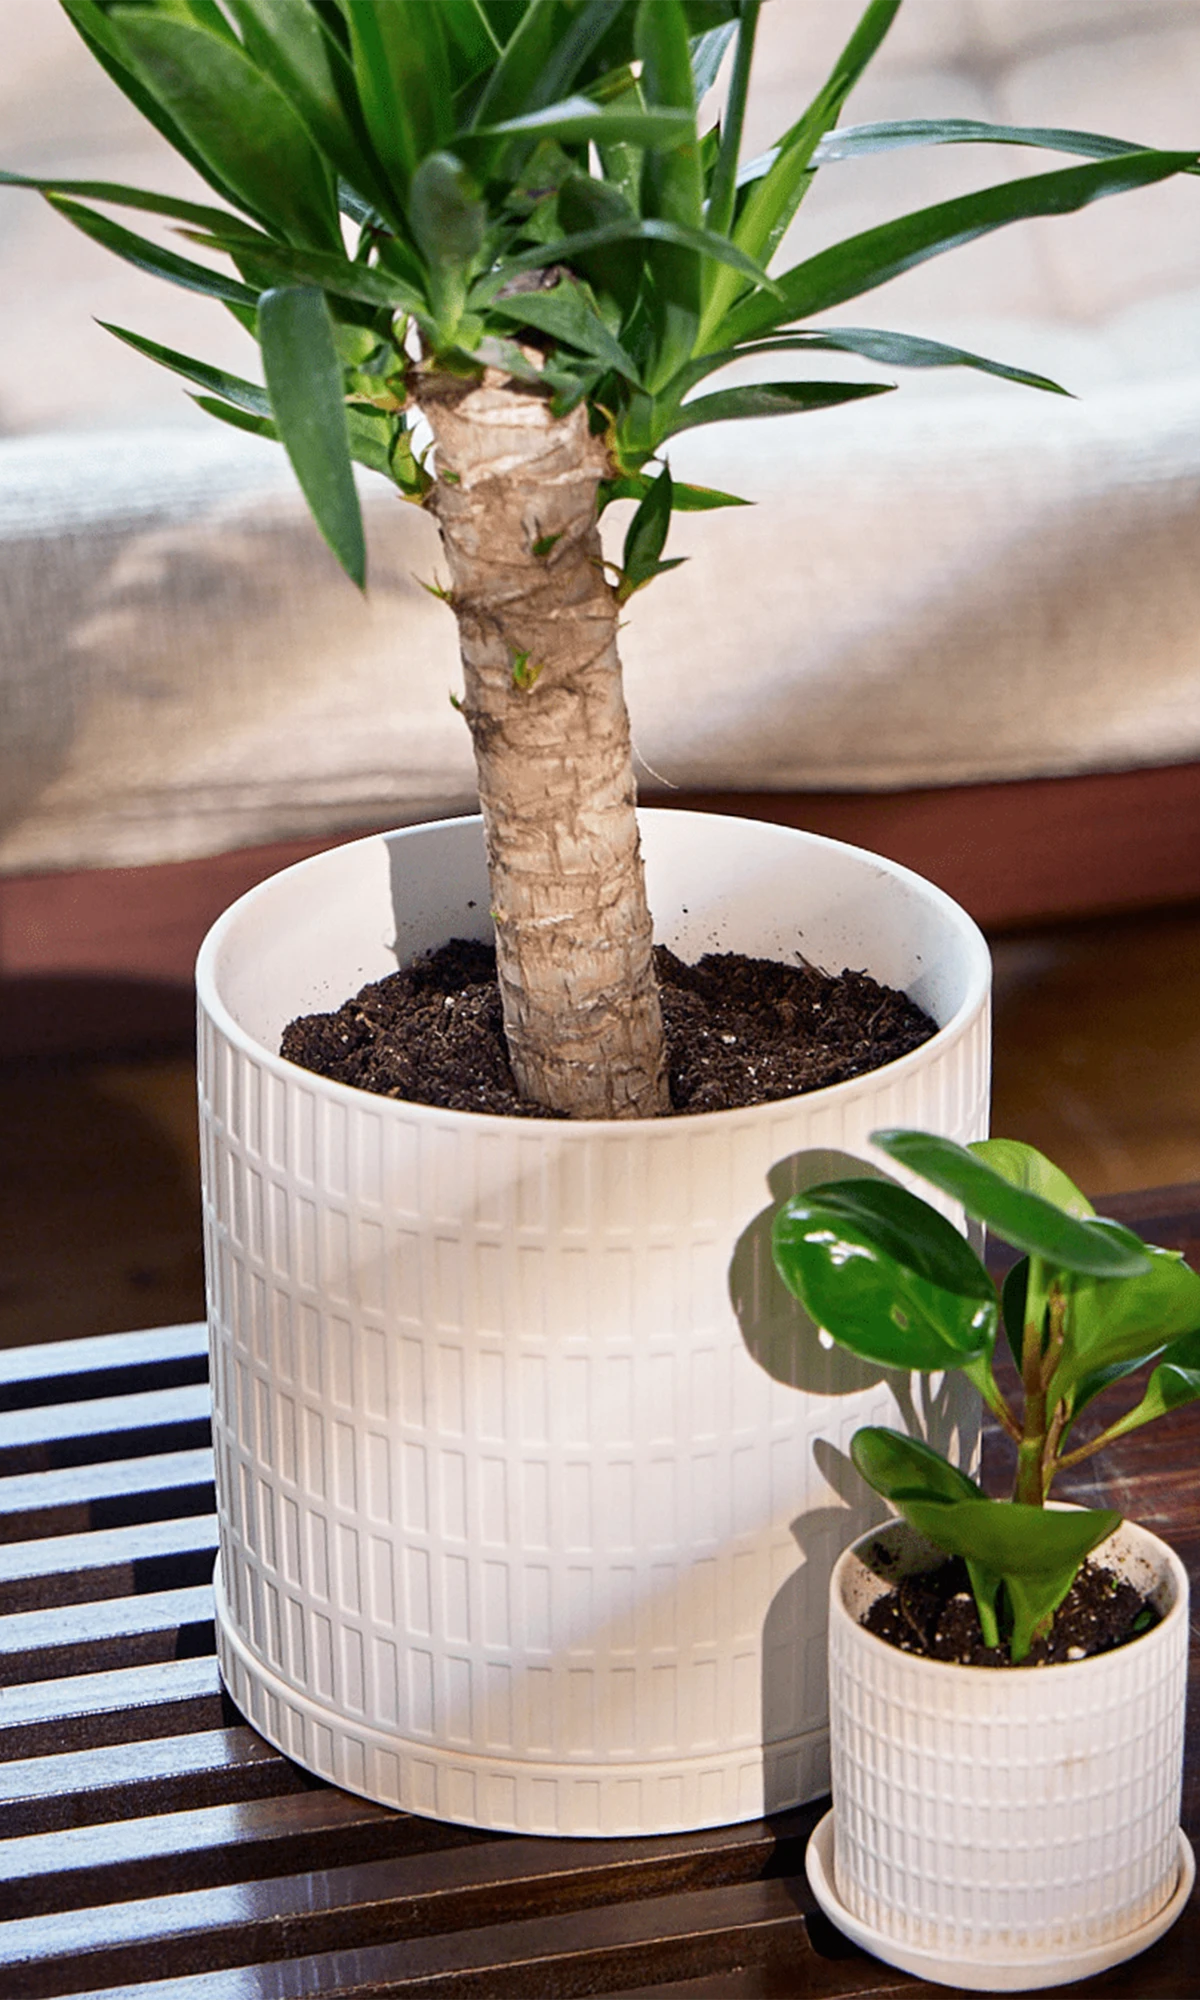
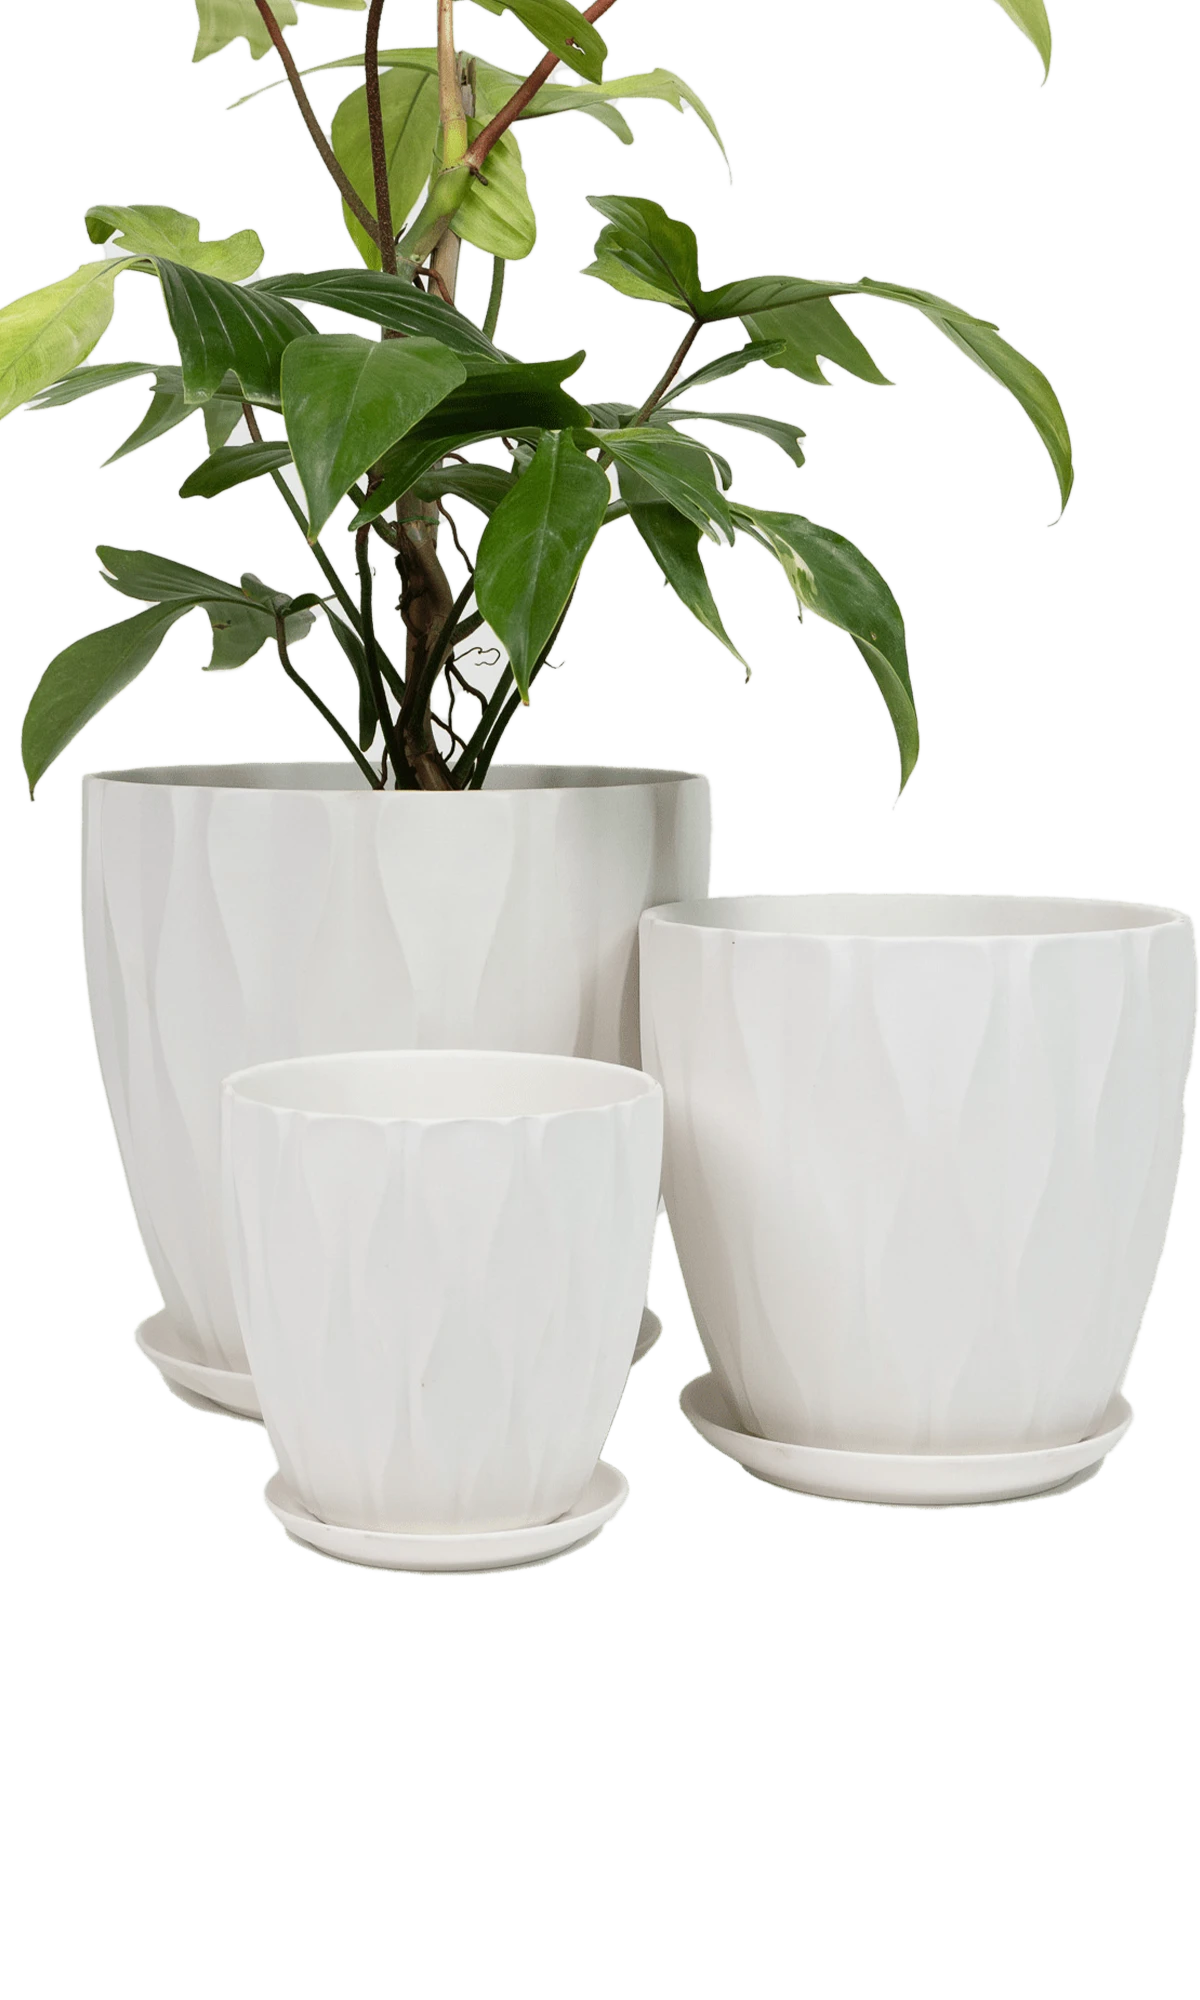
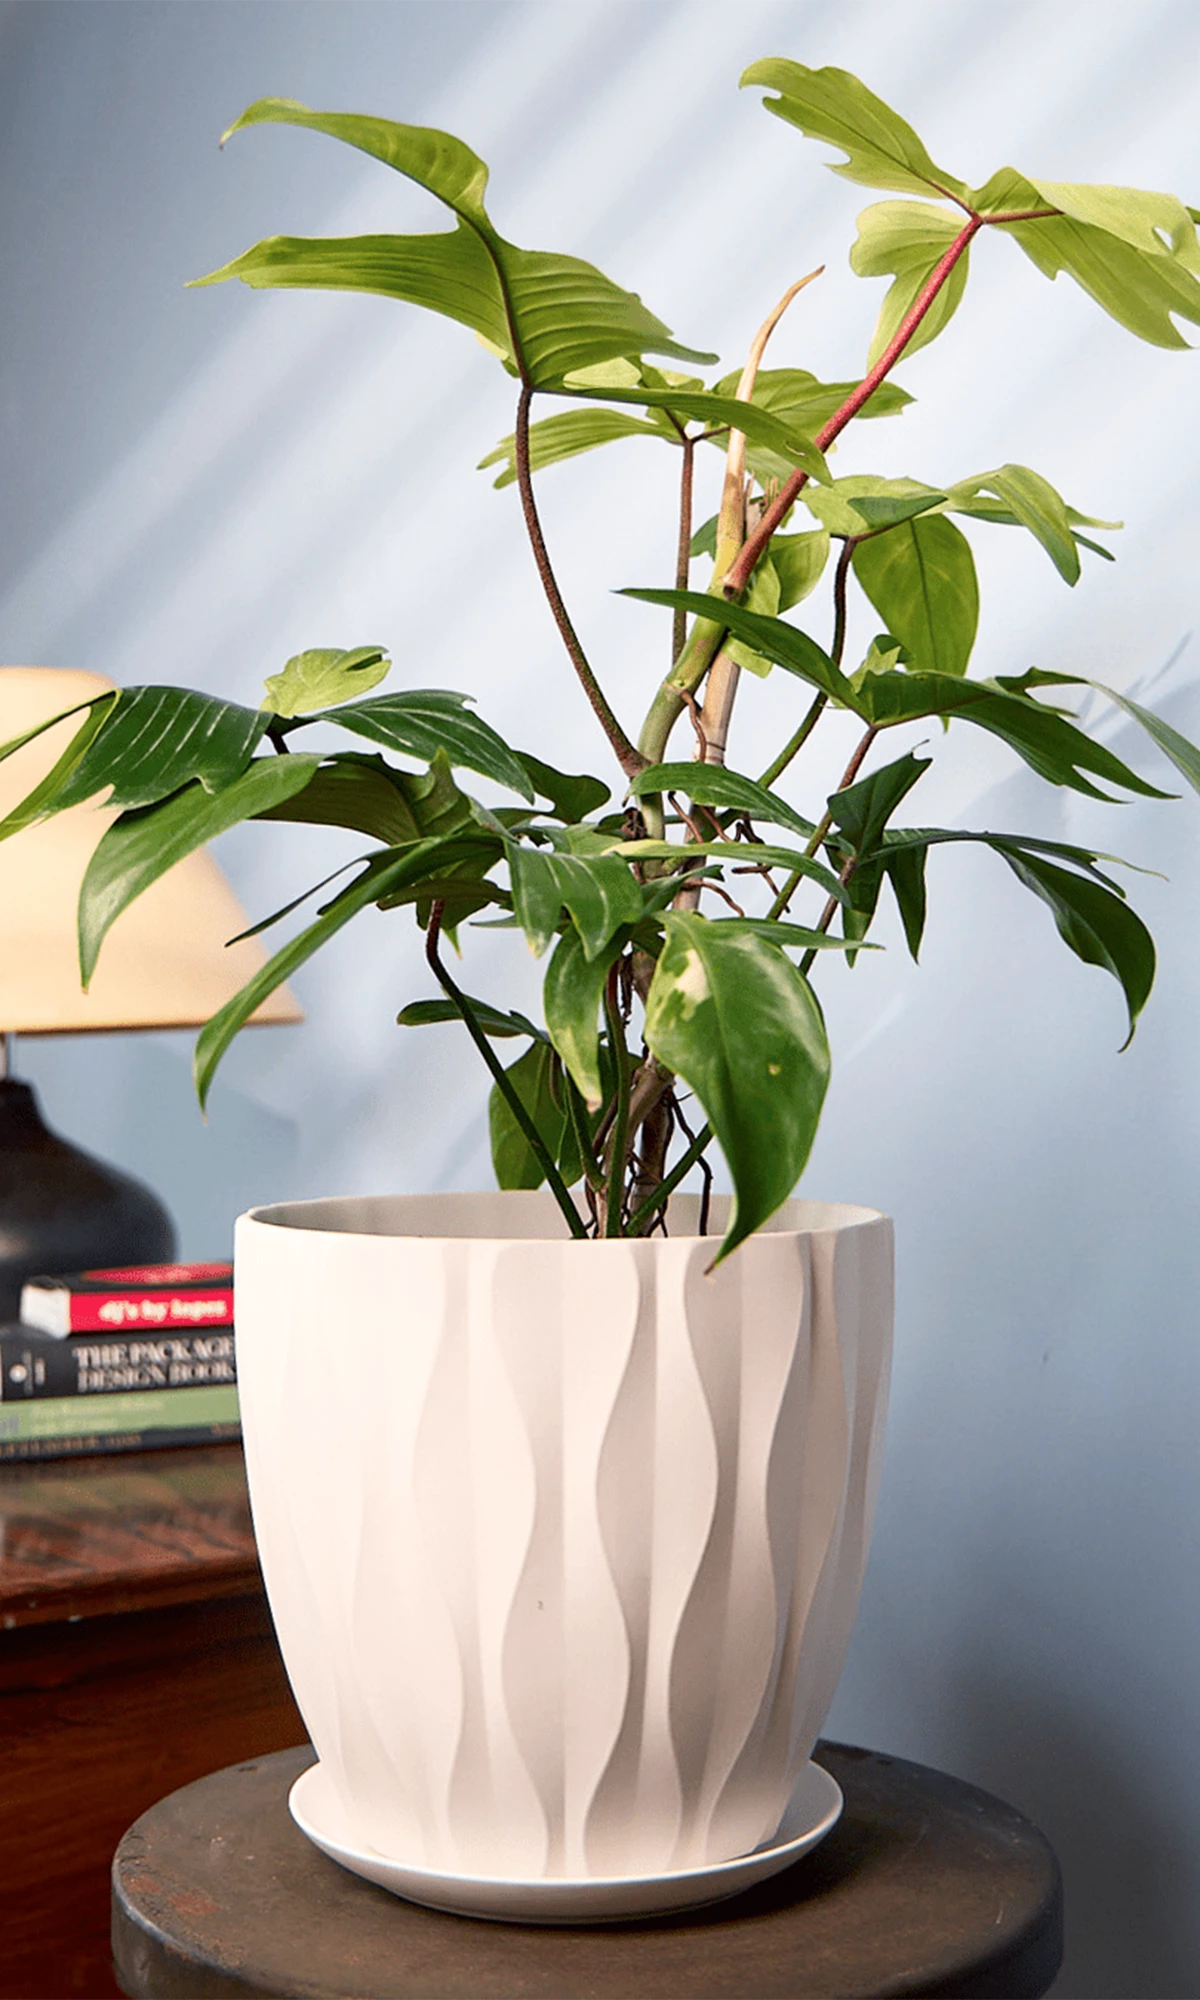
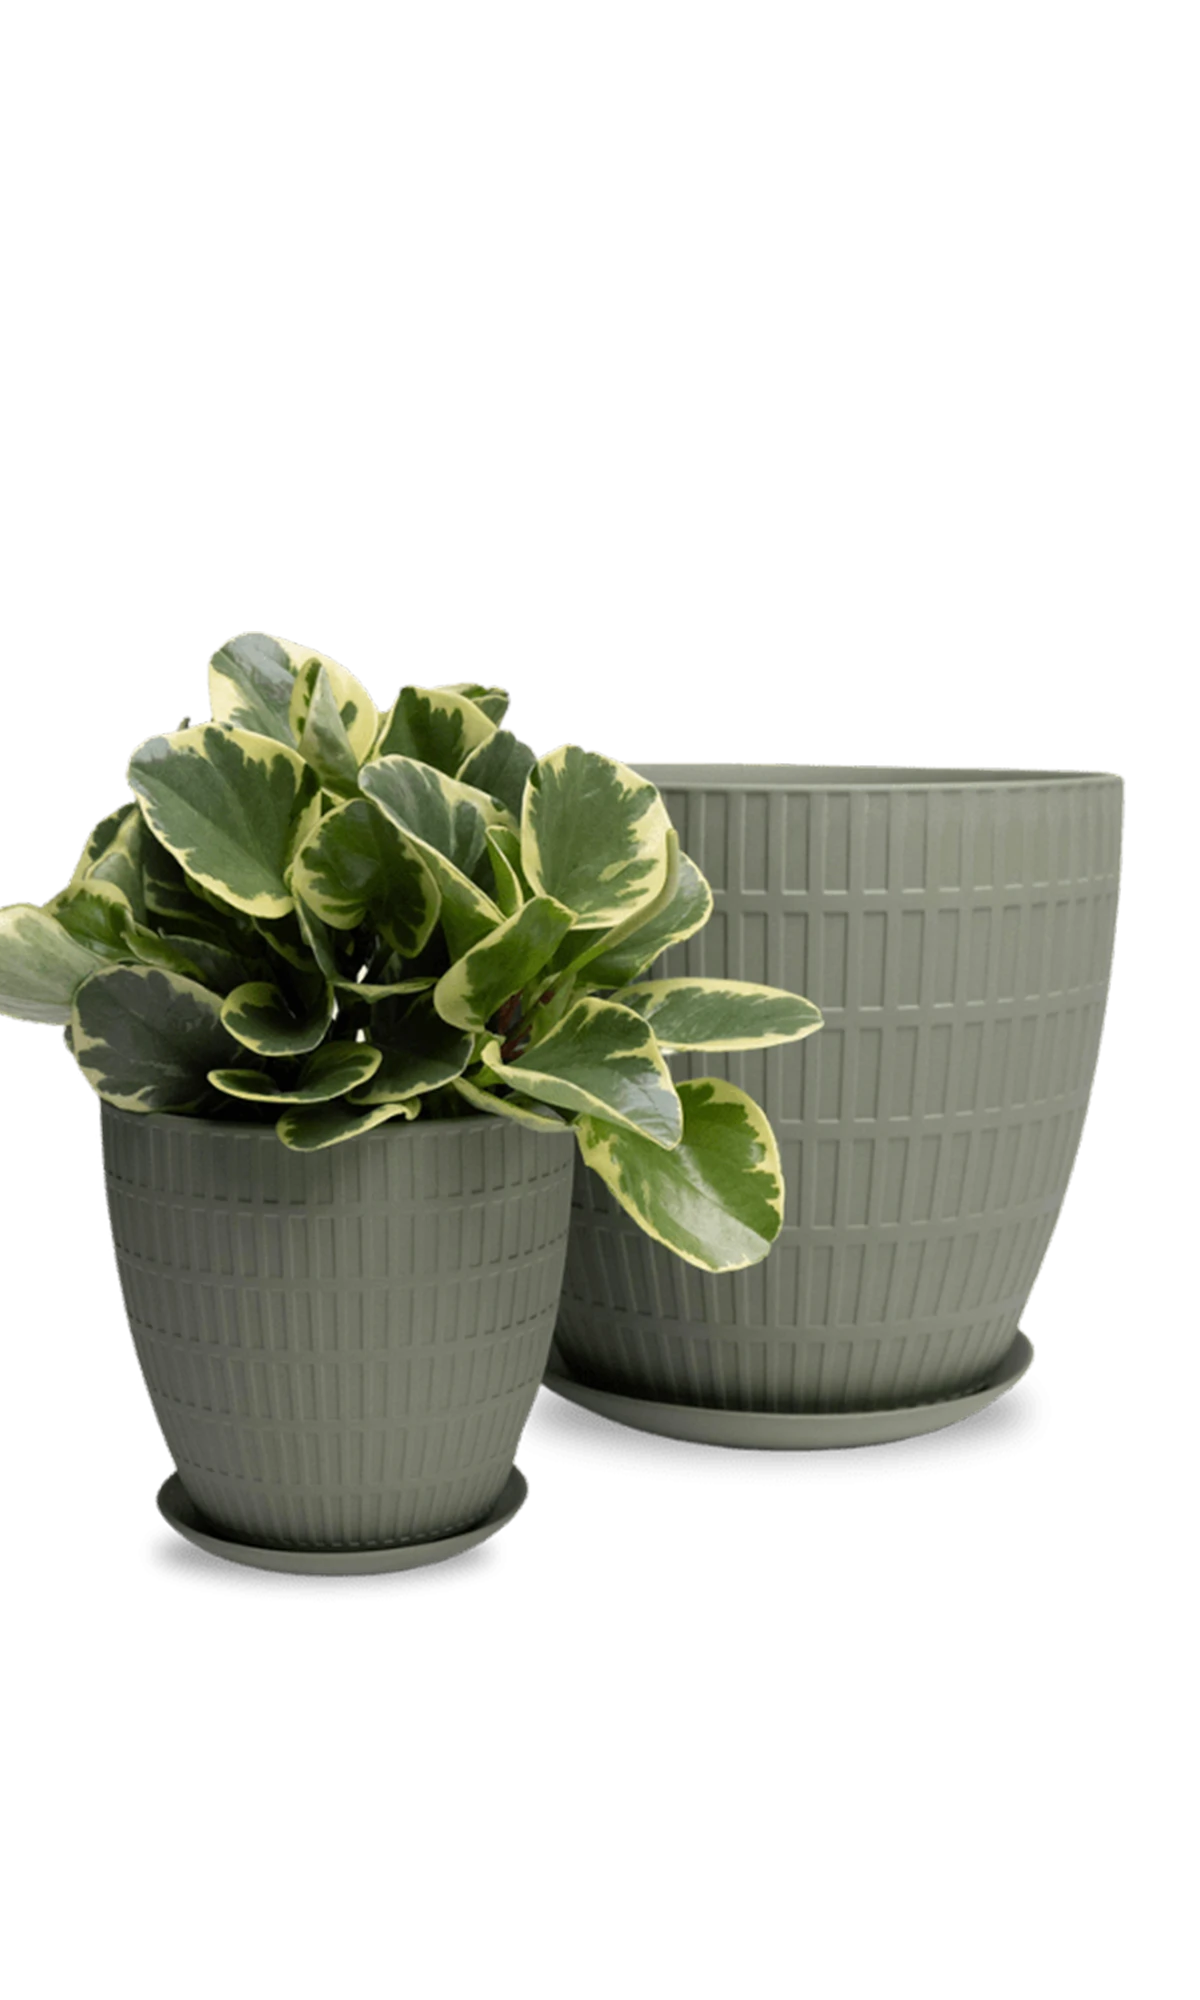
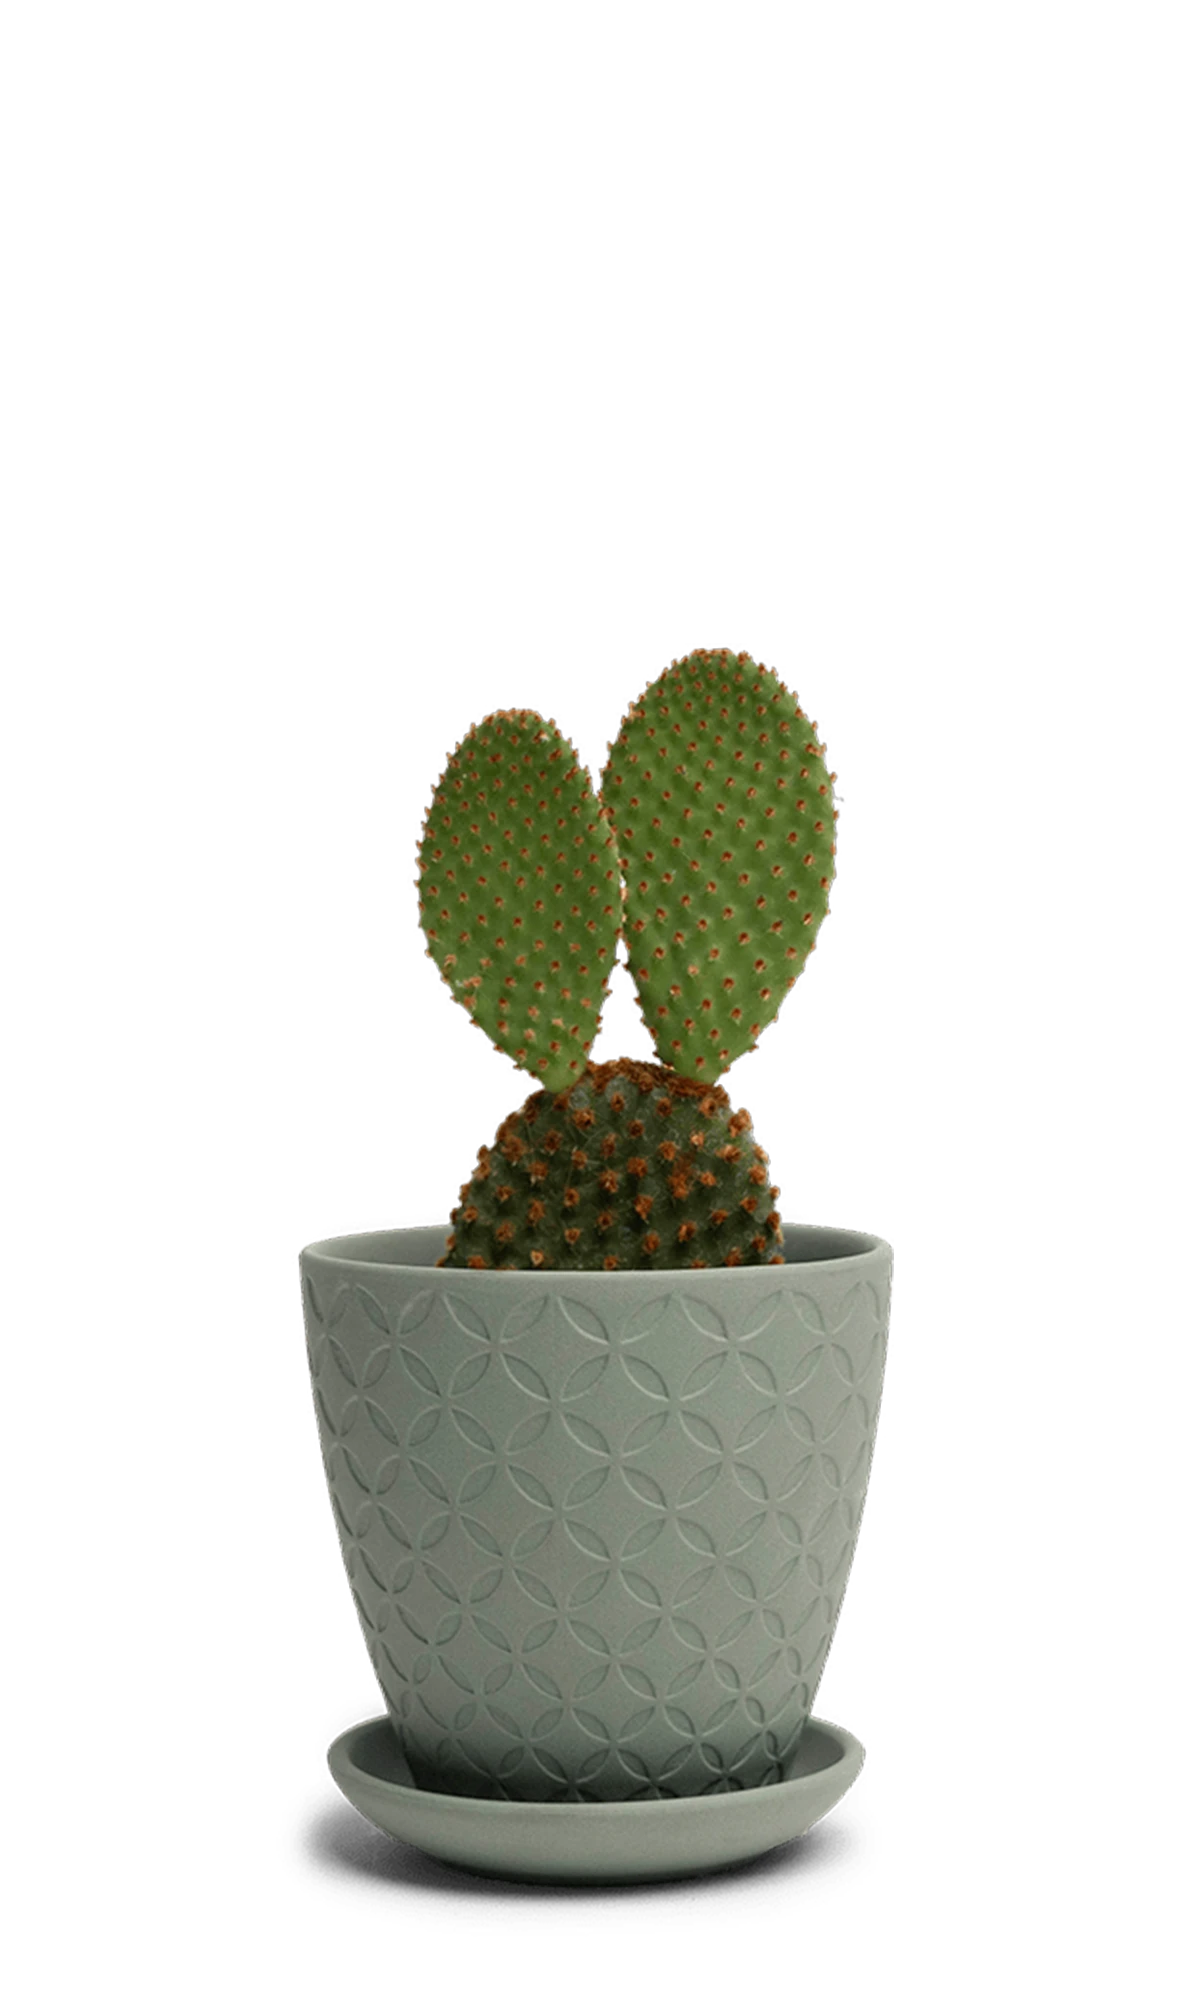
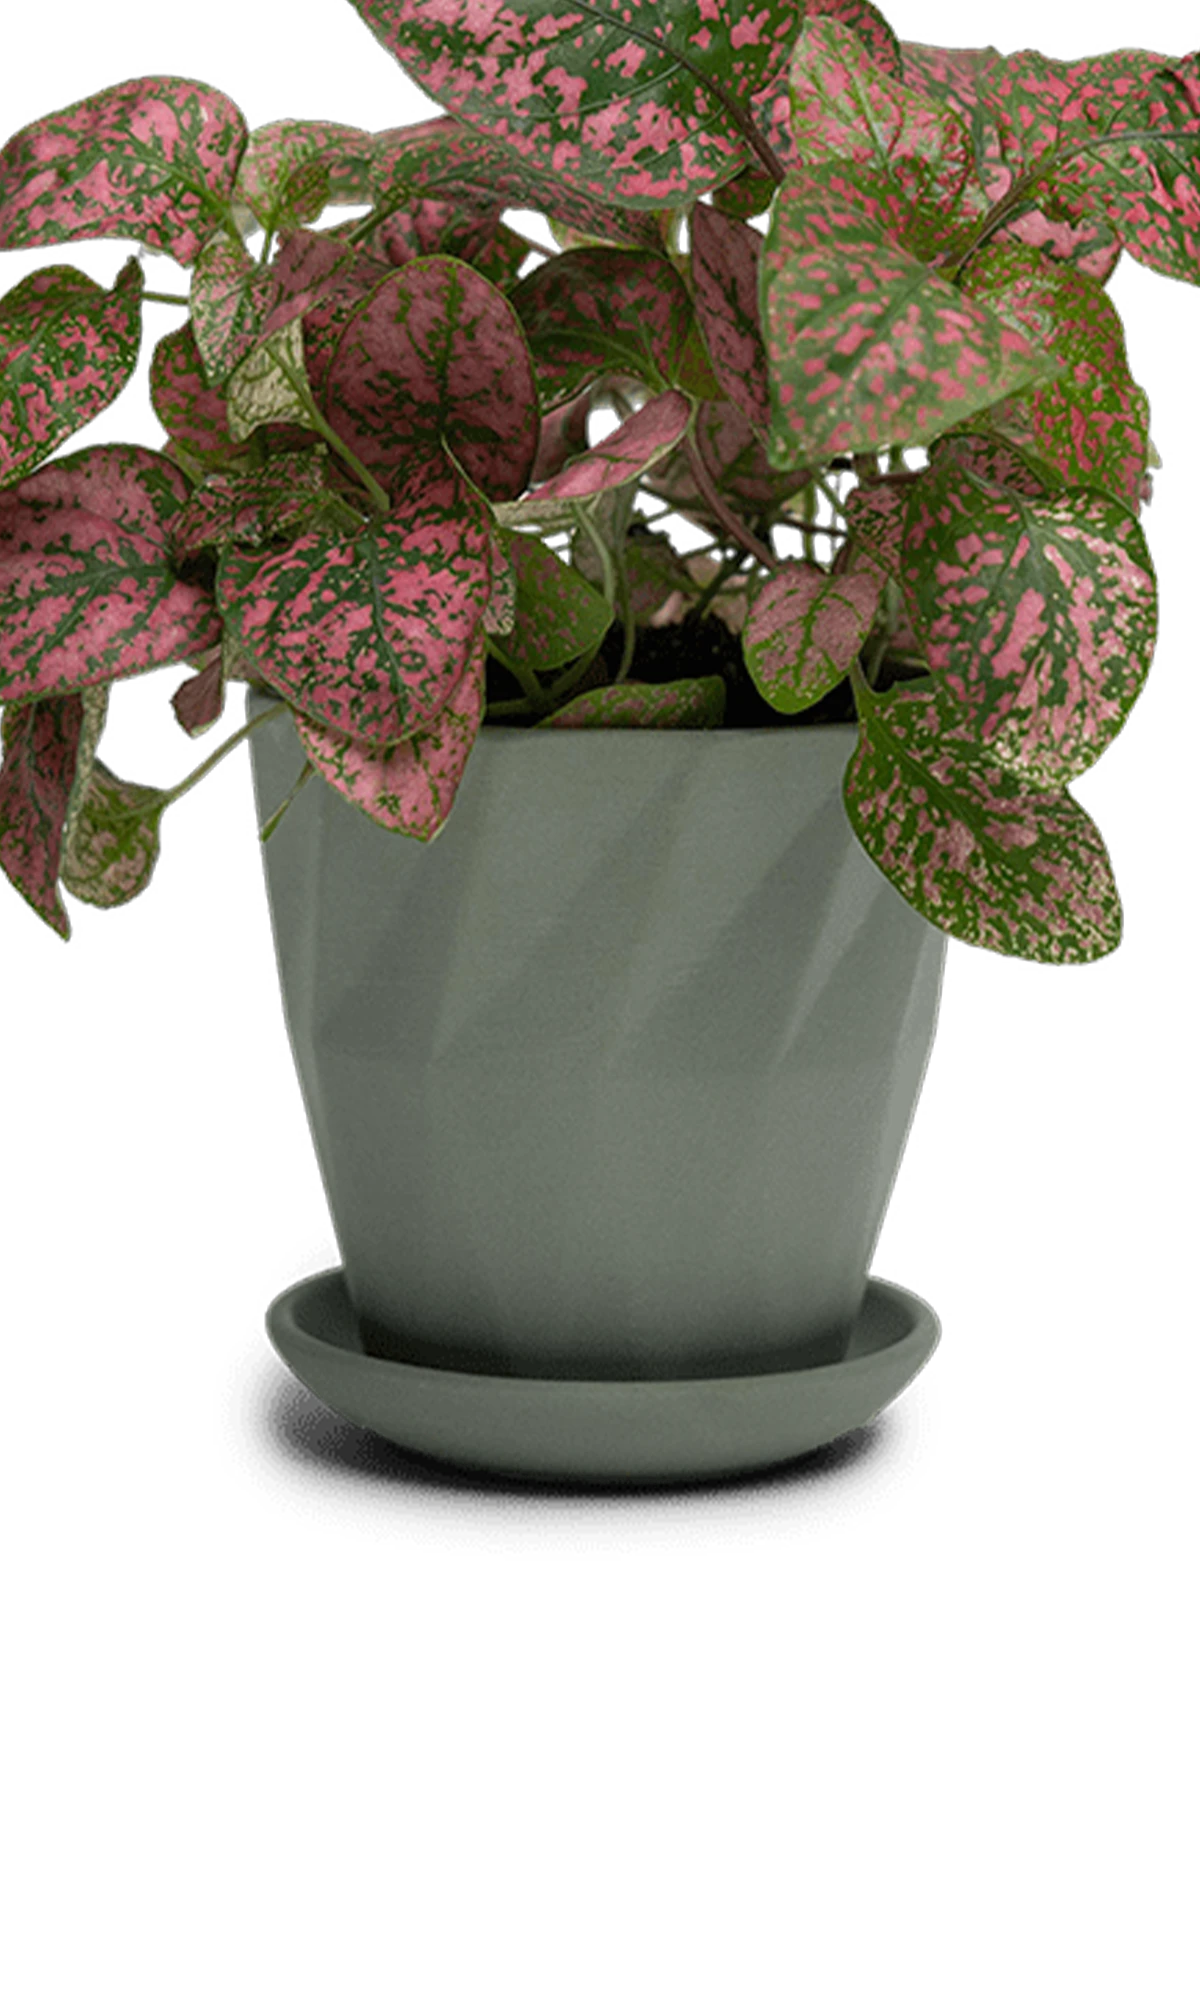
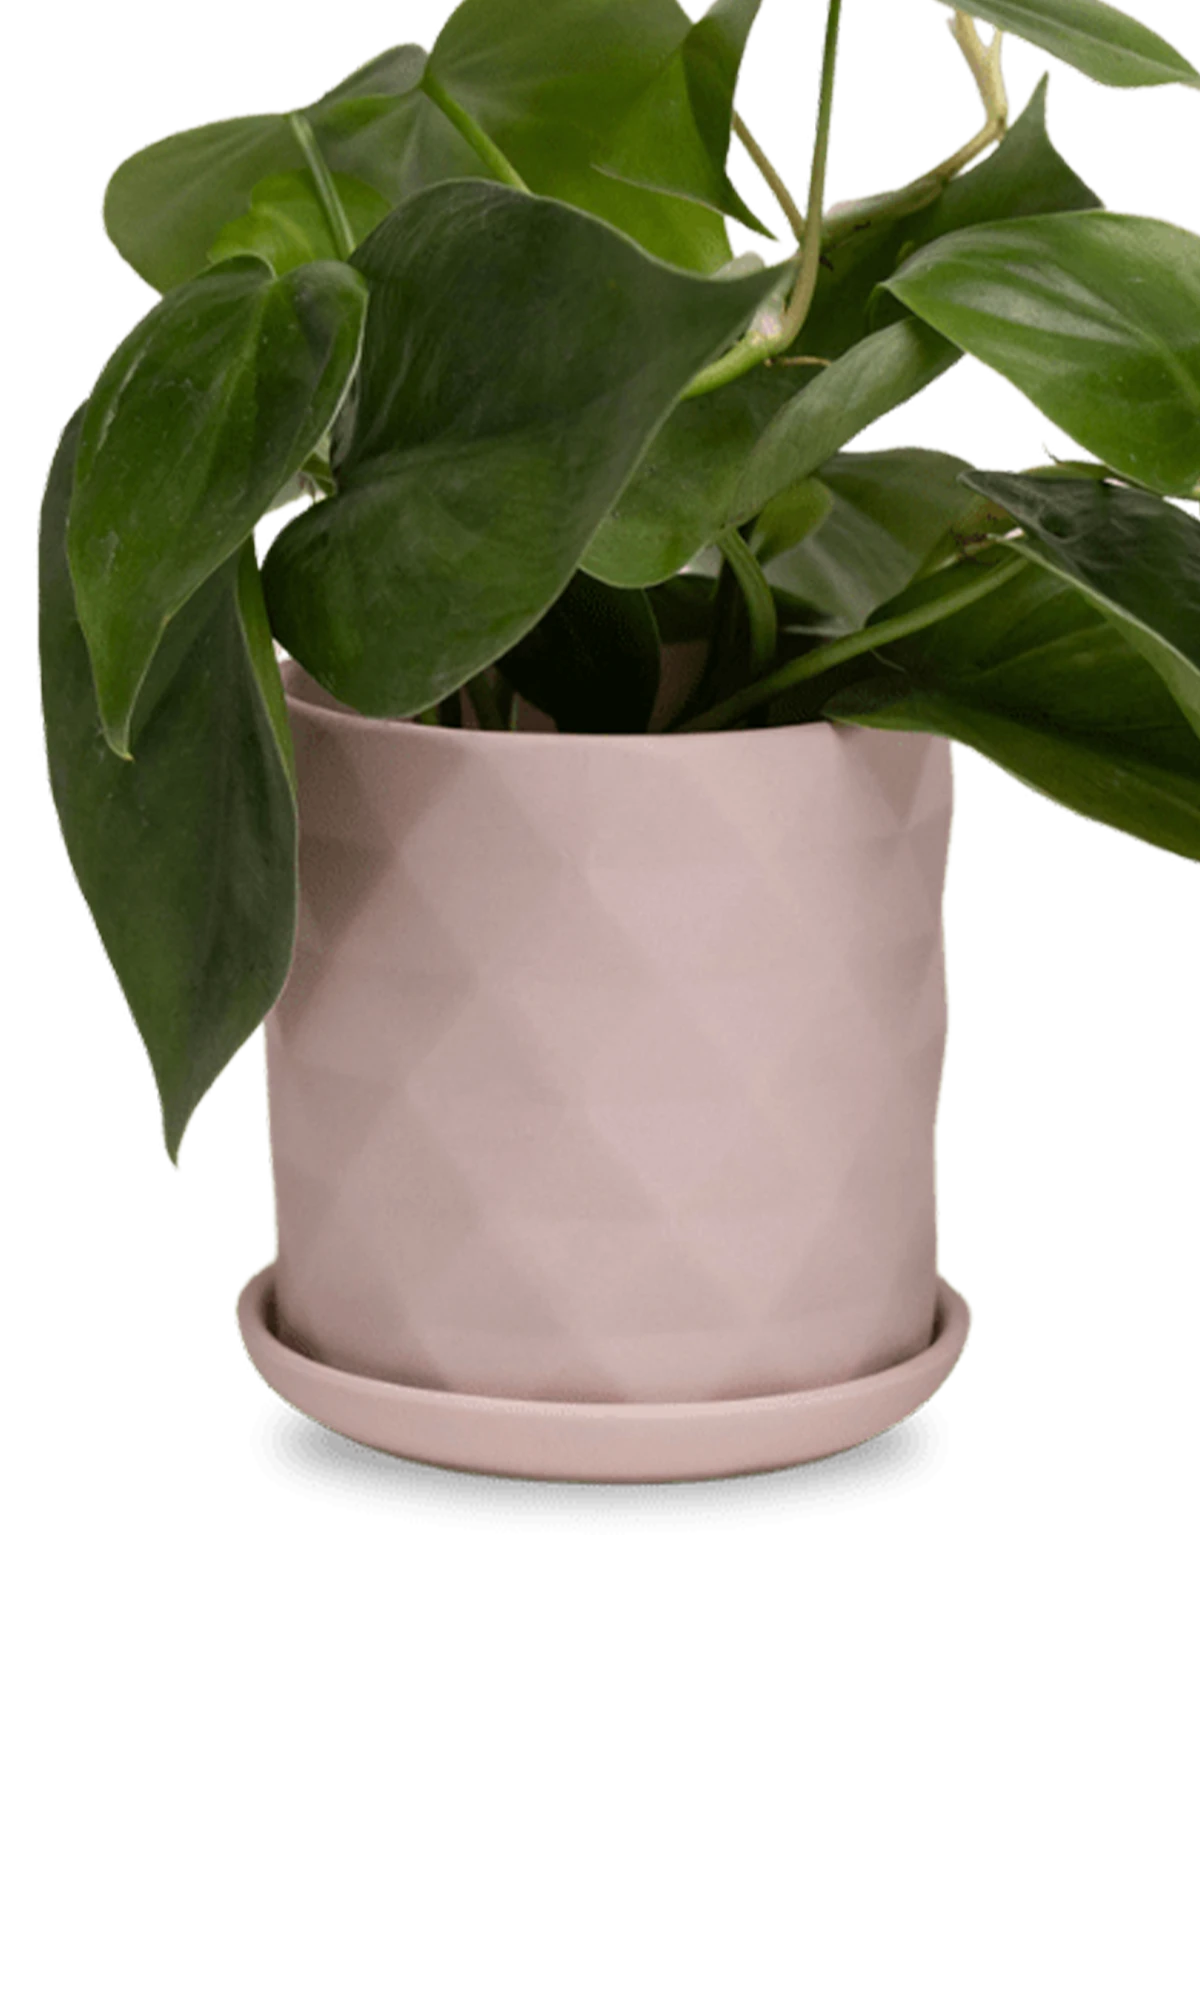
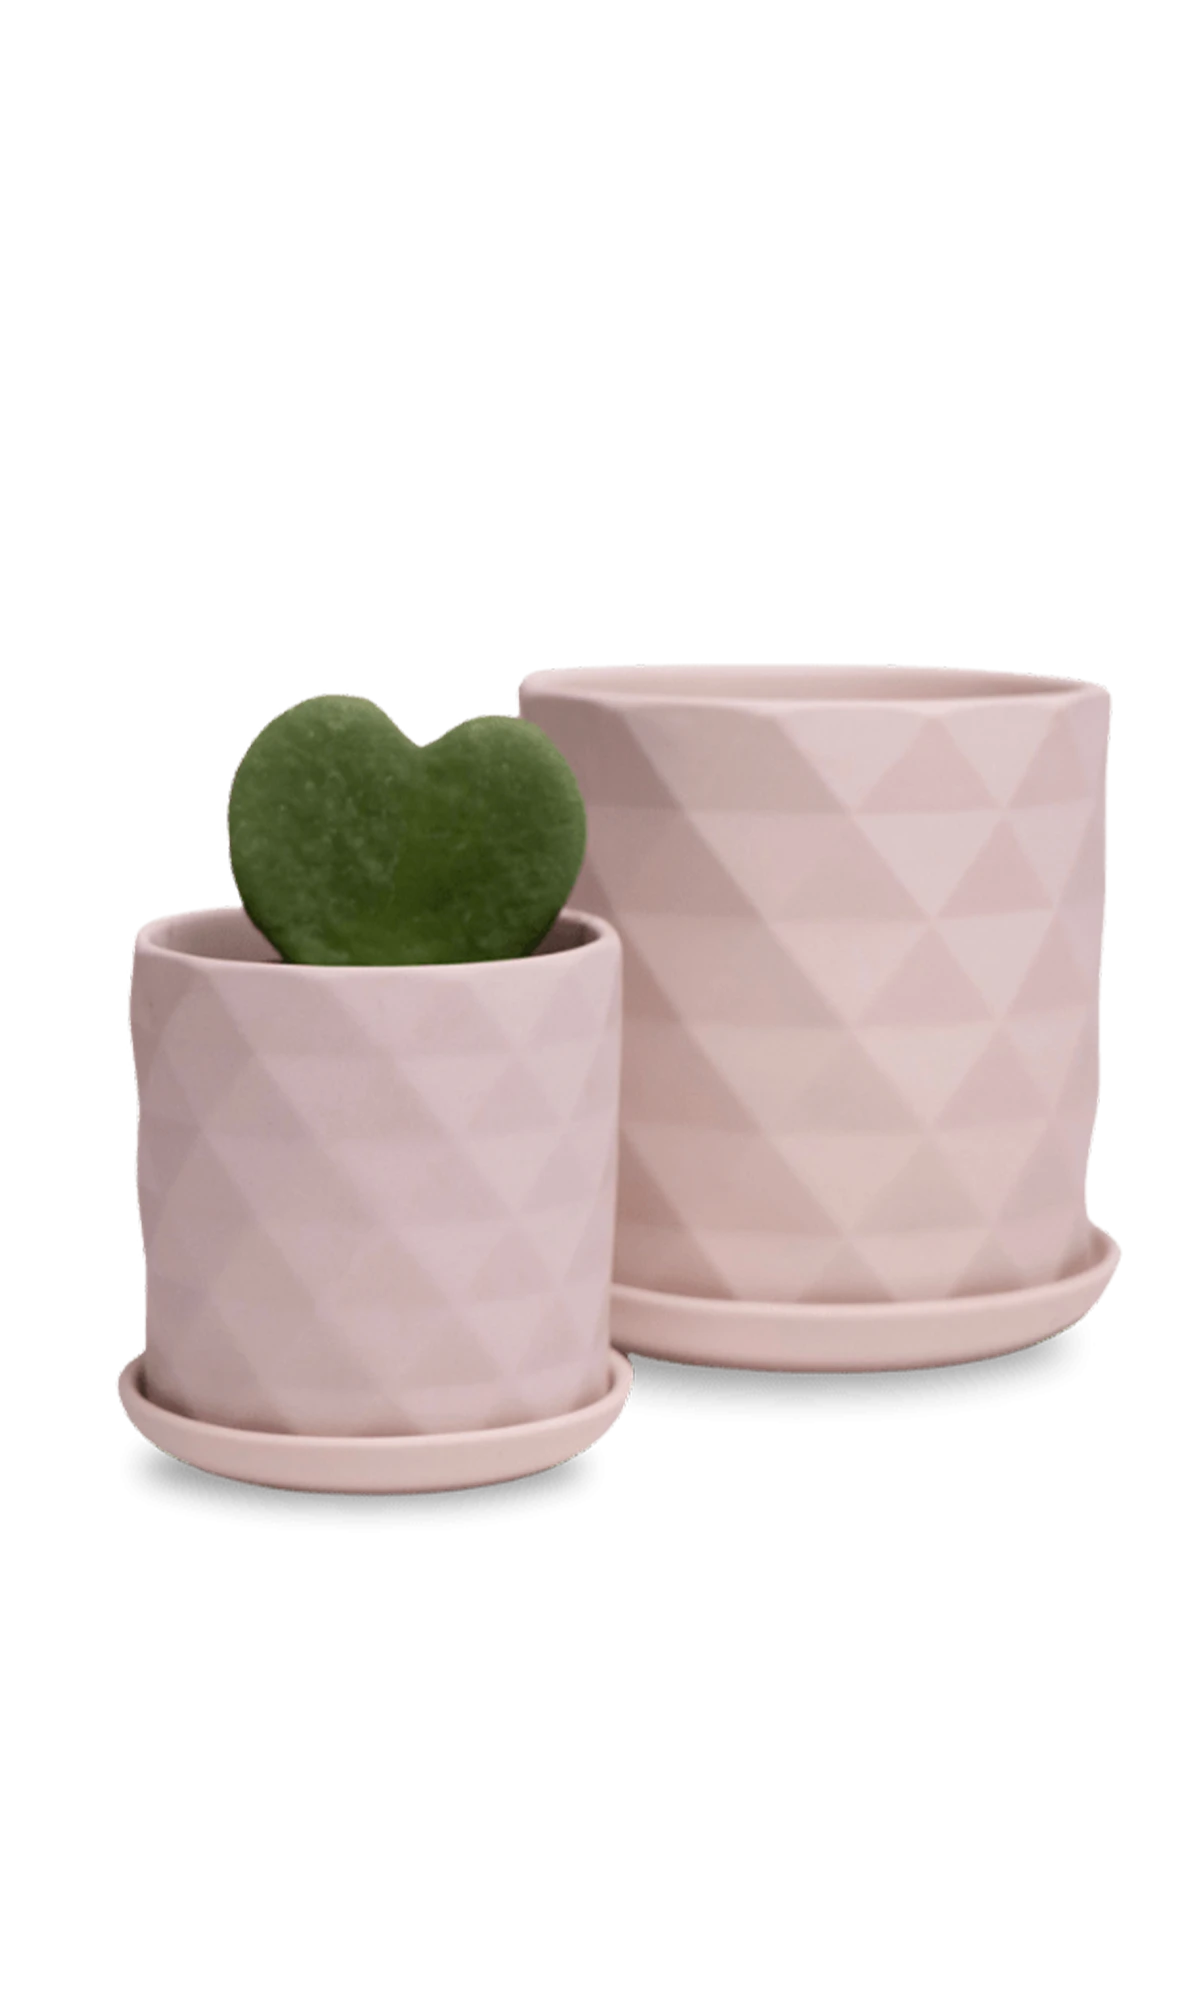
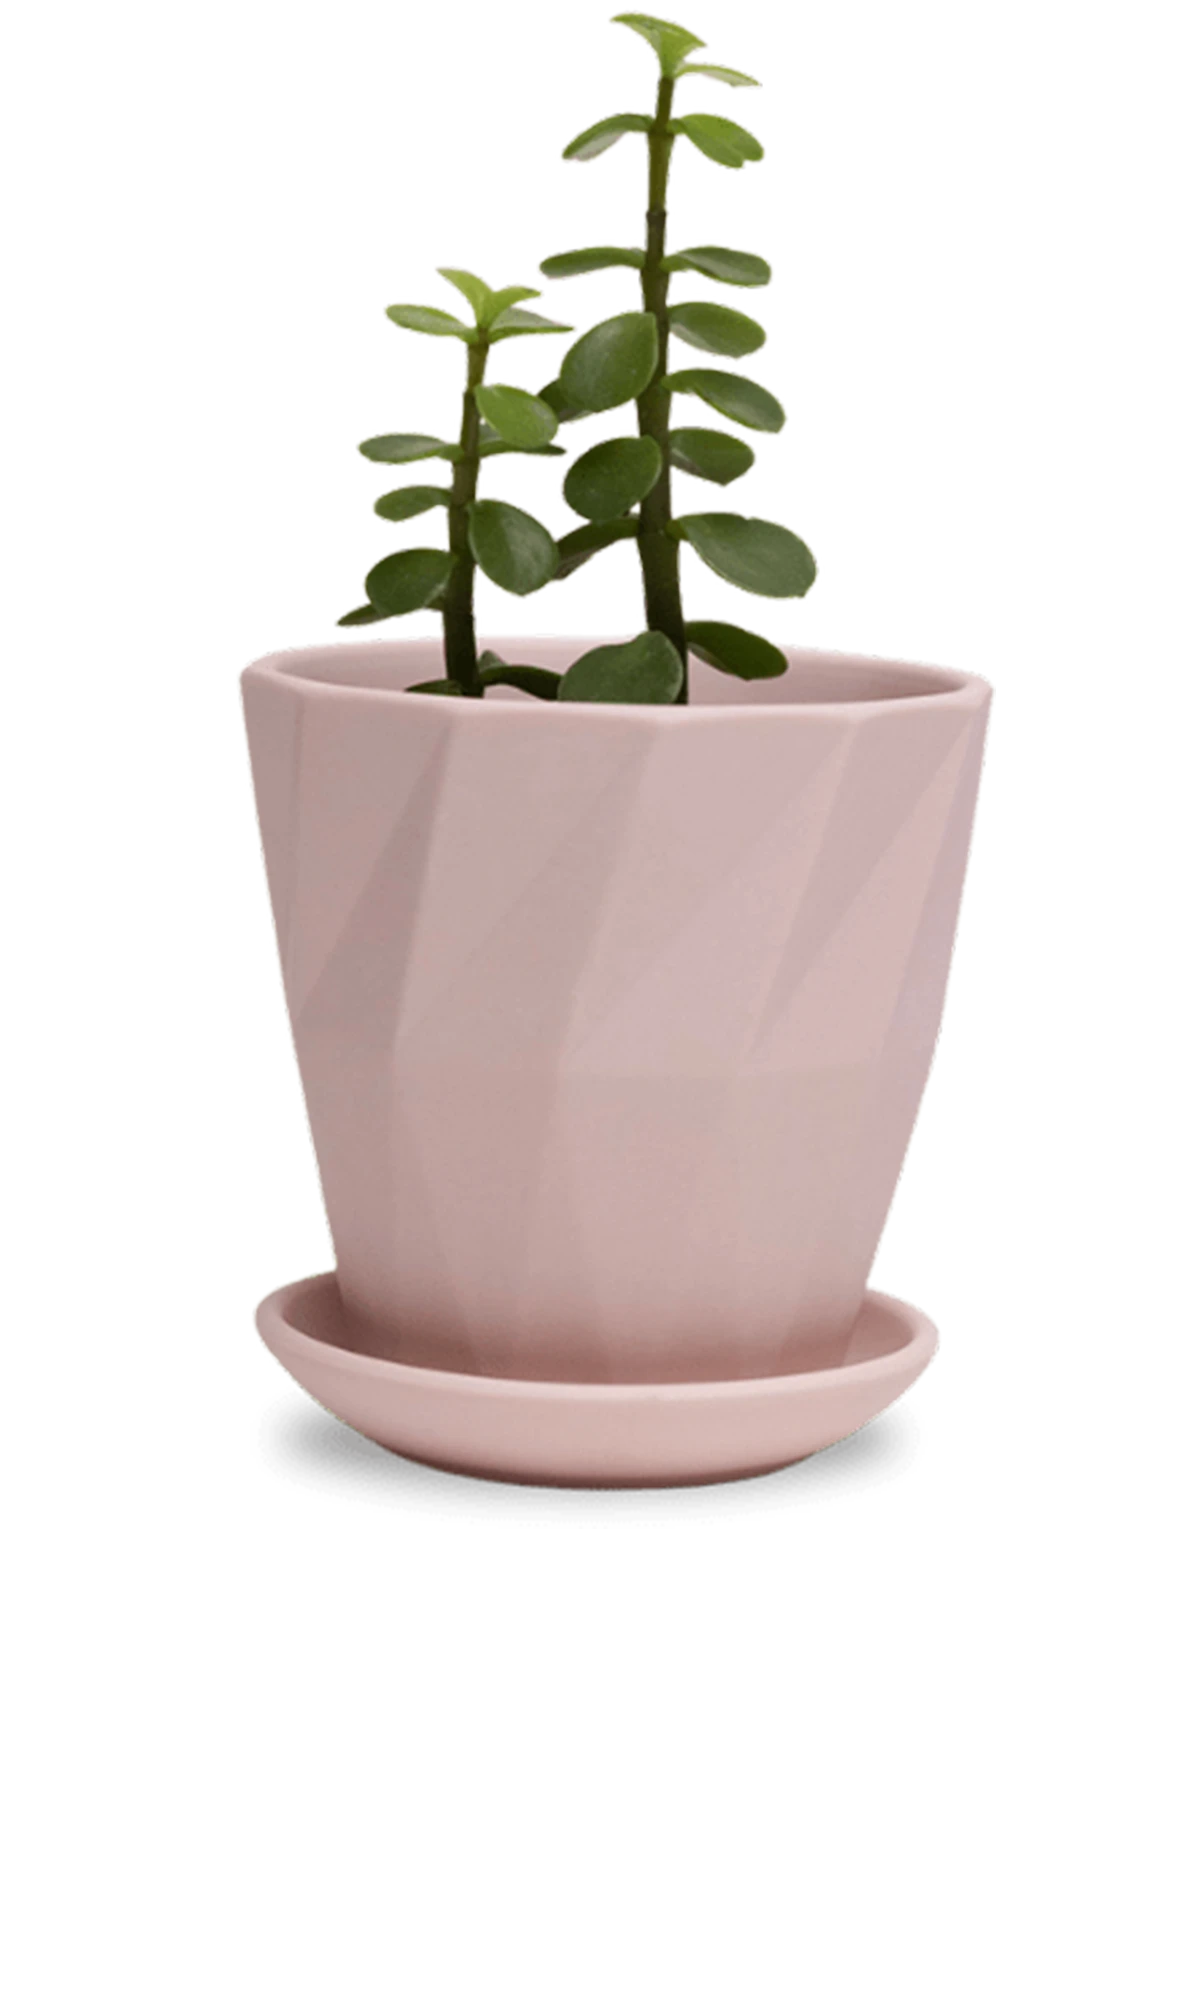
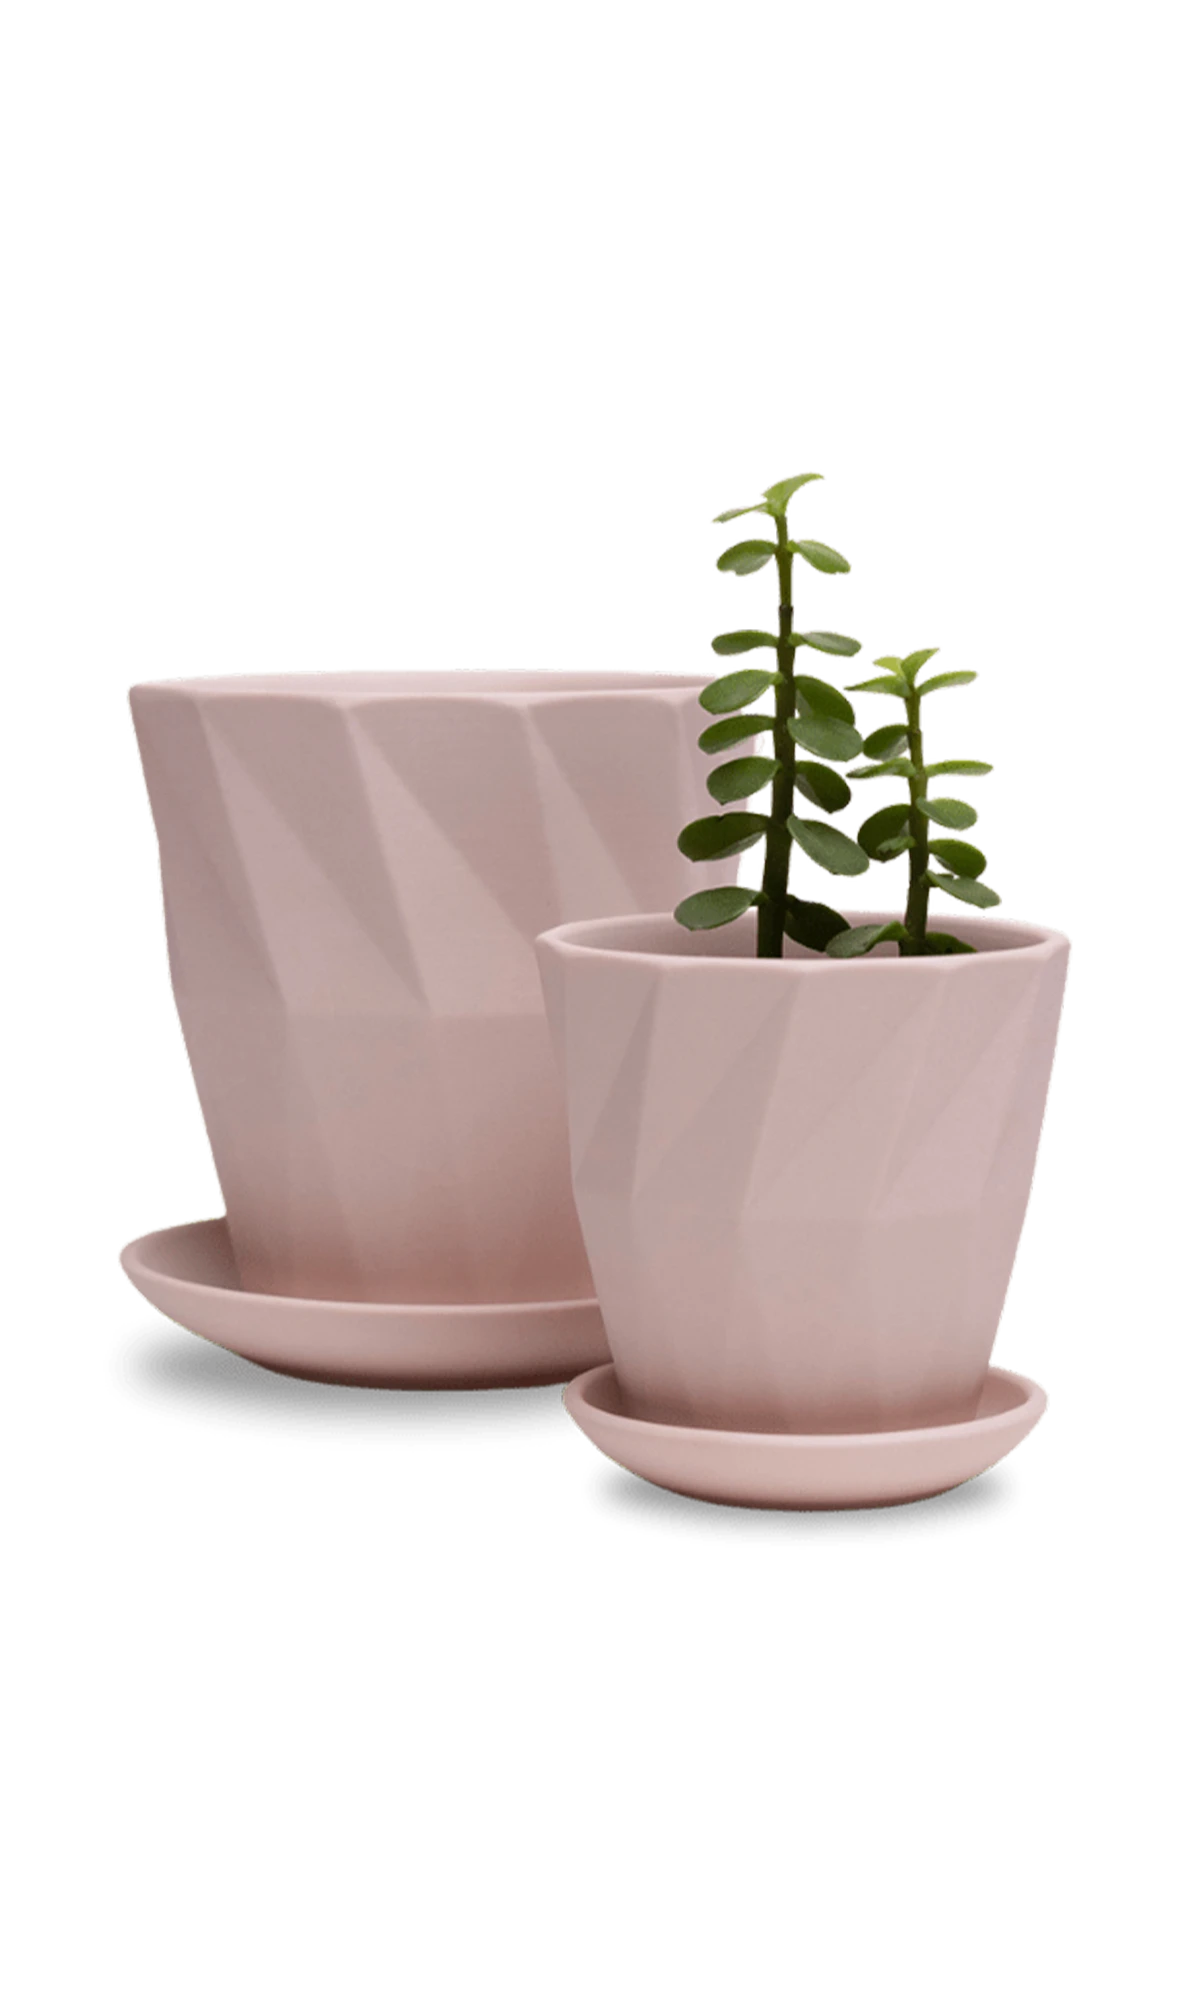
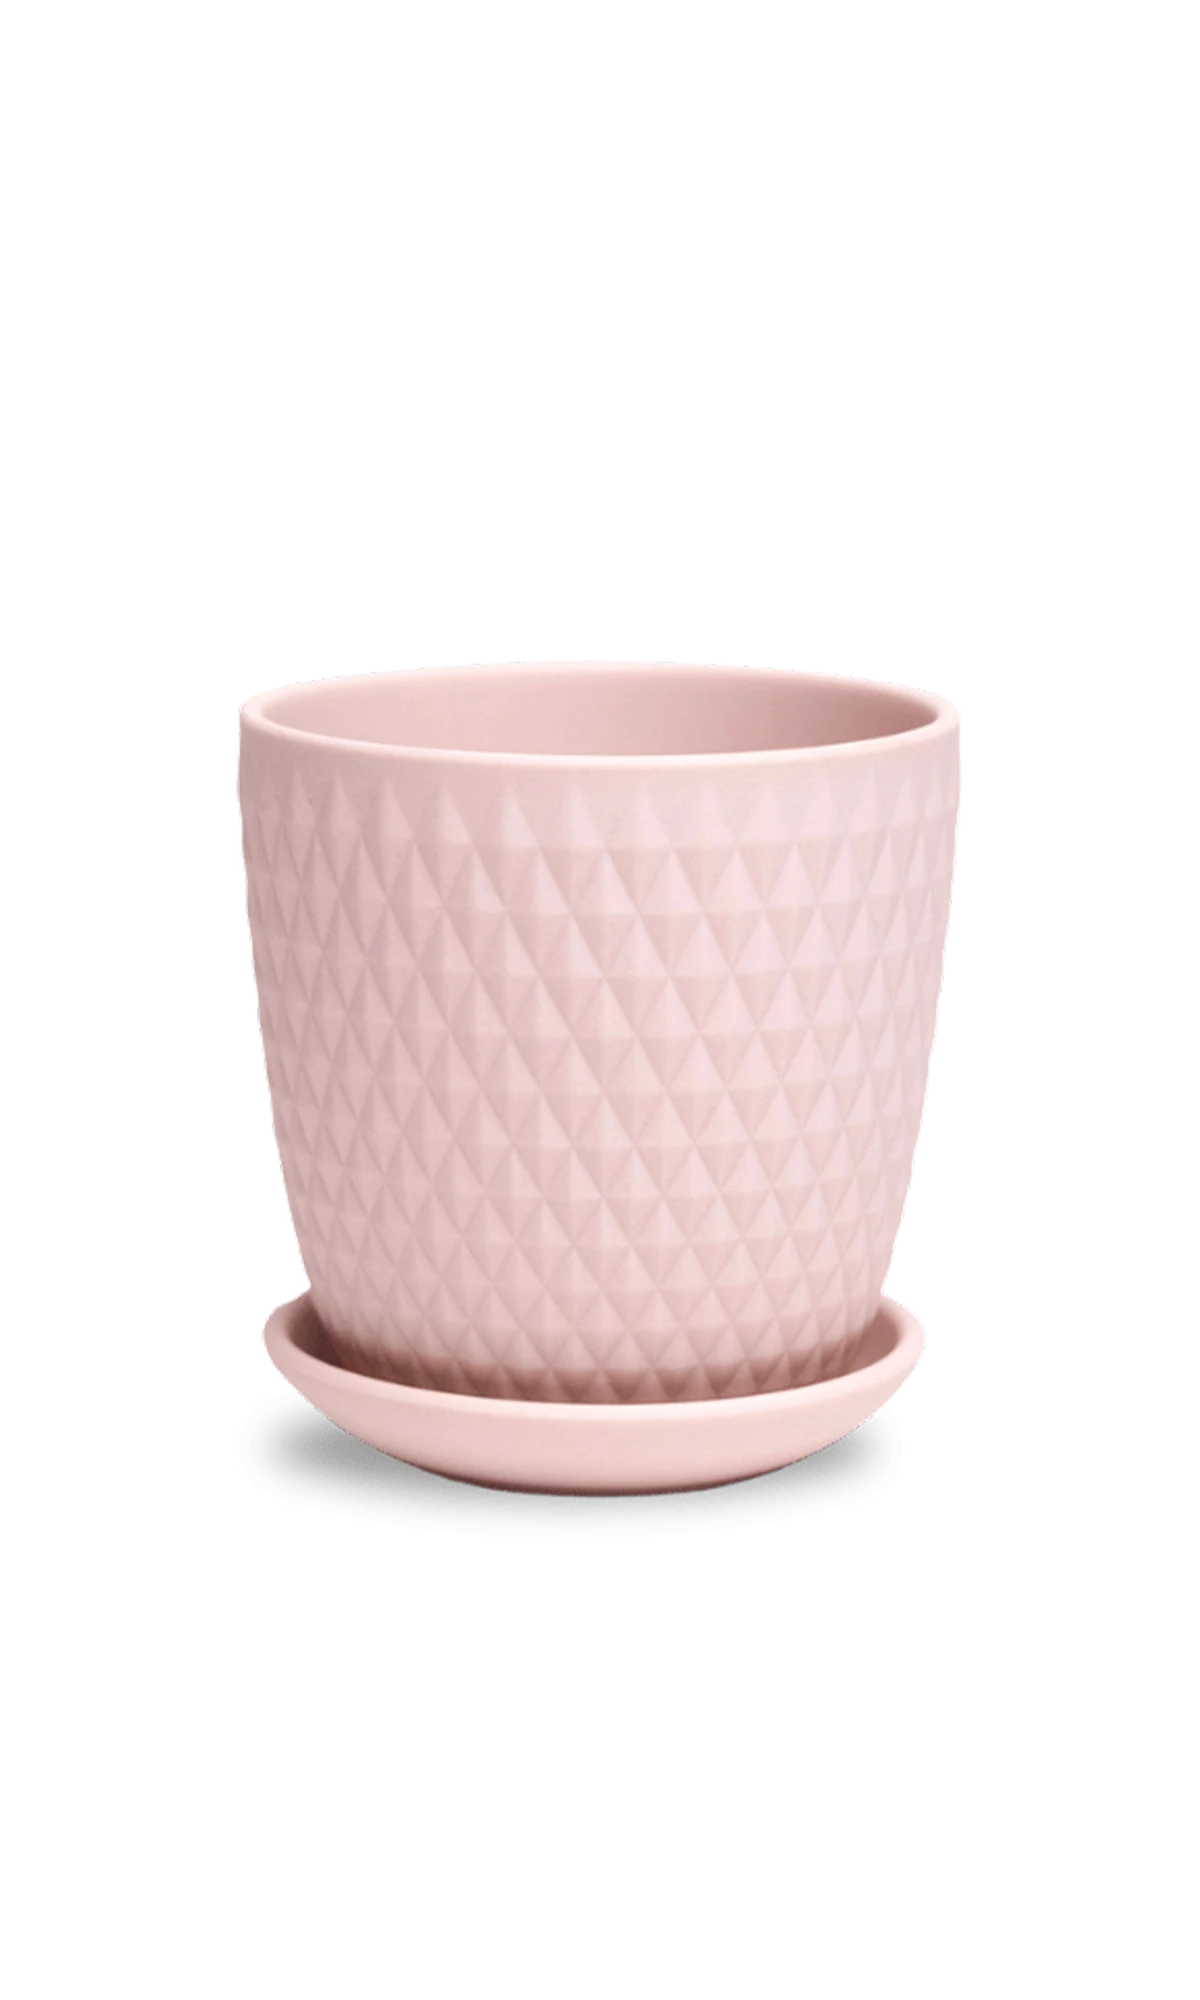
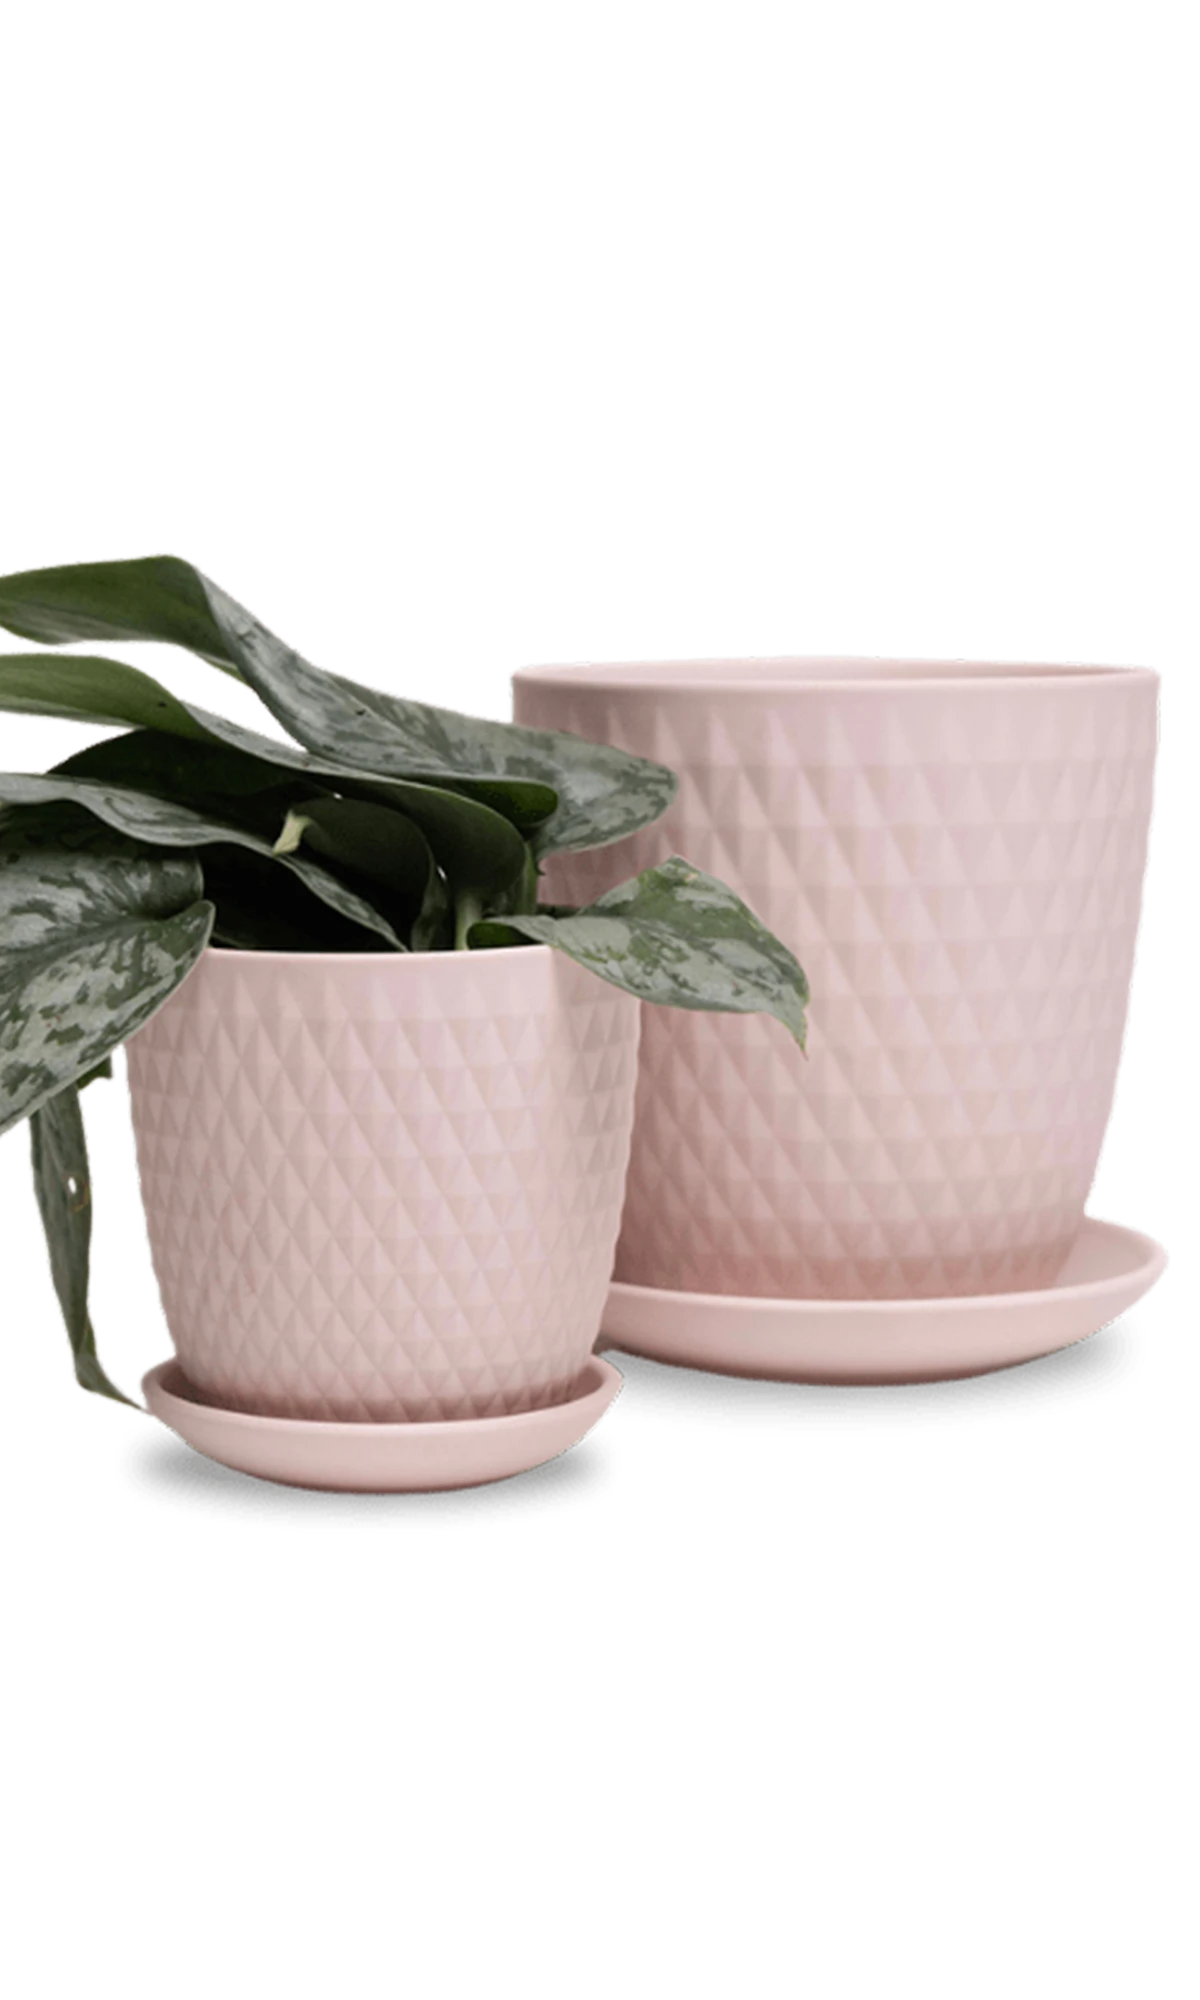
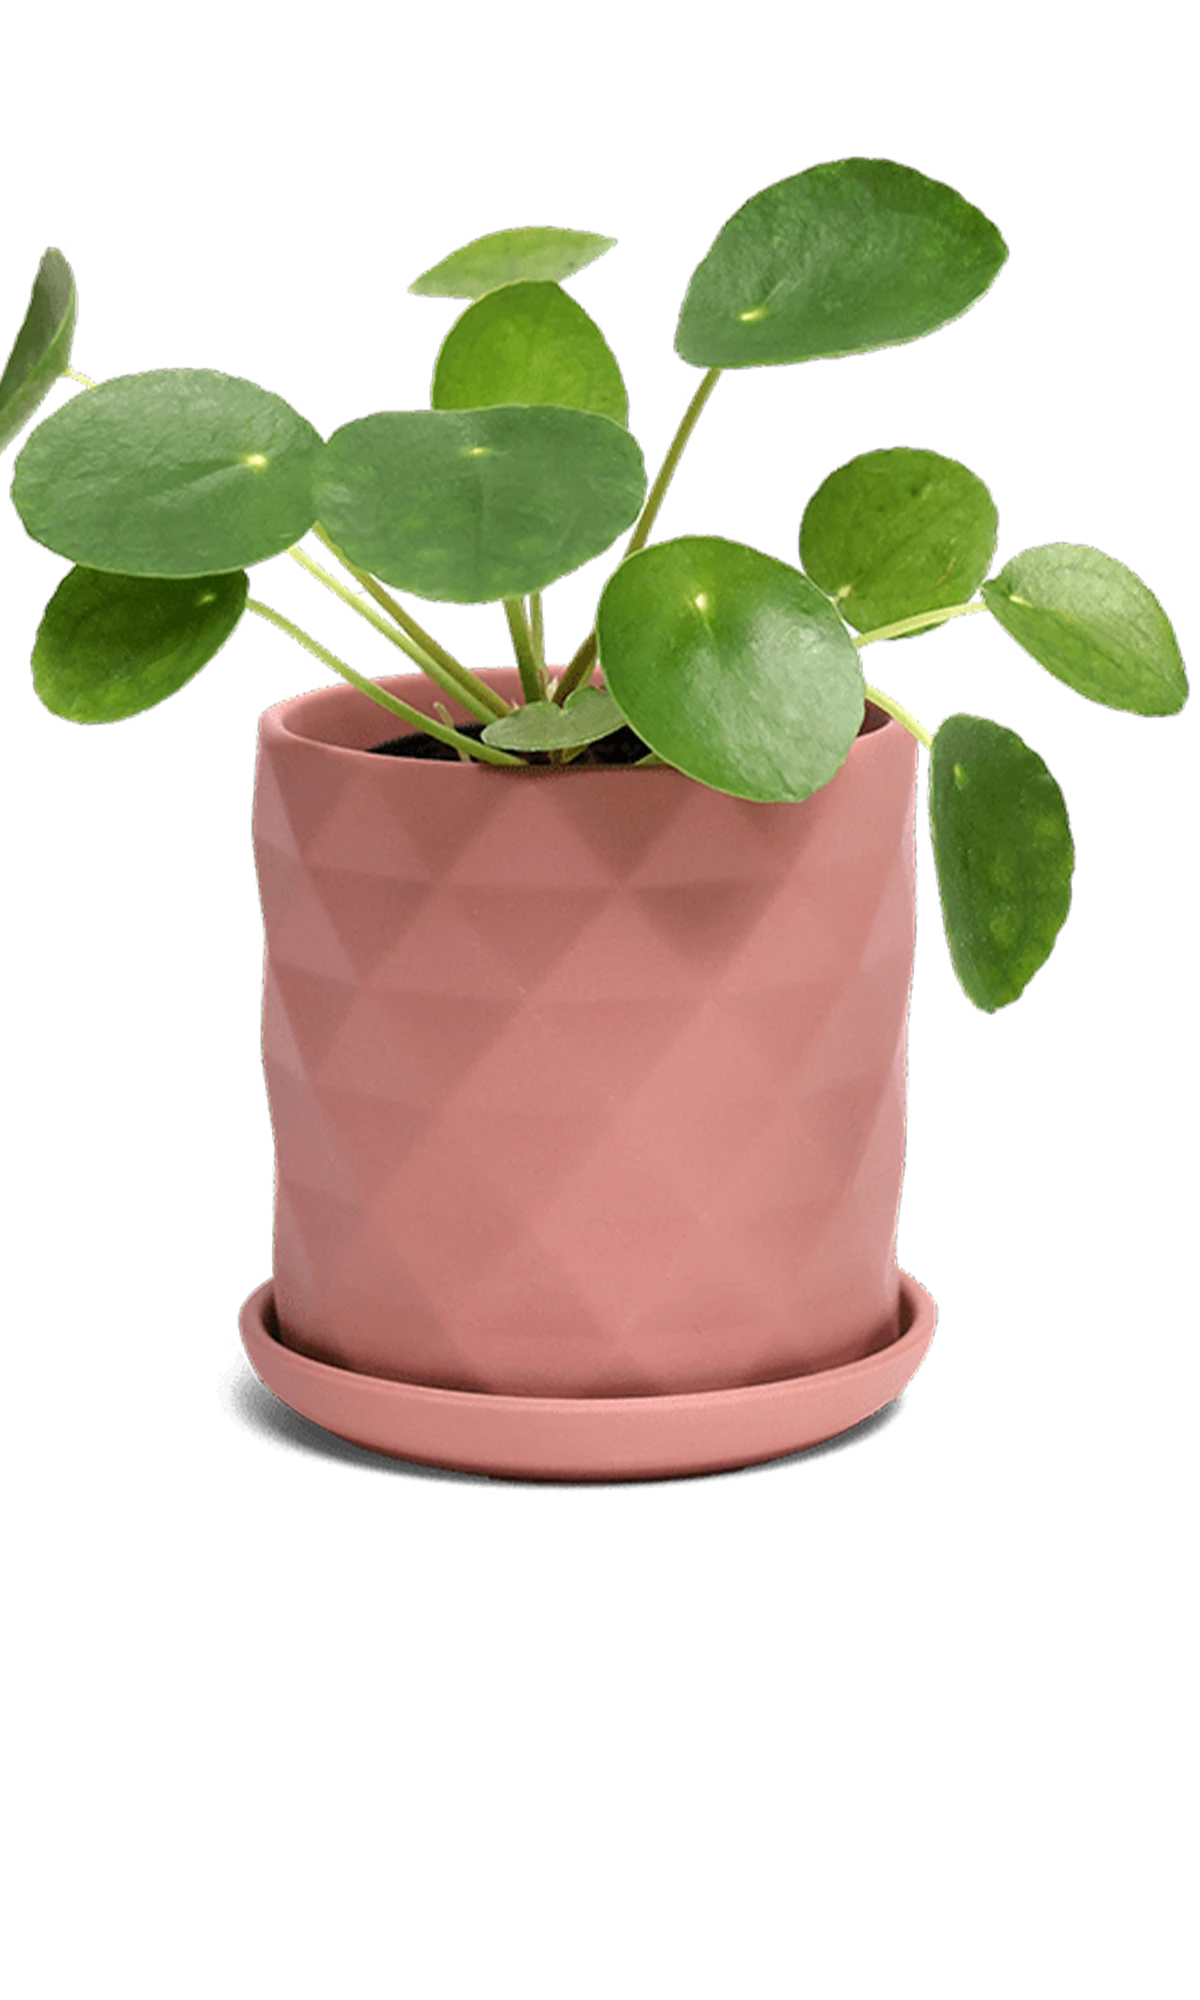
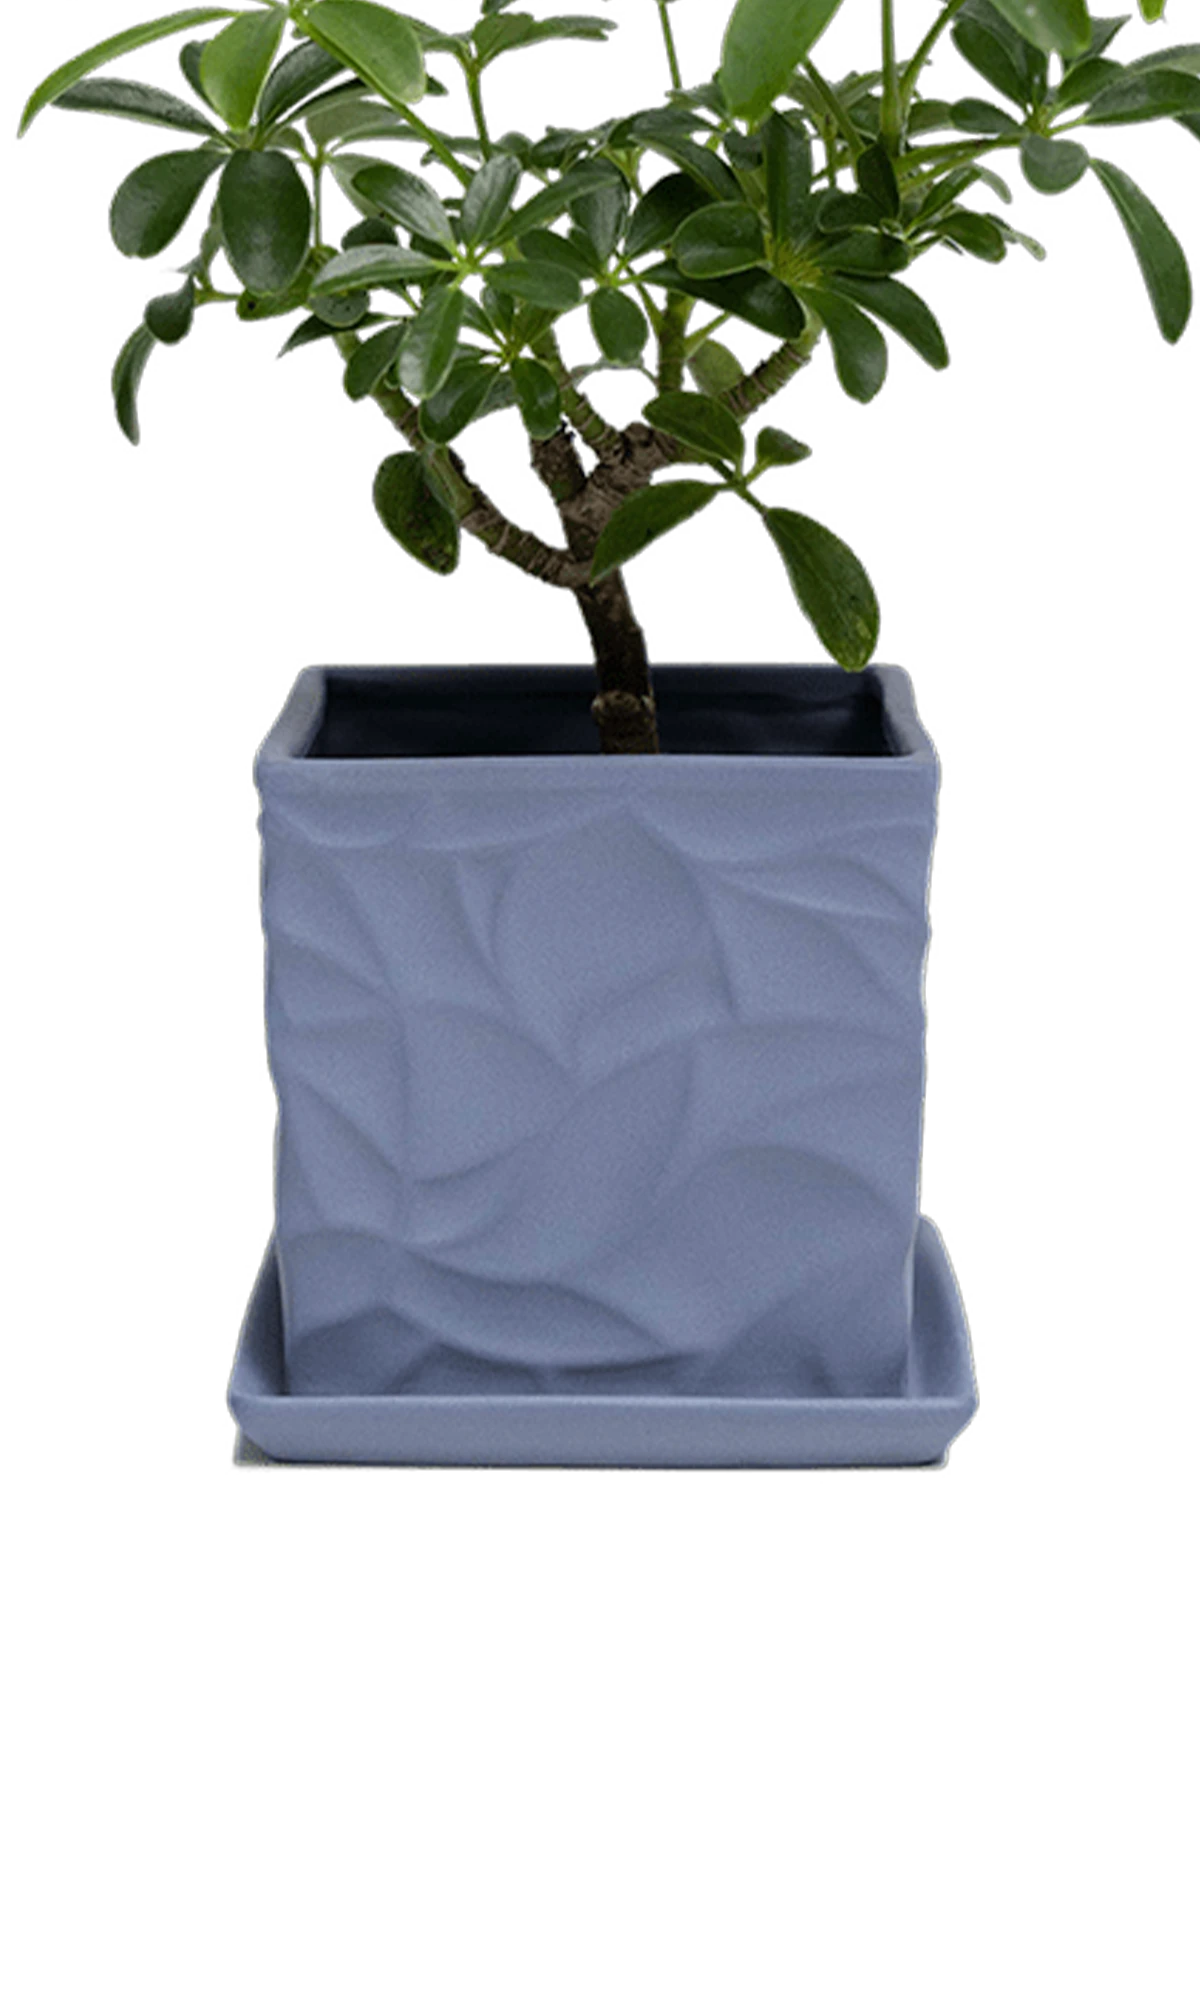
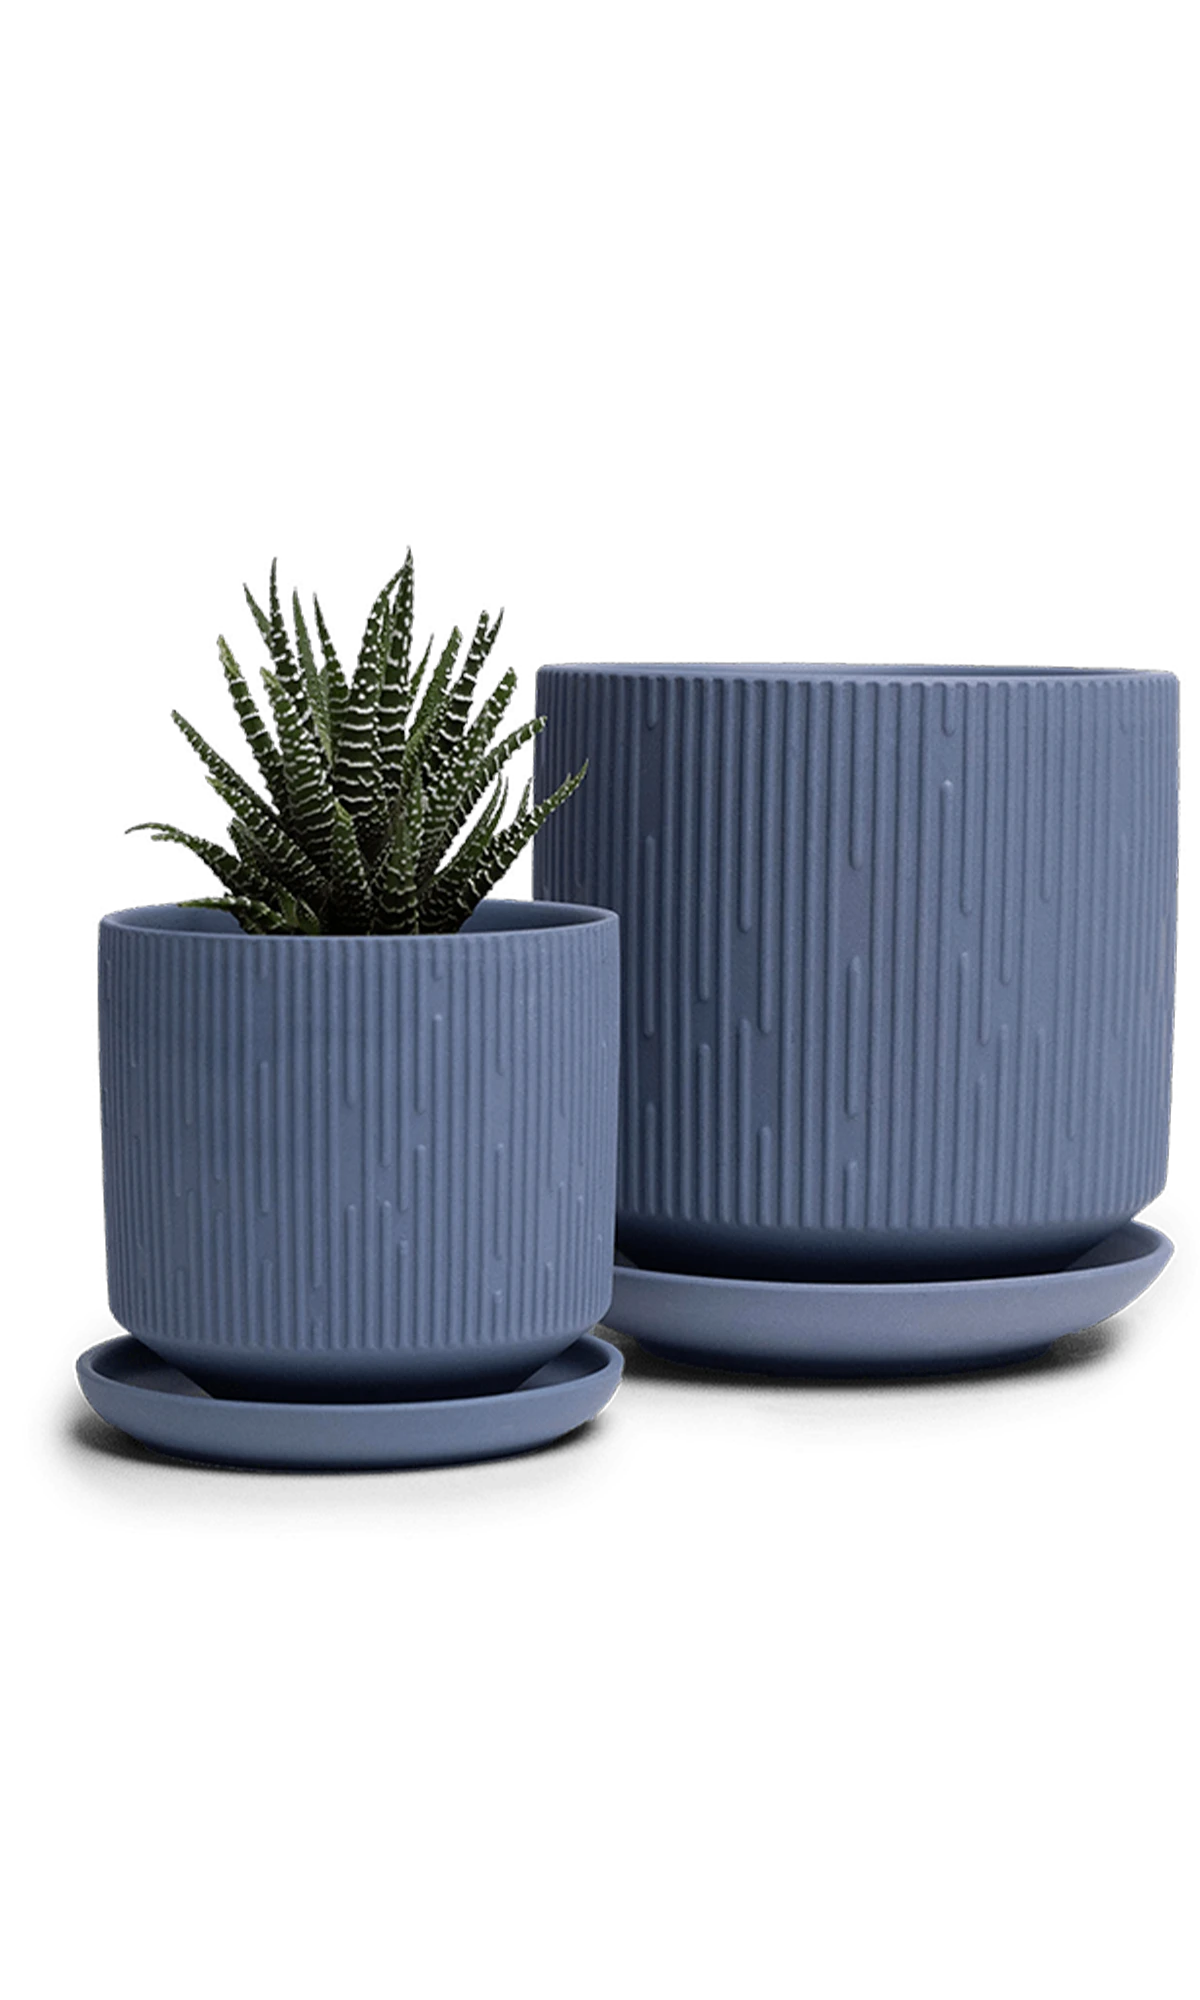
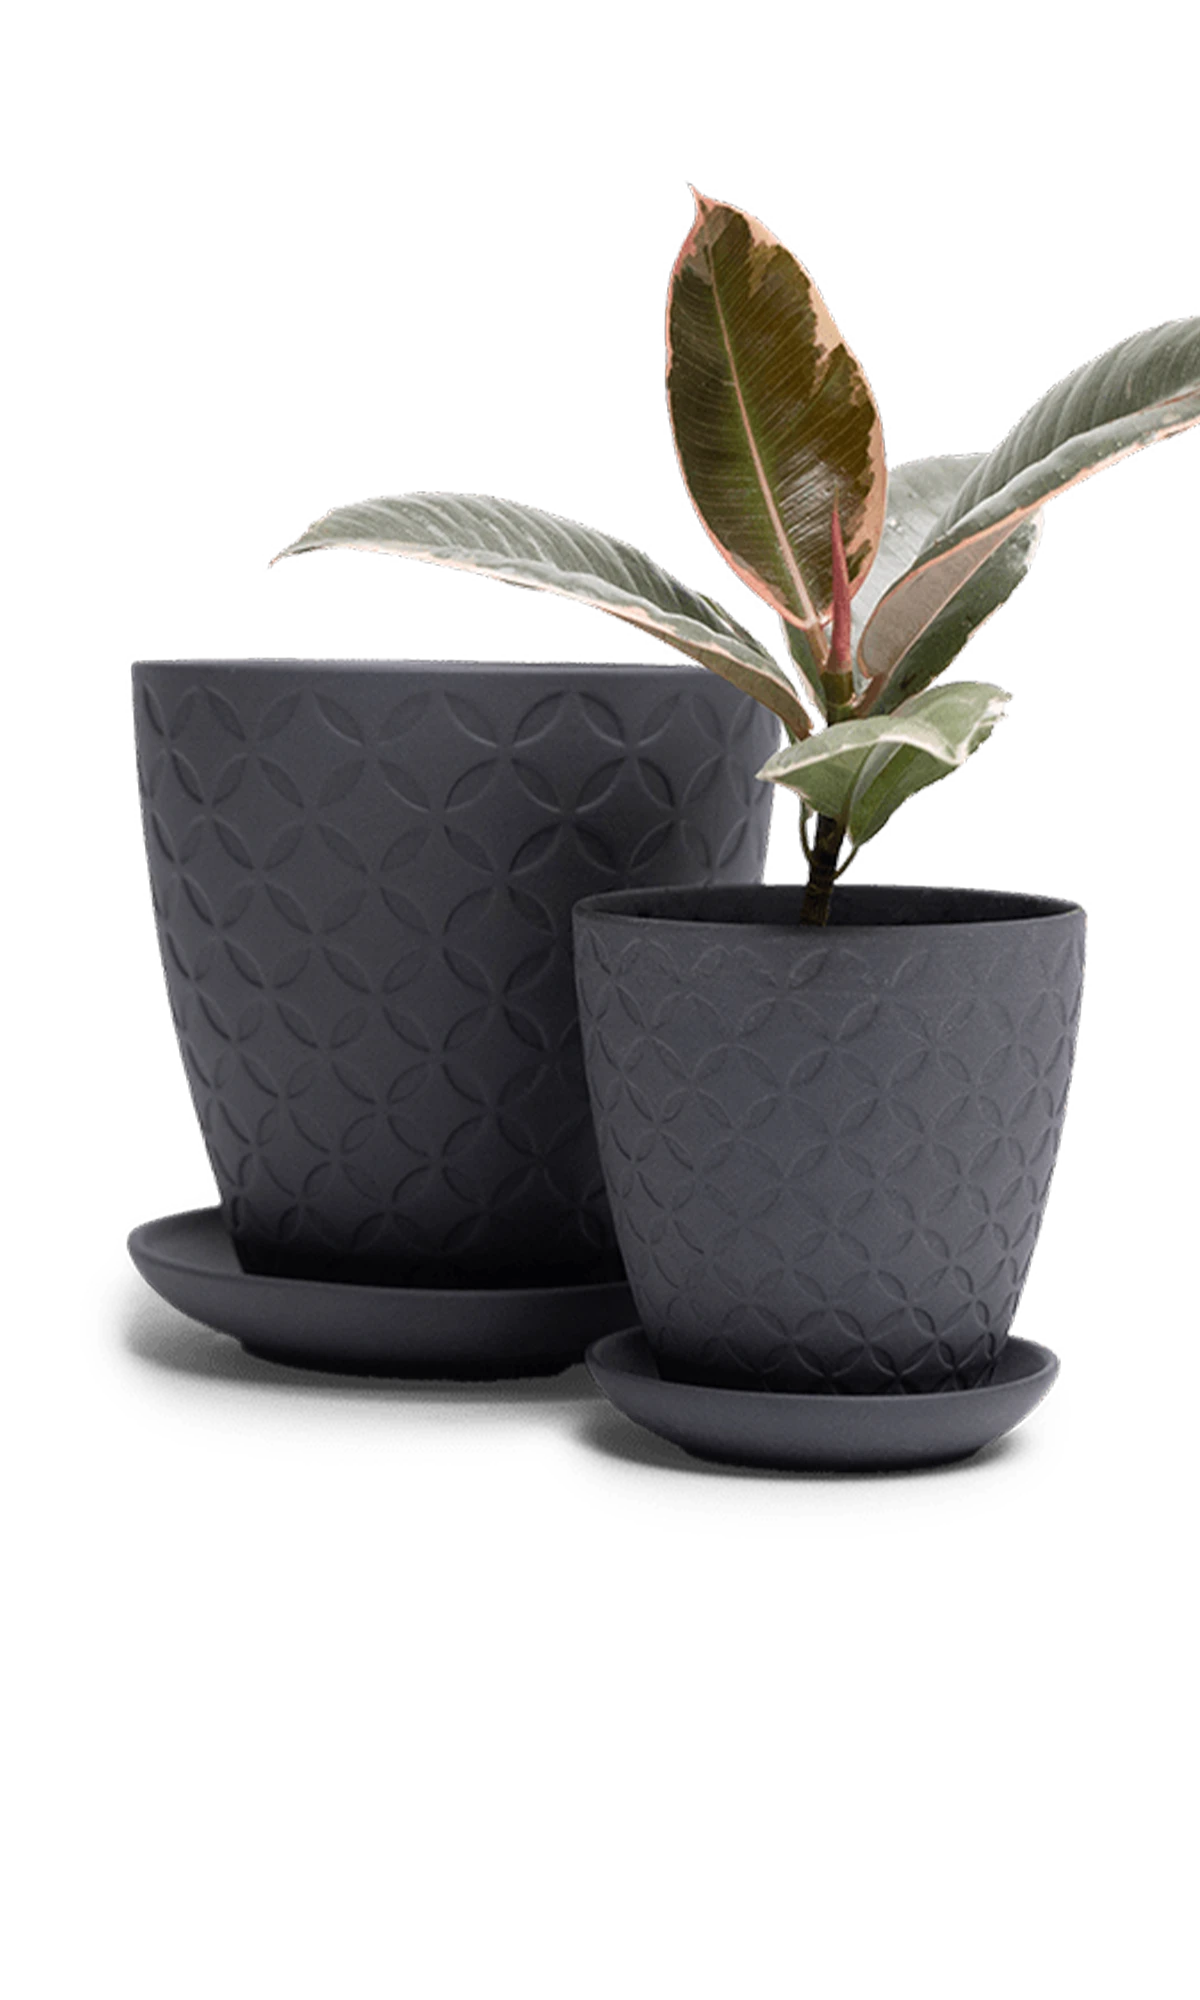
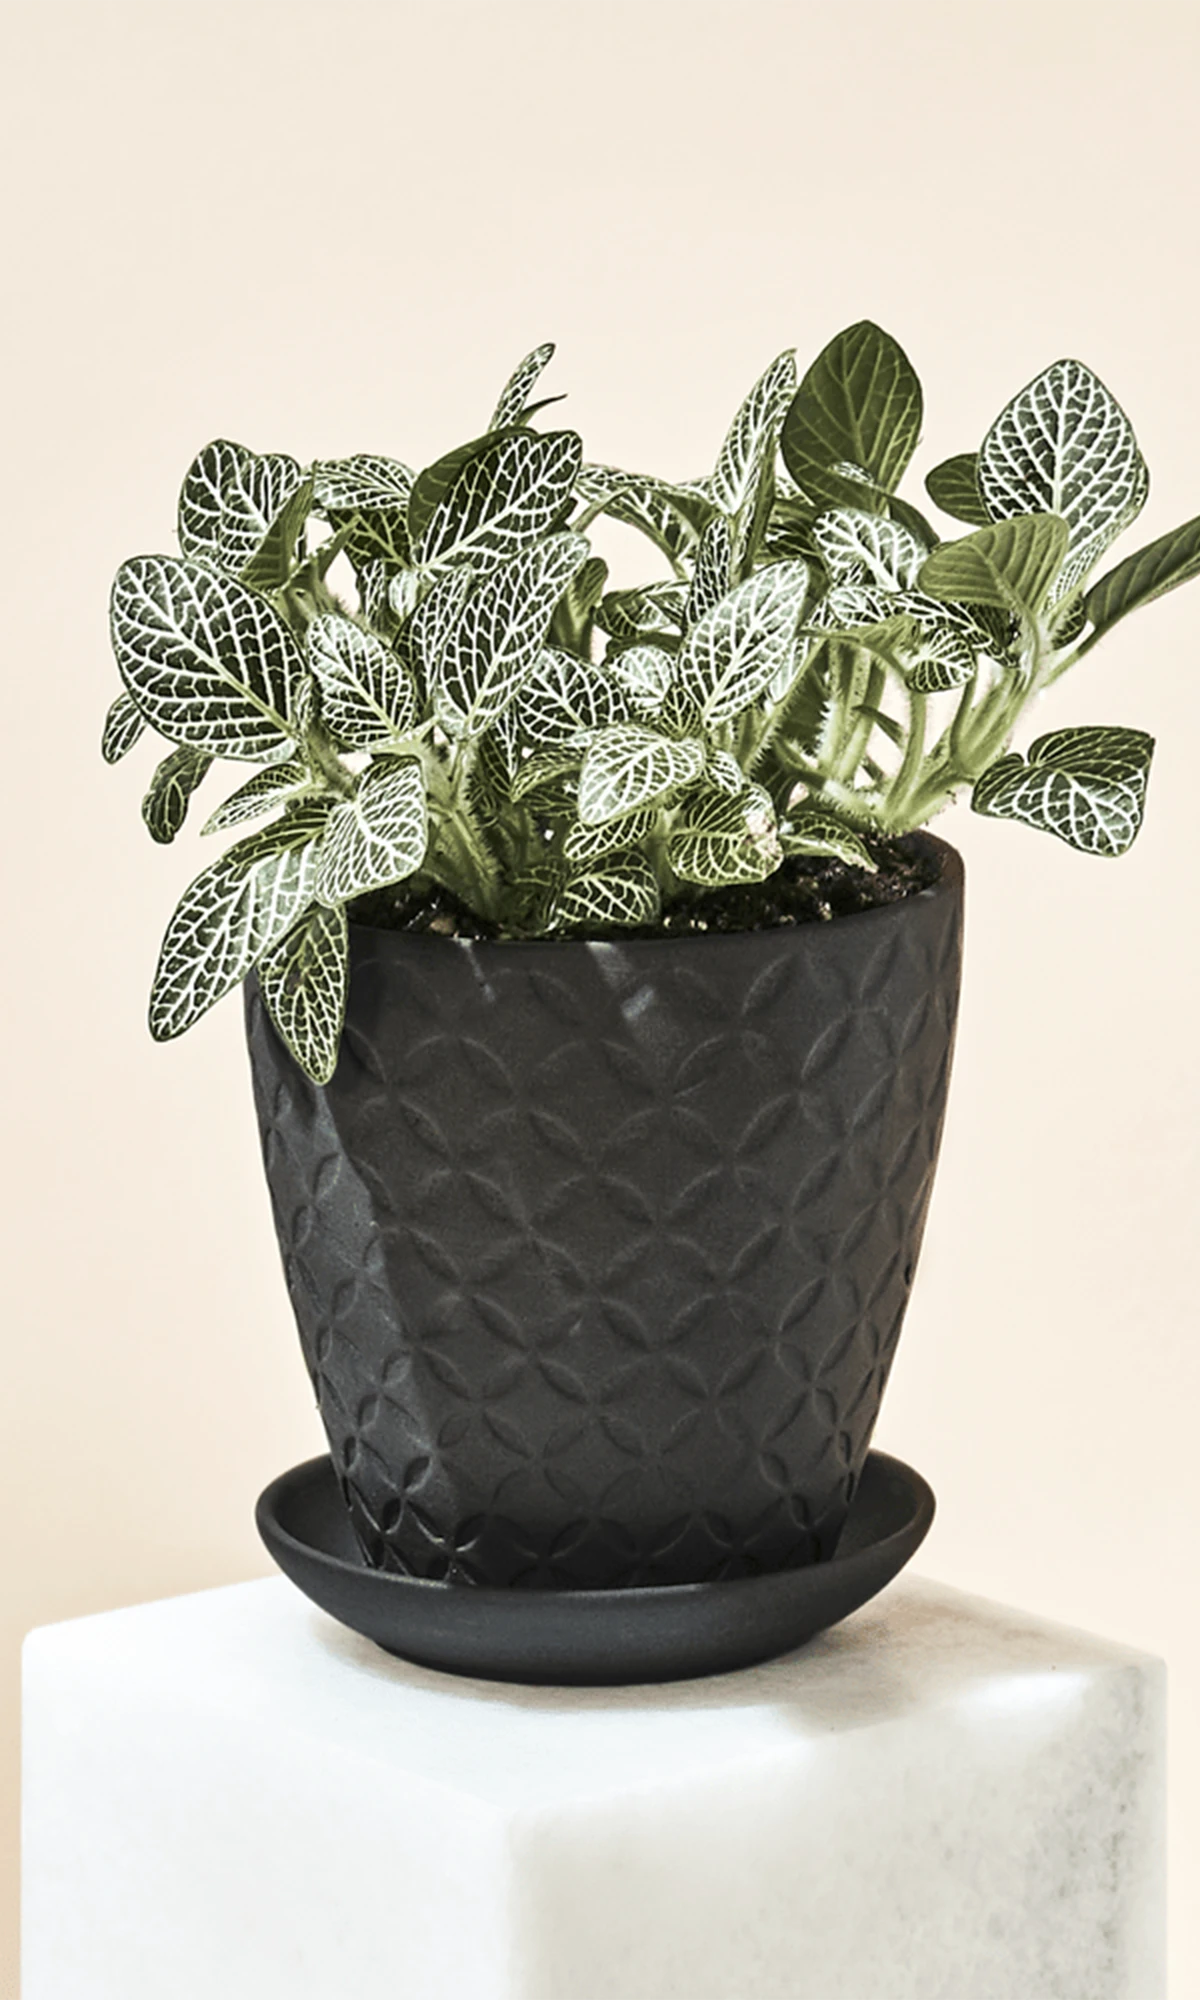
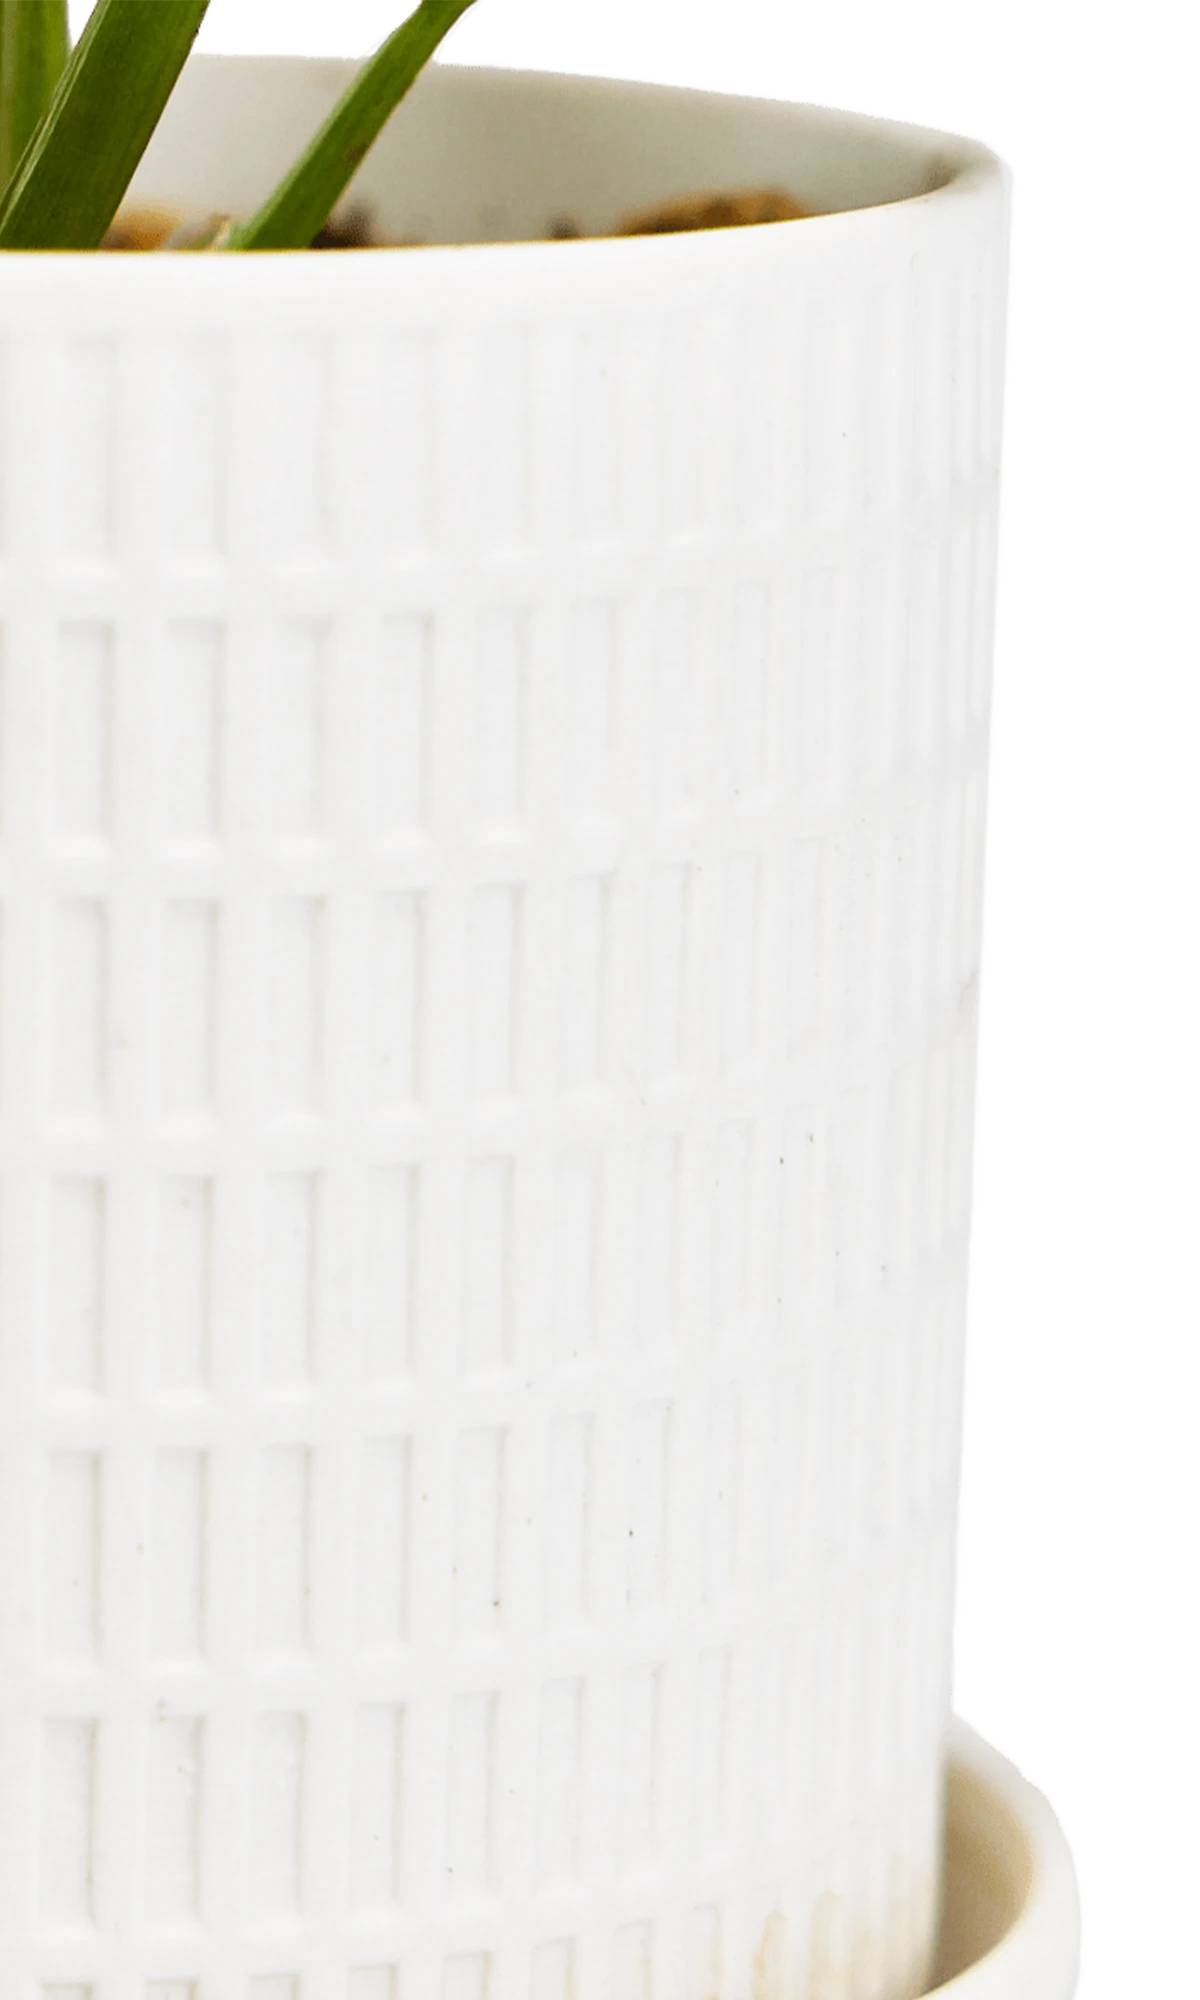
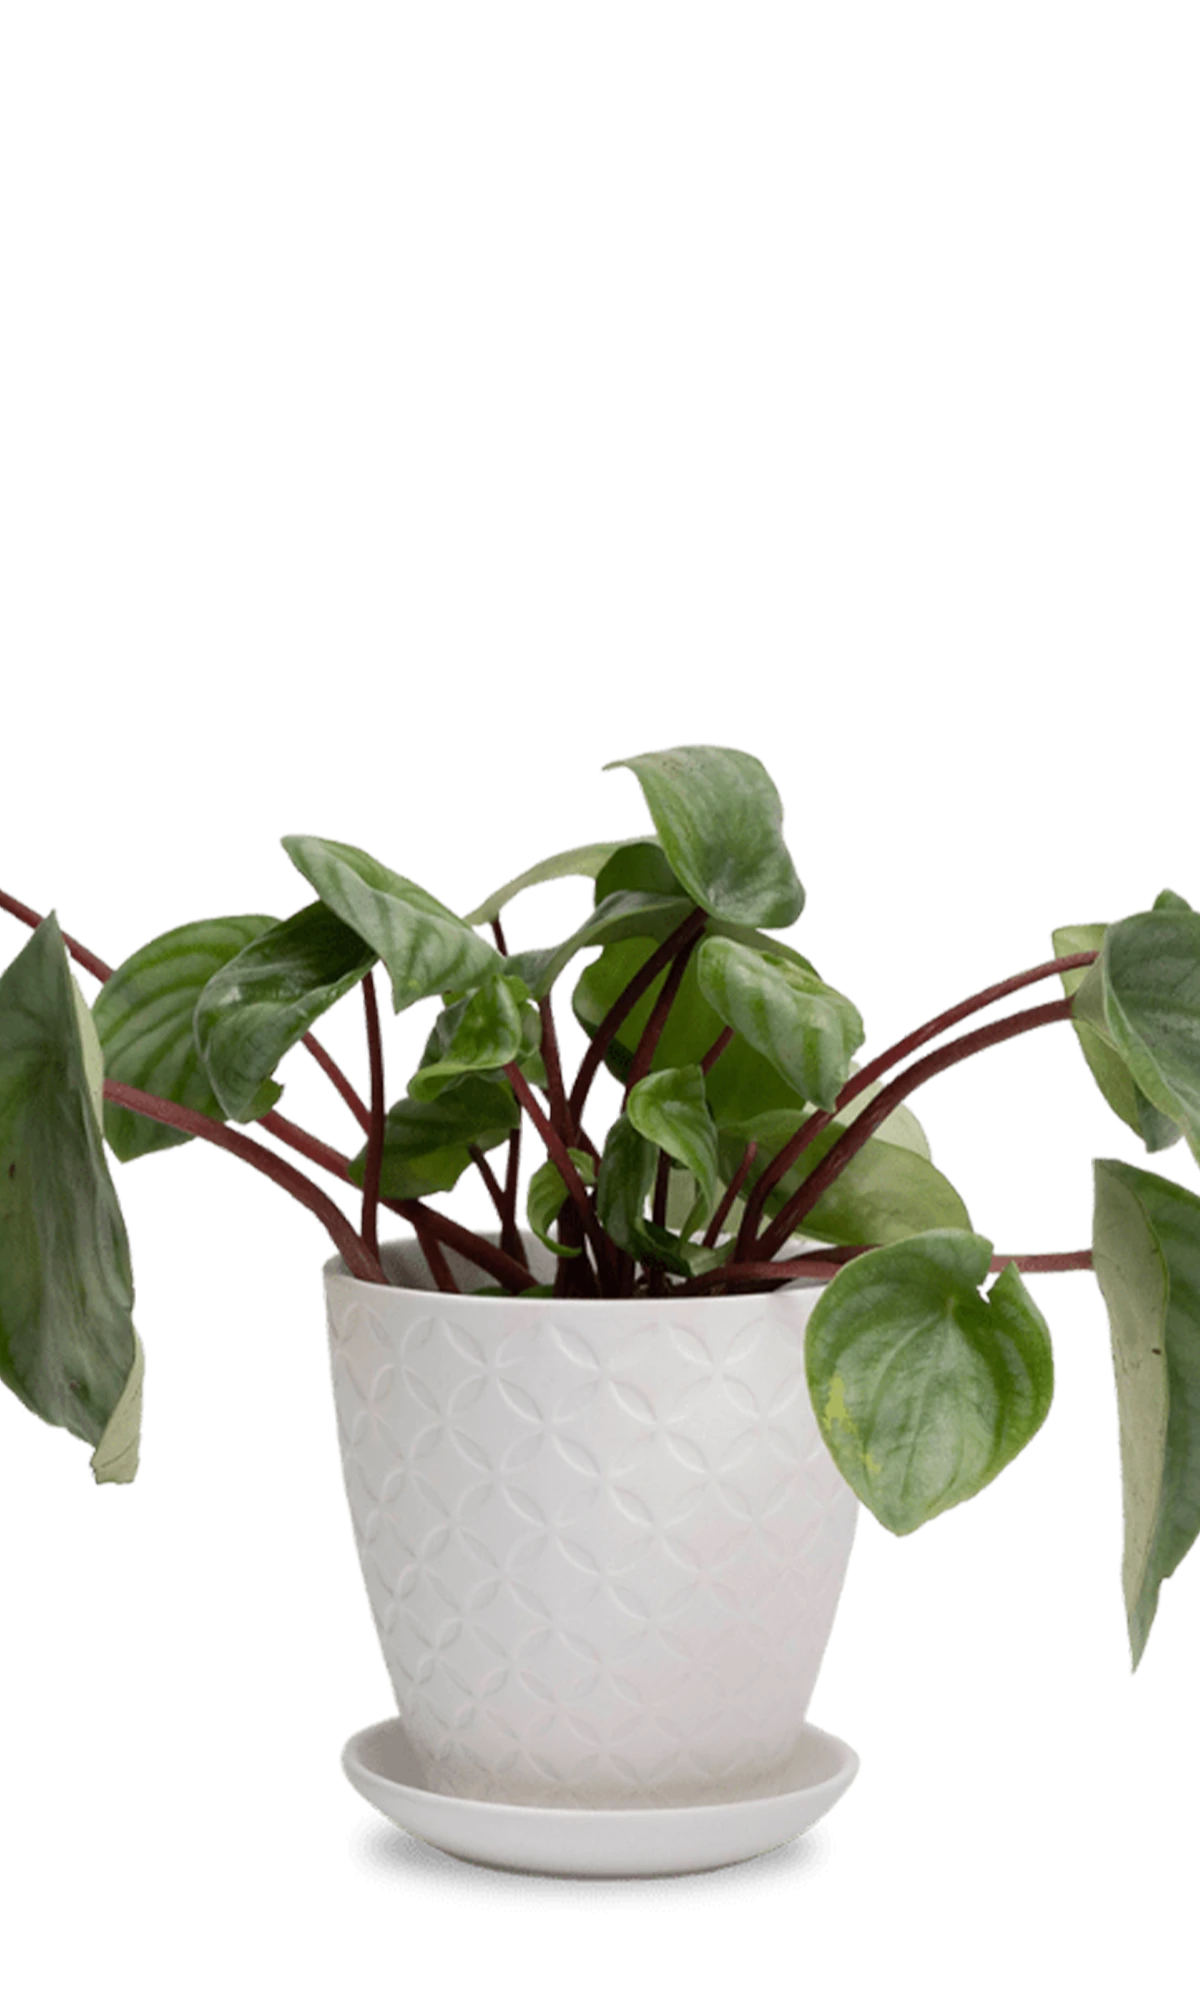
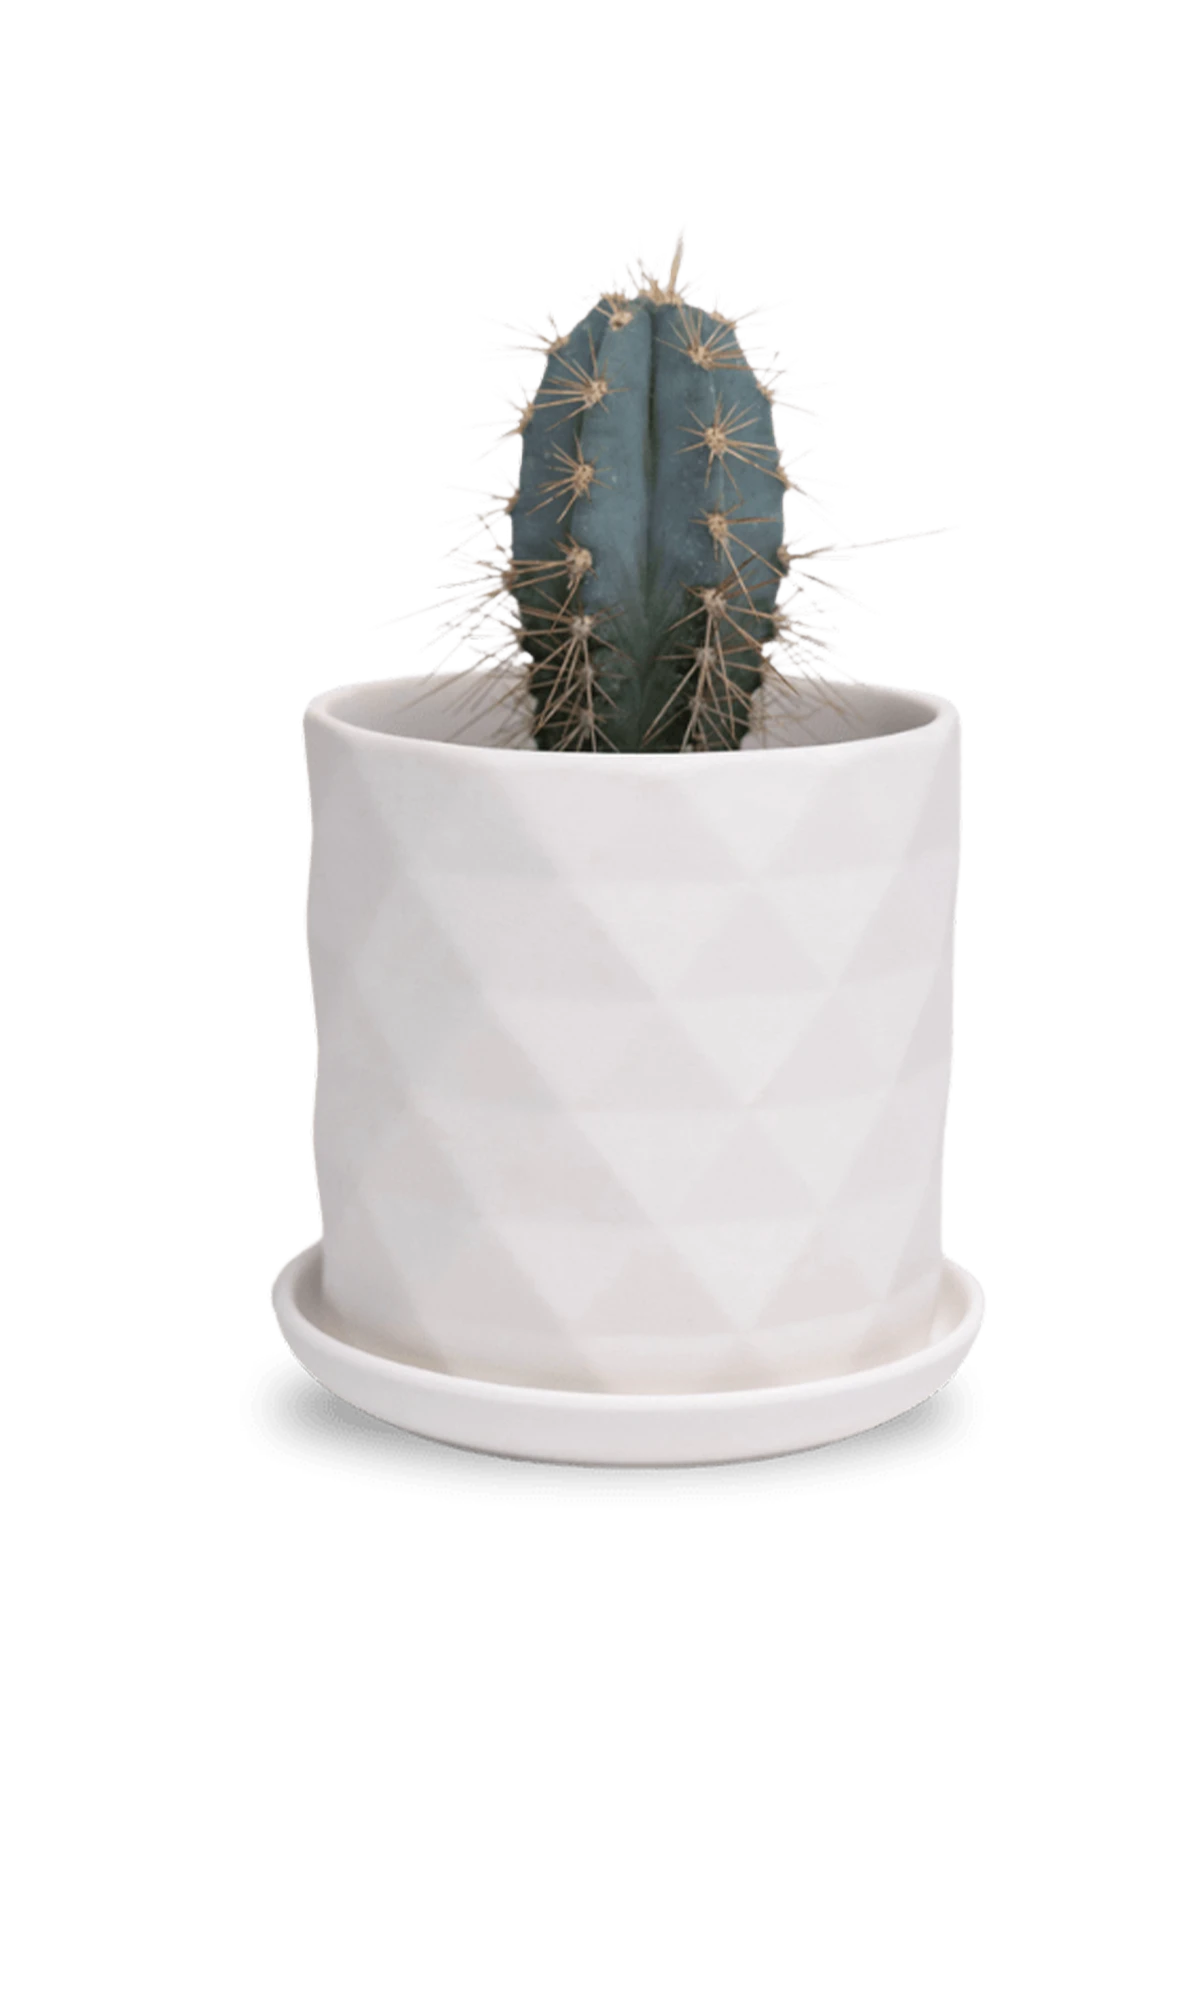
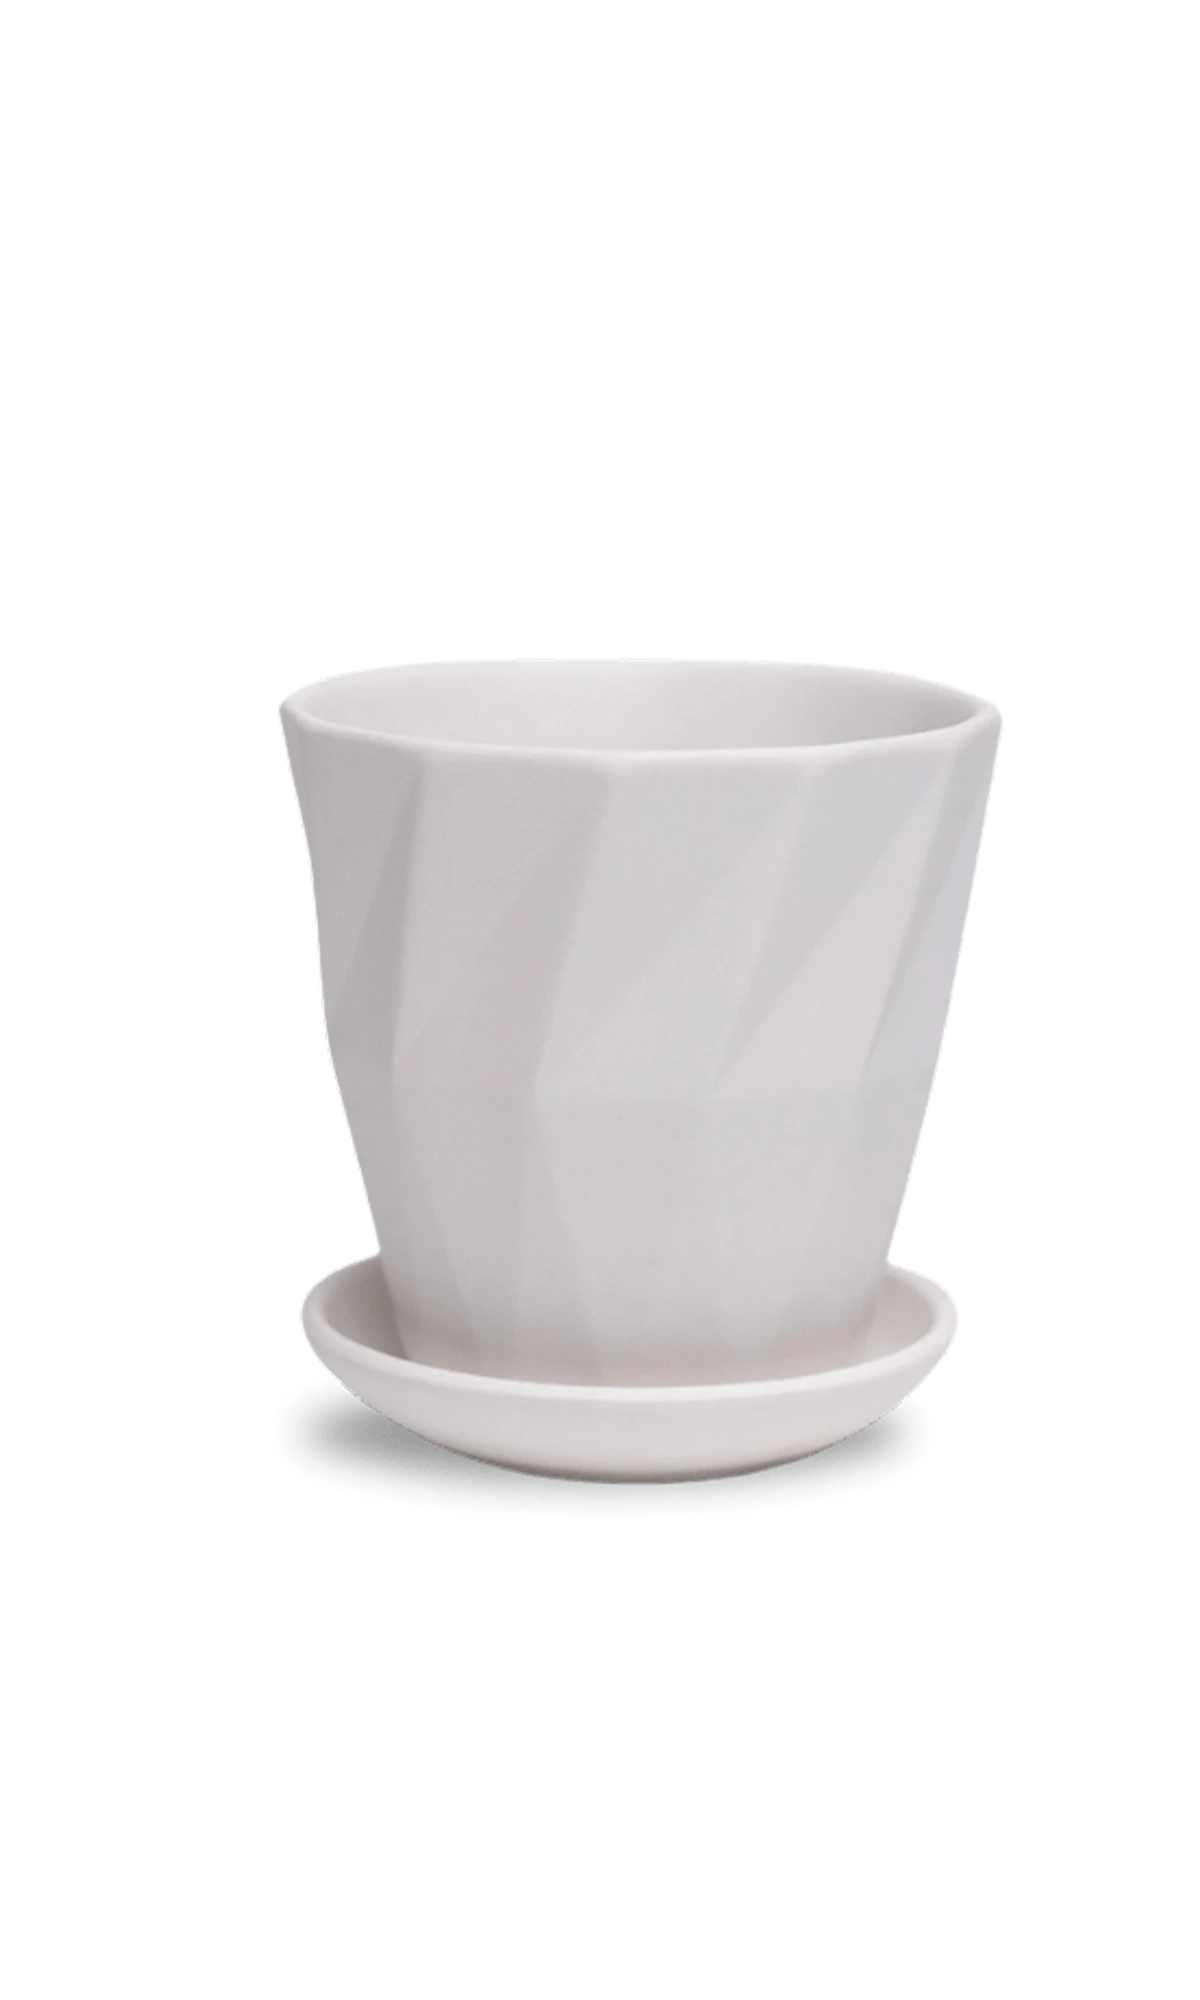
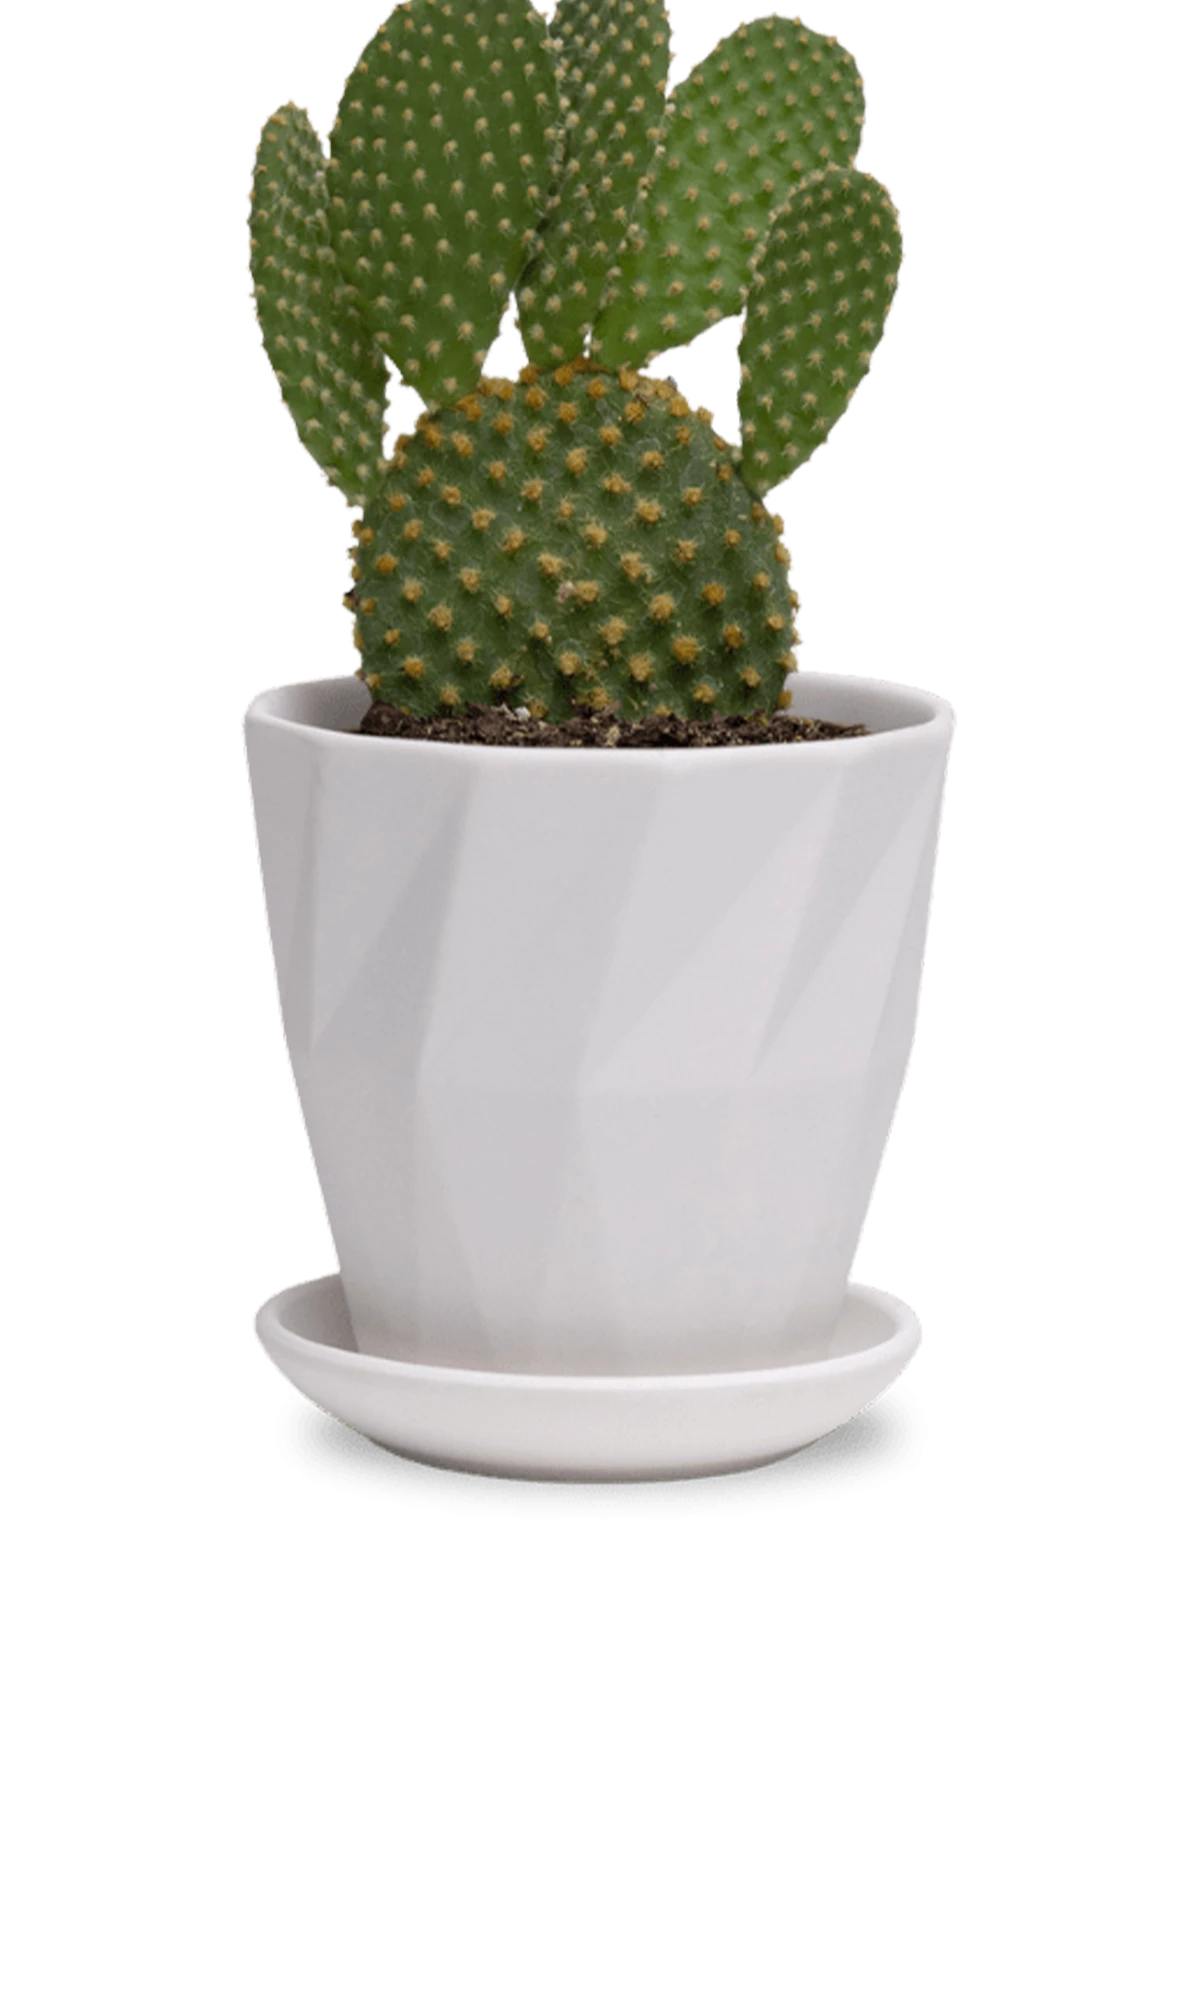
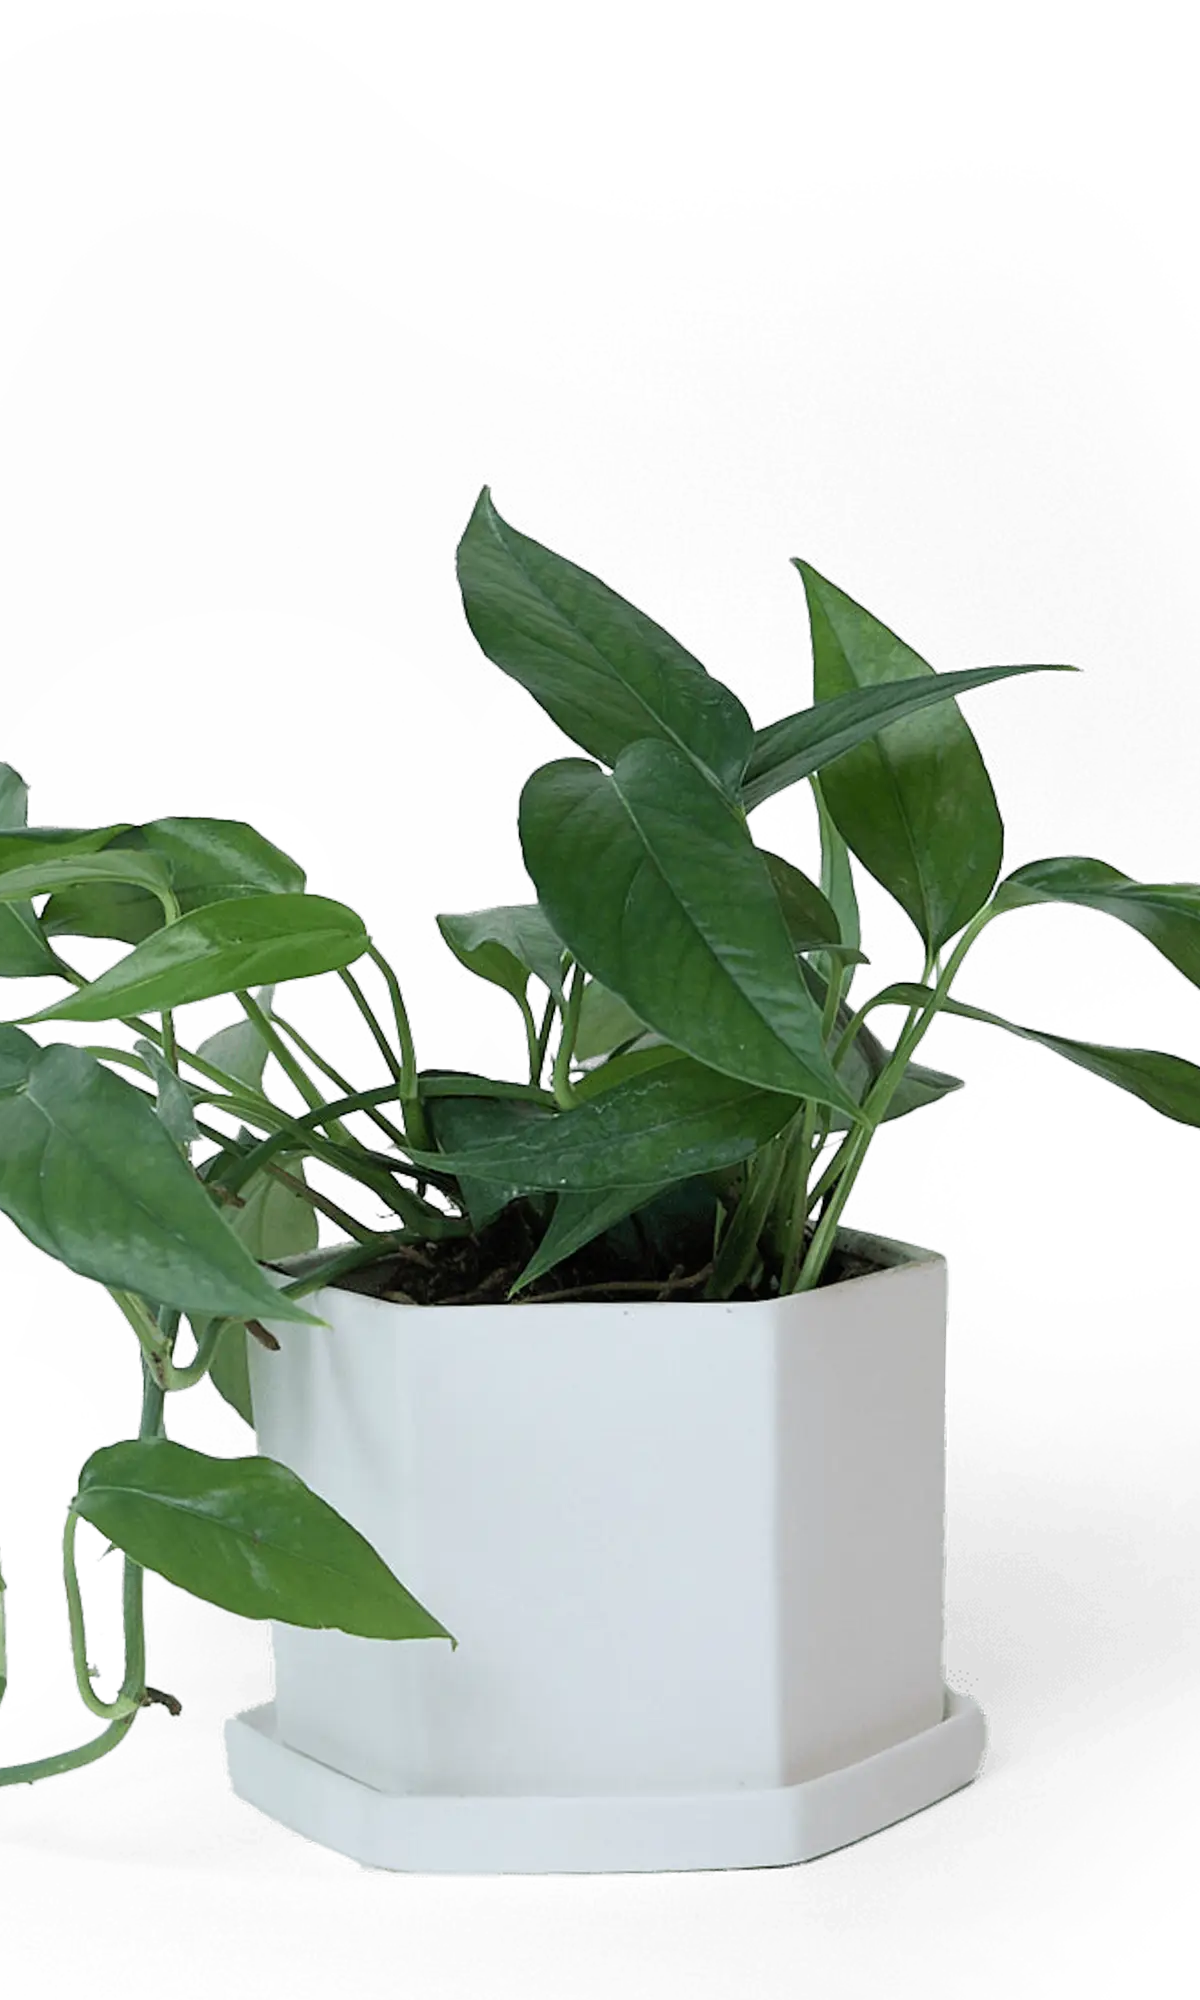
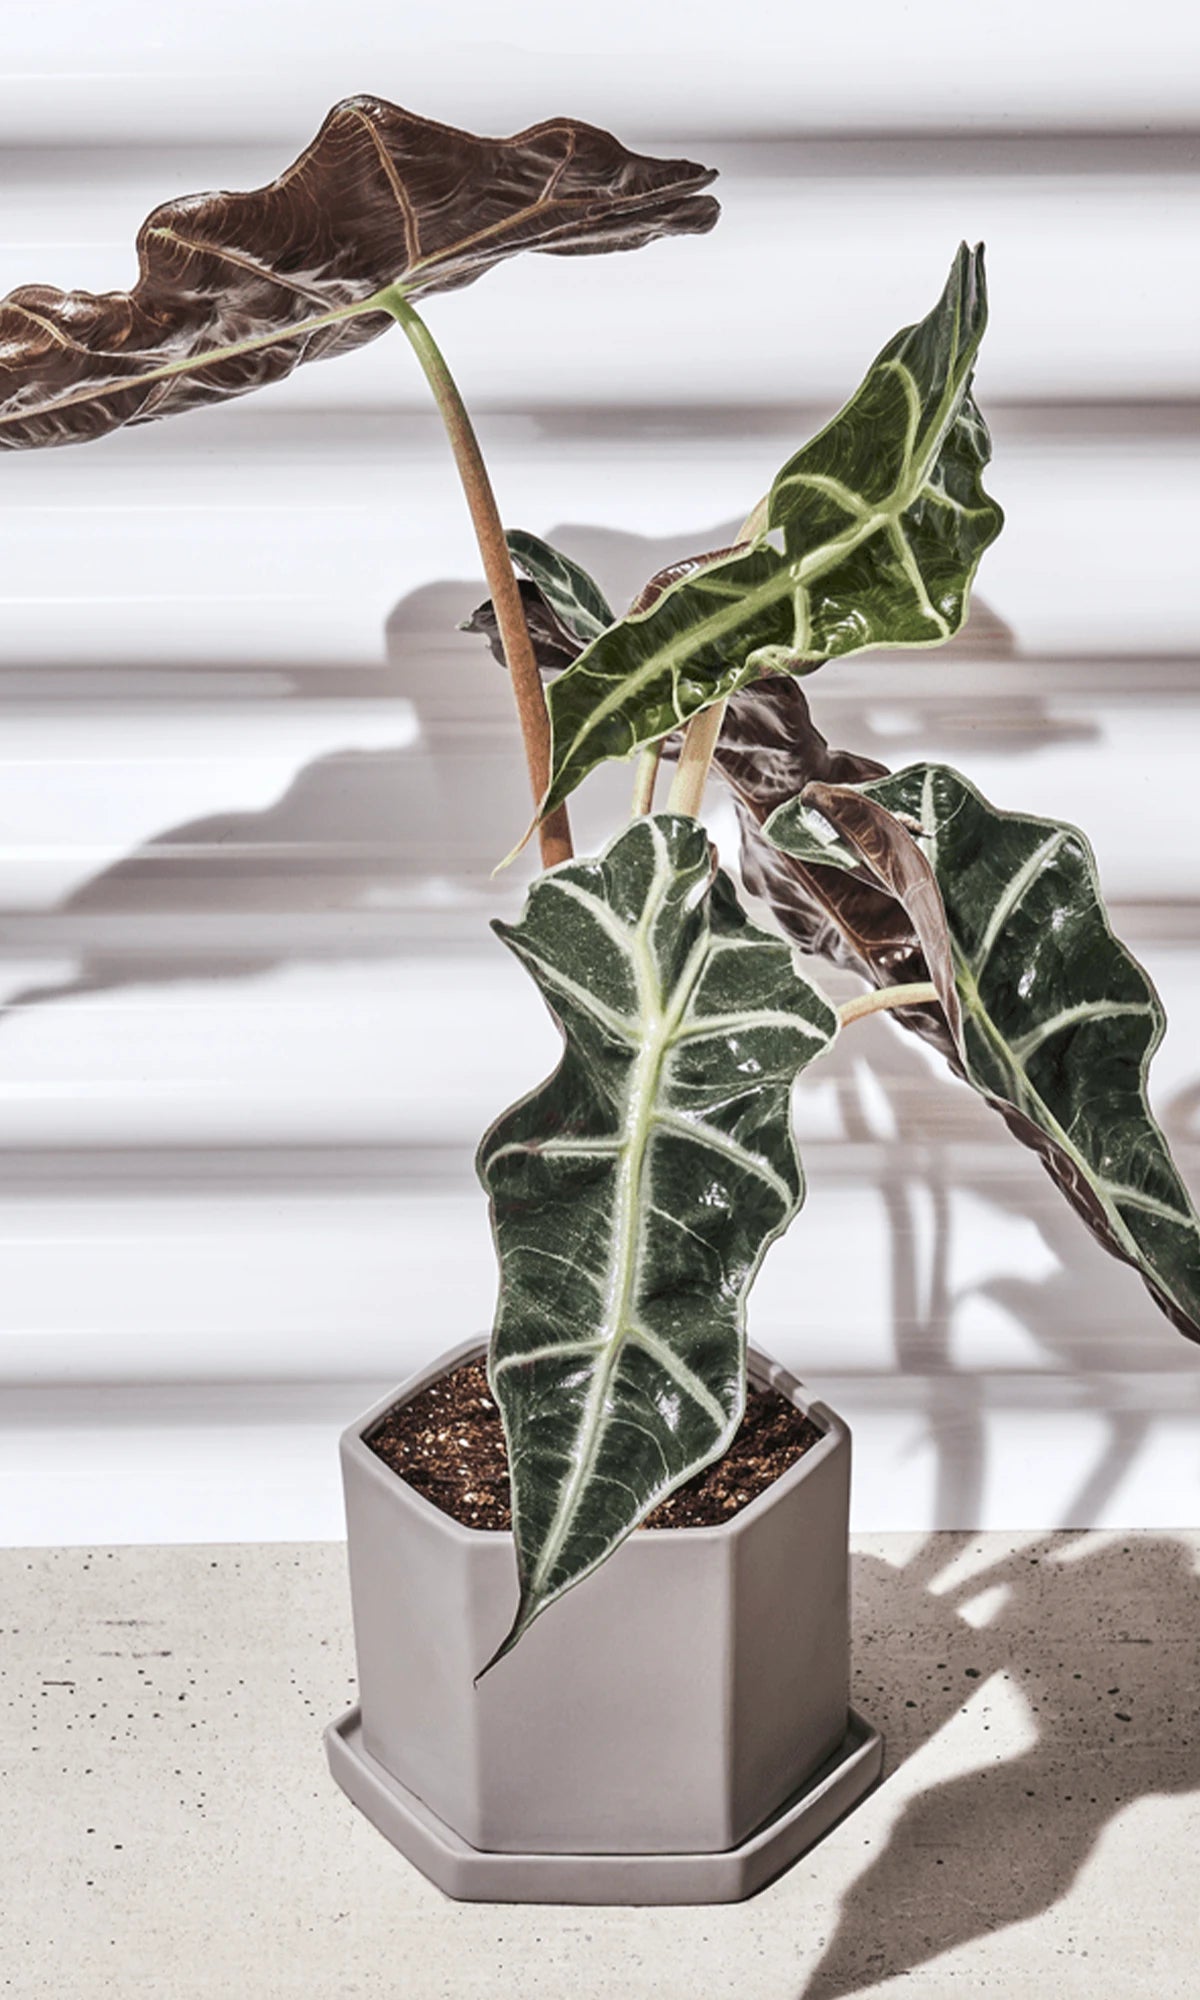
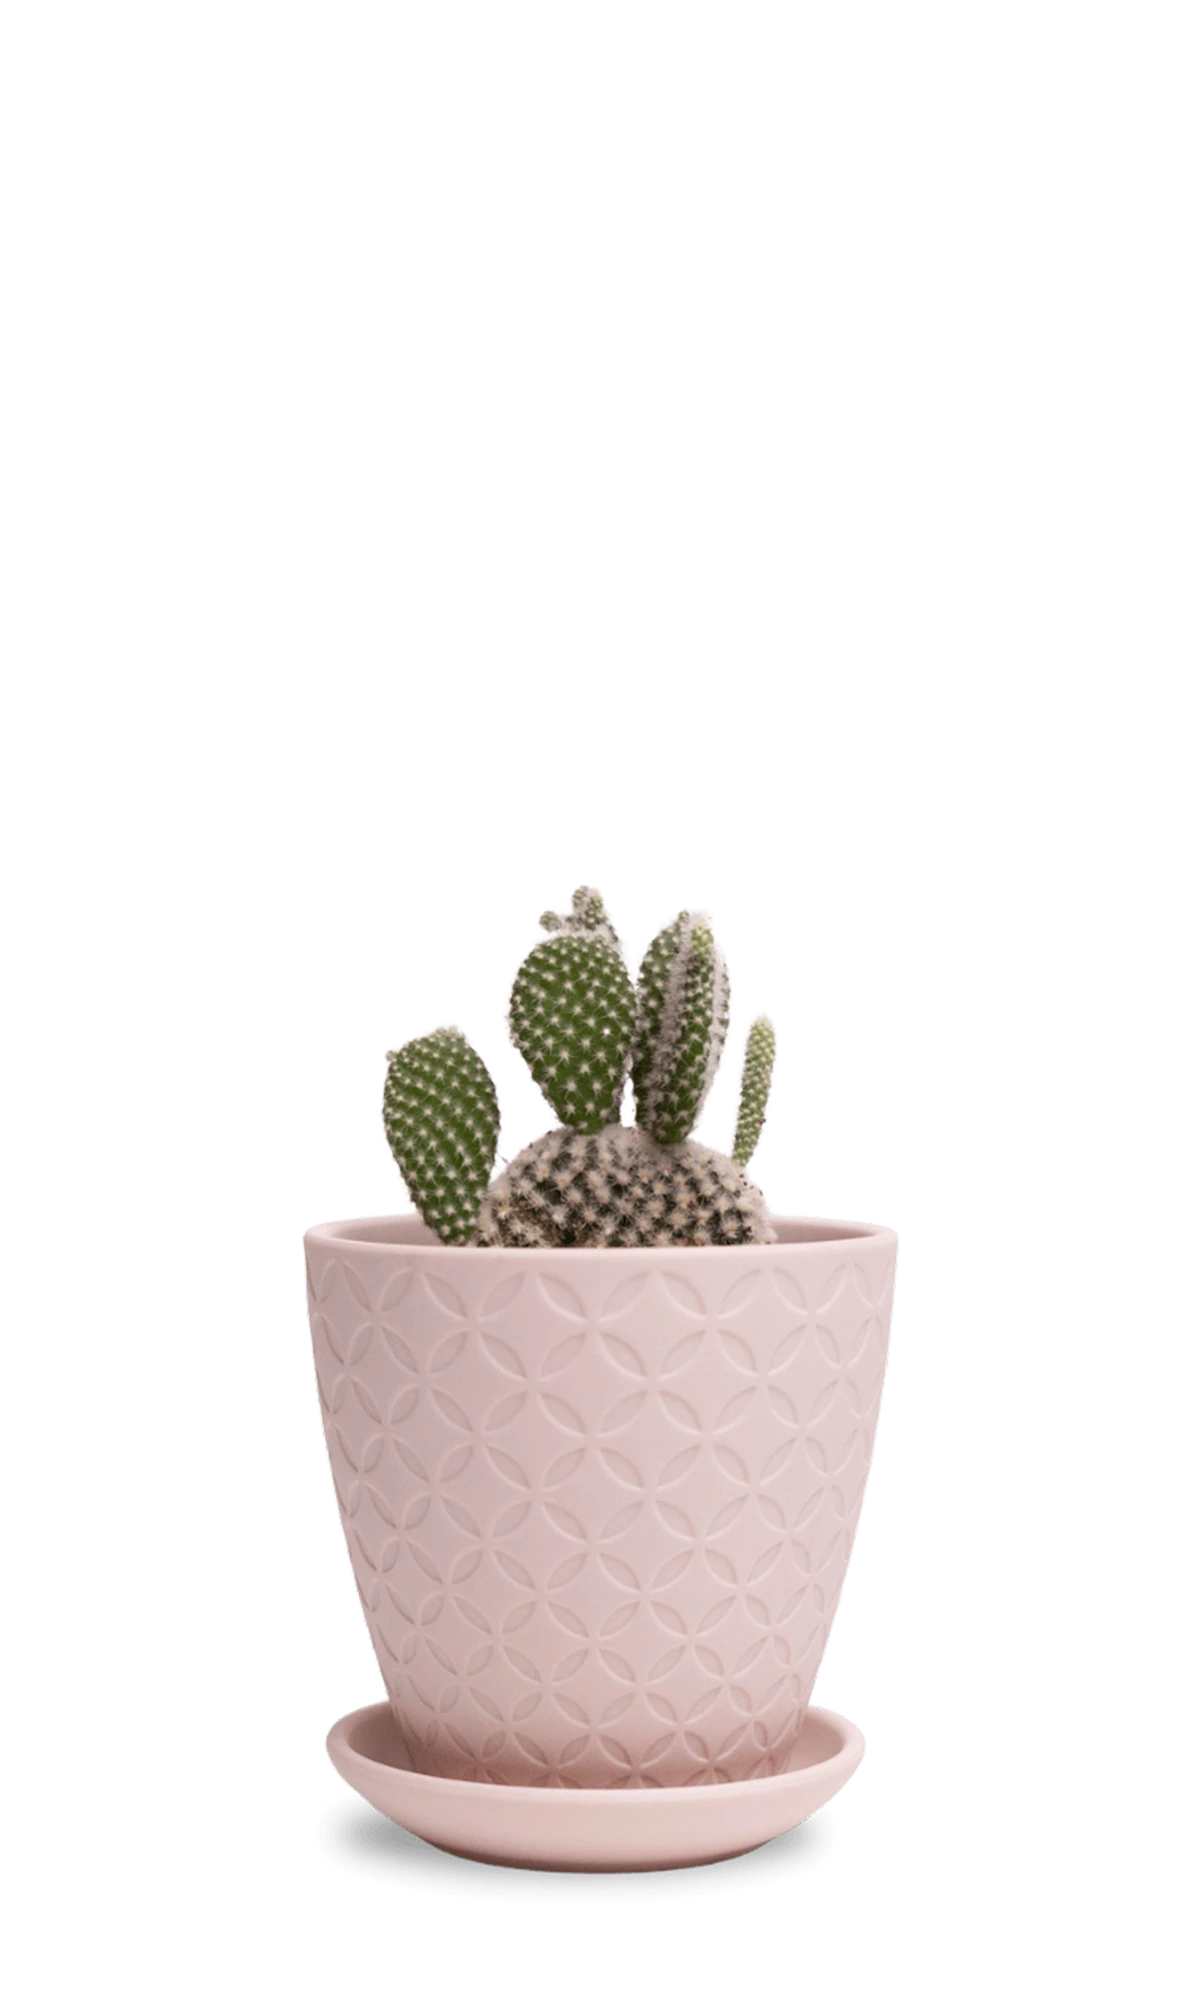
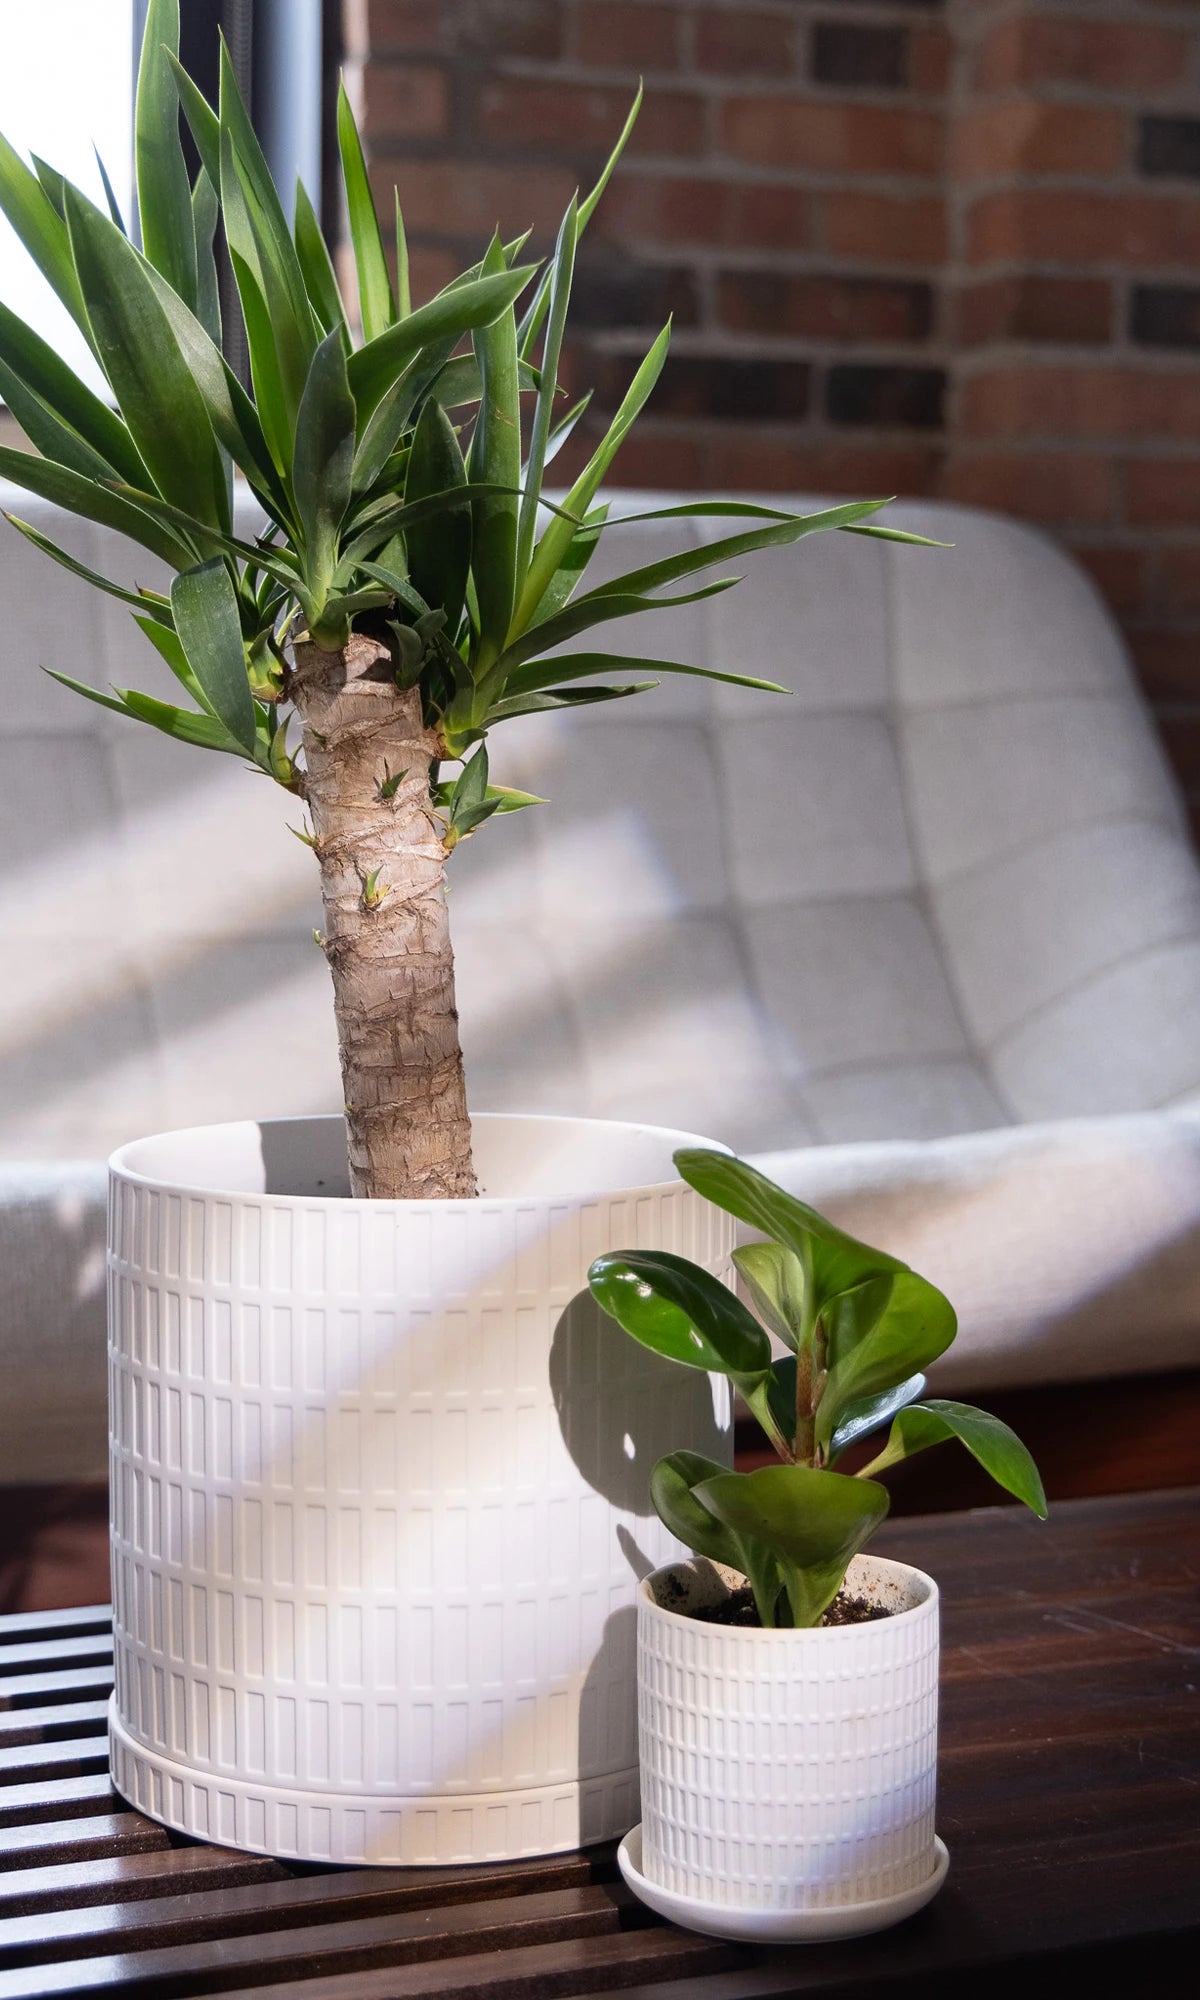
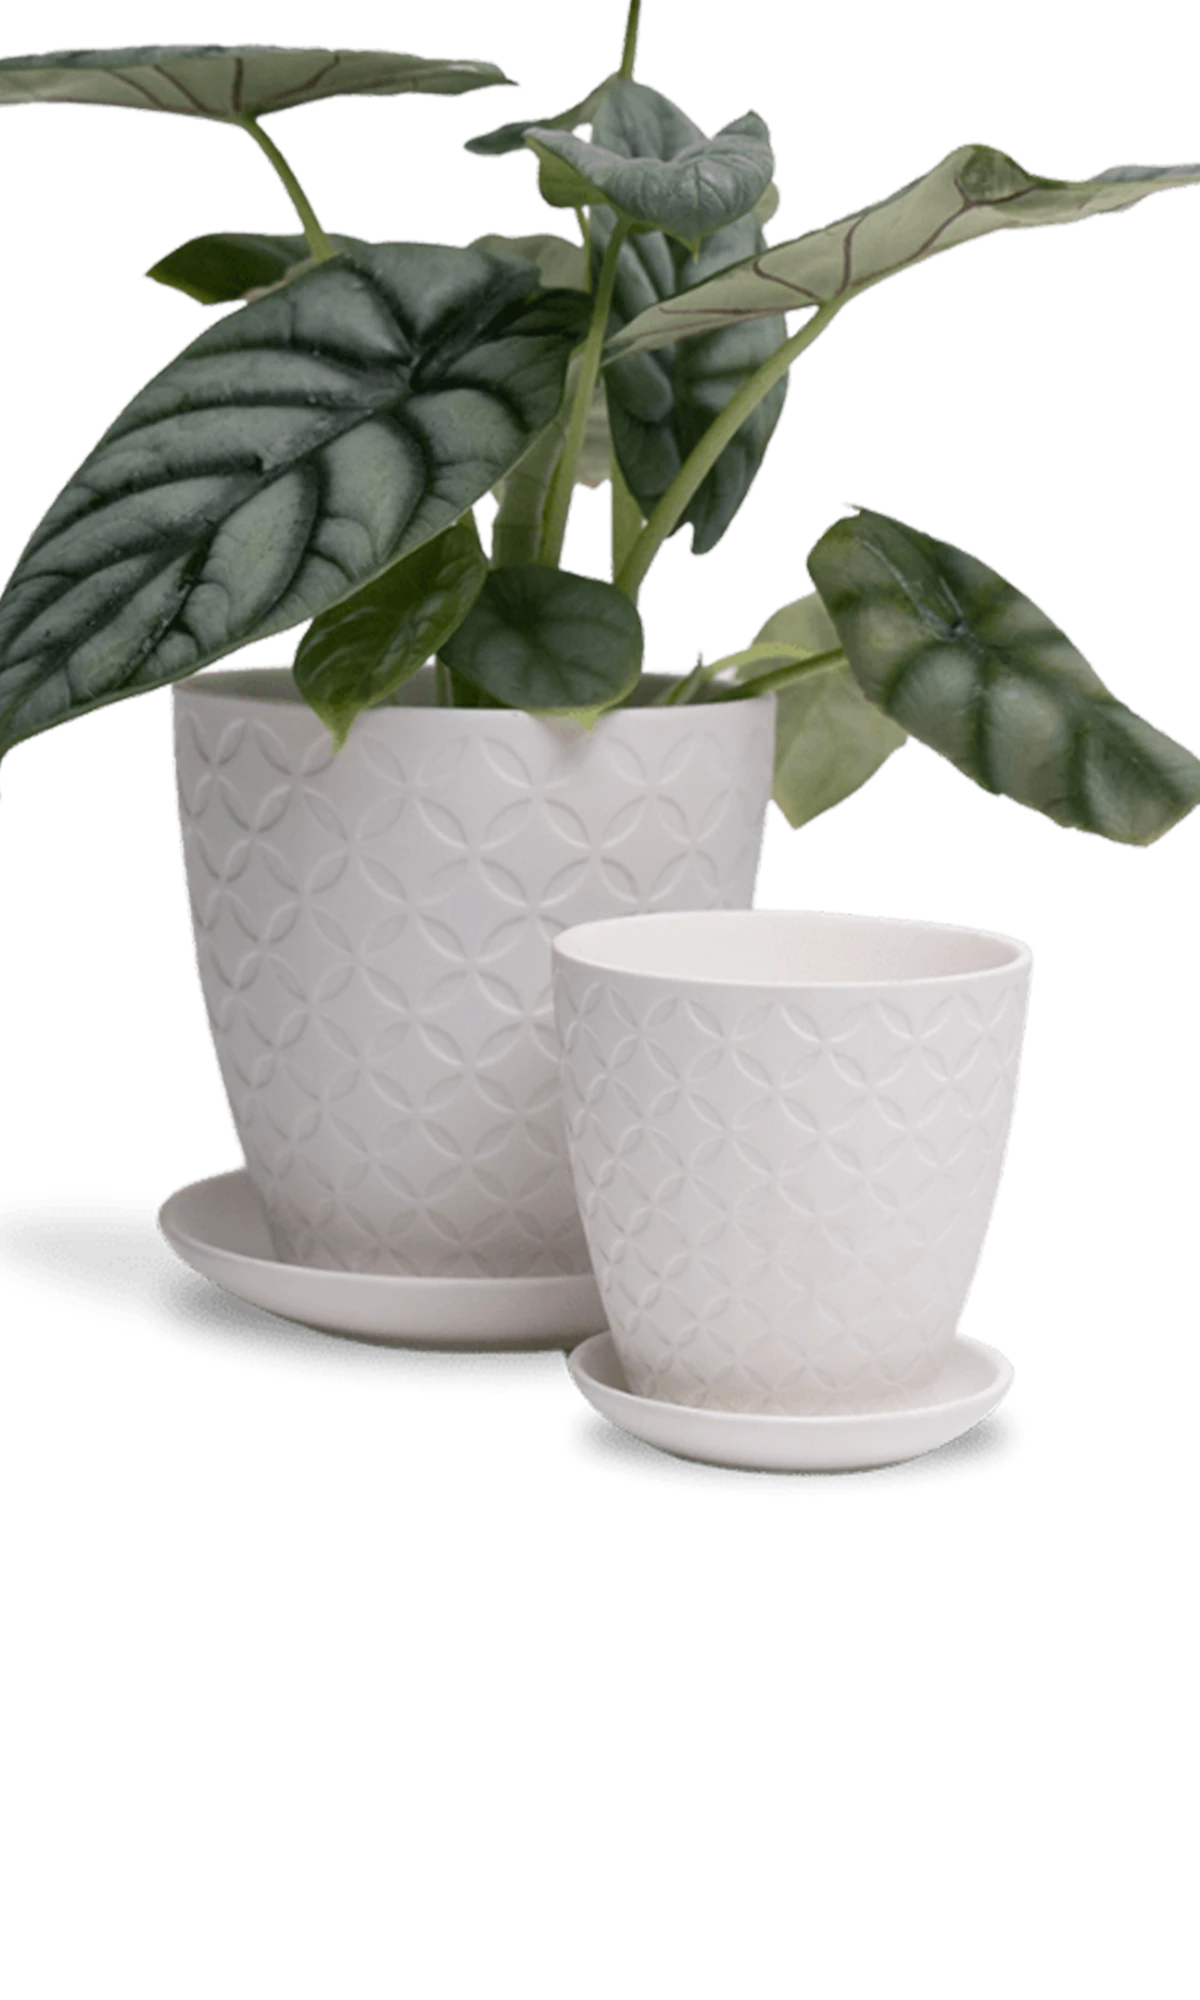
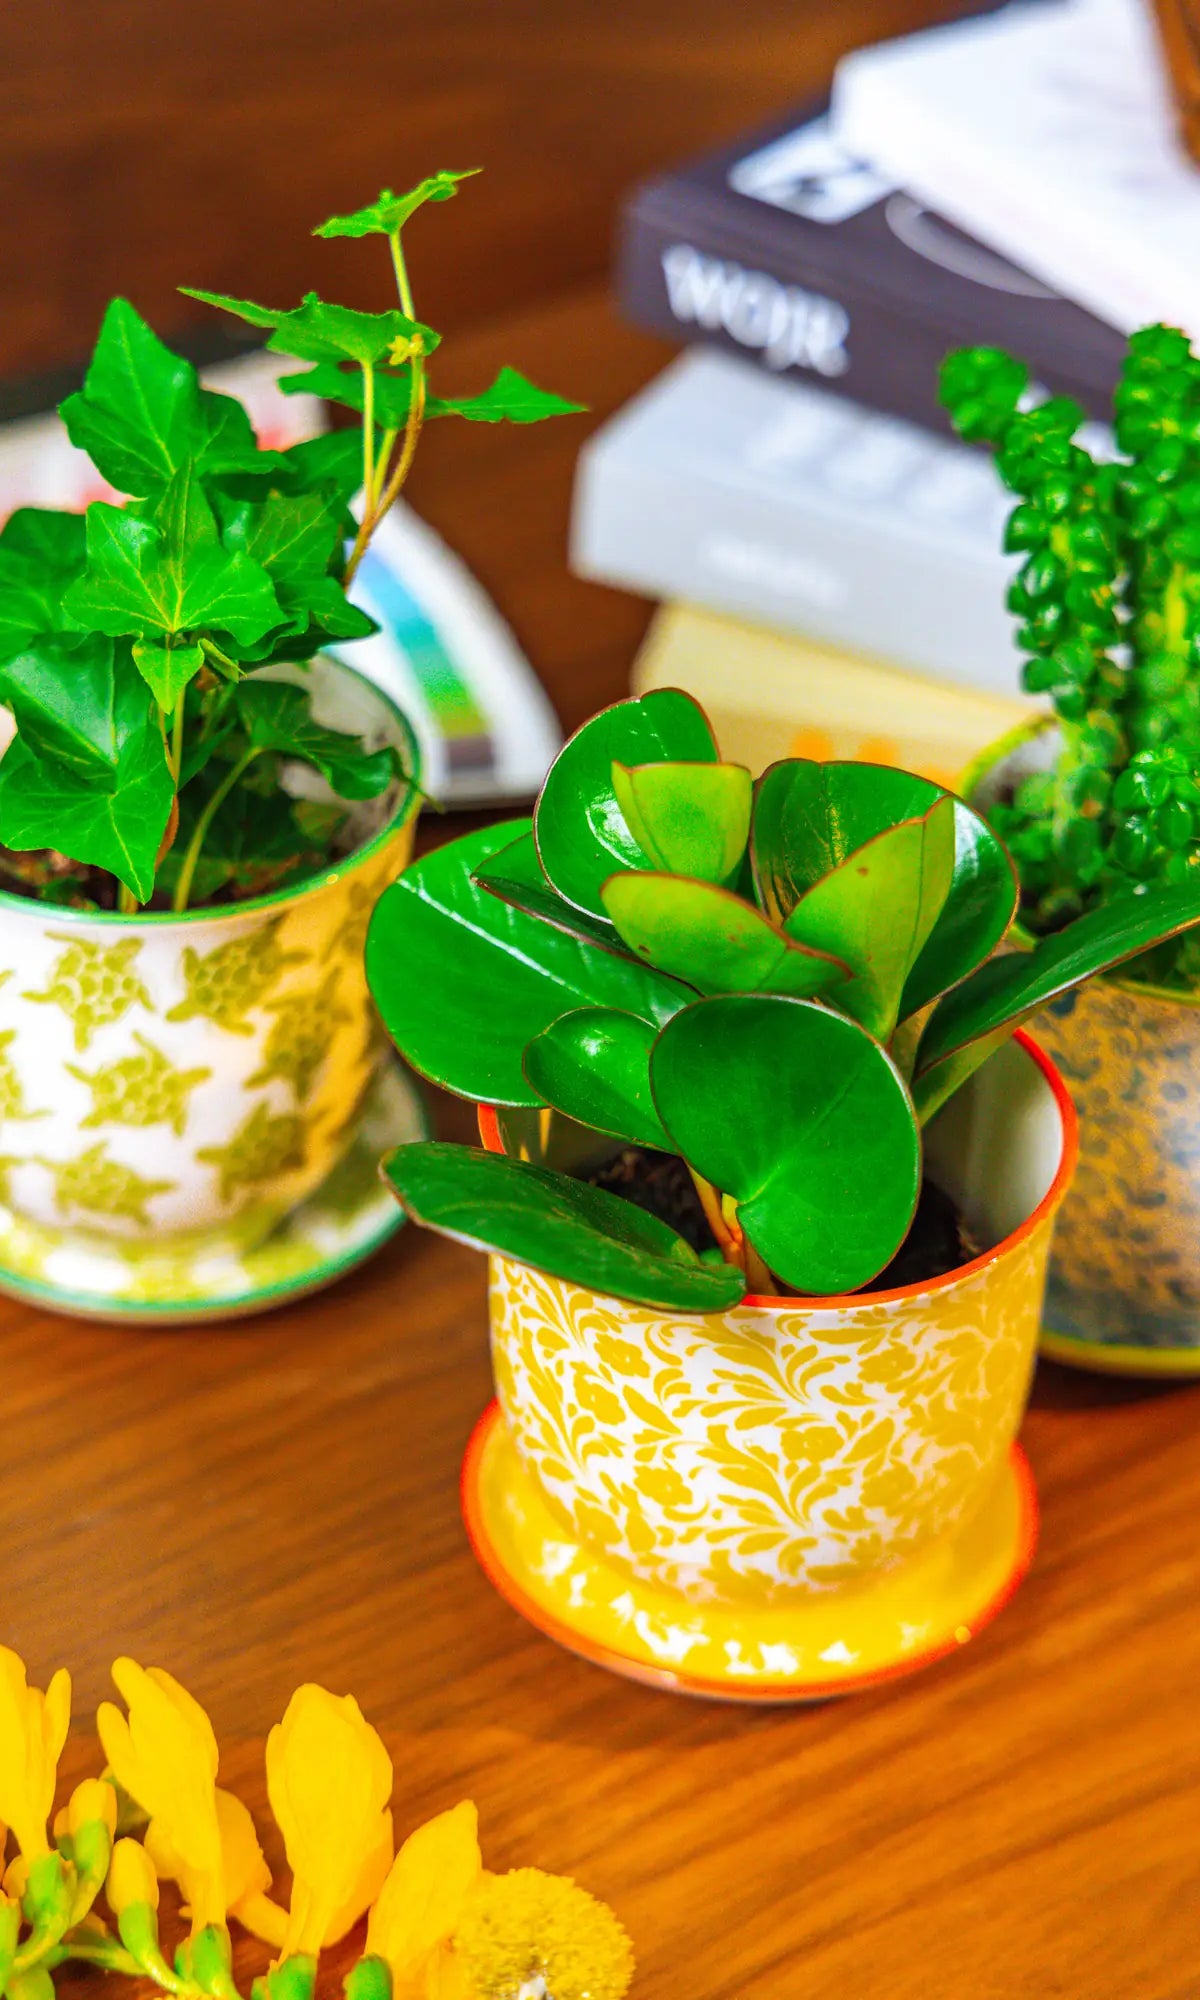
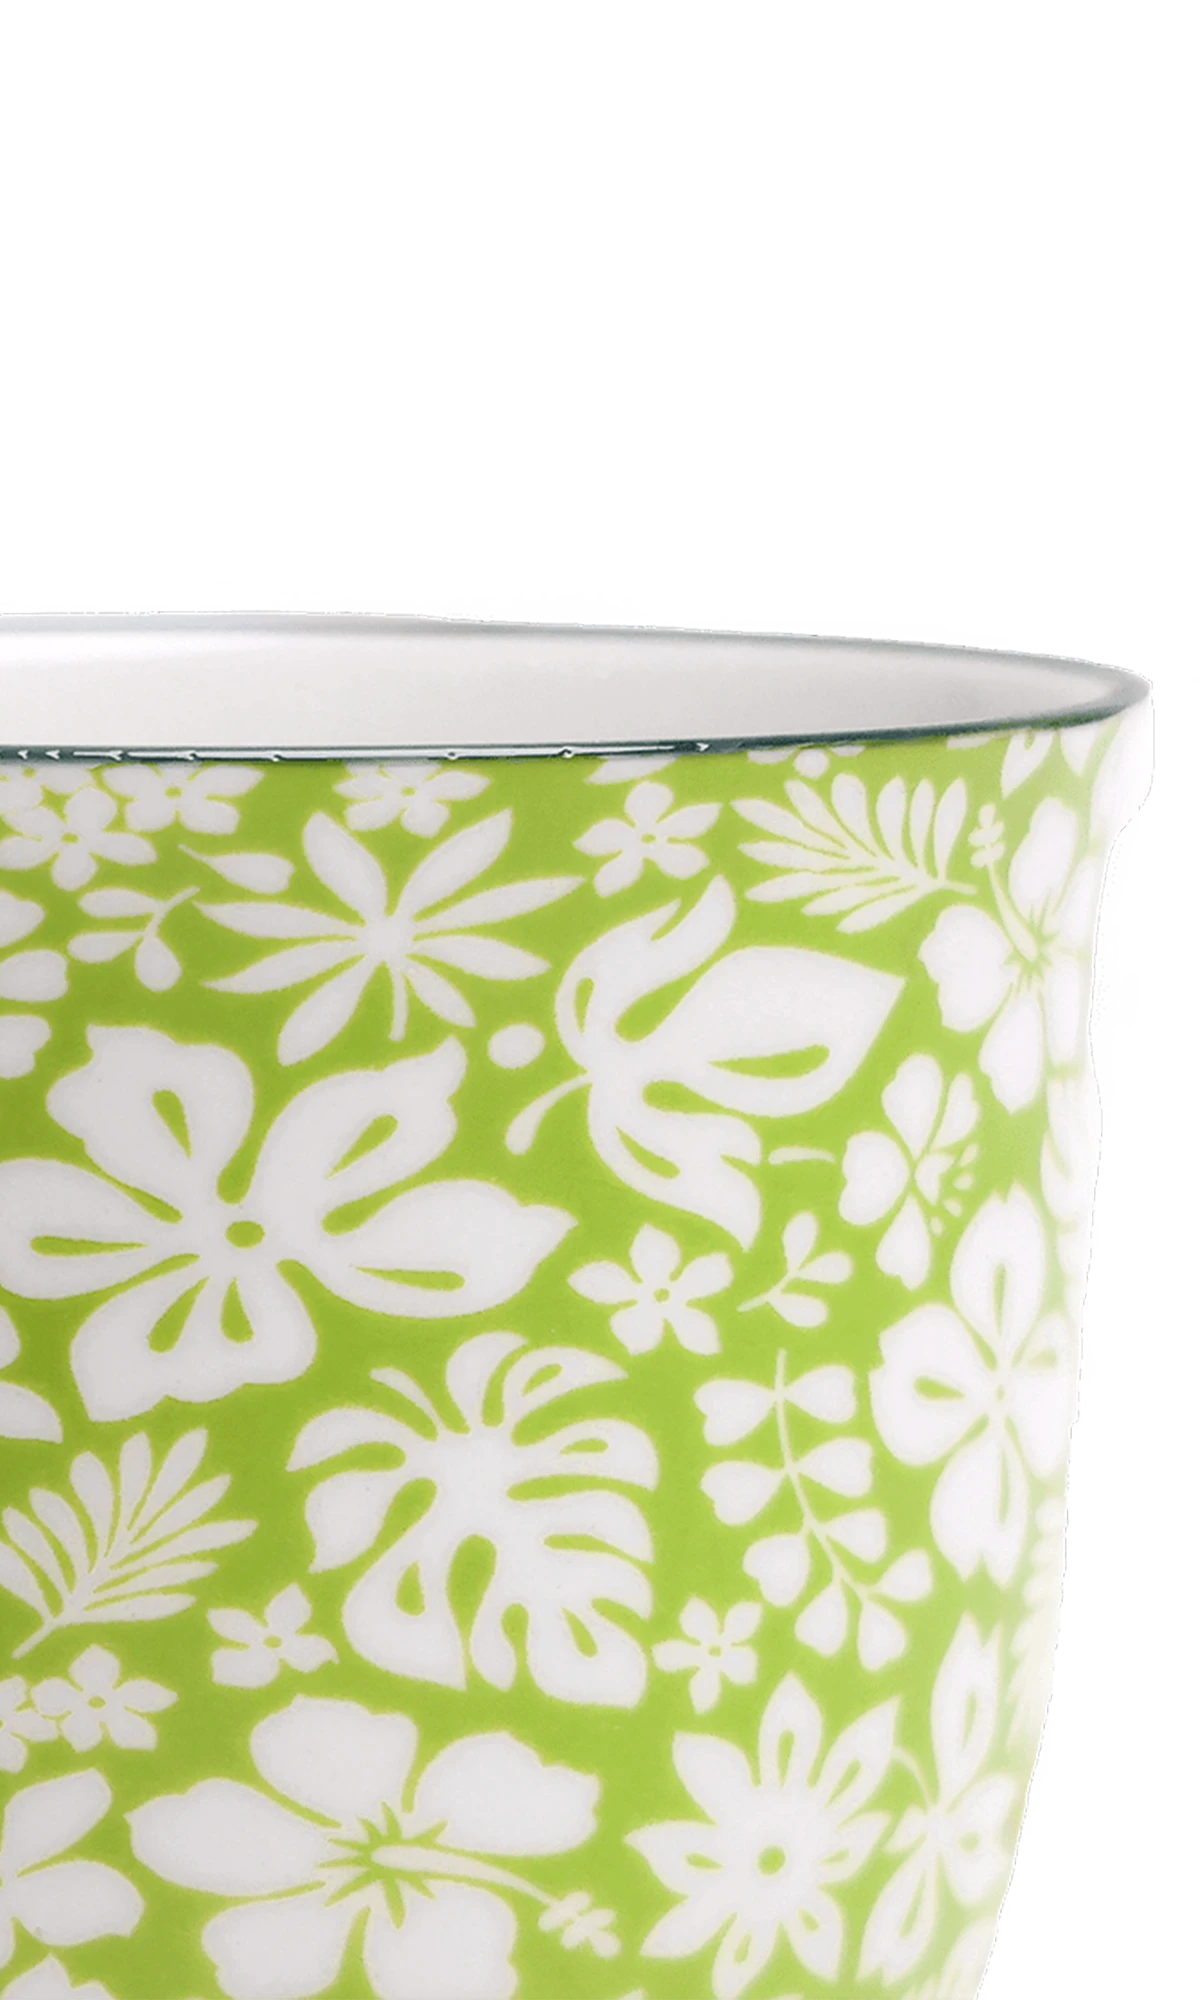
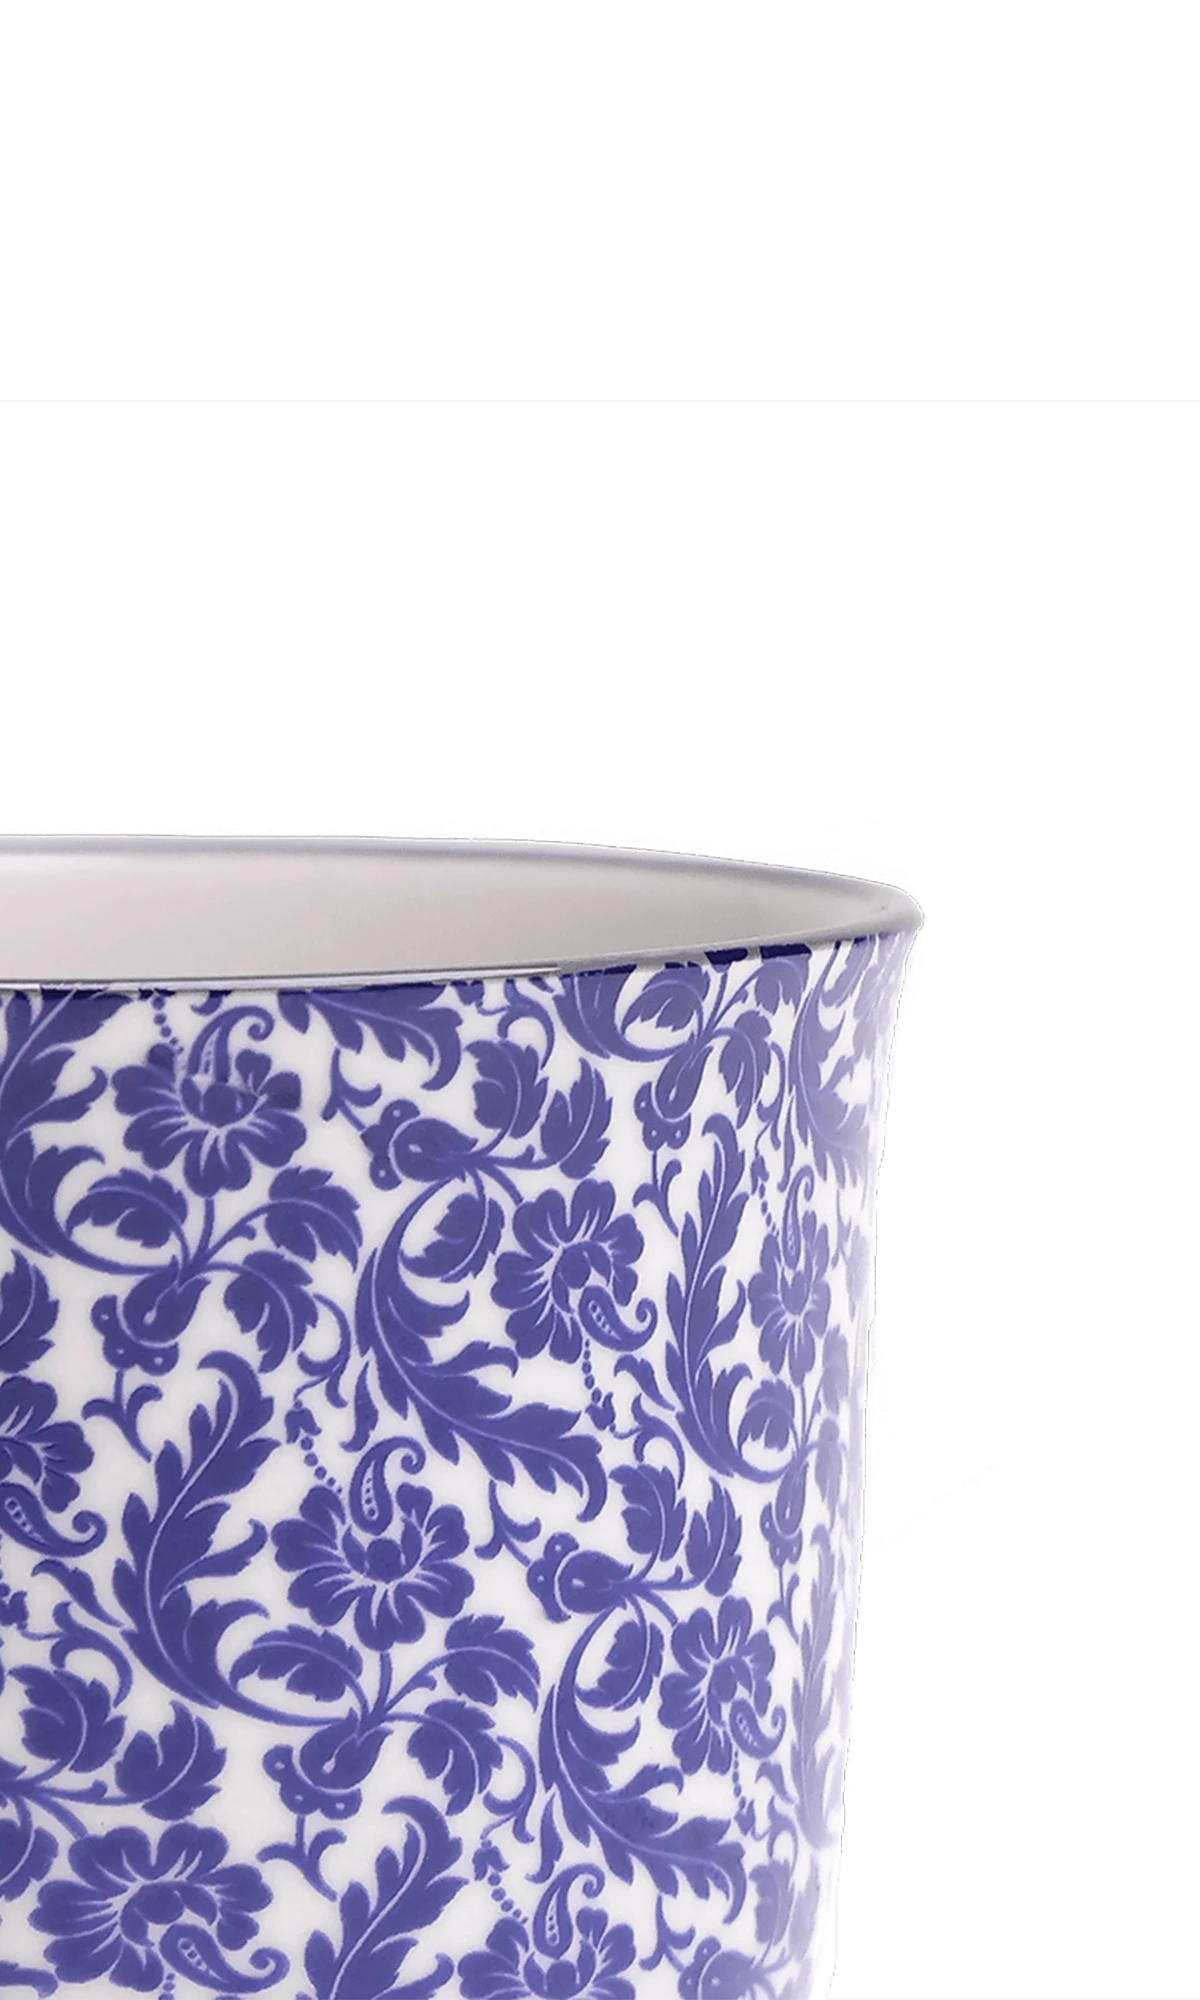
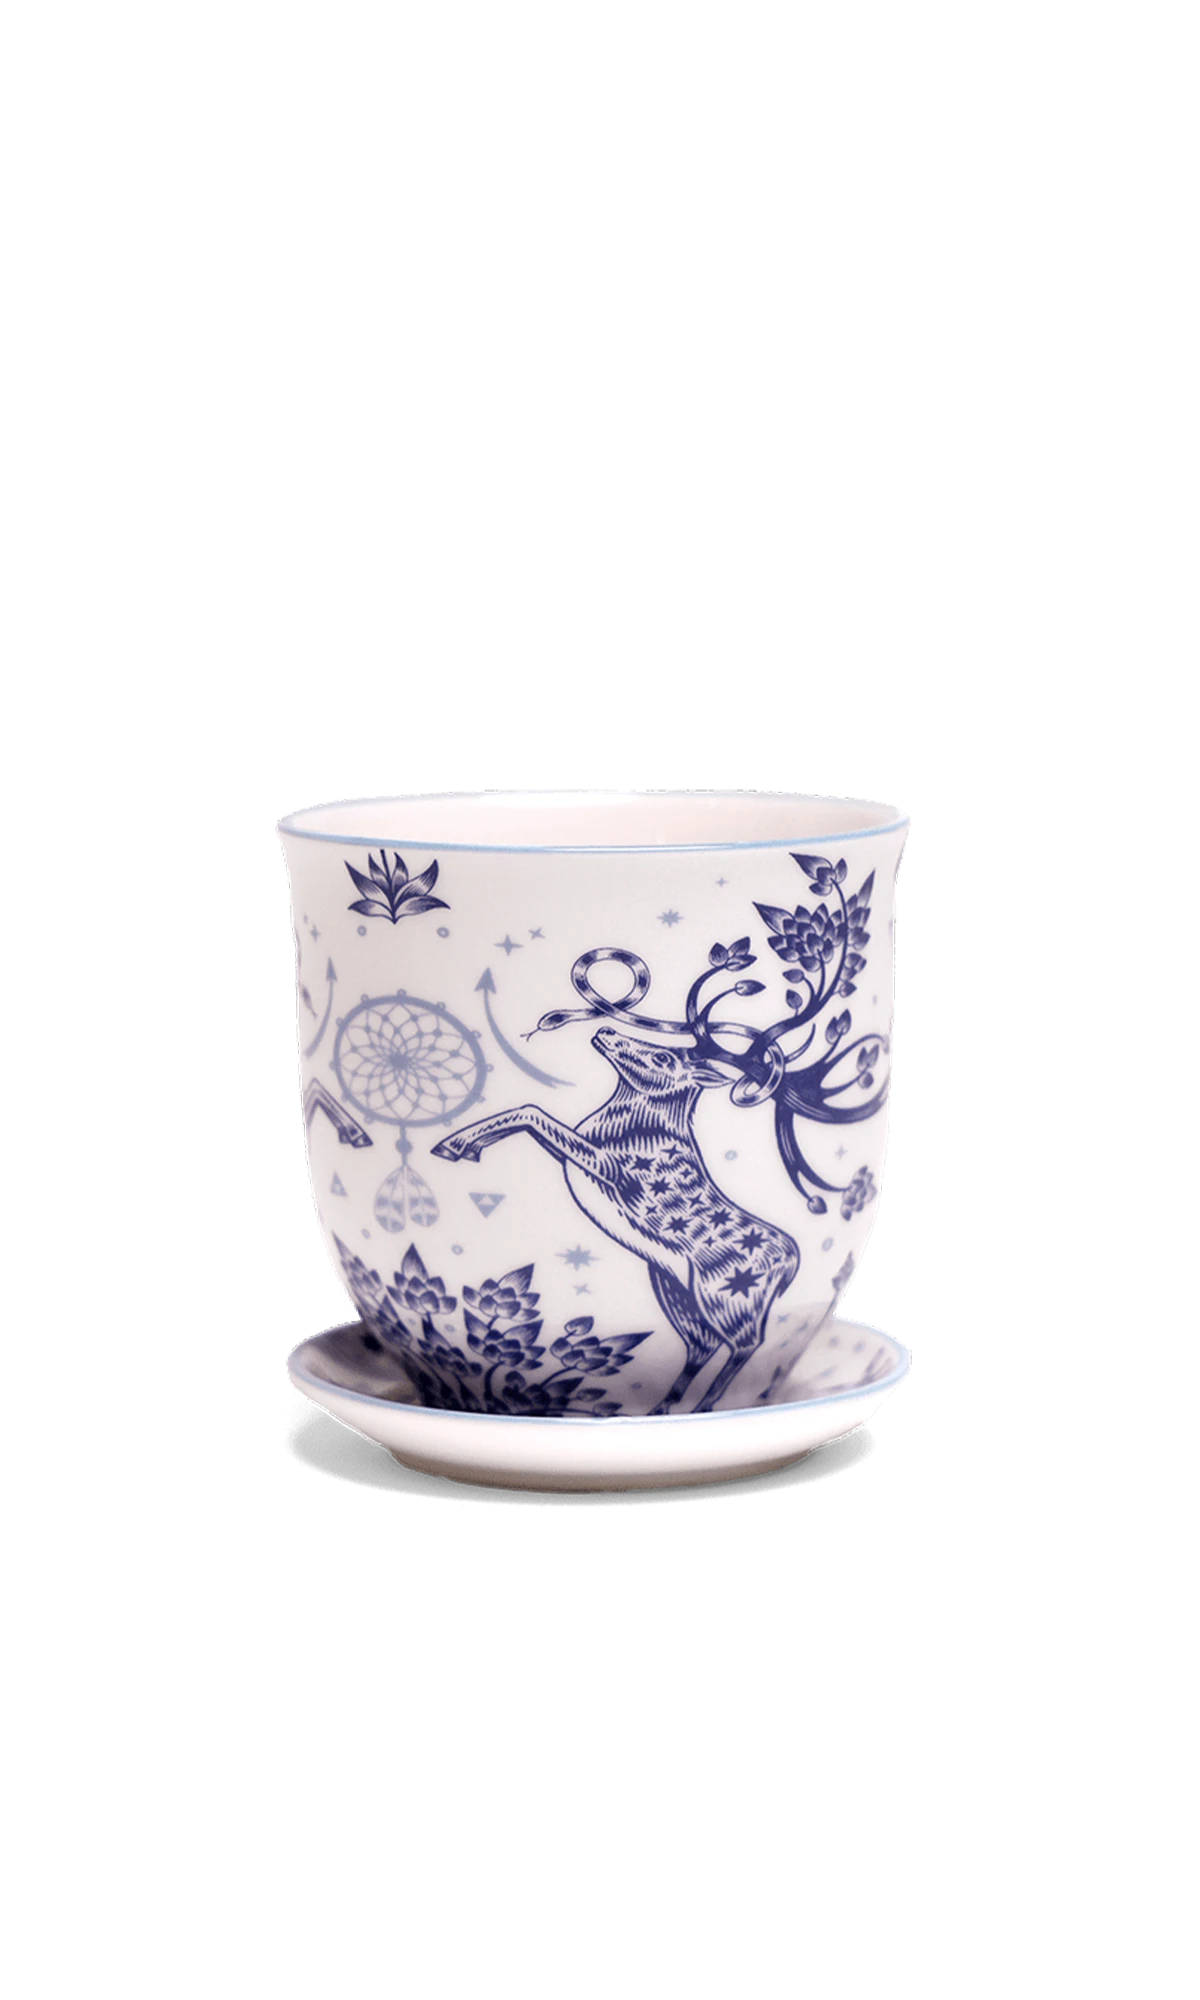
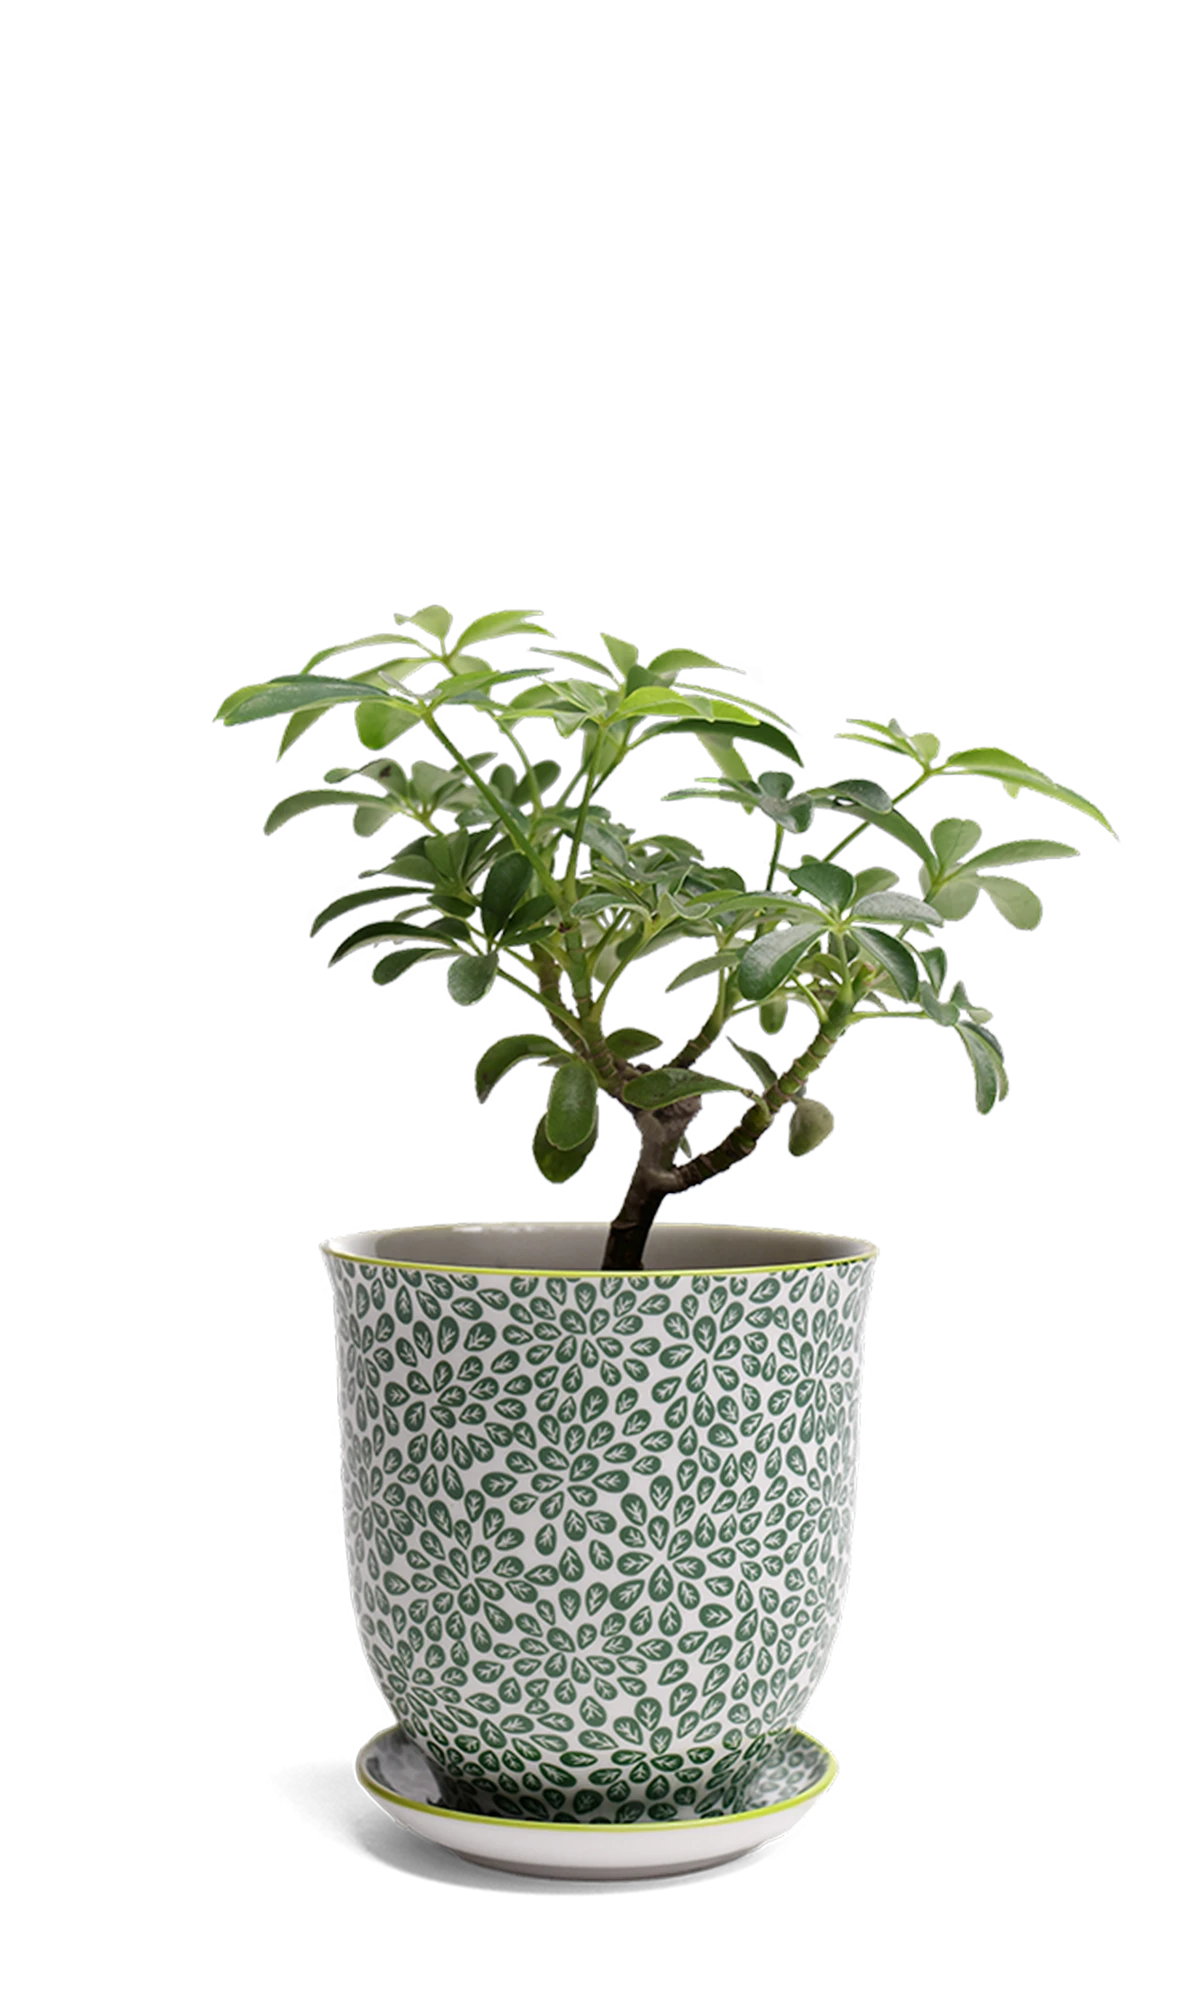
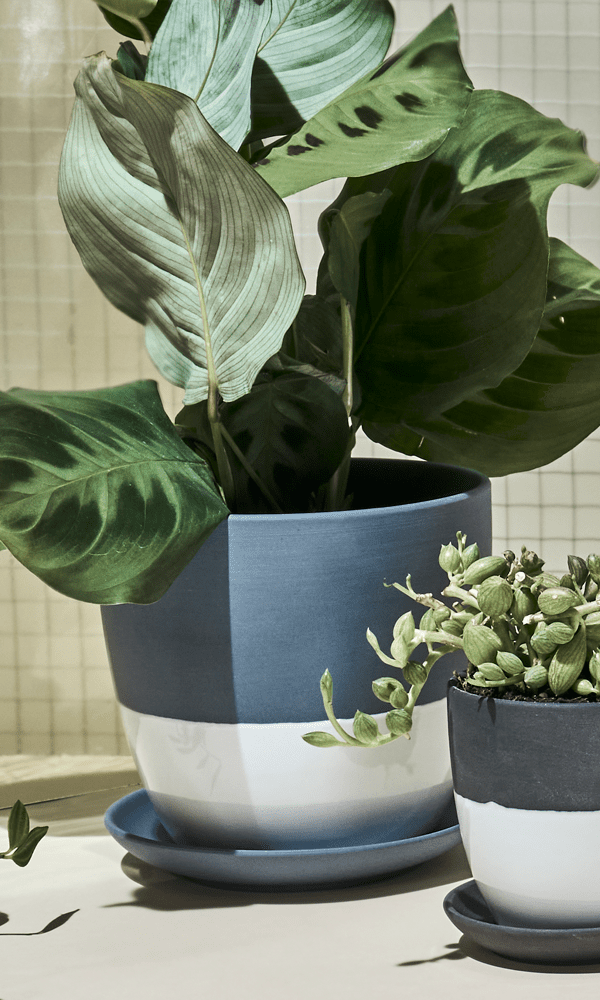
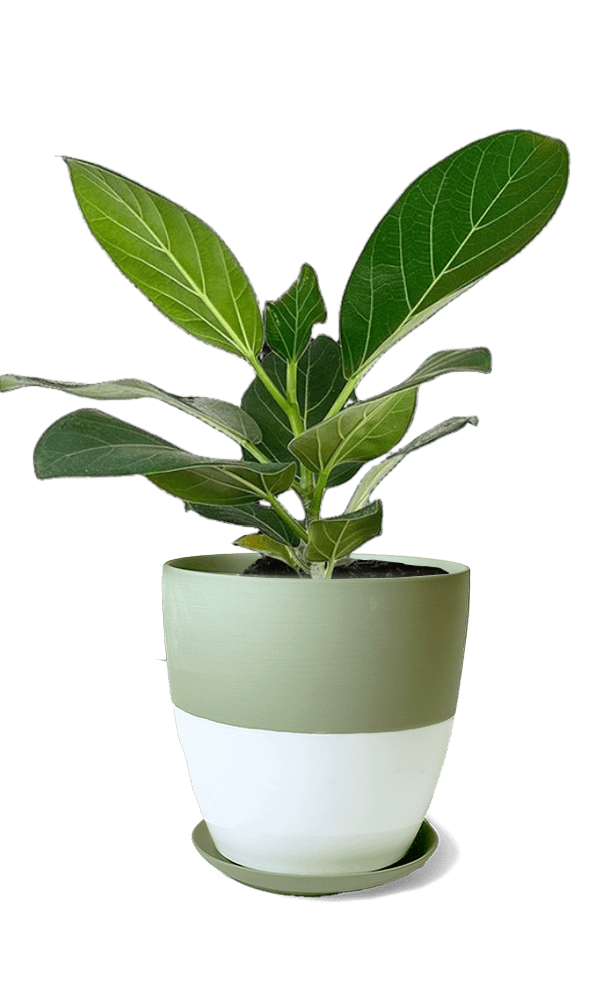
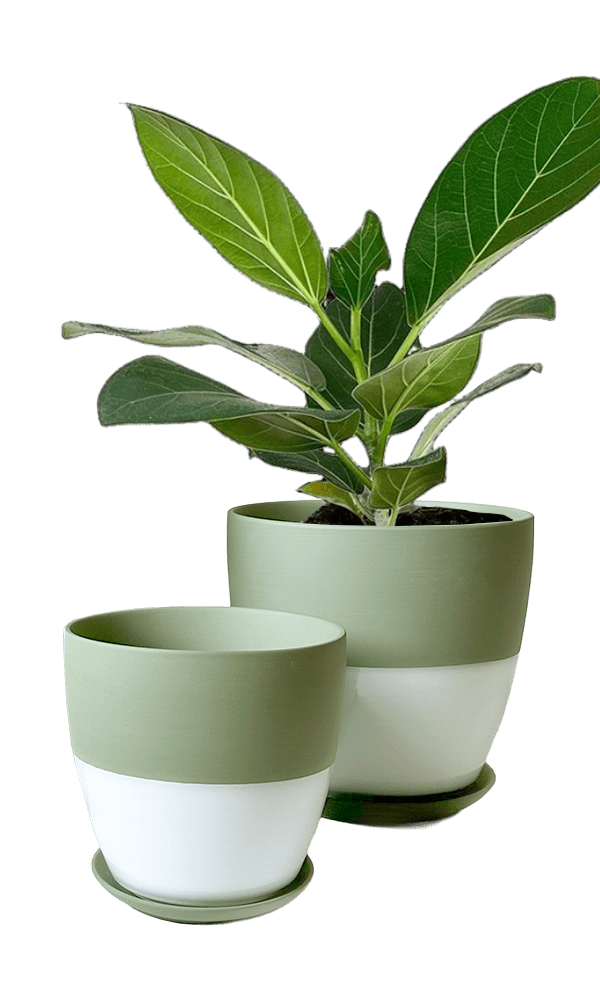
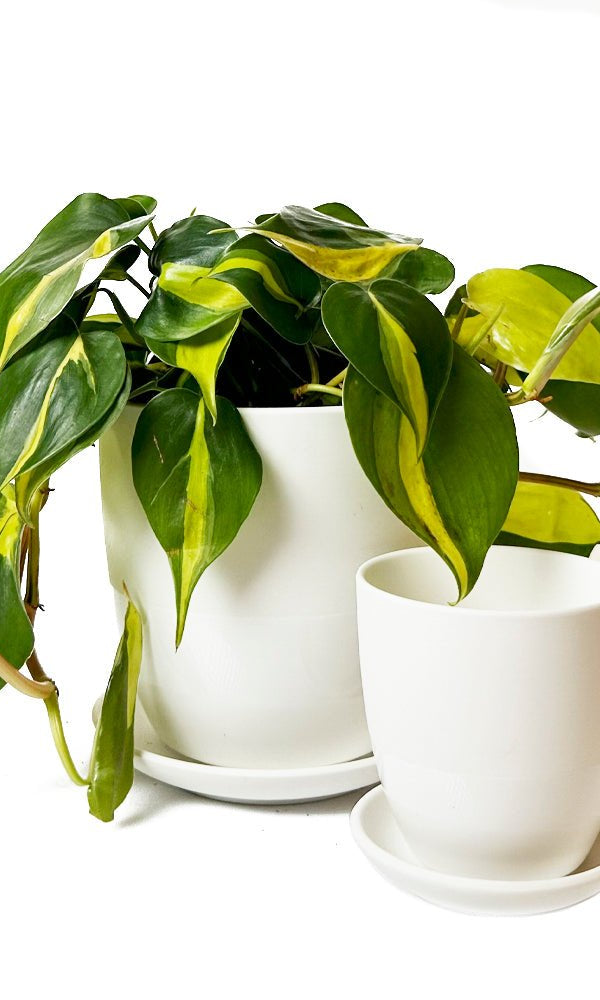
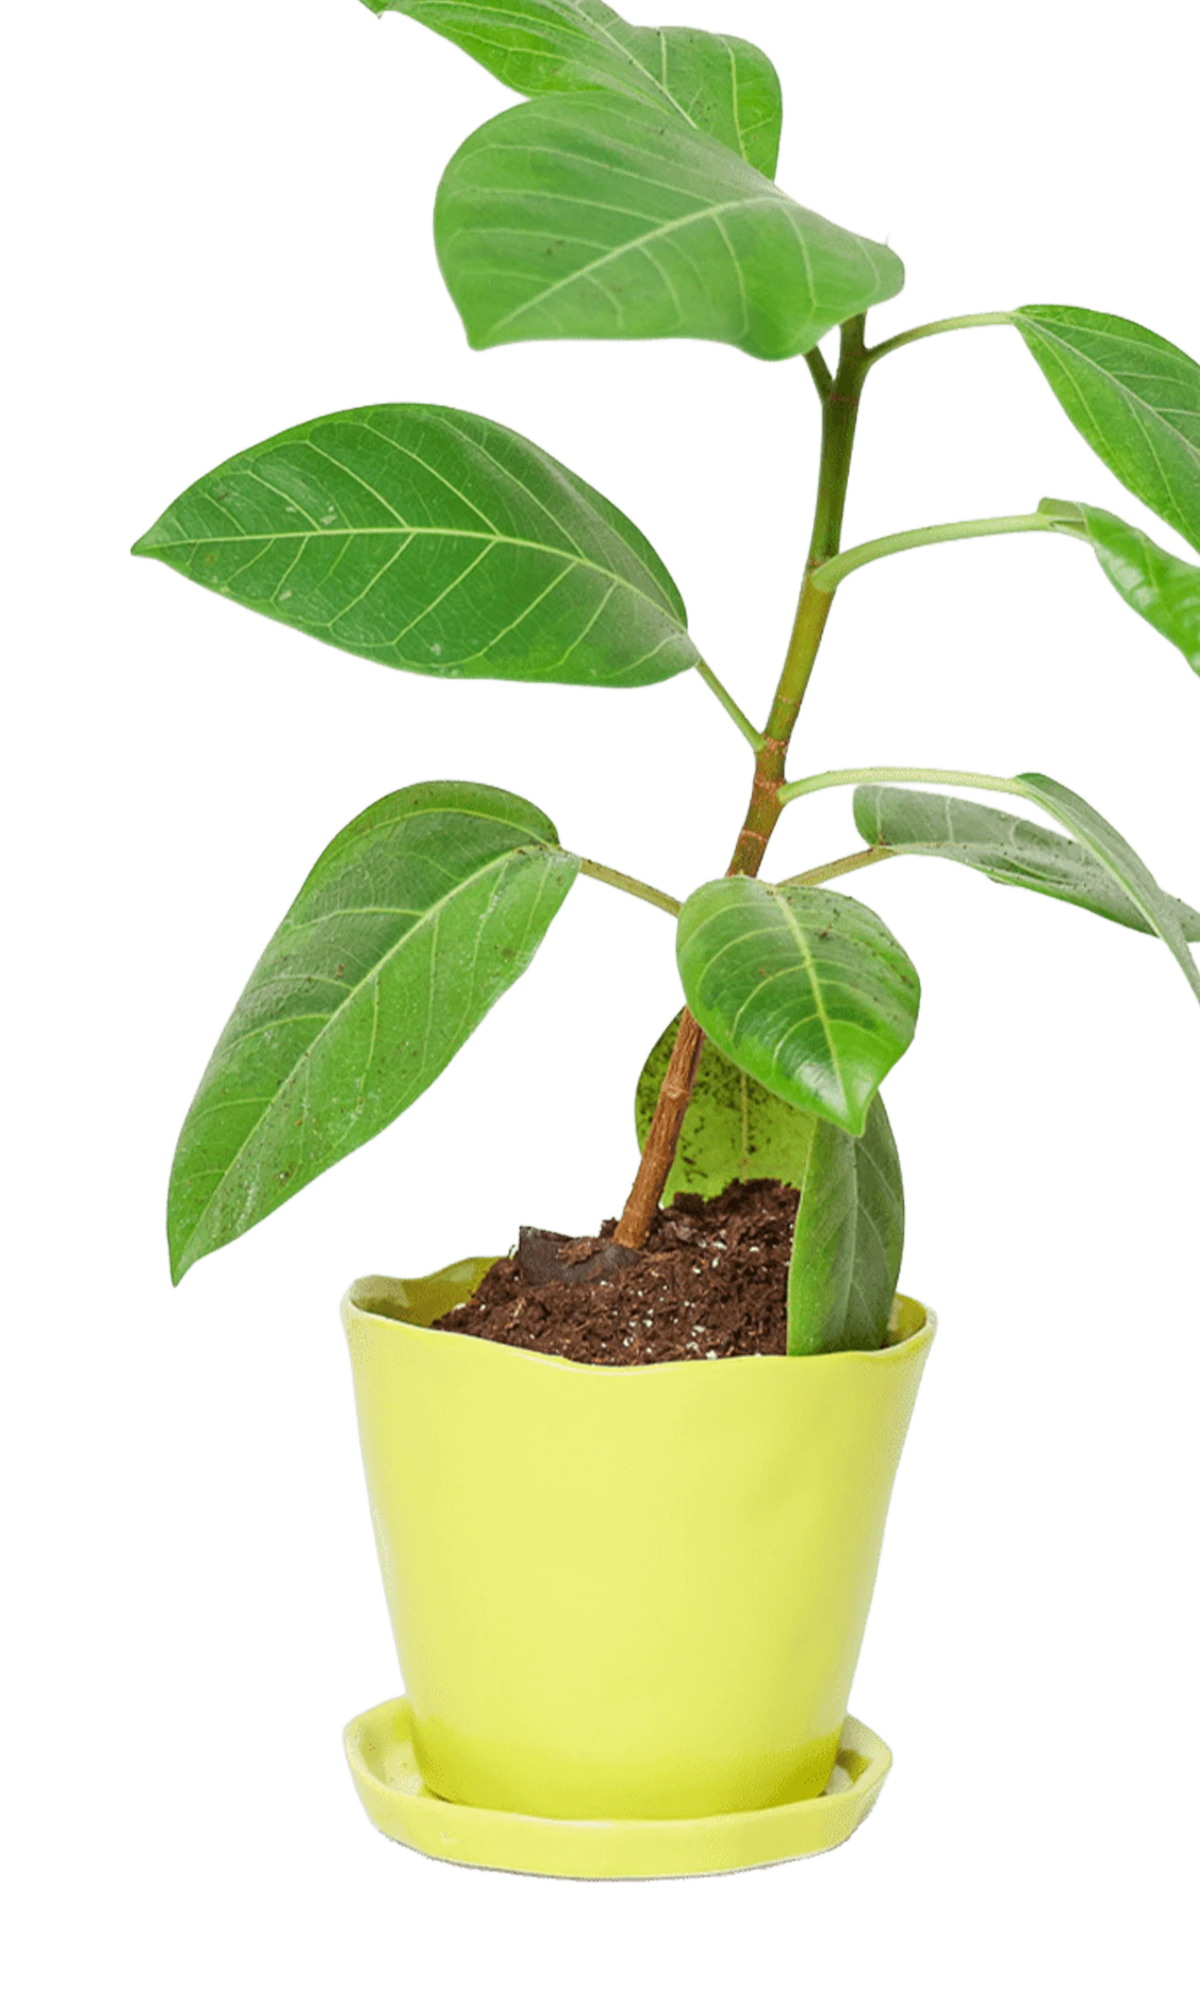
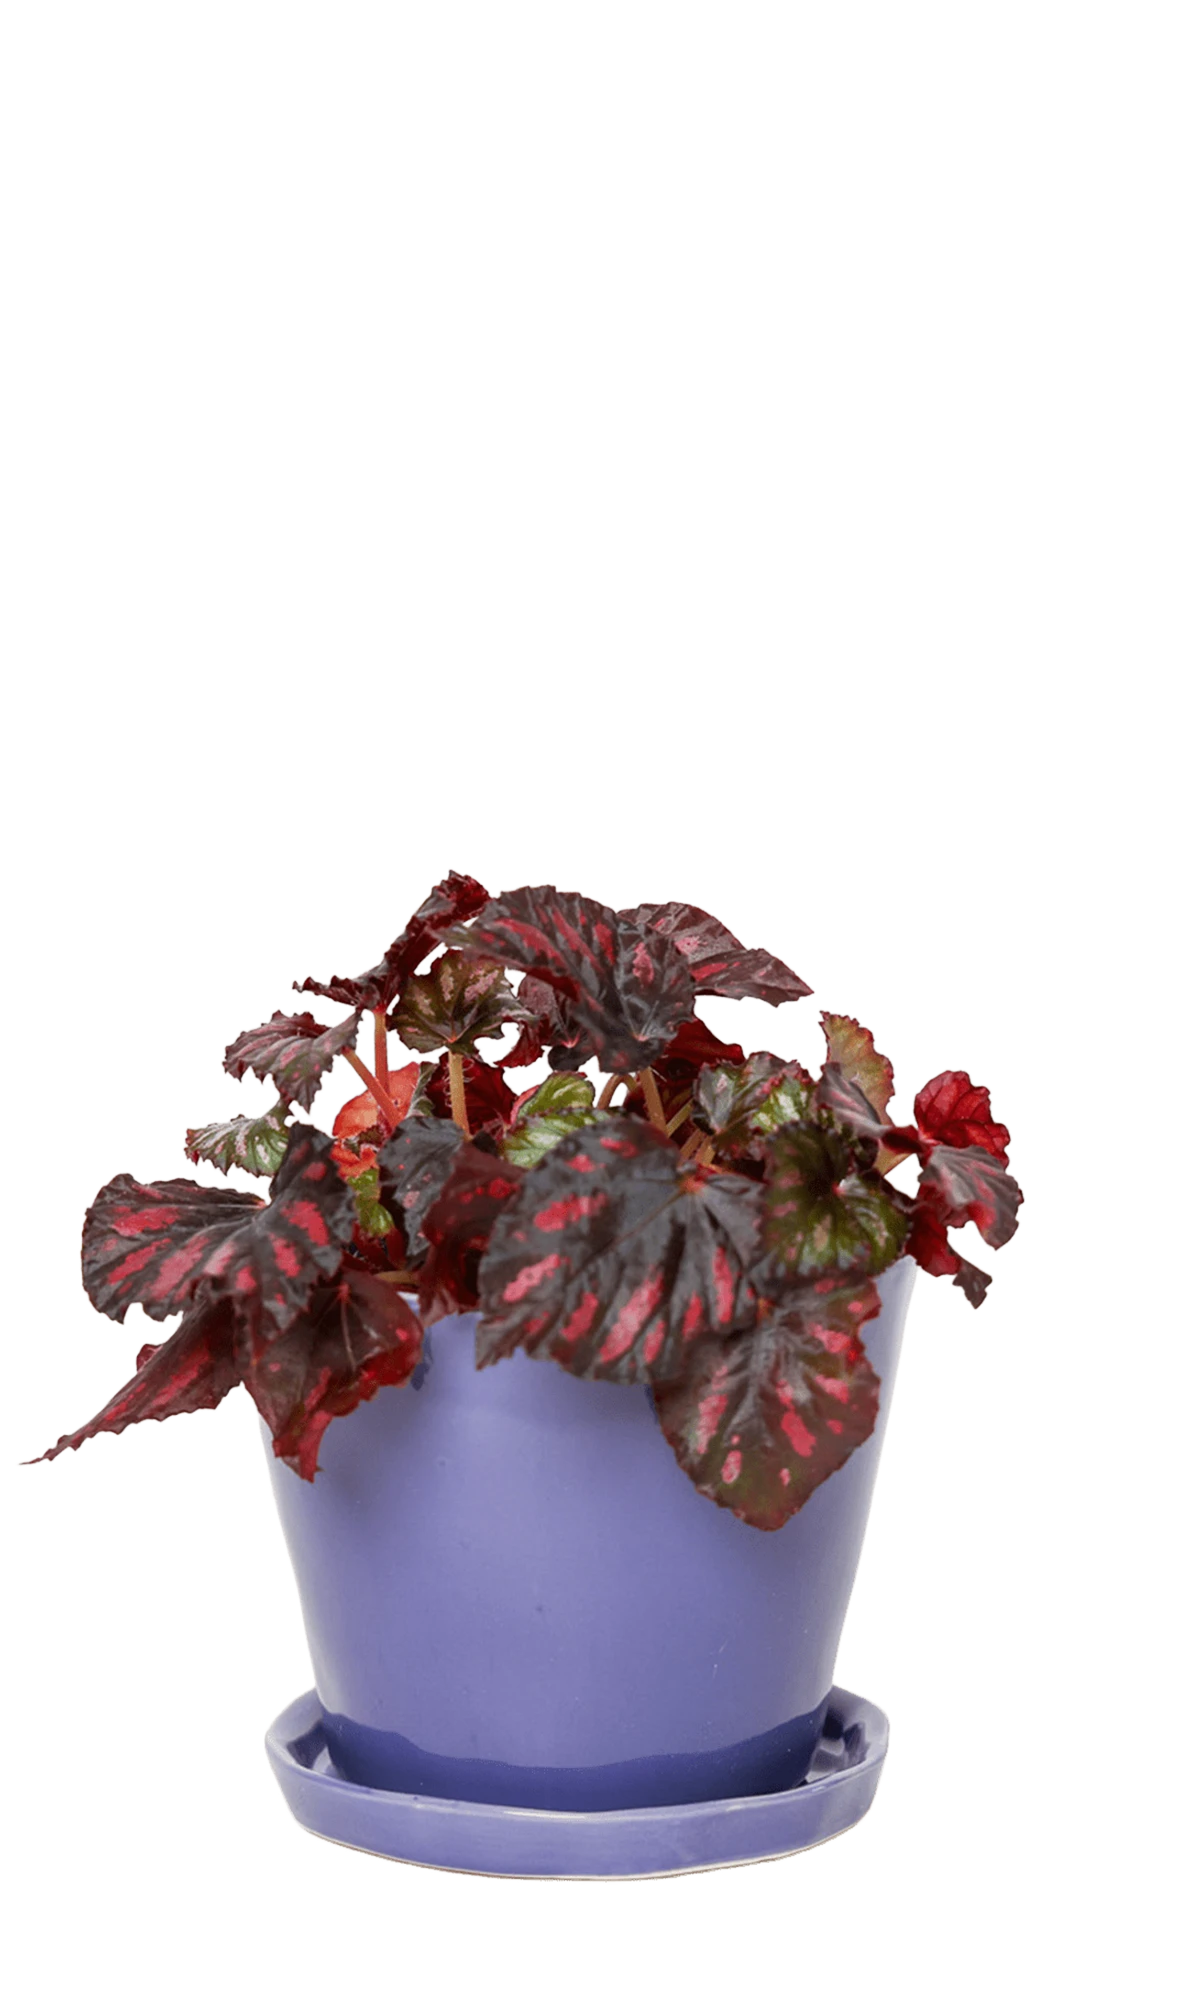
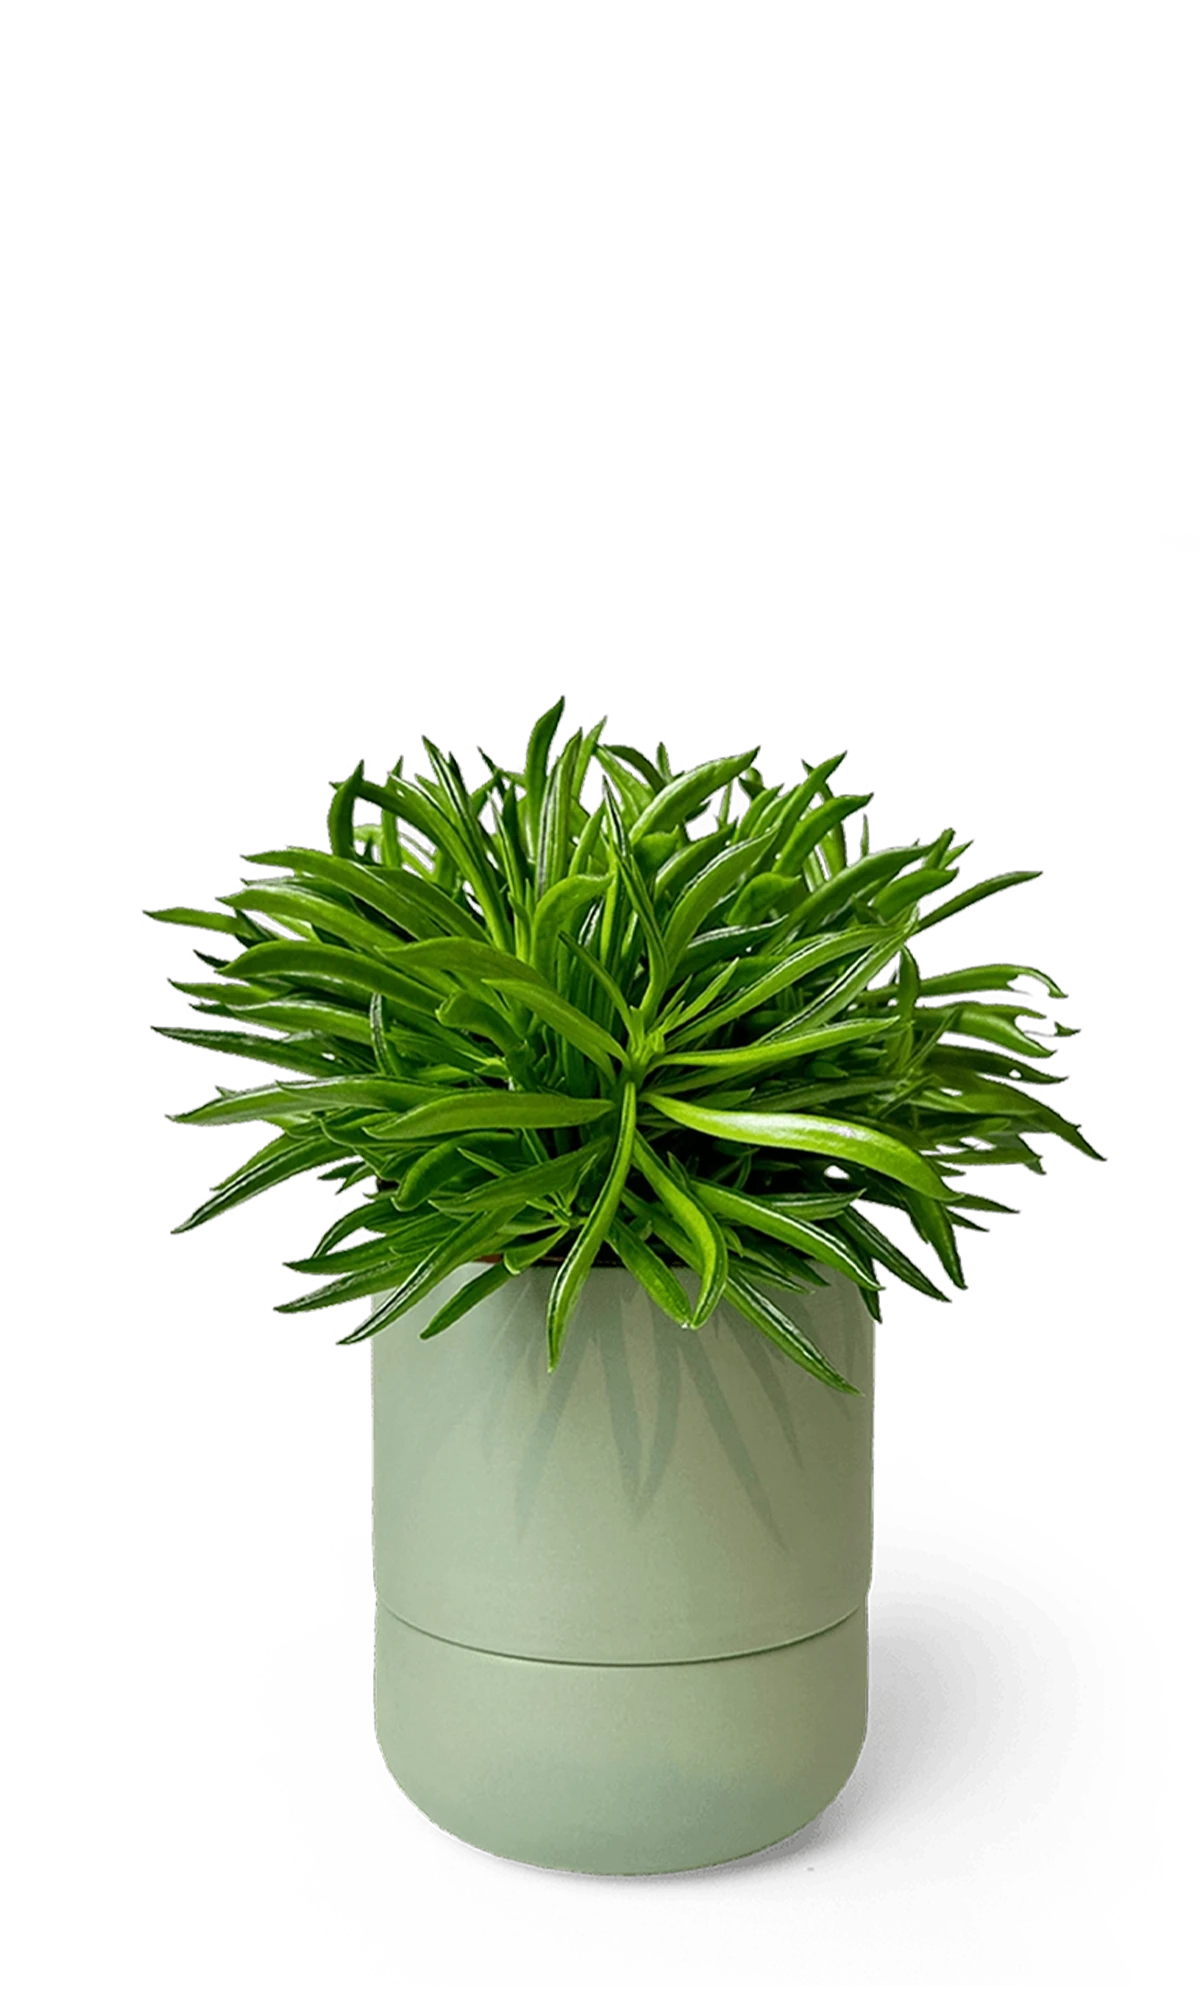
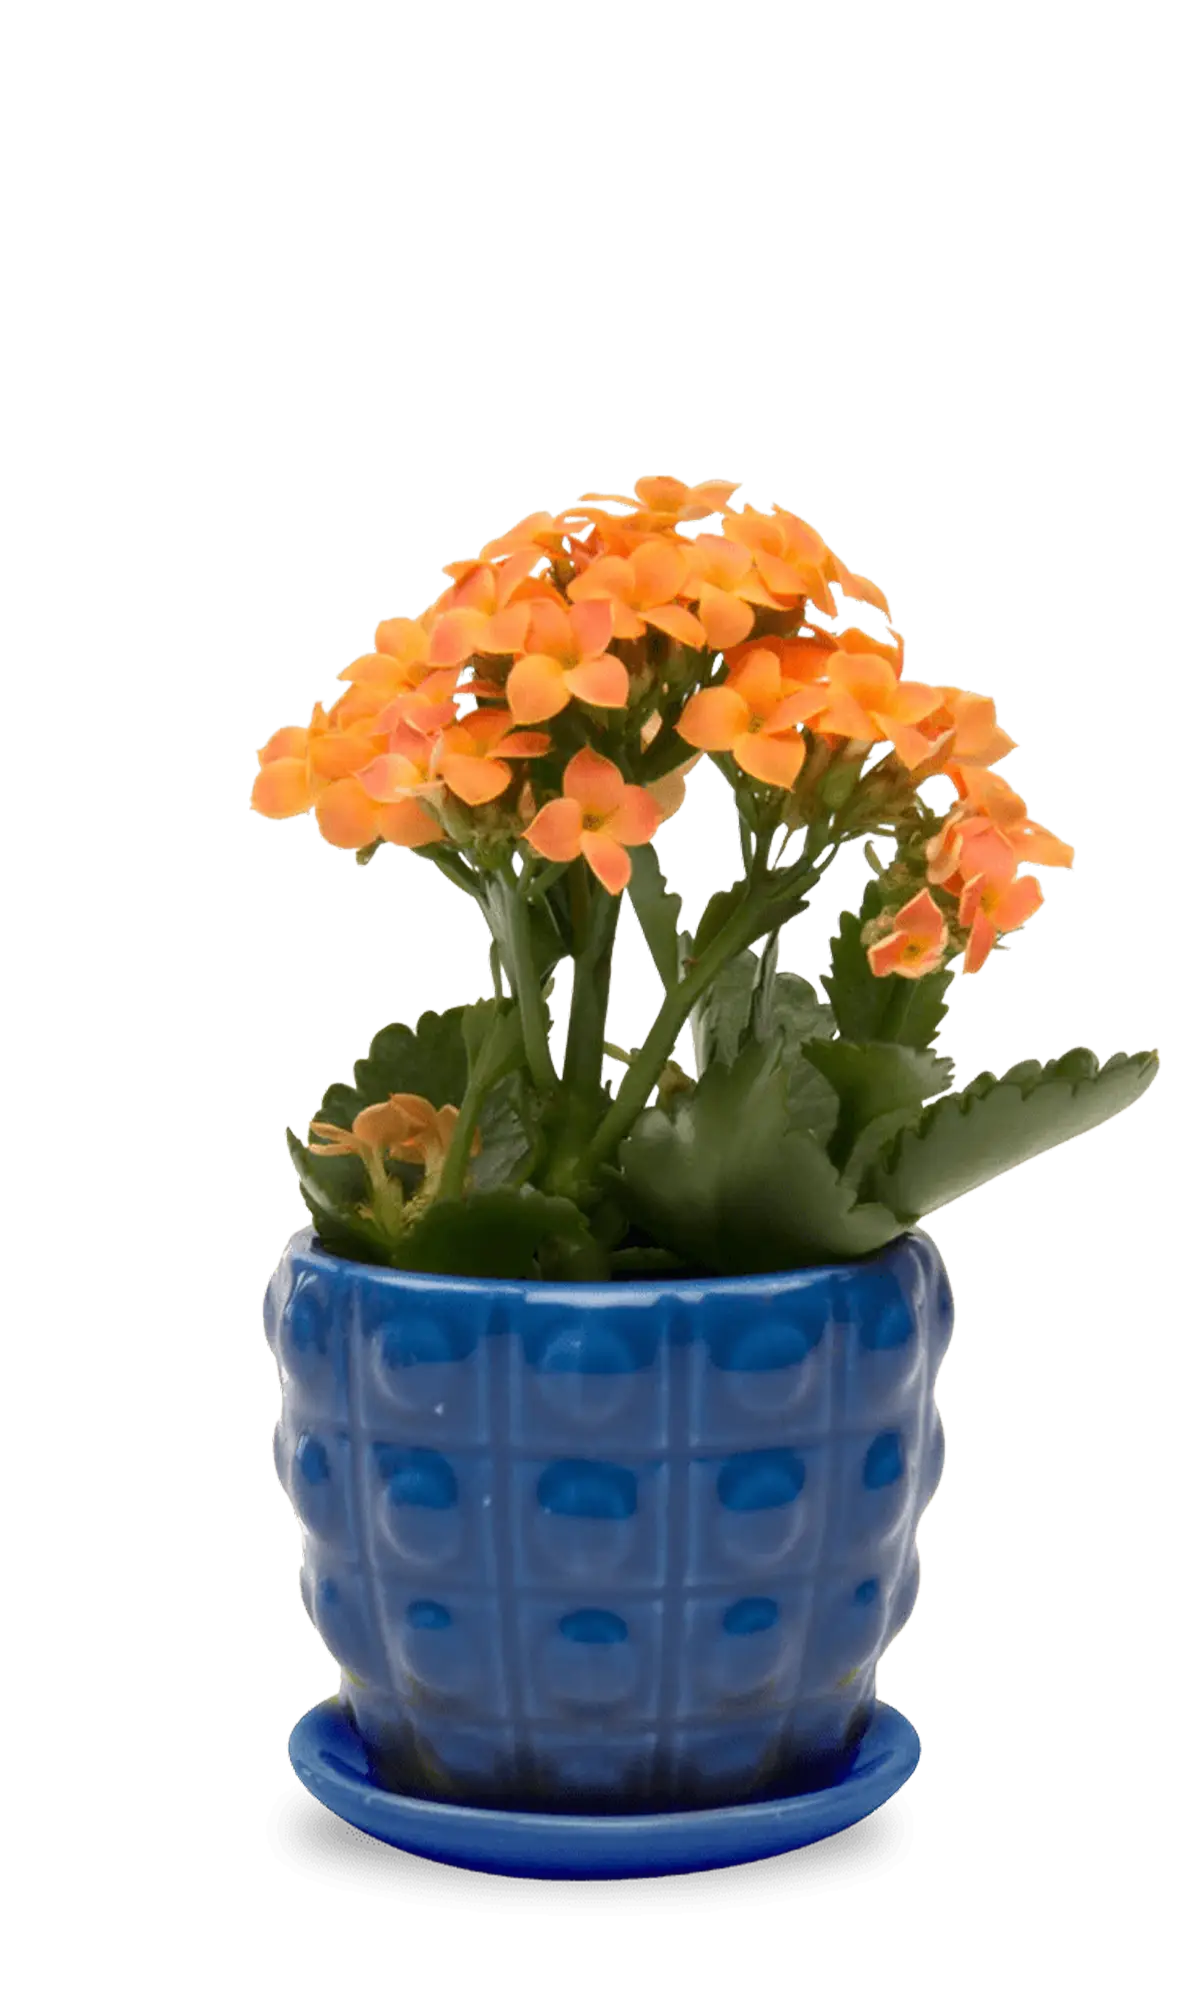
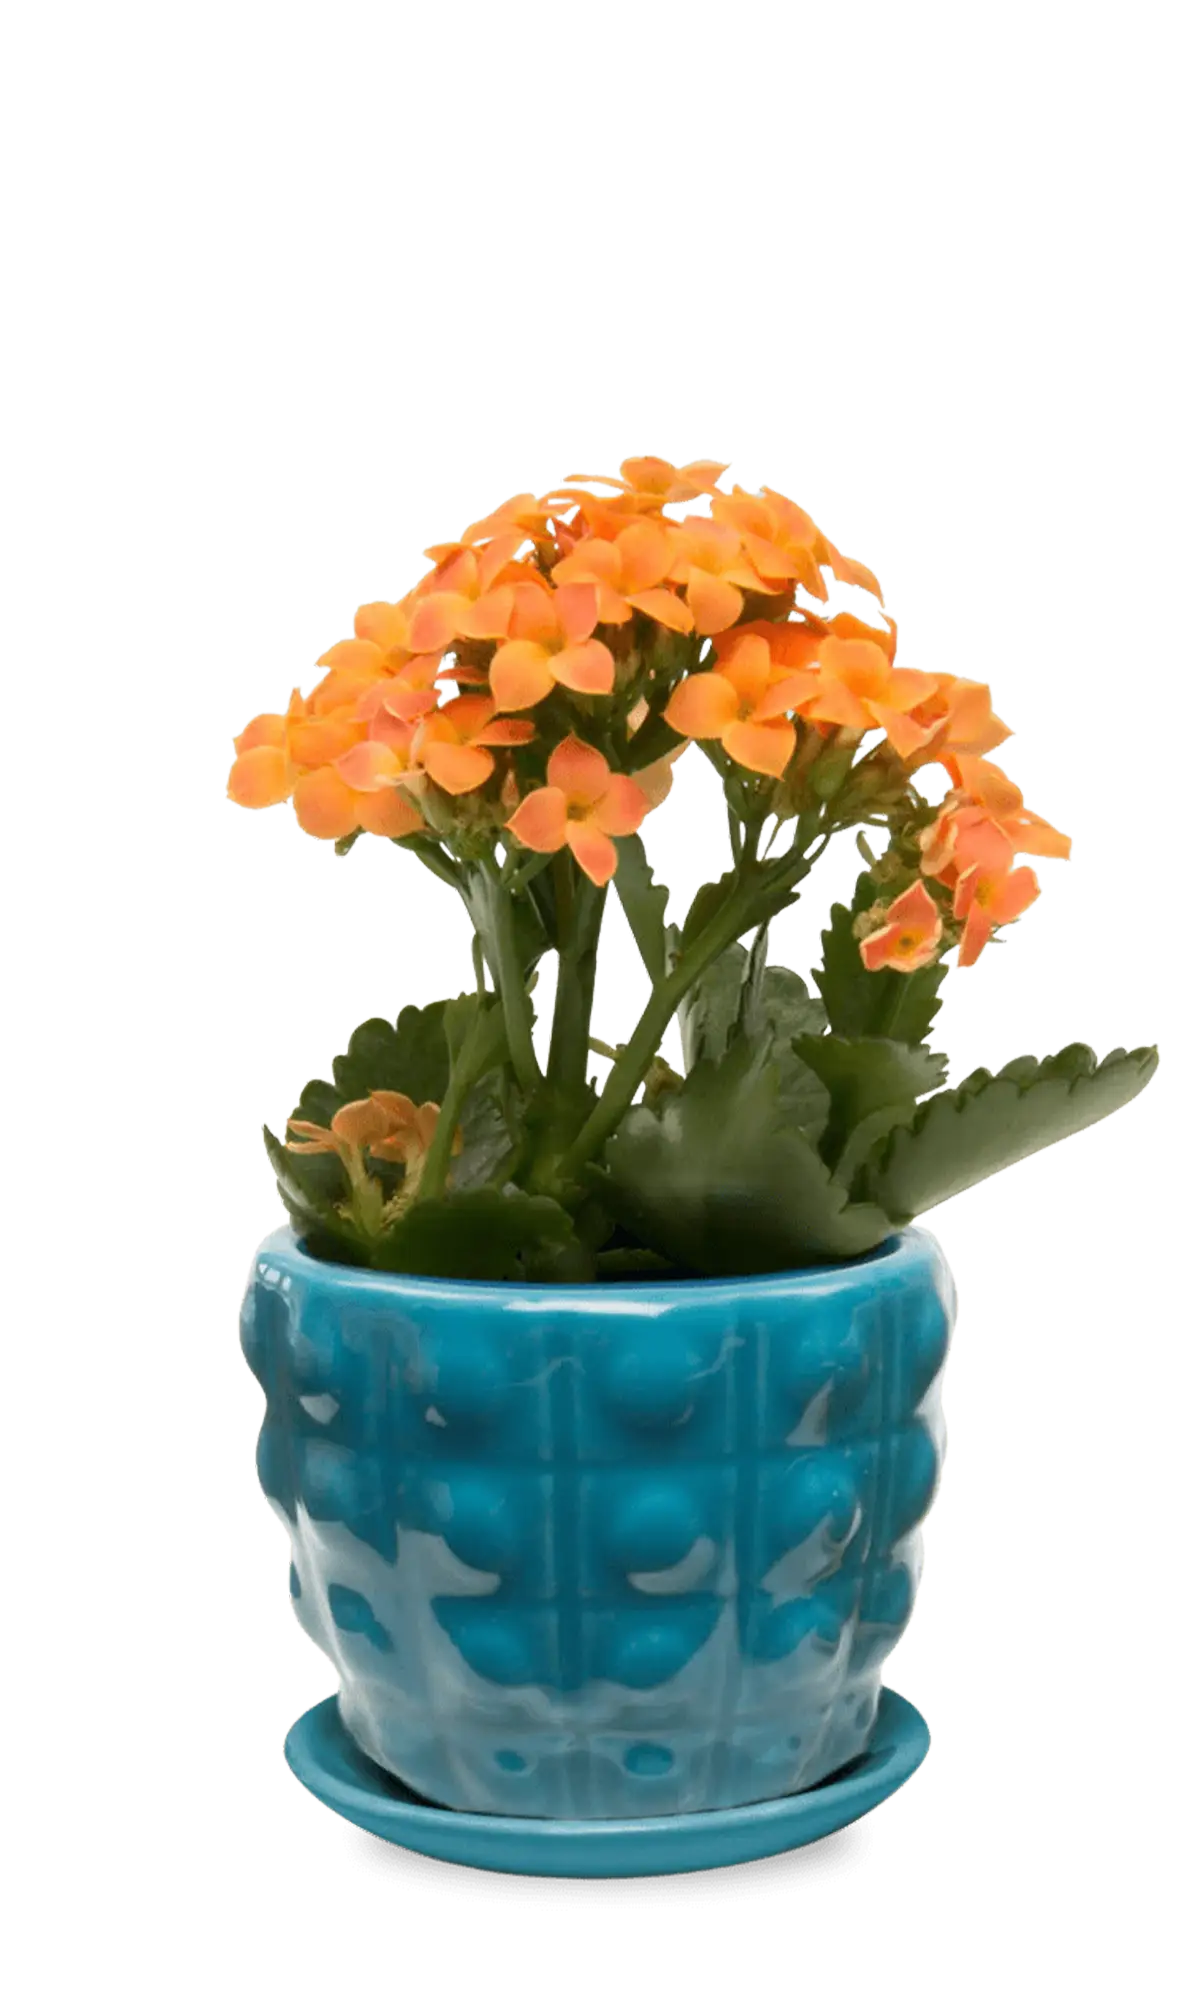
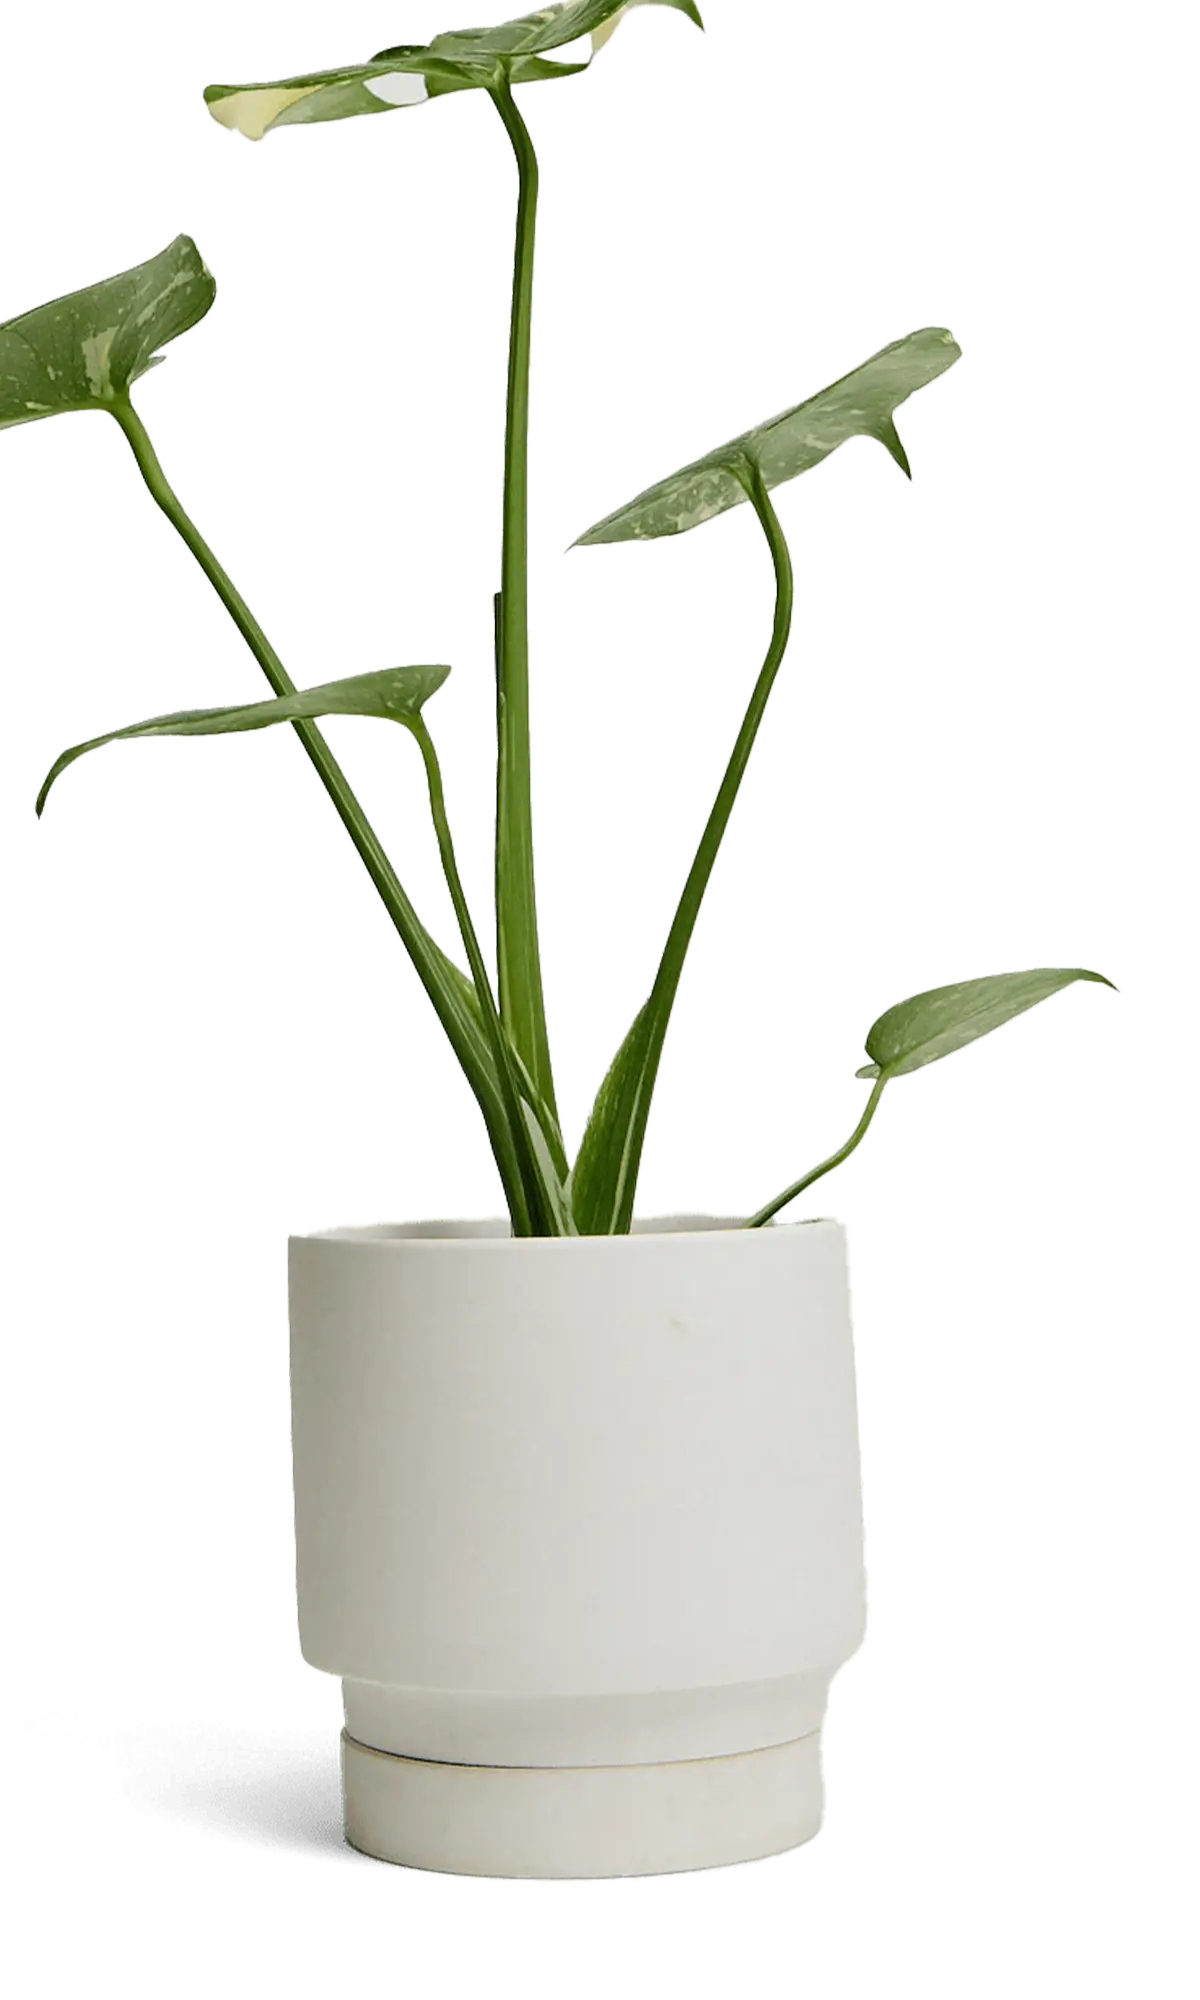
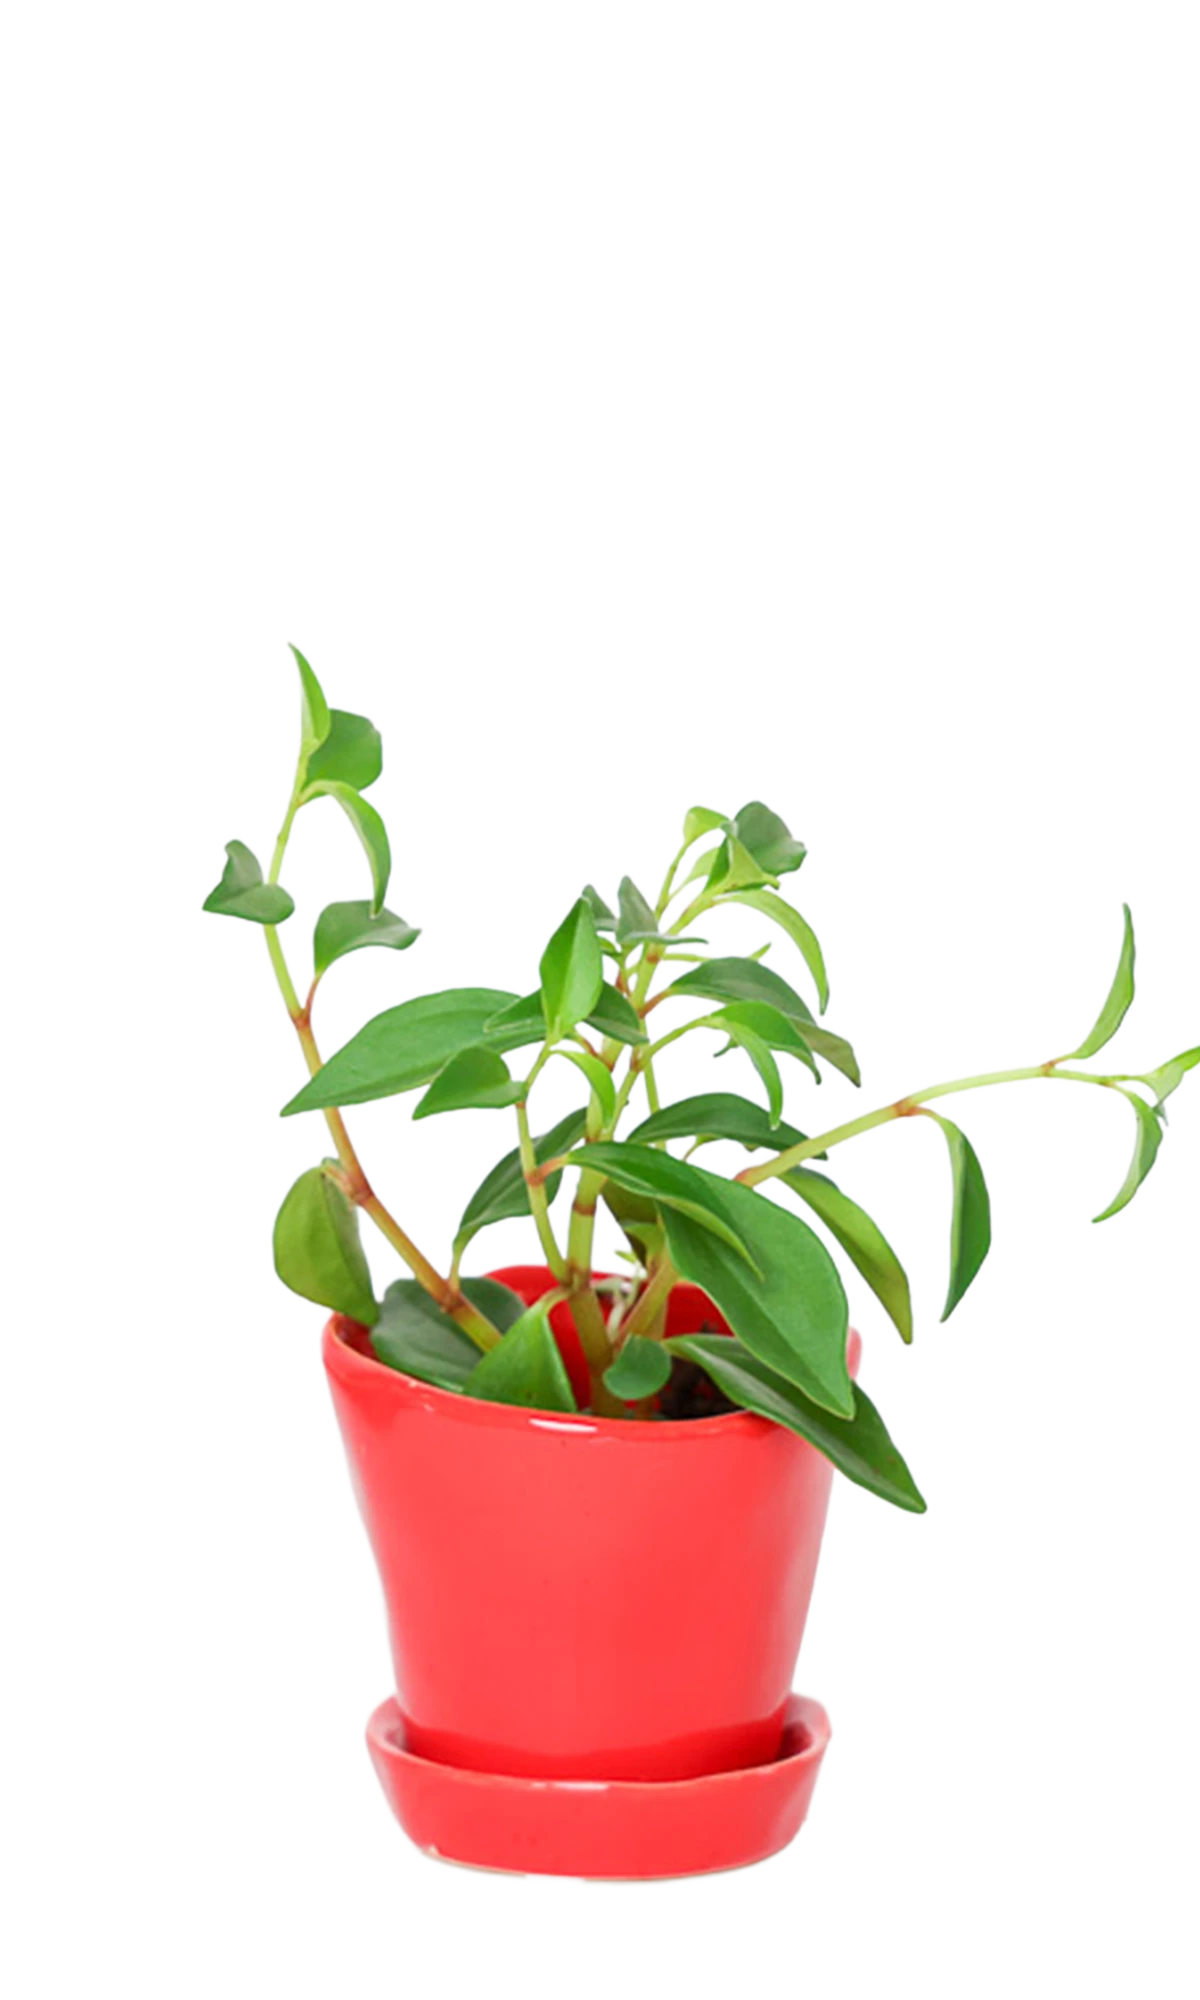
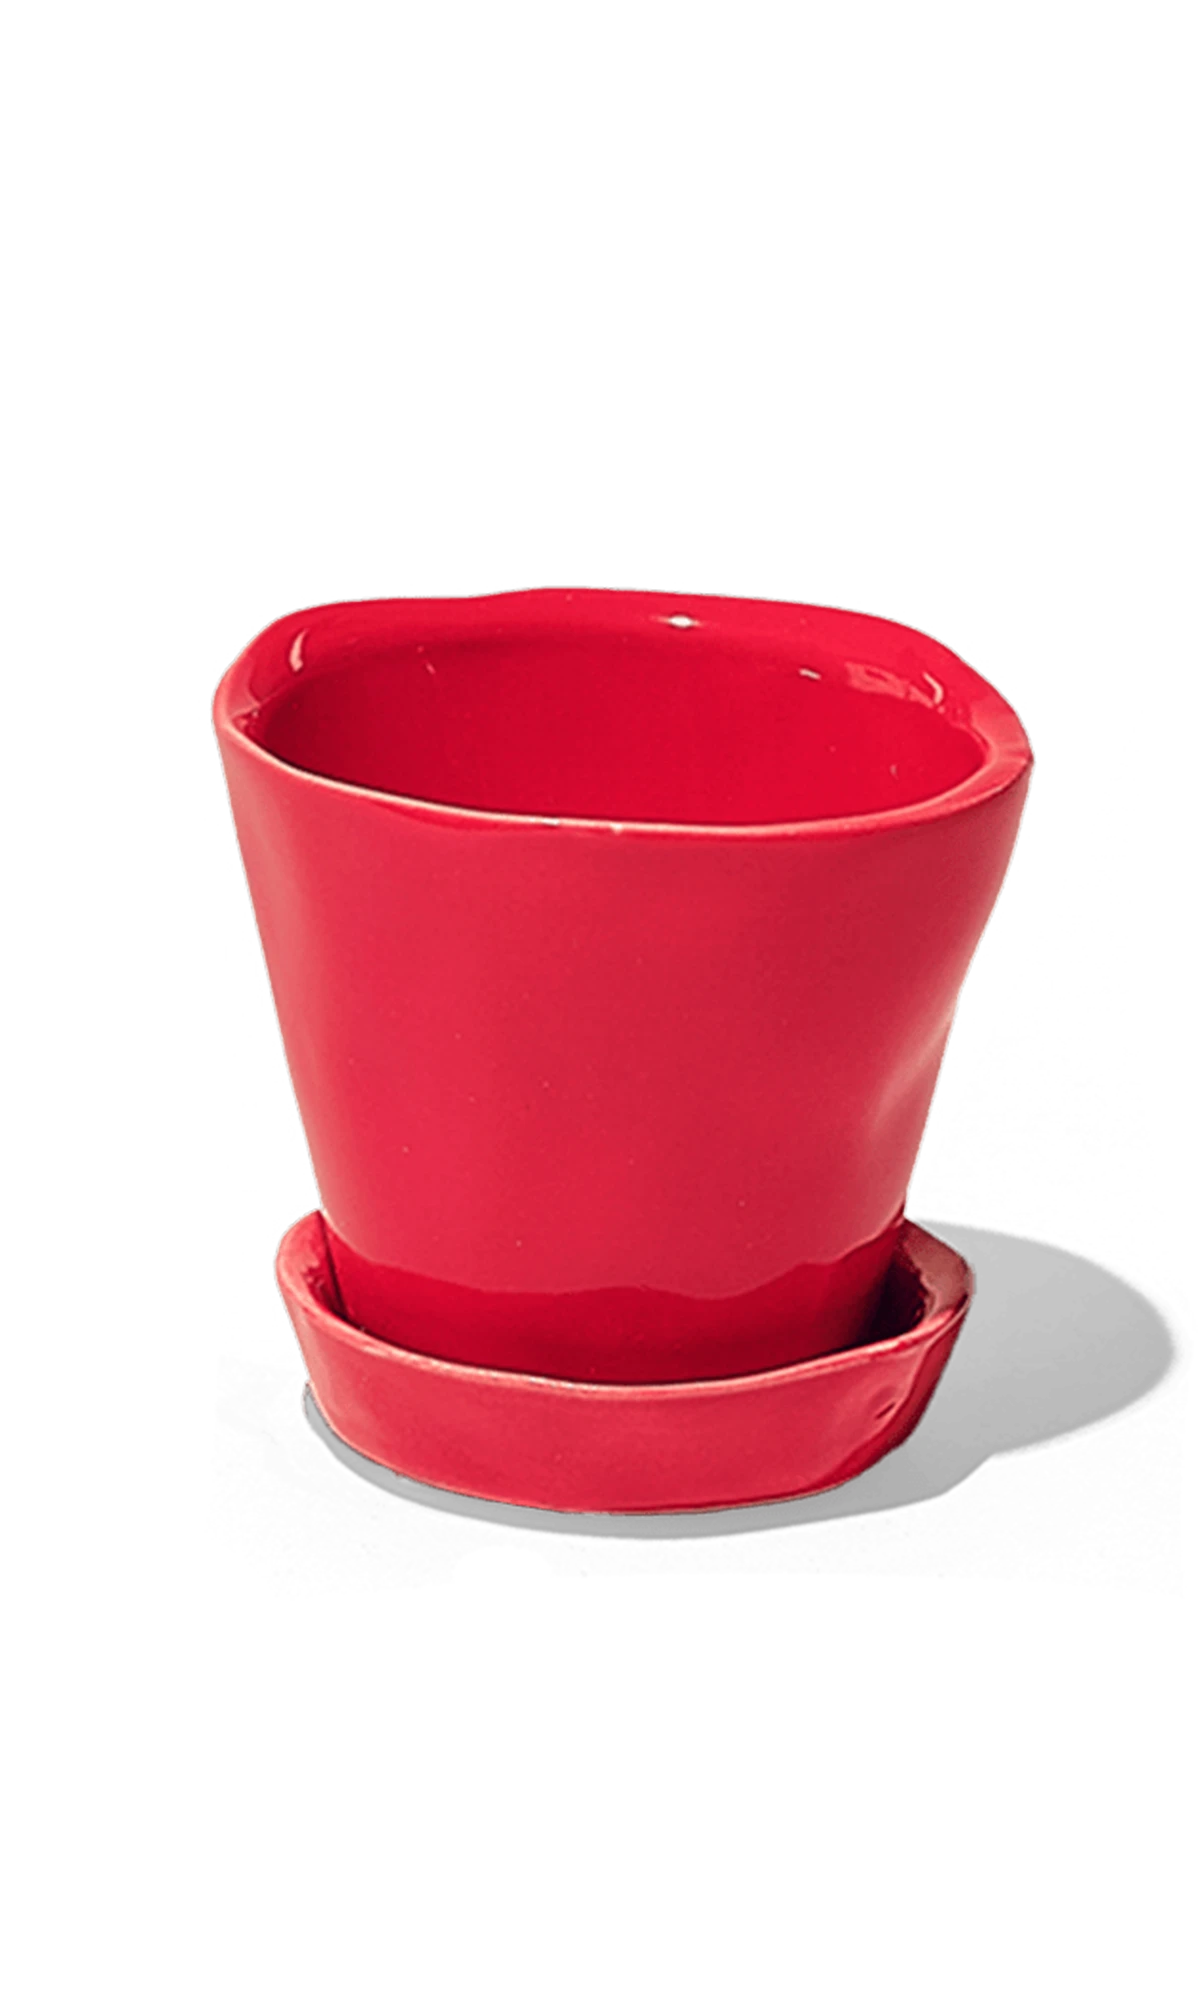
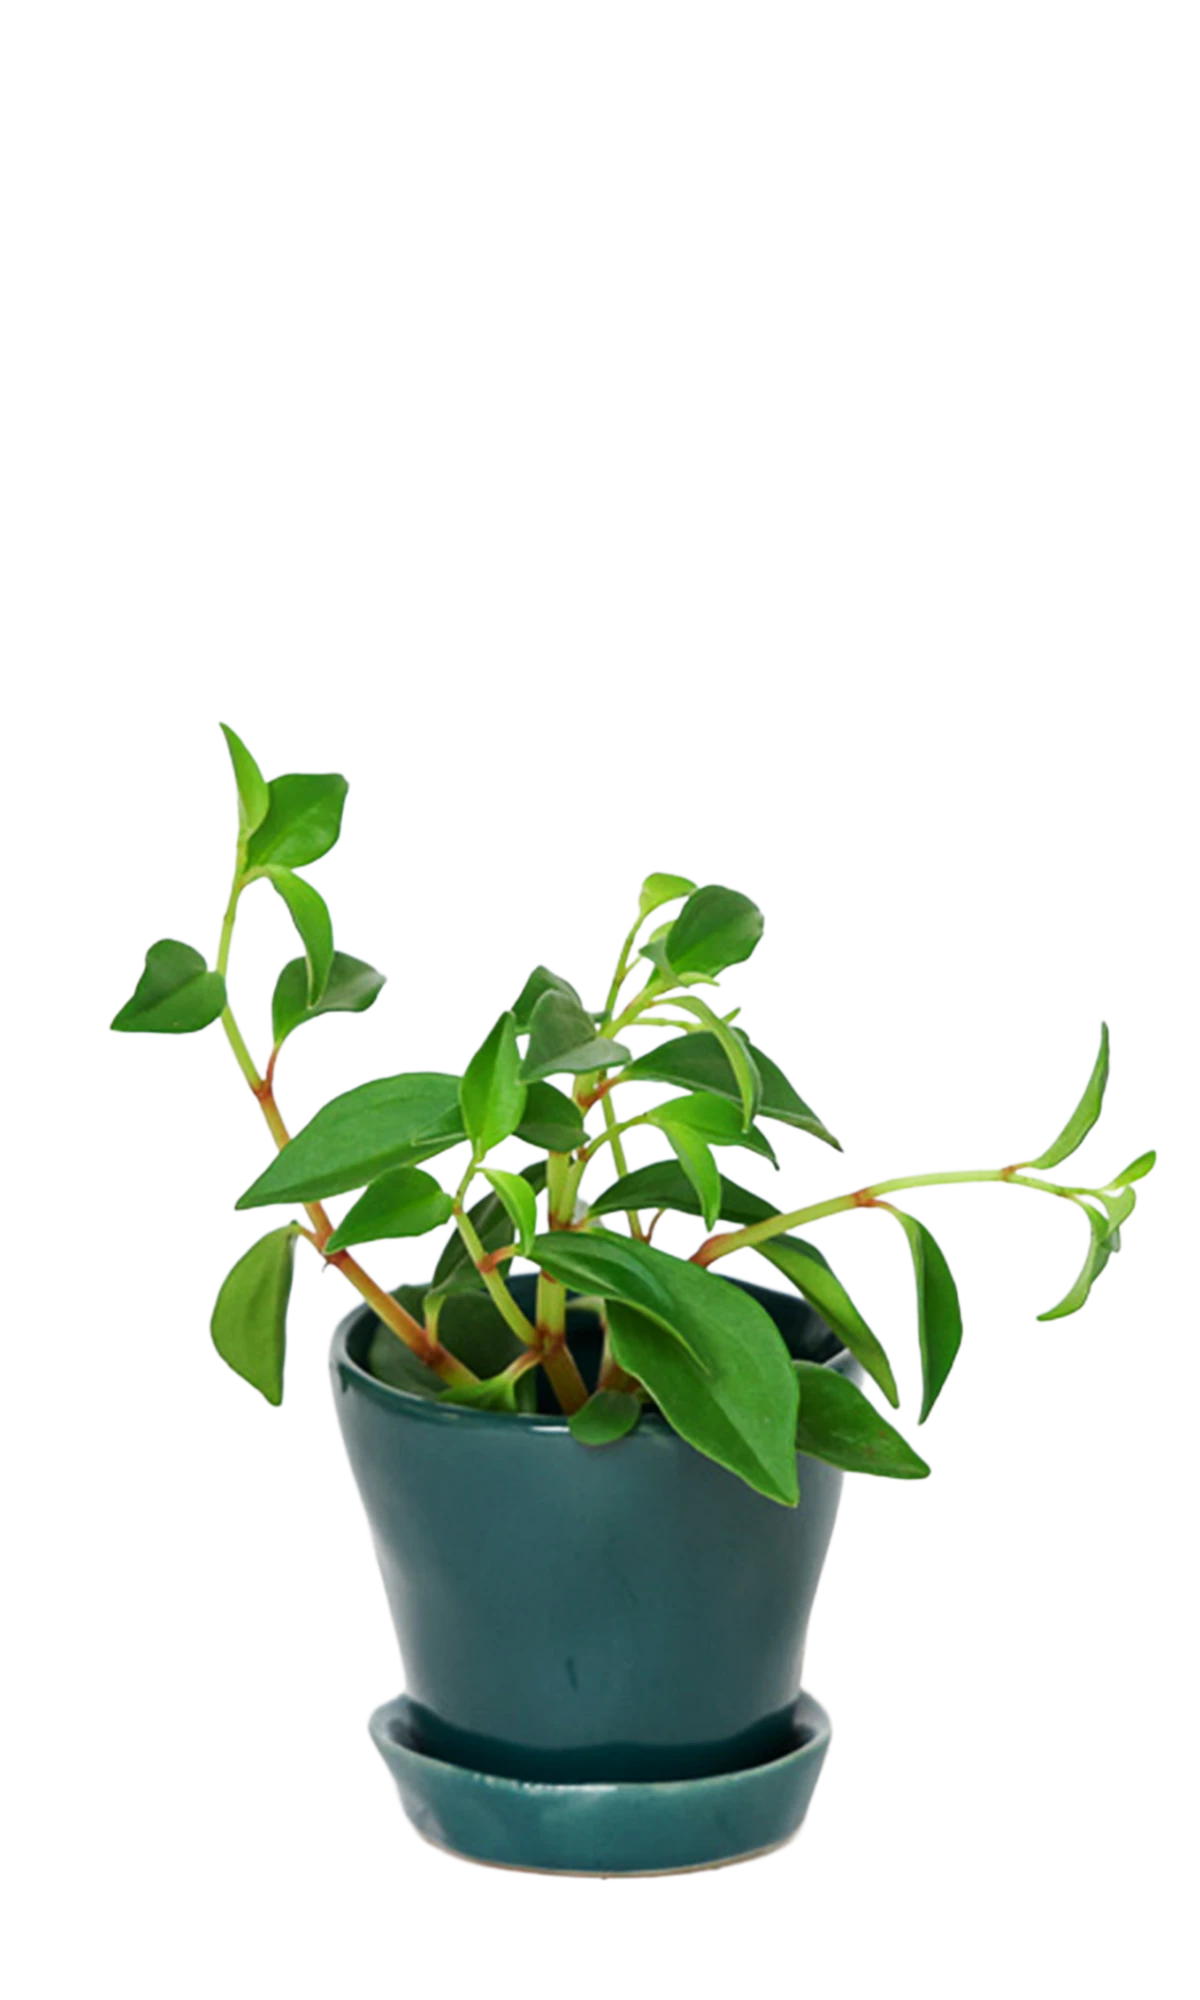
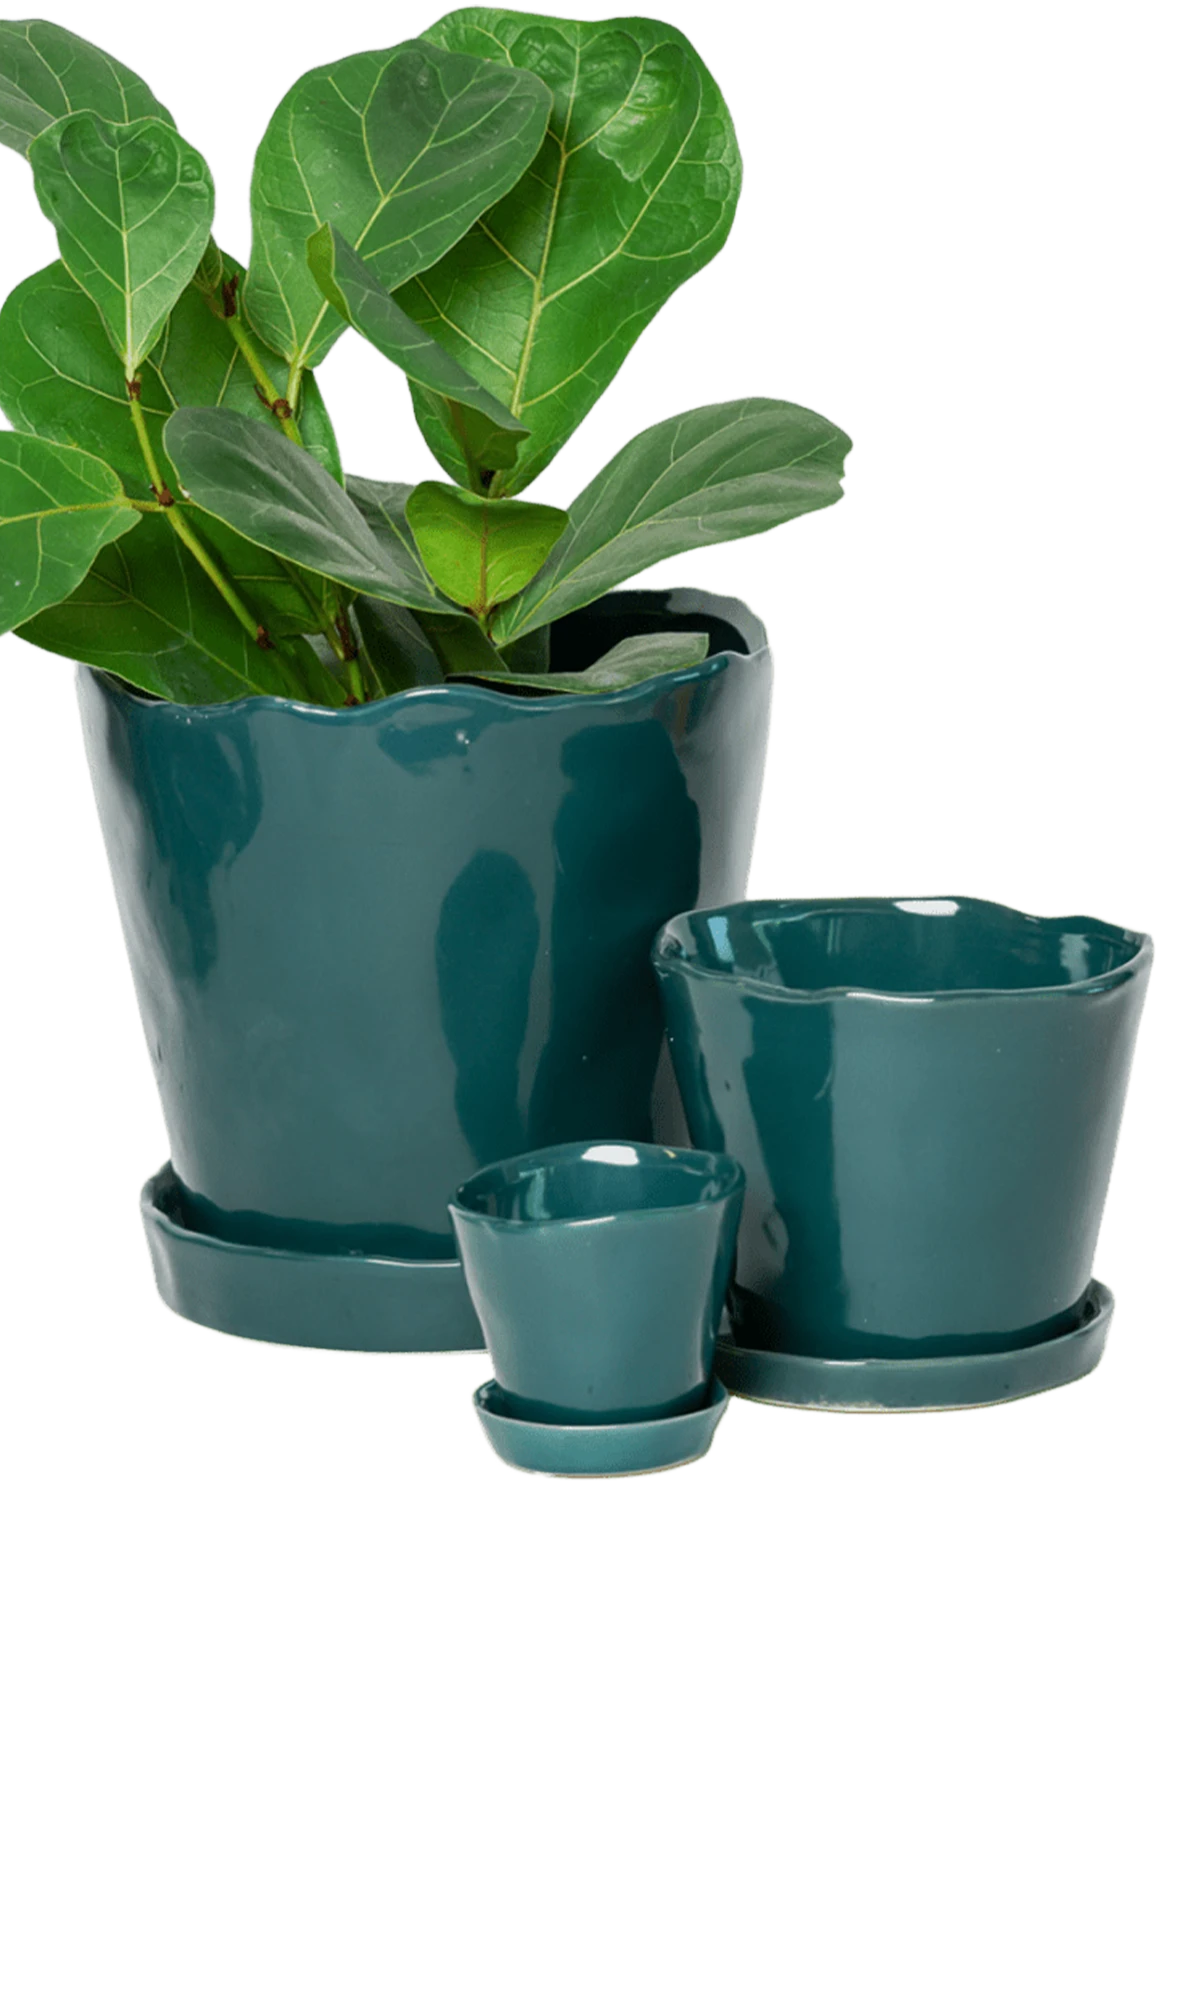
The Virago pot covers most plants from a one-gallon through a three-gallon nursery container — 250,000 sold, drainage hole, ships with a saucer. The Minute pot handles smaller plants — herbs, compact tropicals, anything living on a windowsill with no ambitions beyond it. If your plant is currently in a four-inch pot, you are looking for a six-inch pot. If it is in a six-inch pot, you are looking for an eight-inch pot. Two inches. Every time. Until the plant tells you otherwise.

How to actually do it
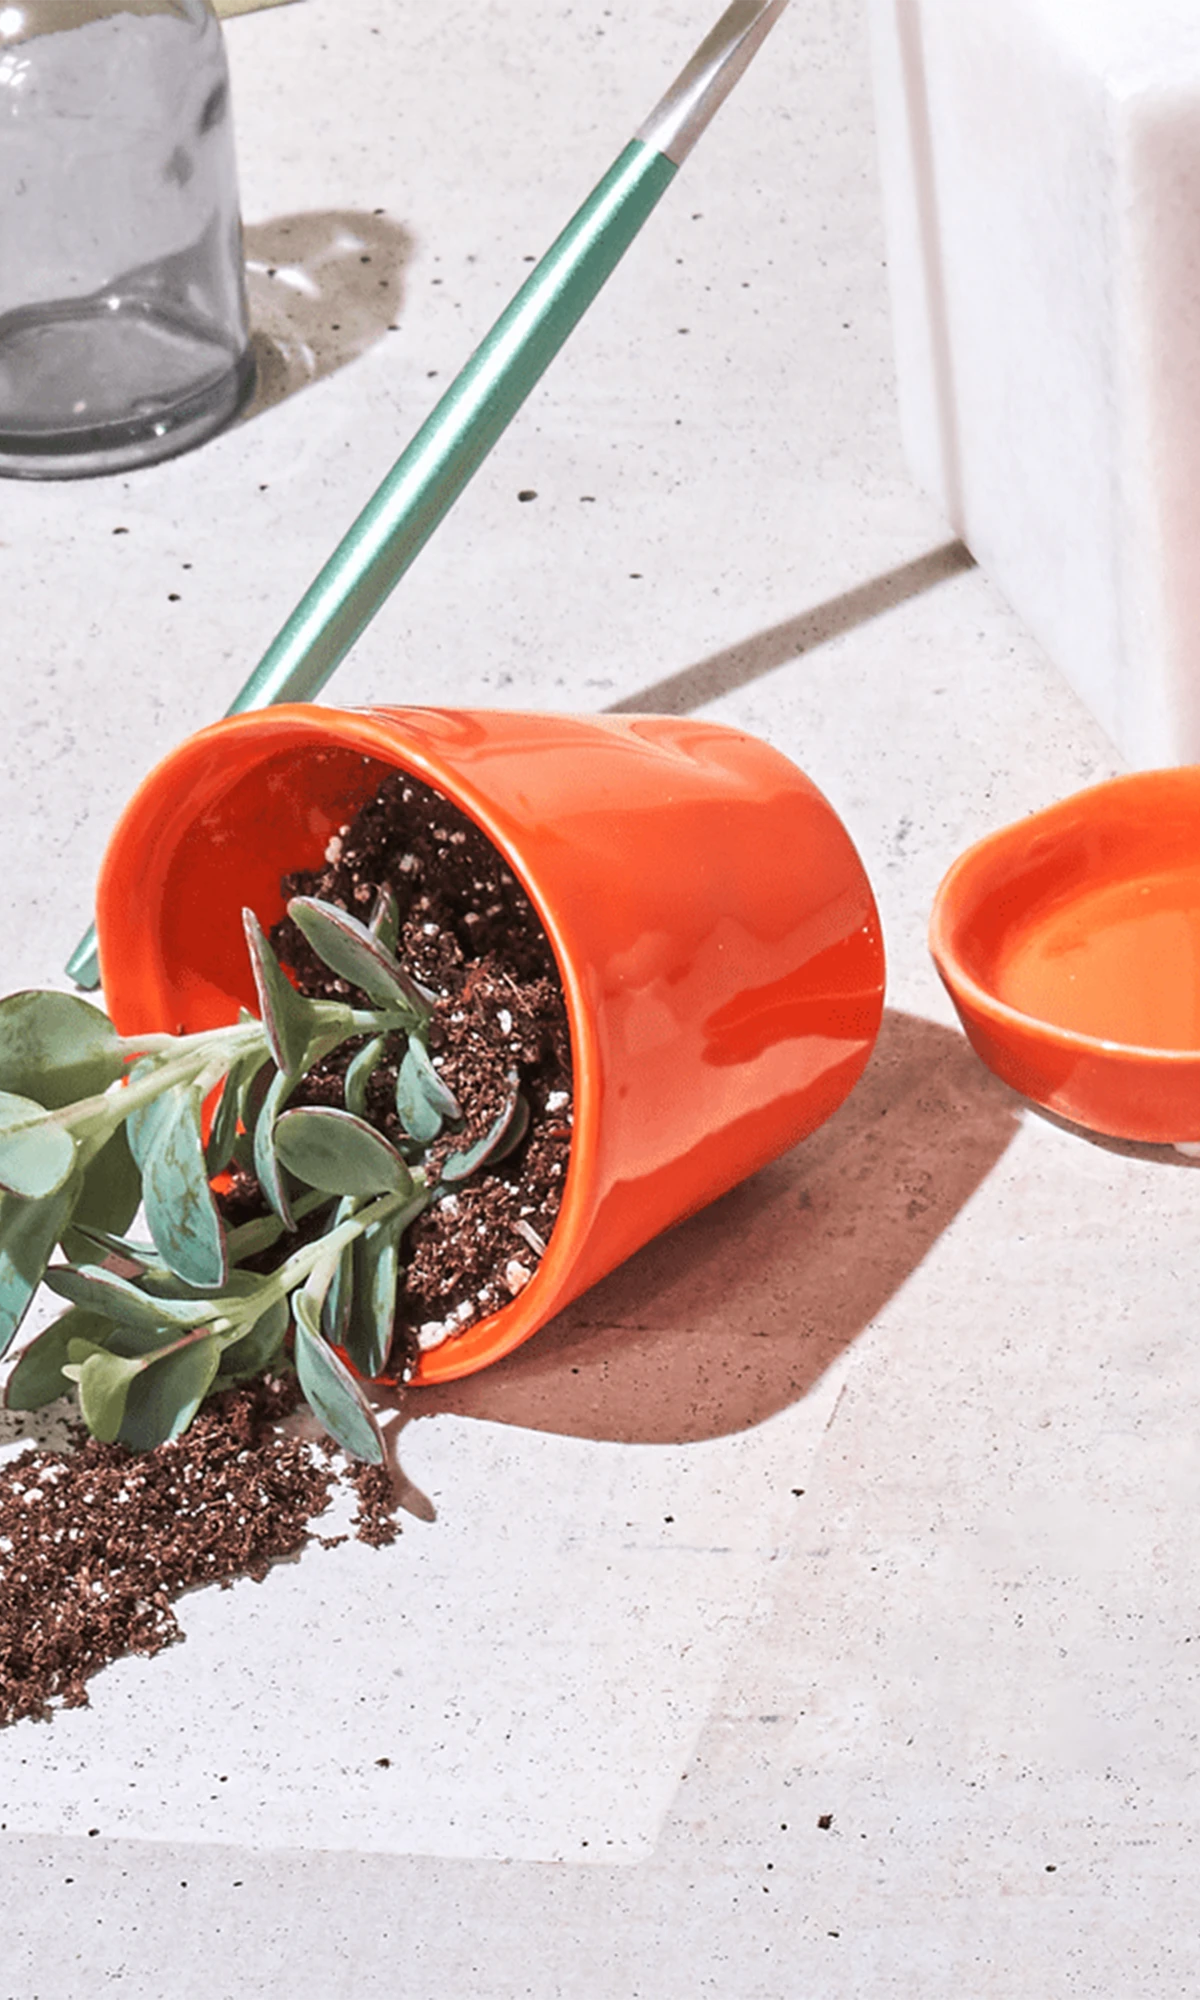
Take the plant out of the old pot. Run a knife around the edge if it won't release — gently, not with the energy of the neighbor in the white linen pants, who is operating on a different timeline and with a different relationship to caution than most of us. Tip the pot sideways. The plant will come out.
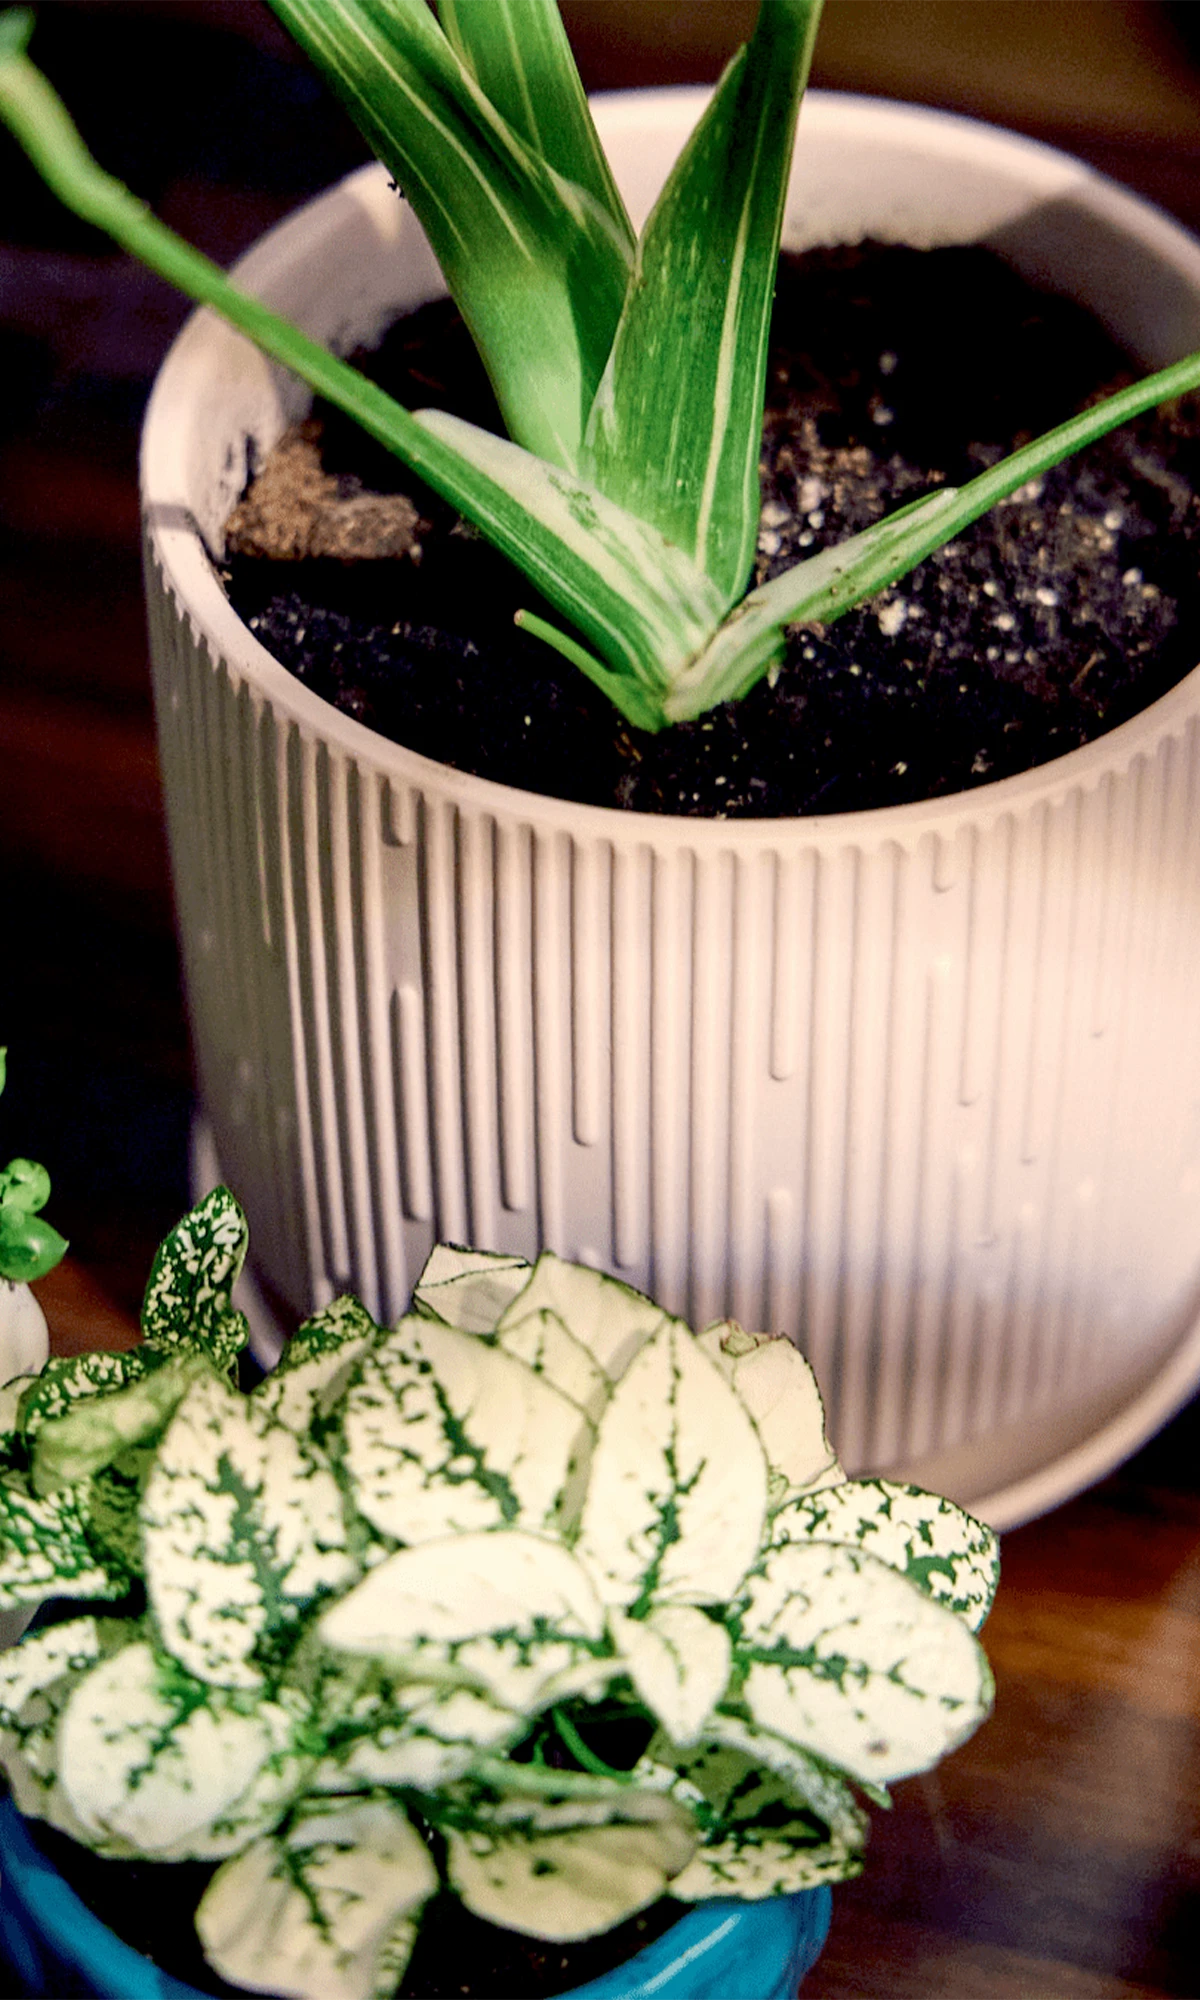
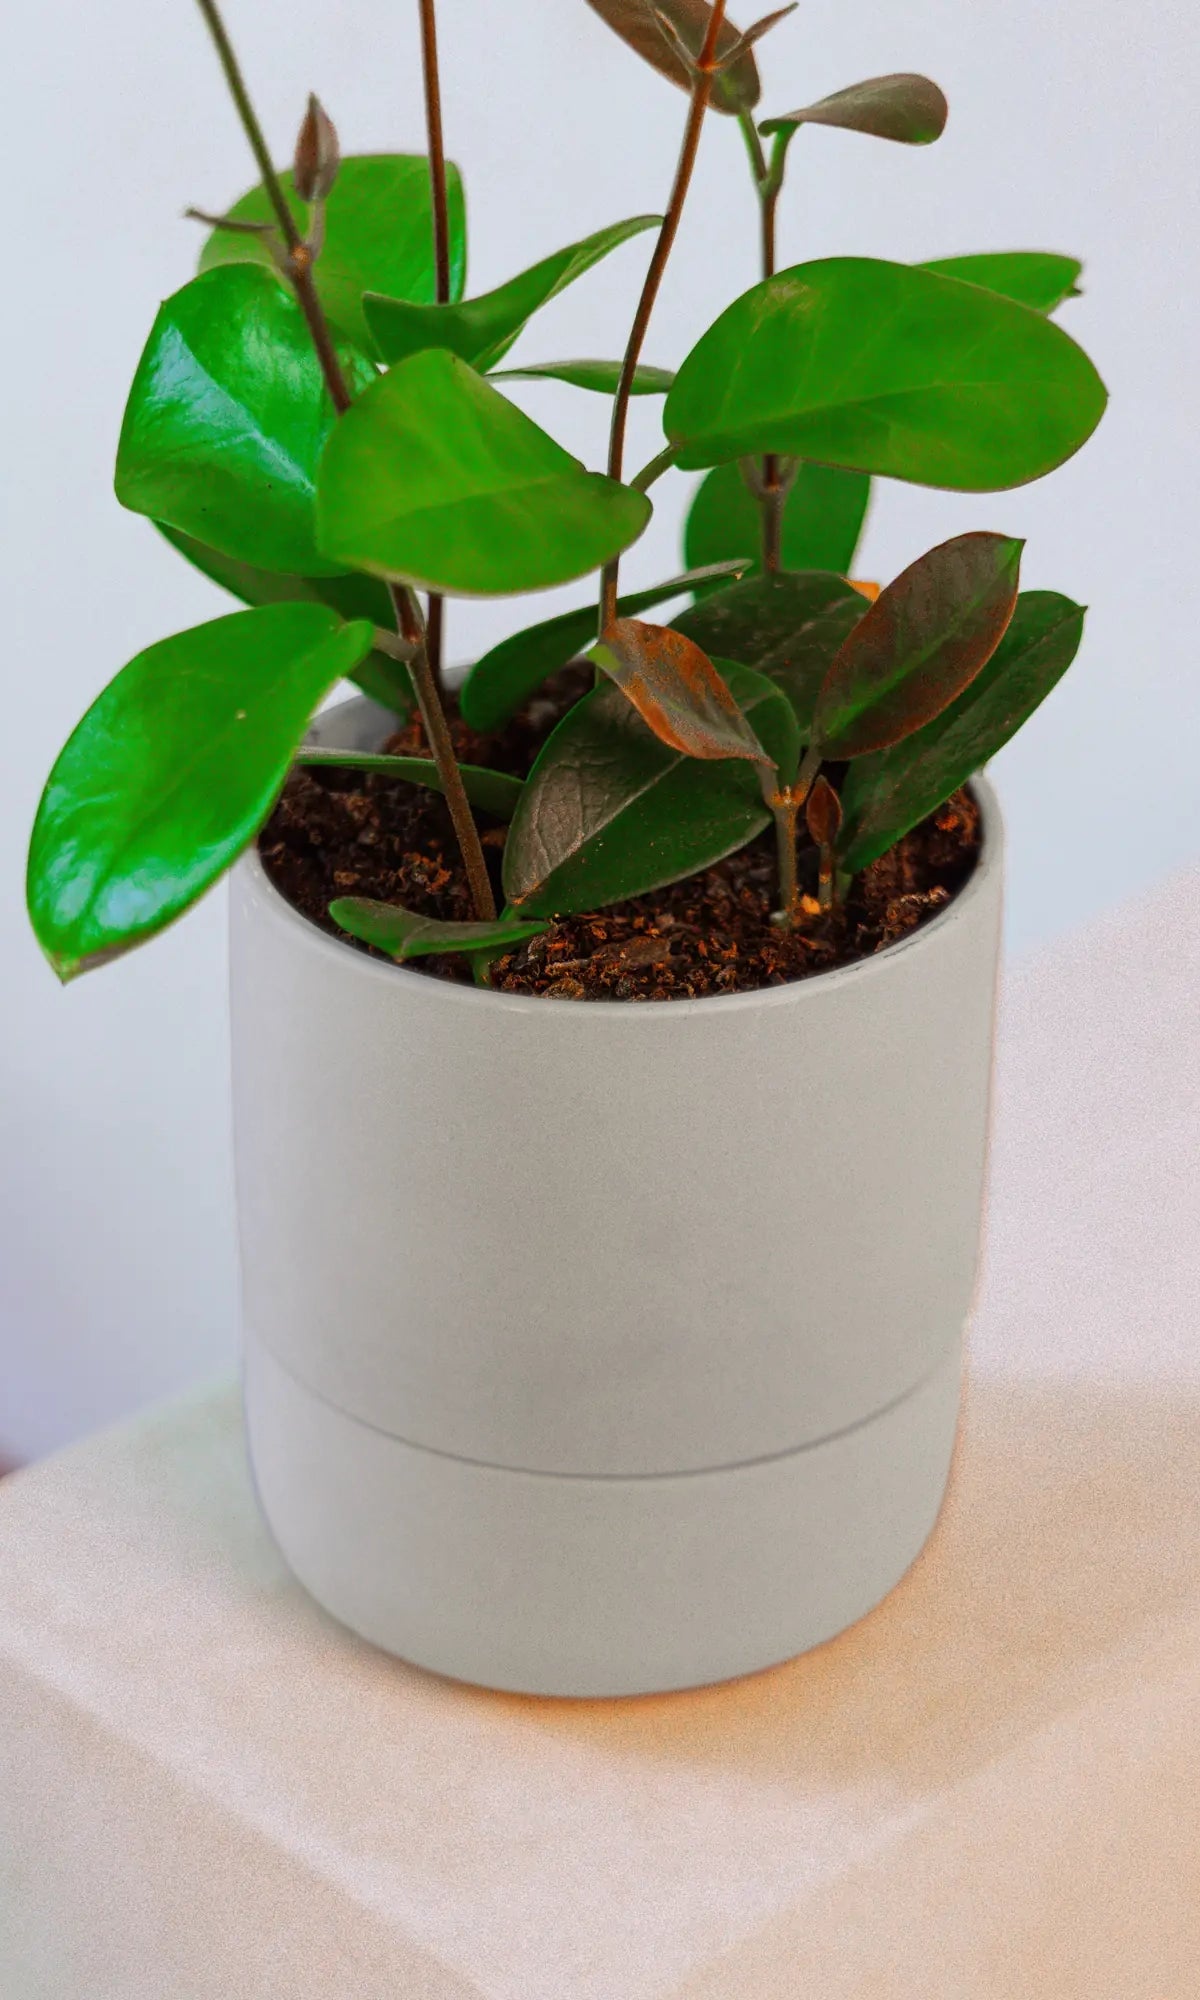
Look at the roots. You will either see a healthy white network that has simply run out of room, or you will see something brown and soft that raises questions you are not going to enjoy answering. The healthy roots get a new pot, two inches bigger, fresh soil, and a few days to settle. The brown soft roots get a different conversation entirely, which we are happy to have with you, but not in this blog, because this blog is about repotting correctly, and some days you have to stay in your lane.
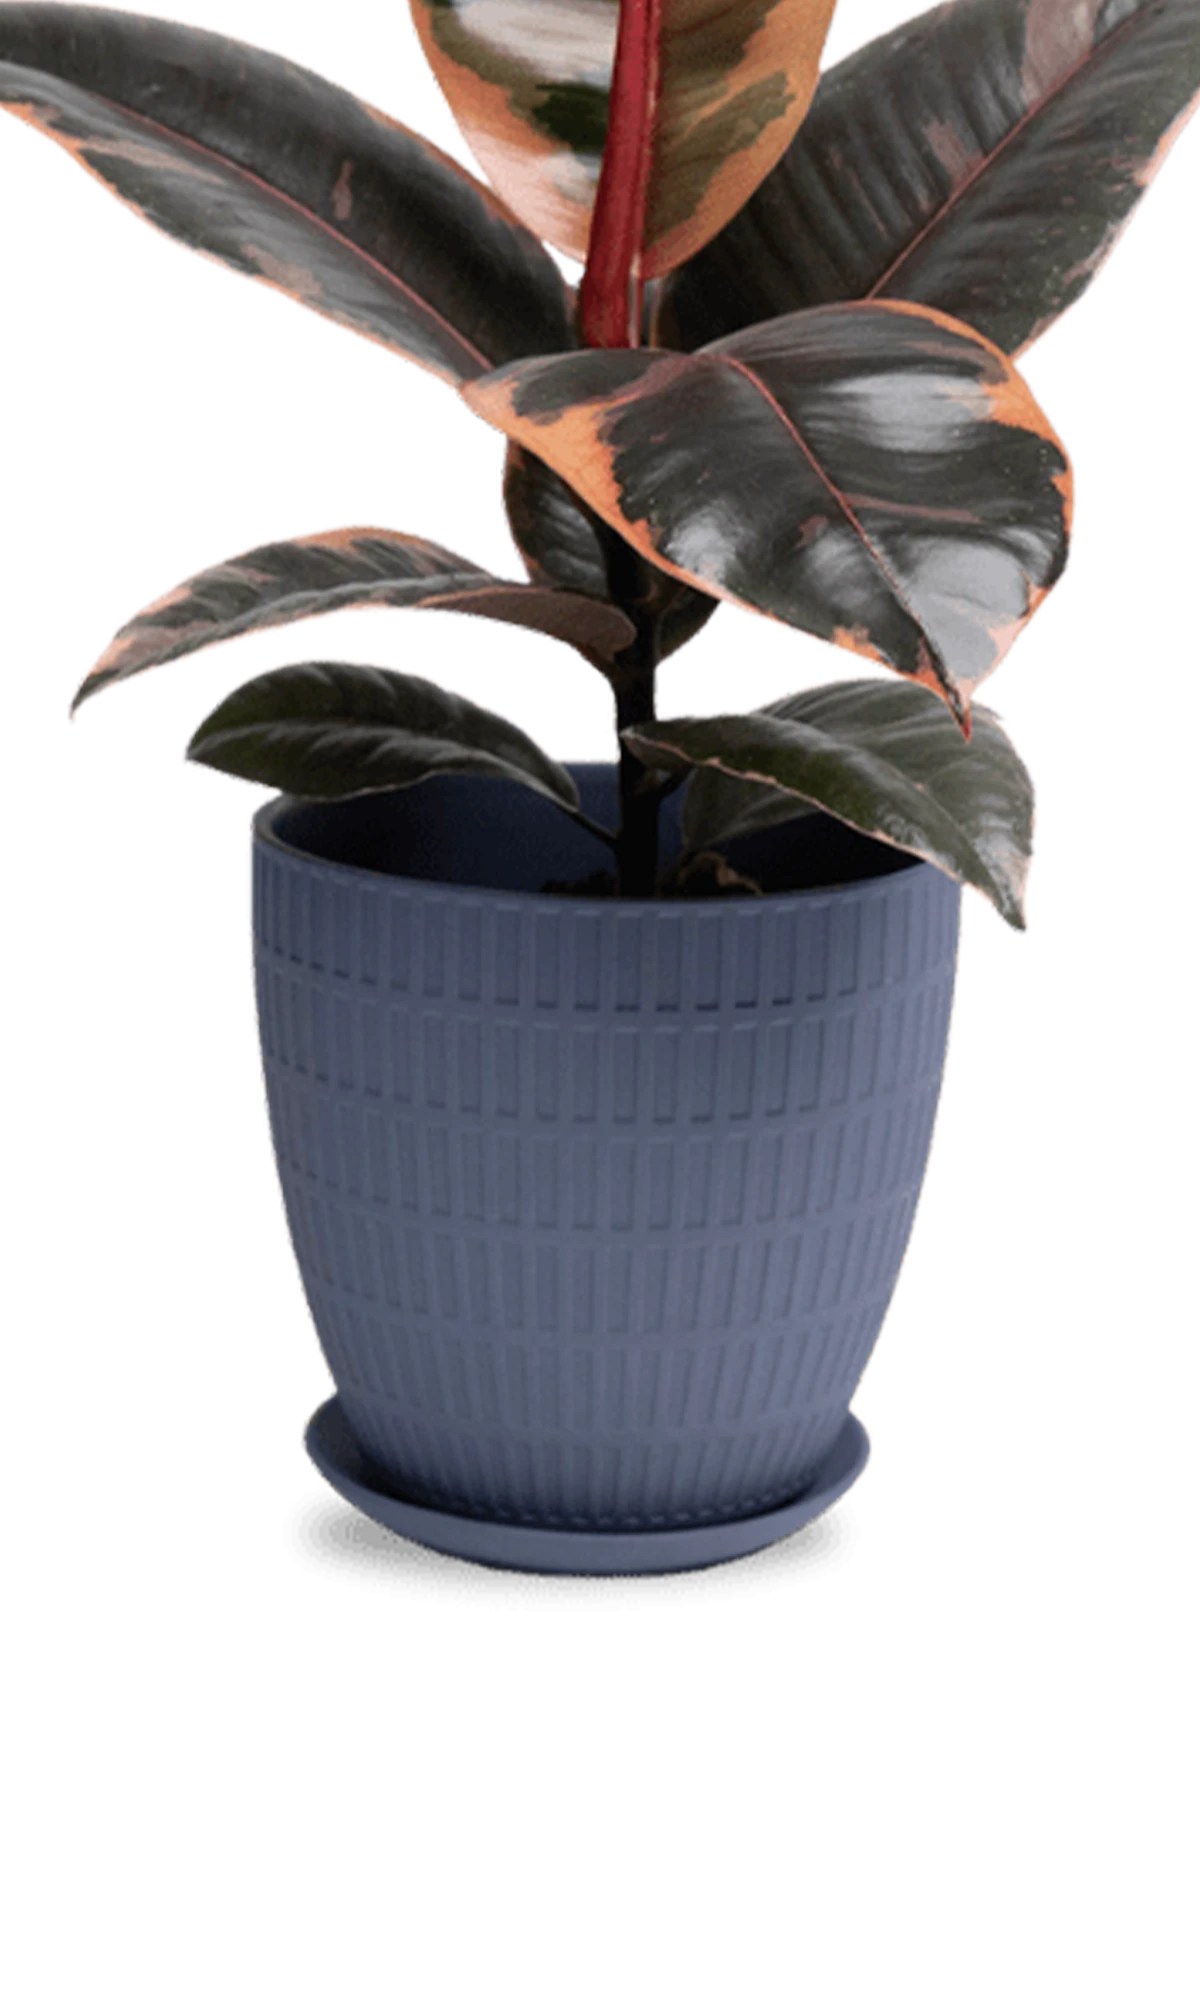
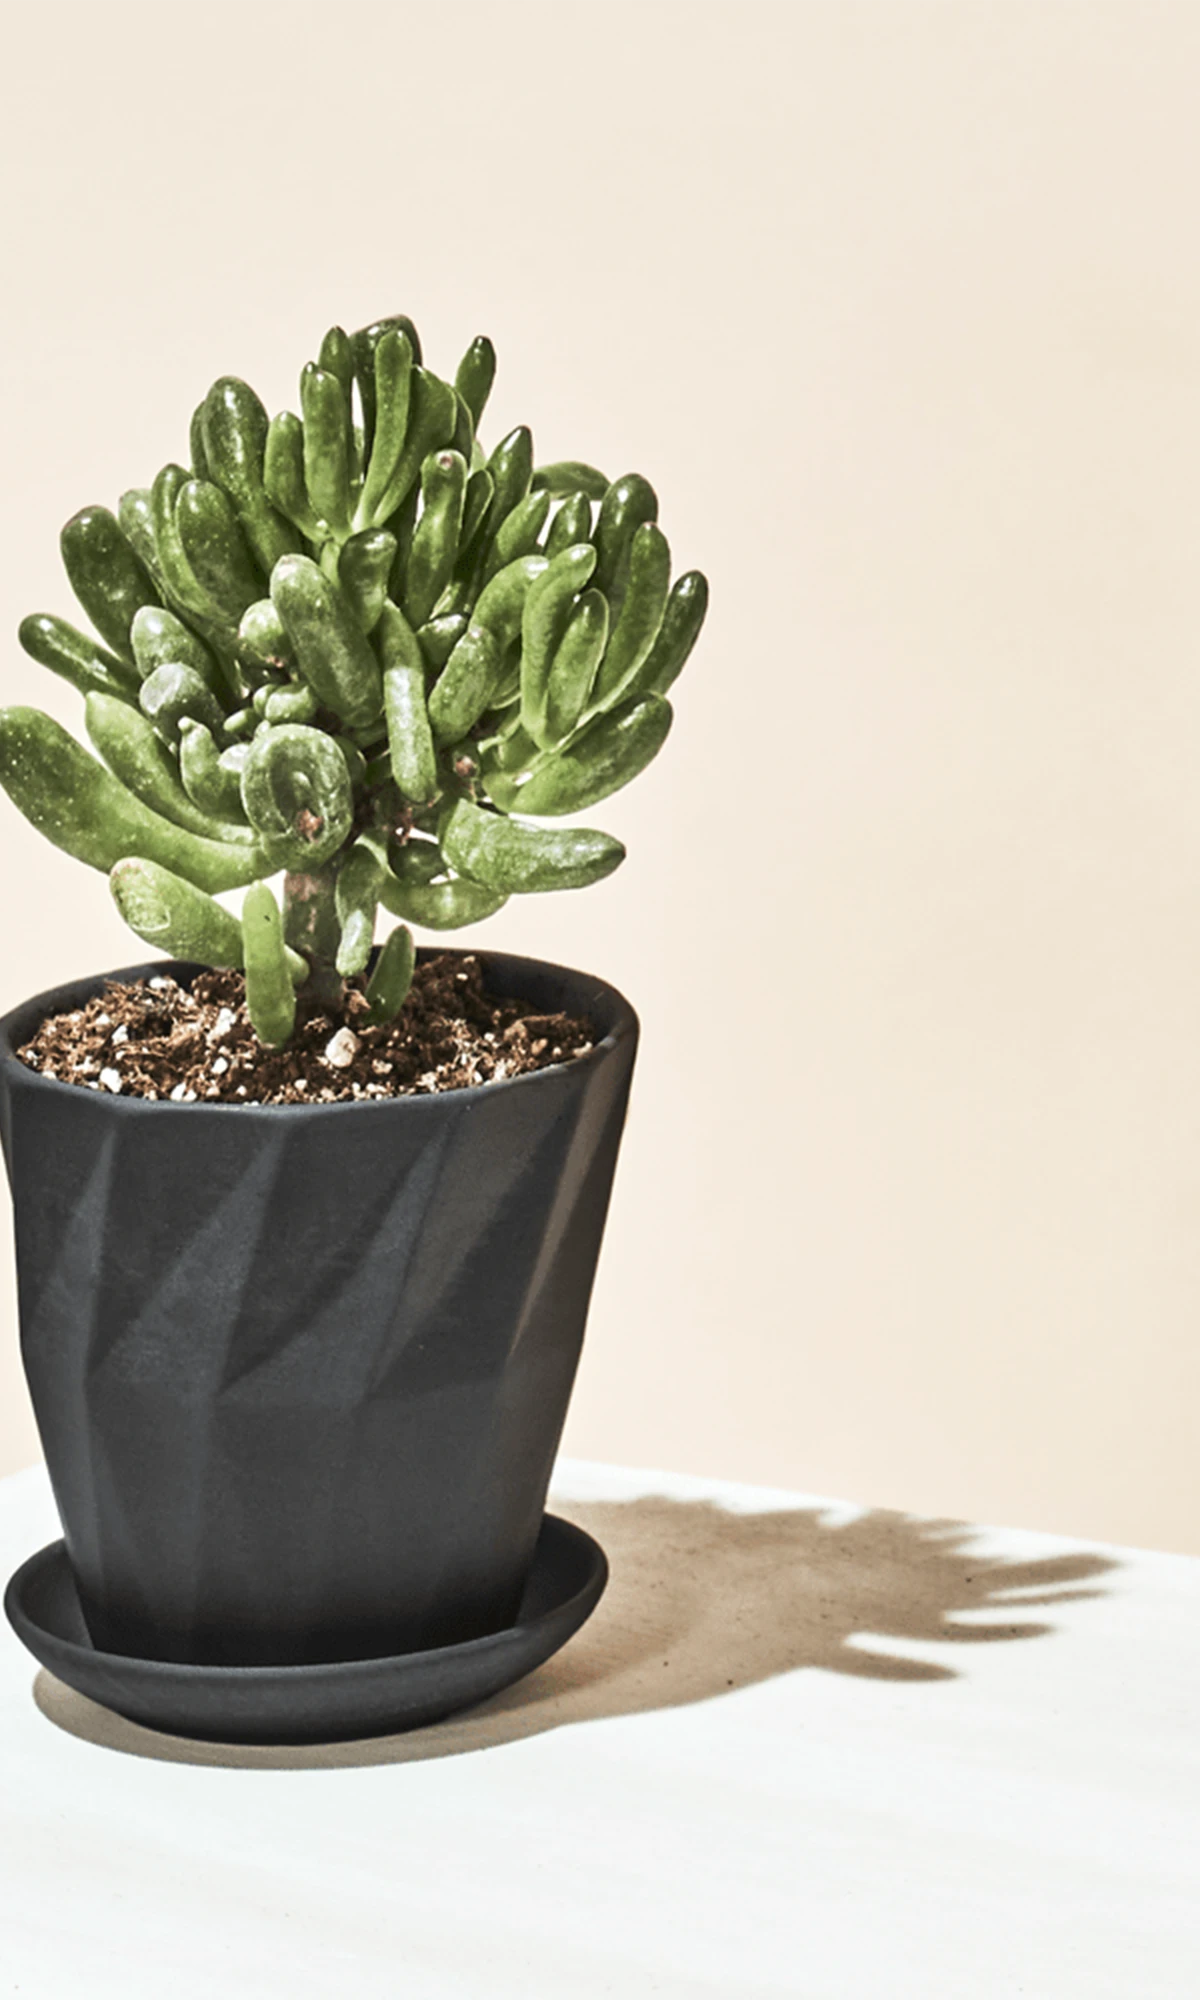
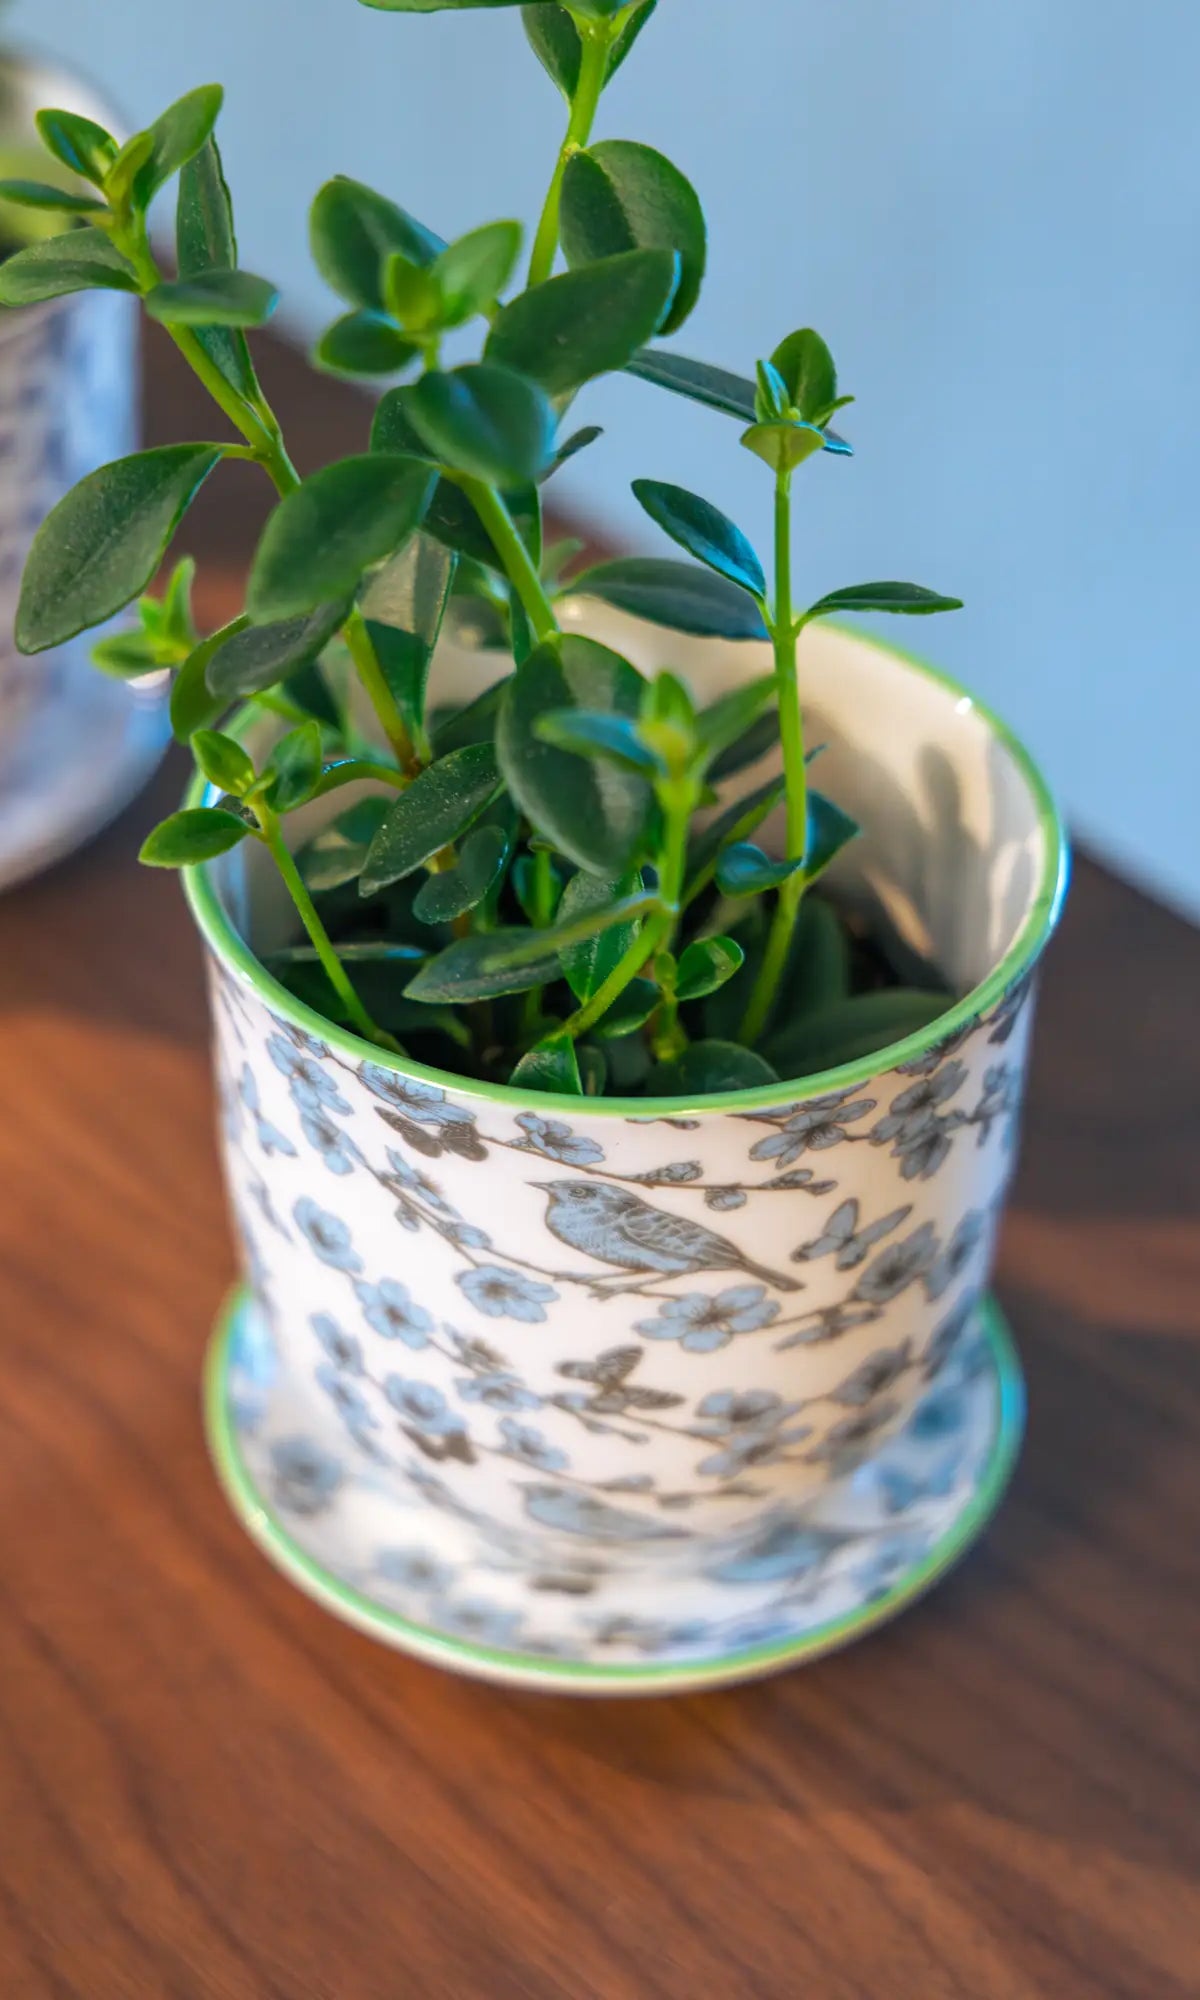
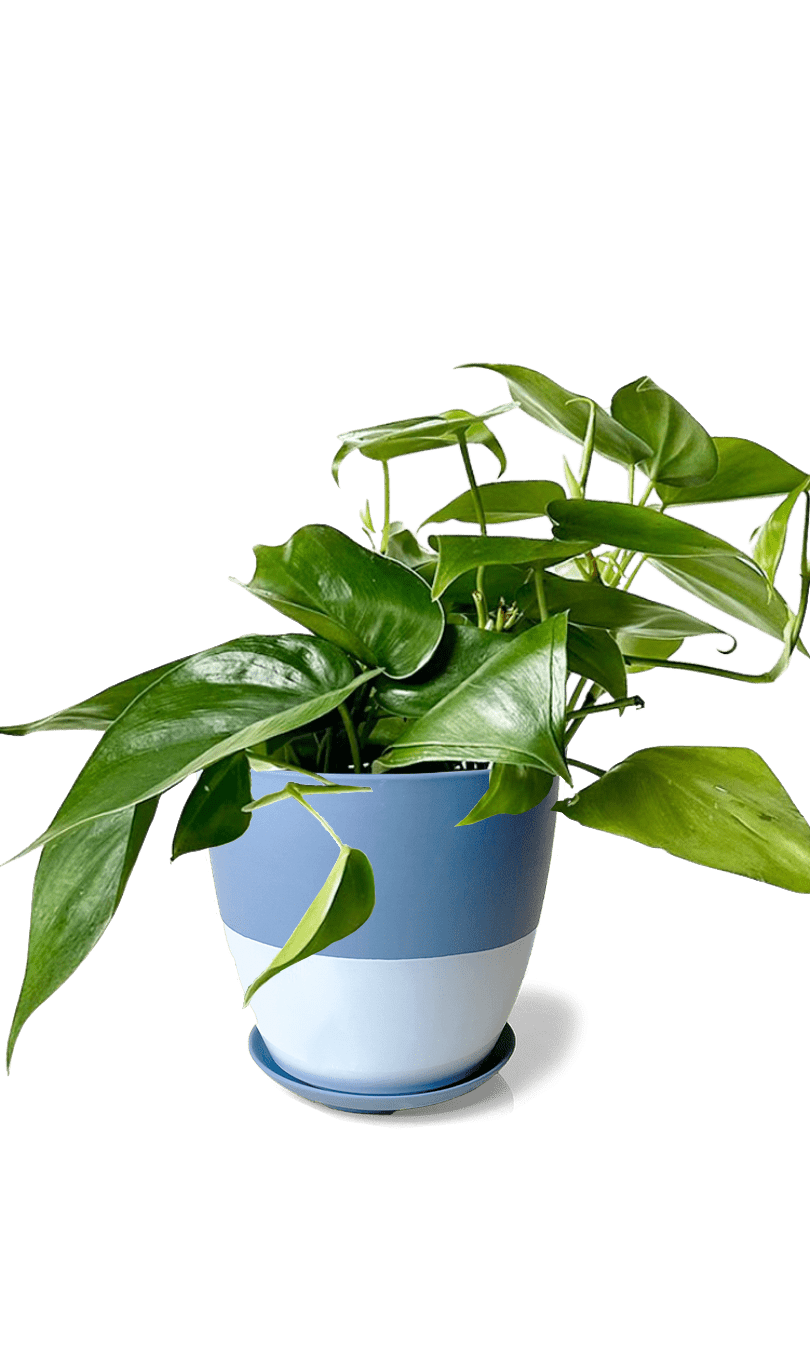
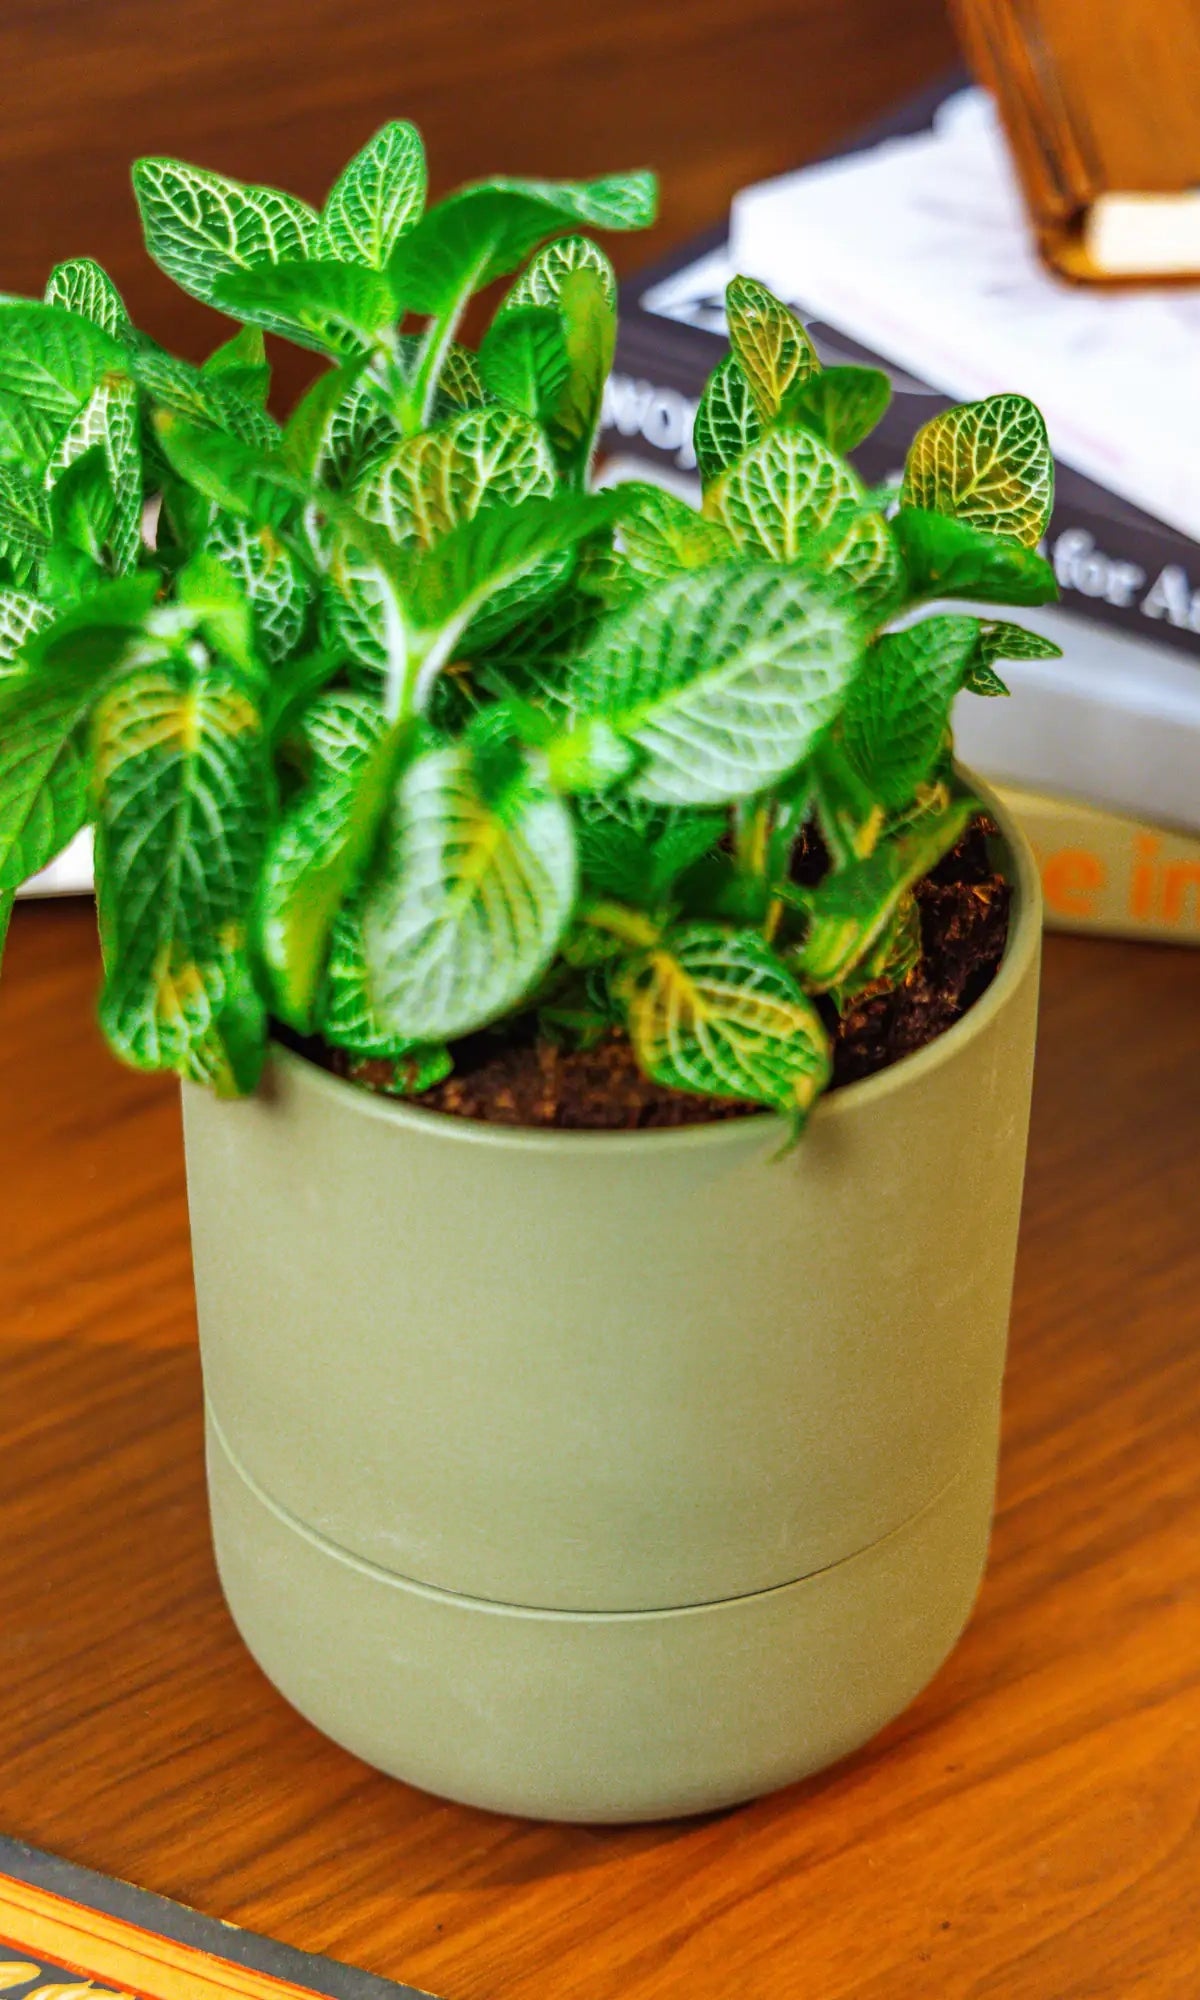
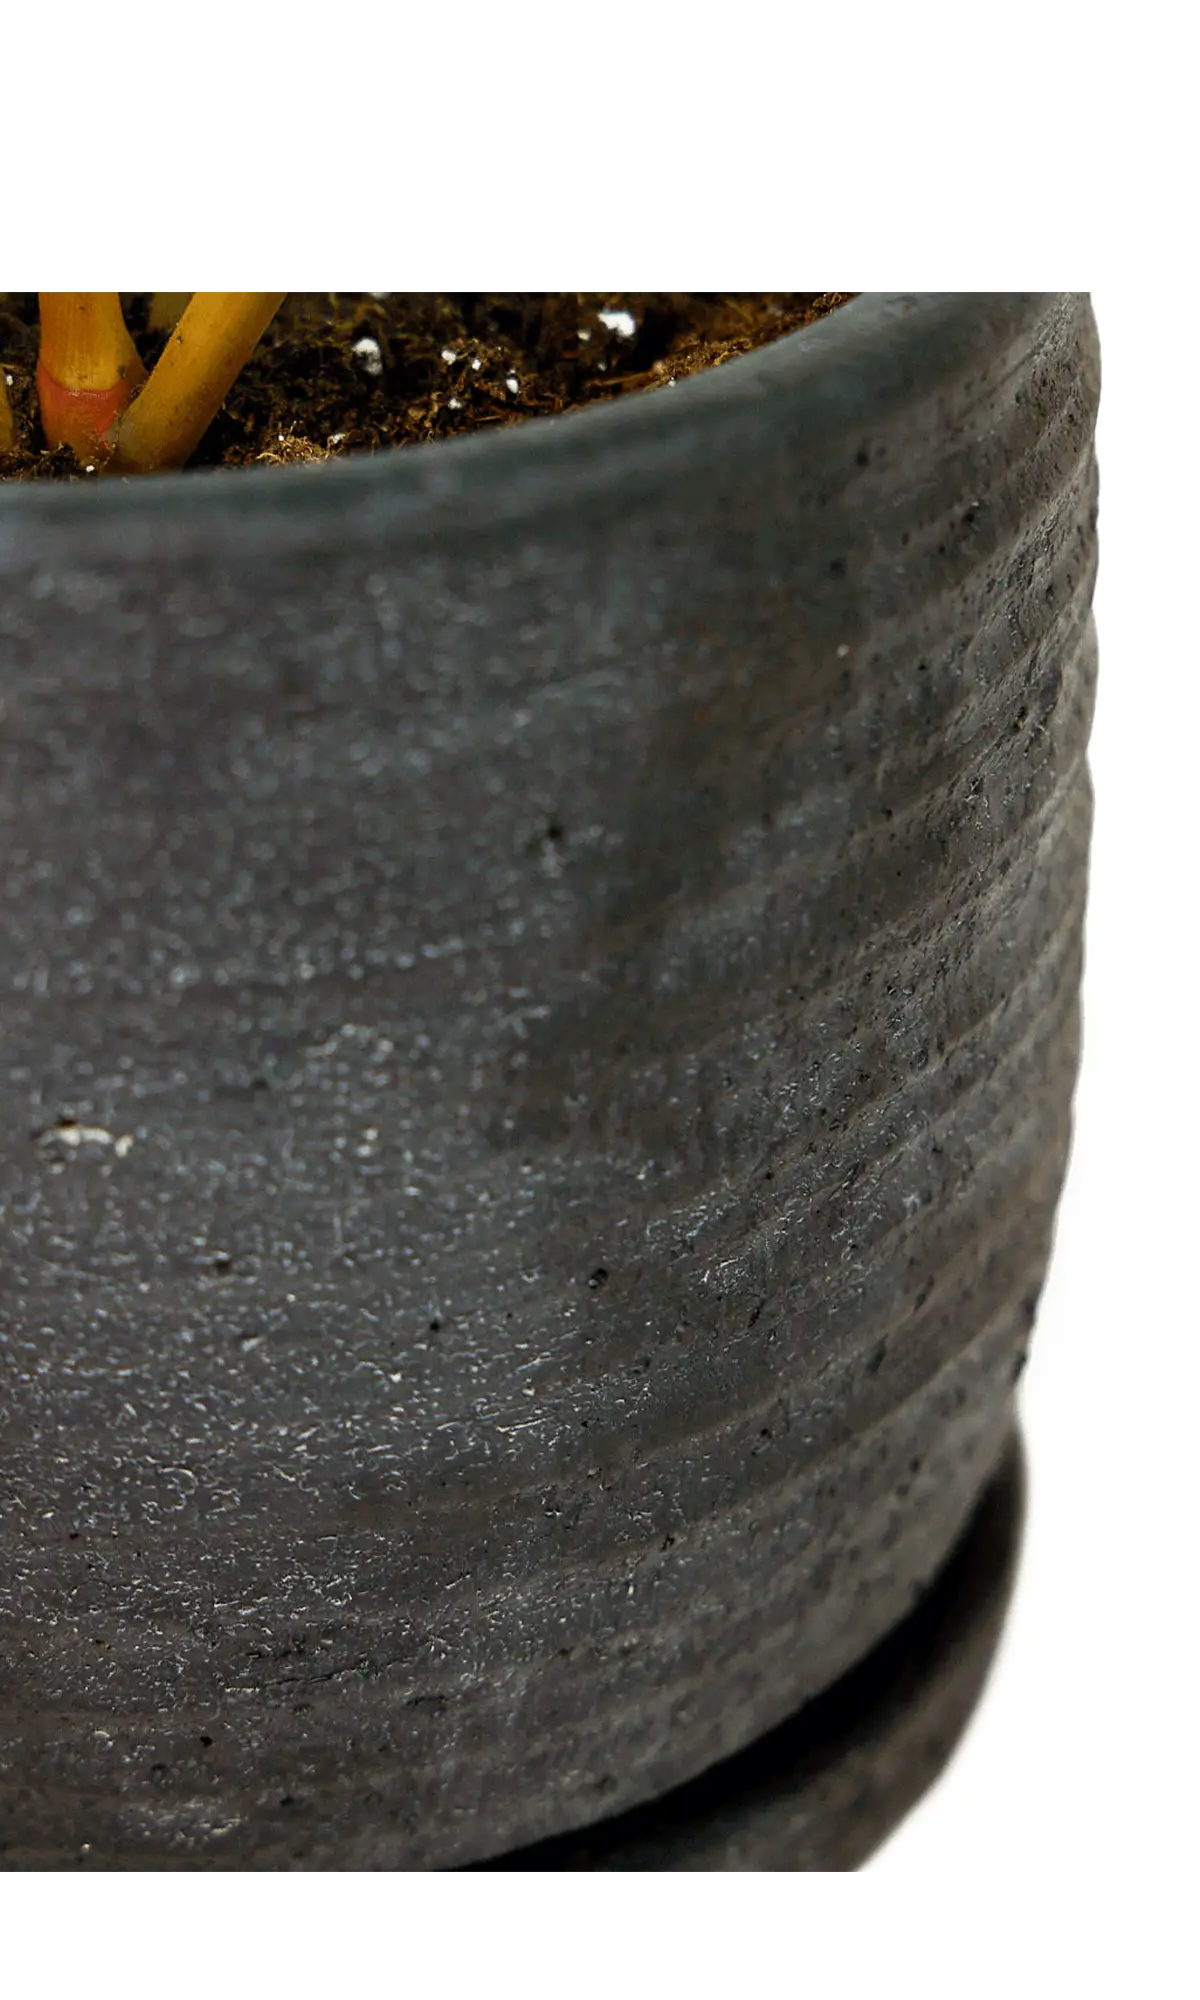
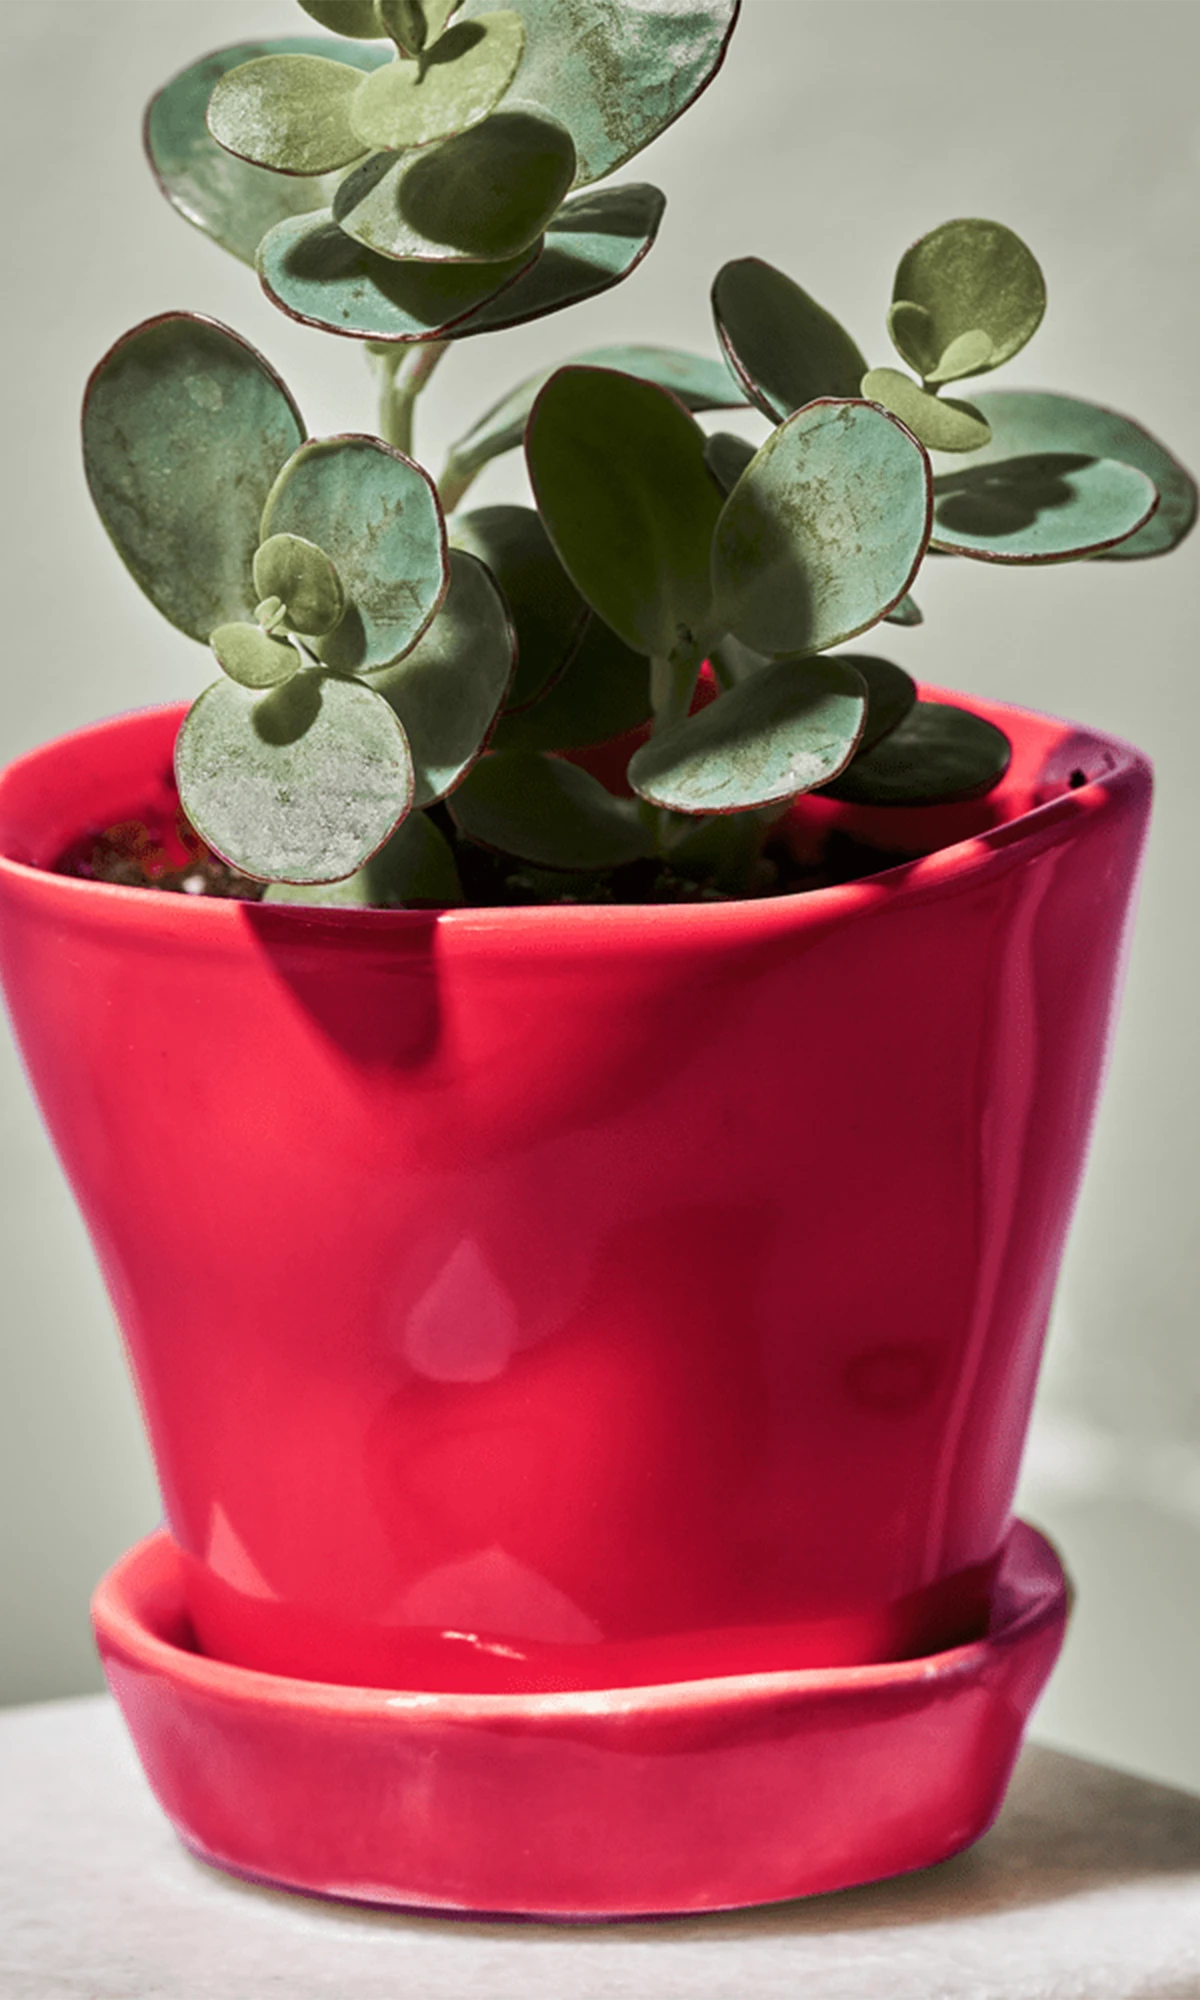
Put a layer of fresh potting soil in the new pot. Set the plant in. The top layer of soil in the new pot should match the top layer in the old pot — same level, same relationship between soil and rim, same tiny ecosystem the plant has spent months calibrating to its own satisfaction. The plant does not know it has moved. The plant does not need to know it has moved. Your job is to make the transition so seamless that the plant continues living its life without having to process any of this, which is a kindness that more situations in life could benefit from.
Fill in around the sides with fresh potting soil. Press gently. Water thoroughly once. Put it somewhere it was happy before and leave it alone for a few days. The plant will settle. It always does.
A note on potting soil
Potting soil is not the soil from your backyard. Your backyard soil contains a history that you are not fully aware of and the plant is not equipped to handle — old roots, compacted layers, whatever the previous owners were doing back there, and in some neighborhoods that list is long and not entirely botanical. Potting soil is made for pots. It drains correctly, it breathes correctly, it does not contain surprises. Use the potting soil. Leave the backyard out of this.

The whole system, stated plainly
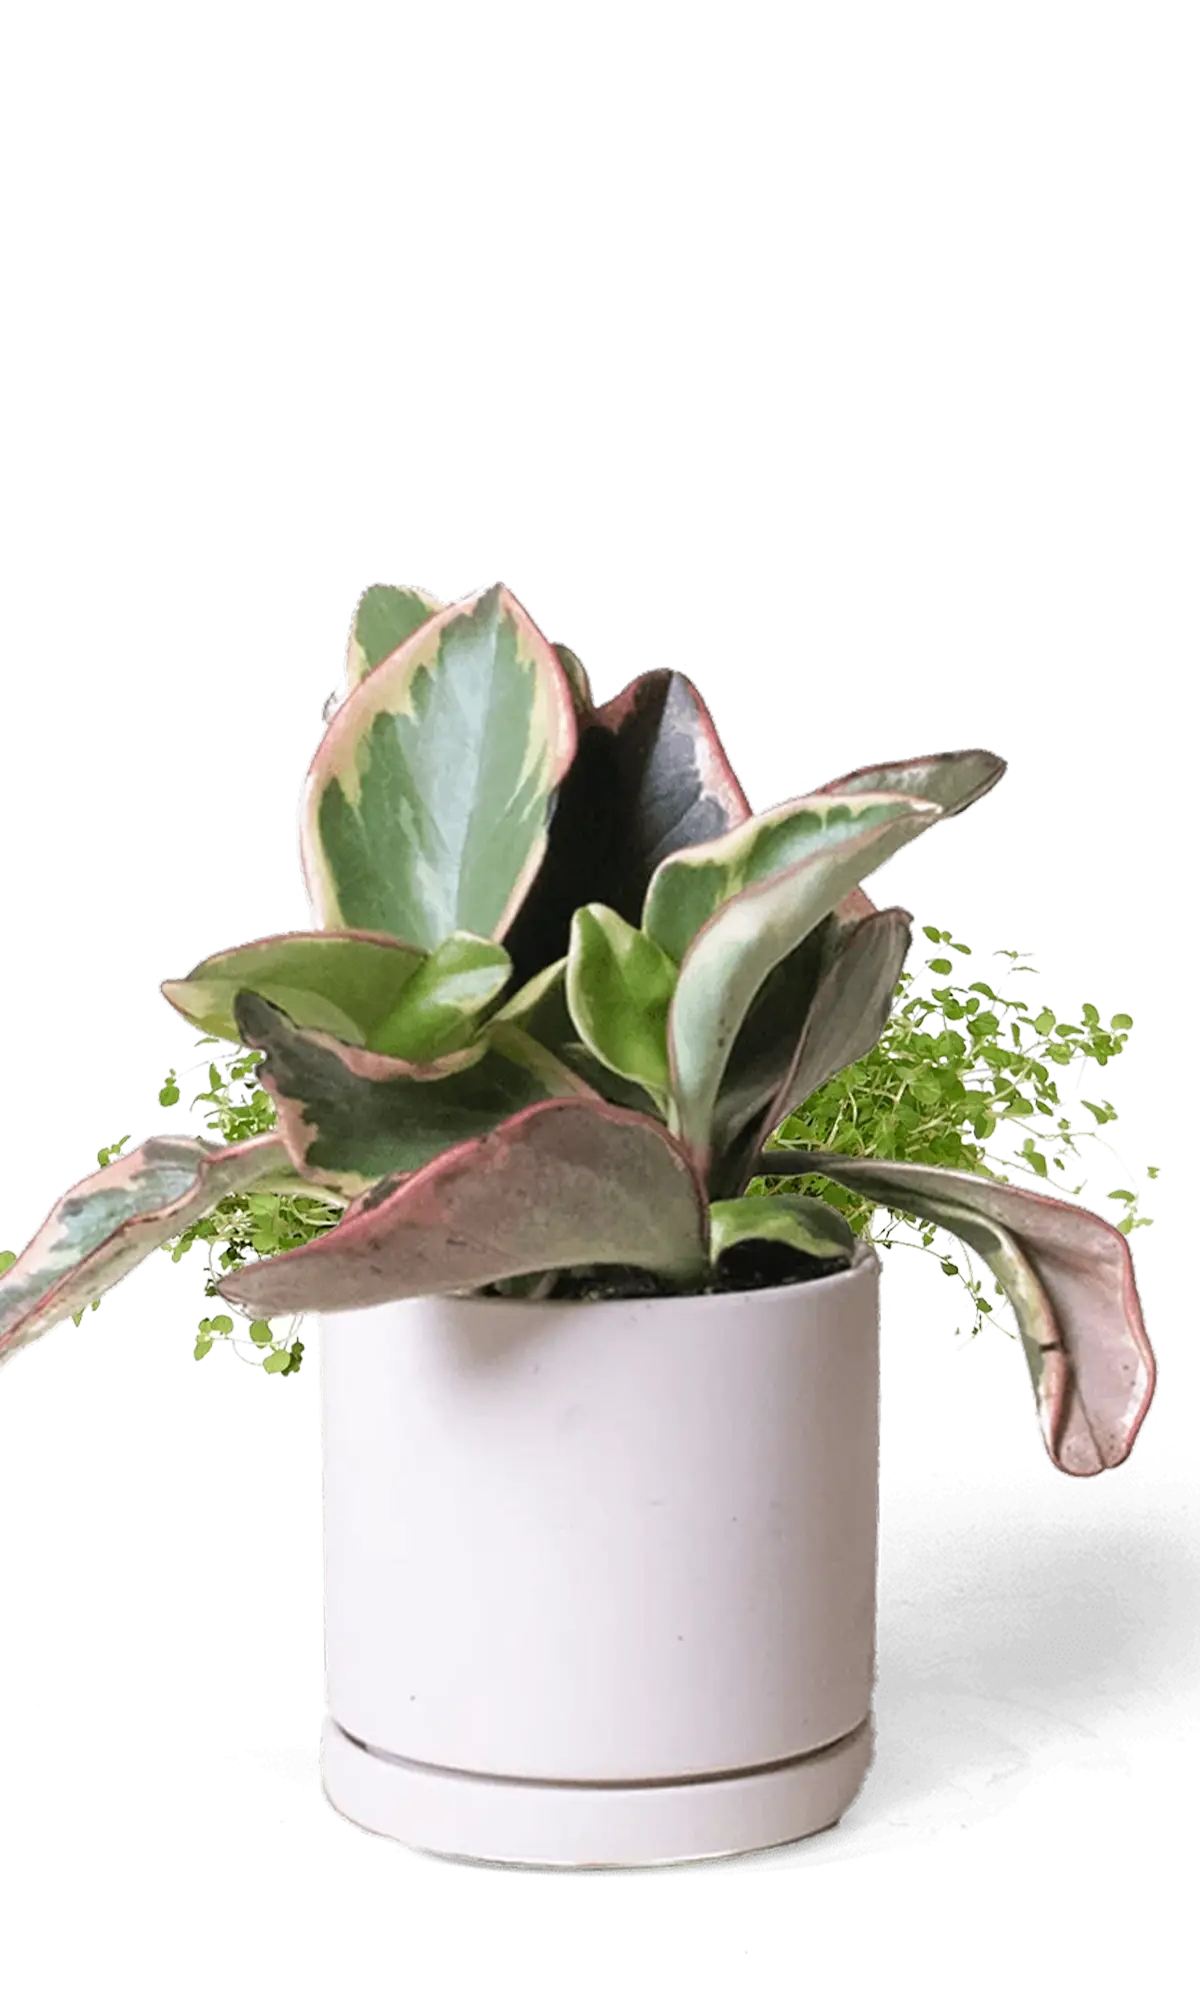
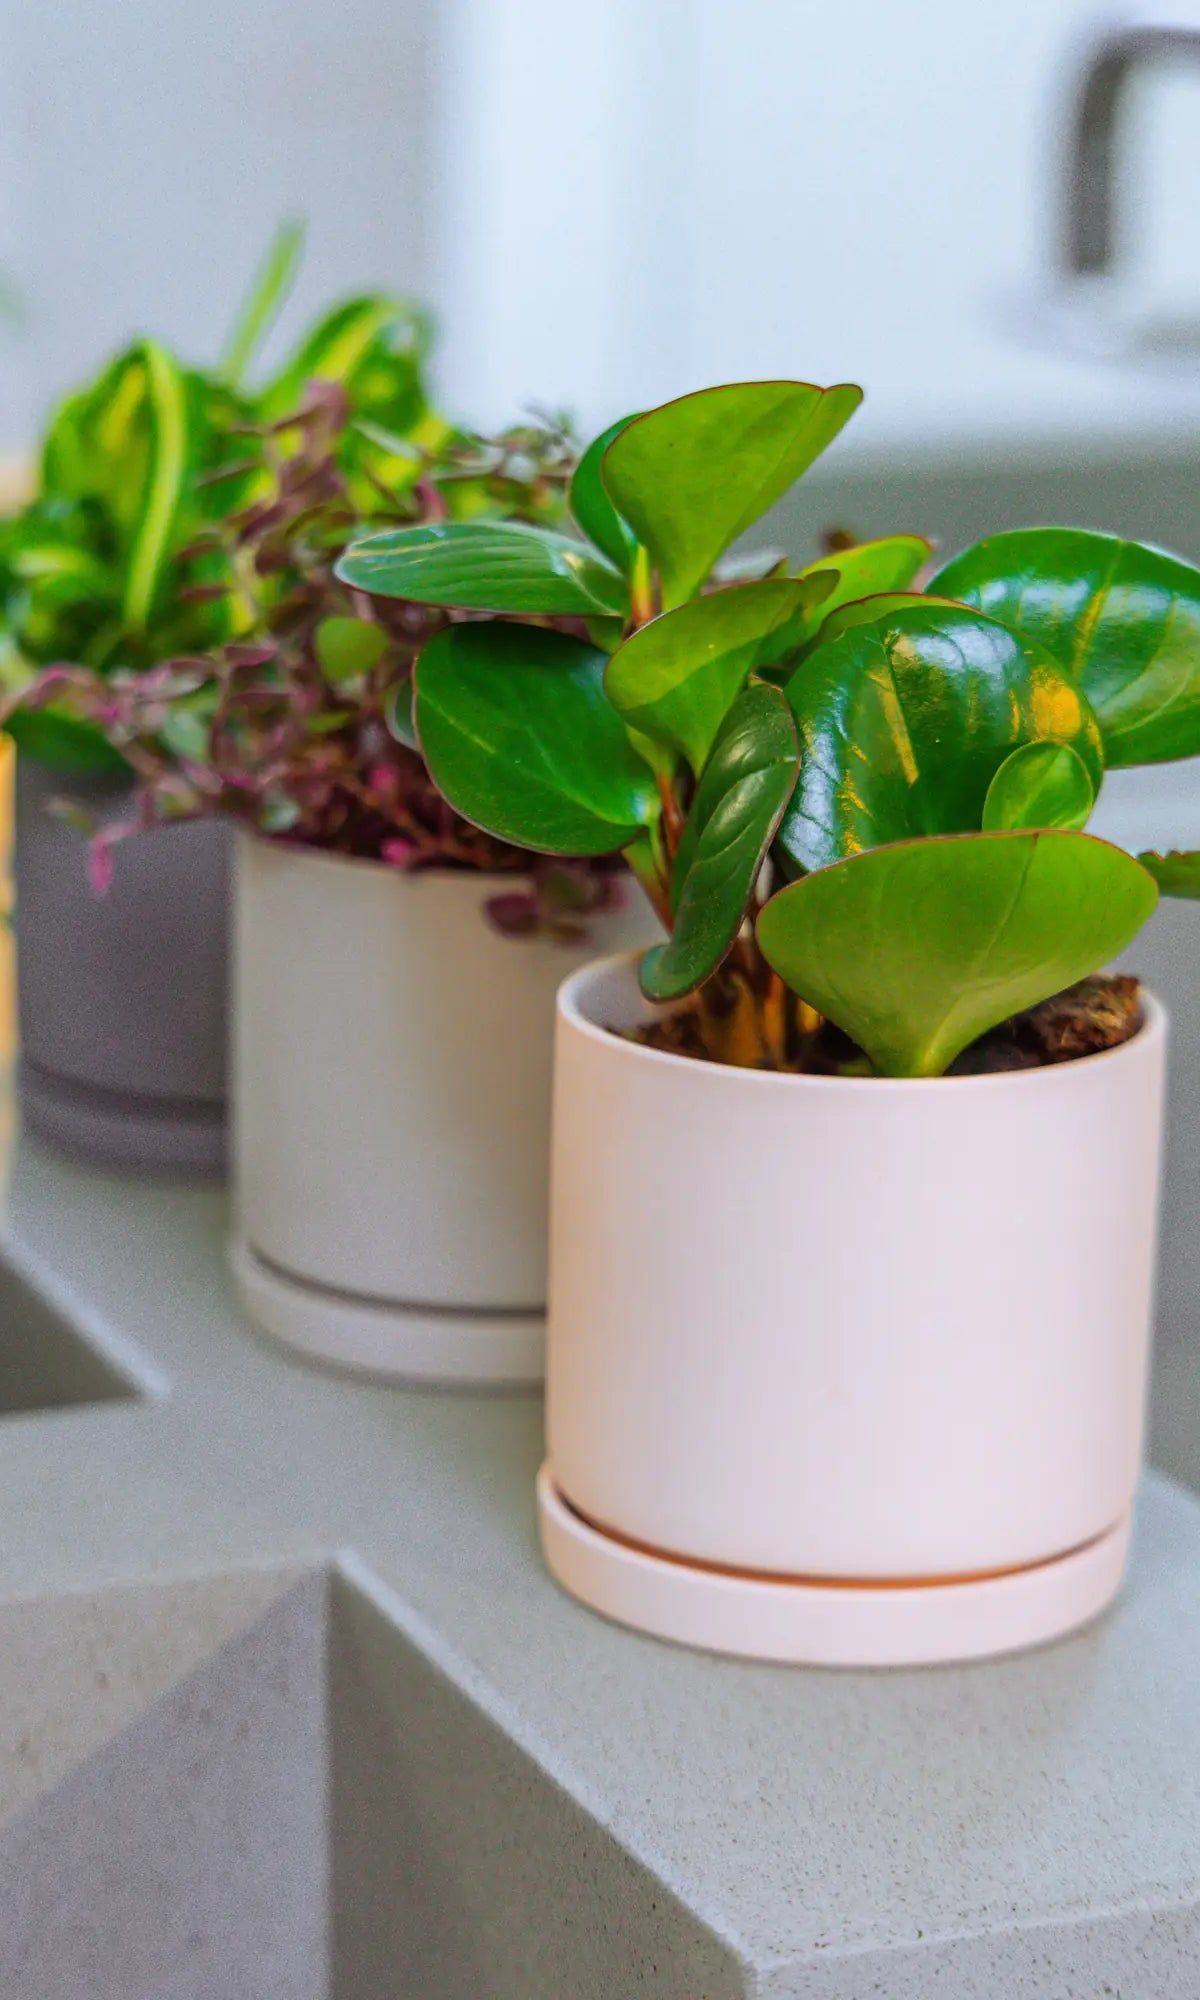
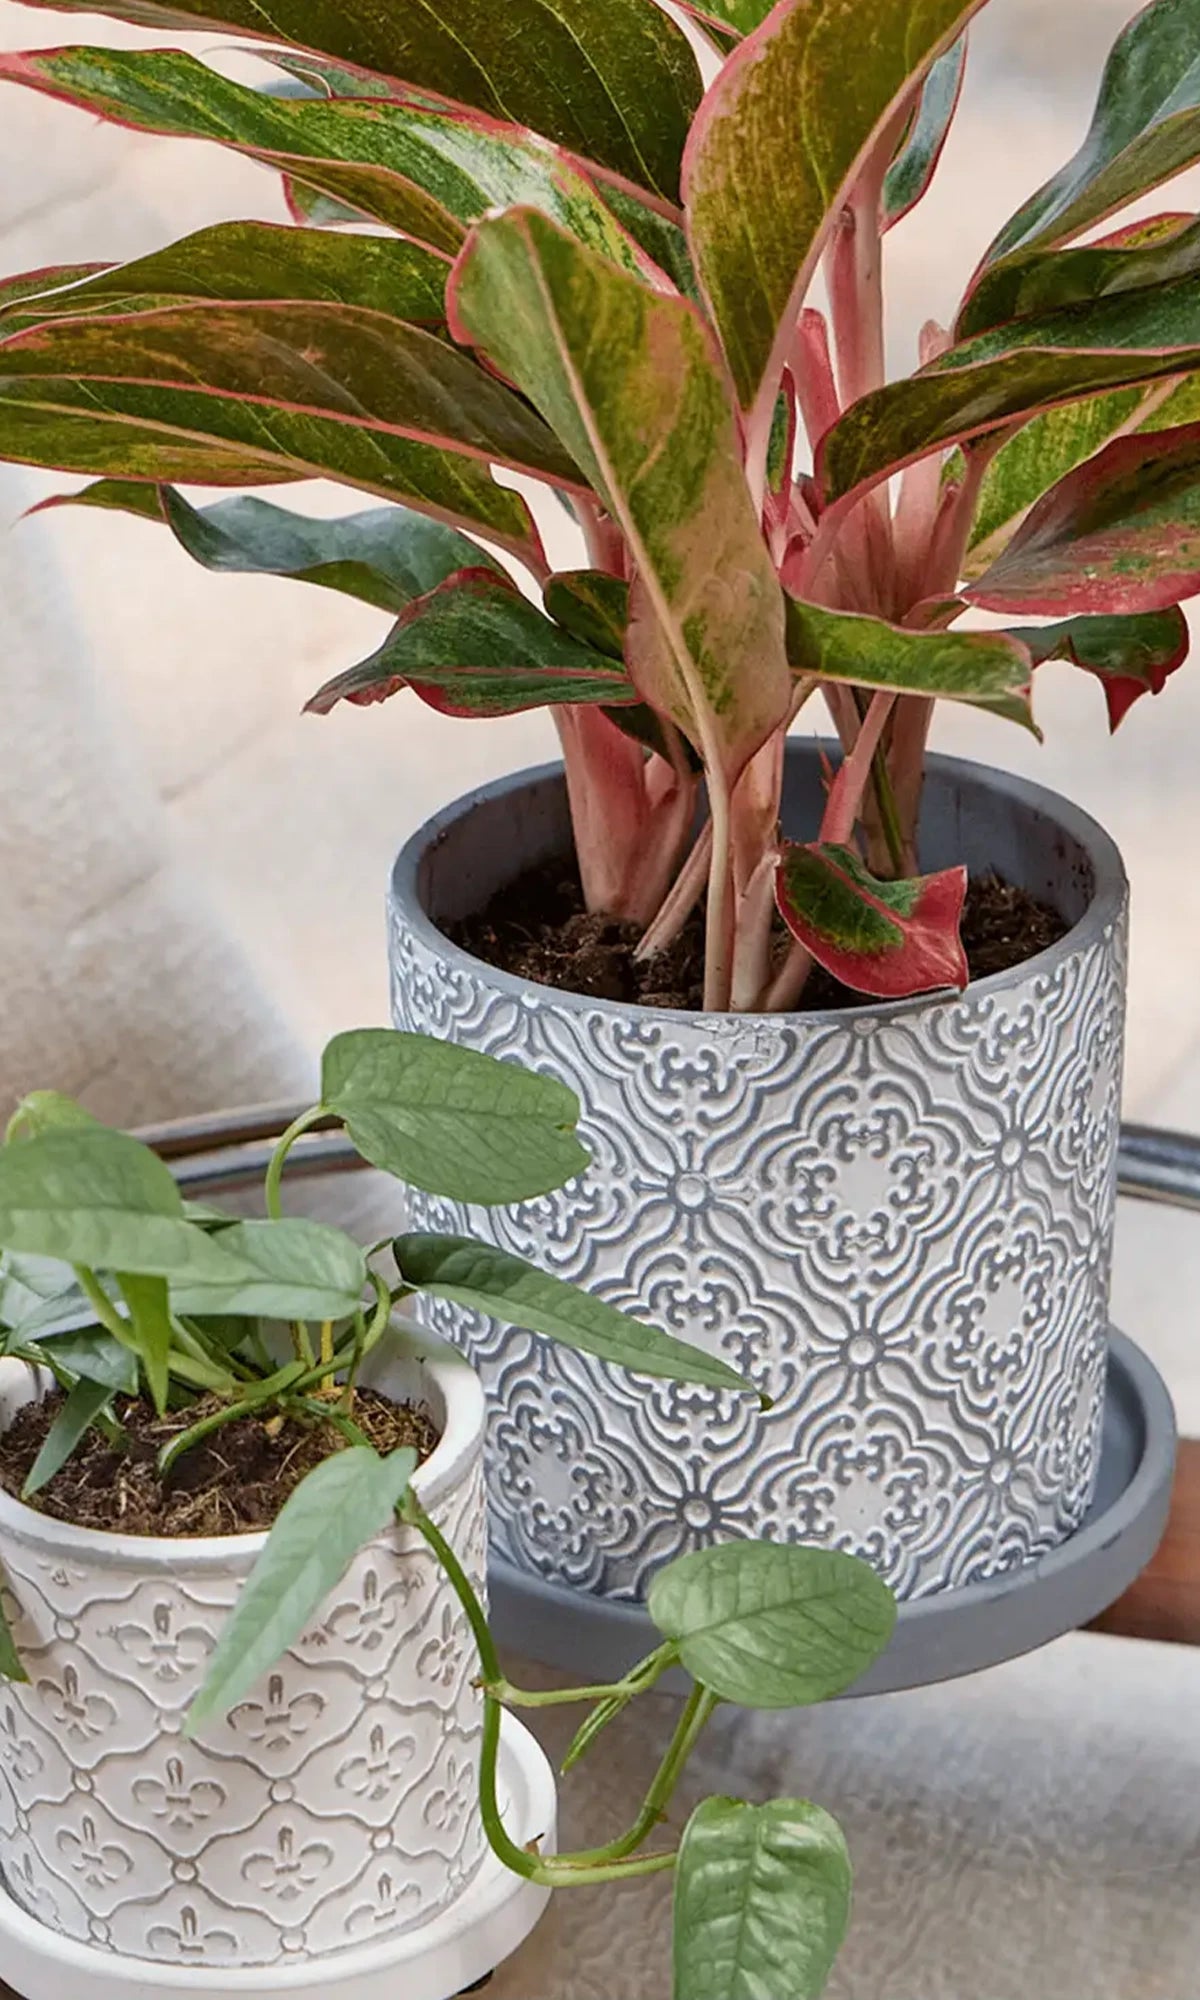
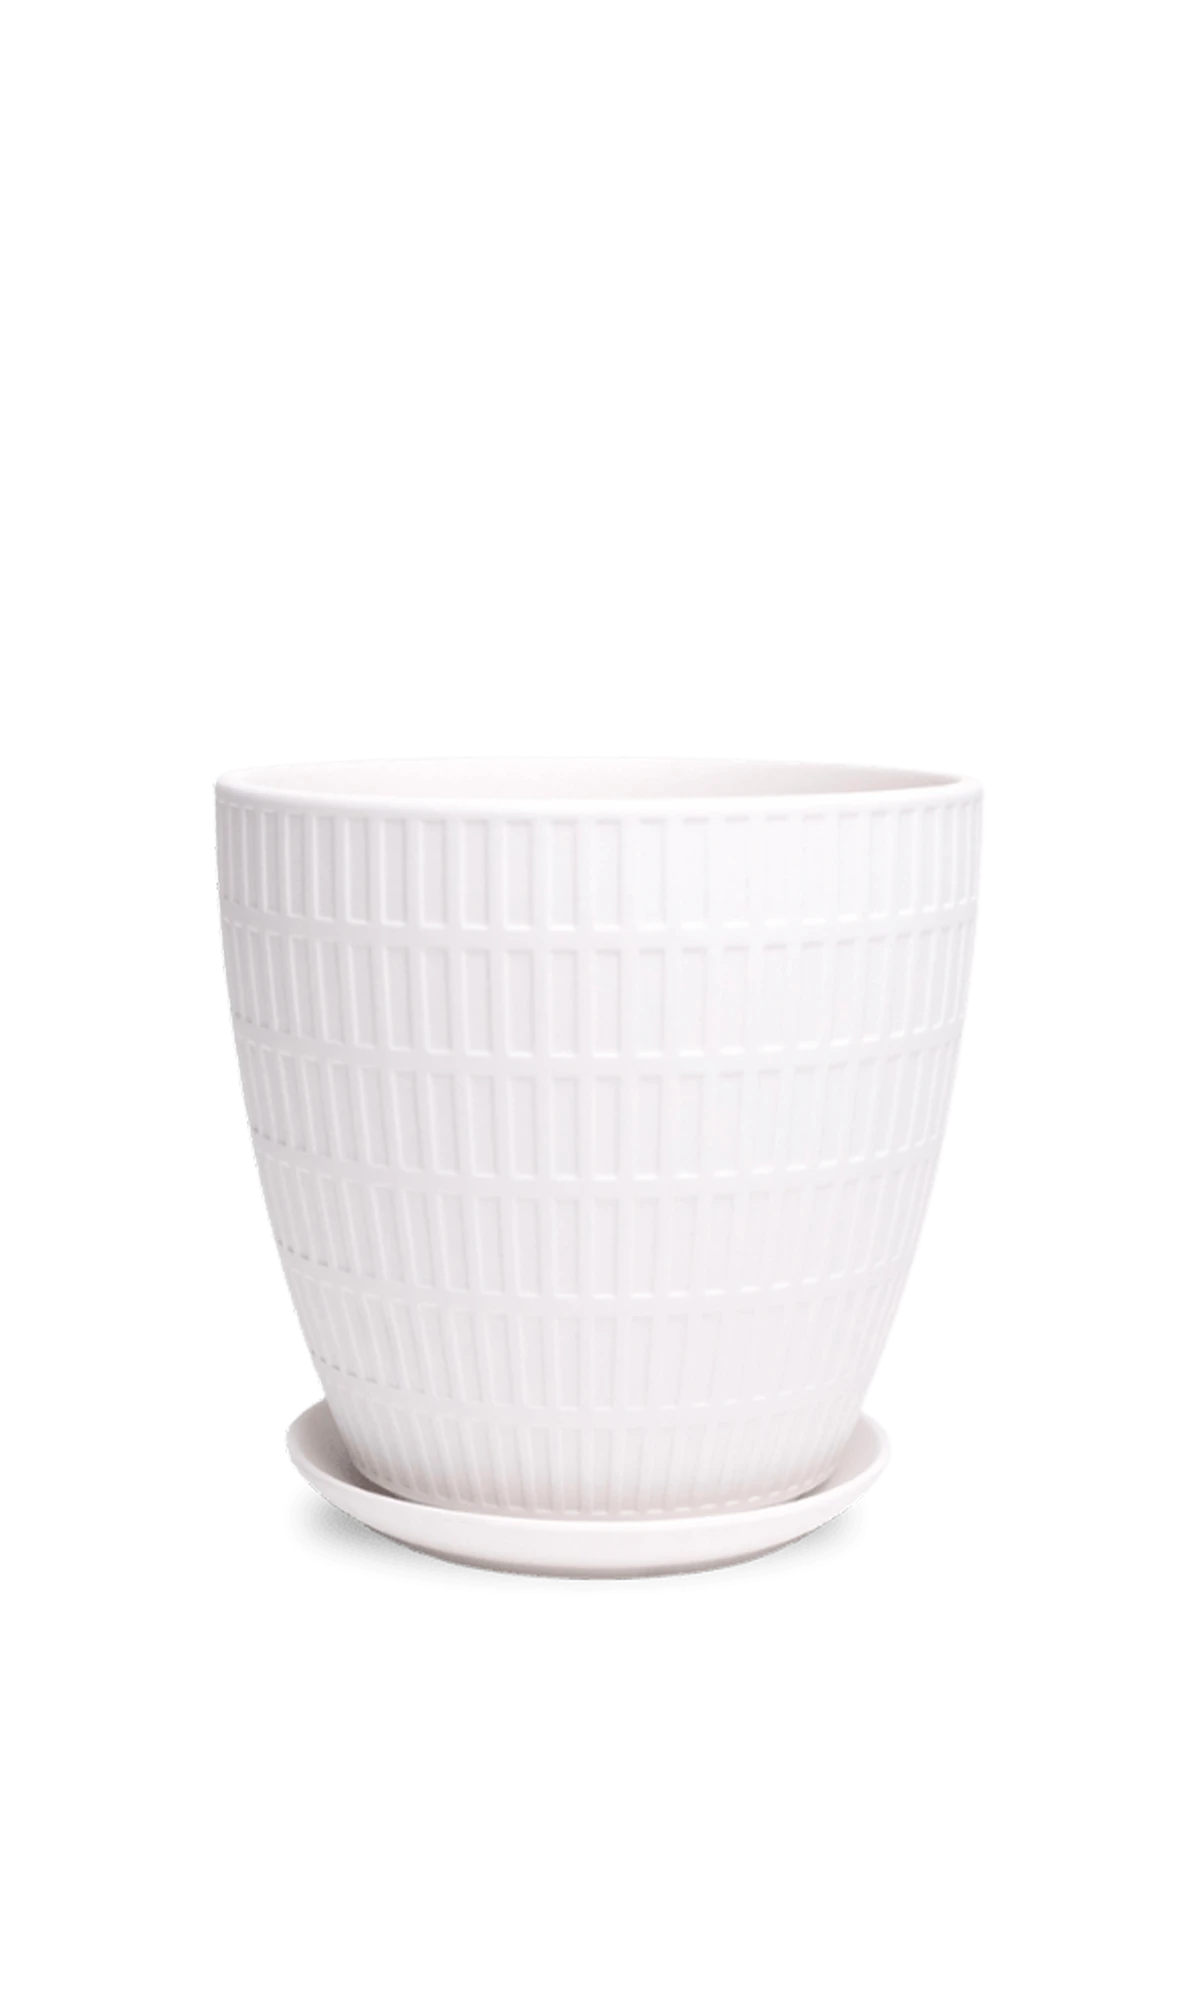
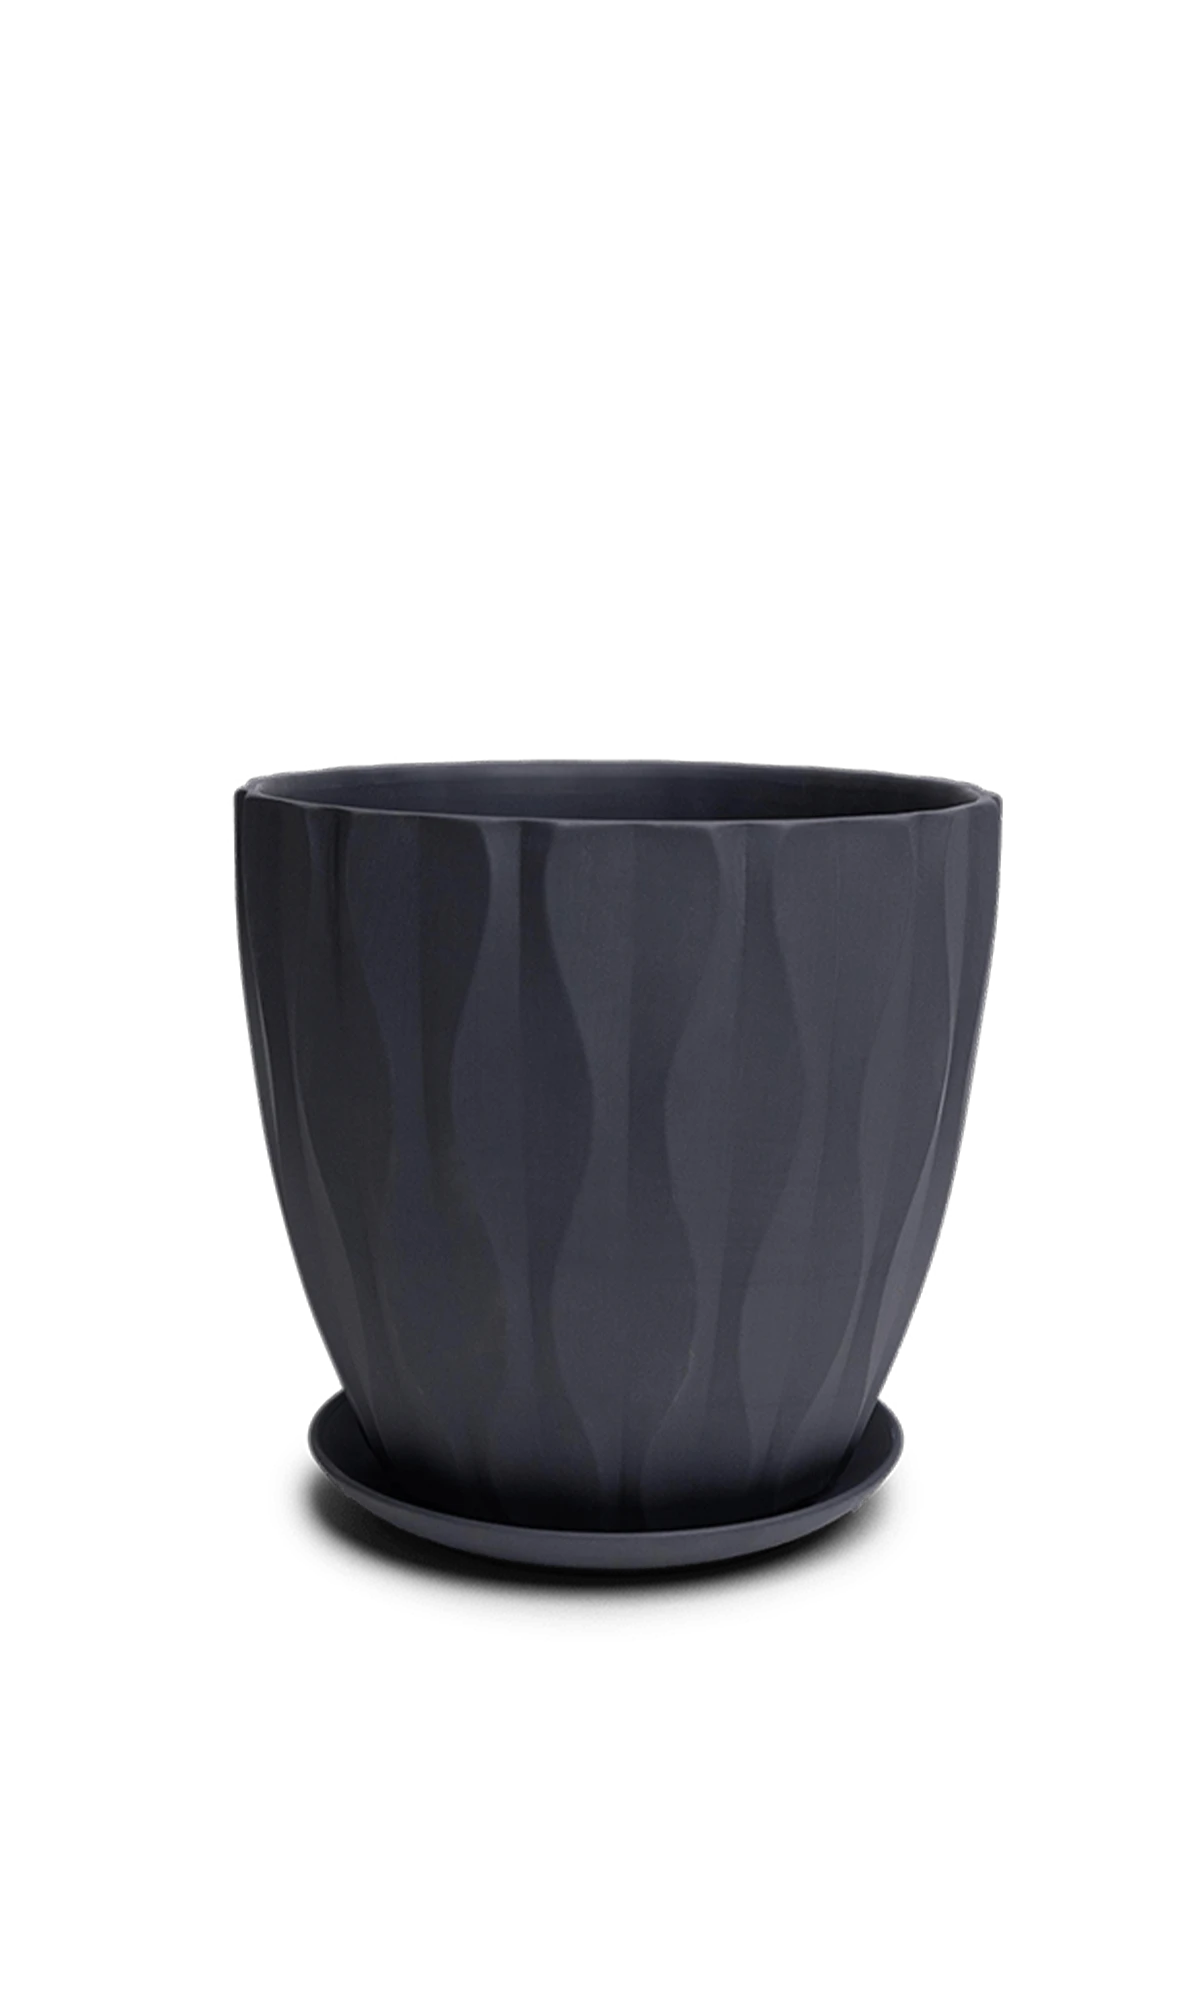
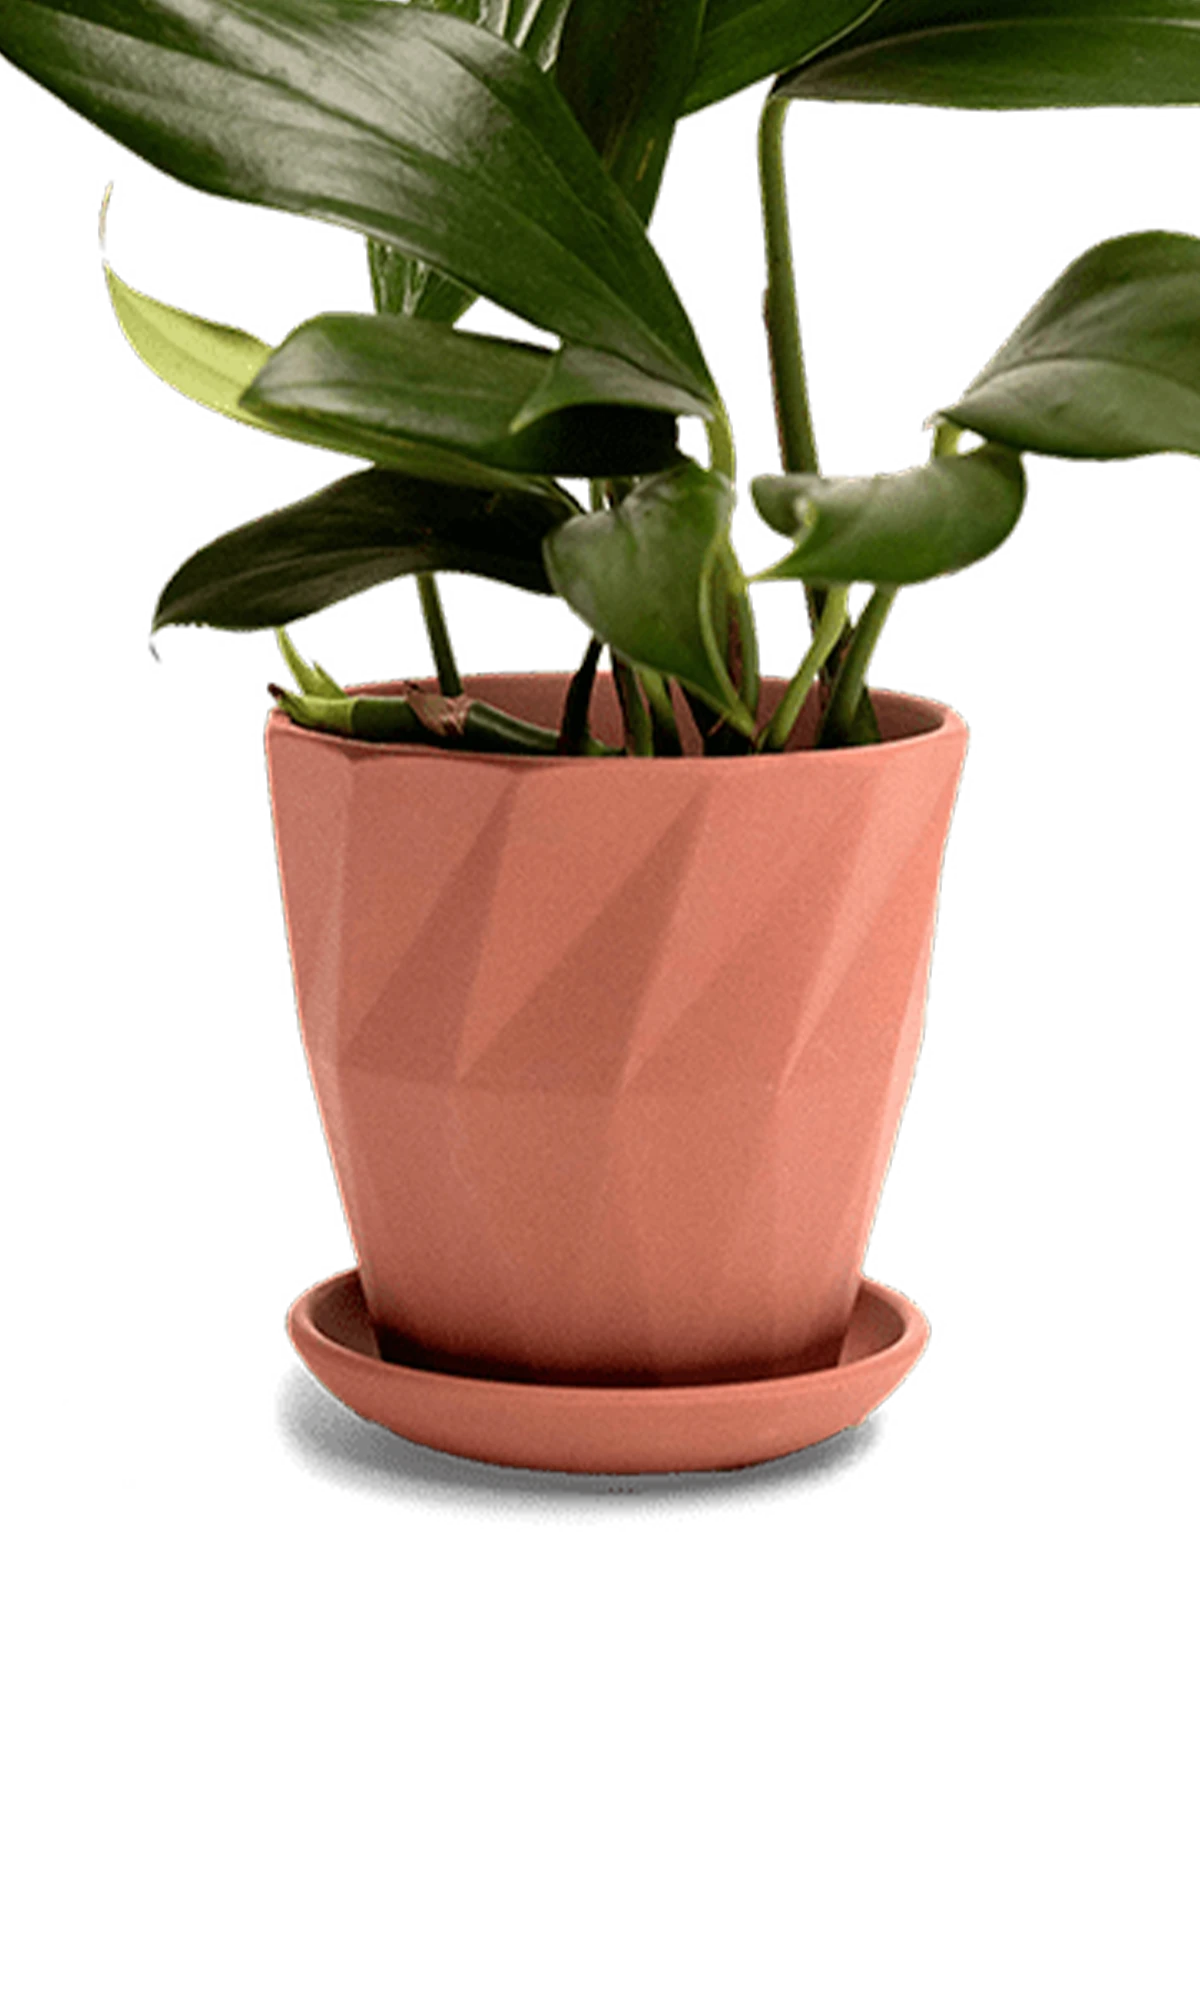
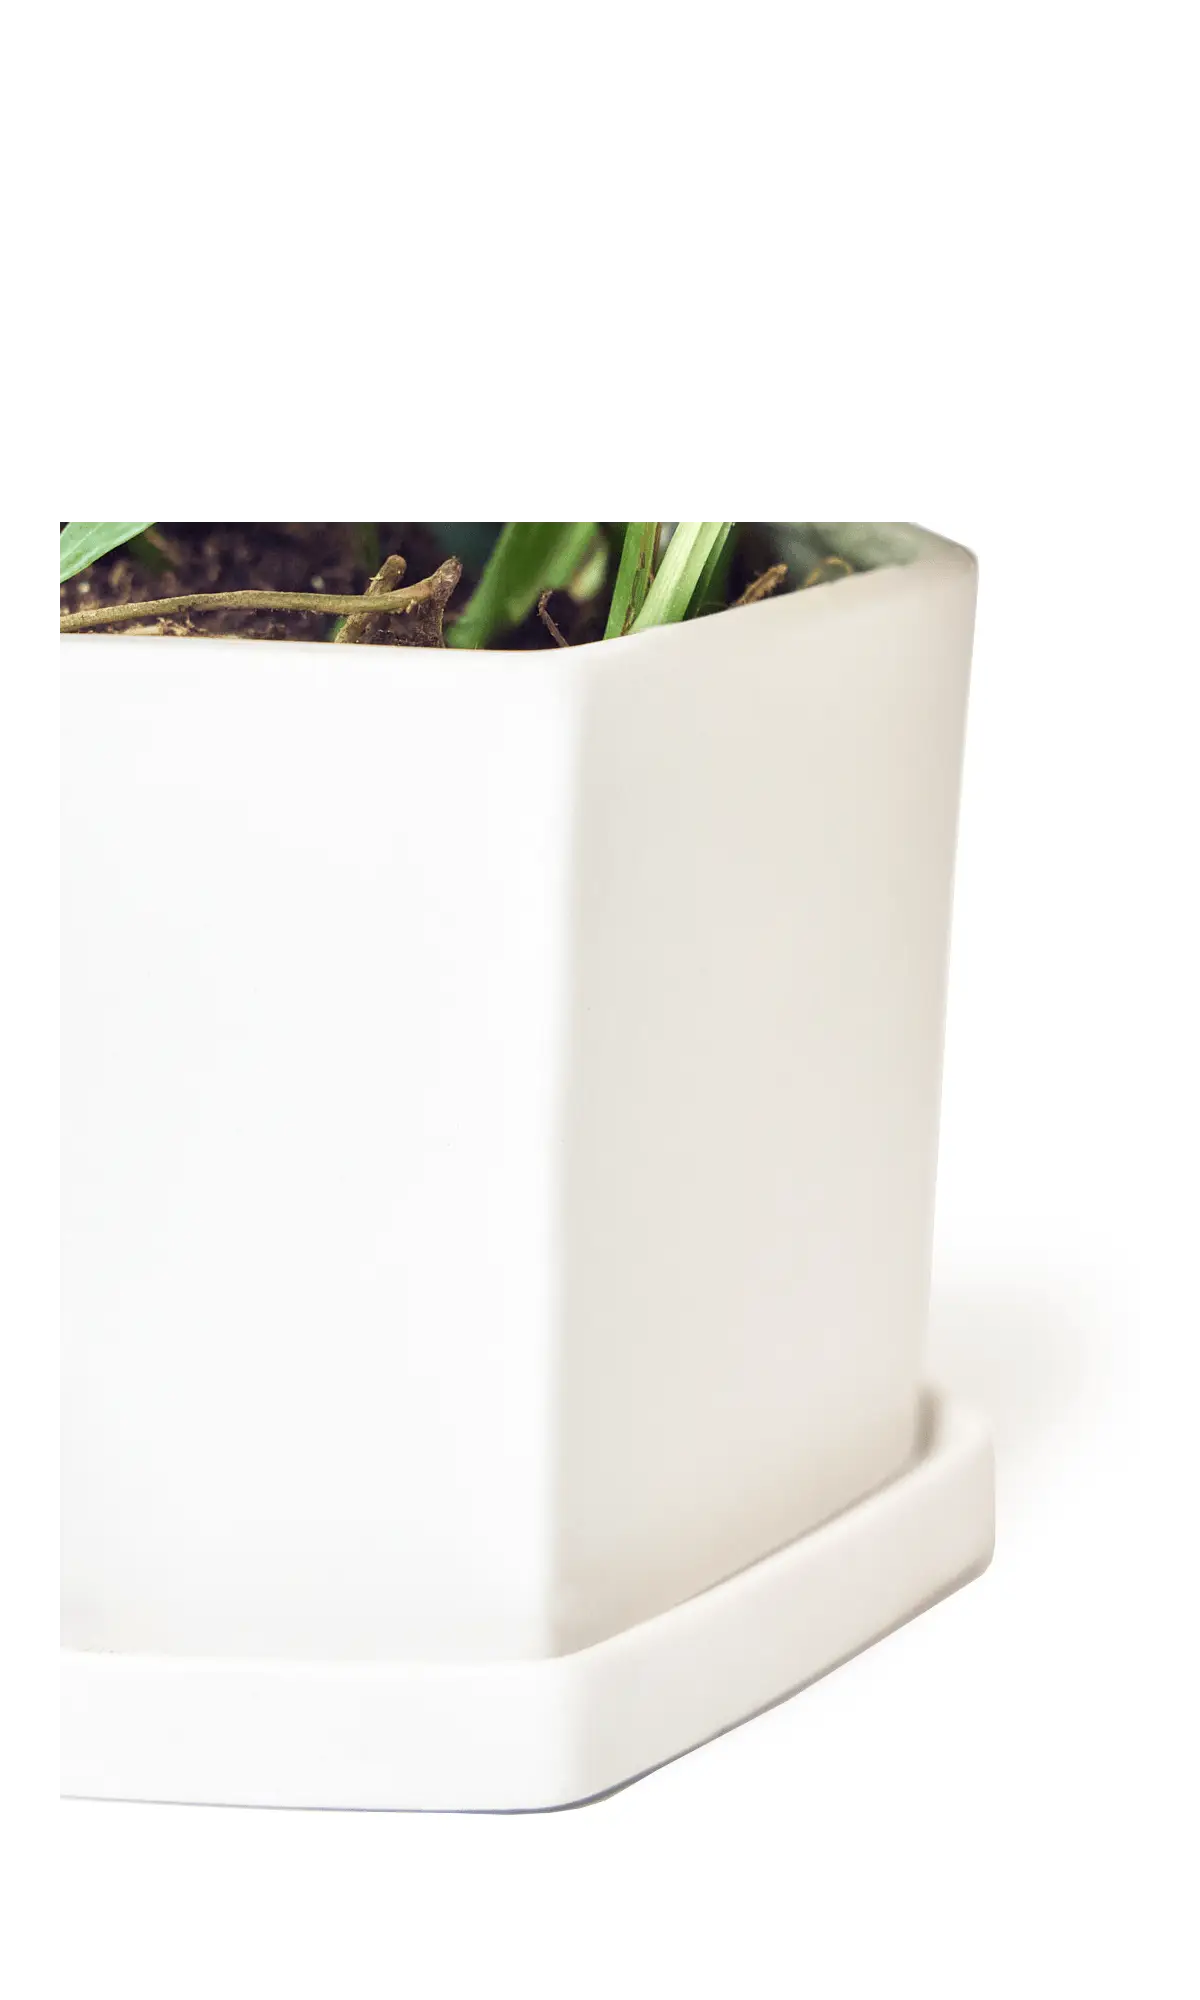
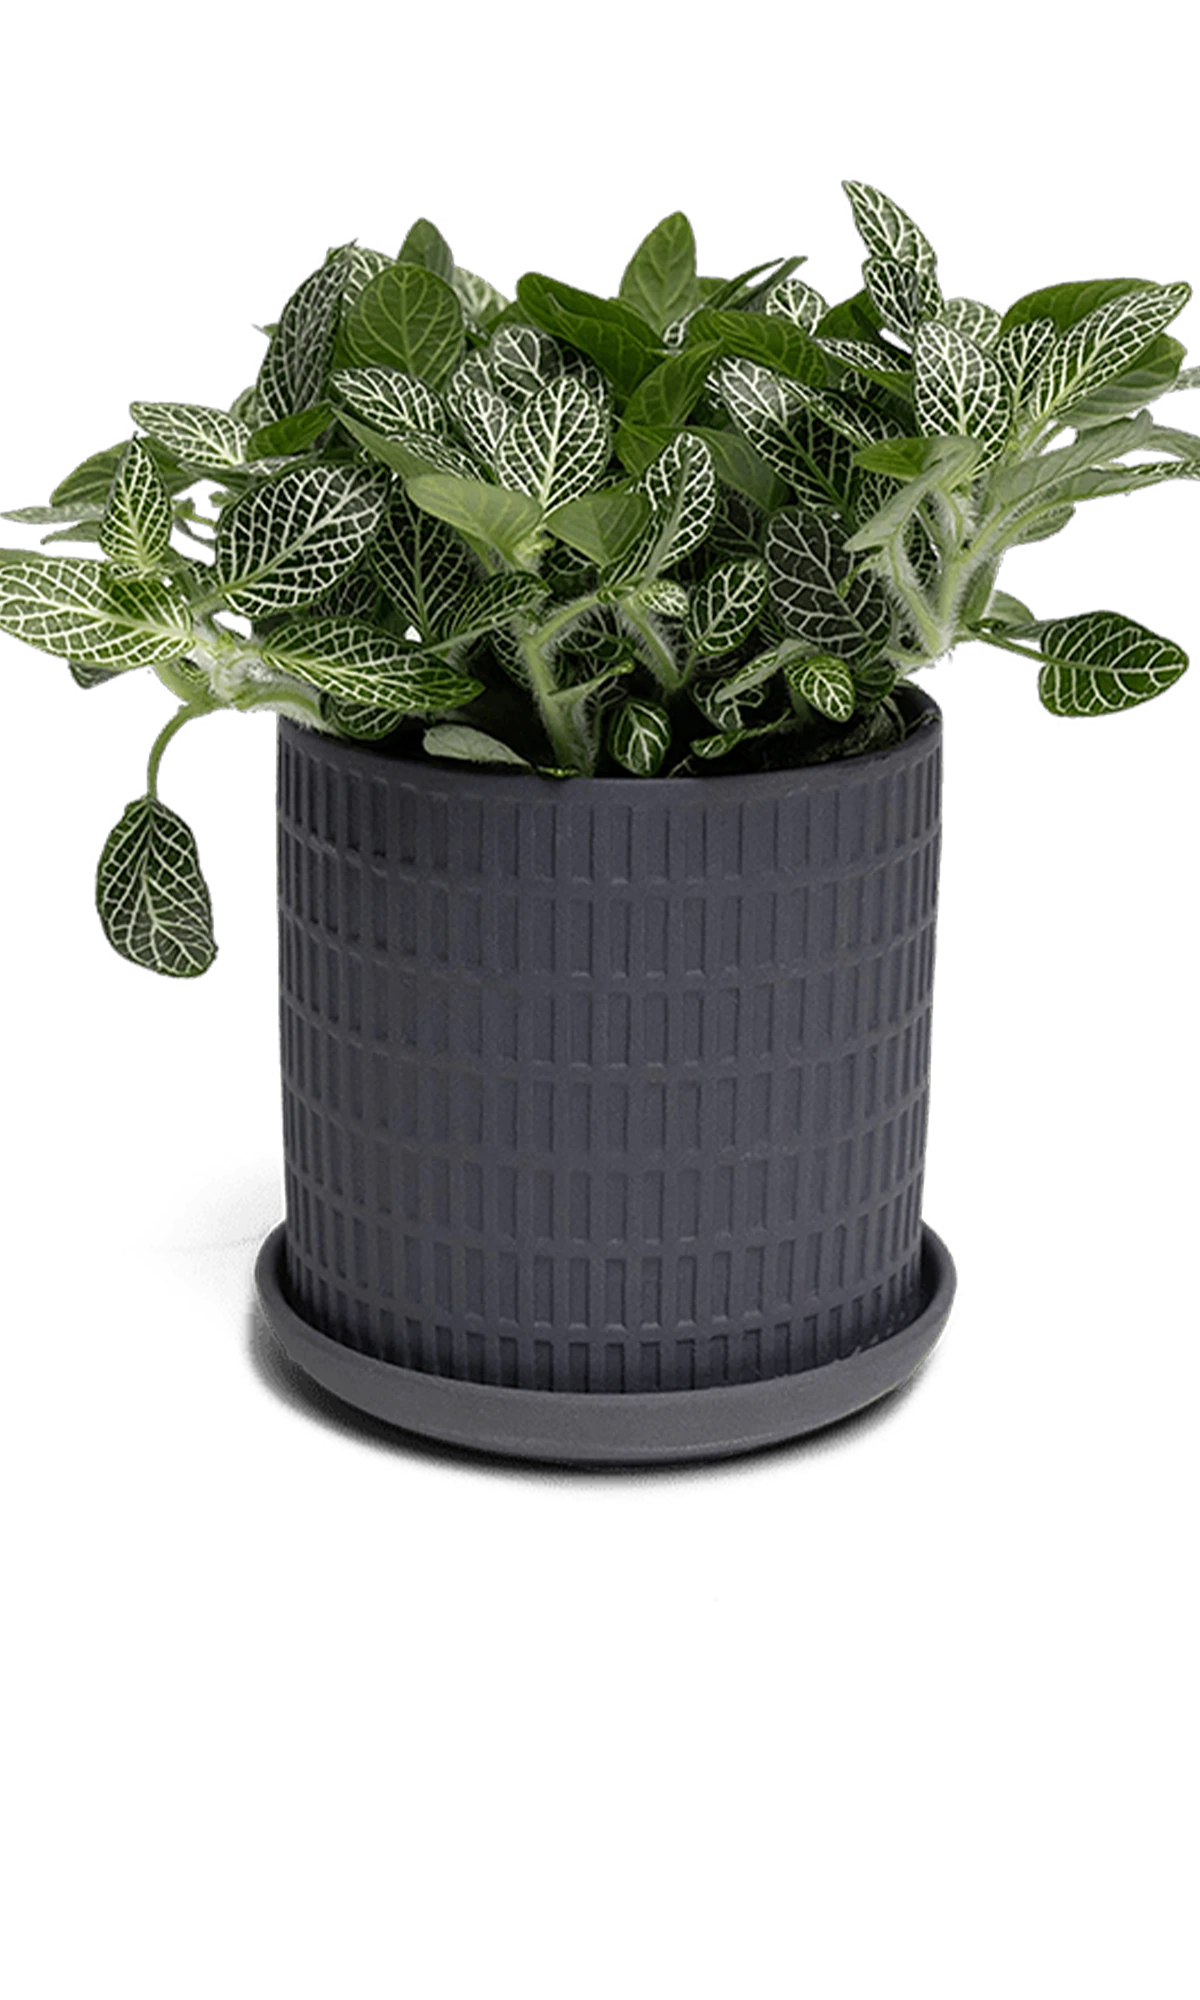
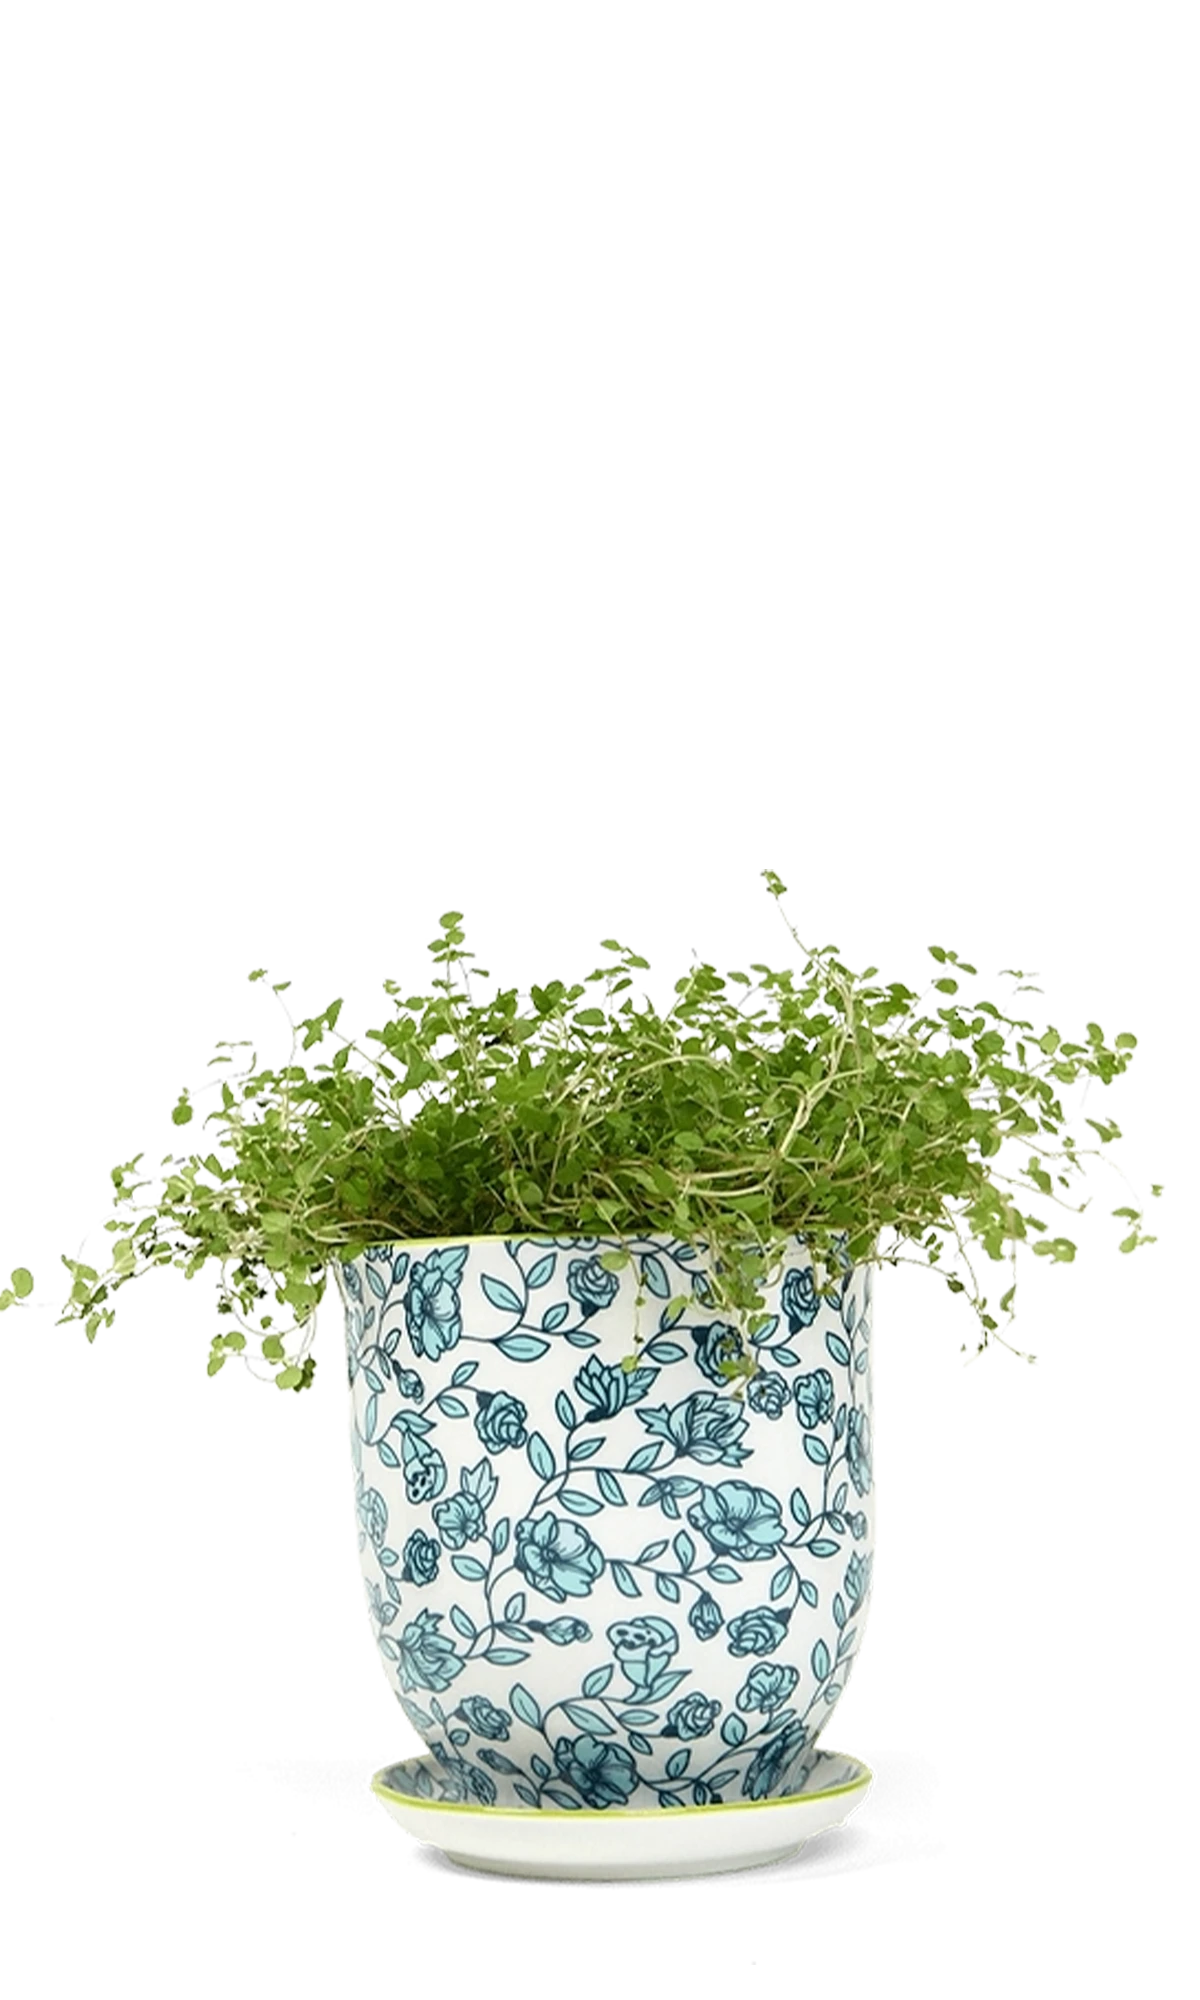
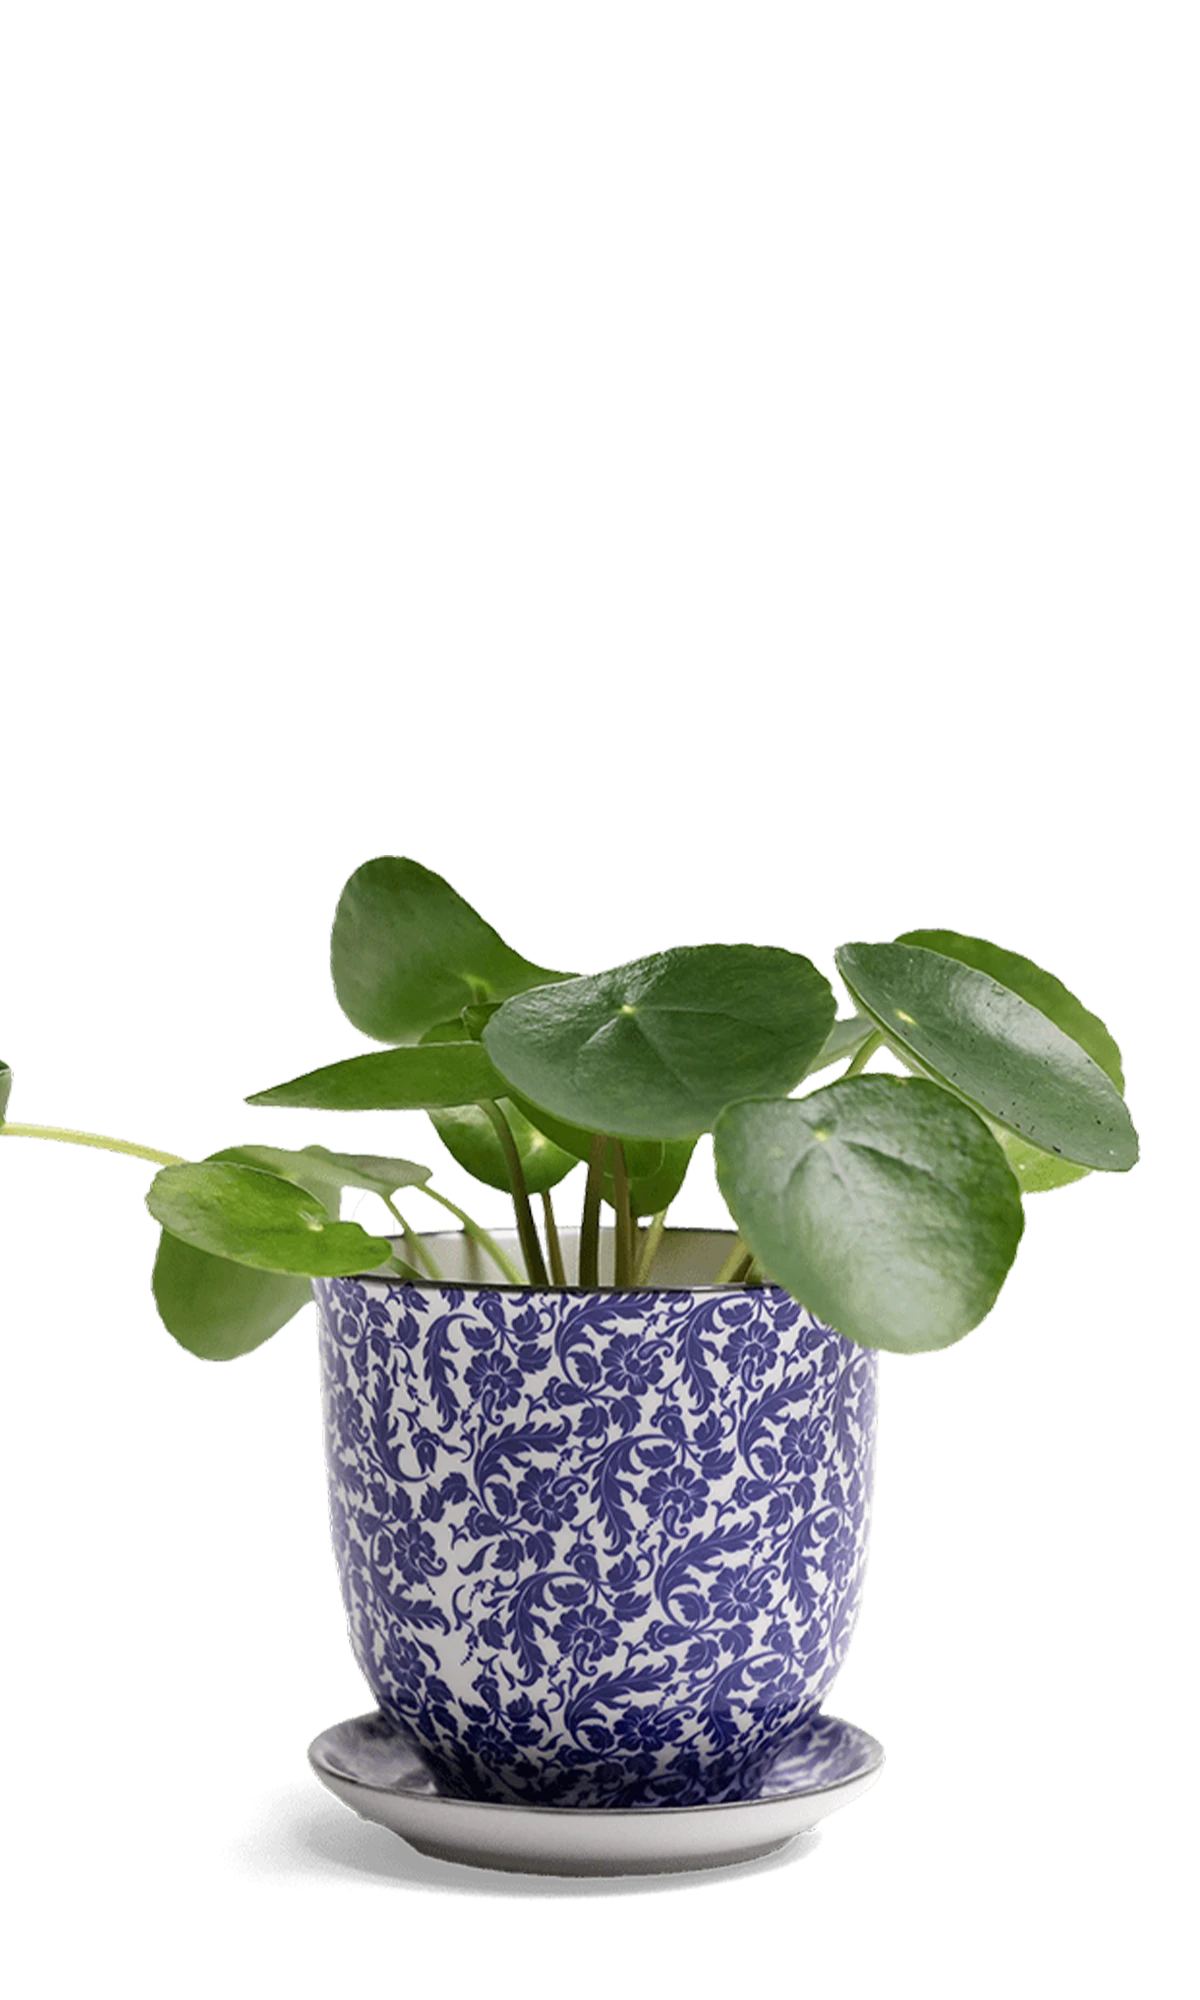
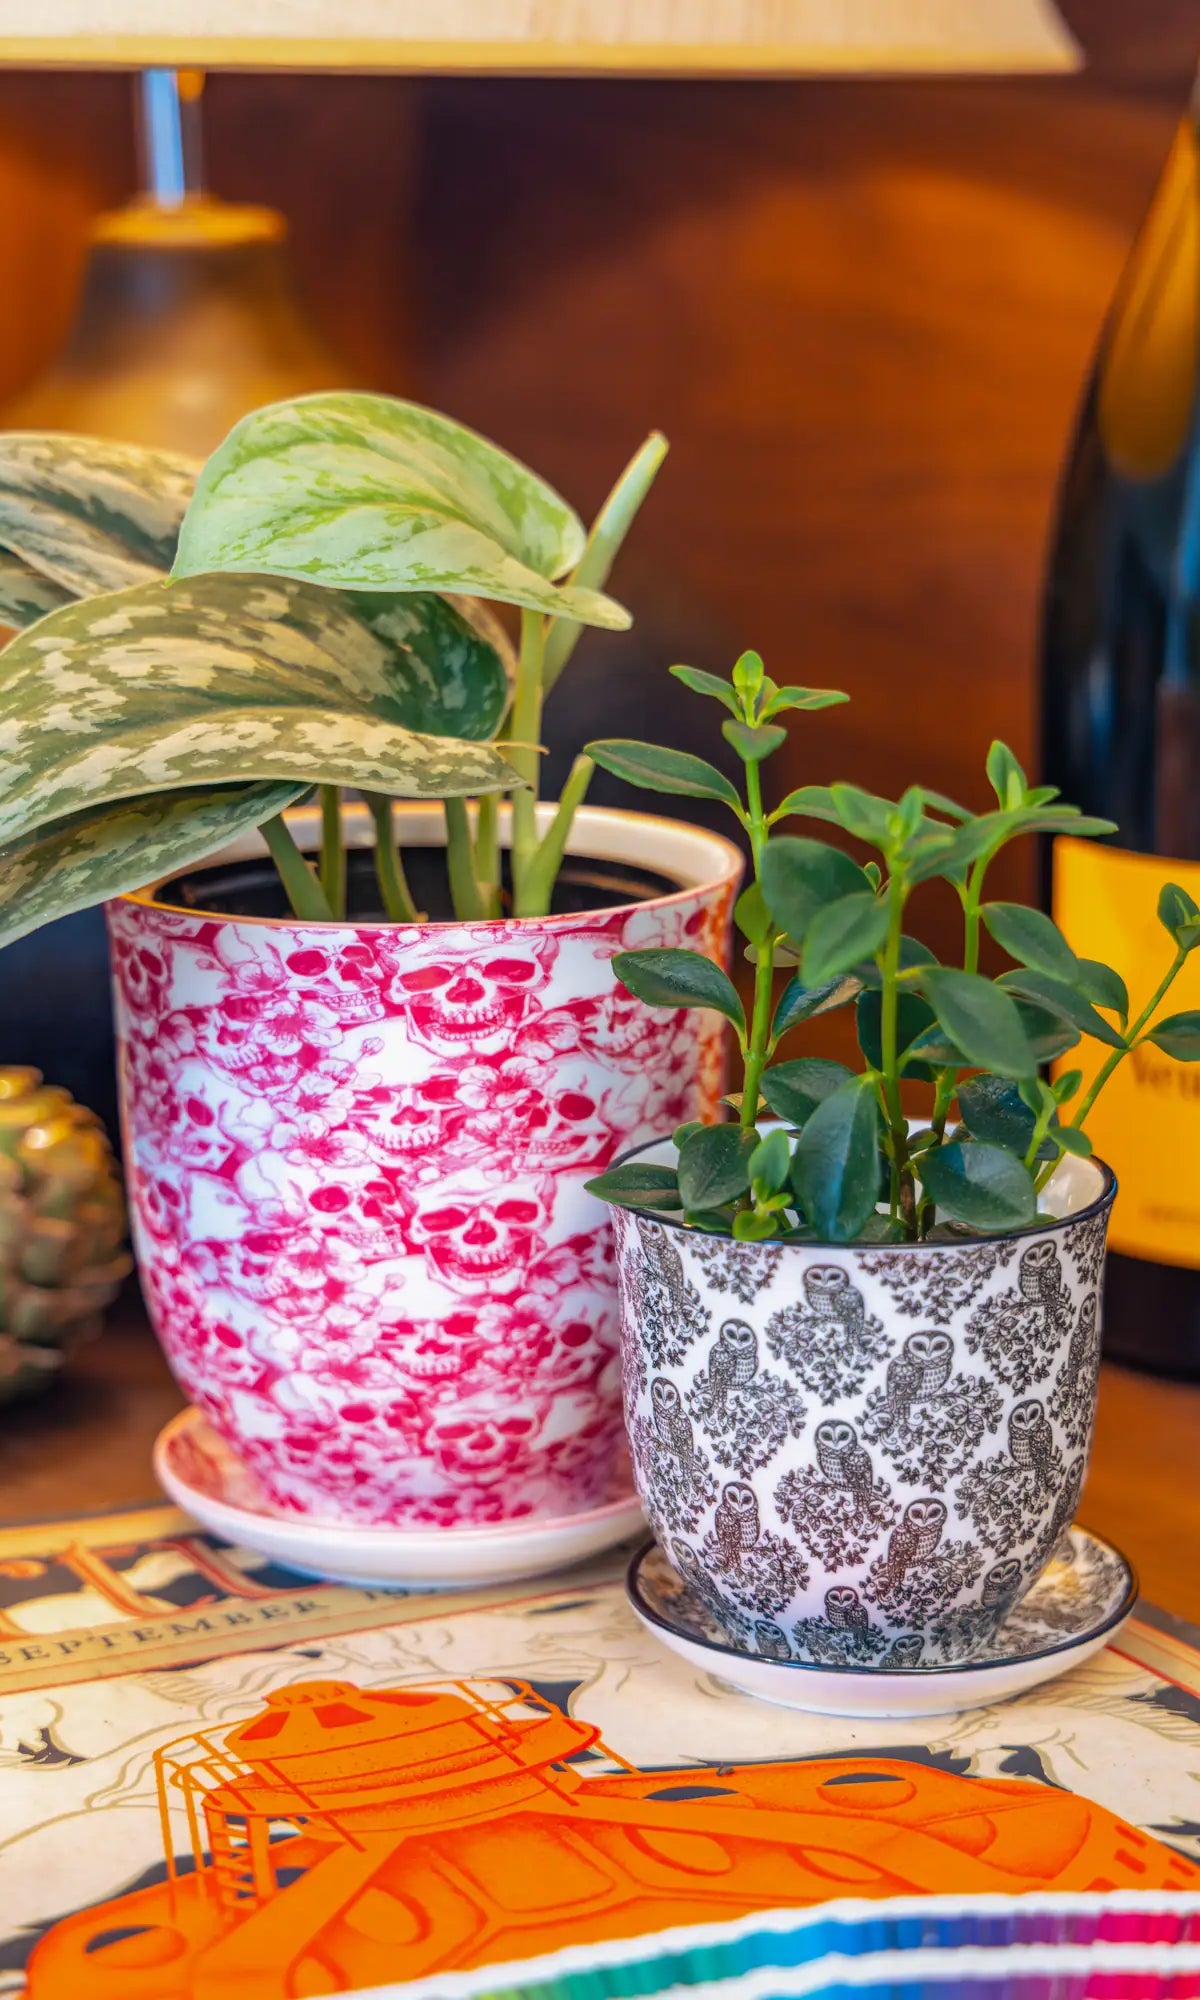
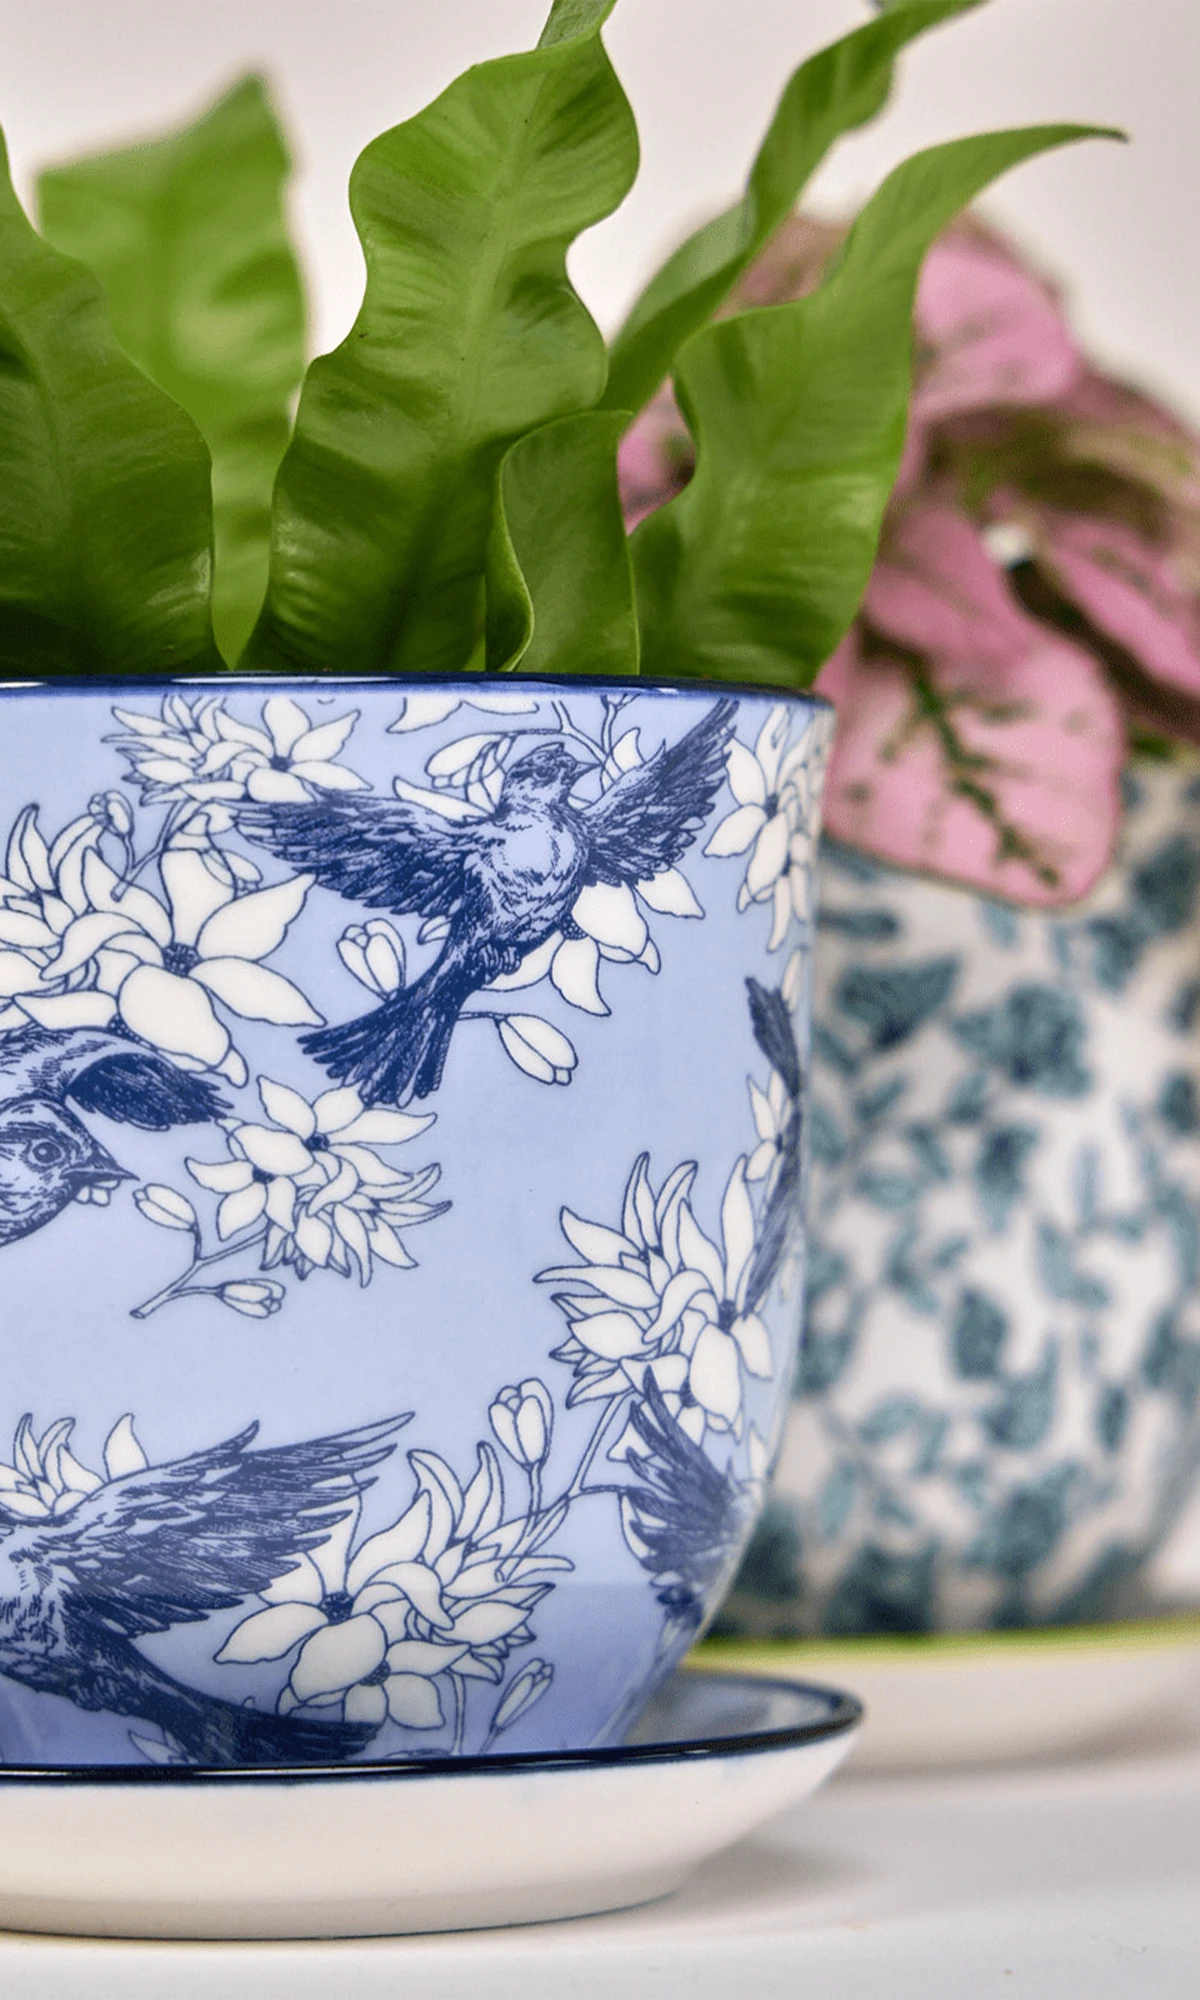
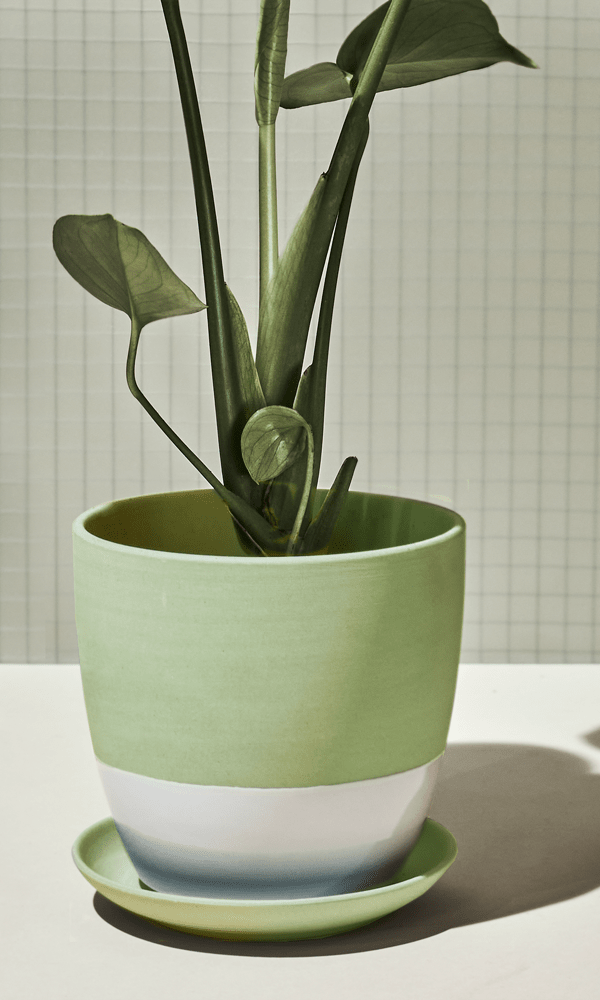
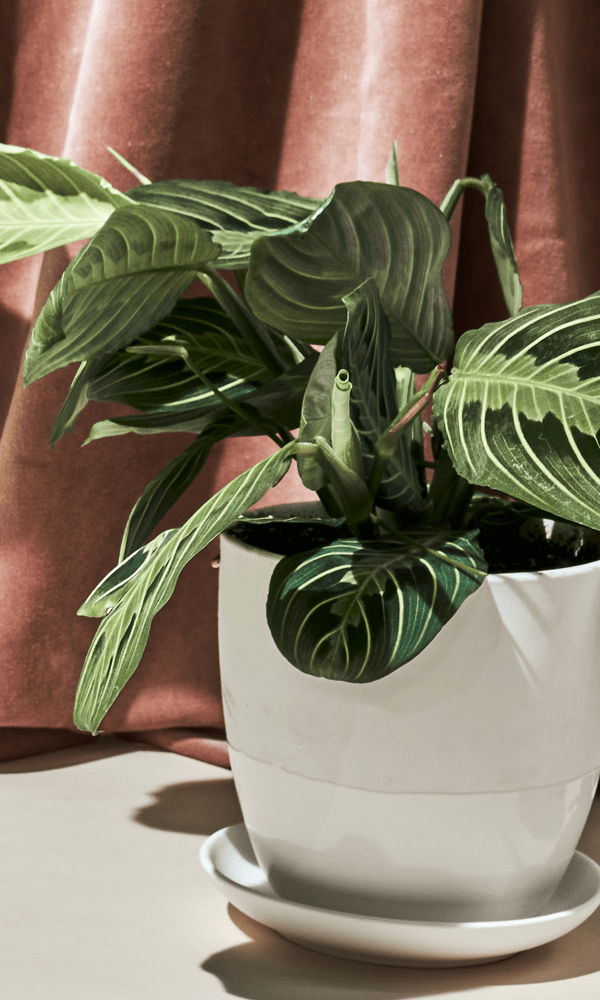
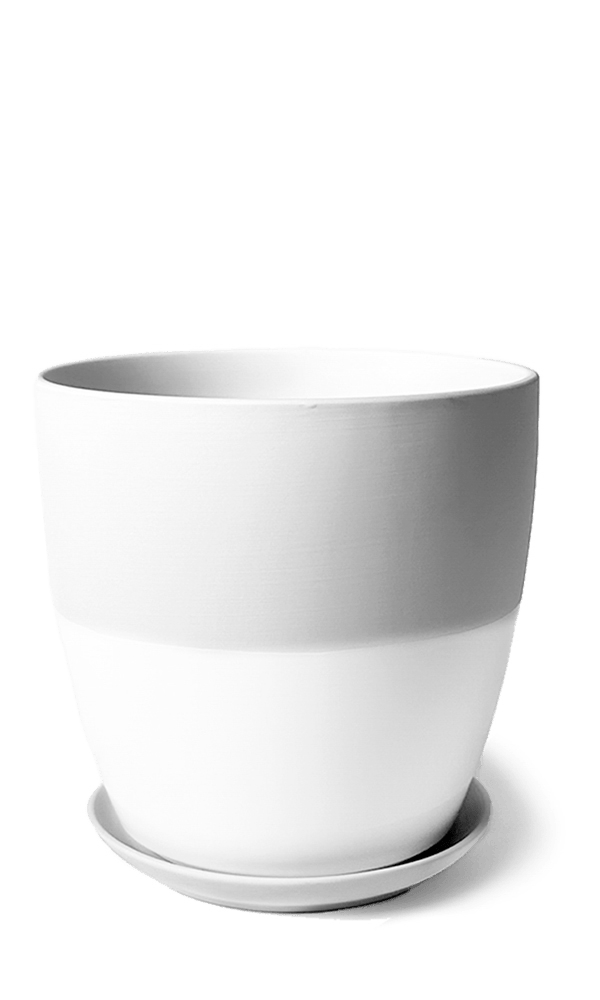
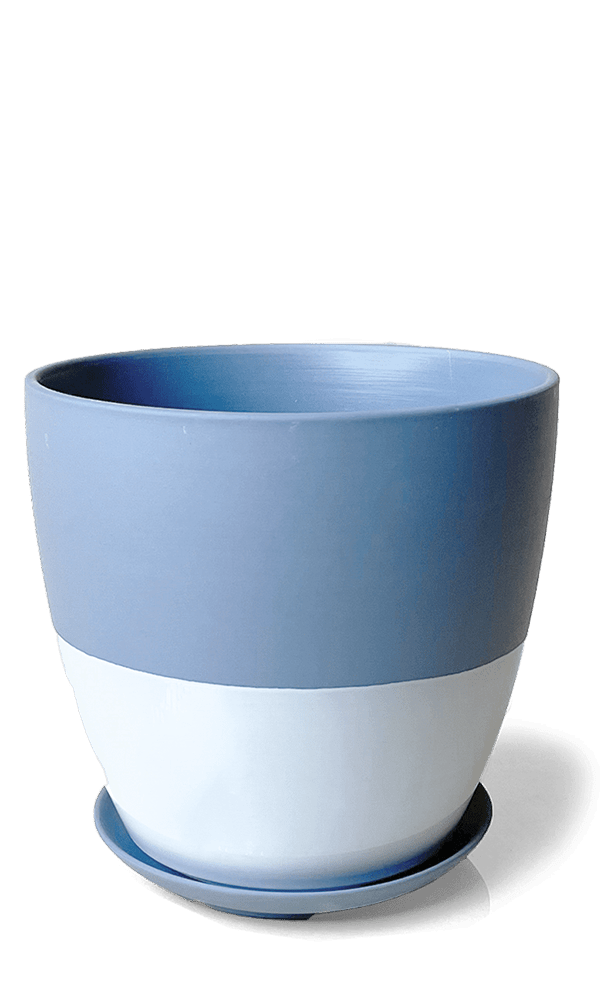
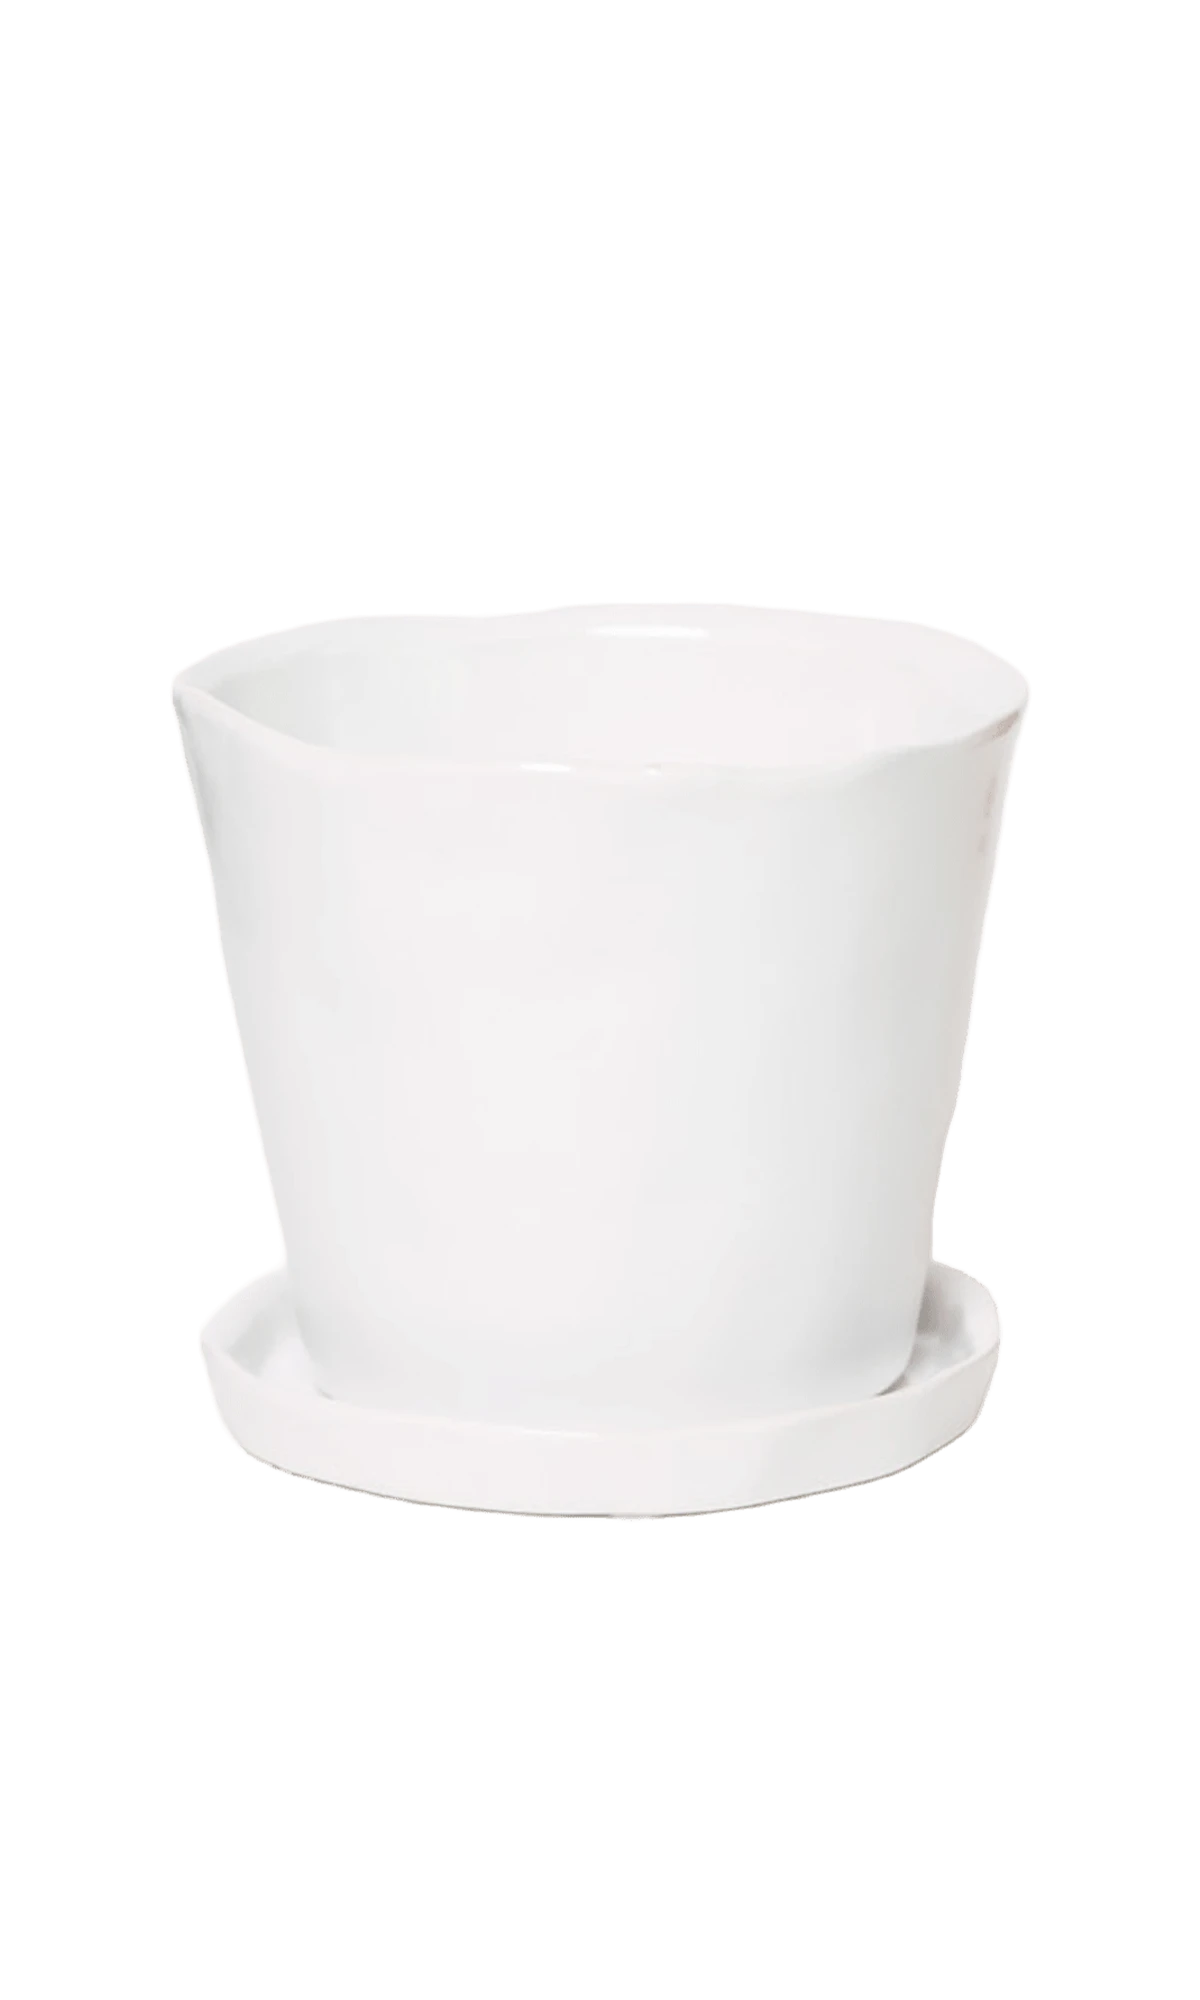
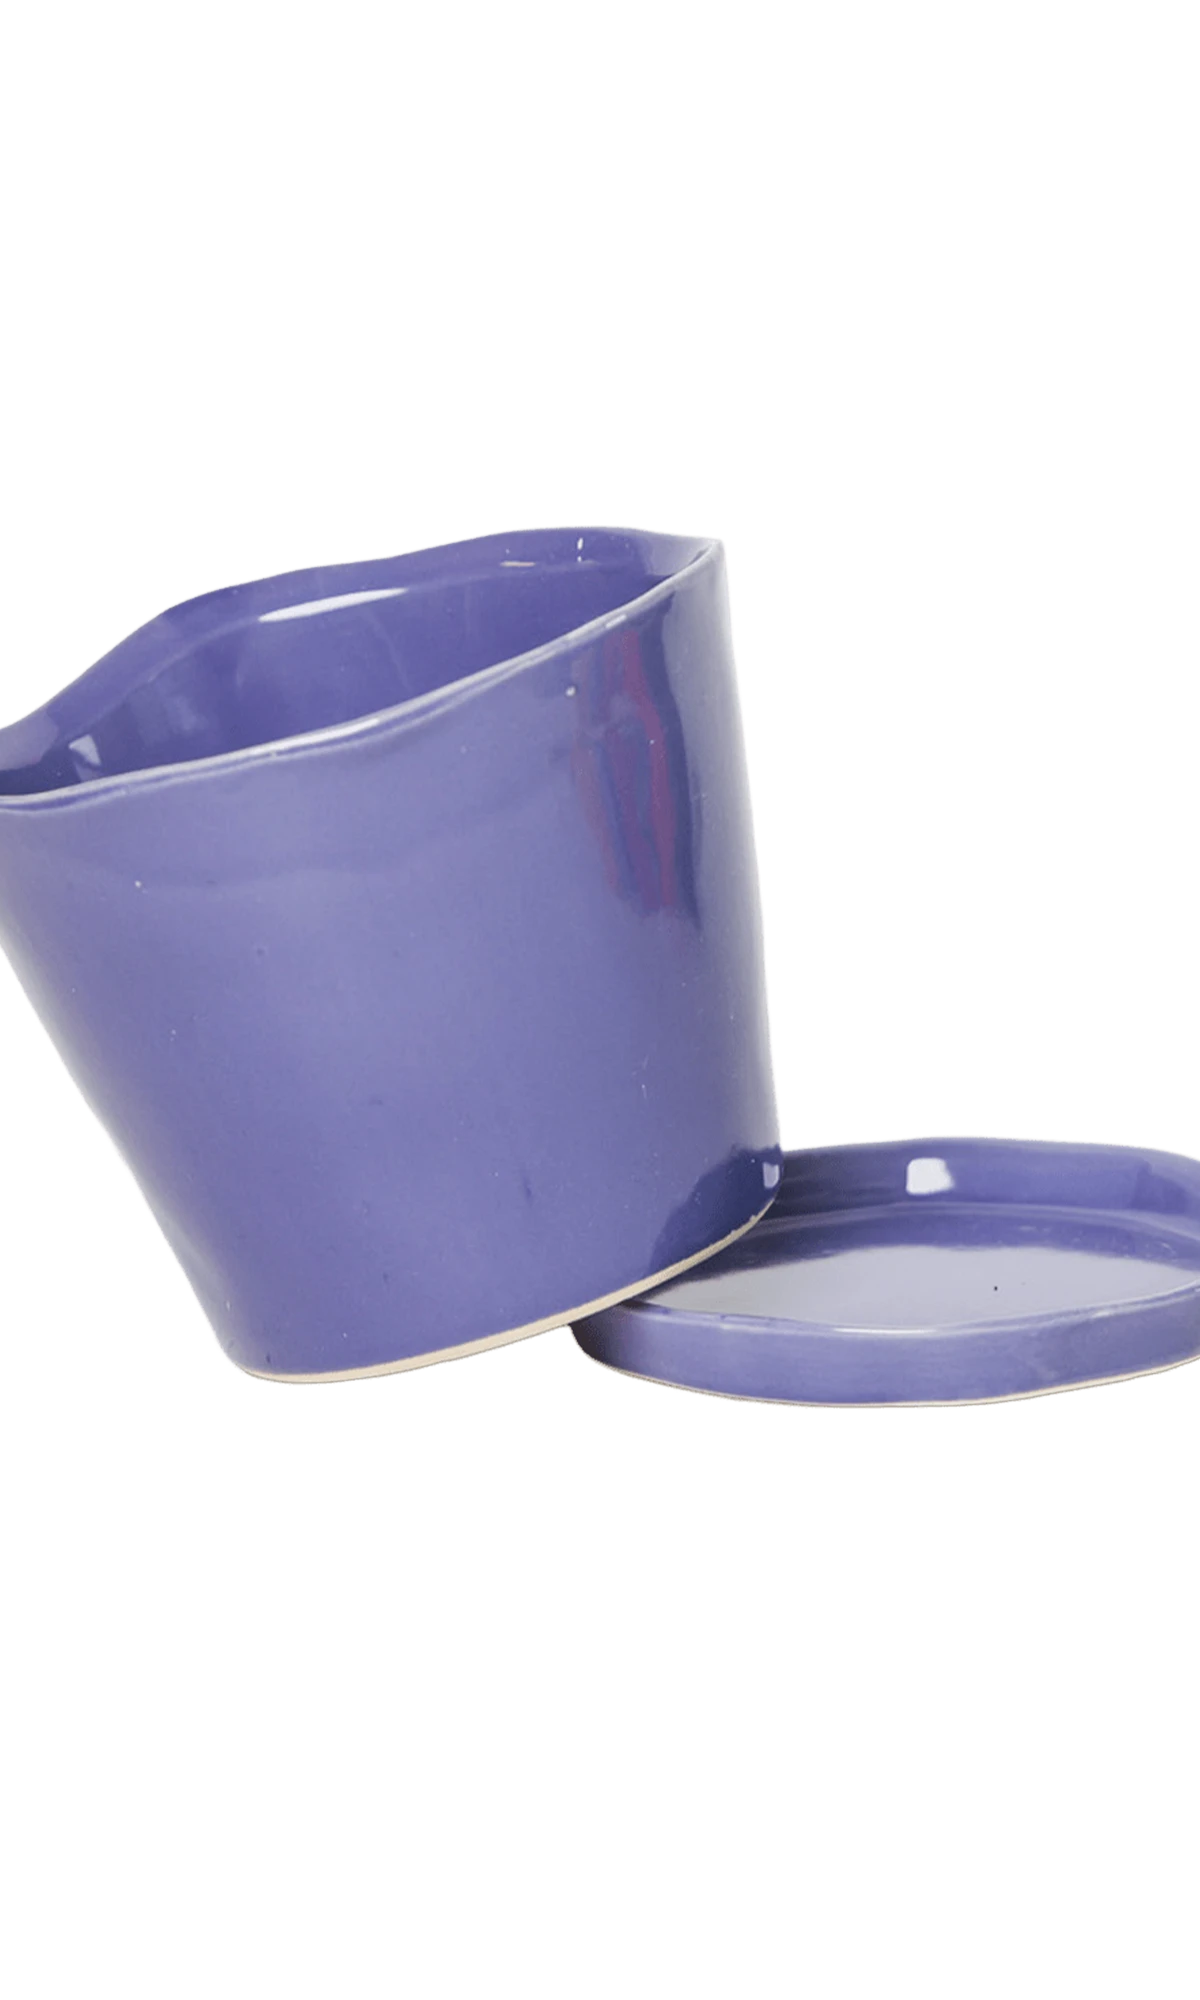
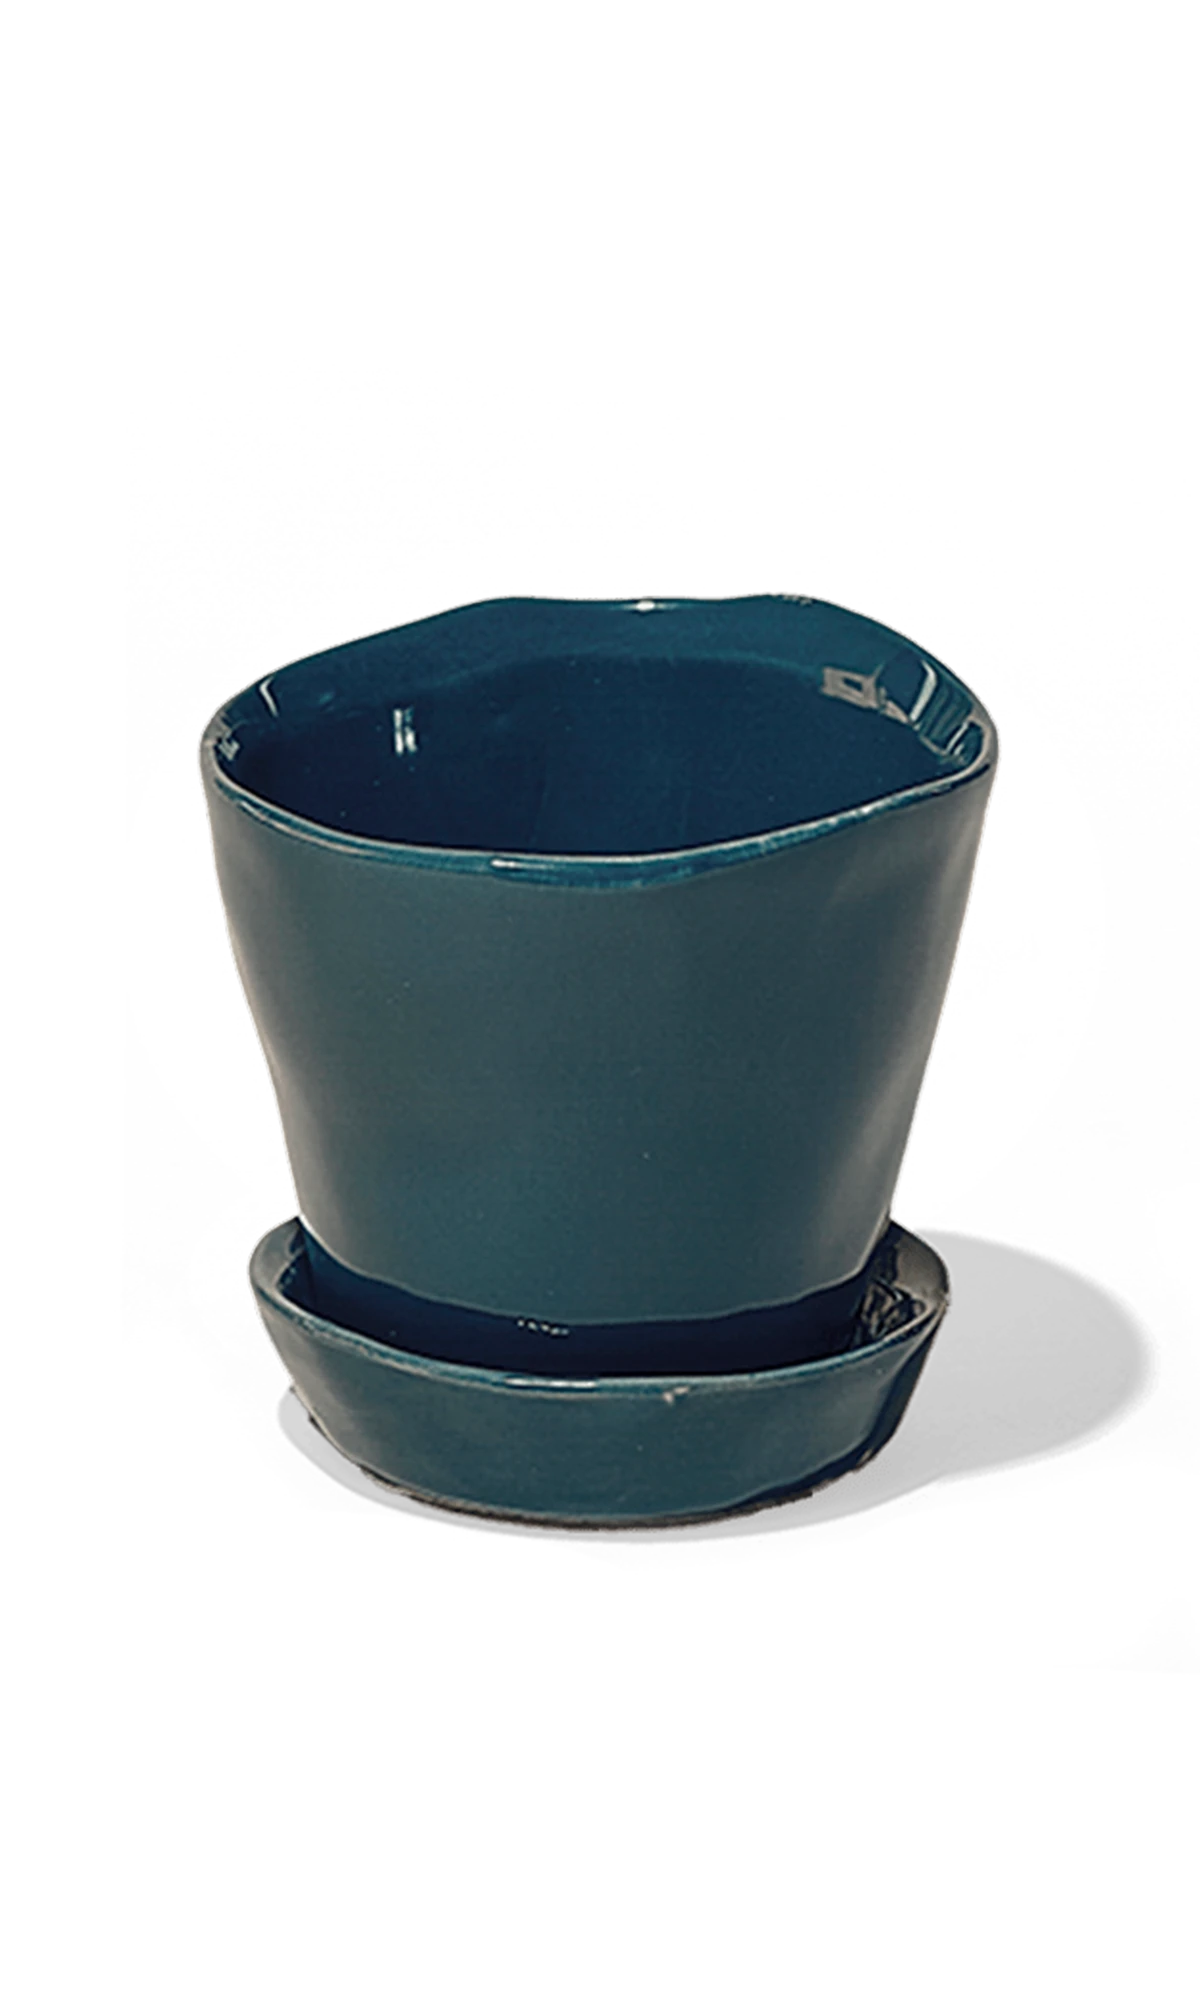
The right size pot is two inches bigger than the one the plant just outgrew, filled with actual potting soil, with a drainage hole at the bottom, sitting in a saucer that catches what comes through. This is the whole system. The plant will tell you when it's time to do it again. Watch for the roots at the bottom. Watch for the water running straight through. Or watch for the neighbor in the white linen pants, which is honestly the most reliable indicator any of us have found.
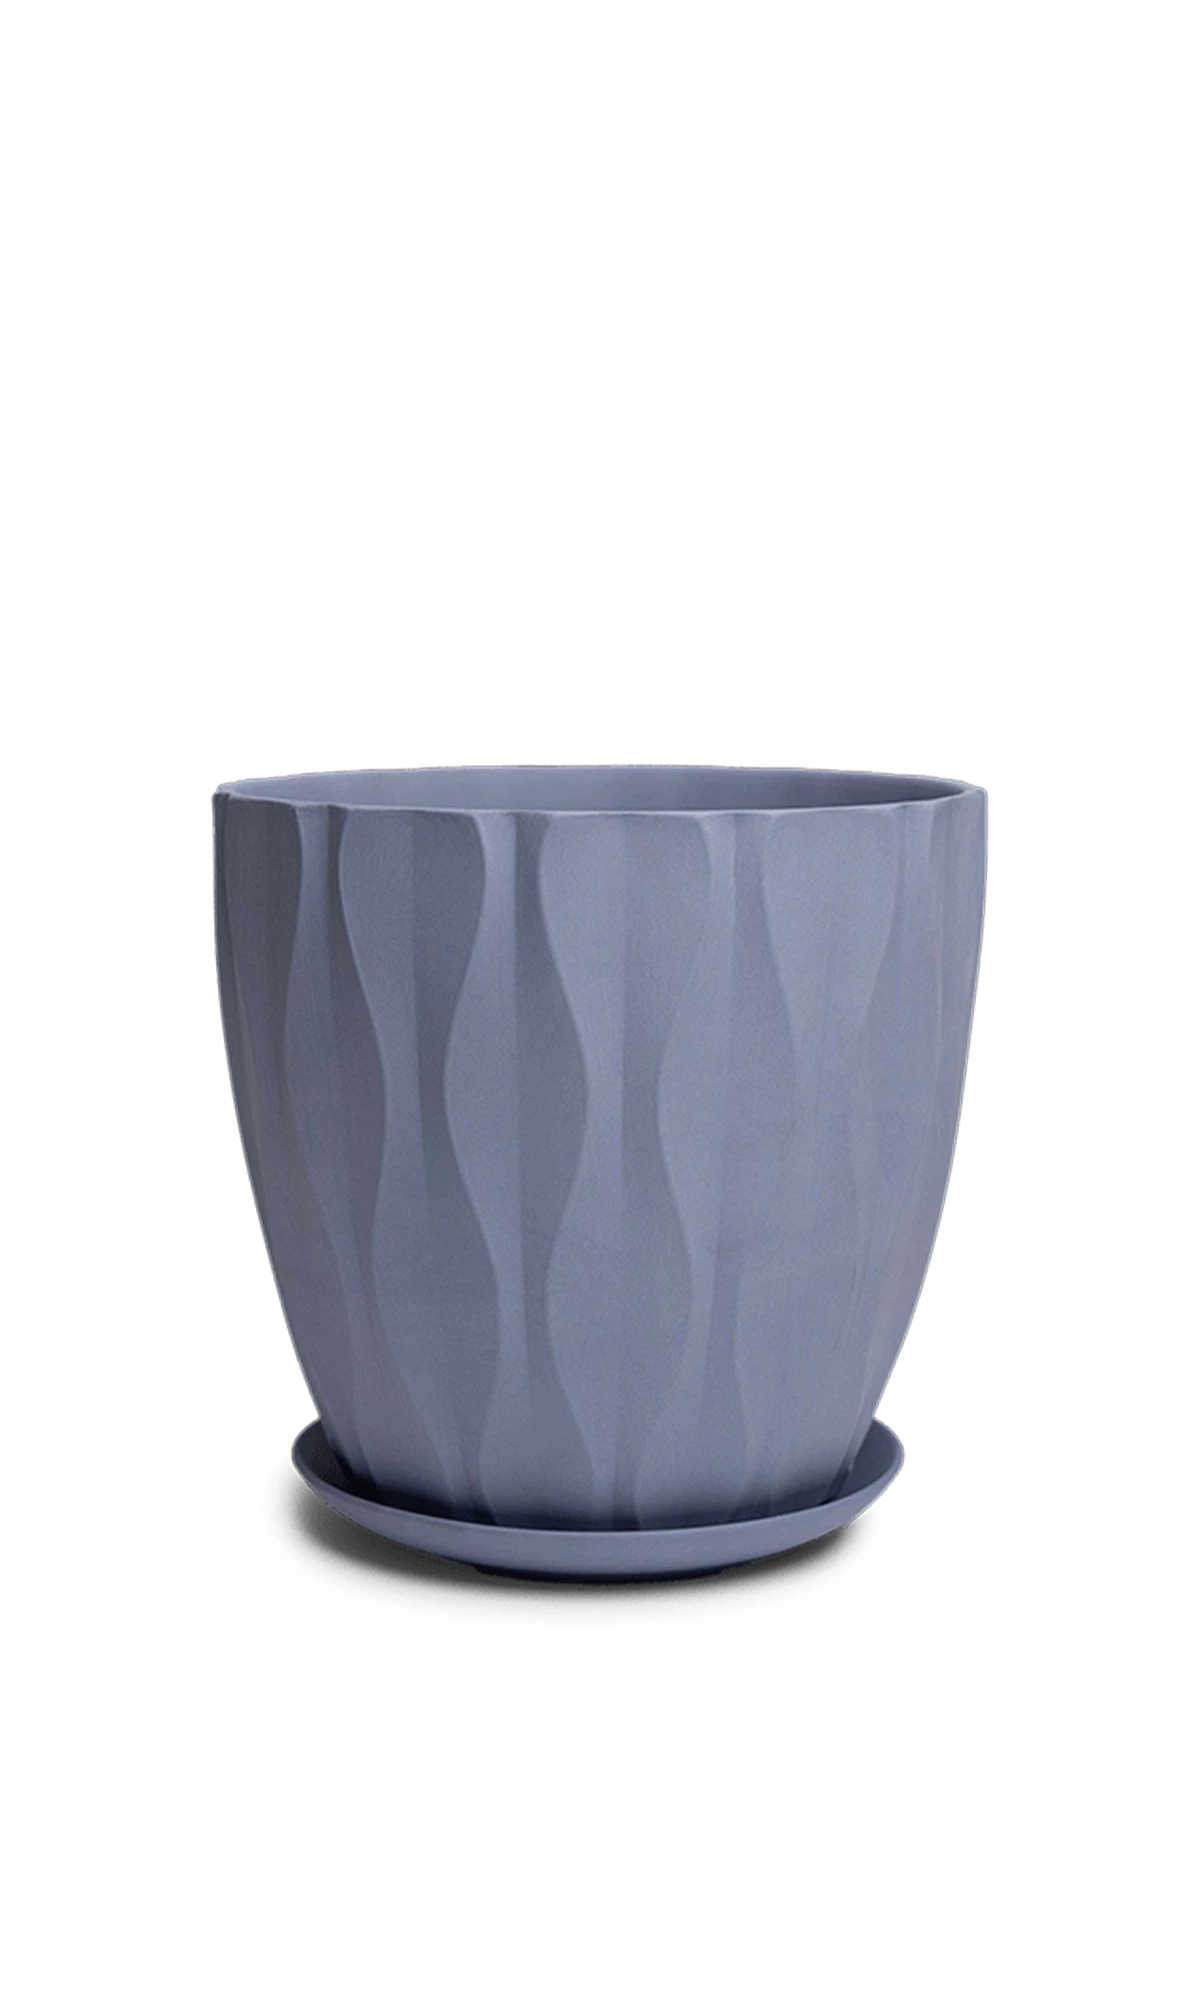
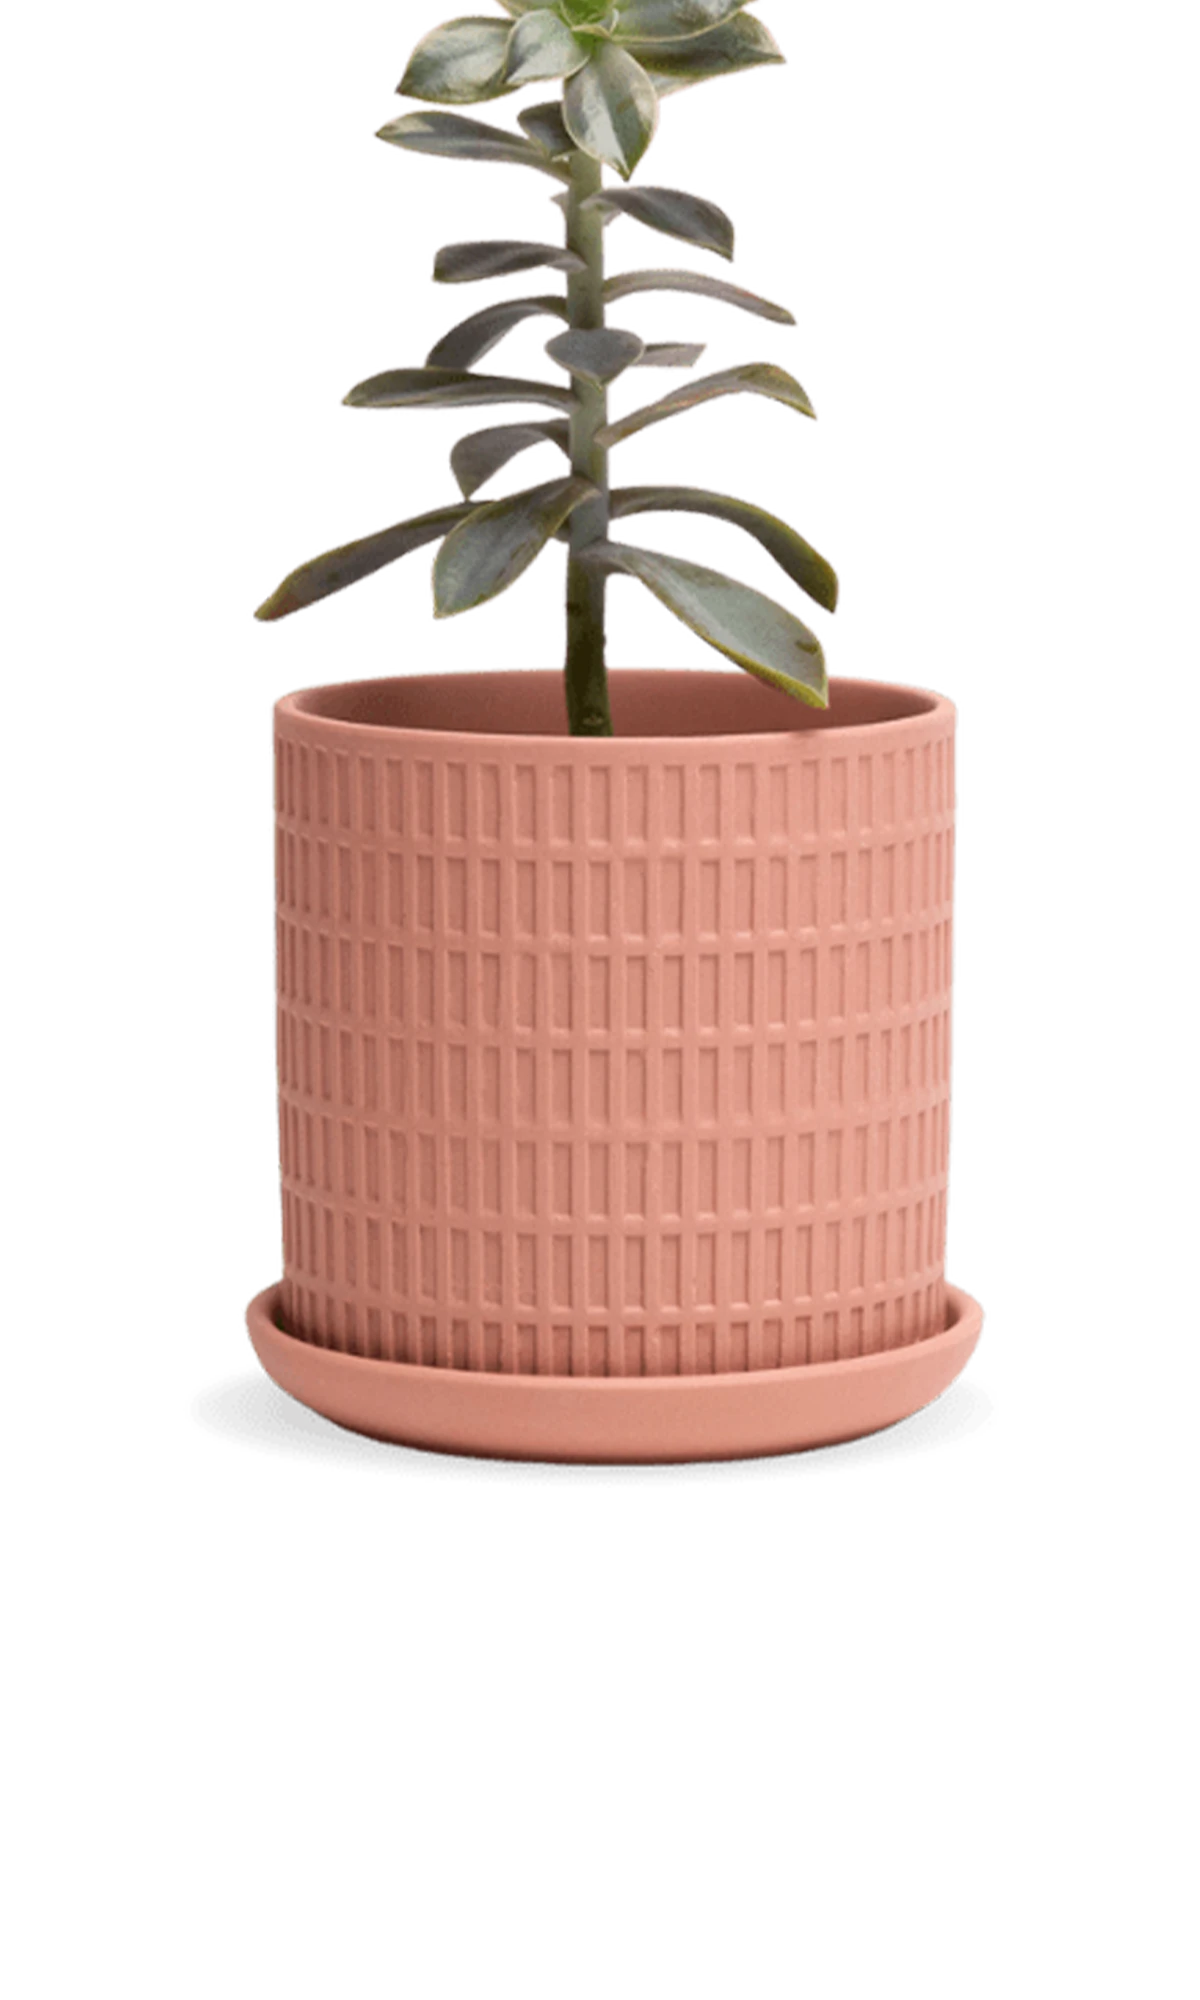
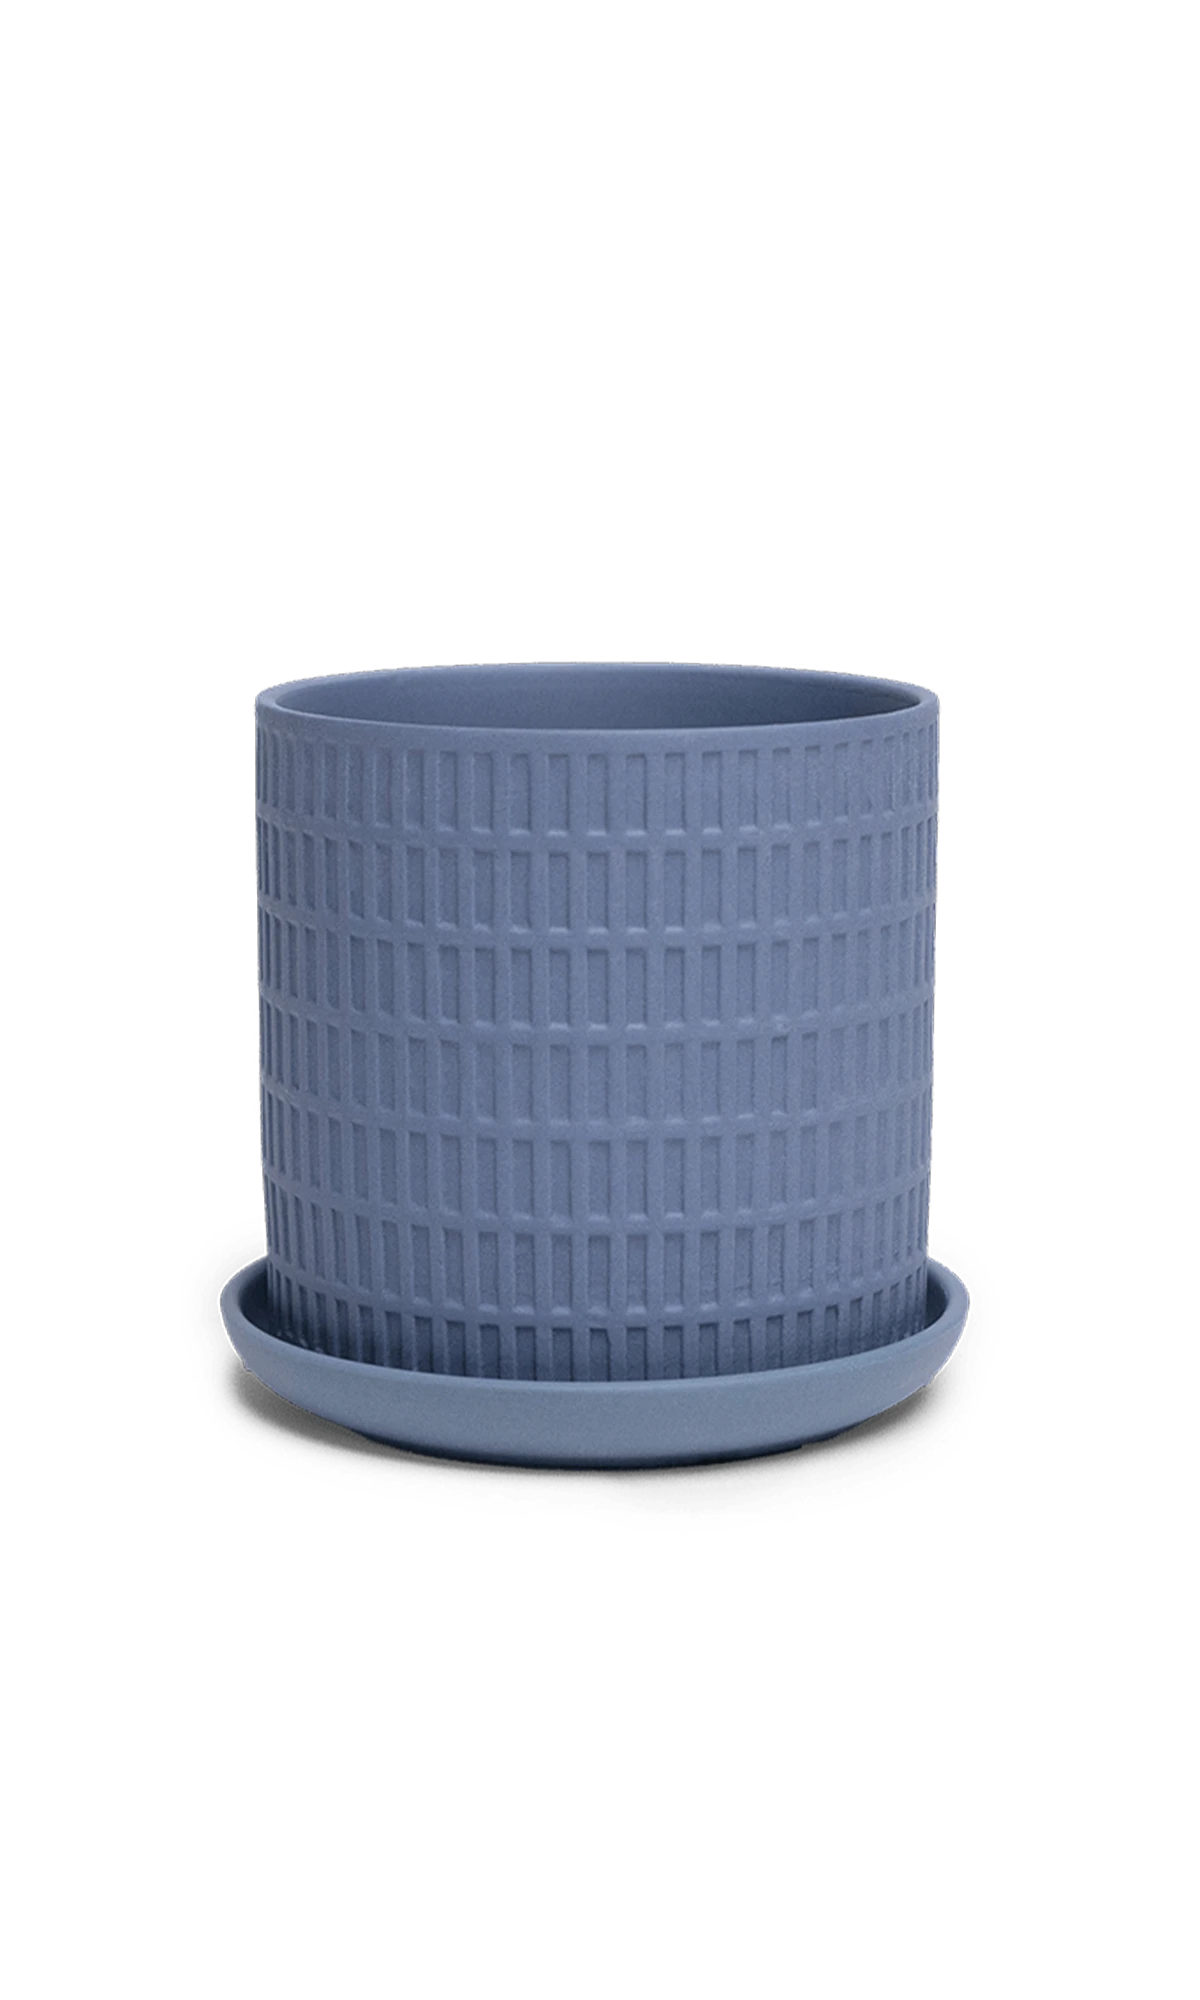
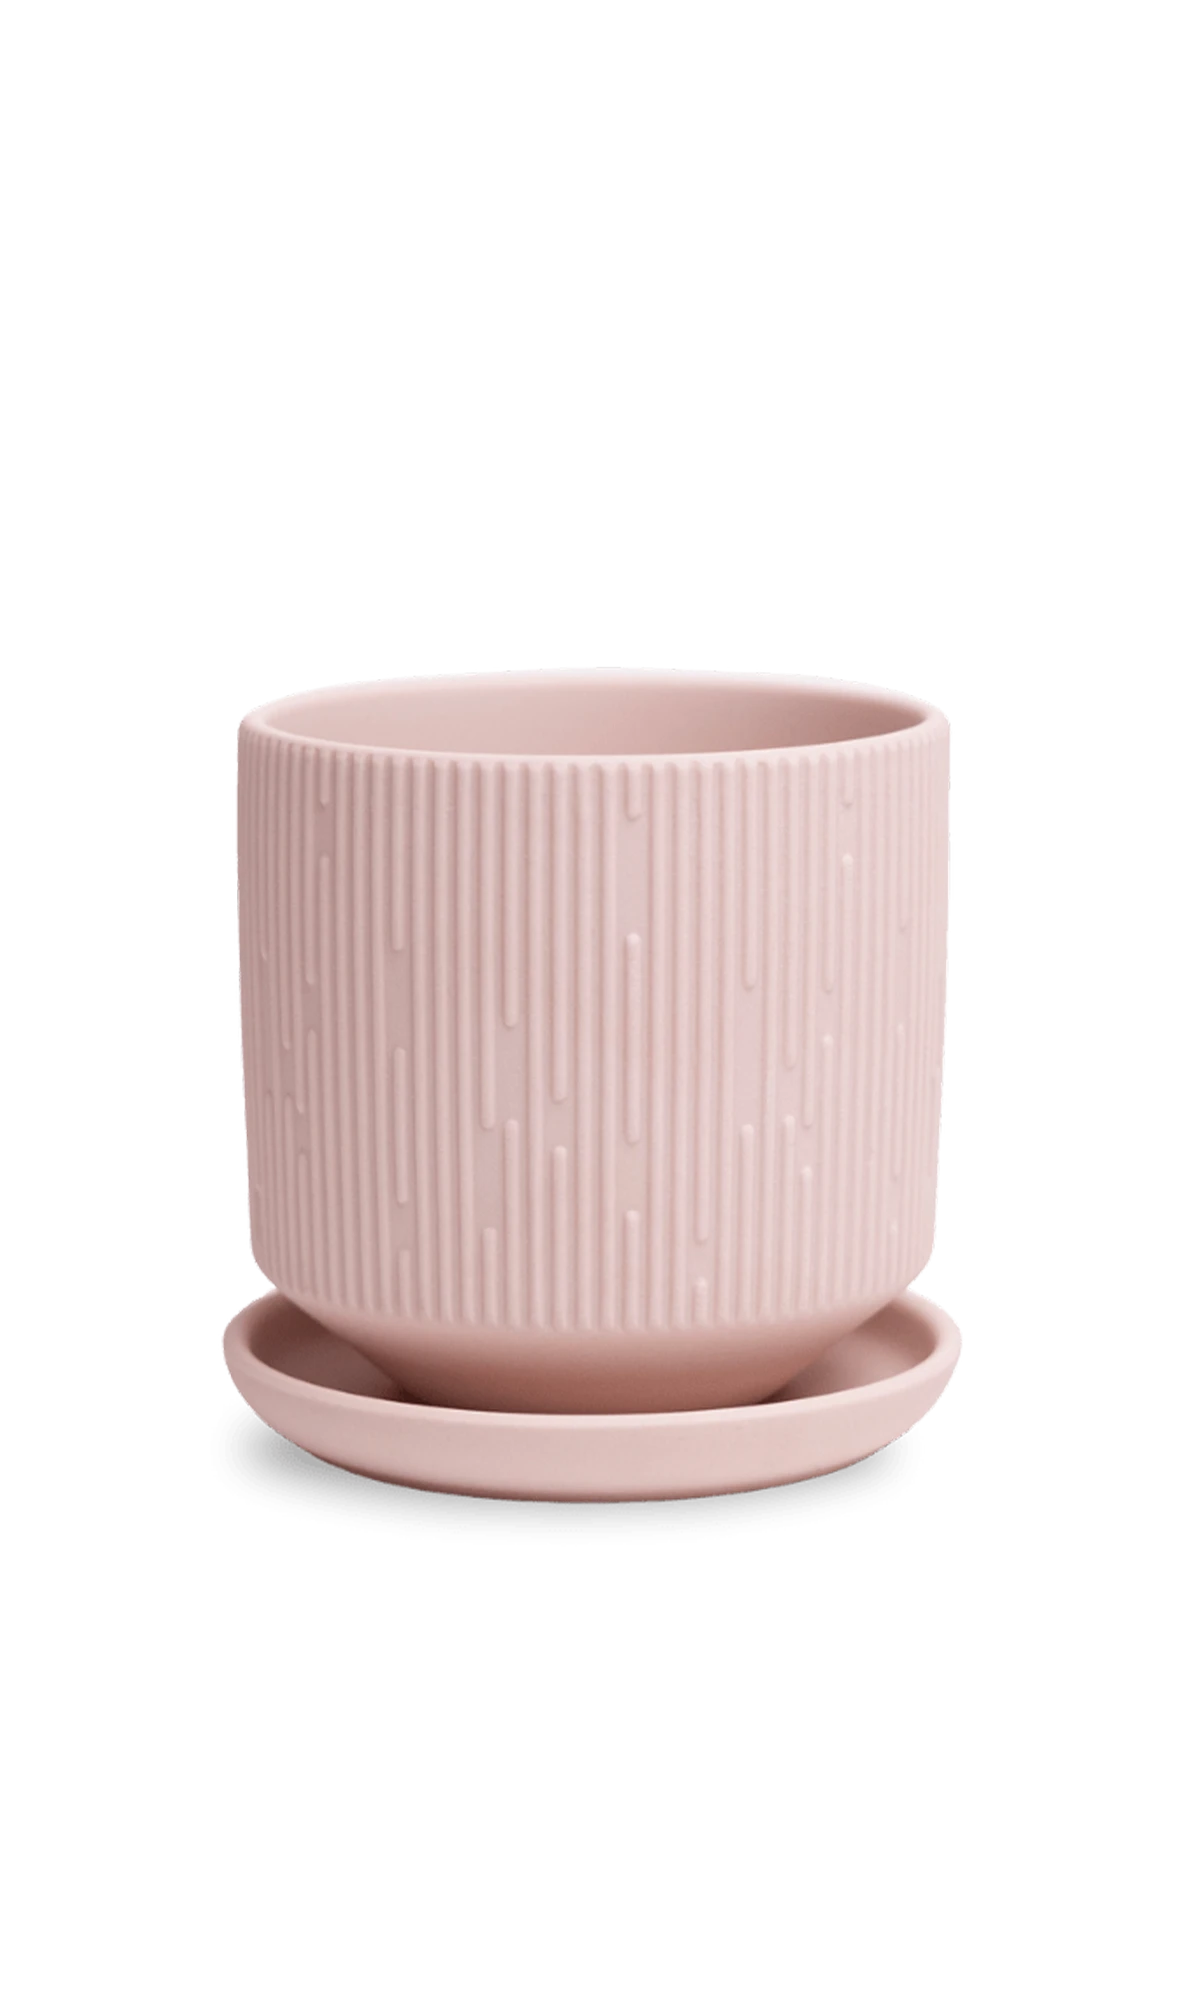
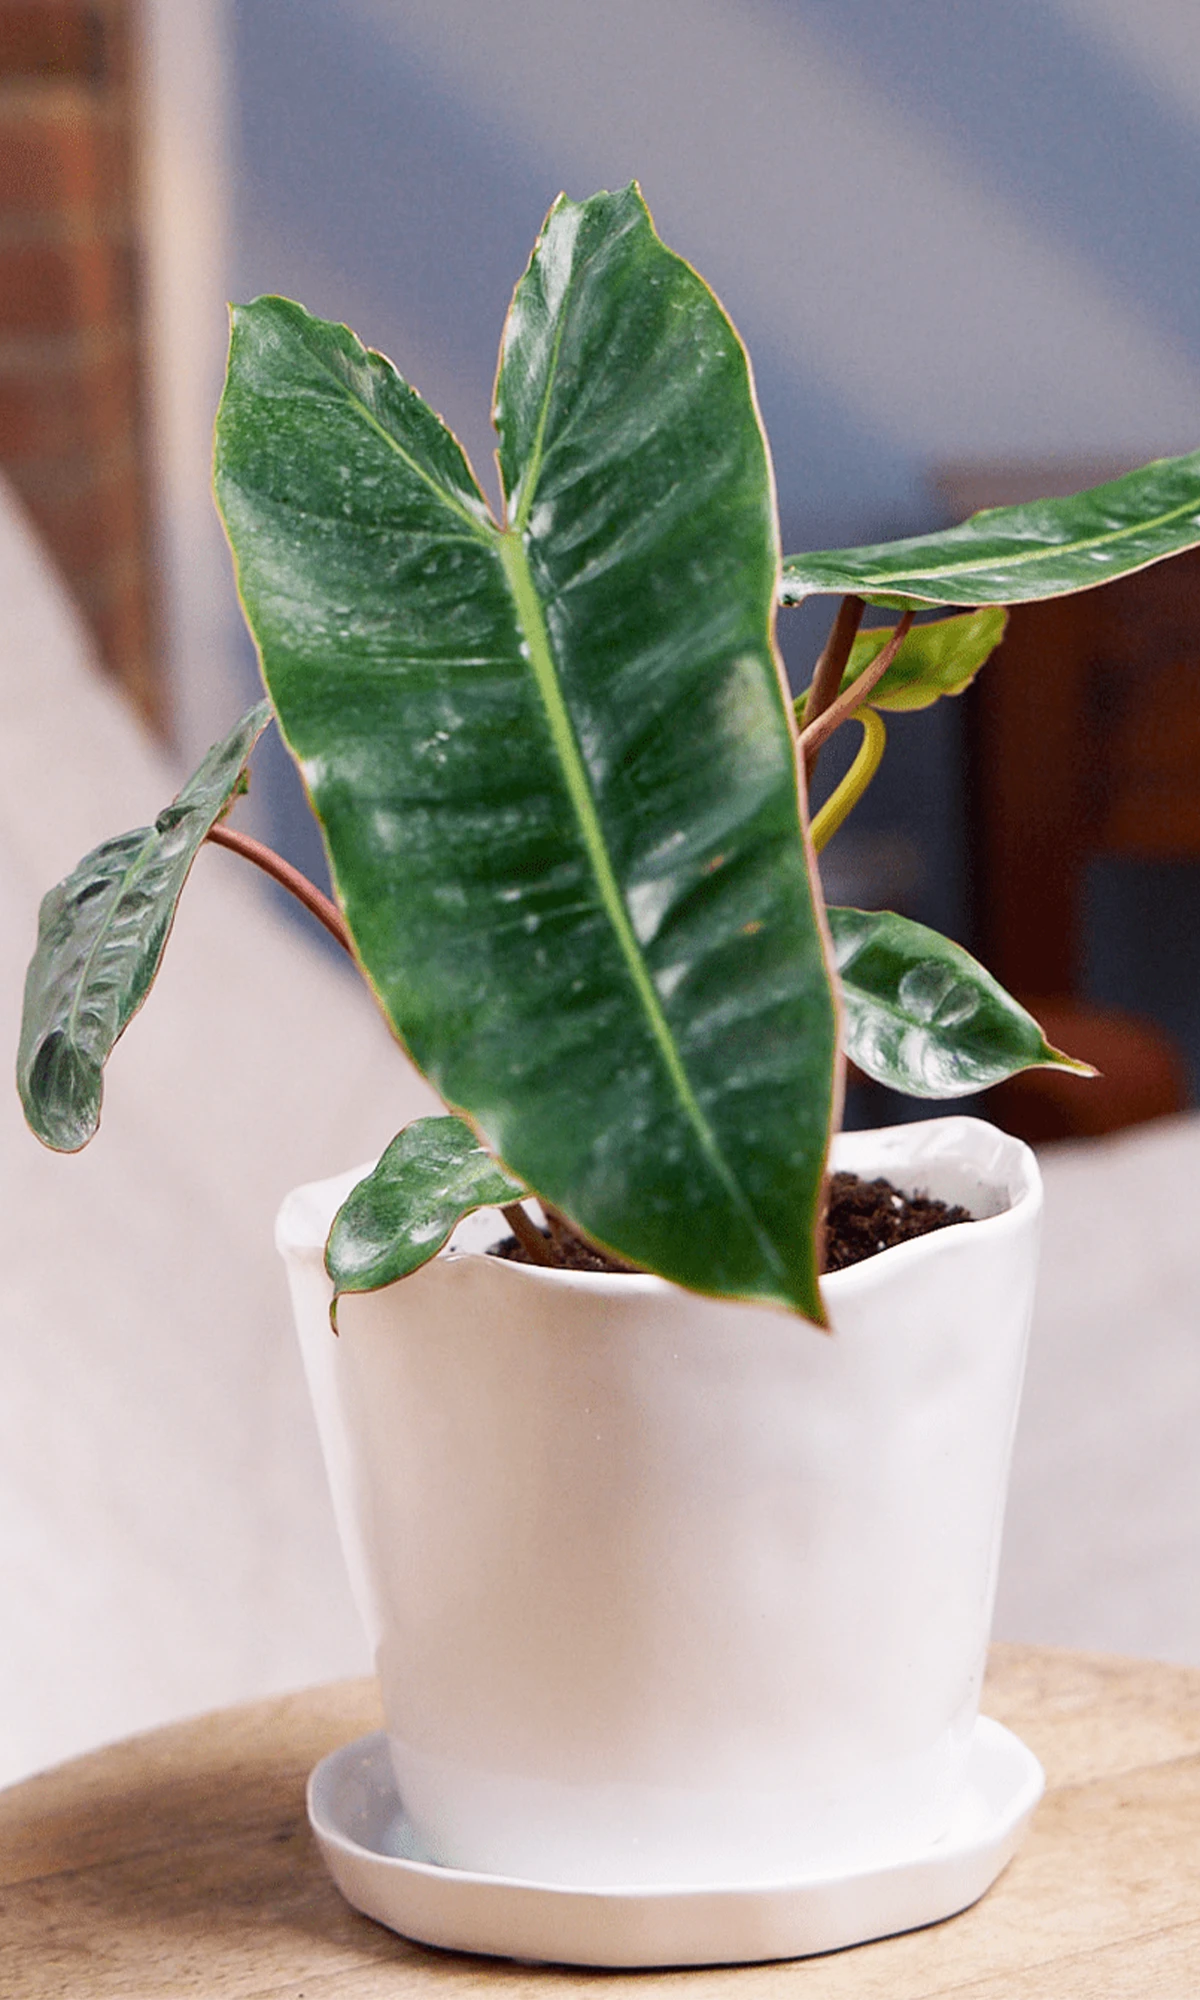
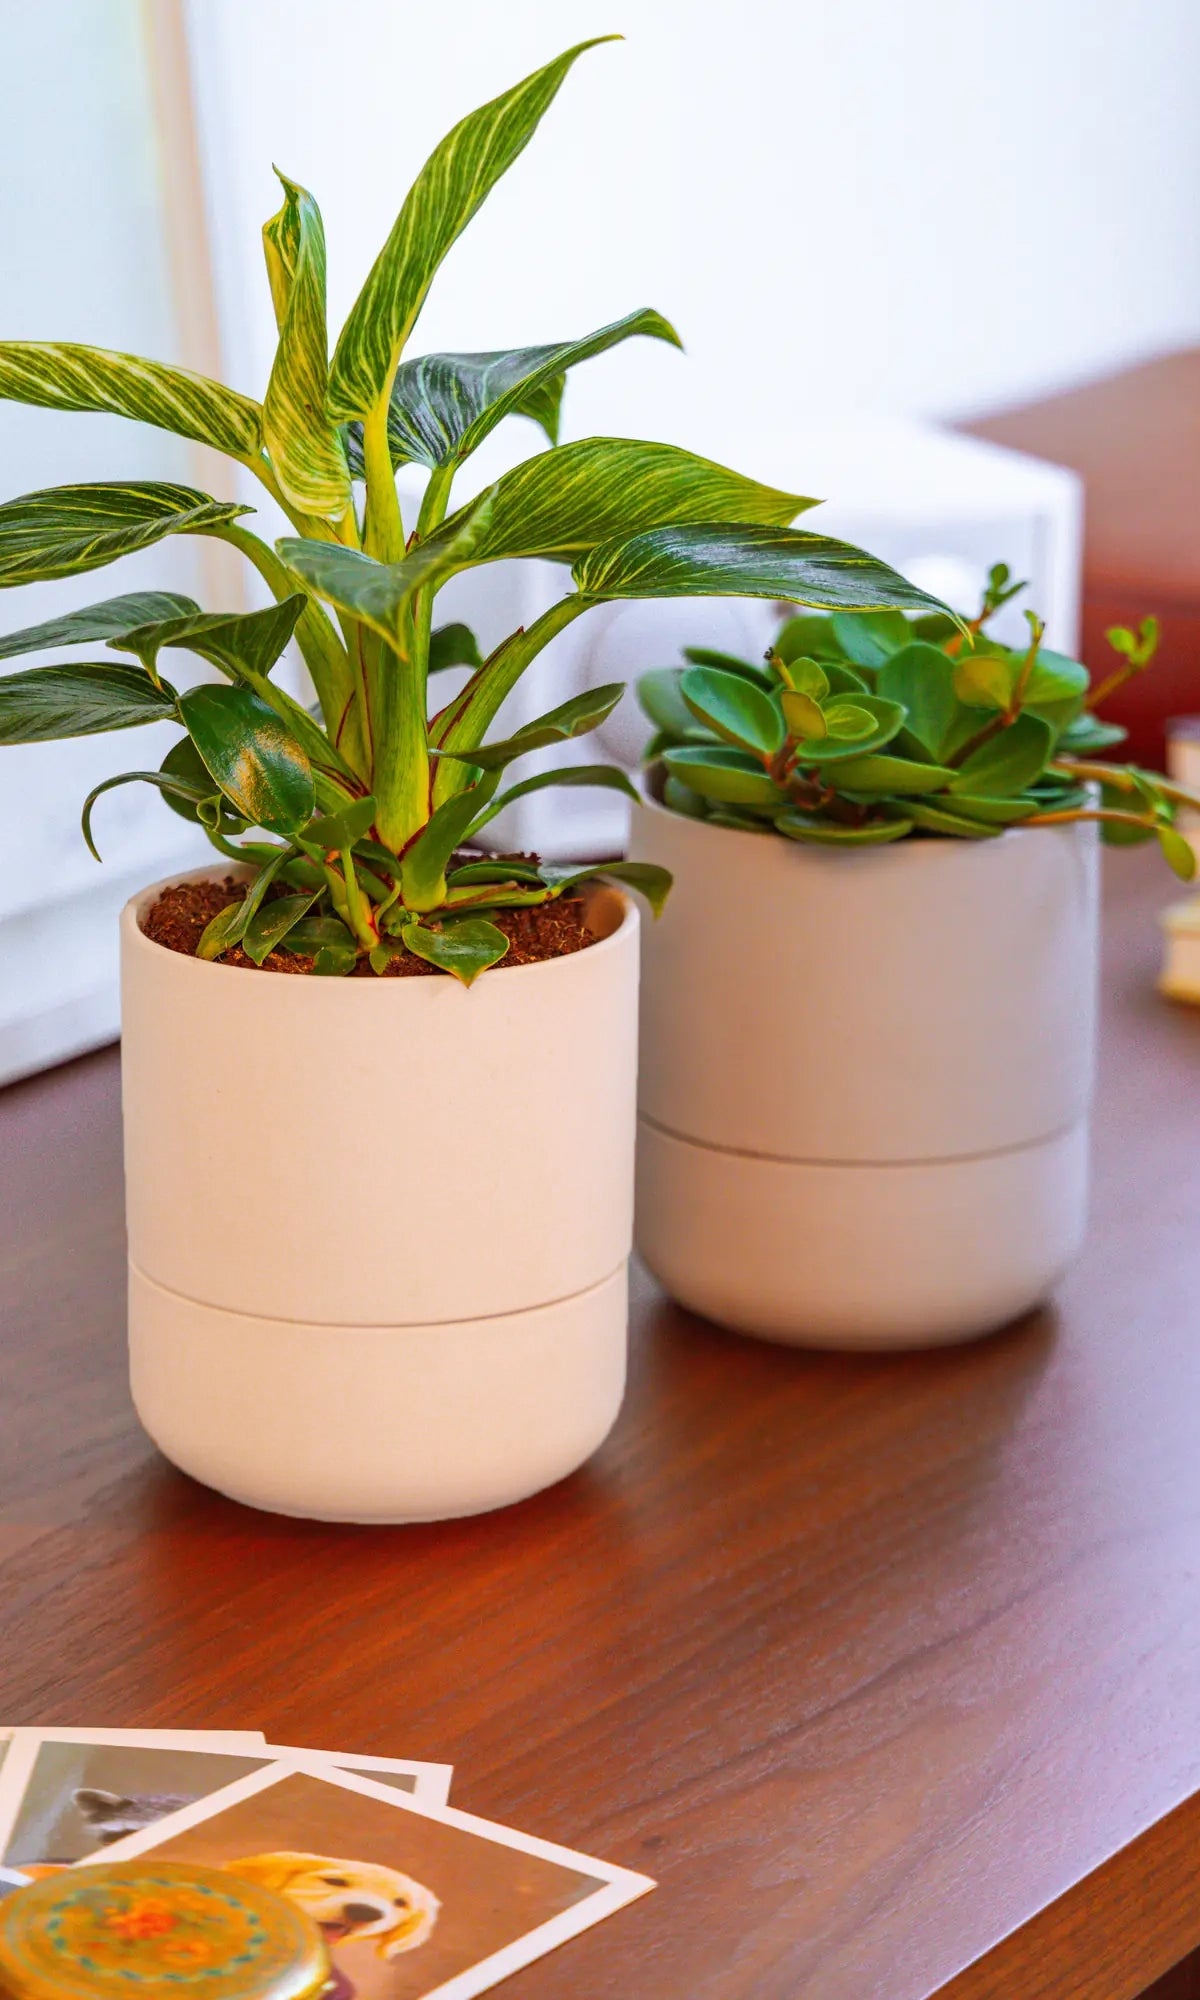
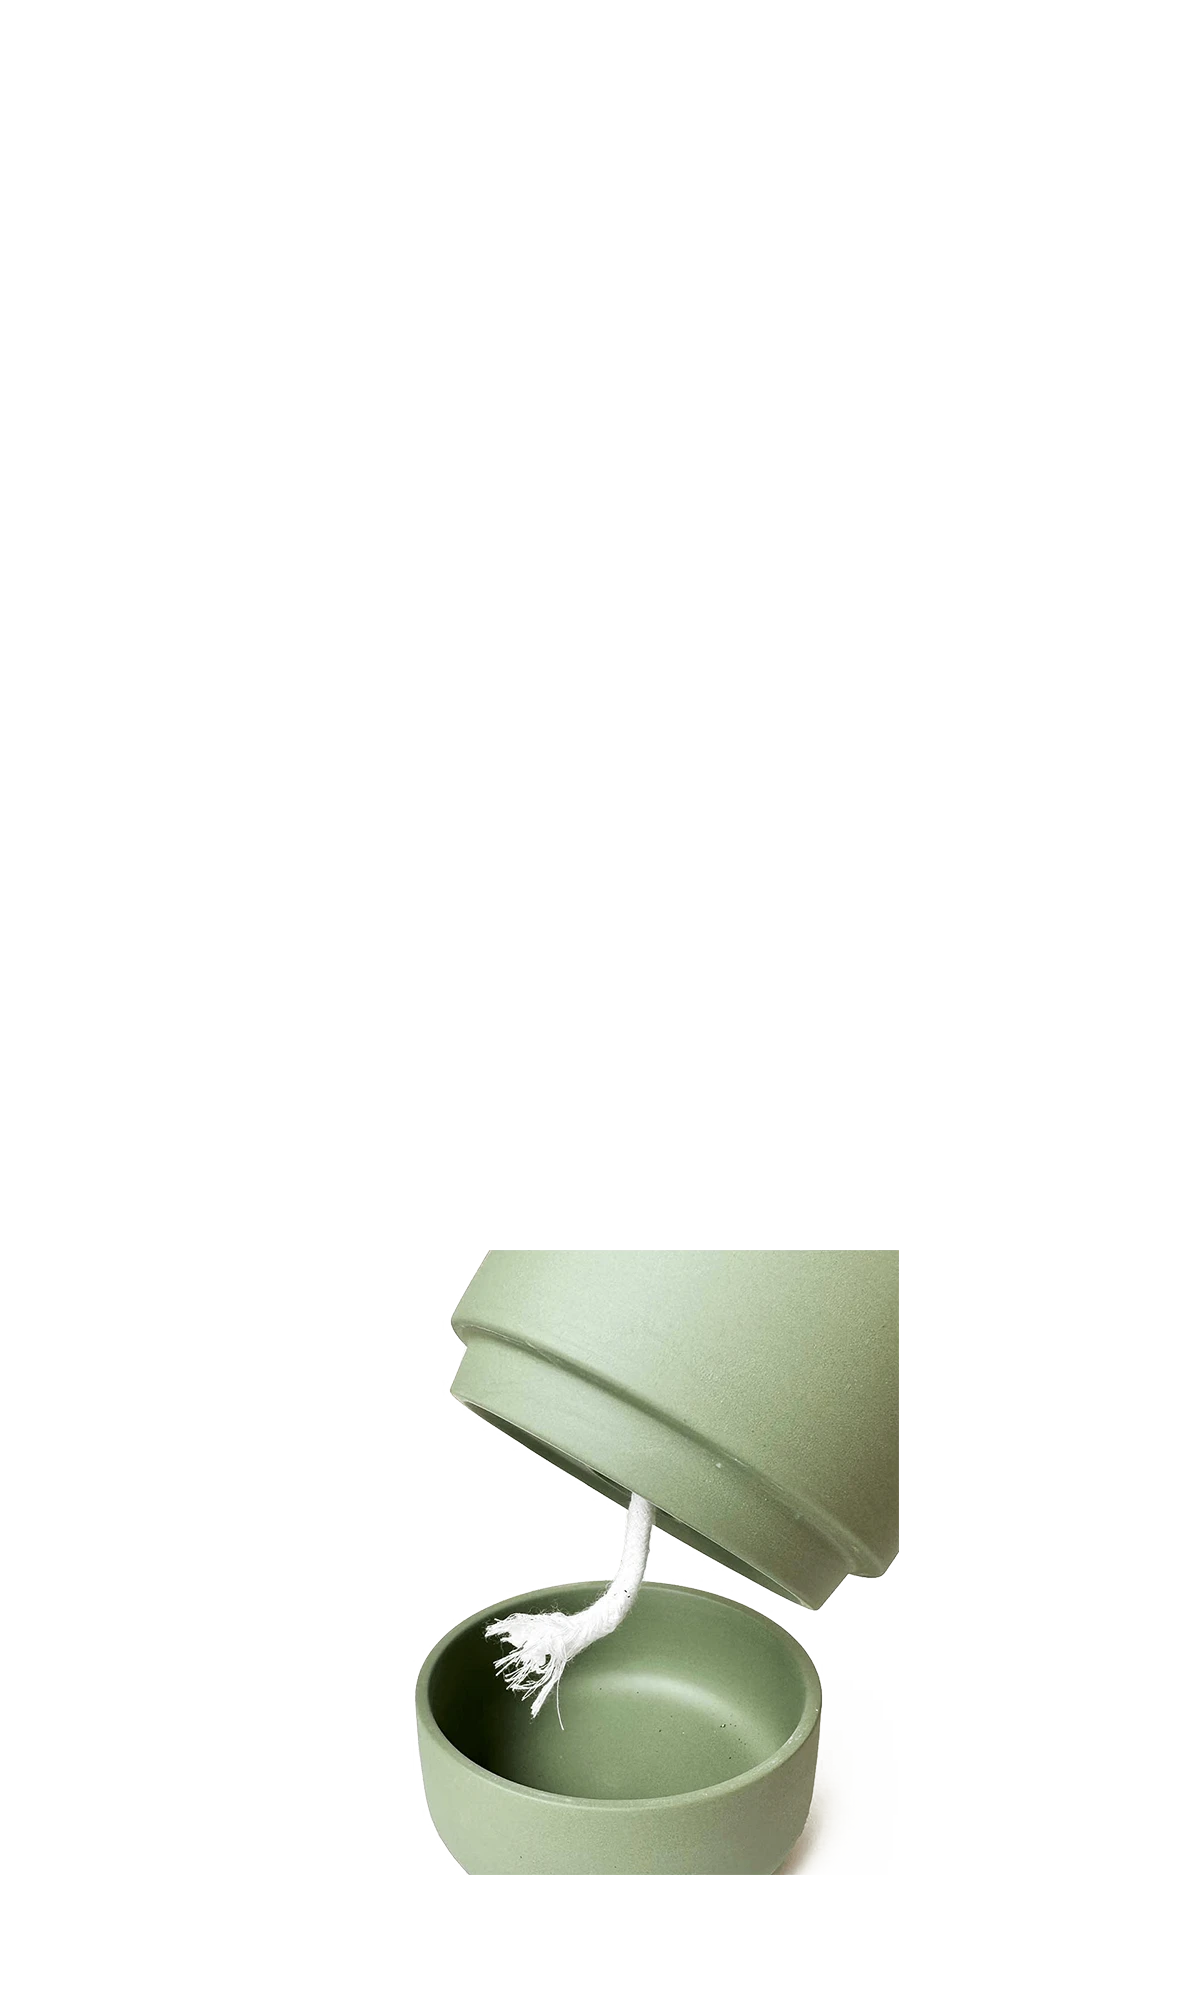
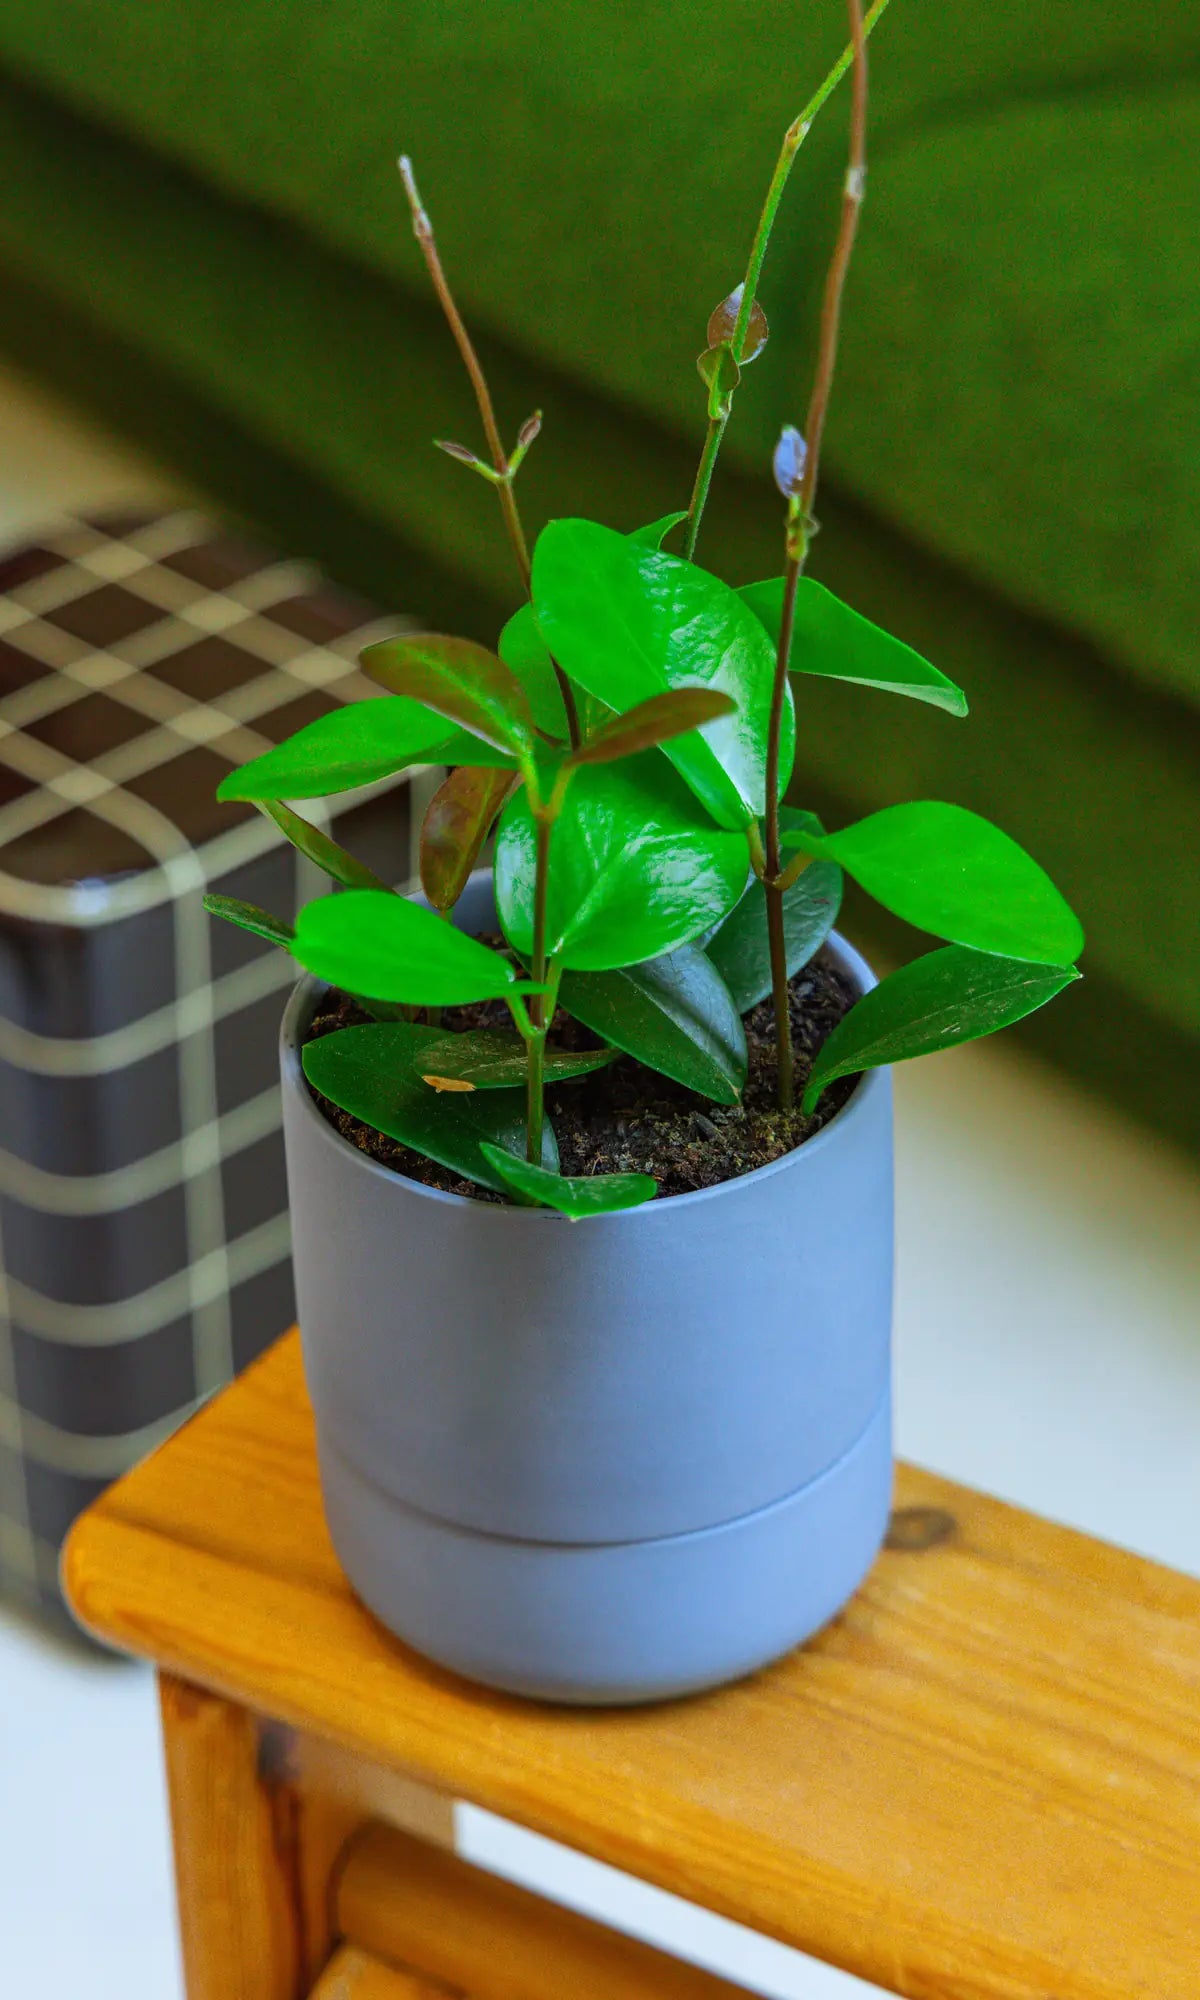
Every plant pot with drainage we make has a drainage hole. Every one ships with a saucer. The Ryan self-watering pot removes the overwatering variable entirely through capillary action — worth considering for anyone who has ever stood over a freshly repotted plant with a watering can, feeling helpful, about to make a very familiar mistake.
The neighbor is already outside. He has the butter knife. He knows something you don't yet, which is that the plant has been ready for weeks and the only thing that was missing was someone willing to act on a Tuesday in linen.
We have been designing and making ceramic plant pots since 2004. Our pots are stocked at the New York Botanical Garden, where Chive has maintained a retail relationship for over a decade. Denver Botanic Gardens in Colorado carries the full drainage pot range. The Art Gallery of Ontario, three hundred metres from our Queen Street studio, has stocked Chive pots continuously since the early 2000s. Longwood Gardens in Pennsylvania. The Huntington Library and Botanical Gardens in San Marino, California. Chicago Botanic Garden. The Rock and Roll Hall of Fame, which we include because it is true and because it has never stopped being the most surprising sentence in our catalogue. Sold at the RHS Chelsea Flower Show — Chive has exhibited for 14 consecutive years, winning the 5-star booth award twice. Designed in Toronto, made by hand since 2004.